
What Is Pruning And Why Every Beginner Should Learn It Beginners Guide
Understanding The Basic Definition And Purpose Of Pruning
Pruning is the strategic removal of specific plant parts like branches, buds, or roots. This process targets dead, damaged, or diseased tissue to protect the rest of the plant. Proper cuts prevent decay from spreading to the main trunk or root system. It is a vital maintenance task that ensures the structural integrity and long-term survival of your landscape.
Beyond health, pruning directs growth energy to productive areas. Removing unproductive wood allows the plant to focus resources on fruit, flowers, or new foliage. You control the size and shape of the plant to fit your space. This technique improves sunlight penetration and air circulation throughout the canopy. These factors reduce pest infestations and fungal infections that thrive in crowded, dark environments.
How Pruning Differs From Trimming And Deadheading
Pruning focuses on the health and structure of woody plants like trees and shrubs. It involves heavy tools like loppers or saws to remove larger limbs. Trimming usually refers to grooming the exterior of hedges or small plants for aesthetics. You trim to maintain a clean edge or uniform shape. Pruning is a deep structural necessity while trimming is often a cosmetic task.
Deadheading is a specific maintenance technique for flowering plants. You remove spent flower heads to prevent the plant from producing seeds too early. This encourages the plant to put energy into more blooms rather than reproduction. While pruning addresses the skeleton of a plant, deadheading manages the reproductive cycle. Beginners must distinguish these tasks to use the right tool for the job.

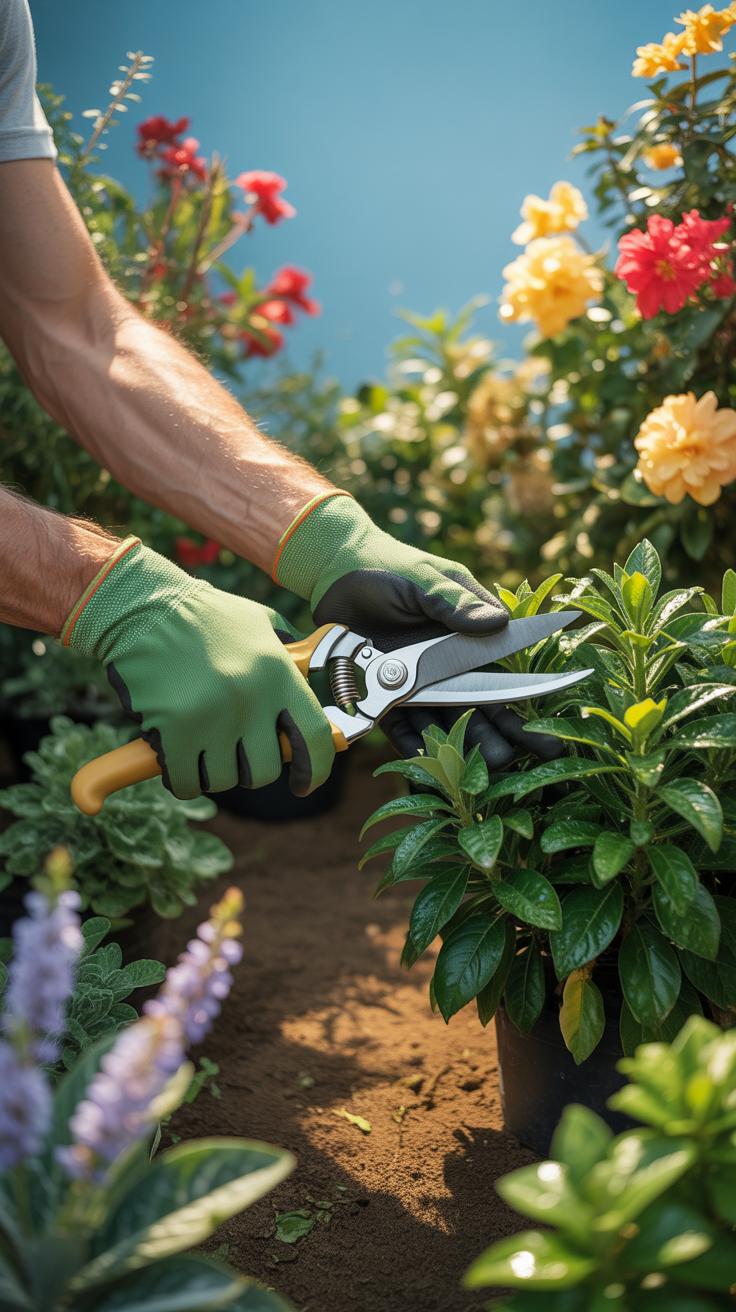
The Right Tools For Pruning Plants Without Damaging Them Pruning Plants
Essential Pruning Tools Every Beginner Should Own
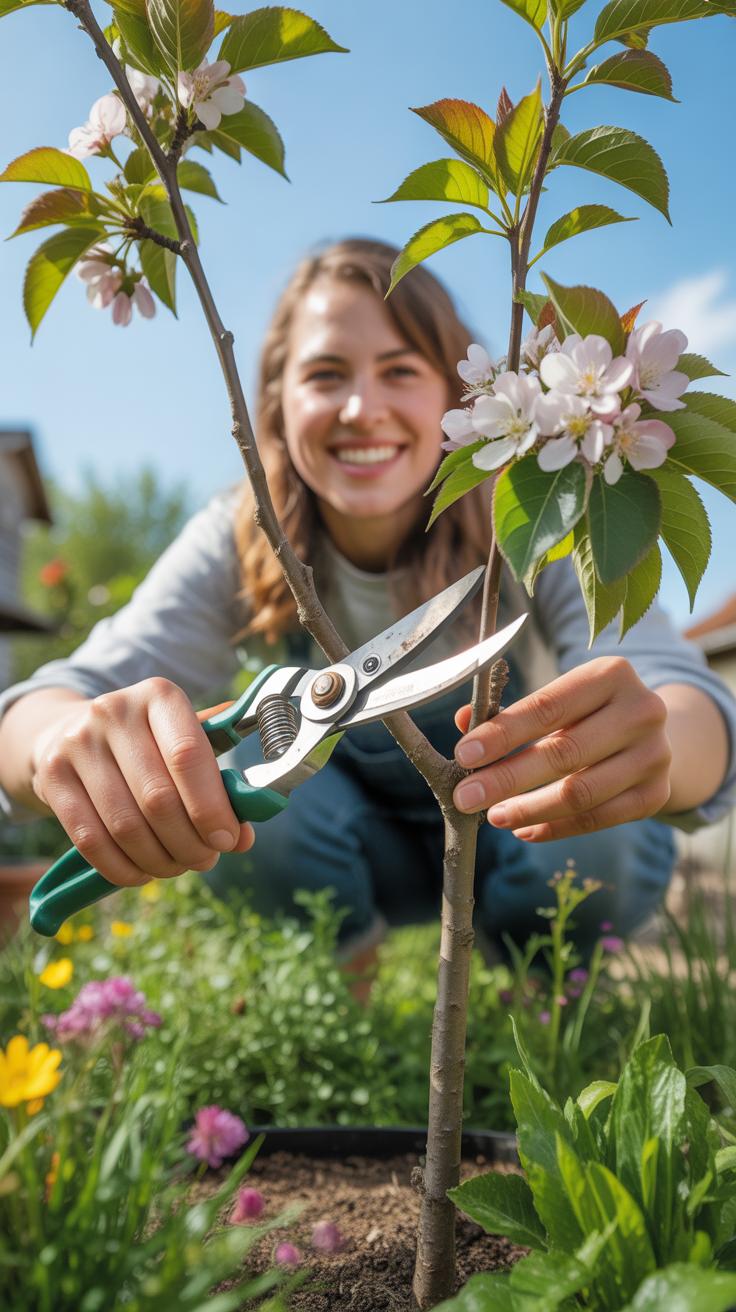
Using the wrong tool causes jagged tears in plant tissue. These wounds invite disease and pests into the vascular system. You must match the tool to the stem diameter for clean cuts. High carbon steel blades hold edges longer than cheaper alternatives. Proper gear ensures the plant heals fast by creating a smooth surface. Invest in quality steel to ensure long term performance and safety.
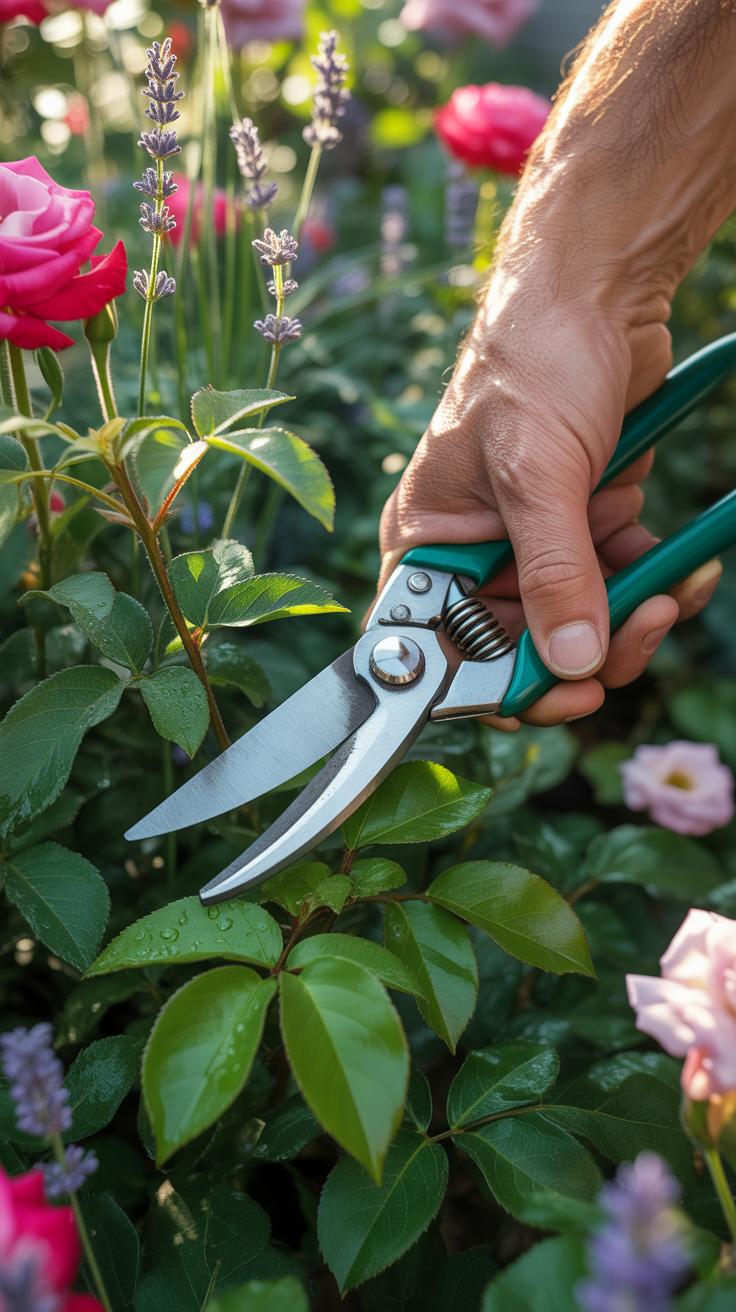
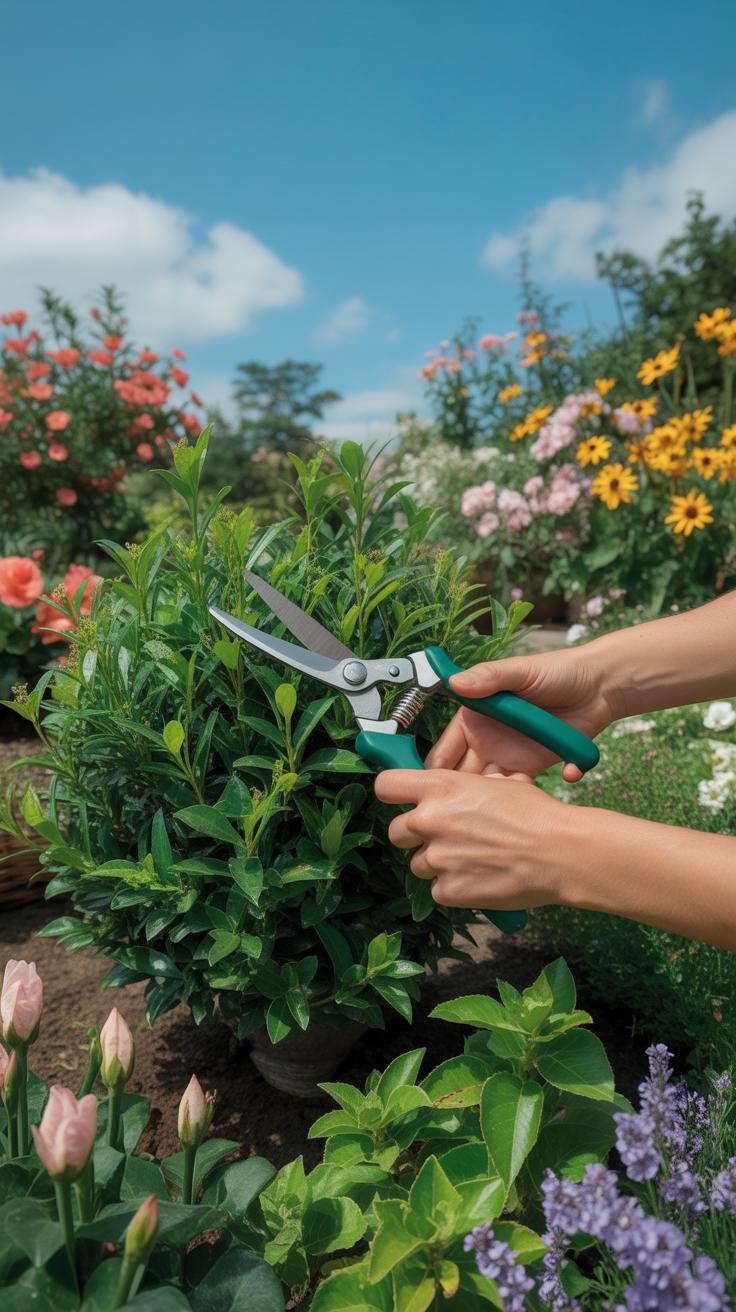
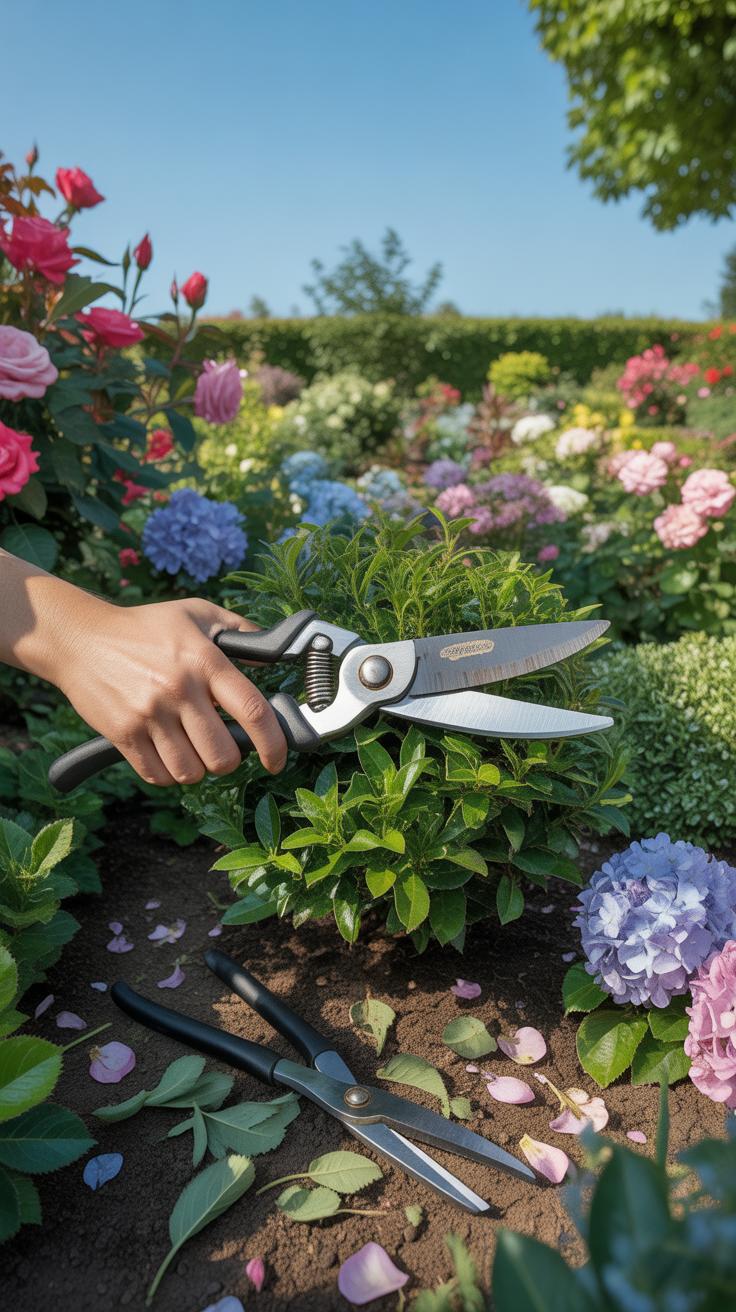
- Bypass Pruners: Use these for living green wood. Two curved blades pass each other like scissors to create clean slices. They prevent crushing the stem during the cut. Most gardeners use these for stems up to half an inch thick.
- Anvil Pruners: Use these only on dead wood and dry brittle branches. A single straight blade closes against a flat metal base. This action crushes the material rather than slicing it. Never use these on live green stems because they tear the bark.
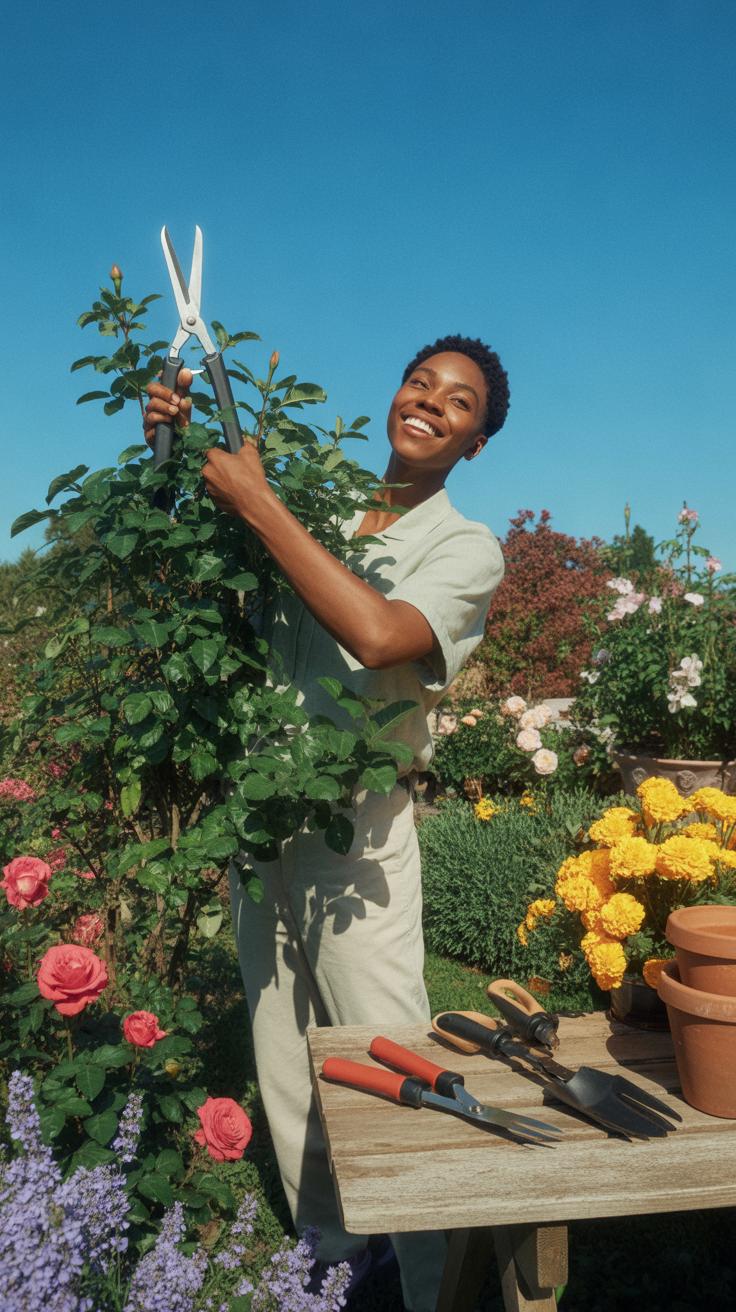
- Loppers: These tools feature long handles for extra leverage on thick branches. They handle wood between one and two inches in diameter. The increased reach allows you to stand on the ground while cutting higher limbs. Buy geared versions to reduce the physical effort required.
- Pruning Saws: Select a saw for any branch thicker than two inches. Most pruning saws cut on the pull stroke for better control in tight spaces. The coarse teeth prevent sap buildup while cutting through green wood. Folding models offer safe storage in pockets or belts.
- Hedge Shears: These resemble large scissors with long straight blades. Use them specifically for shaping formal hedges and trimming soft new growth. Do not use them on thick woody branches or you will ruin the blade alignment. Use both hands to maintain a straight level line.
Hand pruners fit into two main categories based on blade action. Beginners often confuse bypass and anvil styles but they serve different functions. Using anvil pruners on live tissue kills the branch section. Selective pruning requires precision to avoid damaging the main trunk. Always test the tool tension before starting your work. Sharp blades require less force and prevent hand fatigue during long sessions.
How To Clean And Maintain Your Pruning Tools Between Uses
Clean tools prevent the spread of fungal and bacterial infections between plants. Pathogens often hitchhike on sap left on metal blades. Wipe your tools with isopropyl alcohol or a ten percent bleach solution after finishing each plant. This step stops diseases like fire blight or verticillium wilt from moving through your garden. Dry the metal immediately to prevent rust from forming.
Tool maintenance requires regular sharpening and lubrication. Use a diamond file or whetstone to maintain the factory bevel on the cutting edge. Remove stubborn sap with steel wool or a stiff wire brush. Apply a light coat of machine oil to the pivot point and blades after cleaning. Mineral oil works well if you prune edible plants or herbs. Proper care extends tool life for decades.

How To Prune A Step By Step Approach For First Time Gardeners
Identifying Which Branches And Stems To Cut First
Prioritize the removal of dead, damaged, or diseased wood. Professionals call this the three Ds. Dead wood is brittle and often dark. Damaged wood results from storms or physical impacts. Diseased wood shows signs of decay, fungus, or cankers. Removing these items immediately protects the health of the plant. These cuts prevent further spread of rot and stop pests from moving into the main trunk.
Look for crossing branches next. Branches that rub against each other cause open wounds in the bark. These wounds allow bacteria to enter. Target the weaker or thinner branch for removal. You must also cut water sprouts and suckers. These grow straight up from the base or main limbs. They drain energy from the plant. They do not produce fruit or flowers. Cut them to redirect nutrients to productive stems.
Making The Perfect Cut: Angle, Position, And Technique Explained
Effective pruning requires a precise cut at a forty-five-degree angle. Position your blades about one-quarter inch above a bud. Slope the cut away from the bud. This angle prevents water from pooling on the open wound. Pooled water leads to rot and fungal growth. A clean cut allows the plant to seal the wound quickly. Avoid leaving a long stub. Stubs prevent proper healing and attract wood-boring insects.

Locate the branch collar for larger limbs. The collar is the swollen area where the branch meets the trunk. Do not cut flush against the trunk. Do not cut into the collar itself. Make your cut just outside this ridge. This technique preserves the natural chemical barrier of the tree. The tree will grow a callous over the site. This process is called compartmentalization. It is the most critical step for long-term plant survival.
When To Prune Using A Garden Calendar To Time Your Cuts Right Garden Calendar

Seasonal Pruning Windows And Why Timing Matters For Plant Health
Late winter is the standard window for pruning most deciduous trees and shrubs. Plants remain dormant during this cold period. Cutting now prevents sap loss and reduces the risk of pest infestations. You can see the structure of the plant clearly without leaves blocking your view. This timing allows the plant to direct all its spring energy into healing the new cuts quickly.
Spring flowering plants require a different strategy to avoid cutting off next year’s blooms. You must prune these species immediately after their flowers fade. Waiting until winter will remove the buds already set for the following season. Proper timing ensures the plant has enough months to grow new wood. This tactical approach maximizes flower production and keeps the plant cycle consistent year after year.
Signs Your Plant Is Ready To Be Pruned Regardless Of The Season
Dead, damaged, or diseased wood requires immediate removal at any time of year. These issues compromise the structural integrity and health of the entire plant. You do not wait for a specific season to cut out rot or broken limbs. Rapid action stops the spread of decay and prevents secondary infections from taking hold. Removing these hazards protects the plant and anyone walking near it.

Crossing branches or suckers growing from the base also signal a need for intervention. These growth patterns sap energy from the main structure and create friction points. Airflow decreases when the center of a plant becomes too crowded with small twigs. Improving light penetration helps the inner foliage stay productive. Watch for these physical indicators to maintain a strong framework and prevent long term growth problems.
Garden Pruning Tips That Make A Real Difference For New Gardeners Garden Pruning Tips
Common Pruning Mistakes Beginners Make And How To Avoid Them
Beginners often kill plants by over-pruning. Removing more than one third of a plant’s foliage at once shocks the biological system. This massive loss of leaves prevents the plant from producing enough energy through photosynthesis. You must leave enough green growth to support root health. If the plant cannot feed itself it will wither or succumb to pests and local diseases.
Large stubs left behind after a cut invite rot and infection. You should cut just above a bud or the branch collar. These specific areas contains specialized cells that heal wounds quickly. If you leave a long stub the wood dies and allows fungi to enter the main trunk. Always keep your blades sharp to ensure clean cuts that the plant can seal efficiently.
Simple Habits That Will Improve Your Pruning Results Over Time

Consistency yields better results than heavy annual hacking. You must observe your plants throughout every season to understand their growth cycles. Expert pruners focus on removing the three Ds which are dead, damaged, and diseased wood. This practice keeps the plant structure open for air and light. Regular small maintenance cuts prevent the need for drastic and risky corrective surgery later.
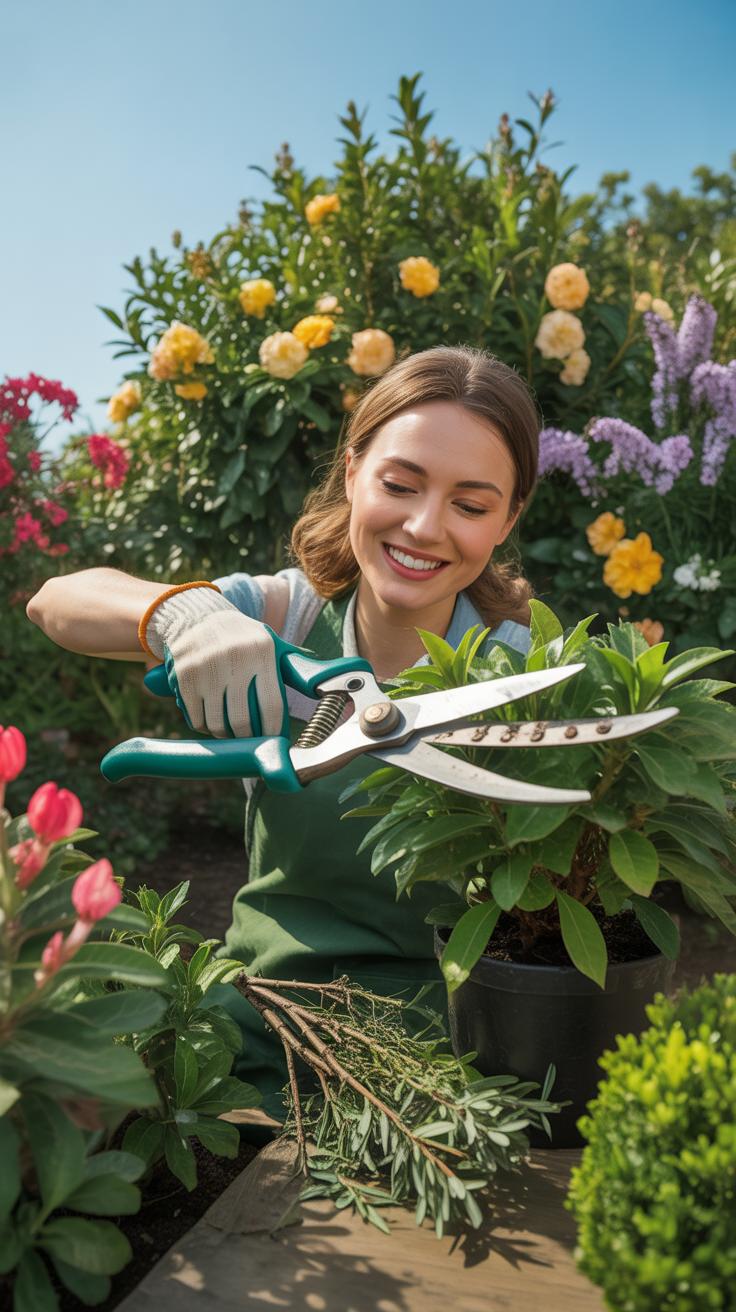
- Sanitize Tools: Clean your blades with rubbing alcohol or a mild bleach solution after every plant. This habit stops the spread of pathogens between your garden beds and prevents cross-contamination of various fungal infections.
- Monitor Weather: Avoid pruning during periods of high humidity or extreme cold. Wait for dry days to make your cuts because moisture encourages bacterial growth on open wounds. Low humidity helps the plant seal its outer layers much faster.
- Check Bud Direction: Always cut above a bud that faces away from the center of the plant. This technique directs new growth outward rather than inward. Outward growth improves airflow and prevents branches from rubbing together as the plant matures over time.
- Inspect Sharpness: Test your shears on a piece of paper before starting work. Dull blades crush stems instead of slicing them which creates jagged edges. A clean slice allows the plant to form a callus quickly and reduces the risk of long-term tissue damage.
- Identify the Collar: Locate the swollen area where a branch meets the trunk before you cut. This region is the branch collar and it contains the most healing power. Never cut flush against the trunk because you will remove these vital regenerative cells.
Review your work from a distance after every few cuts. Stepping back allows you to see the overall shape and balance of the specimen. You can easily get lost in the details and remove too much from one side. Proper perspective ensures you maintain the natural form of the species. Stop immediately if you feel unsure about a specific major limb.
How Pruning Supports Healthy Plants And Prevents Disease Healthy Plants
The Connection Between Regular Pruning And Disease Prevention In Gardens
Regular pruning creates airflow within the plant canopy. Dense foliage traps moisture and heat. These conditions allow fungal spores to grow and spread quickly. When you remove crowded branches, you increase light penetration. Sunlight kills many pathogens and dries out damp leaves. This simple physical change reduces the risk of powdery mildew and leaf spot. You create a hostile environment for many common garden pests.

Pruning also controls the spread of existing infections. Pathogens often move from the outer small twigs toward the main trunk. Cutting off an infected limb stops the disease from reaching the vascular system. This prevents the death of the entire plant. You must clean your tools between every cut to avoid spreading germs. Smart pruning acts as a surgical strike against garden illness. It keeps your plants resilient and strong.
How Removing Dead And Damaged Growth Protects The Whole Plant
Dead wood is a primary entry point for wood-boring insects. These pests settle into decaying material and eventually move into healthy tissue. Removing dead stems eliminates their breeding ground immediately. Dead wood also rots on the plant. This rot can travel downward into the crown and roots. Taking away dead growth focuses the energy of the plant on new buds. It stops the waste of vital nutrients.
Damaged branches pose a physical threat to the rest of the structure. Cracked limbs often rub against healthy bark during wind storms. This friction creates open wounds. Opportunistic bacteria and fungi enter through these fresh gashes. You must make clean cuts at the branch collar to ensure fast healing. Removing damaged parts prevents structural failure. It allows the plant to seal its wounds and maintain a solid defense system.
Understanding Plant Growth And How Pruning Shapes It Plant Growth
How Plants Respond Biologically To Being Pruned

Plants rely on apical dominance to grow. The terminal bud at the top of a branch produces hormones called auxins. These auxins travel down the stem and suppress the growth of lower lateral buds. This biological process ensures the plant grows upward toward light sources. Removing the terminal bud stops this hormonal flow and forces the plant to redirect its energy elsewhere.
When you cut a branch, you trigger a wound response. The plant seals the cut area to prevent infection and decay. Beneath the cut, dormant buds become active because the auxin levels dropped. New shoots emerge from these nodes quickly. This response allows gardeners to control where the plant puts its resources. Understanding this chemical shift is the foundation of successful pruning.
Using Pruning To Encourage Fuller, More Productive Growth Patterns
Strategic cuts transform a leggy plant into a dense shrub. By removing the tips of dominant stems, you activate multiple side shoots. This creates a bushier appearance rather than thin, vertical growth. Gardeners use this tactic to increase the surface area for leaves. More leaves mean more photosynthesis and better overall health. It is a simple way to shape the plant.
Productivity also increases through the removal of non-productive wood. Pruning focuses the metabolic energy of the plant on fruit or flower production. Old or shaded inner branches consume nutrients but provide little return. Thinning these out improves airflow and light penetration for the remaining stems. This results in larger harvests and more vibrant blooms. Accurate timing ensures the plant has energy to recover.
A Practical Garden Pruning Guide For Shrubs Trees And Flowers Garden Pruning Guide

Pruning Shrubs And Flowering Plants: What Works And What To Avoid
Proper shrub maintenance requires timing based on bloom cycles. Spring flowering plants like lilac or forsythia set buds on old wood from the previous year. Pruning these in winter removes next season flowers. Cut them immediately after they finish blooming. This gives the plant a full growing season to develop new wood. Summer flowering shrubs usually bloom on new wood and require late winter pruning.
Avoid the common mistake of shearing only the outer tips of a shrub. This creates a thick shell of leaves that blocks sunlight from the center. The interior branches will eventually die from lack of light. Use thinning cuts to remove entire stems at the base or where they join a larger branch. This improves airflow and reduces disease risk. Always remove dead, damaged, or diseased wood first to maintain health.
The cut you make today is a promise of new life for tomorrow, much like the gentle tending of a garden we remember from our youth. It is not about perfection, but about clearing a little space for the sunshine to reach the heart of the plant.
— Martha Stewart
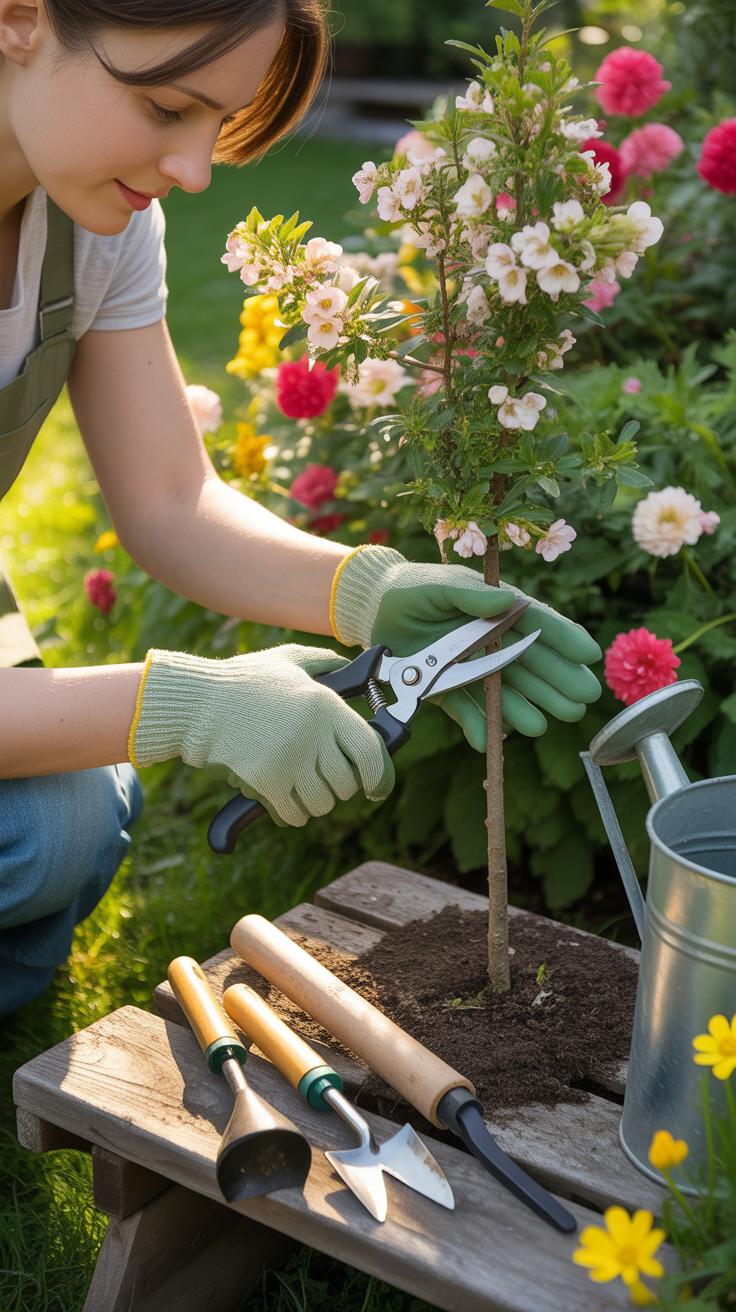
Pruning Young Trees: Building A Strong Structure From The Start
Pruning young trees establishes a permanent skeleton that prevents future structural failure. Focus on identifying a single central leader which acts as the main trunk. Remove any competing branches that grow vertically near the top. Select scaffolds or primary branches that have wide angles. Narrow crotch angles are weak and likely to split under heavy wind or snow loads. Space these permanent branches vertically and radially around the trunk.
Do not over prune a young tree during its first years. Leaves produce the energy necessary for root development and trunk thickness. Only remove the lowest branches when the tree reaches a height where they interfere with movement. Leave small temporary branches on the lower trunk to protect it from sun scald. These lower branches also help the trunk grow thicker and stronger. Cut back no more than twenty-five percent of the canopy in one year.
Your Complete Garden Plant Pruning Guide To Build Confidence As You Grow Garden Plant Pruning Guide
How To Create A Simple Personal Pruning Routine For Your Garden
Establish a schedule based on the dormancy cycles of your specific plants. Most woody perennials require attention in late winter before sap flow increases. Spring flowering shrubs need pruning immediately after their blooms fade to avoid cutting off next year’s buds. Consistency prevents overgrowth and reduces the need for heavy, stressful cuts later. Set specific calendar reminders for these biological windows.
Sanitize your bypass pruners and loppers before every session to prevent pathogen spread. Focus your routine on the three Ds: dead, damaged, and diseased wood. Removing these elements first clarifies the structure of the plant. A disciplined approach ensures you never remove more than one-third of the canopy in a single season. This limit maintains the root-to-shoot balance and prevents plant shock.
Tracking Your Pruning Progress And Adjusting As Your Garden Evolves
Document every cut by taking photos before and after your work. Label these images with the date and the specific technique used, such as thinning or heading cuts. Monitor the regrowth pattern over the following six months. Healthy gardens show vigorous new shoots from the remaining buds. If a plant fails to thrive, review your timing and the angle of your cuts.
Adjust your strategy as the garden reaches maturity. Young plants require structural pruning to build a strong framework. Older plants need renewal pruning to remove unproductive wood and improve airflow. Maintain a simple logbook to note which species respond best to aggressive thinning. Use these observations to refine your timing for the next season. Accurate records eliminate guesswork and build long-term horticultural expertise.
Frequently Asked Questions

Why is it important for new gardeners to learn how to prune?
Understanding pruning tips for beginners is essential because it promotes the long-term health and structural integrity of your plants. Regular trimming removes dead or diseased wood, which prevents rot and fungal infections from spreading. By selectively cutting back certain branches, you also encourage better airflow and sunlight penetration. This process stimulates new growth and results in more vibrant flowers and fruit, making your garden look lush and professionally maintained.
How do I know exactly where to make a cut on a branch?
When following pruning tips for beginners, the “where” is just as important as the “how.” Always aim to cut at a 45-degree angle about a quarter-inch above a lateral bud or a branch union. Cutting at an angle allows water to run off the wound, preventing rot. Avoid leaving long stubs, as these can die back and invite pests, but be careful not to cut too close to the main trunk.
Do I need to buy expensive professional tools to start pruning?
You definitely do not need a massive budget to start caring for your plants. For most household greenery and small shrubs, a single pair of high-quality bypass pruners is the only investment required. These are affordable and versatile enough for most tasks. As long as you keep your blades sharp and clean them with rubbing alcohol to prevent spreading disease, basic entry-level tools will work beautifully for any backyard project.


