
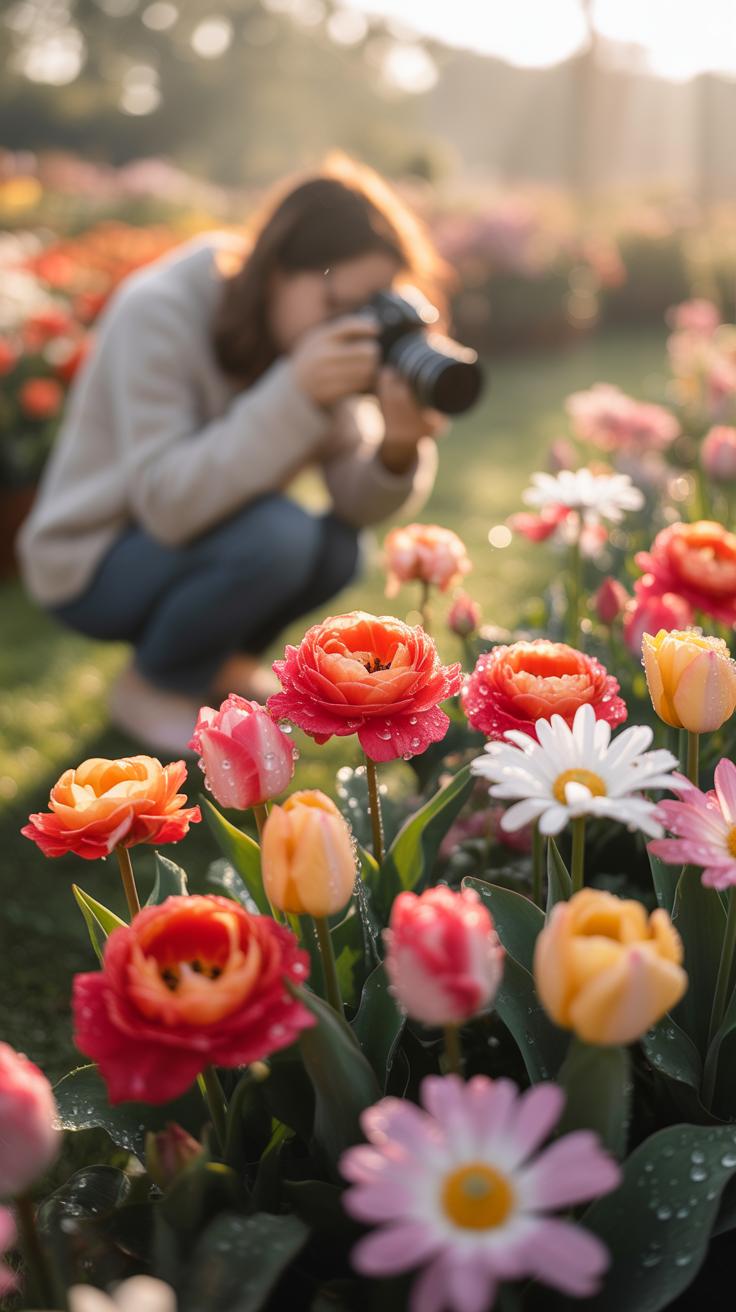
The Foundation Of Photographing Flowers Understanding Composition Basics
Why Composition Is The Cornerstone Of Great Flower Photography
Composition dictates how a viewer moves through your image. Without a clear structure, a flower photo becomes a chaotic mess of colors and shapes. You must organize visual elements to highlight the specimen. Professional photographers use composition to create a path for the eye. This process separates a snapshot from a deliberate study. Precise placement of the subject establishes a clear visual hierarchy immediately.
Strategic composition relies on balance and tension. You control what the viewer sees and what they ignore. By arranging the petals, stem, and background, you define the story of the plant. Proper framing removes distractions that pull focus away from the botanical details. You must master these spatial relationships to produce high-quality work. Sharp focus and good light fail if the layout lacks a solid structural foundation.
How The Rule Of Thirds Transforms Your Floral Shots
The Rule of Thirds is a standard grid system inherited from Renaissance painting techniques. You divide your frame into nine equal rectangles using two horizontal and two vertical lines. Placing the center of the flower at an intersection creates natural balance. This alignment prevents the stagnant look of a centered subject. It adds energy to the frame by utilizing the negative space around the floral blooms.
Using this grid directs the viewer toward the most important parts of the plant. Off-center placement allows the stem or leaves to lead the eye into the frame. This technique mimics how humans naturally scan a scene from side to side. It creates a sense of movement within a static image. Aligning the horizon or the main petal edges with these grid lines produces a much cleaner and professional result.

Flower Photography Tips And Ideas For Choosing The Right Angle And Perspective
Shooting From Eye Level Versus Low Angles: What Works Best For Flowers
Eye level shots create a direct connection between the viewer and the flower. This perspective mimics how people naturally see the world. It works well for documenting botanical details accurately. You position the camera lens at the same height as the bloom. This approach yields a stable and balanced frame. It focuses on the symmetry and face of the plant without distortion.
Low angles change the power dynamic of the image. You must place the camera below the flower and tilt upward. This technique makes small plants look large and imposing. It separates the subject from the distracting ground. You often capture the sky as a clean background. Proximity to the soil requires a tripod with a reversible center column or a beanbag for camera support.
Using Overhead And Bird’S Eye Perspectives To Create Striking Floral Compositions
Overhead shots emphasize the geometric patterns of a flower. You point the lens straight down at a ninety degree angle. This perspective highlights the spiral of petals and the central stamen. It flattens the depth of field to create a graphic look. This style became popular during the Modernist movement. It treats the plant as a shape or a symbol rather than a three dimensional object.
The bird’s eye view works best for clusters or fields of flowers. You must stand above the subjects to capture the collective texture of the group. This angle reveals the density and spacing of the plants. It removes the horizon line to create a fill the frame effect. Ensure your sensor plane stays parallel to the ground. This prevents unwanted focal blur across the edges of the composition.
Colorful Flower Photography Tips Working With Color Contrast And Backgrounds
How To Use Complementary And Contrasting Colors To Make Your Blooms Pop
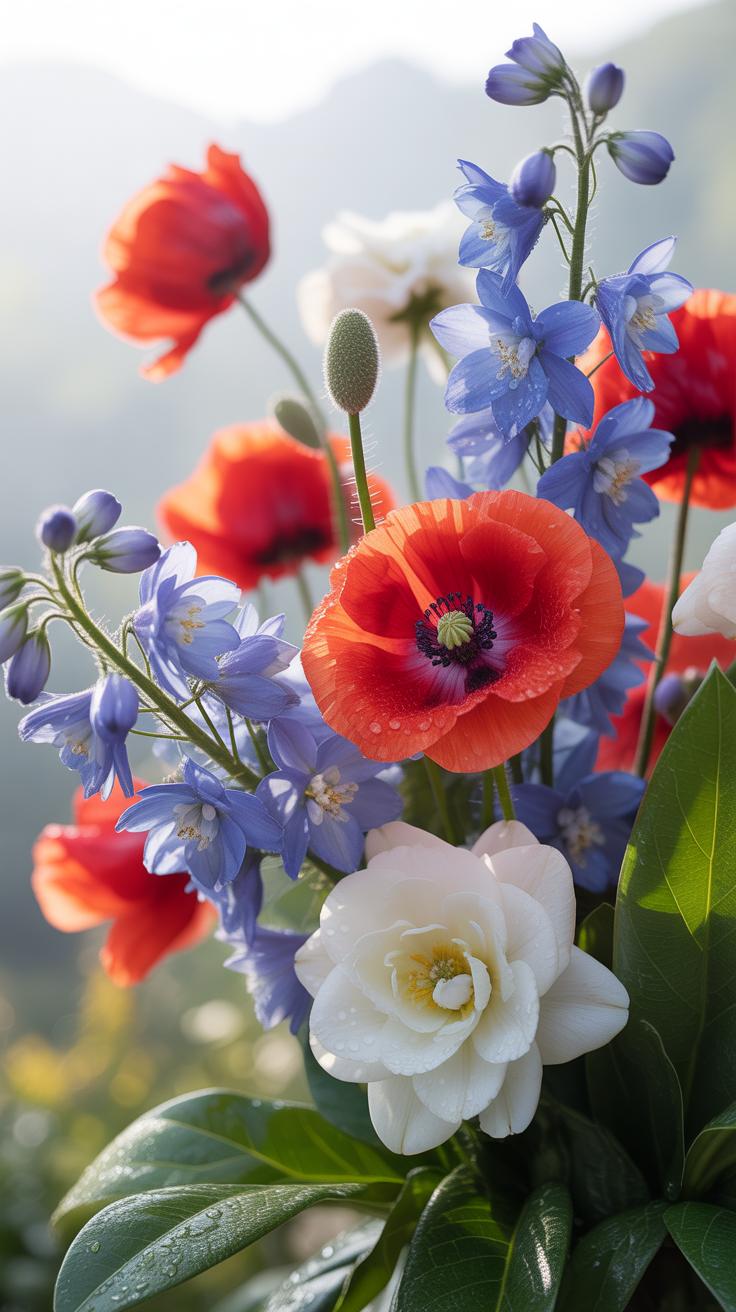
Color theory dictates how viewers perceive depth and focus. Complementary colors sit opposite each other on the color wheel. Red flowers stand out against green foliage because these hues create maximum visual tension. This contrast forces the eye to lock onto the subject. Professional photographers use this method to isolate a single bloom. Use a primary color against its complement to achieve instant impact.
Analogous colors sit next to each other on the wheel. Think of yellow flowers against light green leaves. This creates a low-contrast look that feels calm and unified. It works best for soft, detailed shots where you want the viewer to explore the whole frame. Choose high contrast for bold shots and low contrast for subtle textures. Correct color pairing determines whether your subject dominates or blends.
To photograph a flower is to look into the soul of nature and frame a memory that never fades. Composition is the art of showing how you saw the world when it was in full bloom.
— Imogen Cunningham
Choosing And Creating Backgrounds That Enhance Your Flower’S Visual Impact
The background must never compete with the flower. A busy or bright background distracts the eye and ruins the composition. Use a wide aperture to blur the area behind the plant. This technique creates a shallow depth of field. A soft, dark background makes light colored petals look sharper. Always check for bright spots or harsh lines that cut through your main subject.

Control your environment with portable backdrops like matte cards or fabric. Neutral tones like gray or black remove all distractions. This method mimics the look of Dutch Still Life paintings from the seventeenth century. These artists used dark, moody backgrounds to highlight light and form. Place your backdrop far enough away to avoid casting unwanted shadows. Control the background to control the story of the image.
Tips For Taking Pictures Of Flowers Mastering Light And Timing
The Golden Hour And Soft Diffused Light: Why Timing Matters In Flower Photography
Timing dictates the quality of your image. Shoot during the golden hour to get low-angle light. This provides warmth and creates long shadows that define shape. Avoid the midday sun because it creates harsh highlights and deep shadows. These conditions blow out colors and hide fine details. Direct light at noon makes flowers look flat and unappealing. Use timing to control contrast.
Overcast days offer the best light for flower photography. Clouds act as a giant softbox to scatter light evenly. This diffusion eliminates hard edges and saturated colors better than clear skies. If you cannot wait for clouds, use a handheld diffuser. Position it between the sun and the flower. This trick mimics a cloudy day. It allows you to capture accurate colors without glare.
How To Use Natural And Artificial Light To Highlight Petal Texture And Form
Backlighting reveals the internal structure of a flower. Place the light source behind the bloom to make petals glow. This technique highlights veins and transparent layers. It separates the subject from the background. Side lighting is better for showing surface texture. Position your light at a ninety-degree angle to the lens. This creates micro-shadows on the petal surface. These shadows show every ridge.
Artificial light offers total control over the environment. Use steady LED panels or small flashes with softboxes. Do not point the light directly at the flower. Bounce the light off a white card or wall to soften the impact. High-key lighting creates a bright and clean look. Low-key lighting focuses on dramatic shapes. Use a reflector to fill in dark spots. This ensures the camera records every detail clearly.
How To Photograph Wildflowers Composition Techniques For Natural Settings
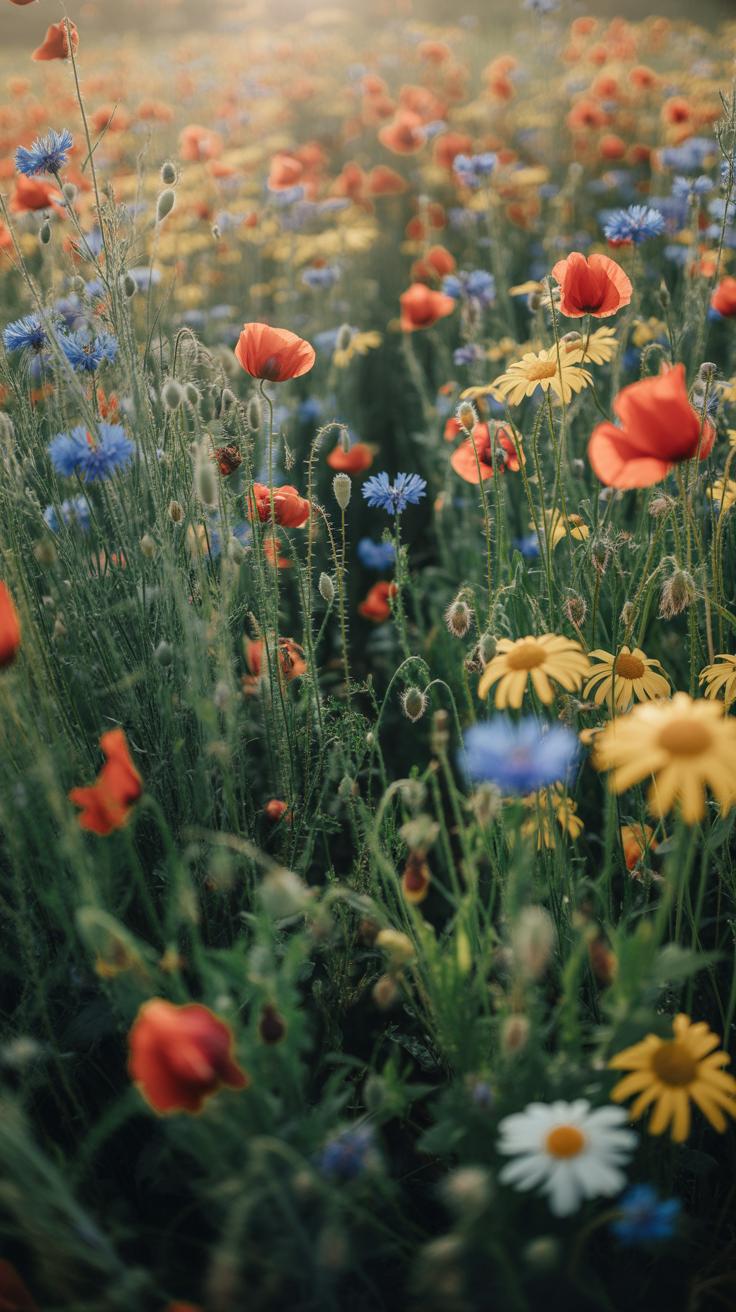
Framing Wildflowers In Their Environment Without Losing The Subject
Wildflowers often grow in dense clusters or messy brush. You must isolate a single specimen to create a clear focal point. Use a wide aperture like f/2.8 to blur the background. This depth of field technique separates the flower from the grass. Position your camera at the flower eye level. This angle creates a personal connection and blocks distracting ground debris from the shot.

Environmental portraits require a balance between the flower and the landscape. Place the primary bloom in the lower third of the frame. Use the Rule of Thirds to guide the eye. Look for natural leading lines like stems or paths to point toward the subject. Ensure the background elements do not intersect with the petals. Clean edges around the flower keep the viewer focused on your main subject.
Essential Gear And Camera Settings For Photographing Wildflowers In The Field
Success in the field depends on stability and precise exposure control. Wind is your primary enemy when shooting outdoors. You need a tripod that allows low-angle positioning. High shutter speeds are necessary to freeze motion caused by breezes. Manual focus is more reliable than autofocus when shooting through tall grass. Use a reflector to bounce light into the shadows of the bloom.
- Short Telephoto Lens: A 90mm or 105mm macro lens provides necessary reach. This focal length allows you to fill the frame without physically crushing surrounding flora. It also produces a compressed background for better subject isolation.
- Plamp or Ground Clamp: Use a specialized clamp to hold a secondary stem steady. This tool prevents the flower from swaying in light wind. It ensures your focus remains sharp during long exposures or when using narrow apertures.
- Circular Polarizer: This filter removes glare from waxy leaves and petals. It increases color saturation and manages reflections from wet surfaces after rain. It is essential for capturing the true pigment of the flower in bright sun.
- Remote Shutter Release: Triggering the camera by hand causes vibrations. A remote cable or wireless trigger eliminates camera shake. This is vital when using slow shutter speeds in shaded forest areas or during the blue hour.
- Diffuse Scrim: Use a handheld white diffuser to soften harsh midday sunlight. This tool eliminates high-contrast shadows that hide detail. It creates even lighting across the petals and mimics the soft look of an overcast day.
Set your camera to Aperture Priority mode for quick adjustments. Keep the ISO low to maintain image quality and reduce noise. If the wind picks up, increase your ISO to allow for a faster shutter speed. Check your histogram after every shot to avoid blowing out highlight details in bright petals. Precision in the field saves time during the post-processing stage of your workflow.
How To Improve Flower Photography Using Depth Of Field And Focus Techniques

Understanding Shallow Depth Of Field To Isolate Your Flower Subject Beautifully
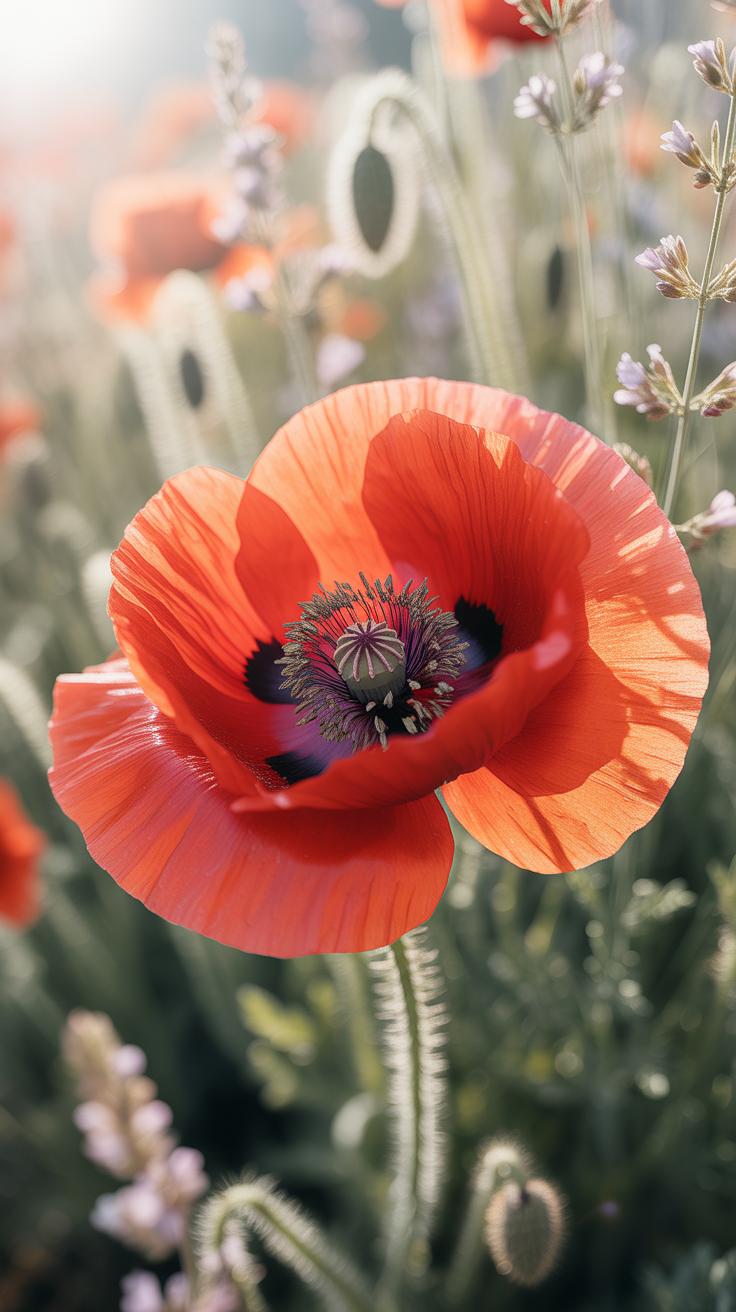
Shallow depth of field isolates a single flower from a busy background. Use a wide aperture like f/2.8 or f/4 to achieve this effect. This technique creates a thin plane of sharp focus. Everything in front and behind that plane becomes a blur. This separation directs the eye of the viewer straight to your main subject. It removes distracting elements instantly.
Distance plays a critical role in controlling background blur. Place more space between your flower and the background. Move your camera physically closer to the bloom. Long focal lengths also compress the scene and increase the blur effect. These combined actions make the flower pop against a smooth field of color. Always lock focus on the reproductive organs or the petal edges for maximum impact.
Focus Stacking For Macro Flower Photography: Capturing Every Detail Sharply
Macro photography creates a very thin depth of field even at narrow apertures. You often cannot get an entire flower sharp in one shot. Focus stacking solves this problem by merging multiple frames. You take a series of photos at different focus points from front to back. Software later combines the sharpest parts of each image into one clear final shot.
Precision is mandatory for successful focus stacking. Use a sturdy tripod to keep the framing identical across all shots. Disable any internal image stabilization to prevent framing shifts. Manual focus allows for consistent steps through the focal plane. Start at the closest petal and move incrementally toward the back of the flower. This technique captures extreme textures that a single exposure would always miss.
Flower Photography Tips And Tricks For Composing With Negative Space And Framing

How Negative Space Draws Attention To Your Floral Subject And Adds Elegance
Negative space is the empty area around your main subject. In flower photography, this space simplifies the image. It removes visual noise that distracts the viewer. You create a clear path for the eye to land on the bloom. This technique follows Minimalist design principles. It emphasizes the shape and color of the flower by providing a neutral background for contrast.
Effective use of negative space requires intentional camera placement. Move your lens to find a clear patch of sky or grass. Position the flower in one third of the frame. Leave the other two thirds empty. This void creates a sense of scale and importance. It prevents the composition from feeling cluttered. Professional photographers use this method to give the viewer room to breathe.
Using Natural Frames Like Leaves, Stems, And Surrounding Blooms For Depth
Natural framing uses elements within the environment to border your subject. Use nearby leaves or stems to create a window for your flower. This technique adds layers to the image. It transforms a flat photo into a three-dimensional scene. Keep the framing elements out of focus by using a wide aperture. This draws the eye directly through the frame to the sharp subject.
Framing also provides context for the flower. It shows the plant in its natural habitat without making the shot messy. Use the curve of a branch or the edge of a different petal to lead the eye. This creates a structural boundary that keeps the viewer from looking away. Strategic framing improves the balance of the photo. It hides unwanted background elements while highlighting the primary focal point.

Spring Floral Photography Tips Capturing Seasonal Blooms At Their Peak
Best Spring Flowers To Photograph And When They Typically Reach Peak Bloom
Spring offers a narrow window for specific species. Temperature and latitude dictate exact timing. You must track local weather patterns to catch peak bloom. Early spring brings bulbs while late spring offers woody perennials. Missing the window by three days can result in wilted petals. Success requires scouting locations weeks in advance to monitor bud development and light angles.
- Galanthus: These small white flowers emerge in late winter or very early spring. They often push through snow. You must get low to the ground for effective shots. Use a macro lens to capture their delicate internal markings.
- Crocus: These blooms appear in early spring. They close at night and during overcast weather. Plan your shoot for midday sun to capture fully open petals. They grow in dense clusters which provides excellent color density for wide shots.
- Wild Daffodils: Peak bloom occurs in mid-spring. These flowers have a distinct trumpeted shape. Side lighting highlights their structural depth. Avoid shooting in high winds because their long stems catch the air and cause significant motion blur in your images.
- Tulips: These flowers peak in mid to late spring. They offer bold colors and clean lines. Use a wide aperture to isolate a single bulb from a commercial field. Monitor the petals for brown edges that occur after a frost.
- Cherry Blossoms: These trees bloom for a short period in mid-spring. High winds or heavy rain can strip the petals in hours. Use a telephoto lens to compress the layers of pink and white. This creates a dense wall of color.
Timing varies by USDA hardiness zone. Southern regions see these blooms in February or March. Northern regions may wait until May. Check regional bloom maps and botanical garden reports. Use high shutter speeds to freeze movement. Spring weather is volatile and wind is a constant factor. Proper preparation ensures you capture the vibrant colors before the summer heat arrives.
How To Compose Spring Floral Scenes That Tell A Story Of Renewal And Growth
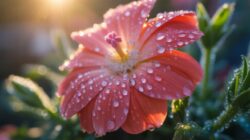
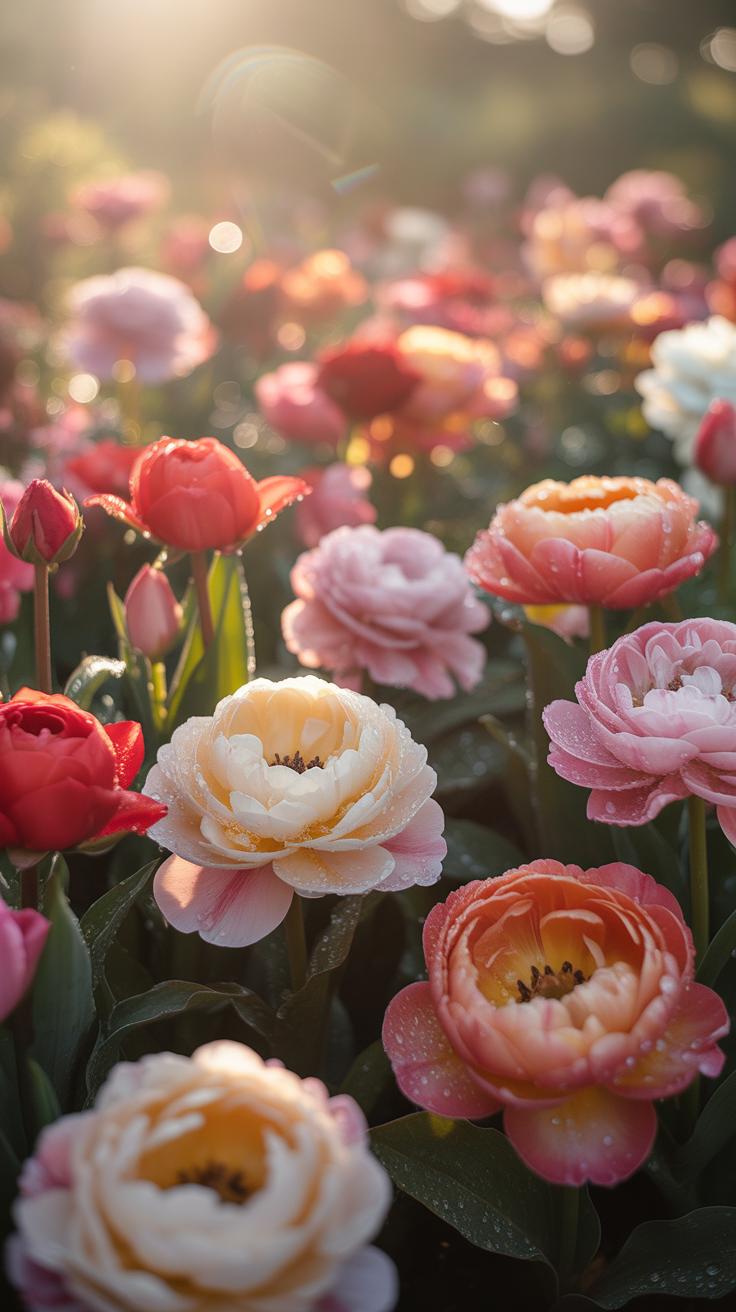
Focus on the relationship between the plant and its environment. Look for shoots breaking through brown mulch or dead leaves. This contrast emphasizes life overcoming dormant surroundings. Use a low camera angle to make small sprouts look dominant. Incorporate elements like raindrops or morning dew to suggest freshness. These details signal the transition from winter to spring.
Frame your subject with soft green foliage in the foreground. This technique creates a sense of depth and immersion. Avoid centering the flower in every shot. Place the bloom on a third line to show the space it is growing into. Include path lines or garden edges to guide the eye. Sharp focus on the stamen keeps the viewer engaged. Simple backgrounds prevent distractions from the main seasonal subject.
Romantic Flower Photography Tips Creating Mood Emotion And Atmosphere
Using Soft Light, Bokeh, And Pastel Tones To Create A Romantic Floral Mood
Soft light eliminates harsh shadows and reduces global contrast. Shoot during the golden hour or under heavy overcast skies to achieve this effect. Use a wide aperture like f/1.8 or f/2.8 to create a shallow depth of field. This blur hides distracting background elements. It focuses the viewer on the delicate textures of the petals. Soft light preserves fine details in highlights that harsh midday sun would destroy.
Pastel colors offer lower saturation and higher brightness. These tones mimic the aesthetics of the Impressionist art movement. Overexpose your shot by one half to one full stop to brighten these colors. Use a lens with more aperture blades to create smooth, circular bokeh. This technique renders background light points as soft orbs. Quality bokeh removes visual noise and allows the primary subject to stand out with a gentle appearance.
Compositional Choices That Evoke Emotion And Intimacy In Flower Photography
Intimacy requires physical proximity or long focal lengths. Use a macro lens to fill the frame with a single detail. Focus on a specific part of the flower like the stamen or a single petal edge. This tight framing creates a sense of closeness. It forces the viewer to see details usually ignored. Minimalist compositions work best here. Remove any element that does not contribute to the central theme.
Apply the rule of thirds to place the focal point off-center. This creates a natural flow and visual tension. Use leading lines such as a curved stem to guide the eye toward the bloom. Incorporate foreground blur by shooting through other plants. This creates a frame within a frame. It makes the viewer feel like they are peeking into a private scene. Use these spatial layers to build depth without adding clutter.
Frequently Asked Questions

What are the most basic rules for a beginner to follow when photographing flowers?
For beginners, the simplest way to start is by using the rule of thirds. Instead of placing the bloom directly in the center, try positioning it off to the side to create more visual interest. Using effective flower photography composition tips like these helps create a natural flow. Always mind your background—ensure it is clean and uncluttered so that the vibrant colors and delicate textures of your floral subject truly stand out.
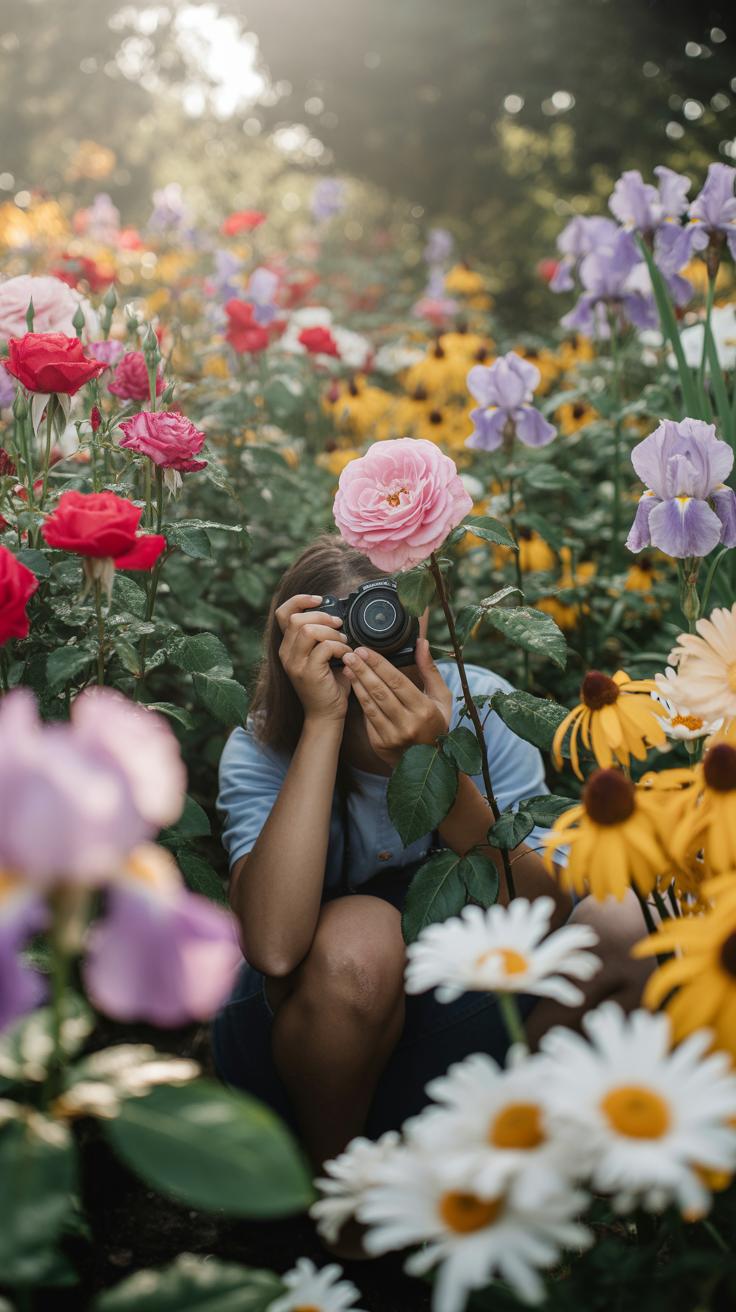
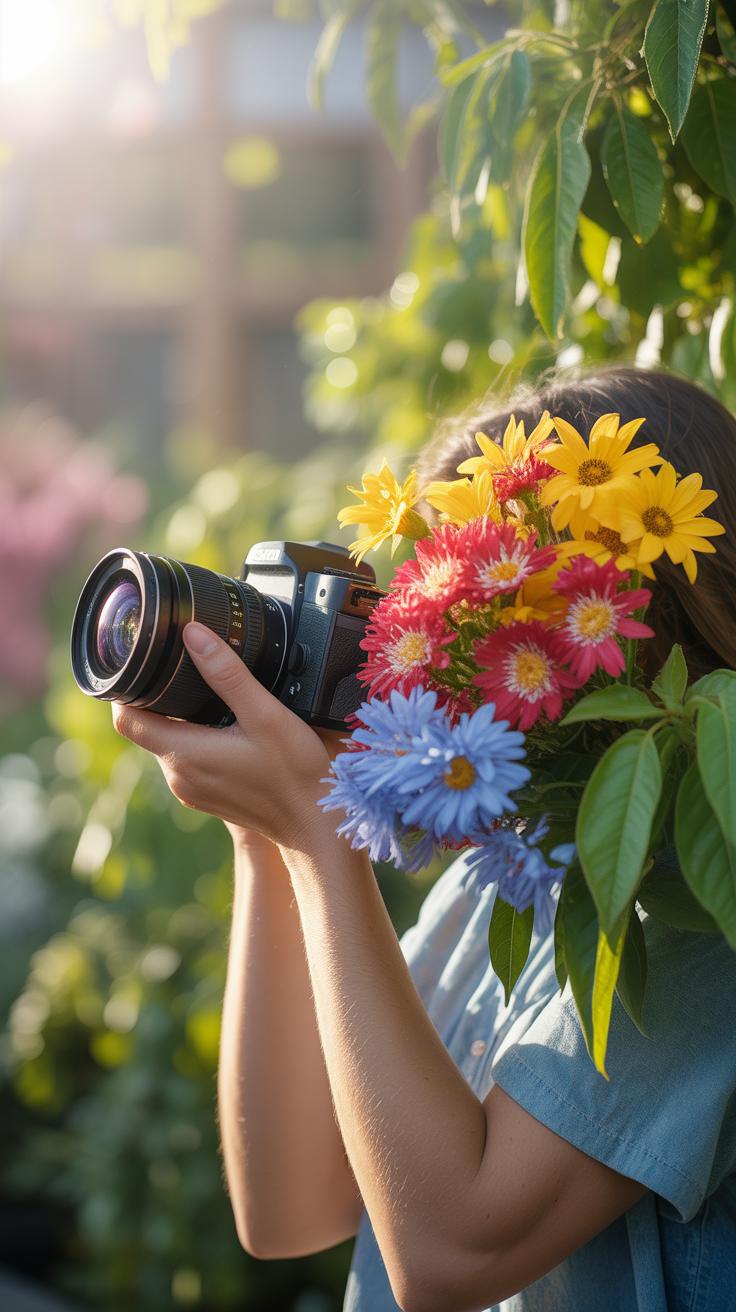
How can I use different angles to improve my floral composition?
To elevate your work, stop shooting from a standing position. Get down on the same level as the bloom or even look up from underneath it. Changing your perspective is one of the most practical flower photography composition tips because it reveals details rarely seen by the naked eye. Experimenting with a bird’s-eye view or a tight macro side-profile can transform a standard garden snapshot into a professional-grade piece of botanical art.
Do I need expensive professional equipment to take high-quality flower photos?
Not at all! Beautiful floral imagery is more about your creative eye than your gear. Most modern smartphones have incredible macro capabilities that allow for stunning close-ups. You can even use simple household items, like a piece of white cardboard to reflect light or a spray bottle to add “dew” drops. Focus on mastering core techniques rather than buying gear, as thoughtful framing and light will always outweigh the cost of your camera.


