Why Seasonal Flower Photoshoots Are The Secret To A Stylish Home Aesthetic

How Floral Photography Reflects The Rhythm Of The Seasons
Seasonal flower photoshoots document the natural lifecycle of plants within a specific timeframe. Visual consistency depends on the availability of local flora during spring, summer, autumn, and winter. Professionals use these shoots to capture lighting shifts and color palettes unique to each period. This practice ensures that photographic assets stay relevant to the current environment and maintain a sense of temporal accuracy.
Capturing these transitions provides a rotating library of imagery that mimics the external world. You align your home or brand visuals with the biological clock of nature. This strategy removes the dissonance caused by displaying out-of-season botany. High-quality floral photography relies on the specific textures and structures of plants when they are at their peak freshness. This timing creates a credible and grounded visual atmosphere.
The Role Of Photoshoot Flowers In Elevating Interior Styling And DéCor
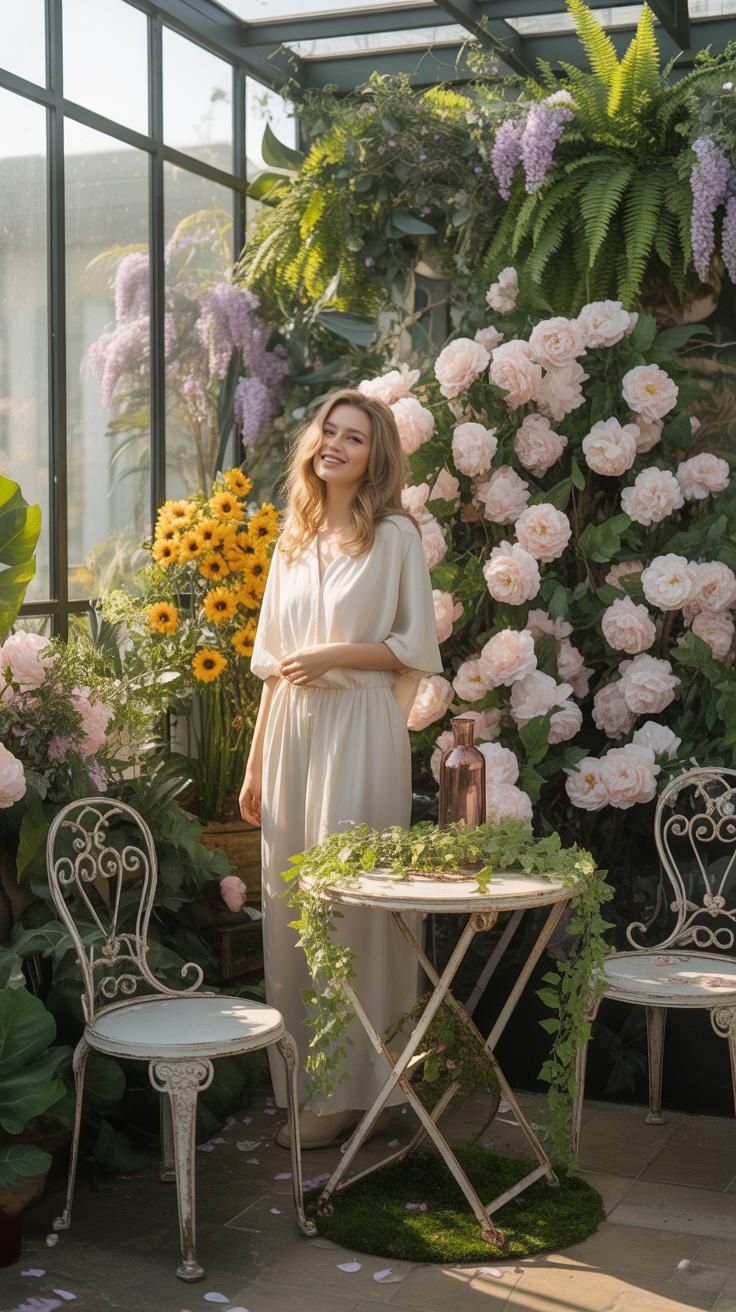
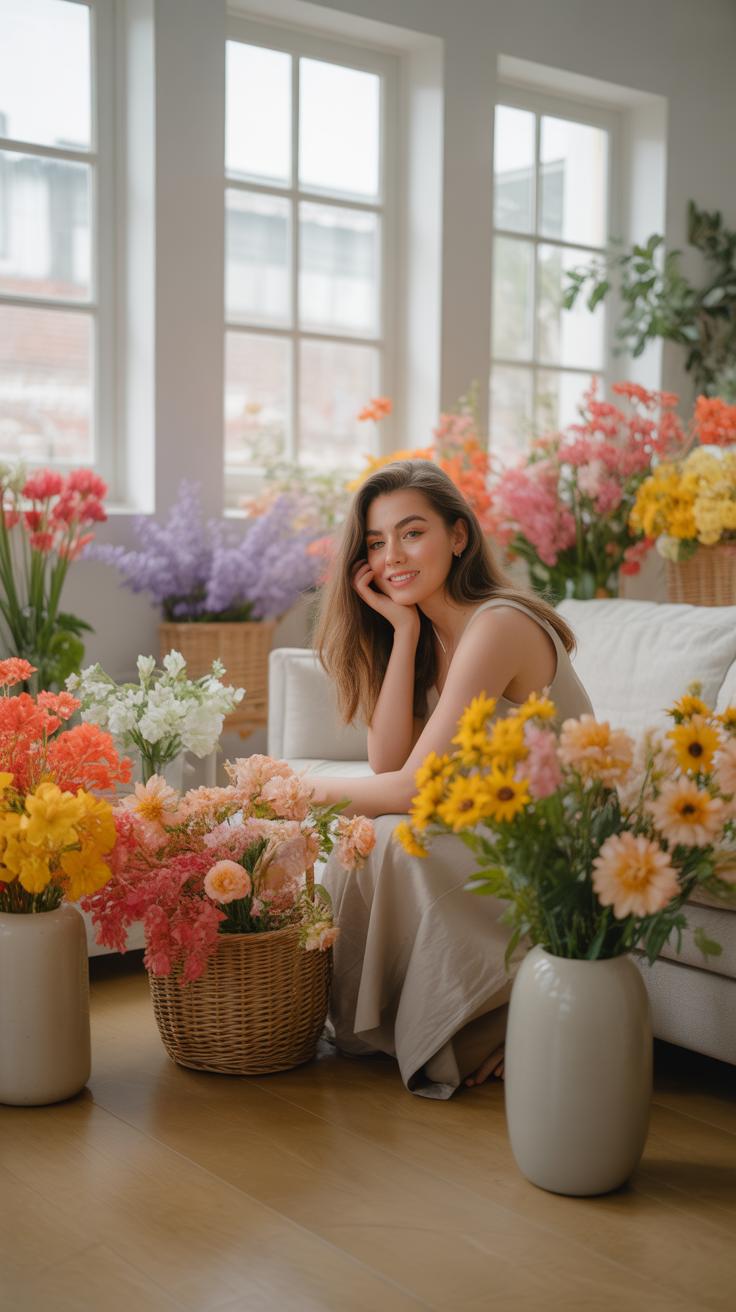
Interior designers use floral photography to introduce organic shapes into rigid architectural spaces. Large-scale prints of seasonal flowers bridge the gap between outdoor nature and indoor furniture. These images serve as focal points that dictate the color scheme of a room. Selecting the right botanical subject matter allows residents to update the feeling of a space without performing major renovations or structural changes.
Properly executed floral shoots highlight the contrast between soft petals and hard surfaces like stone or wood. Strategically placed photography creates depth and adds a layer of sophistication to minimalist or maximalist homes. You use these visuals to reinforce a specific design movement, such as Dutch Still Life or Modernism. Reliable imagery acts as a permanent version of a temporary arrangement, ensuring the home aesthetic remains professional and curated.
Spring Floral Photography Capturing Bloom Season At Its Most Vibrant
Best Spring Blooms To Feature In A Home Focused Floral Photoshoot
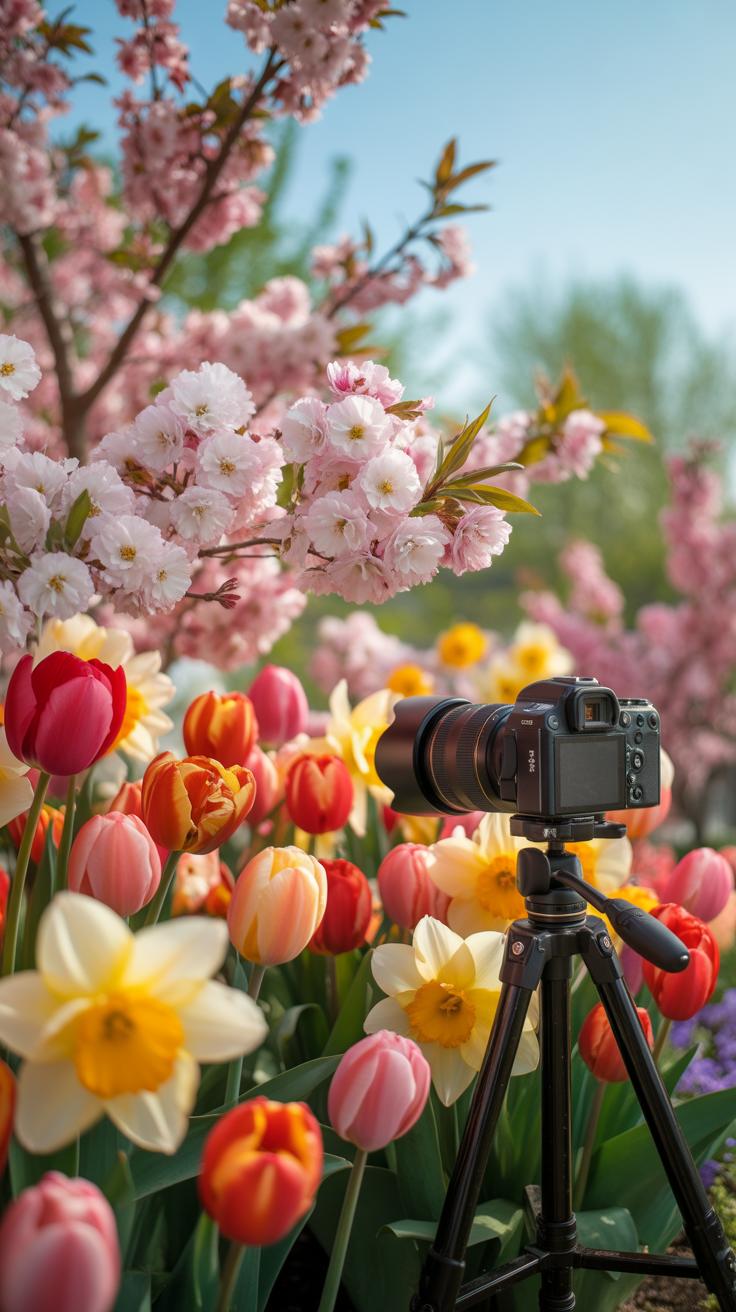
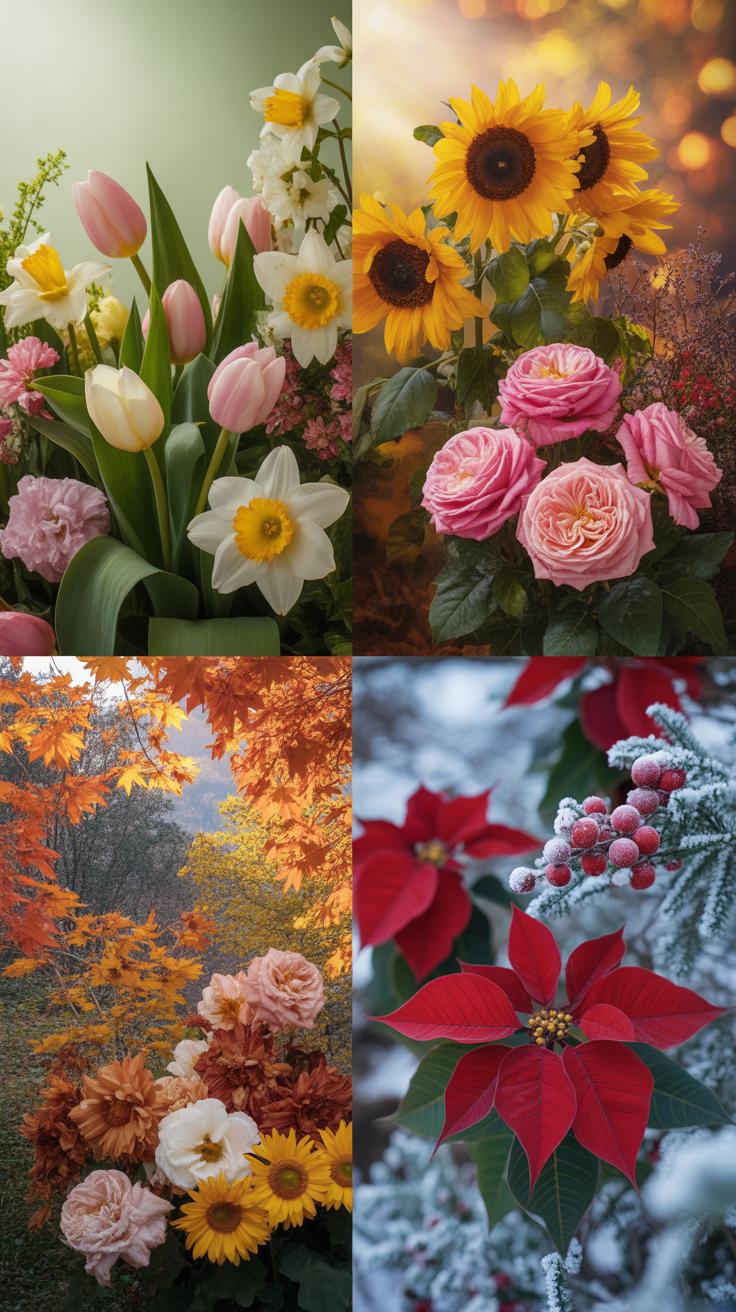
Spring seasonal flower photoshoots require specific species to establish a credible aesthetic. Tulips provide clean lines and structural variety for modern interior shots. Peonies offer high volume and texture for luxury home settings. Ranunculus provide intricate petal patterns that look sharp in close-up macro photography. Use these flowers to communicate renewal and freshness within a domestic environment. Select stems with healthy foliage to ensure the greenery looks vibrant on camera.
Strategic floral selection relies on color theory and vessel compatibility. Blue muscari and yellow daffodils create high contrast and visual interest in small spaces. Use cherry blossoms or forsythia branches to add height and architectural scale to large rooms. These woodier stems last longer under warm studio lights than delicate field flowers. High-quality silk replicas also work if real specimens wilt too fast. Focus on specimens that maintain their shape during long production hours.
Flowers are the music of the ground, from earth’s lips spoken without sound. Capturing their fleeting beauty in every season turns a simple house into a home filled with soul.
— Edwin Curran
Natural Light Techniques That Make Spring Florals Come Alive On Camera
Hard sun destroys the delicate detail of spring petals. Position your subject near a north-facing window to get consistent soft light all day. This orientation eliminates harsh shadows and prevents color blowout. Use a thin white silk or sheer curtain to diffuse direct rays if necessary. This technique mimics the soft overcast skies common in early spring. It highlights the translucency of petals without losing the fine texture of the flower.
Reflectors are essential tools for balancing light levels in home-based shoots. Use a white foam board to bounce light back into the shadowed side of the bloom. This fills in dark areas and creates a professional three-dimensional look. Avoid using heavy flash which flattens the image and creates unrealistic highlights. Focus on the golden hour for warm evening interior shots or mid-morning for crisp morning light. Controlled natural light produces the most authentic results.
Floral Garden Photoshoot Ideas That Bring The Outdoors Inside
Choosing The Right Garden Backdrop For An Authentic Floral Shoot
Authentic garden photography requires a background that mimics natural light cycles. Select a location with North-facing light to avoid harsh shadows on the petals. Use a weathered wooden fence or a stone wall as a textured base. These materials ground the image and provide a neutral contrast to vivid blooms. Ensure the background lacks distracting modern elements like plastic hoses or power lines.
Depth of field transforms a flat garden shot into a professional image. Use a wide aperture to blur distant foliage into a soft green wash. This technique focuses the eye on the specific flower varieties in the foreground. Position the plants at varying distances from the camera to create layers. Proper spacing ensures the backdrop supports the subject rather than competing with it for attention.
How To Style Garden Flowers Into Compelling Indoor Display Photos
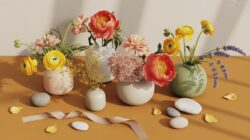
Styling indoor photos requires a transition from messy garden growth to structured design. Trim stems at an angle to maximize water intake and keep flowers fresh for long shoots. Use heavy ceramic vessels or glass pitchers to support weighted blooms. Arrange flowers in an asymmetrical pattern to mimic how they grow in nature. Avoid perfect symmetry as it looks artificial and lowers the visual quality.
Light placement determines the success of an indoor flower shoot. Place the arrangement near a window to utilize side-lighting. This highlights the texture of the leaves and the delicate veins in the petals. Use a white foam board to bounce light back into the shadows. This simple tool fills in dark spots without the need for complex flash systems. Keep the surrounding decor minimal to emphasize the natural colors.
Flower Studio Photography Creating A Controlled Seasonal Shoot At Home

Setting Up A Simple Home Studio Space For A Flower Shoot Photoshoot
Indoor floral photography requires a dedicated zone to manage environmental factors. Select a room with large windows to utilize northern light. This direction provides consistent, soft illumination throughout the day. Clear a large table to act as your primary work surface. Ensure the floor area is free of trip hazards. Position your setup away from air vents to prevent petals from moving.
- Stable Work Surface: Use a heavy table or specialized sawhorse to support various vase weights and pots. A sturdy base prevents camera shake during long exposures and keeps your floral arrangements from tipping over during precise adjustments.
- North-Facing Window: Position your studio near a north-facing window for the most stable light. This orientation avoids the harsh, direct sun that creates high-contrast shadows and wilts delicate seasonal blooms like anemones or sweet peas.
- C-Stand or Tripod: Secure your camera on a tripod to maintain composition. A C-stand is useful for holding reflectors or overhead flags. These tools allow you to use slower shutter speeds without risking blur from hand movements.
- Diffuser Panels: Use a translucent white scrim or a thin bedsheet over your light source. This softens the light and mimics the look of Dutch Golden Age paintings. It helps reveal the intricate textures of petals without blowing out the highlights.
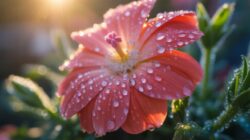
- Hydration Station: Keep a spray bottle and extra water buckets nearby. Seasonal flowers require constant moisture to look fresh under studio heat. Quick misting helps maintain the turgidity of the stems and adds a realistic dew effect to the final image.
Control the temperature of your home studio to preserve the lifespan of the flowers. High heat causes rapid blooming and petal drop. Turn off central heating or use a portable cooler if necessary. Minimize physical contact with the blooms to avoid bruising. Use forceps or floral wire for precise positioning. These steps ensure your seasonal subjects stay in peak condition for the entire duration of the session.
Backdrop And Lighting Combinations That Enhance Floral Studio Shots
Use a dark, matte backdrop to make vibrant seasonal colors pop. Black velvet or deep charcoal foam board absorbs excess light and eliminates reflections. This technique draws the eye directly to the organic shapes of the flowers. For a classic look, try a hand-painted canvas with neutral tones. Avoid glossy surfaces that create distracting hot spots or glare. Match your backdrop texture to the season for better visual harmony.
Side lighting creates depth by casting gentle shadows across the petals. This method highlights the three-dimensional form of the flower head. Use a white foam board on the opposite side to fill in deep shadows. If the light is too flat, pull the subject further from the window. Adjusting the distance between the flower and the light source changes the intensity. Aim for a balance that shows detail in both highlights and shadows.
Garden Set Design Tips For A Polished Seasonal Flower Photoshoot
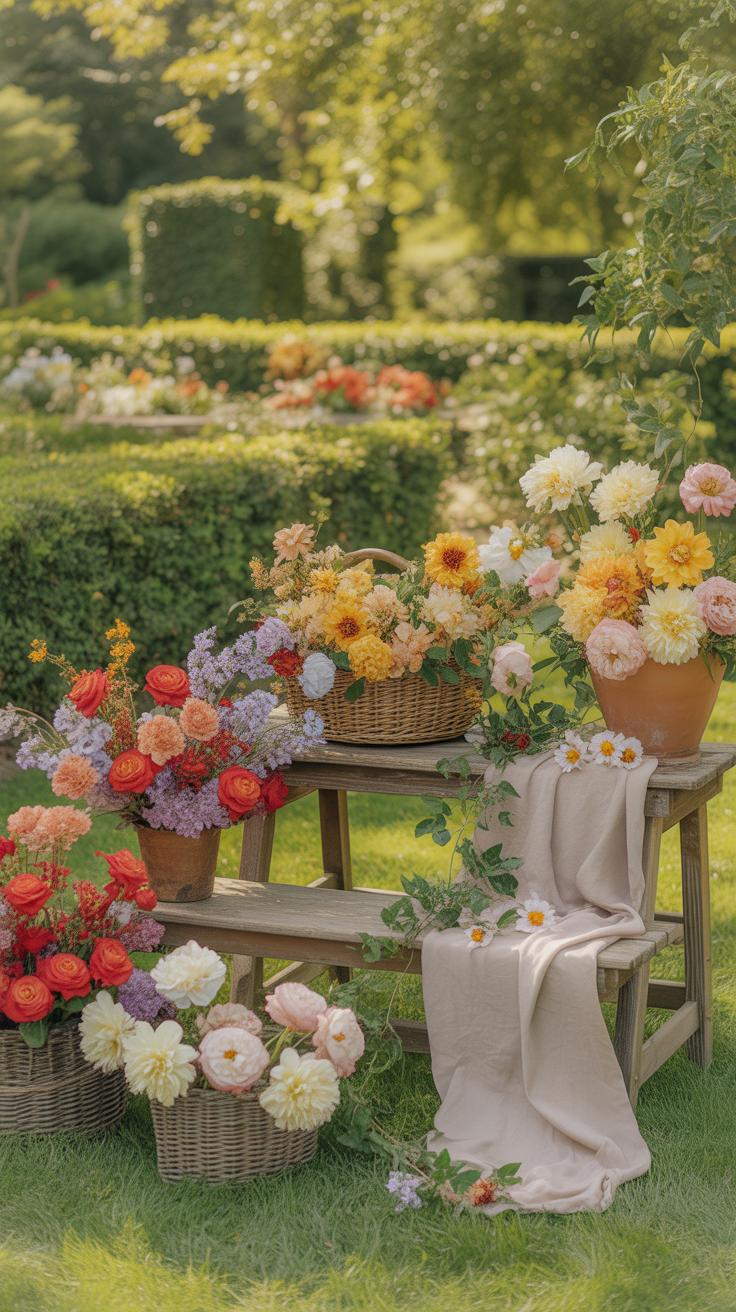
How To Arrange Floral Props And Furniture For A Cohesive Garden Set
Effective set design requires clear focal points. Place large furniture pieces like teak benches or wrought iron chairs first. These items anchor the frame. Use the Rule of Thirds to position these objects off-center. This creates a natural flow for the eye. Ensure the furniture style matches the floral species. Ornate Victorian wire chairs suit roses while clean wooden stools work for sunflowers.
Position floral props at varying heights to build depth. Use wooden crates or stone plinths to elevate smaller arrangements. Layering foreground and background elements prevents a flat image. Place larger plants behind the furniture and smaller blooms near the camera lens. This technique mimics how gardens grow in nature. Avoid cluttering the middle ground. Keep paths clear to suggest a real living space.
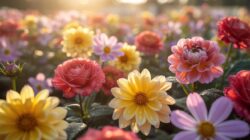
Seasonal Color Palettes That Work Best In Garden Set Design For Florals

Dictate the mood through specific color theory applications. Spring shoots require high-value hues like pale pink and soft yellow. These mimic new growth and high morning light. Summer sets demand saturated tones such as deep blue or bright orange. These colors withstand the harsh shadows of direct sun. Use a color wheel to find complementary shades between your flowers and the backdrop materials.
Autumn palettes rely on earthy neutrals and warm metallics. Use brass or copper props to highlight dried grasses and deep red dahlias. Winter designs focus on contrast rather than color. Use dark evergreens against white stone or pale wood. This creates a clean and sophisticated look. Always test how petal colors react to the background texture. Matte surfaces absorb light while glazed pots reflect it.
Photoshoot Poses Flowers Styling Florals Within Your Home Spaces
Compositional Poses And Angles That Showcase Flowers As Home DéCor
Position your camera at eye level with the tabletop to integrate flowers into the room architecture. This straight-on angle mimics how a person views a surface while standing. Use a wide-angle lens to capture the relationship between the vase and nearby furniture. Center the arrangement to create formal balance or use the rule of thirds for a modern look. High angles flatten the scene into a graphic pattern.
Natural light provides the best results for interior flower photography. Place the flowers near a window but avoid direct midday sun to prevent harsh shadows. Use a white foam board to reflect light into the dark side of the stems. This technique builds depth and reveals the texture of the petals. Ensure the background remains uncluttered to keep the focus on the floral colors and shapes.
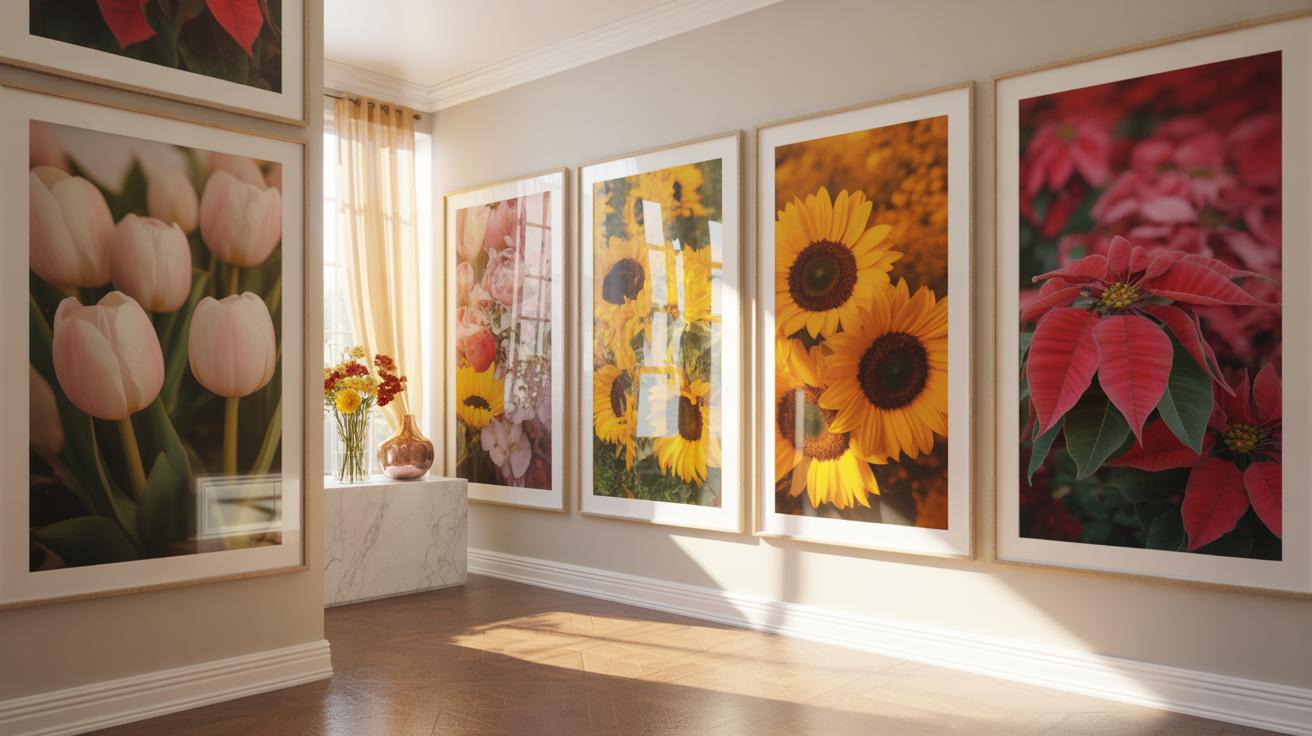
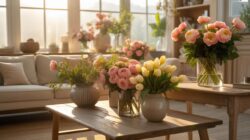
How A Photo In Flower Arrangement Can Serve As Standalone Wall Art
Large-scale floral prints function as meaningful focal points in minimalist home design. A high-resolution photo of a seasonal arrangement brings nature indoors without the maintenance of live plants. Choose macro shots to emphasize botanical details like veins and pollen. These images work well in modern spaces that prioritize clean lines. The final print should match the scale of the wall to maintain visual weight and balance.
Framing choices define the era and style of the floral art. Use a thin black frame for a contemporary feel or a gold leaf frame for a classical look. Dutch Golden Age painters often used dark backgrounds to make floral colors pop. You can replicate this by photographing flowers against a black backdrop. This creates a moody and sophisticated image that anchors a room. Professional mounting ensures the photo lasts for years.
Flower Photography Ideas For Every Season To Keep Your Home Looking Fresh
Summer, Autumn, And Winter Floral Concepts For Rotating Home Displays
Summer photography requires high shutter speeds to capture sunflowers and zinnias in harsh overhead light. Use reflectors to soften shadows on petals. This approach creates bright images that suit airy living rooms. Focus on vivid primary colors to match the season. High contrast shots look best on acrylic or metal prints. These materials handle the saturated tones of summer flora without losing detail.

Autumn shifts the focus to texture and decay through chrysanthemums and dried hydrangeas. Use side lighting to emphasize the brittle edges of late season blooms. This technique highlights the earth tones common in Dutch Still Life paintings. Winter displays rely on evergreen boughs and Hellebores against neutral backgrounds. Use a cool white balance to lean into the season. These images provide a calm visual break in minimalist decors.
Creative Flower Photography Ideas That Translate Into Printable Home Art
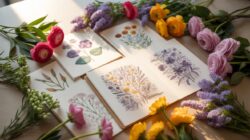
Printable floral art must balance composition with interior scale. Center your subject to create a focal point for large wall spaces. Use macro lenses to capture the geometry of petals and stamens. Scientific botanical studies provide a timeless aesthetic for home offices. Clear sharp focus ensures the print holds its value at larger sizes. Choose your depth of field based on the intended print material.
- Deconstructed Botany: Remove petals and stems to lay them out in a grid. This method mimics historical scientific plates. It creates a clean organized look for modern kitchens or hallways. Use a flat lay setup with even lighting to eliminate distracting shadows on the background.
- Light Box High Key: Place flowers on a glass surface with a light source underneath. This eliminates all shadows and creates a glowing translucent effect. The crisp white background integrates perfectly into contemporary minimalist homes. It works best with thin petals like poppies or tulips.
- Intentional Camera Movement: Move the camera vertically during a long exposure of tall flowers like delphiniums. This creates an abstract painterly effect known as ICM. These prints act as soft texture pieces rather than literal representations. They provide color without overwhelming a room with busy details.
- Monochrome Textures: Shoot high contrast black and white images of textured flowers like dahlias. Removing color forces the viewer to focus on form and shadow. These prints fit well in professional settings or galleries. Use heavy matte paper to enhance the deep black tones and structural lines.
- Cyanotype Style: Edit digital photos to mimic the blue and white Prussian blue tones of early sun prints. This 19th century process provides a classic coastal or academic feel. It is a cost effective way to create a themed gallery wall. The blue palette acts as a neutral in most interior designs.
Finalize your files using high resolution settings to avoid pixelation on large canvases. Check the color profile to ensure the printed hues match your digital screen. Standard sRGB works for most online printers but Adobe RGB offers more depth for professional fine art papers. Pair the print texture with the flower type. Soft matte finishes suit delicate spring blooms while glossy finishes enhance the bold colors of tropical summer species.
How To Choose The Right Photographer Or DIY Approach For Your Seasonal Flower Photoshoot
What To Look For When Hiring A Specialist In Floral And Garden Photography
Hire a photographer with a portfolio showing mastery of natural light and macro focus. Floral photography requires technical knowledge of depth of field to keep petals sharp while blurring the background. Ensure they understand color theory to match your home interior. Check if they have experience with still life or botanical subjects. Garden specialists know how to handle changing outdoor light and wind conditions.

Ask about their equipment and post-production process. A professional uses high-quality macro lenses and prime lenses for sharp details and soft bokeh. They should provide a clear plan for color grading to ensure the floral hues remain realistic. Verify their ability to handle the specific scale of your project. High-end floral photography often involves focus stacking. This technique ensures the entire bloom stays in sharp focus from front to back.
Essential Camera Settings And Tools For A Successful DIY Flower Shoot At Home
Use a tripod to eliminate camera shake during close-up shots. Set your camera to Aperture Priority mode to control the depth of field. A wide aperture like f/2.8 or f/4 creates a soft background that makes flowers stand out. Keep your ISO low to avoid digital noise in the delicate petal textures. Use a shutter speed of at least 1/200 if you are shooting near an open window with a breeze.
Position your setup near a north-facing window for soft and even light. Avoid direct sunlight because it creates harsh shadows and blown-out highlights on bright petals. Use a simple white foam board as a reflector to fill in dark areas. A small spray bottle helps add realistic dew drops to the blooms for a fresh look. Clean your lenses carefully to maintain maximum clarity and contrast in every frame.
Frequently Asked Questions

What are the best times of year to plan seasonal flower photoshoots for home decor?
The ideal timing depends on the aesthetic you want to achieve. Spring offers delicate tulips and cherry blossoms for a fresh look, while summer brings vibrant sunflowers and lush peonies. Fall is perfect for moody compositions with dried hydrangeas or deep-toned dahlias. Planning your seasonal flower photoshoots around these natural blooming cycles ensures you capture the most authentic colors and textures to complement your home’s interior design throughout the year.
How can I style flowers for a high-end editorial look in my photos?
To achieve a professional finish, focus on composition and lighting. Start by selecting a vase that complements your room’s palette, then arrange blooms at varying heights to create movement. Position your setup near a window for soft, natural light, which highlights the delicate petals. Mastering these simple styling techniques will elevate your seasonal flower photoshoots, resulting in sophisticated wall art or digital content that looks like it belongs in a luxury lifestyle magazine.
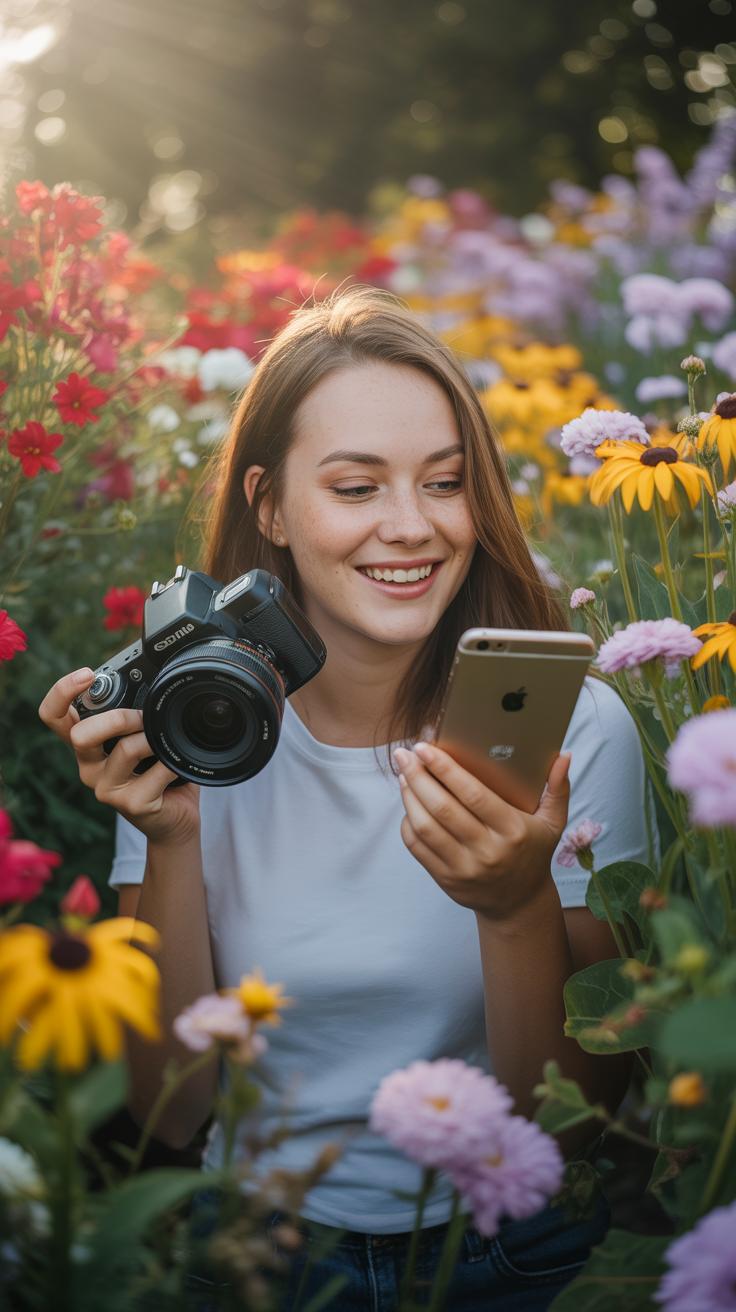
Can I create beautiful floral imagery if I am on a strict budget?
Absolutely! You don’t need expensive florist bouquets to create stunning visuals. Foraging for wildflowers, using greenery from your backyard, or buying affordable bunches from local farmers’ markets are great ways to save money. Focus on macro photography to highlight the intricate details of a single bloom, or use interesting glassware you already own as vessels. With a little creativity, gorgeous floral photography is accessible to everyone regardless of their spending limit.


