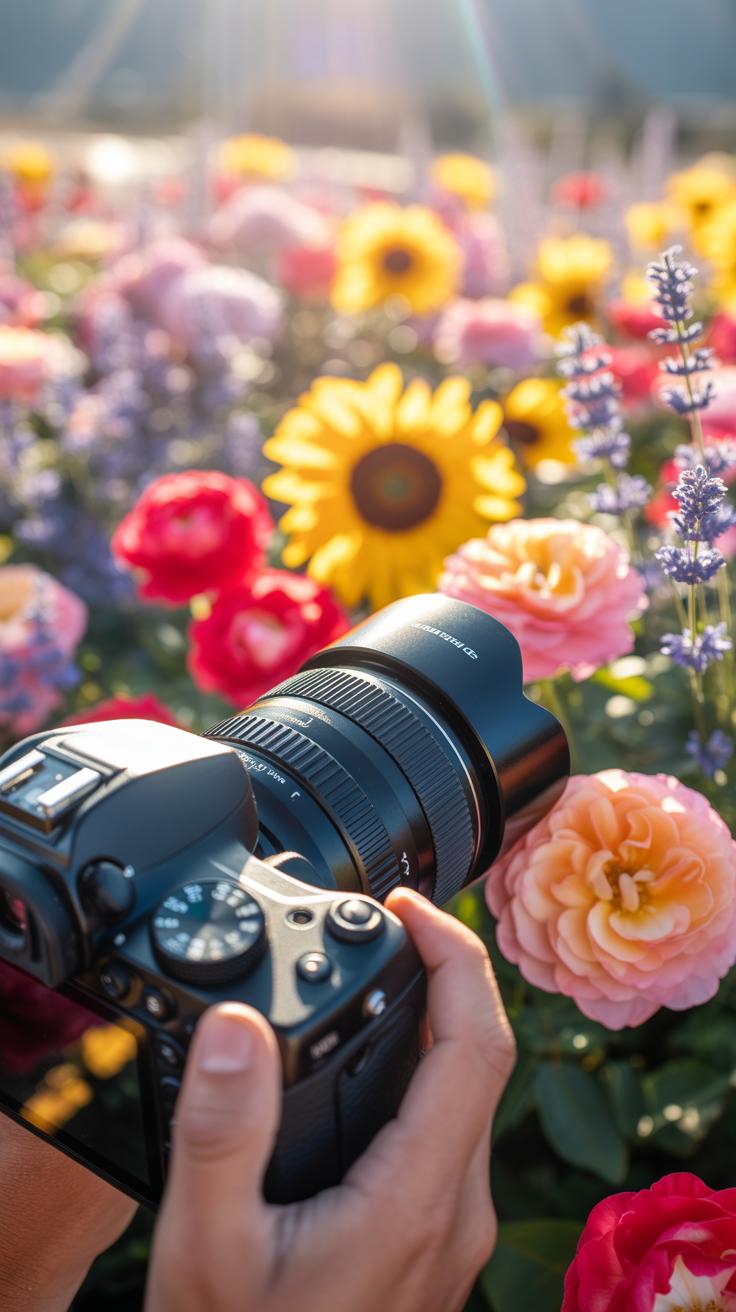
Understanding Natural Light In Flowers Photography
Why Natural Light Is The Most Flattering Light Source For Flowers
Natural light provides a full color spectrum that artificial bulbs often fail to replicate. It renders petal pigments with high accuracy and preserves the delicate translucency of plant tissue. Sunlight acts as a singular large source or a diffused bank depending on cloud cover. This versatility allows photographers to capture true botanical details without the harsh color casts found in cheap studio equipment.
Diffuse daylight eliminates the heavy shadows that obscure internal flower structures. High clouds act as a giant softbox to wrap light around round blooms and deep trumpets. This soft illumination reveals the intricate veins and reproductive parts of the plant clearly. Consistency in color temperature during the midday hours ensures that the final images require minimal post-processing correction for white balance.
How The Direction Of Natural Light Shapes Texture And Depth In Petals
Light direction dictates the visual weight and three-dimensional appearance of a flower. Front lighting flattens the subject by filling in all shadows and reducing contrast. Side lighting creates long shadows across the surface of the petals. This technique emphasizes the physical texture and ridges of the plant. It transforms a flat image into a tactile representation of the species by highlighting structural imperfections.
Backlighting serves a different tactical purpose by illuminating the flower from behind. This position makes thin petals glow and highlights the fine hairs on stems. It separates the subject from the background by creating a rim of light around the edges. Strategic placement of the camera relative to the sun determines how much depth the viewer perceives. Controlling these angles is essential for defining the physical form of the bloom.

The Golden Hour And Blue Hour Photography Tutorials For Shooting Flowers At The Right Time Of Day
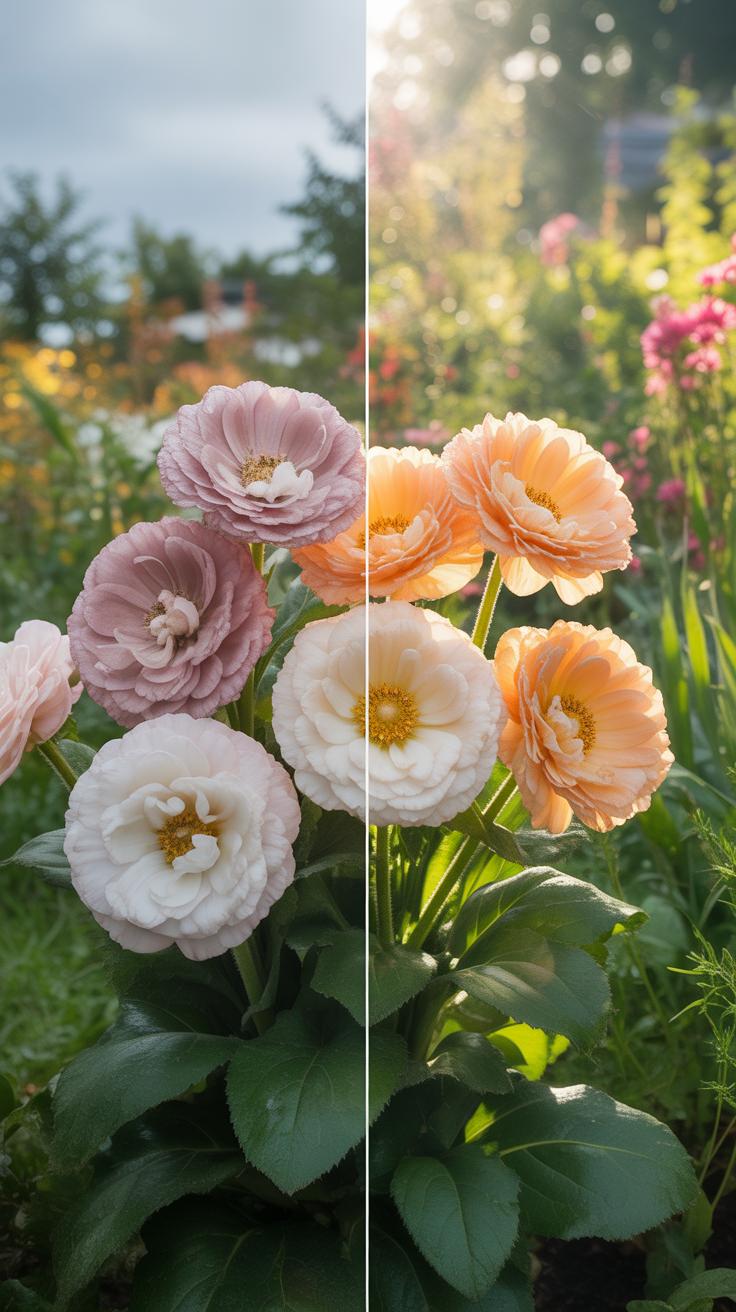
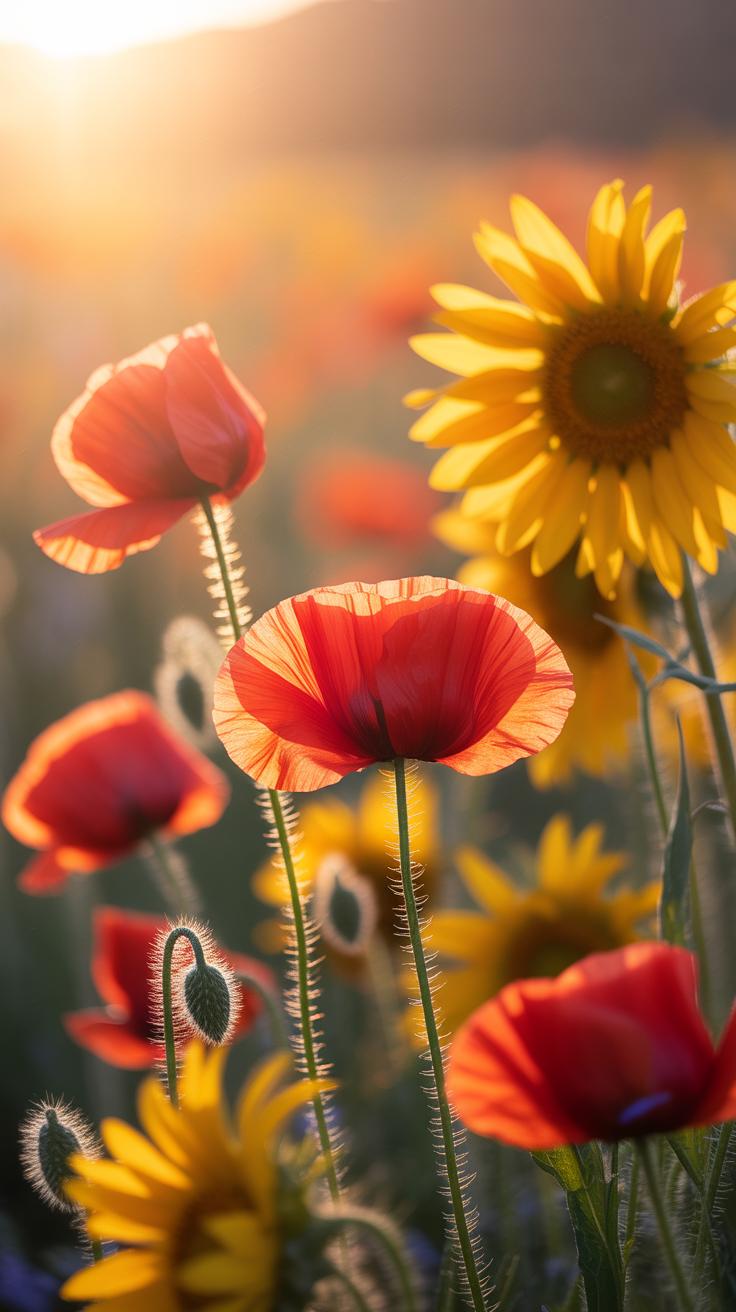
What Is The Golden Hour And Why It Produces Warm, Glowing Flower Images
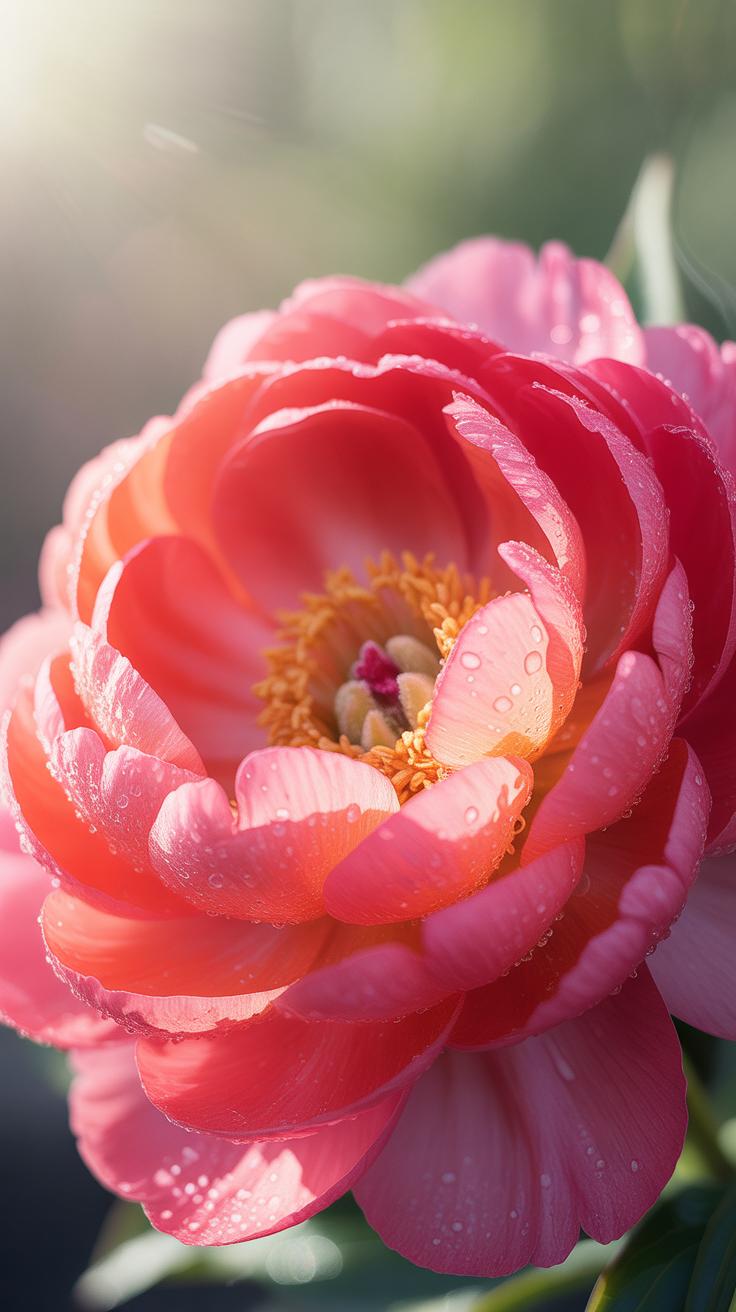
Golden hour occurs shortly after sunrise and just before sunset. The sun sits low on the horizon during these periods. This position forces light to travel through more of the atmosphere. This process filters out blue wavelengths and leaves red and orange tones. These warm colors saturate flower petals and create a natural glow that high noon sun destroys.
Low angle light provides directional illumination for floral subjects. This light creates long shadows and defines the texture of stems and leaves. You can position the flower between the lens and the sun for backlighting. This technique makes thin petals appear translucent. It separates the flower from the background. Direct light at this time stays soft and prevents harsh white spots.
Shooting In The Blue Hour For Cooler, Moody Floral Tones
Blue hour happens before sunrise and after sunset when the sun is below the horizon. The sky takes on deep blue and violet hues. Indirect light creates a heavy, cool atmosphere. This lighting removes all harsh shadows from the scene. It provides a very even expose across the entire flower bed. Colors appear rich and saturated without any high contrast glare.
You must use a tripod during blue hour because light levels are low. Slow shutter speeds are necessary to capture enough detail. This time of day works best for white or pale flowers. These light colors pop against the dark blue backgrounds. The lack of direct sun prevents color petal distortion. It allows the camera to record the true pigments of the plant.
How To Light Flowers For Photography Using Artificial Lighting
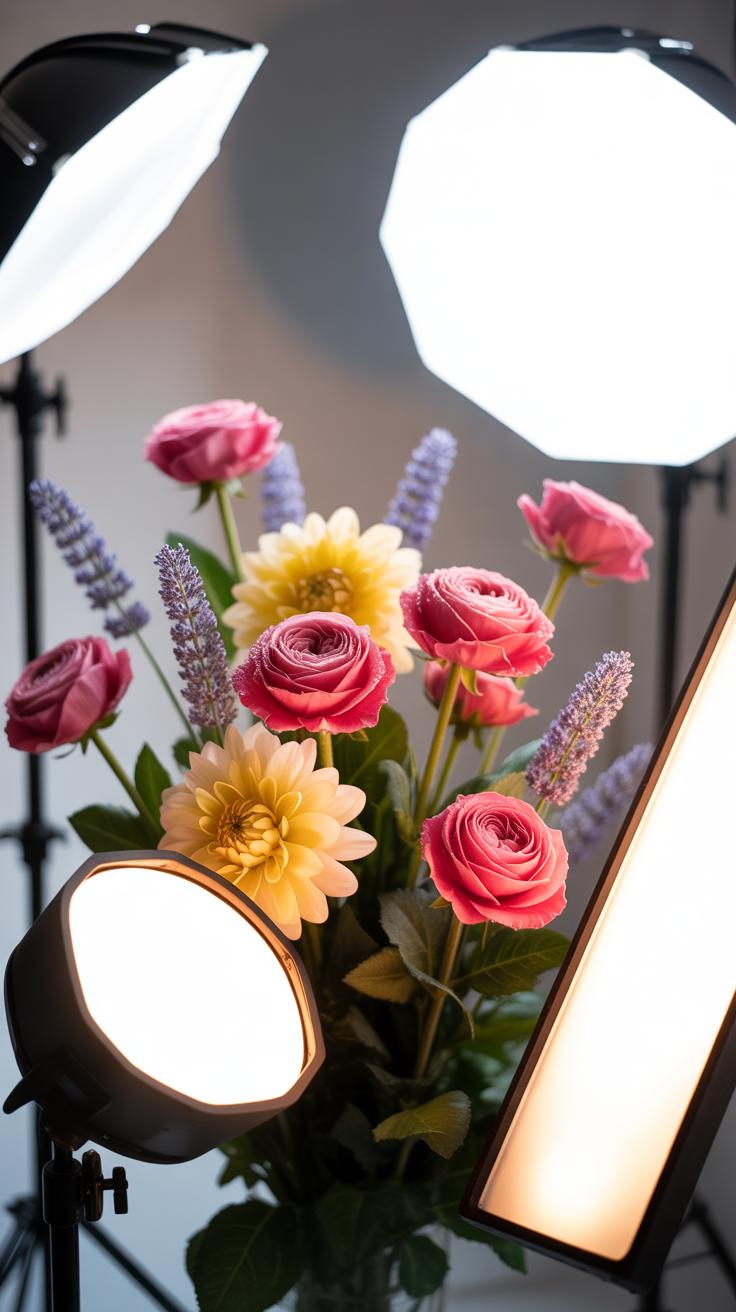
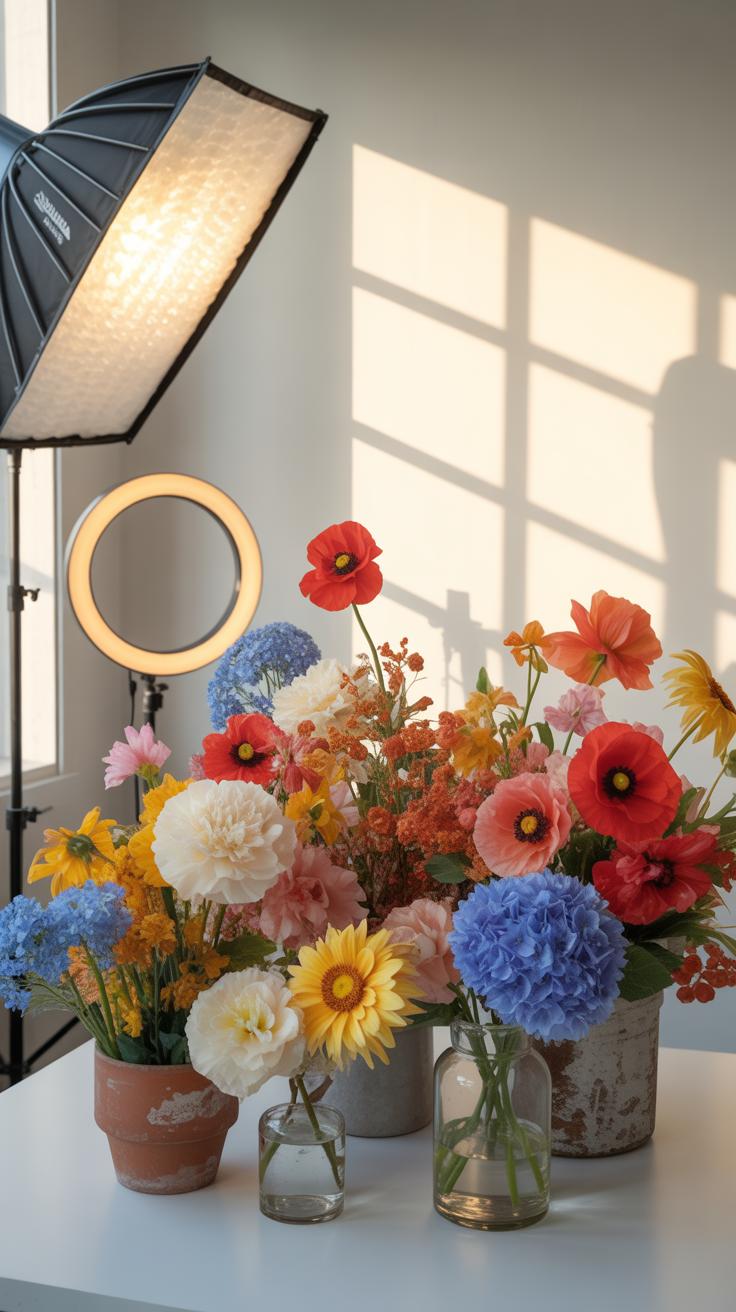
Using Softboxes And Diffusers To Mimic Natural Light Indoors
Softboxes create large light sources that wrap around the flower. This setup eliminates harsh shadows and high contrast levels on petals. You should place the softbox at a forty five degree angle to create depth. This technique replicates the look of window light without the inconsistency of moving clouds. Use a double diffusion panel to remove hot spots from the center of the light source.
Control the distance between the softbox and the flower to manage light falloff. Closer placement produces softer light and more gradual transitions. Move the light further away to sharpen detail and increase contrast on the subject texture. Always check for surface glare on waxy leaves or moist petals. Adjust the barn doors or use black foam boards to block spill light from hitting your camera lens directly.
Ring Lights And LED Panels: Affordable Artificial Lighting Tools For Flower Close Ups
Ring lights provide shadowless illumination for macro photography work. You mount the light directly around the lens to hit the flower from all sides. This setup reveals internal details like stamens and pollen grains. Use a dimmable LED ring light to control the intensity without moving the camera. It offers a clean look for scientific or catalog style shots where clarity is the main goal.

LED panels offer a portable way to introduce continuous light onto your subject. These panels let you see the light effects in real time before you take the photo. Choose a high Color Rendering Index panel to ensure the flower colors look accurate. Battery powered units allow for easy positioning in tight indoor spaces. Adjust the color temperature to match your ambient light for a consistent and professional final image.
Photographing Flowers In Overcast Vs Direct Sunlight Conditions
Why Overcast Skies Act As A Giant Natural Softbox For Floral Subjects
Overcast skies provide the most reliable lighting for flower photography. Thick clouds scatter incoming sunlight in every direction. This process creates a massive light source that wraps around the plant. It removes heavy shadows and brings out fine textures in petals. Professionals prefer this light because it produces even exposure across the entire frame. It allows the camera to record subtle color shifts.
Diffused light prevents the camera sensor from reaching its dynamic range limit. You can capture deep greens and bright reds without losing detail in either area. This lighting setup simplifies post-processing because the contrast stays low. It mimics the effect of a large studio softbox without the need for expensive gear. High cloud cover ensures that the lighting stays consistent for several hours of shooting.
Light makes photography. Embrace light, admire it, love it, but above all, know light.
— George Eastman
Managing Harsh Direct Sunlight: Techniques To Avoid Blown Out Highlights On Petals
Direct sunlight creates high contrast that often ruins floral images. Intense rays create bright white spots on smooth petal surfaces. These blown-out highlights contain zero image data and cannot be fixed later. To fix this, use a handheld translucent diffuser to block the sun. Position the shield between the sun and the flower. This creates a small area of soft light while maintaining a bright background.

Adjust your exposure compensation to the negative side when shooting in full sun. This protects the highlights from clipping. You can also use your own body to cast a shadow over the subject. If colors look washed out, use a circular polarizer to cut down on surface glare. This tool increases color saturation by removing reflected light from the petals. Fast shutter speeds are necessary to stop motion caused by heat-induced wind.
How To Improve Flower Photography With Reflectors And Diffusers
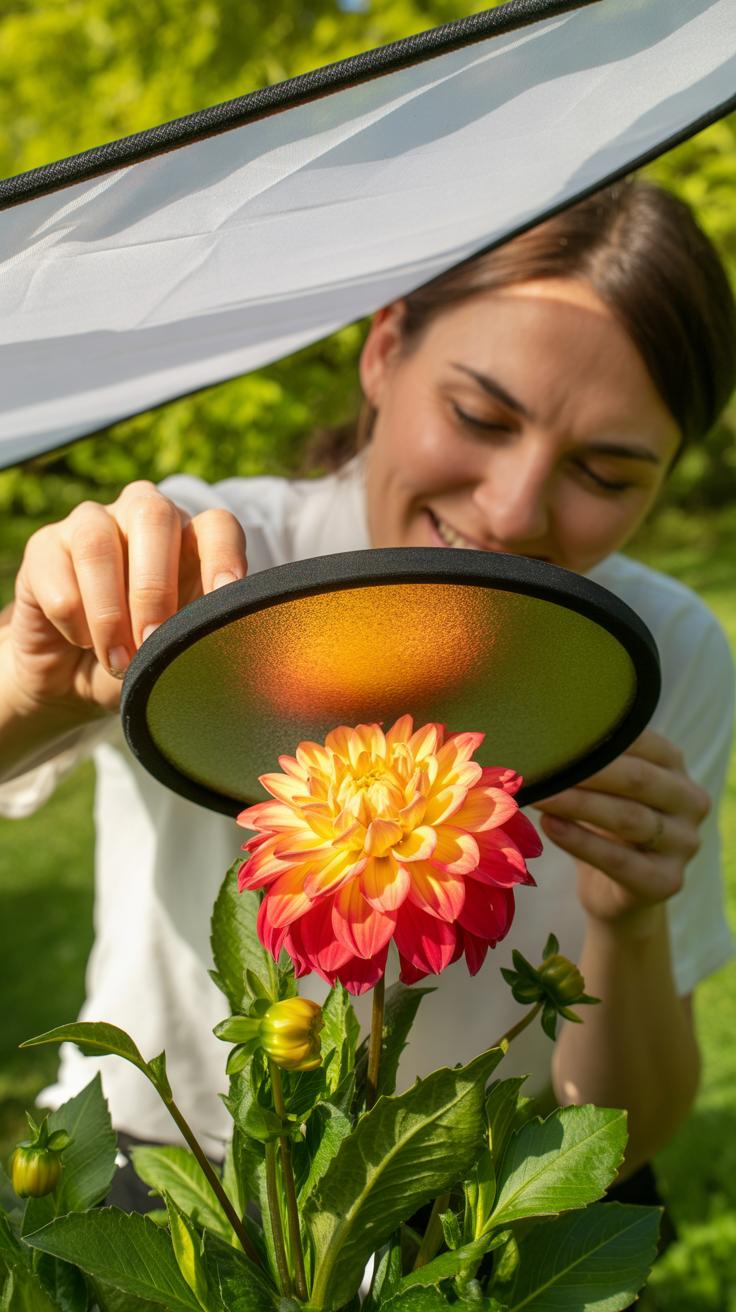
How A Simple White Reflector Can Fill Shadows And Reveal Petal Detail
Direct sunlight creates high contrast that hides intricate textures inside a flower. A white reflector bounces light back into the dark areas of the bloom. This fills deep shadows and lowers the overall dynamic range of the shot. You place the board opposite your primary light source to direct light into the center. This technique uncovers hidden details in the reproductive parts and petal folds.
Using a white surface provides a neutral color temperature that does not shift the natural hues of the plant. Silver reflectors often create harsh hotspots or unrealistic glare on delicate surfaces. White foam core or fabric offers a matte finish for soft and even illumination. This step is vital when shooting macro because small shadows look huge on camera. Proper fill light ensures every edge remains visible and crisp.
DIY Diffuser Options That Cost Almost Nothing And Still Deliver Professional Results

Harsh mid-day sun ruins floral shots by blowing out highlights and flattening the form. A diffuser sits between the sun and the flower to scatter light rays. This creates a soft glow similar to an overcast day. You do not need expensive gear to achieve this effect. Common household items can act as effective scrims to manage bright light and create professional results.
- White Shower Curtain Liner: This plastic material is waterproof and durable for outdoor use. It effectively softens direct sun without changing the color temperature of the scene. You can drape it over a portable frame or hold it by hand to create a large area of soft light for garden clusters.
- Parchment Paper: This kitchen staple works well for small flowers and macro setups. It is heat resistant and has a consistent density that eliminates harsh hot spots. Tape a small sheet to a wire loop to create a targeted light modifier that fits into tight spaces between branches.
- White Bed Sheet: A thin cotton sheet serves as a large scale diffuser for entire bushes or floral beds. It reduces the intensity of the sun and creates a wrap around lighting effect. Ensure the fabric is clean and pure white to avoid casting unwanted yellow or blue tints onto the green foliage.
- White Tissue Paper: This material is ideal for low light situations where you only need a slight reduction in contrast. It is very thin and allows more light to pass through than heavy fabrics. Use multiple layers to customize the level of diffusion based on the current brightness of the sun.
- Translucent Plastic Lids: Large white lids from storage bins or food containers work as rigid diffusers. They are easy to prop up with sticks or clamps when you are working alone in the field. The thick plastic provides significant softening for subjects that have highly reflective or waxy leaves and petals.
Position your DIY tool as close to the flower as possible without entering the frame. The larger the light source appears relative to the subject, the softer the shadows will become. Secure these items with clothespins or binder clips to keep your hands free for the camera. Consistent diffusion prevents the loss of color saturation caused by glare. Mastering these simple tools gives you complete control over natural light.
Backlighting Techniques In Flower Photography Tips For Beginners
What Is Backlighting And How It Creates A Translucent Glow Through Flower Petals
Backlighting occurs when the primary light source sits behind the subject and faces the camera. In flower photography, this position makes petals appear to glow from within. Light passes through the thin cellular structure of the plant. This highlights the internal veins and patterns often hidden under front lighting. It separates the flower from the background by creating a bright rim of light.

This technique transforms the opaque appearance of thick petals into translucent layers. You must position your camera so the flower resides directly between your lens and the sun. This angle emphasizes texture and depth by casting shadows toward the viewer. Professionals use this method to emphasize the delicate nature of flora. High contrast between the subject and a dark background enhances the visual impact.
How To Expose Correctly When Shooting Backlit Flowers To Avoid Silhouettes
Direct backlighting often tricks your camera meter into underexposing the subject. The bright background causes the camera to see too much light, turning the flower into a dark silhouette. To fix this, switch to spot metering mode. Aim your focus point directly at the petal tissue rather than the bright sky. This ensures the camera calculates the exposure based on the flower instead of the sun.
You can also use exposure compensation to manually brighten the image. Dial in a positive value like plus one or plus two. This adjustment forces the sensor to stay open longer or increase sensitivity. Some photographers use a small reflector to bounce light back onto the front of the flower. This fills in shadows while maintaining the glow from the back. Aim for a balance that preserves detail.
Camera Settings And Photography Tips For Controlling Light Exposure On Flowers
Aperture, Shutter Speed, And ISO: How The Exposure Triangle Affects Flower Lighting
Aperture dictates the light volume entering the lens and controls depth of field. A wide aperture like f/2.8 isolates the flower by blurring the background. This technique creates a bokeh effect that removes visual clutter. Smaller apertures like f/11 keep the entire bloom in focus. You must balance this setting with shutter speed to ensure the sensor receives enough light without overexposing the highlights.

Shutter speed manages motion and duration of light exposure. High speeds freeze petal movement in windy conditions. Slow speeds require a tripod to prevent camera shake. ISO completes the triangle by setting the sensor sensitivity. Keep ISO at the native base, usually 100, to avoid digital noise. High ISO levels degrade image quality and color accuracy. Balance these three factors to maintain a neutral histogram.
Using Exposure Compensation To Fine Tune Brightness In Bright Floral Scenes
Camera light meters often fail when shooting white or highly reflective flowers. The meter tries to turn bright petals into middle gray. This result leaves your images looking dull and underexposed. You must use exposure compensation to override the internal meter. Dialing in a positive value like plus one or plus two restores the true brightness of the petals. This step ensures whites stay crisp and clean.
Conversely, dark flowers or deep shadows require negative exposure compensation. The camera may overexpose dark tones, causing them to look washed out. Adjust the setting to minus one to preserve rich colors and deep blacks. Always check your live histogram to ensure highlights do not clip. Clipping results in a total loss of detail in the brightest areas. Use these manual adjustments to control light accurately in complex outdoor environments.
Learning Photography How To Read And Use Light For Macro Flower Shots
Understanding Light Quality Versus Light Intensity When Shooting Macro Flower Photography

Light quality defines the shadow edge on your flower petals. Hard light comes from small sources like the direct sun. It creates dark shadows and high contrast. Soft light comes from large sources like an overcast sky. This light wraps around the flower. It provides even tones and captures fine textures without harsh highlights. You must choose the light quality based on the specific flower structure.
Light intensity tells you how much light hits the sensor. It dictates your aperture and shutter speed settings. Macro lenses have a thin depth of field. You often need more intensity to stop down your lens for sharpness. However, high intensity can wash out delicate colors. Balance intensity by using neutral density filters or adjusting your distance. Control the quality first, then solve for the intensity to get the shot.
Essential Gear Checklist For Getting The Best Lighting In Macro Floral Shoots
Macro photography requires control over small areas. Standard room lights or midday sun will fail you. You need tools that modify light specifically for a small scale. Precision gear helps you eliminate unwanted shadows and highlight the reproductive parts of the plant. Use these tools to manipulate the environment instead of waiting for perfect natural conditions. This gear ensures professional results in every single frame.
- Collapsible Diffuser: This tool softens harsh sunlight by placing a translucent screen between the sun and the flower. It creates a portable shade that mimics an overcast day. This prevents blown-out highlights on white or yellow petals.
- Silver and Gold Reflectors: Small reflectors bounce light into deep shadows inside the flower bell. Silver provides a cool neutral light for accuracy. Gold adds warmth to mimic late afternoon sun. They are essential for filling in dark gaps without using a flash.
- Macro Ring Light: This light attaches directly to the front of the lens. It provides even illumination that surrounds the subject. This setup eliminates the shadow cast by the lens itself when you move in close for high-magnification shots.
- LED Video Panels: Portable LED panels offer a constant light source. Unlike flash, you can see exactly where the shadows fall before you press the shutter. They allow for precise adjustments in color temperature and brightness levels in the field.
- Black Foam Core: Use black boards to block unwanted reflections or to create a clean dark background. This technique is called negative fill. It adds drama and helps the bright colors of the flower pop against a dark, non-distracting field.
Select gear based on the environment and the subject size. Large diffusers work for garden wide shots. Specialized micro-reflectors work better for inner stamen details. Always carry a sturdy tripod to keep your framing consistent while you adjust your lights. High-quality lighting gear removes the guesswork from macro work. Master these tools to produce sharp images with professional depth and color saturation.
Blog Photo Inspiration Creative Lighting Setups For Stunning Floral Content
Using Window Light Creatively To Stage Styled Flower Photos For Your Blog
North-facing windows provide the most consistent light for floral photography. This light remains cool and soft throughout the day. It prevents harsh highlights on delicate petals. Place your subject forty-five degrees from the glass to create depth. This angle generates soft shadows that define the shape of the bloom. Use a white foam board to bounce light back into dark areas.
Control your depth of field to manage the background. Move the flower further from the window to increase contrast. Use sheer curtains to diffuse direct sunlight if you work near south-facing windows. This technique mimics a large softbox. It reduces the chance of blown-out highlights on white or yellow flowers. Always turn off overhead lights to avoid mixed color temperatures in your final image.
Experimenting With Colored Gels And Backgrounds To Add Drama To Floral Blog Images
Color gels modify the mood of your floral images instantly. Place a gel over a dedicated background light to create a color wash. Keep the main light on the flower neutral to maintain accurate botanical colors. This separation creates a professional look. Use complementary colors like blue gels behind orange lilies. This contrast makes the subject pop against the dark backdrop.
Select matte backgrounds to prevent unwanted glare from your lights. Black velvet absorbs light and creates a true void. This focuses all attention on the texture of the flower. Adjust the distance between the flower and the background to control light spill. Use a snoot on your gelled light for surgical precision. This setup allows you to highlight specific petals while keeping the background dark.
Frequently Asked Questions

What is the best time of day to photograph flowers outside?
For the most flattering results, aim for the “golden hour” shortly after sunrise or before sunset. During these times, the sun provides a soft, warm glow that enhances floral textures without harsh shadows. If you are shooting mid-day, look for overcast skies; clouds act as a natural diffuser, which is one of the most effective flower photography lighting tips for achieving even saturation and delicate detail in every petal.
How can I avoid harsh shadows when shooting flowers in bright sunlight?
When the sun is too bright, you can manage the contrast by using a portable white diffuser or even a simple translucent white umbrella. Position the diffuser between the sun and your subject to soften the glare. This essential flower photography lighting tips technique prevents blown-out highlights and deep shadows, ensuring your blooms look vibrant and lifelike rather than washed out by the intense, direct midday light.
Can I get professional floral shots at home without expensive equipment?
Absolutely! You can create stunning images using natural light from a large window. Position your flower slightly to the side of the window to create depth through gentle side-lighting. If the shadows feel too dark, use a piece of white poster board or aluminum foil as a DIY reflector to bounce light back onto the shaded side. It is a cost-effective way to achieve elegant, high-end results on a budget.


