How To Take Pictures Of Flowers Using Natural Light For The Best Results
Why Golden Hour Light Transforms Your Flower Shots
Golden hour occurs shortly after sunrise and before sunset. The sun sits low on the horizon during these periods. This position forces light to travel through more of the atmosphere. This process filters out blue light and leaves warm red tones. These warm tones enhance the natural colors of flower petals. Shadows become long and soft rather than dark and distracting.
Low angle light provides directional illumination. This light hits the flower from the side to reveal hidden textures. You can see the fine veins in leaves and the velvet surface of petals. Frontal light flattens images and loses detail. Backlighting flowers creates a glowing effect. This highlights the delicate edges of the plant. Use this time to capture depth that overhead light destroys.
How To Avoid Harsh Midday Sun When Photographing Flowers Outdoors
Midday sun creates high contrast and deep shadows. This harsh light washes out delicate flower colors. It often creates bright white spots called blown out highlights. These spots contain no visual data. Your smartphone camera cannot resolve detail in these bright areas. Avoid direct sunlight between eleven and three. This prevents your photos from looking flat or overly processed by the phone software.
Use shade to fix lighting problems on bright days. Move potted plants into the shadow of a building. Use a white umbrella or a scrim to block direct rays on fixed garden plants. This creates a soft box effect. Clouds also act as a giant natural diffuser. Overcast skies provide even lighting across the entire bloom. This environment allows the camera sensor to capture the full range of colors perfectly.

How To Take A Photo Of Flowers With Your Smartphone Camera Settings
Understanding Exposure And Focus Lock On Your Smartphone
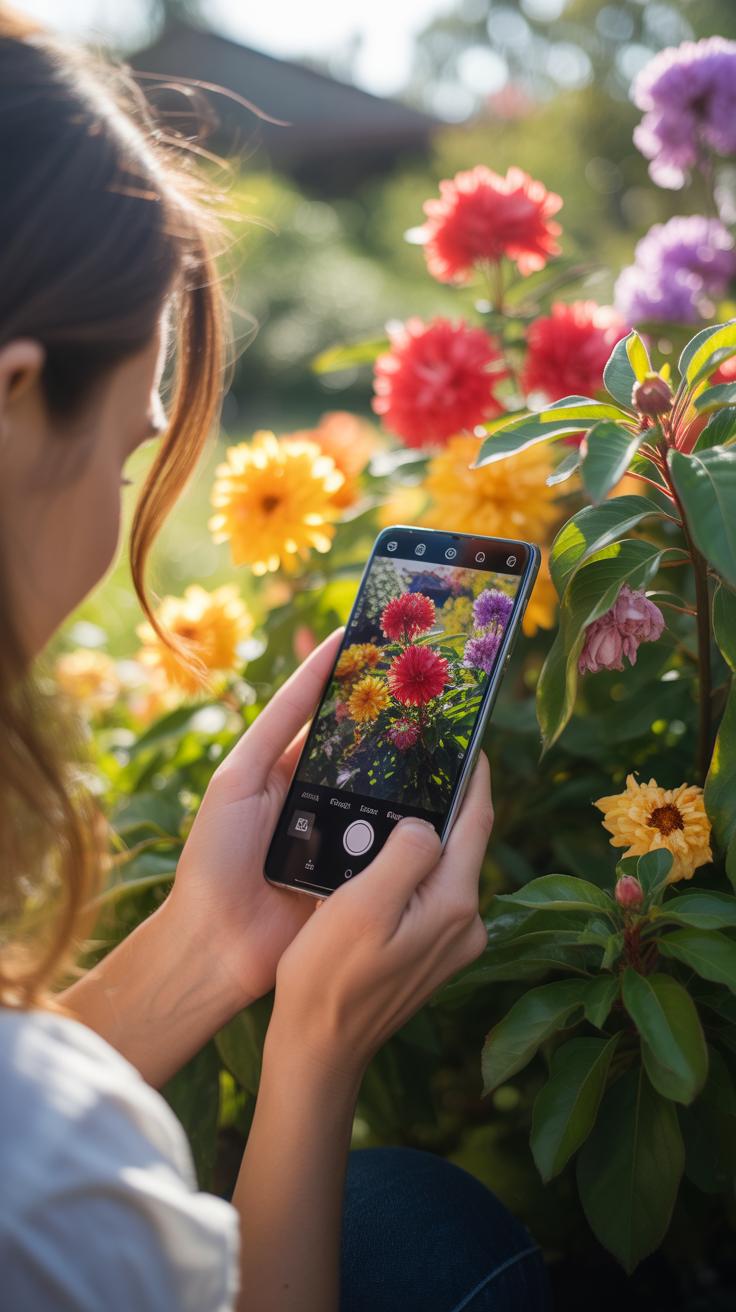
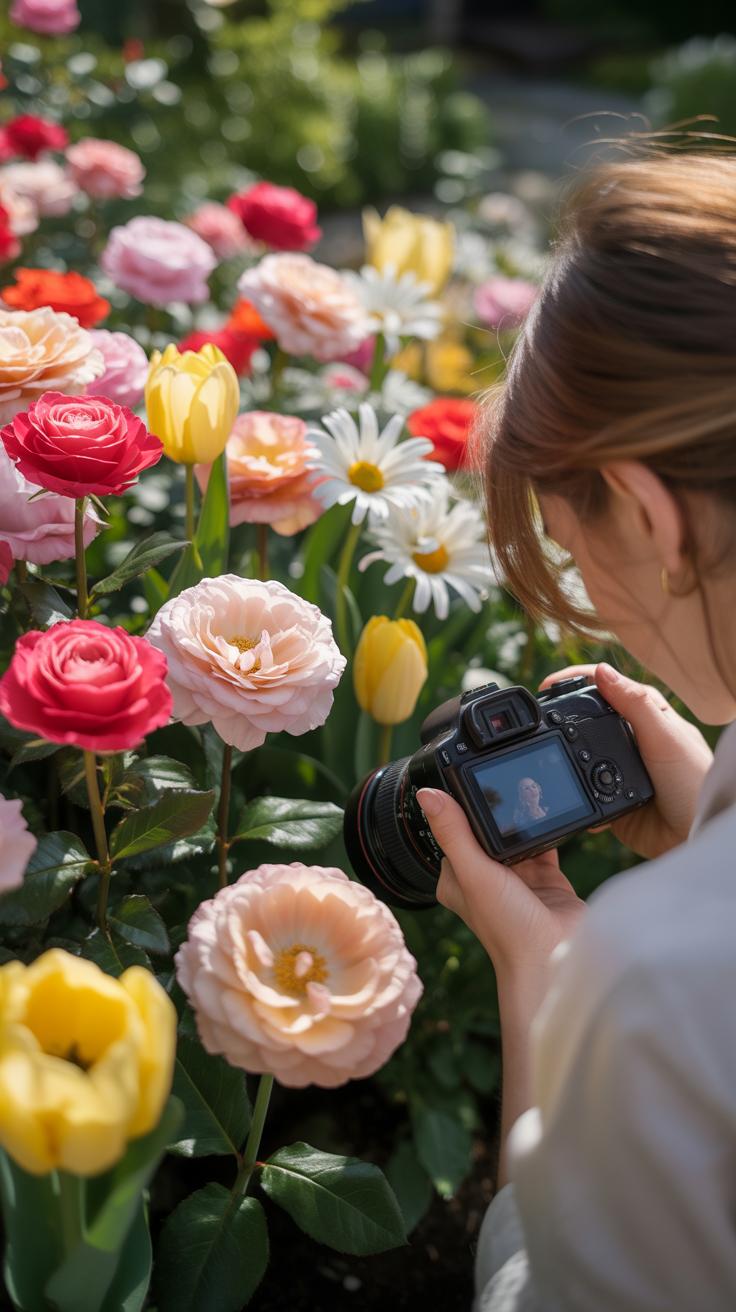
Tap your phone screen on the flower to set the sharpest point of interest. Hold your finger down on that spot for two seconds to engage the AE/AF Lock. This action stops the camera from refocusing or changing light levels automatically. You need this stability when wind moves the petals or when you shift your physical position slightly.
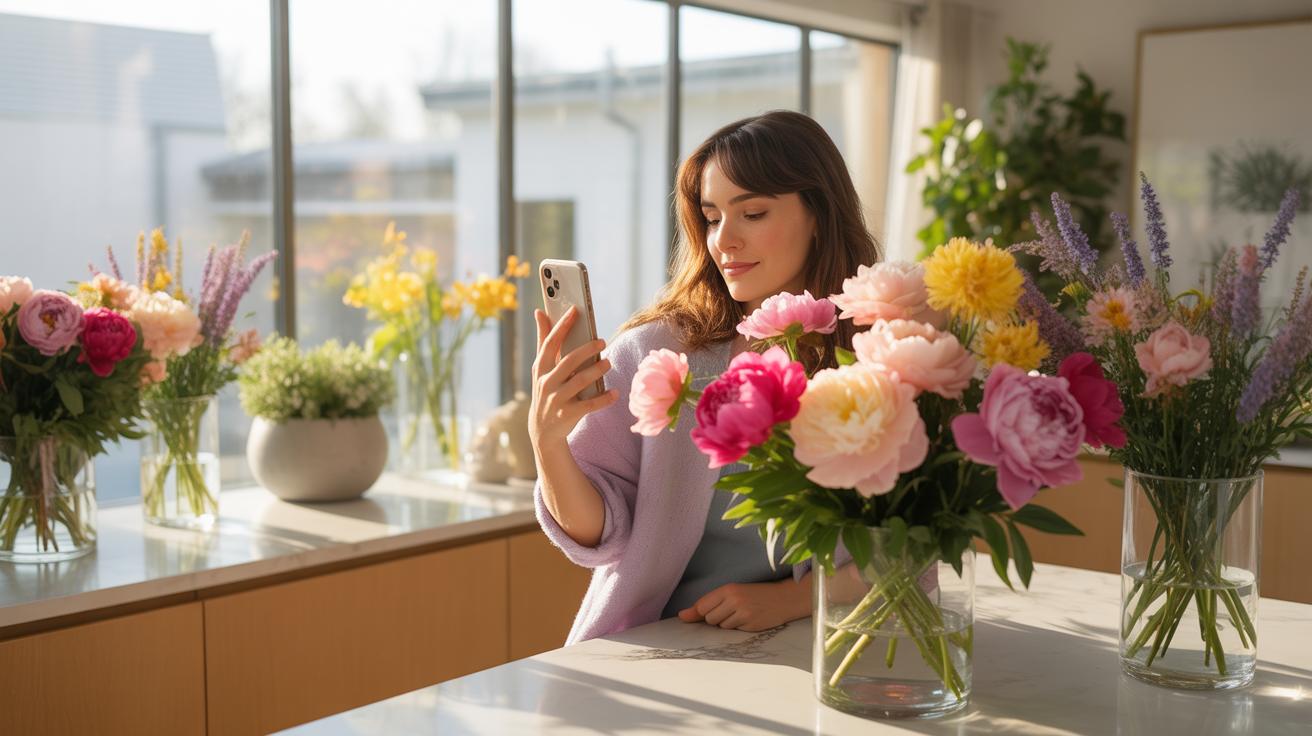
Once you lock the focus, a slider appears next to the yellow box. Slide your finger up or down to adjust the exposure. Lowering the brightness prevents white or yellow petals from losing detail in bright sunlight. This technique ensures the camera sensors do not blow out the highlights. Manual control over light levels is essential for capturing accurate colors in home floral arrangements.
When To Use Portrait Mode For Soft Background Blur On Flowers
Portrait mode uses computational photography to mimic a shallow depth of field. Use this setting when your flower sits at least three feet away from the background wall or furniture. The software identifies the edges of the subject and applies a digital blur to the area behind it. This separation forces the eye to focus strictly on the floral texture.
Avoid portrait mode if the flower has many thin, wispy stems or intricate details. The edge detection software often fails on complex shapes and creates unnatural artifacts. Use it for large, solid blooms like roses or peonies. Check the f-stop slider on your screen to control the blur intensity. Keep the effect subtle to maintain a realistic look for your interior photography.
Tips For Taking Pictures Of Flowers With Compelling Composition
Using The Rule Of Thirds To Frame Your Flower Photographs
Open your camera settings and enable the grid overlay feature. This tool divides your screen into nine equal rectangles using two vertical and two horizontal lines. Align the main stem or the center of the bloom with one of the four intersection points. Placing the focal point off-center creates a natural balance. It prevents the image from looking like a basic clinical record.
Modern smartphones use software to track subjects, but manual alignment ensures better visual flow. Positioning your flower along a vertical grid line mimics professional portrait techniques used since the Renaissance. This method guides the eye across the frame rather than keeping it stuck in the middle. Use the horizontal lines to align the vase or table edge. This keeps your home interior shots level and grounded.
How Negative Space Adds Elegance To Floral Home Imagery
Negative space is the empty area surrounding your subject. In floral photography, this space gives the flower room to breathe. Use a plain wall or a neutral surface to minimize visual noise. A clean background forces the viewer to focus on the textures and colors of the petals. High-end interior design often relies on minimalism to convey a sense of luxury and order.

Professional photographers use large areas of empty space to create a sense of scale. When you leave two-thirds of the frame empty, the flower appears more delicate and valuable. This technique works well for minimalist home decor shots where the environment is as important as the plant. Avoid cluttered backgrounds that distract from the shape of the bloom. Empty space defines the subject through contrast and isolation.
Flower Photography Tips And Tricks For Shooting Indoors At Home
Setting Up A Simple DIY Background For Indoor Flower Shots
Busy home environments distract the viewer from the floral subject. Use a solid matte board or a piece of heavy fabric to create a clean backdrop. Avoid glossy surfaces because they reflect smartphone LED lights and create harsh hotspots. Position the background at least twelve inches behind the vase. This physical gap allows the camera lens to blur the rear plane.
Neutral tones like charcoal grey or oatmeal work best for most floral colors. These shades follow minimalist design principles and ensure the flower remains the focal point. Use a simple L-frame setup by leaning your board against a wall and extending it under the vase. This technique creates a seamless transition that mimics a professional studio cove. It eliminates distracting floor lines.
How To Use Window Light As A Natural Studio For Flower Photography
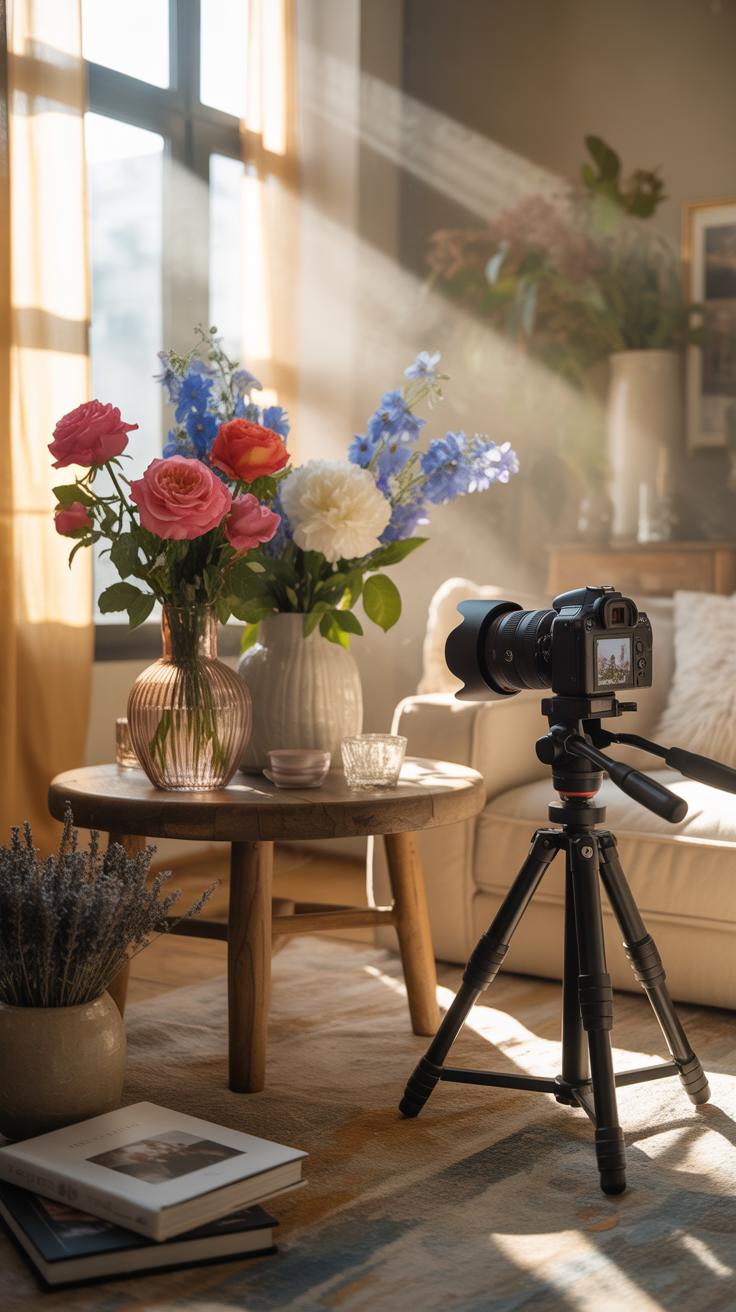
North-facing windows provide the most consistent indirect light for indoor photography. Direct sunlight creates high contrast and blown-out highlights on delicate petals. Place your flowers at a ninety-degree angle to the window. This side-lighting technique reveals the physical texture of the leaves and stems. Soft light mimics the Dutch Golden Age painting style which emphasizes depth through subtle shadows and transitions.

Use a white foam board as a reflector on the side opposite the window. This tool bounces light back into the shadows to preserve detail. If the sun is too bright, hang a sheer white curtain to act as a diffuser. This setup reduces the dynamic range. It helps the smartphone sensor capture accurate colors without digital noise. Move the subject closer to the glass to increase brightness.
Creative Flower Photography Tips To Add Artistic Flair To Your Images

Experimenting With Unconventional Angles And Low Perspectives
Standard eye level shots produce predictable results. You must change your physical position to create impact. Lower the smartphone camera below the bloom to shoot upward. This technique makes small flowers appear monumental and dominant. Use the worm’s eye view to separate the subject from distracting ground clutter. This perspective highlights the structural integrity of the stem and the underside of the petals.
Flip your phone upside down to get the lens closer to the ground. Most smartphone lenses sit at the top of the device. Reversing the orientation allows the sensor to sit millimeters from the floor. This placement creates a natural foreground blur that leads the eye toward the flower. Check your screen to ensure the sky or ceiling does not blow out the background exposure.
How Reflections And Water Droplets Create Stunning Floral Effects

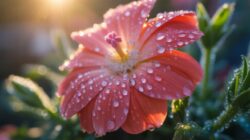
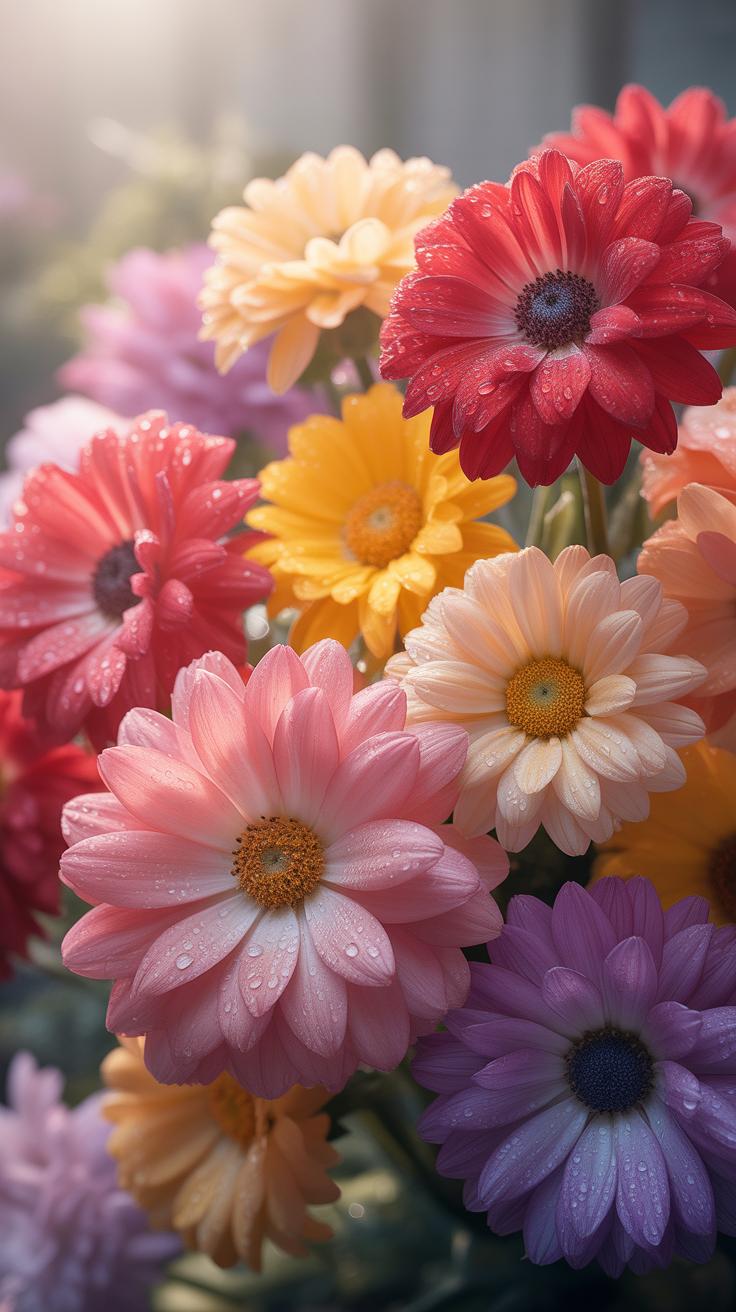
Surface tension allows water to act as a natural convex lens. Place small droplets on petals using a syringe or spray bottle. These drops refract the colors of the surrounding environment. Focus the camera directly on the droplet rather than the petal surface. This creates a macro effect where the entire flower is visible inside the liquid sphere. Use high contrast lighting to sharpen the reflections.
Reflective surfaces like glass or black acrylic tiles add symmetry to your composition. Place your floral arrangement on a mirror to double the visual impact. This technique creates a clean and modern look for home decor photography. Ensure the mirror is free of dust and smudges before shooting. Position your light source at a forty five degree angle to avoid direct glare on the reflective surface.
Taking Pictures Of Flowers With The Right Color And Contrast In Mind
Choosing Complementary Backgrounds To Make Flower Colors Pop
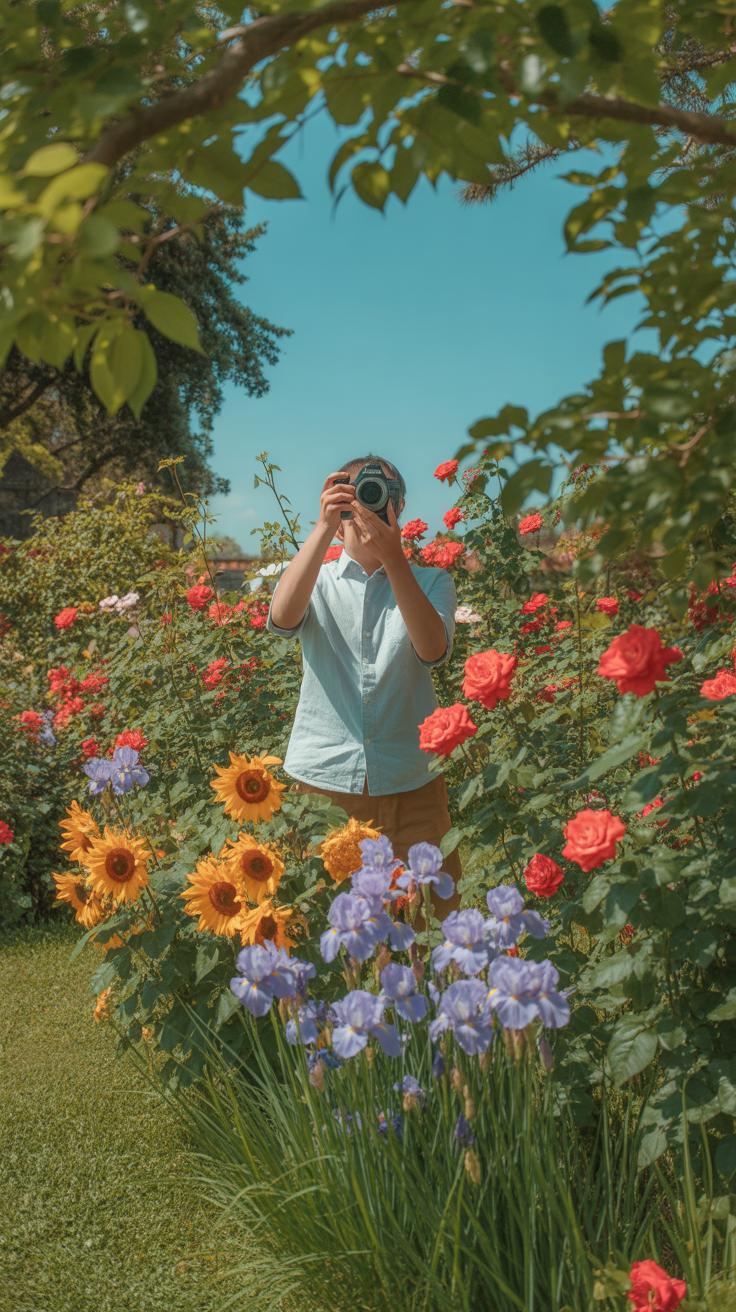
Color theory determines the success of your floral shot. Use a color wheel to find complementary hues that sit opposite your subject. A blue background makes yellow sunflowers appear more vivid. This contrast forces the eye to focus on the bloom immediately. Avoid busy patterns that compete with the organic shapes of the flower. Neutral tones work best for complex multi-colored petals.

Control your depth of field to manage background distractions. Professional photographers use dark green or earthy brown backdrops to mimic natural environments. For a modern interior look, use plain gray or white walls to emphasize structural lines. Check the edges of your frame for bright spots that pull attention away from the subject. High contrast between the foreground and background creates a professional three-dimensional effect.
Essential Smartphone Editing Tools To Enhance Floral Color And Tone
Native smartphone camera apps offer powerful tools to refine color balance after the shot. Correcting white balance is the first step in any edit. Most sensors struggle with indoor lighting and create a yellow tint. Adjusting temperature ensures the greens look natural and the petals retain their true pigment. Always prioritize color accuracy over dramatic filters to maintain a high-end aesthetic.
- Selective Saturation: Target specific color channels like red or yellow without affecting the entire image. This prevents green stems from looking radioactive while making the petals look rich. Use this tool to fix washed-out colors caused by harsh midday sun.
- Black Point Adjustment: Increase the black point to add depth to the shadows within a bloom. This creates a punchy look and improves perceived contrast. It defines the gaps between petals and makes the flower structure appear much more substantial and crisp.
- Vibrance Slider: Use vibrance instead of saturation to boost muted tones. This tool is smarter because it ignores colors that are already intense. It prevents clipping in bright petals while bringing life to the subtle mid-tones of the leaves and the background.
- Shadows and Highlights: Drop highlights to recover detail in bright white or yellow petals. Lift shadows slightly to reveal the intricate textures found deep inside the center of the flower. Proper balance here prevents the image from looking flat or overly processed.
- Sharpness and Texture: Apply texture adjustments to highlight the microscopic details on petal surfaces. Avoid over-sharpening which creates digital noise and artifacts. Subtle increases in clarity make the organic materials look tactile and sharp for high-resolution displays or home printing.
Finalize your edit by checking the contrast levels across the entire frame. Digital sensors often produce flat images that lack grit. Small shifts in the contrast slider can mimic the look of professional film. Ensure the brightest part of the flower does not lose detail to white clipping. A balanced histogram ensures the photo looks great on any screen or as a physical print.
Creative Botanical Photography Tips For Showcasing Flowers As Home Decor

How To Style Flowers With Home Decor Props For A Cohesive Shot

Select props that share a common design history with your flowers. Pair organic textures like linen or weathered wood with field flowers for a rustic look. Use geometric objects or metal trays for structured plants like orchids. Props should direct the eye toward the flowers without competing for attention. Place items in the background to create layers and depth in your shot.
Manage the visual weight of your scene by using the rule of odds. Group three items together to create a natural focal point for the smartphone camera. Ensure the props match the color palette of the room to maintain a cohesive home decor theme. Avoid cluttering the frame with irrelevant objects. Every prop must justify its presence by enhancing the botanical subject.
Choosing The Right Vase And Surface To Complement Your Floral Subject
Vase selection dictates the shape of your floral arrangement. Use heavy stoneware or ceramic to ground tall stems. Choose clear glass to show the entire plant structure for a minimalist aesthetic. Match the vessel to the Mid-Century Modern or Art Deco style of your room. The vase must support the stems so they do not sag. Proper support keeps the flowers at eye level.
Surface choice provides the foundation for your image. Industrial materials like polished concrete or marble offer high contrast for colorful petals. Natural wood surfaces add warmth and grip to your composition. Ensure the surface color does not bleed into the flower petals during image processing. Keep the surface clean and free from distracting reflections to ensure the smartphone sensor captures clear detail.
How To Take Better Flower Photos By Mastering Macro Photography

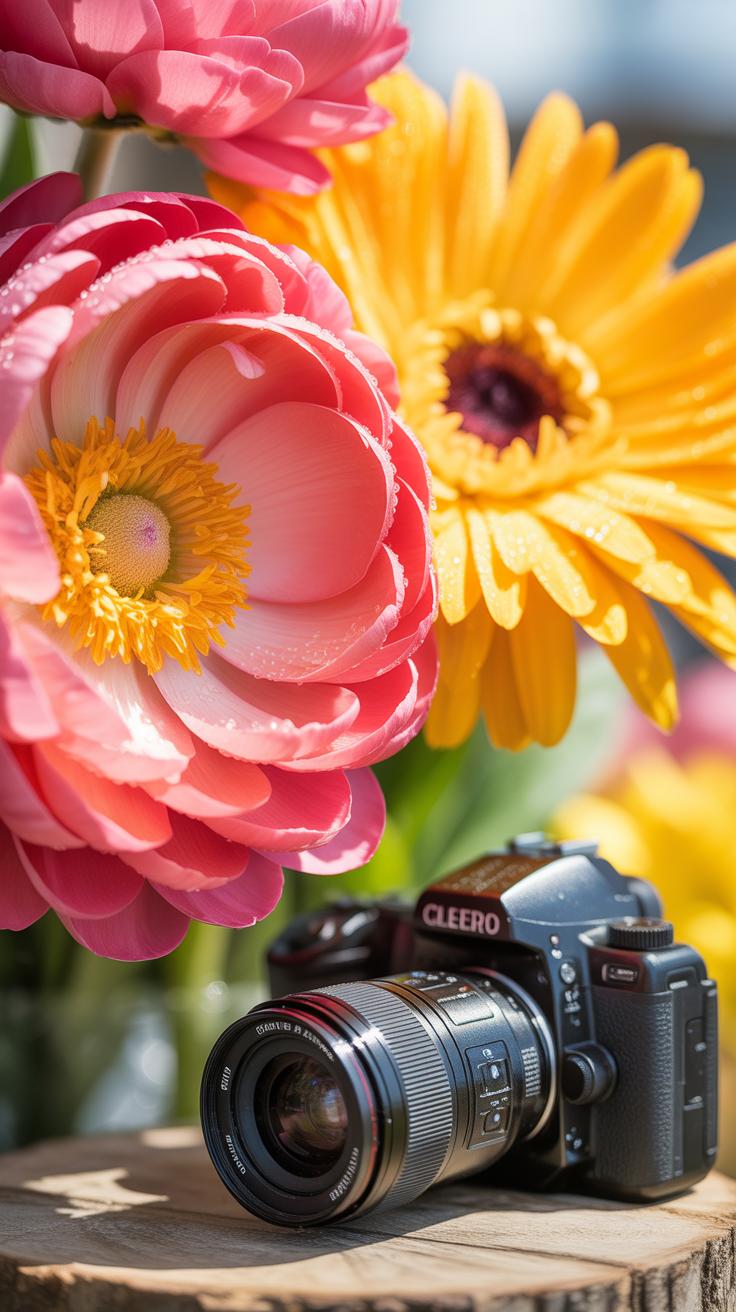
What Macro Mode Does And How It Reveals Flower Detail Up Close
Macro mode allows your smartphone to focus at extremely short distances. Most standard lenses cannot resolve images closer than ten centimeters. Macro optics use a shorter focal length to capture tiny subjects like pollen grains or petal veins. This mode reveals textures that the human eye often misses at a distance. You gain a higher magnification ratio by using the dedicated ultra-wide lens.
Modern sensors use software to switch lenses automatically when you move closer to a flower. This technical shift changes the depth of field significantly. It creates a shallow focus area that isolates the flower from the background. You must understand that macro photography requires more light. Smaller sensors struggle in dark rooms because the lens blocks incoming light at close range. Always prioritize bright, natural light.
There are always flowers for those who want to see them, captured simply to turn your home into a sanctuary of memory.
— Henri Matisse
How To Keep Your Smartphone Steady For Sharp Macro Flower Shots
Macro photography magnifies every small movement of your hands. A tiny shake results in a blurry image because the depth of field is very thin. You must stabilize the phone to maintain focus on the specific part of the flower you want to highlight. Physical stability ensures the sensor captures the sharpest possible details of the petals and the center of the bloom.
- Use a Tripod: A small flexible tripod keeps the camera fixed in one position. It eliminates hand tremors that ruin close-up shots. This tool allows you to frame the flower precisely and wait for the perfect moment of still air.
- Remote Shutter Release: Pressing the screen button often causes the phone to vibrate. Use a Bluetooth remote or your headphone volume buttons to trigger the shutter. This prevents any physical contact with the device during the actual exposure.
- Set a Timer: The two-second timer is a free alternative to a remote. It gives the phone time to settle after you touch the screen. The camera captures the image after all movement stops, resulting in a much crisper and cleaner shot.
- Lean Against Objects: If you lack a tripod, use your environment for support. Rest your elbows on a table or lean your body against a wall. This creates a human tripod effect that significantly reduces the natural sway of your arms.
- Burst Mode: Hold the shutter button to take many photos in rapid succession. This increases the statistical chance that at least one frame is perfectly sharp. It is an effective tactic when shooting outdoors where light wind moves the flower stems.
Focus locking is another vital step for achieving sharpness. Tap and hold the screen on the most important part of the flower to lock the focus and exposure. This prevents the lens from hunting for a subject if you move slightly. Once locked, you can fine-tune your distance to the flower. Constant focus resets are the primary cause of soft images in smartphone macro photography.
How To Capture Flower Photos That Tell A Story Through Seasonal Themes
Matching Your Flower Photography Style To Each Season Of The Year
Change your camera settings and lighting choices to mirror seasonal shifts. Use high-key lighting for spring blooms like tulips to convey brightness. Set your smartphone exposure lower during autumn to capture the deep tones of chrysanthemums. Position flowers near soft morning light in winter to highlight textures without harsh shadows. This technical alignment ensures your digital images reflect the distinct atmospheric properties found in nature.
Adjust your color grading based on traditional seasonal palettes. Focus on desaturated cool tones during winter months to emphasize the structural form of dried stems. Apply warmer white balance settings in summer to intensify the gold hues of sunflowers. Shift your focus to macro details during the spring growth phase. These tactical changes create a cohesive visual narrative that connects your indoor photography to the current external environment.
How To Use Seasonal Blooms To Create A Timeless Home Gallery Wall
Design a gallery wall by grouping photos according to seasonal color theories. Use the Impressionist movement as a guide for spring and summer layouts by prioritizing light and movement. Frame your smartphone shots in minimalist wood or black metal to keep the focus on the subject. Arrange the photos in a grid to show the biological lifecycle from spring buds to winter dormancy.
Select paper finishes that complement the seasonal mood of your photography. Print high-contrast winter images on matte paper to eliminate glare and emphasize shadow depth. Use a luster finish for vibrant summer blossoms to make the colors pop against your walls. Rotate these prints every three months to refresh your living space. This rotation keeps your home decor dynamic and grounded in the natural passage of time.
Smartphone Flower Photography Tips For Editing And Printing Decor Ready Images

Best Free Editing Apps To Polish Your Flower Photos Before Printing
Professional results require specific tools. Snapseed provides precise control through its Selective tool. Use this to adjust brightness or saturation on specific petals without affecting the background. RAW editing capabilities allow you to recover details in bright highlights or dark shadows. High contrast often kills the delicate texture of a flower. This app fixes that mistake by balancing light levels across the entire frame.
Adobe Lightroom Mobile offers the best color grading for mobile users. Use the Color Mixer to isolate the specific hue of your flower. You can deepen the greens of the stem or brighten the reds of the bloom. This ensures the printed image matches the real plant. Sharpness and masking tools refine the edges before you send the file to a printer. Precise editing prevents blurry or muddy physical prints.
How To Choose The Right Print Format To Display Flower Photos At Home
The material dictates the final look. Gallery wraps on canvas create an organic feel that fits traditional homes. However, canvas loses fine detail due to its rough texture. Use high-quality matte paper for modern interiors. Matte finishes prevent glare from windows and indoor lights. This allows the viewer to see the intricate details of the flower from any angle in the room without reflections.
Framing choices must match the photography style. Minimalist black frames complement bold and close-up botanical shots. Metal prints offer a high-gloss finish that makes colors pop. This material works best for vibrant flowers like tulips or poppies. Always check the image resolution before printing large formats. Low-resolution files look pixelated on a wall. Use a high-quality print service to maintain professional standards for your home decor.
Frequently Asked Questions

How can I make my smartphone photos of flowers look more professional for home decor?
To elevate your images, focus on natural lighting and clean backgrounds. Use a soft, indirect light source like a north-facing window to avoid harsh shadows. By following these smartphone flower photography tips, you can capture the delicate textures and vibrant colors of your blooms. Positioning your phone at eye level with the flower rather than looking down creates a more intimate and artistic perspective perfect for gallery walls.
What is the best way to focus on tiny details when photographing indoor plants?
Achieving a sharp focus requires steady hands and the right settings. Tap your screen specifically on the stamen or a petal edge to lock the focus point. For a dreamy, high-end look, utilize “Portrait Mode” to create a blurred background effect. These essential smartphone flower photography tips help the subject pop, ensuring your floral captures look like intentional pieces of art rather than just quick snapshots of your tabletop arrangements.
Do I need expensive editing apps or equipment to get high-quality floral shots?
Not at all! Most modern phones have incredible built-in sensors that capture professional-grade detail right out of the box. You don’t need a professional studio to create beautiful content; a simple piece of white poster board can act as a DIY reflector to brighten dark petals. Simply use your phone’s native editing tools to slightly boost saturation and brightness for a polished, stylish finish that complements your home’s unique aesthetic.


