What Is Botanical Illustration And Why It Continues To Inspire Artists Today
The Definition And Purpose Of Botanical Illustration Through The Ages
Botanical illustration focuses on scientific accuracy over beauty. Artists record the physical characteristics of plant species for identification and study. Early examples appeared in herbals to help doctors identify medicinal plants. These drawings must show the specific traits of a species. This includes roots, seeds, leaves, and reproductive organs. Accuracy ensures scientists can distinguish one plant from another in the field.
Modern Botanical Illustration Inspiration comes from this focus on detail. Today, artists use these techniques to document biodiversity and record endangered species. Historically, illustrators used vellum and later paper to preserve these records. The purpose remains functional rather than decorative. You must understand the anatomy of the plant to succeed. Every line serves a purpose in explaining how the plant grows and functions.
How Scientific Illustration Botanical Work Bridged Art And Natural Science
Scientific illustration turned plants into data points. During the Age of Discovery, explorers brought new species back to Europe. Artists traveled with these groups to document findings in real time. They used watercolors and ink to capture colors and textures before specimens wilted. This work allowed botanists to categorize the natural world. It bridged the gap between visual art and rigorous biological research.
These illustrations influenced design movements like Art Nouveau and Arts and Crafts. Designers studied the structural logic of plants found in scientific plates. They translated biological symmetry into patterns for wallpaper and textiles. Today, the field keeps its relevance through technical precision. It provides a blueprint for how nature organizes itself. Modern creators look to these archives to master form, structure, and organic composition.

A Journey Through Botanical Drawings Vintage History From The 15th Century Onward
The Golden Age Of Botanical Art And The Rise Of Illustrated Herbals
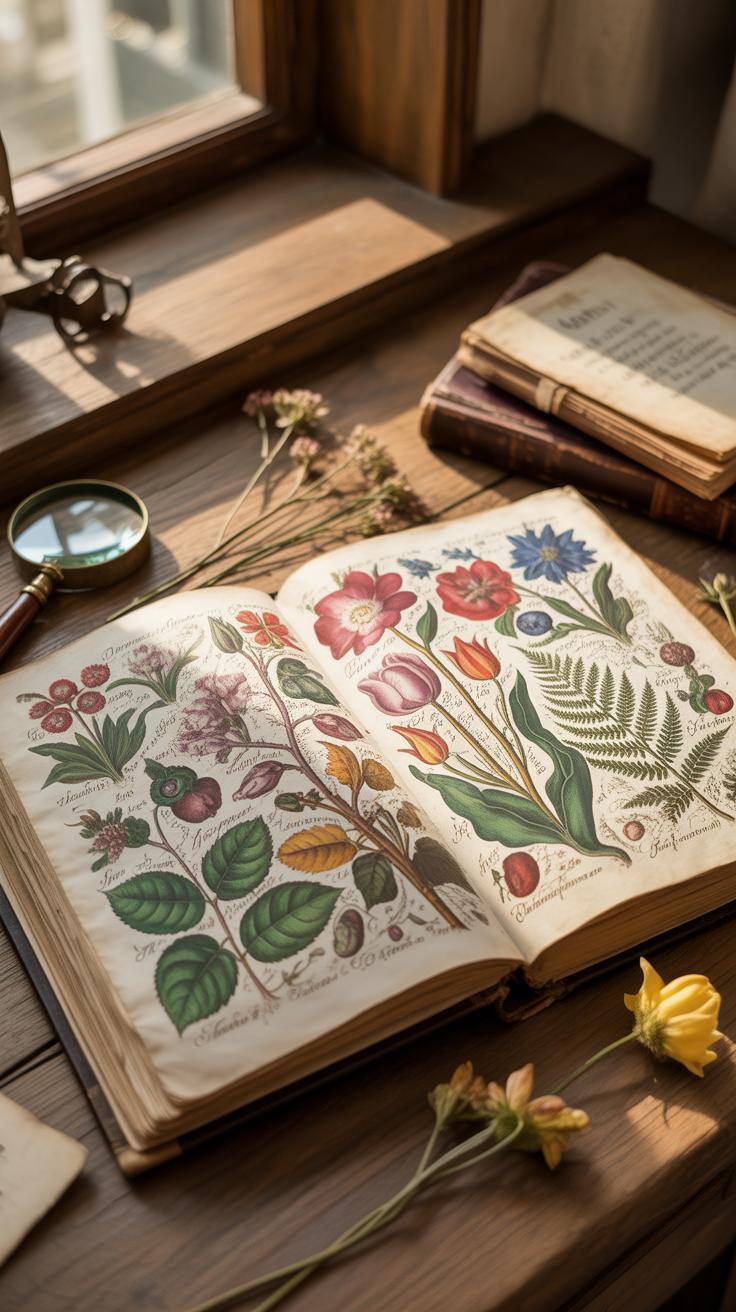
Botanical illustration shifted from medicinal utility to scientific precision during the 15th century. Early herbals used woodblock prints to identify plants for healing. These images lacked detail due to technical limits. As printing technology improved, artists moved toward copperplate engraving. This allowed for finer lines and greater accuracy. Explorers brought new species from foreign lands. This demand for documentation fueled the growth of the genre.
The 18th and 19th centuries marked the peak of this art form. Scientists required exact visual data to classify plants. Accuracy became the primary goal for every illustrator. Artists used watercolors to capture realistic hues and textures. They recorded life cycles from seed to fruit. This period established the standard for botanical realism. Modern illustrators still study these vintage works to master technical precision and clean compositions.
Key Historical Figures Who Shaped Vintage Botanical Drawing Traditions
Several masters defined the standards of botanical art through intense observation. Maria Sibylla Merian broke traditions by documenting insects alongside their host plants. Her work combined ecology with art in the late 17th century. Pierre Joseph Redoute earned fame for his rose and lily illustrations. He mastered the stipple engraving technique. This method used tiny dots to create soft color gradations. His work remains the gold standard for elegance.
The Bauer brothers, Franz and Ferdinand, pushed the limits of microscopic detail. They worked with the Royal Botanic Gardens at Kew. Their drawings captured plant anatomy at a level previously unseen. Pierre Turpin also contributed significant structural studies. These figures did not just paint flowers. They created a visual language for plant science. Their techniques influence how creators approach botanical illustration inspiration today. Each figure valued factual representation over artistic expression.

Mastering Botanical Drawing Foundational Techniques Every Artist Should Know
Understanding Plant Anatomy To Improve Accuracy In Botanical Drawing
Accuracy in botanical drawing depends on scientific observation. You must learn the physical structure of roots, stems, leaves, and reproductive organs. Distinguish between monocots and dicots to predict leaf venation and petal counts. Study phyllotaxy to understand how leaves arrange themselves around a stem. Professional illustrators do not guess. They dissect specimens to see how parts connect. This knowledge prevents common errors in perspective and placement.
Botanical art serves as a record for science. You must show the life cycle of the plant. Focus on the attachment points where the leaf meets the branch. Observe the nodes and internodes carefully. Correct anatomy separates a pretty picture from a technical illustration. Use a magnifying glass to see tiny hairs or glands on the surface. These details help identify specific species and ensure your work meets professional standards.
Essential Materials And Tools For Starting Your Botanical Drawing Practice
Successful botanical drawing requires specific tools that allow for precision and longevity. You cannot achieve fine detail with standard office supplies. You need archival materials that resist fading over time. Professionals prioritize paper texture and lead hardness. High quality tools ensure your lines remain sharp and your colors stay true. Buying the right gear from the start saves time and prevents technical frustration during the drawing process.
- Hot Pressed Paper: This paper has a smooth surface with almost no tooth. It allows you to draw extremely fine lines without the pencil skipping over bumps. High quality 100 percent cotton paper prevents yellowing and ensures your botanical work lasts for centuries.
- Graphite Pencils: You need a range of leads from 2H to 2B. Harder leads like 4H create light guide lines that do not smudge. Softer leads allow you to build deep shadows. Precise grading is vital for showing the three dimensional form of a specimen.
- Dividers Or Calipers: These tools measure the exact distance between plant parts. You use them to transfer scales accurately from the living plant to your paper. Measuring ensures that the proportions of your drawing match the real dimensions of the biological subject.
- Articulated Lamp: Proper lighting is mandatory for seeing fine details and shadows. A lamp with a cool daylight bulb prevents color distortion. You must position the light to create consistent shadows. This helps you define the volume and shape of the plant clearly.
- Technical Pens: Fine liners with pigment ink are standard for ink illustrations. They provide consistent line widths that do not bleed. Choose pens with archival ink to ensure your work meets the standards for scientific publication or museum display and storage.
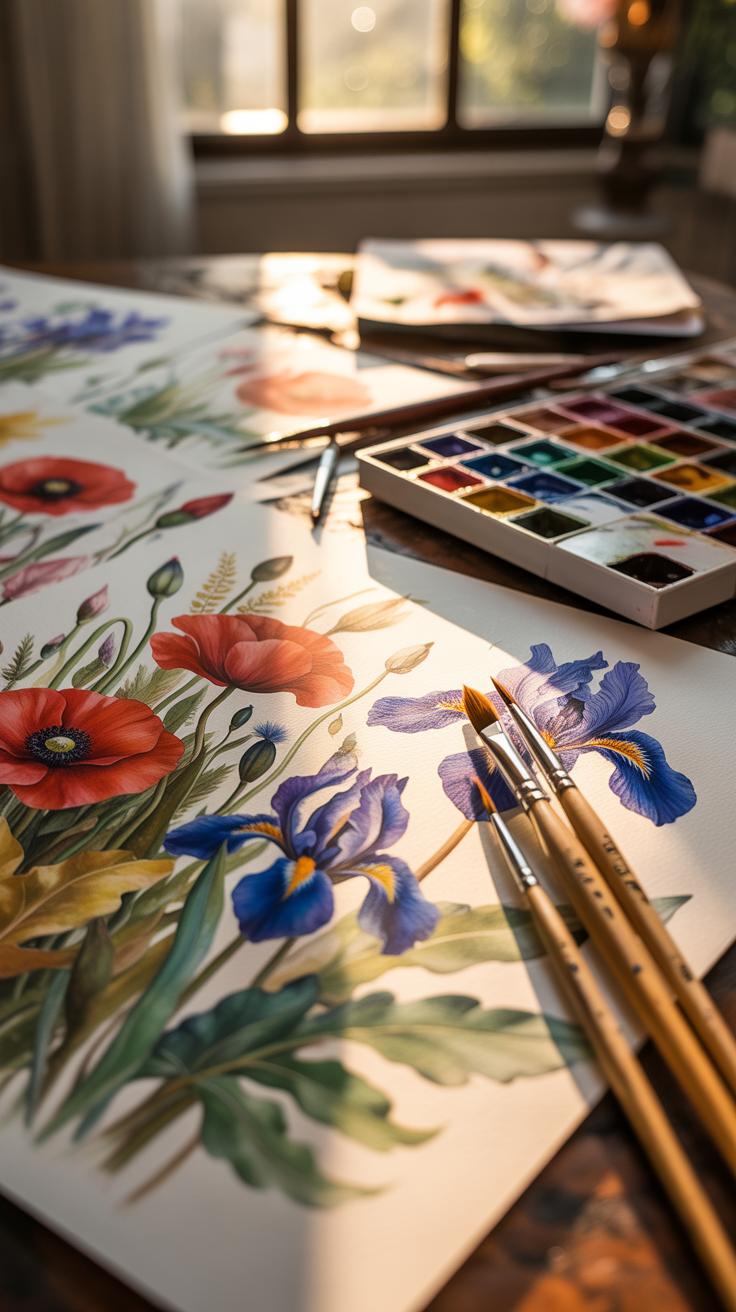
Select your materials based on the final output of your work. Graphite is best for initial studies and tonal work. Ink works well for clear diagrams intended for print. Watercolor remains the industry standard for colored botanical plates because it allows for transparent layering. Always test your tools on scrap paper first. Consistency in your materials leads to consistency in your botanical illustration inspiration and final execution.

Painting Inspiration How Botanical Art Fuels Modern Creative Expression
Drawing Painting Inspiration From Nature Journals And Field Sketches
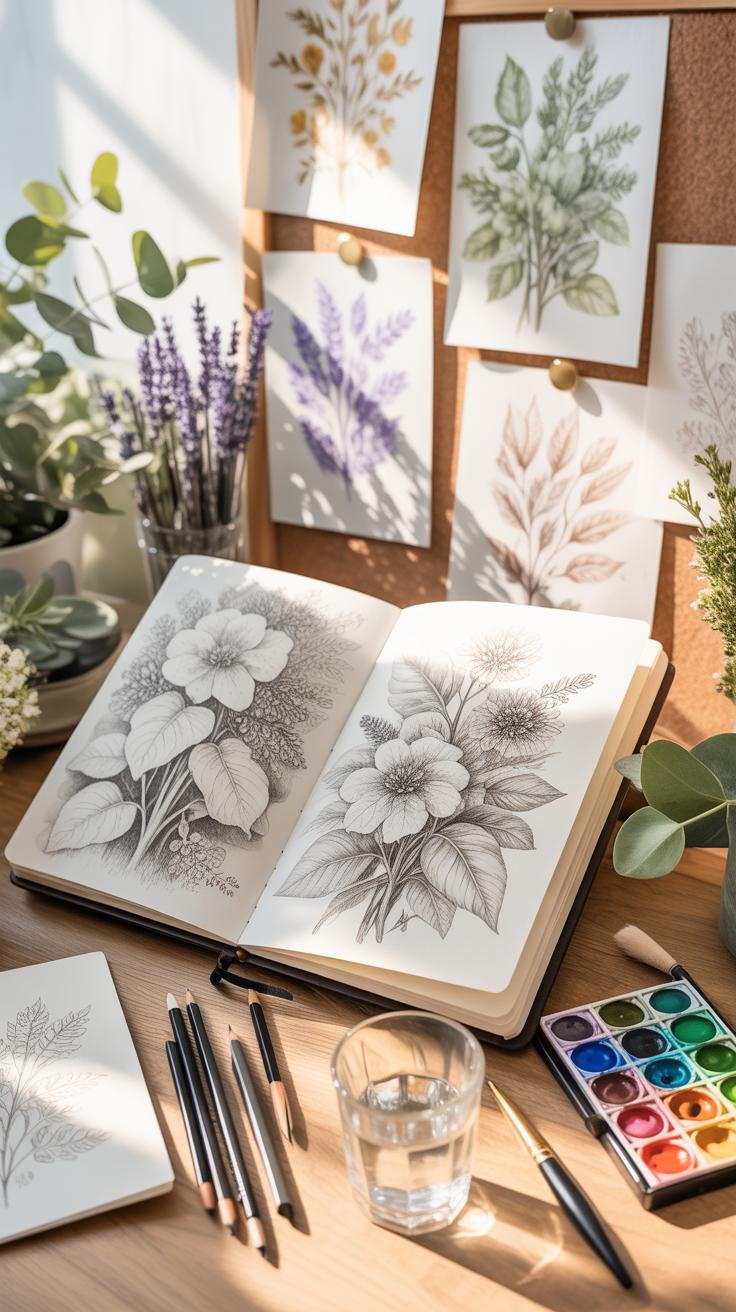
Nature journals provide raw data for studio work. Unlike finished plates, field sketches capture fleeting light and immediate plant structures. Artists use graphite or light watercolor washes to note leaf vein patterns and stem curvature. These quick studies build a visual library of organic forms. Successful illustrators revisit these journals to find authentic shapes that prevent their final paintings from looking stiff.
Tactical drawing involves observing the plant in its natural habitat. Field sketches record the exact growth habits of species before they wilt. This accuracy separates professional work from generic floral art. You must document the specific angles of petiole attachments and the texture of bark. This primary research ensures your studio paintings retain a sense of life. Use these rough notes to solve composition problems early.
How Contemporary Artists Reimagine Classic Botanical Themes For Modern Work
Modern artists strip away the heavy borders of the Victorian era. They focus on extreme scale and unconventional perspectives. Some painters use macro views to turn a single seed pod into an abstract study. This shift moves botanical art from scientific documentation into the realm of fine art. They maintain botanical accuracy while experimenting with negative space. This approach creates high impact in residential and commercial design.

Contemporary work often mixes traditional gouache with digital layering. Artists use historical techniques like dry brush work but apply them to vibrant, non-traditional color palettes. This technique bridges the gap between Enlightenment era realism and current graphic trends. You can scale these works for large murals or textile patterns. The focus remains on the structural integrity of the plant. Maintaining anatomical truth allows the artist to take creative risks elsewhere.
Collecting And Studying The Antique Botanical Print As A Source Of Inspiration
What Makes An Antique Botanical Print Valuable And Historically Significant
Antique botanical prints hold value based on their scientific accuracy and production method. Collectors look for early woodcuts, copperplate engravings, and stone lithographs. These prints documented new plant species during the Age of Discovery. A print is significant if it helped doctors or scientists identify medicine. Rare editions from artists like Pierre-Joseph Redouté or Maria Sibylla Merian command high prices because they combined high art with strict biology.
Historical significance also depends on the printing technique used. Hand-colored plates are more valuable than mass-produced prints. The paper quality and the presence of a watermark help verify the age. These prints show how humans understood nature before photography. They offer a direct link to old gardening practices and medicinal history. Studying these works provides a blueprint for technical precision. You learn how to balance composition with anatomical truth.
Where To Find And How To Authentically Study Antique Botanical Prints

Find authentic prints in museum archives, university libraries, and specialized rare book dealers. The Biodiversity Heritage Library offers free digital access to thousands of scanned plates. Use these digital archives to see high-resolution details without traveling. For physical study, visit print rooms at institutions like the Royal Botanic Gardens, Kew. Buying original prints requires checking for plate marks and paper type to ensure you have a genuine antique.
Study these prints by looking at the line work. Use a magnifying glass to see how the artist used cross-hatching to create depth. Notice the placement of roots, seeds, and dissected flowers. This layout taught viewers about the life cycle of the plant. Copy these masters to understand their stroke weight. Do not just look at the color. Focus on the structure of the plant and how the artist organized the page.
Exploring Botanical Drawings Styles Media And Artistic Approaches
Comparing Pencil, Ink, And Watercolor Approaches In Botanical Drawings
Graphite pencil provides the most control for structural studies. It allows artists to map out exact proportions and tonal values before applying color. Scientists prefer pencil for its ability to show fine textures and subtle highlights on stems or petals. Graphite hardness determines the depth of contrast. H grades produce light lines for layout. B grades create deep shadows for three-dimensional form.

Ink and watercolor offer different tactical advantages for botanical records. Pen and ink technicians use stippling or hatching to represent volume without color distraction. This remains the industry standard for printed taxological journals. Watercolor adds a layer of biological data by recording specific pigment variations. Success depends on the wet-on-dry technique. This method prevents colors from bleeding and preserves the sharp edges required for identification.
How Different Cultural Traditions Have Shaped Botanical Drawing Styles Worldwide
European botanical art shifted from medicinal utility to scientific precision during the Renaissance. Explorers needed accurate records of new species found in the Americas and Australia. This led to the Linnaean system of classification in the 1700s. Artists focused on the life cycle of the plant. They often showed seeds, flowers, and roots in a single frame. This clinical style maximized information per page for researchers.
Eastern traditions, specifically Chinese and Japanese styles, prioritize the spirit and gesture of the plant. These artists often use ink wash on silk or rice paper. They emphasize the flow of the brush over rigid anatomical measuring. While Western styles focus on physical accuracy for science, Eastern methods focus on the seasonal essence. Both provide valuable data. One records the structure while the other captures the growth habit.
Vintage Botanical Flowering Plant Illustration Iconic Works And Their Legacy
Celebrated Vintage Botanical Flowering Plant Illustrations From Curtis’S Botanical Magazine

William Curtis started this magazine in 1787. It is the longest running botanical periodical in history. The publication used hand colored copper engravings to show exotic plants. These plates gave gardeners accurate visual data. They showed the structure of flowers with high precision. This helped people identify new species coming into Britain. The work set the gold standard for scientific accuracy in botanical art.
Artists like Sydenham Edwards and Walter Hood Fitch defined the magazine’s look. They focused on clear lines and true colors. These illustrations provided a bridge between science and art. Collectors bought the magazine to study plant morphology. Today these prints are key sources for designers. They offer a massive library of anatomical plant details. Use these works to see how to balance scientific detail with visual clarity.
The world is full of magical things, patiently waiting for our senses to grow sharper through the stroke of a brush. To see a flower is to glimpse the divine artistry of the natural world.
— W.B. Yeats
How Flowering Plant Illustrations Influenced Decorative Arts And Surface Design
Botanical art changed the look of homes in the 18th and 19th centuries. Makers of fine china used these drawings for patterns. Companies like Wedgwood applied floral motifs to ceramic plates. The accuracy of the drawings made the products look expensive. Wallpapers also featured these realistic plants. Designers moved away from abstract shapes to mimic nature. This shift created a new market for domestic decor.
The Arts and Crafts movement used these illustrations for inspiration. William Morris studied plant forms to create complex repeat patterns. He looked at how stems and leaves moved in space. This influenced textile design across Europe and America. Modern surface designers still use these vintage layouts. They take the technical skill of the old masters and apply it to fashion. Studying these transitions helps you understand how to scale art for different products.
Vintage Nature Fruits Illustration Capturing The Abundance Of The Natural World


The Role Of Vintage Nature Fruits Illustration In Agricultural And Horticultural Records
Vintage fruit illustrations served as the primary technology for crop identification before photography. Artists documented specific cultivars for pomological records and nursery catalogs. These drawings allowed farmers to track fruit varieties and verify quality. Accuracy in these records prevented the loss of rare species. Many illustrations from the nineteenth century now serve as the only visual proof of extinct heirloom fruits.
Government agencies like the USDA commissioned thousands of fruit watercolors to standardize agricultural trade. Artists captured skin texture and flesh color to define grade standards. This work required extreme technical precision to show signs of disease or pest damage. These records supported modern botany by providing a clear lineage of plant breeding. Designers use these records today to understand the evolution of food crops.
Tips For Creating Lush And Accurate Fruit Studies Inspired By Vintage Illustration
Modern illustrators must focus on the physical weight and surface characteristics of the specimen. Start by observing how light interacts with the waxy coating of the skin. Vintage styles often use deep shadows to create a three dimensional effect. Use high quality pigments that allow for subtle color shifts. Mapping the topography of the fruit is essential for a realistic result.
- Cross Section Views: Cut the fruit to reveal the internal structure and seed placement. This technique provides a complete biological profile. Show the thickness of the rind and the texture of the pulp clearly.
- Stipple Shading: Use small dots to build depth and indicate skin pores. This method mimics historical copperplate engravings and lithographs. Controlled stippling allows for gradual transitions between light and dark areas.
- Blemish Incorporation: Include realistic imperfections like bruises or insect marks. Perfect fruit looks artificial and lacks character. Natural flaws provide authenticity and help identify specific environmental conditions of the plant.
- Proper Scale: Measure the fruit and leaves to ensure relative accuracy. Maintain a one to one ratio when possible for scientific clarity. Consistent scaling helps the viewer understand the actual size of the specimen.
- Layered Glazing: Apply thin layers of transparent color to build richness. This approach replicates the glow found in traditional watercolor pomology. Wait for each layer to dry completely to avoid muddying the final image.
Finalize the study by adding botanical details like stems and attached leaves. These elements provide context for how the fruit grows on the branch. Observe the junction where the stem meets the fruit for specific structural markers. Use a dry brush technique to add fine hairs or bloom on the skin surface. These tactical steps ensure the illustration meets professional historical standards.
Antique Botanical Illustration Preserving Heritage And Inspiring New Generations
Major Archives And Libraries That House World Class Antique Botanical Illustration Collections
The Royal Botanic Gardens at Kew holds the most significant global collection of botanical art. Its archives contain over 200,000 prints and drawings dating back centuries. This repository serves as the primary reference for taxonomic accuracy and historical style. Serious illustrators study these works to understand how masters captured plant anatomy before modern photography existed. These physical holdings preserve the evolution of scientific recording.
The New York Botanical Garden and the Natural History Museum in London also provide critical primary sources. These institutions manage vast rare book rooms filled with hand-colored copperplate engravings. They allow researchers to trace the shift from woodcuts to lithographs. Accessing these archives helps you understand the technical limitations artists faced in different eras. Studying these collections provides a blueprint for creating timeless and accurate botanical work today.
How Digital Preservation Is Making Antique Botanical Illustration More Accessible Than Ever
The Biodiversity Heritage Library digitizes millions of pages of scientific literature. This massive effort allows users to download high-resolution scans of works by Pierre-Joseph Redouté and Maria Sibylla Merian. You can now examine fine line work and color gradients without traveling to a distant museum. Digital access removes the physical barriers to entry for modern students. It turns rare artifacts into practical tools for daily design inspiration.
Open access policies at the Smithsonian and the Rijksmuseum provide public domain imagery for commercial and personal use. These high-quality files allow you to zoom in on microscopic details that are invisible to the naked eye. Digital archives preserve the integrity of fragile paper while spreading knowledge worldwide. This technology ensures that historical techniques influence new generations of artists. You can instantly bridge the gap between ancient craft and modern digital media.
How To Build Your Own Botanical Illustration Inspiration Practice And Creative Routine
Creating A Personal Visual Library From Museums, Gardens, And Online Resources
Build a reference database by documenting primary sources. Use public botanical gardens to observe plant anatomy in three dimensions. Capture high-resolution photographs of stems, leaves, and flowers from multiple angles. Visit natural history museum archives to study historical plates by artists like Maria Sibylla Merian. These physical records provide accurate data on texture and growth patterns that digital images often lack during the drawing process.
Organize digital findings using specific anatomical tags. Use online repositories like the Biodiversity Heritage Library to find public domain scientific illustrations. Save images based on plant families or specific morphological features like venation. A categorized library allows for quick retrieval during the composition phase. This systematic approach ensures you have a deep well of accurate forms to reference whenever you begin a new technical illustration project.
Developing A Consistent Botanical Art Practice That Sustains Long Term Creative Growth
Establish a daily sketching habit focused on diagnostic details. Dedicate twenty minutes each morning to rendering small plant parts without the pressure of a finished piece. Use professional tools like high-grade hot pressed paper and technical pens. Consistent repetition builds muscle memory for complex shapes. Set specific goals such as mastering the spiral phyllotaxy of succulents or the transparency of flower petals through layered watercolor washes.
Review your work every month to identify technical weaknesses. Compare your recent drawings against historical standards of accuracy and clarity found in scientific texts. Tracking your progress through a dated portfolio reveals patterns in your skill development. Adjust your training to focus on areas that require more precision. This disciplined cycle of practice and critique turns basic observation into the professional level expertise required for high-quality botanical art.
Frequently Asked Questions

Where can a beginner find the best botanical illustration inspiration?
Beginners can find a wealth of botanical illustration inspiration by exploring historical archives, such as the Biodiversity Heritage Library or vintage seed packets. Natural history museums and local botanical gardens also offer firsthand views of diverse plant life. Additionally, digital platforms like Pinterest and Instagram are excellent for discovering modern artists whose unique styles can help spark your creativity as you begin your artistic journey into the world of flora.
How do I translate real-life plants into creative botanical drawings?
To turn live plants into botanical illustration inspiration, start by observing the basic geometric shapes of the stems and petals. Use a sketchbook to capture the gesture of the plant before adding intricate details like leaf veins or textural shadows. Taking high-resolution photographs from multiple angles ensures you have a consistent reference when the lighting changes, allowing you to maintain accuracy while injecting your own personal style into the final piece.
Can I create botanical art if I don’t have access to expensive professional supplies?
Absolutely! You don’t need high-end watercolors or professional-grade pens to start. Many artists find incredible botanical illustration inspiration using a simple graphite pencil and standard printer paper. Foray into your own backyard or a local park to find free live subjects like wildflowers, fallen leaves, or interesting twigs. Focus on developing your observation skills and line work first; great art is defined by your perspective, not the price of your tools.


