A Brief History Of Terracotta Pots And Why They Remain A Timeless Classic
The Ancient Origins Of Terracotta Pots Across Civilizations
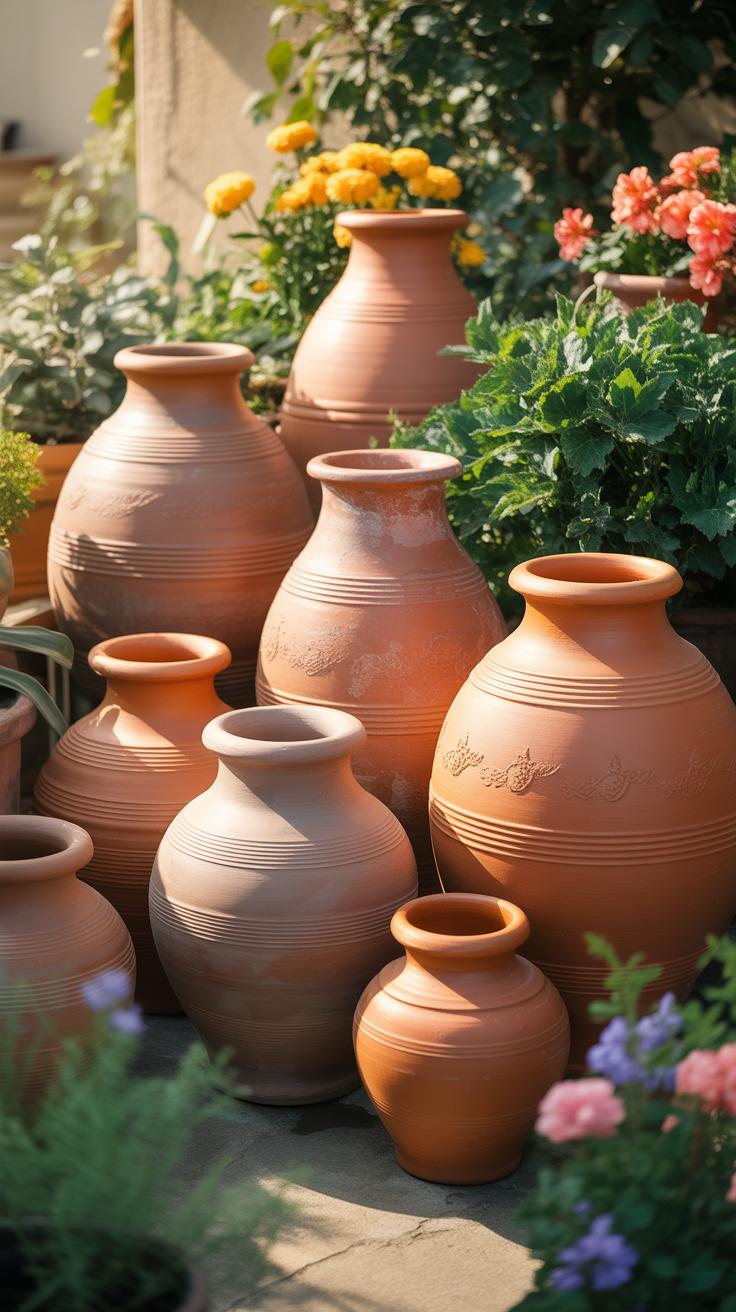
Terracotta means baked earth in Italian. Humans began firing clay into durable vessels over ten thousand years ago. Ancient Egyptians used these pots for grain storage and water transport. The Greeks and Romans later refined these techniques. They created decorative and functional containers for large scale agriculture. Archaeologists find these artifacts globally because the material survives well underground. Basic clay firing remains largely unchanged today.
Early potters utilized local riverbed clay for production. They used open pits or primitive kilns to apply heat. This process made the clay hard and water resistant. Chinese artisans developed advanced glazing methods later. However, the foundational unglazed terracotta served as the standard for basic utility. These pots traveled across trade routes like the Silk Road. They became essential tools for food security and horticultural expansion in every major empire.
Why Terracotta Pots Have Stood The Test Of Time In Modern Gardening
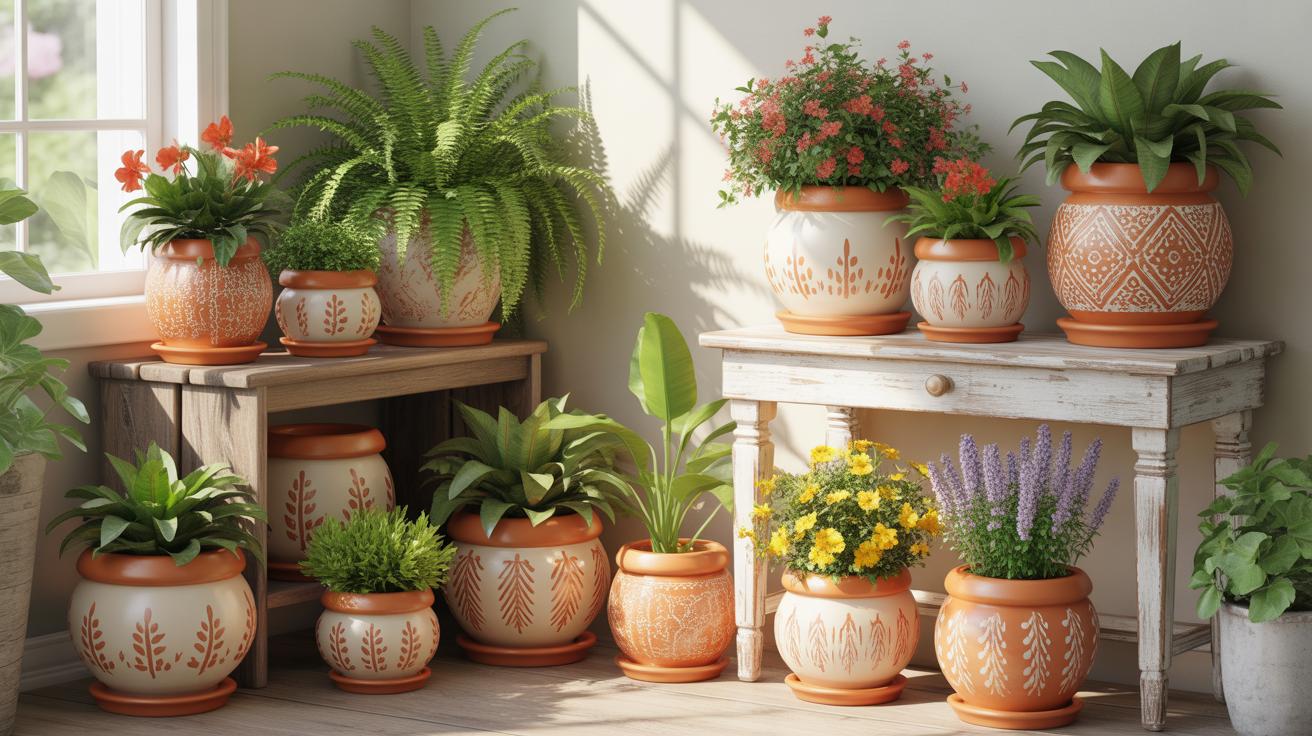
Terracotta remains the industry standard for plant health. Its porous nature allows air and water to move through the walls. This process prevents root rot by wicking away excess moisture. It protects plants from overwatering issues common in plastic containers. The heavy weight of the clay provides stability in high winds. Natural insulation properties also buffer root systems against rapid temperature changes during the summer and winter.
The aesthetic profile fits any design movement from rustic to minimalist. These pots develop a natural patina over time called efflorescence. This white mineral buildup signals a healthy gas exchange process. Designers value this look for its authenticity and texture. Terracotta is also biodegradable and environmentally sustainable. It does not leach chemicals into the soil like lower quality synthetics. Professionals choose it for its reliability, function, and long term durability.

Essential Terracotta Pot Crafts Every Creative Hobbyist Should Try
Beginner Friendly Terracotta Pot Crafts For All Skill Levels
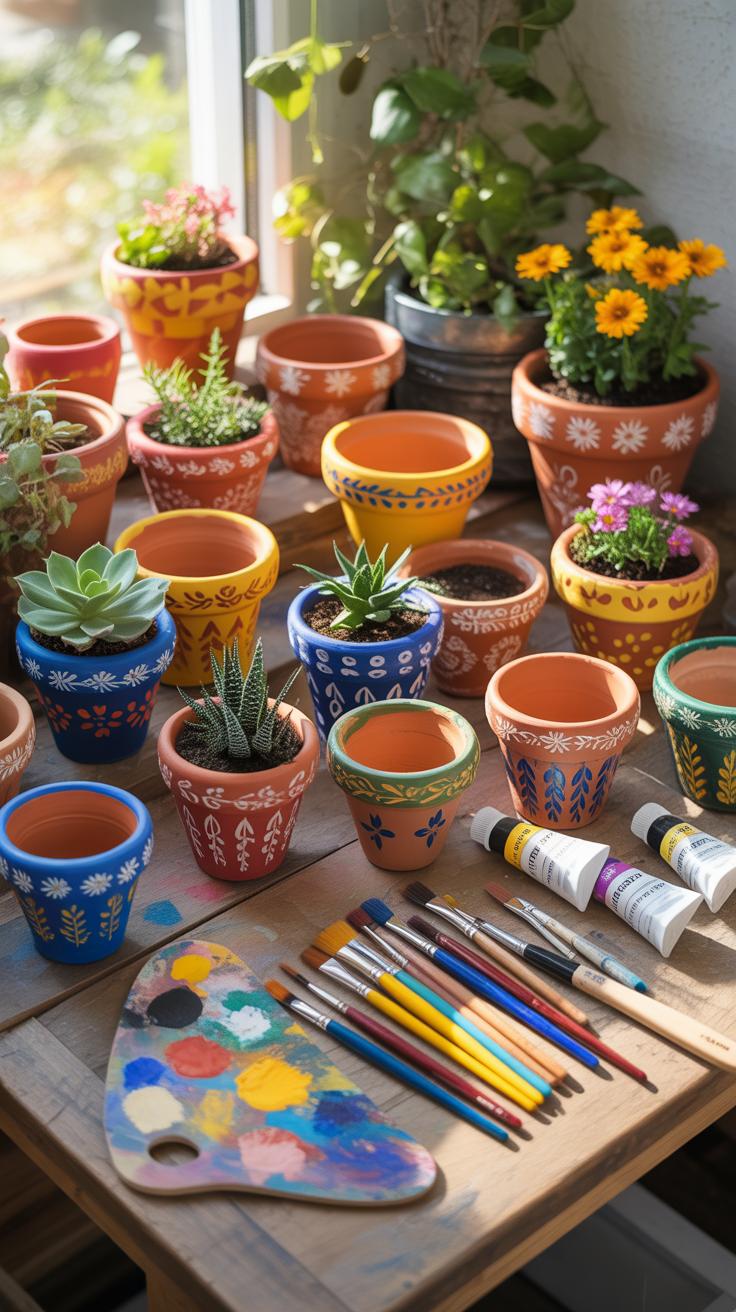
Beginners should start with basic surface modifications to build confidence. Acrylic painting offers the fastest results because the porous clay absorbs pigment quickly. Apply a primer first to prevent the clay from drawing moisture out of the paint too fast. This ensures a smooth finish and prevents cracking. Simple geometric patterns or solid color blocking work best for those just starting out.
Decoupage is another high-impact entry point for hobbyists. You apply paper cutouts to the pot surface using an adhesive like Mod Podge. This technique allows for complex patterns without requiring advanced drawing skills. Seal the final layer to protect the design from water damage. Use thin paper to avoid bunching on the curved surfaces of the pot. These methods provide professional results with minimal investment.
Must Have Materials And Tools To Get Started With Terracotta Pot Crafts
Successful terracotta projects require specific tools to manage the unique properties of fired clay. You must prepare the surface by removing dust and factory residue. Standard cleaning supplies and fine-grit sandpaper are necessary for this initial stage. Proper preparation ensures that adhesives and pigments bond permanently to the clay body. Invest in quality applicators to achieve clean lines and even coverage across different pot sizes.
- Acrylic Craft Paints: These water-based paints are ideal for porous terracotta. They dry quickly and provide high opacity. Choose multi-surface formulas for better durability against UV rays and moisture exposure in outdoor settings.
- Synthetic Bristle Brushes: Use synthetic fibers rather than natural hair for clay work. They maintain their shape when used on rough surfaces. Keep a range of sizes, including flat brushes for coverage and detail brushes for fine lines.
- Clay Sealants: Use a clear acrylic sealer to protect the finished design. Sealants prevent water from seeping through the clay and bubbling the paint. Apply to both the interior and exterior for the most effective moisture barrier.
- Adhesive Mediums: High-quality decoupage glue or waterproof E6000 is vital for attaching embellishments. These adhesives withstand temperature fluctuations and humidity changes. Always allow for full curing times according to manufacturer specifications before putting the pot into active use.
- Fine Grit Sandpaper: Use 220-grit sandpaper to smooth out manufacturing ridges or rough edges. A smooth surface allows for even paint application and better decal adhesion. Sanding also opens the pores of the clay to drink in the primer more effectively.

Select your materials based on the final environment of the pot. Indoor projects allow for more delicate finishes like fabric wraps or light glues. Outdoor items require weather-resistant sealants and heavy-duty bonding agents to survive rain and sun. Always test your paints on the bottom of the pot to check for color shifts after the clay absorbs the liquid. Use these tools to ensure your craft lasts for several seasons.
Top Clay Pot Decorating Ideas To Elevate Your Indoor And Outdoor Spaces
Seasonal Clay Pot Decorating Ideas For Year Round Style
Terracotta offers a porous base that accepts seasonal modifications easily. Use lime wash in spring to create a weathered white finish. This mimics historical European garden aesthetics. During summer months, apply UV-resistant clear coats to prevent sun bleaching on painted designs. These technical layers protect the structural integrity of the clay. Effective seasonal transitions rely on choosing materials that bonds with the earthenware surface permanently or temporarily.
Transition to autumn by using metallic copper leaf or oil-based paints. These materials handle moisture better during colder months. In winter, focus on interior displays to prevent the pot from cracking in freezing temperatures. Porous clay expands when absorbed water freezes. Move your decorated units to climate-controlled areas. Strategic placement ensures your design work survives the thermal expansion cycles. Match your color palette to natural shifts in light and foliage.
How To Use Texture And Pattern In Clay Pot Decorating Ideas

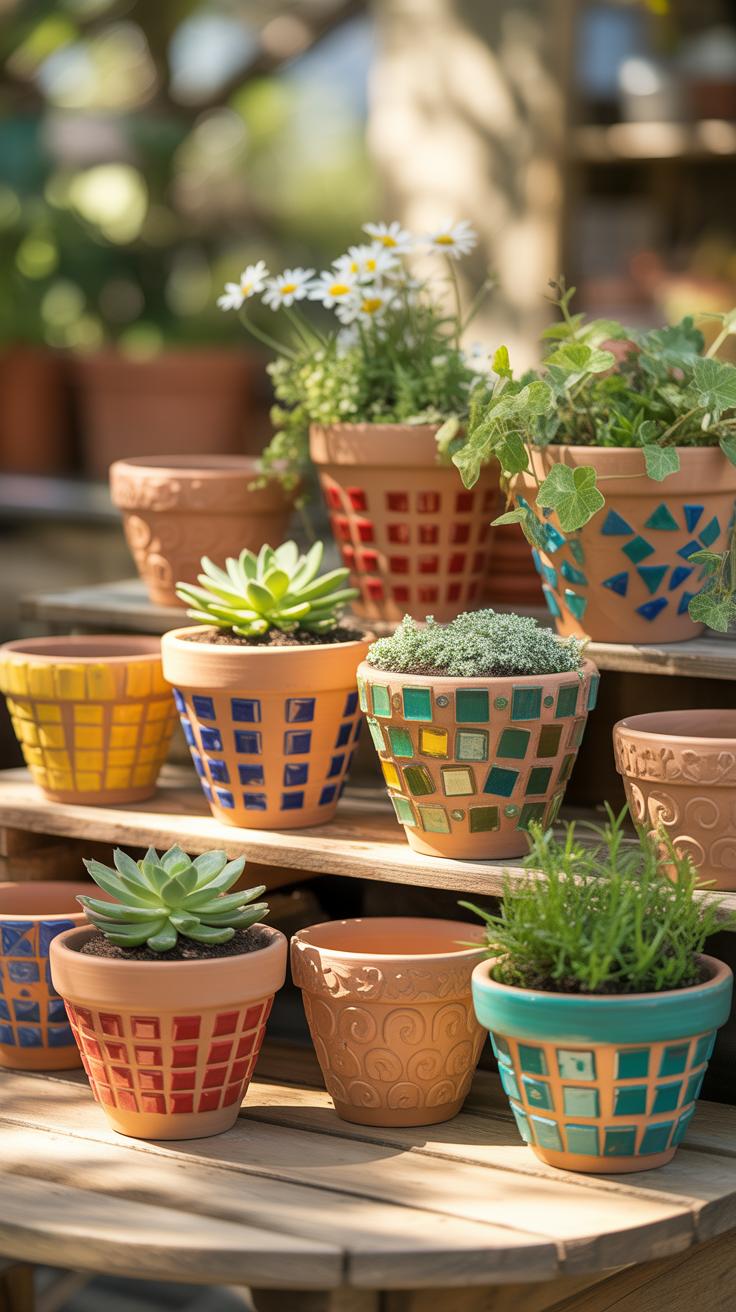
Texture changes the visual weight of a terracotta pot. Use the sgraffito technique to scratch designs into wet slip or paint layers. This method dates back to ancient pottery traditions. It reveals the natural orange clay beneath a darker surface. You can also apply sand-textured additives to acrylic paint. This creates a grit that mimics aged stone. Rough textures hide surface imperfections and provide a tactile grip for handling.
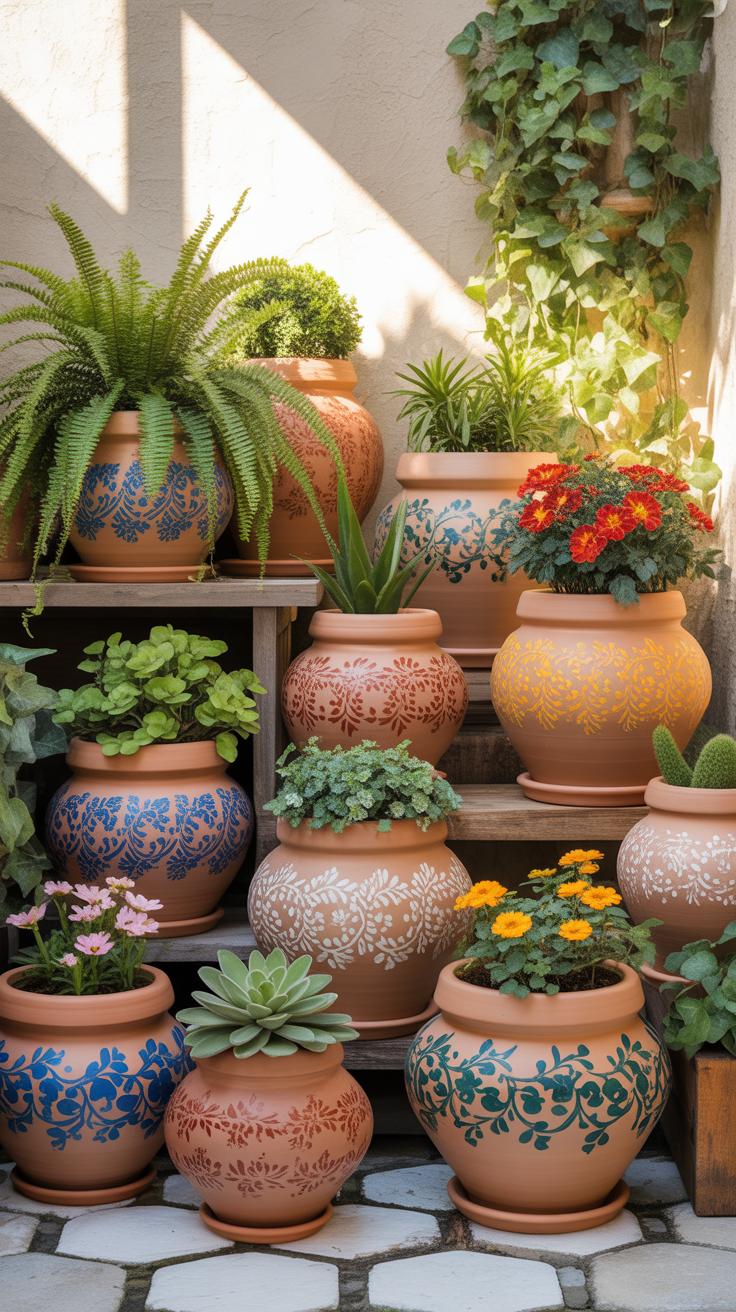
Geometric patterns provide a modern contrast to the organic shape of the pot. Use low-tack painter tape to define sharp lines and grids. This prevents paint bleed on the uneven surface. For historical accuracy, look to Greek or Moroccan motifs. These patterns use repeating mathematical shapes. Apply these designs with high-pigment mineral paints for longevity. Patterns help unify a collection of different sized pots into a cohesive visual system.
How Terracotta Pots Bring Warmth And Character To Rustic Gardens
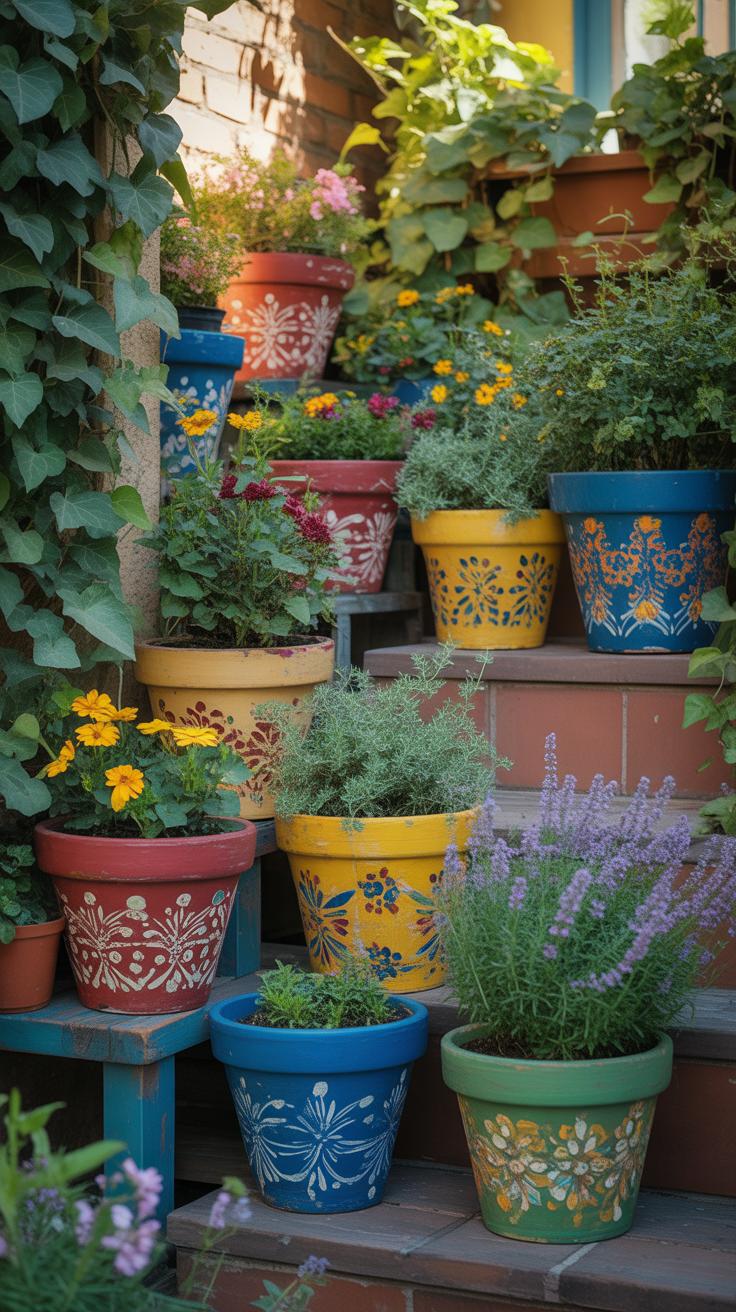
Designing A Cohesive Rustic Garden Layout With Terracotta Pots
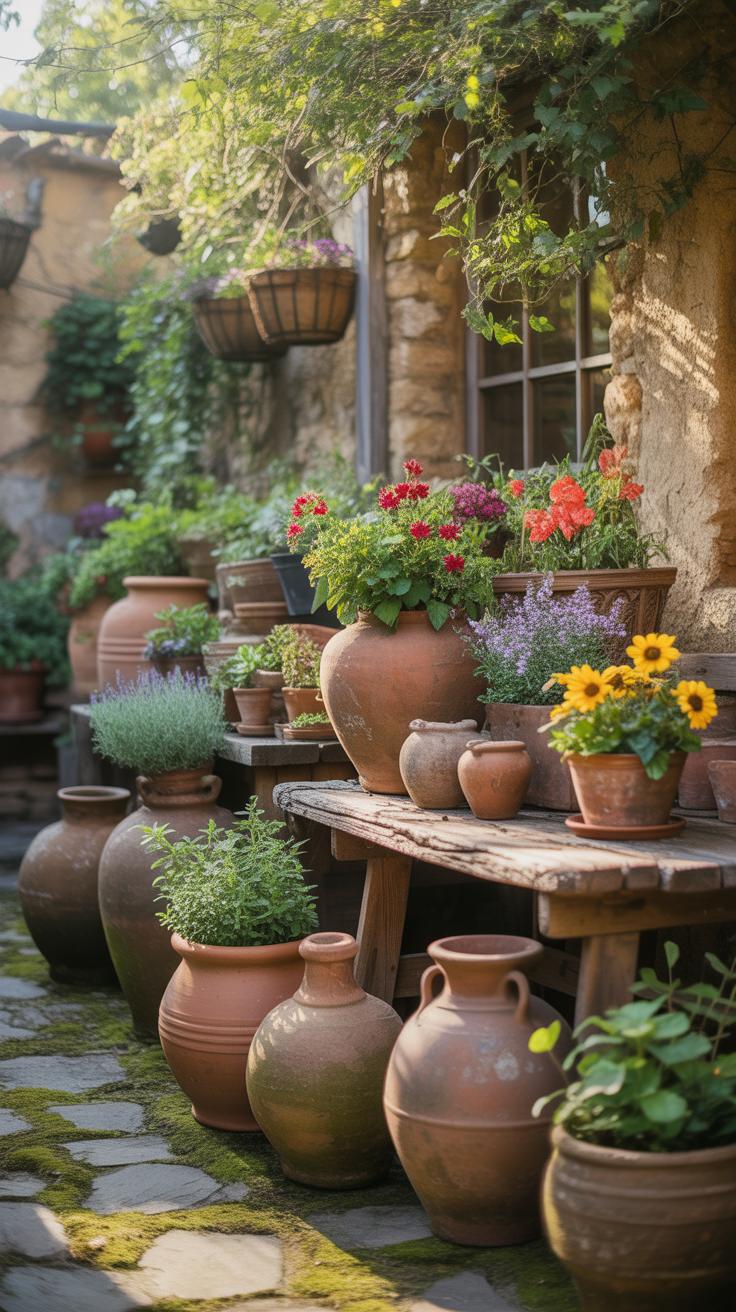
Effective layout design requires grouping pots in odd numbers to create visual interest. Place larger vessels at the rear of your arrangement to build depth. Use different heights to mimic natural growth patterns seen in old European cottage gardens. This technique draws the eye through the space. Position pots along gravel paths or stone walls to soften hard edges and define clear walkways.
Select pots with varying textures and ages to ensure the garden looks established rather than new. Mix salt glazed pieces with raw clay to add contrast. Place heavy containers in permanent spots to provide structural anchors. Use smaller pots for seasonal rotations. Ensure each vessel sits on a level surface to prevent drainage issues. Proper spacing allows for air circulation and prevents disease spread between plants.
Pairing Terracotta Pots With Native Plants For An Authentic Rustic Garden Feel
Identify local plant species that thrive in dry clay environments. Native perennials often require less water and match the earthy tones of terracotta perfectly. Choose plants with silver or muted green foliage to complement the orange hues of the fired clay. This color strategy creates a balanced look. Avoid neon colors that clash with the natural finish of the pots and break the rustic aesthetic.
Match the root depth of your chosen native species to the pot shape. Use deep long tom pots for taproots and wide pans for spreading groundcovers. Grouping plants with similar water needs saves time and prevents overwatering. Research the mature size of your plants to avoid overcrowding. Native plants attract local pollinators which improves the health of your entire garden. Stick to local flora for a low maintenance layout.
Creative Clay Pot Ideas DIY Projects That Transform Simple Pots Into Showstoppers
Stacked And Tiered Clay Pot DIY Projects For Vertical Garden Displays

Vertical stacking maximizes growing space on small footprints. You need a central support rod to maintain stability. Use a metal rebar or a thick wooden dowel driven into the ground or a base pot. Thread graduated pot sizes through their drainage holes onto the rod. Tilt each pot at an angle to create a spill effect for trailing plants like ivy or sedum.
Gravity and center of mass dictate the success of tiered designs. Place the largest, heaviest pot at the bottom to act as an anchor. Fill inner voids with gravel or packed soil to prevent shifting. This method mimics the Italian terrace style of gardening. It allows for better air circulation and drainage between levels. Use high-fired terracotta to ensure the structural integrity of the bottom layers.
Upcycling And Repurposing Terracotta Pots With Fun DIY Project Techniques
Repurposing terracotta requires understanding its porous nature. To reuse old pots, you must first remove mineral deposits and salts. Scrub the surface with a stiff brush and a vinegar solution. This restores the natural pH balance of the clay. You can convert broken shards into drainage layers or plant markers. This practice reduces waste and honors the longevity of the material used in traditional pottery.
Techniques like lime washing or decoupage change the surface texture. Lime wash creates an aged patina that mimics the look of ancient Mediterranean stone. It allows the clay to breathe while providing a light-reflective finish. Decoupage uses paper and sealant to add specific patterns. Always use a water-based sealer to maintain the health of the plants. These methods turn utility items into high-end design assets for any interior space.
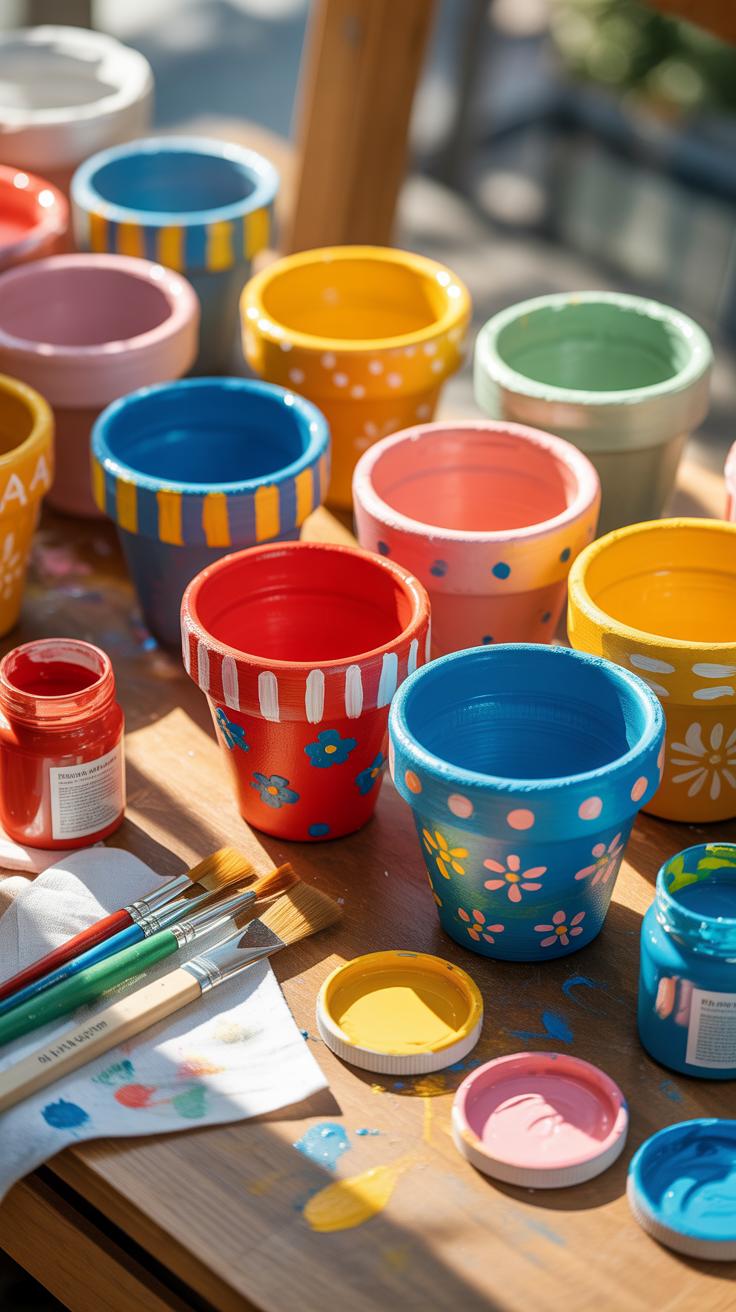
Best Paint Pots Ideas To Add Vibrant Color And Personality To Your Terracotta

Choosing The Right Type Of Paint For Long Lasting Paint Pot Results
Terracotta is a highly porous clay material. It absorbs moisture from the soil and the air. Standard interior latex paint will peel and bubble because it cannot breathe. Use water-based acrylic paint for general decorative work. This paint flexes with temperature changes and allows some moisture transfer. Always check the label for lightfastness to ensure colors do not fade under direct UV exposure.
For functional planters, you must choose between breathability and durability. Chalk paint offers a porous matte finish that complements the rustic nature of clay. It allows the pot to maintain its natural cooling properties. If you want a glossy finish, use mineral-based paints or specialized masonry coatings. These products bond chemically with the clay surface. They resist the white salt buildup known as efflorescence that often ruins basic paint jobs.
Step By Step Guide To Achieving Stunning Paint Pots Ideas At Home
Proper preparation determines the lifespan of your design. You must remove all dust, oils, and chemical residues from the clay surface before applying any pigment. Start by scrubbing the pot with a stiff brush and water. Let the terracotta dry completely for at least twenty-four hours. Moisture trapped inside the walls will force the paint to lift. Once dry, sand the surface to ensure a smooth mechanical bond.
- Surface Cleaning: Use a mixture of white vinegar and water to strip away mineral deposits. New pots often have a fine dust that prevents paint adhesion. Scrub every inch of the exterior and the top two inches of the interior wall.
- Applying Sealer: Coat the interior of the pot with a clear water-based sealer. This barrier prevents water from seeping through the clay and pushing the paint off from the inside out. Apply two thin coats for maximum protection.
- Base Layering: Apply a high-quality primer or a solid base coat of acrylic paint. Use a foam brush to avoid visible brush strokes and ensure even coverage. Let this layer dry fully before you begin adding your decorative patterns.
- Pattern Execution: Use painter’s tape to create geometric lines or stencils for repeating motifs. Keep your paint layers thin to prevent cracking. Thick layers of acrylic paint behave like plastic and may peel away in large sheets if the pot gets bumped.
- Final Seal: Protect your finished work with a matte or glossy UV-resistant clear coat. This final layer shields the pigment from rain and sun damage. Ensure the sealer is compatible with the type of paint you used to avoid bubbling.
Work in a dry environment with low humidity for the best results. High humidity slows the curing process and can cause a cloudy finish on clear coats. Apply paint in thin, successive layers rather than one thick coat. This method builds a durable finish that resists chipping. Always allow each layer to become dry to the touch before proceeding. Rushing the drying process leads to poor adhesion and eventual failure.
Adorable Small Clay Pot Crafts Perfect For Gifts DCor And Mini Gardens

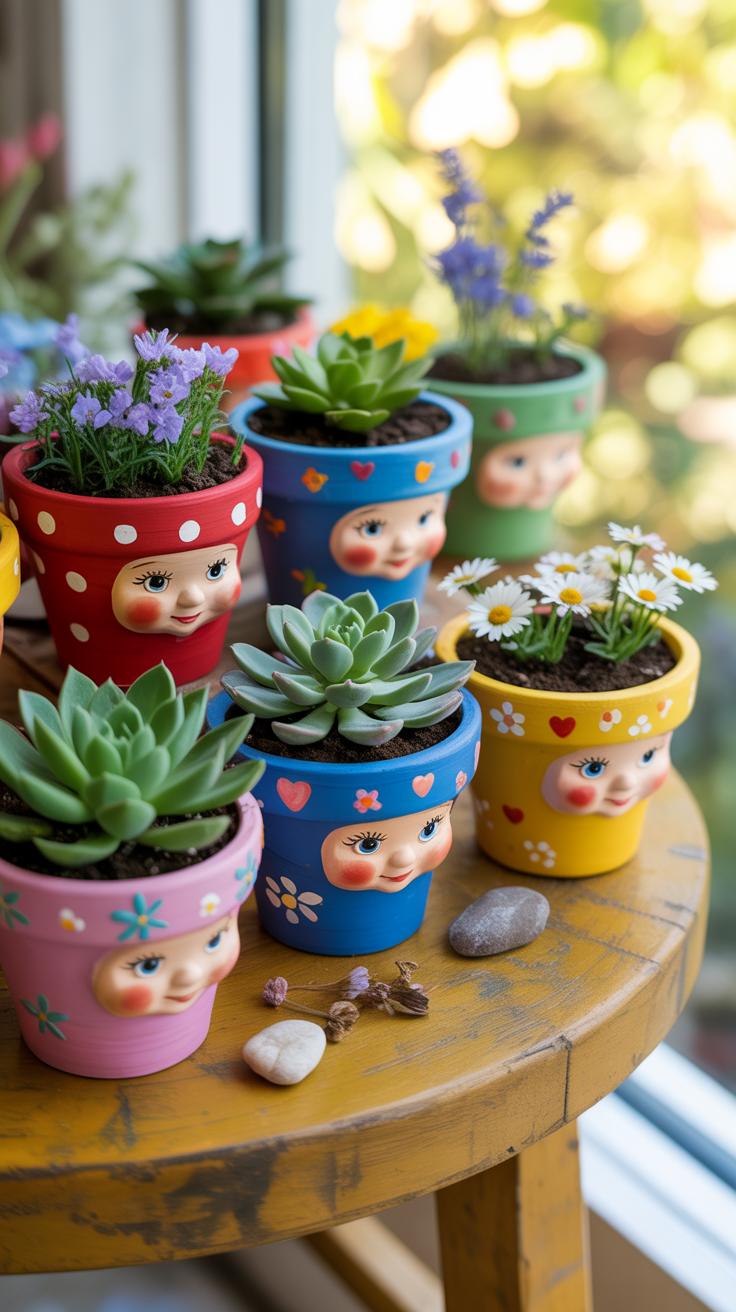
Miniature Succulent Arrangements Using Small Clay Pot Crafts
Small terracotta pots provide the ideal environment for succulent propagation. The porous clay allows oxygen to reach the root zone while wicking away excess moisture. This prevents root rot in drought-tolerant species like Echeveria or Sedum. Use two-inch pots for single specimens. Standardize your soil mix with coarse sand and perlite. This ensures the drainage matches the ceramic material properties.
Miniature arrangements require high light and low water frequency. Position these small vessels in clusters to maintain consistent humidity levels. Use stainless steel tweezers to place young offsets into the center of the pot. Press the soil firm to remove air pockets near fragile roots. These mini gardens serve as functional desk décor. They utilize the natural thermal mass of the clay to regulate soil temperature.
The clay pot is the most natural thing in the world, holding within its sun-warmed walls the timeless beauty of the earth and the future of every seed.
— Martha Stewart
Charming Small Clay Pot Craft Ideas For Holidays And Special Occasions
Terracotta serves as a versatile base for seasonal gift designs. Hand-painted motifs apply best to clean, dry surfaces. Use acrylic paint or oil-based markers for permanent adhesion. For holiday themes, stack different pot sizes to create tiered figures or bells. The weight of the clay provides stability for centers of gravity. This makes them safer for high-traffic tables or outdoor display areas.
Strategic gifting relies on the durability of the vessel. Small pots work as biodegradable containers for seed starter kits. Wrap the pot in burlap or twine to add texture without compromising the material integrity. These crafts focus on utility and longevity rather than temporary decoration. A well-sealed pot resists fading and cracking over time. This ensures your gift remains functional for years in any climate.

Exploring Pot Colouring Ideas That Bring Artistic Flair To Every Garden Corner
Using Natural Dyes And Earthy Tones In Pot Colouring Ideas For Organic Aesthetics
Natural dyes offer a sustainable way to alter terracotta surfaces without sealing the clay pores. Porous clay must breathe to regulate soil moisture and temperature effectively. Use iron liquor or black tea soaks to create subtle shifts in hue. These methods mimic the natural oxidation process seen in aged Italian gardens. They provide a weathered look that harmonizes with raw landscape materials.
Apply these organic washes using a sponge or soft cloth for even distribution. Avoid synthetic sealants if you want the pot to develop a natural patina over time. Use copper sulfate for green tones or wood ash for grey finishes. These mineral based applications bond with the clay minerals rather than sitting on top. This technique ensures the colour does not peel when exposed to frost or direct sun.
Bold And Bright Pot Colouring Ideas That Make A Statement In Outdoor Spaces
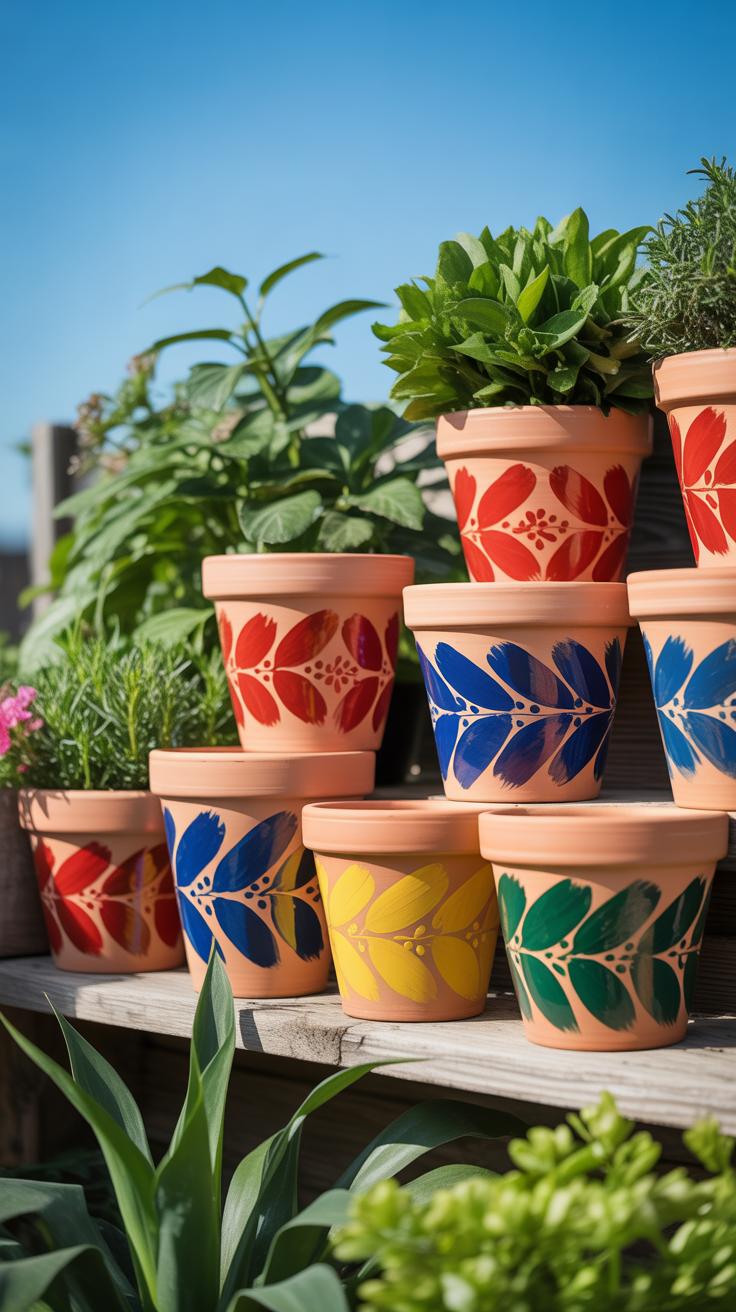
High contrast pigments transform standard orange clay into focal points for modern landscapes. Use liquid acrylics or masonry paints for maximum opacity and UV resistance. Bright blues and deep yellows reflect mid century modern design palettes. These colors draw the eye to specific architectural plants or garden zones. Proper preparation requires cleaning the surface with a wire brush to ensure the pigment adheres properly.
Treat the interior with a waterproof membrane if you use non breathable gloss paints. This prevents moisture from pushing the paint off the exterior surface from the inside out. Apply a primer specifically designed for masonry to block salt efflorescence. Bold blocking techniques use painter tape to create clean lines and geometric shapes. This approach works well for contemporary patios that require a structured and clean visual impact.
Painted Pot Ideas Easy DIY Techniques Anyone Can Master On A Weekend
Geometric And Abstract Painted Pot Ideas Easy DIY Styles For Modern Homes
Modern geometric designs rely on sharp lines and high contrast. Use painter tape to mask off sections of the terracotta surface. This prevents paint bleed and ensures professional results. Apply acrylic paint or specialized chalk paint for a matte finish. Focus on triangles, chevrons, or color blocking. These patterns complement the brutalist and minimalist aesthetics found in contemporary interior design.
Abstract styles favor movement over precision. Use a dry brush technique to create texture on the clay. This method involves using very little paint on the bristles. Sweep the brush across the pot to highlight the natural grit of the terracotta. Layer contrasting colors to add depth. This approach mimics mid-century modern art movements. It turns a simple utility item into a focal point for a room.
Floral And Nature Inspired Painted Pot Ideas Easy DIY Designs For Garden Lovers
Botanical designs connect the container to the plant life inside. Use fine-tipped brushes to paint simple leaf patterns or vines. Start with a base coat of white or cream to make colors pop. Detailed floral work requires steady hands and layered application. Many DIY creators use stencils to achieve symmetry. This method works well for those replicating traditional European or Victorian garden themes accurately.
Nature-inspired motifs often employ earth tones and organic shapes. Use sponges to create mottled textures that resemble natural stone or moss. This adds visual weight to the pot. Seal the finished work with a clear waterproof spray. This step protects the paint from moisture and UV damage. Proper sealing ensures the design lasts through multiple growing seasons. It keeps the pot functional for outdoor use in harsh weather.
How To Care For And Seal Your Decorated Terracotta Pots For Long Lasting Results
Understanding Why Terracotta Pots Are Porous And How It Affects Your Craft
Terracotta consists of fired clay that remains semi-permeable after processing. This material contains millions of microscopic holes that allow air and water to move through the walls. Historically, this breathability helped ancient civilizations prevent root rot in plants. However, for modern Terracotta Pot Ideas involving paint or fabric, this porosity becomes a liability. Moisture travels from the soil through the clay and pushes against your exterior decorations.
When water seeps through the pot, it creates hydrostatic pressure. This pressure forces the paint to bubble, peel, or crack from the inside out. Soluble salts in the water also migrate to the surface. They leave white, powdery deposits called efflorescence. You must recognize that an unsealed pot acts like a sponge. Failing to manage this moisture movement will destroy any artistic physical application you apply to the exterior surface.
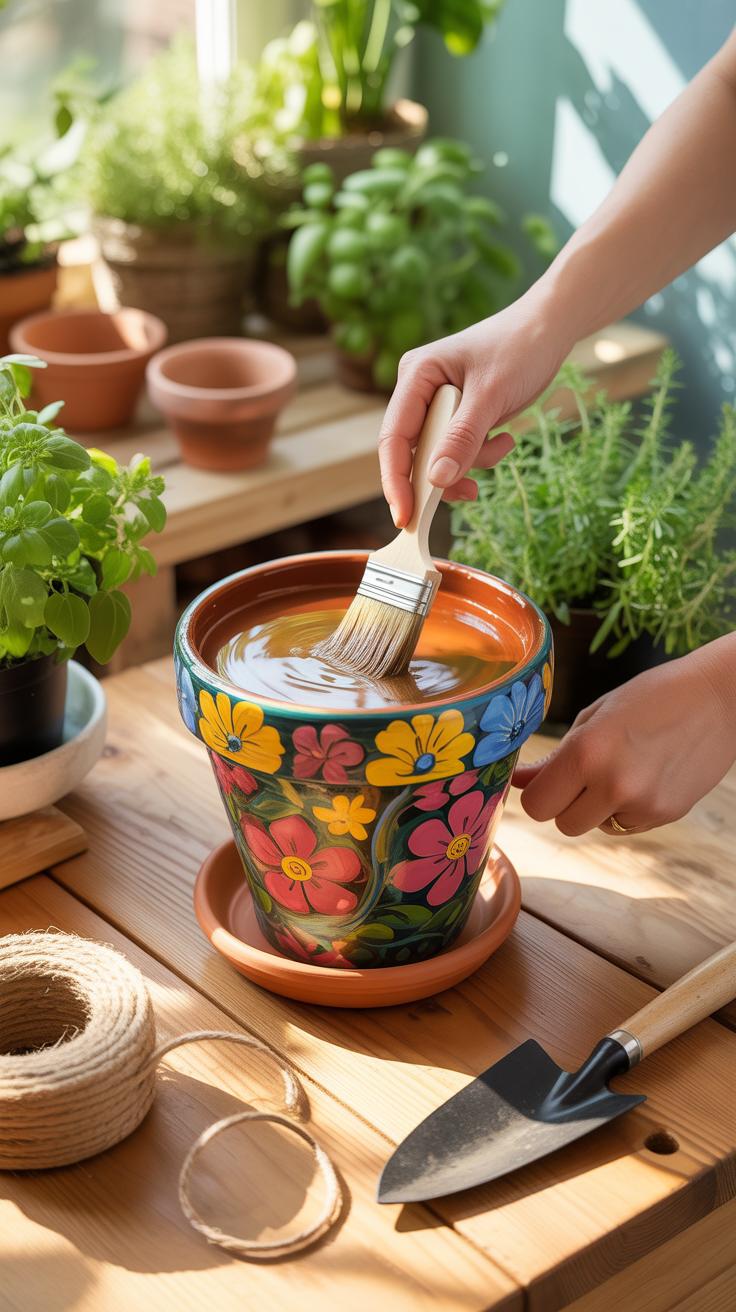
Best Sealing And Weatherproofing Methods To Protect Your Terracotta Pot Designs
Proper sealing requires a two-step approach to block moisture from both sides. Use a high-quality clay pot sealer or a clear acrylic spray to coat the interior walls first. This step stops water in the soil from reaching the clay body. You should also seal the drainage hole edges and the bottom of the pot. Total saturation of the clay prevents the expansion and contraction that leads to structural cracks.
Apply a UV-resistant topcoat over your finished exterior designs to prevent fading and weather damage. Choose a finish that matches your aesthetic, such as matte, satin, or gloss. Ensure the pot is completely dry and free of dust before applying any chemicals. If you live in a cold climate, move decorated pots indoors during winter. Trapped moisture can freeze and shatter the clay regardless of the sealant used.
Frequently Asked Questions

Why are terracotta pots considered a classic choice for indoor and outdoor plants?
Terracotta remains a staple because it is both functional and beautiful. The porous nature of the clay allows roots to breathe while preventing soil saturation, making it perfect for most houseplants. Beyond functionality, these vessels offer a timeless, earthy aesthetic that fits any style. Exploring different terracotta pot ideas allows you to blend several textures and warm tones into your home decor effortlessly, creating a cohesive and natural look.
How can I customize plain clay planters to match my interior design style?
Customizing your planters is a wonderful way to experiment with creative terracotta pot ideas. You can easily transform them using acrylic paint for a modern color-block effect or use the whitewashing technique for a rustic, farmhouse vibe. For a more tactile approach, try applying textured mud or plaster to the exterior. Always ensure you seal the inside of the pot if you are using water-based paints to prevent the moisture from bubbling.
Are there affordable ways to follow the latest terracotta trends without spending a lot?
Absolutely! One of the best things about this trend is its accessibility. You can find inexpensive pots at garden centers or thrift stores and elevate them with DIY techniques. Try aging new pots with a mix of lime and water to mimic a vintage patina or stack varying sizes to create a budget-friendly focal point. These simple terracotta pot ideas prove that high-end style doesn’t require a premium price tag for your garden.


