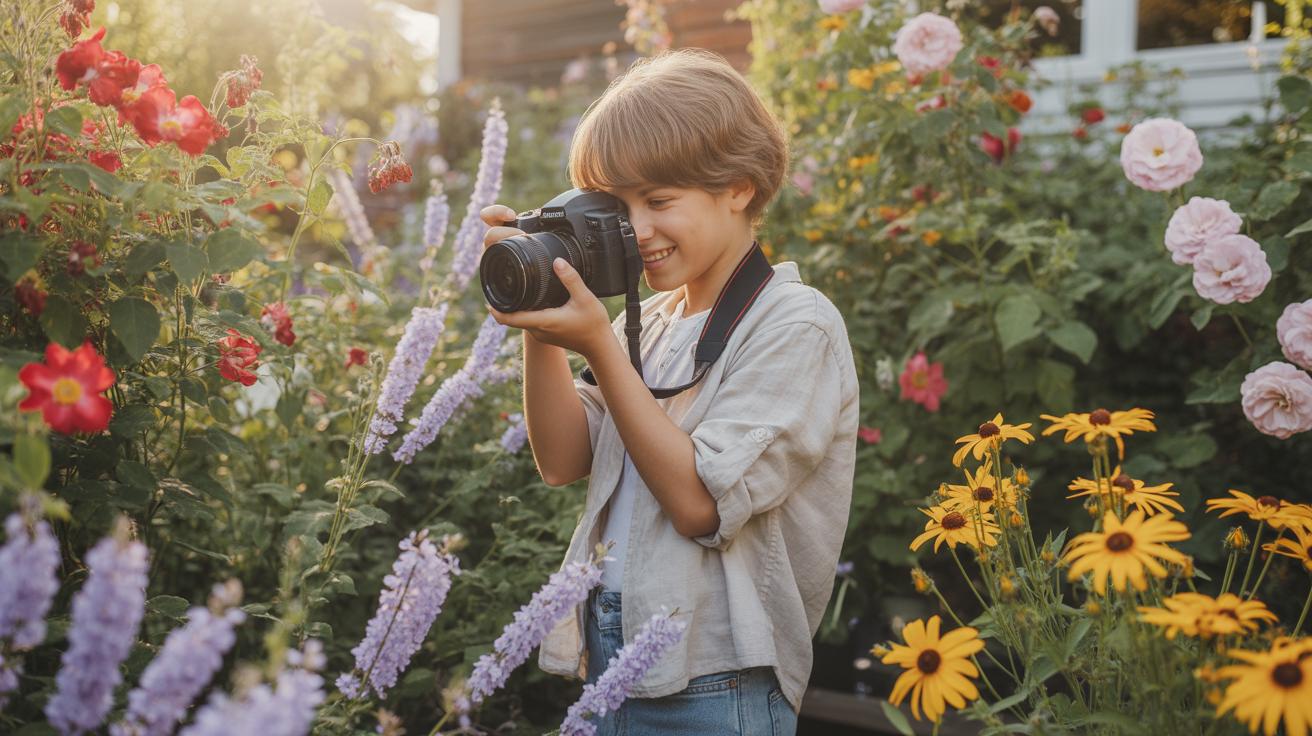
Flower Photo Shoot Ideas To Inspire Your First Outdoor Session
Choosing A Flower Subject That Tells A Story
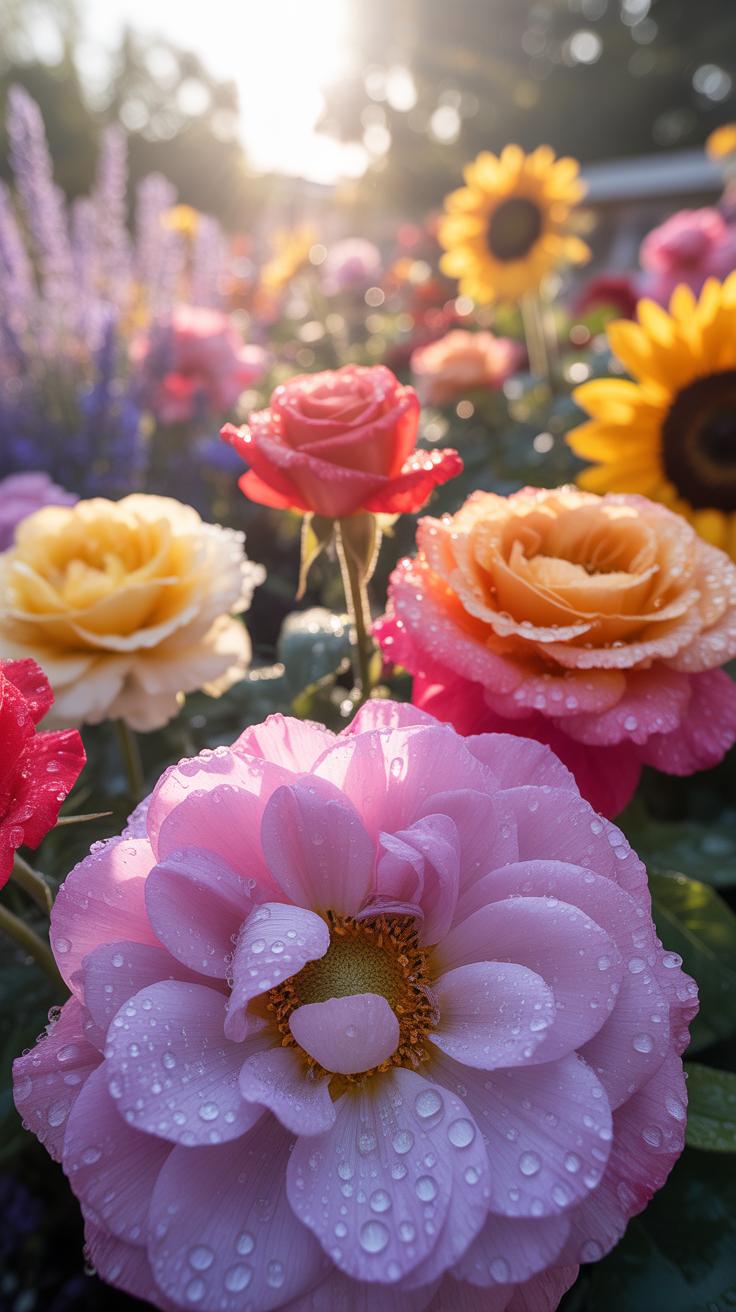
Select a primary subject based on health and structure. Look for flowers with intact petals and strong stems. A single bloom provides a clear focal point for the viewer. Isolate the subject to remove background distractions. Position your lens to capture the unique geometry of the flower. This approach creates a clean image that focuses on natural form and symmetry.
Think about the environment surrounding your subject. Use a wide aperture to blur the background while keeping the flower sharp. This depth of field technique emphasizes the subject within its habitat. Avoid cluttered areas that confuse the eye. Look for contrasting textures like soft petals against rough bark. These physical details communicate the reality of the plant life cycle without using words.
Drawing Inspiration From Seasons And Natural Blooming Cycles
Plan your shoot according to local blooming schedules. Spring offers soft colors and fresh growth like tulips or cherry blossoms. Summer provides hardy species and high sun saturation. Autumn features late bloomers and changing leaf colors. Knowing the specific life cycle of your target plant ensures you capture it at peak maturity. This timing is essential for high quality floral photography.
Weather conditions dictate the mood of the photo. Overcast days provide soft diffused light that eliminates harsh shadows on petals. Early morning dew adds physical texture and interest to the scene. Use the Golden Hour for warm directional light that highlights the fine details of the plant surface. Monitor local climate reports to choose the best window for your specific floral subjects.

Understanding Light For Better Flower Photography Ideas Photoshoot
Why The Golden Hour Produces The Softest Flower Photos
Golden hour occurs during the first hour after sunrise and the last hour before sunset. During these times, the sun sits low on the horizon. This position forces sunlight to pass through more of the Earth atmosphere. The atmosphere scatters blue light and allows warmer tones to reach your subject. This process creates a directional yet soft light source that eliminates harsh shadows.
Low angle light emphasizes the texture of flower petals and leaves. Direct midday sun flattens images and creates dark shadows that hide detail. Golden hour light provides a high dynamic range that digital sensors handle effectively. You gain better control over highlights and shadows without losing data. This light adds depth to the flower structure and makes colors appear more saturated and natural.
How Overcast Skies Act As A Natural Diffuser For Flowers
Cloud cover functions as a giant softbox for outdoor photography. On clear days, the sun acts as a small, intense point light source. This causes high contrast and blown out highlights on light colored flowers. Clouds scatter the sunlight in every direction before it hits the ground. This creates even illumination across the entire scene. You can shoot at any time during an overcast day.
Overcast conditions allow you to capture the true color of the bloom. Soft light reduces the reflective glare often found on waxy leaves or wet petals. This light simplifies the exposure process because the camera sensor sees a narrow range of brightness. You do not need to use reflectors or artificial diffusers to manage shadows. Details in the deep centers of flowers remain visible and sharp under gray skies.
How To Take Pics With Flowers Using Any Camera You Own

Getting Sharp Flower Shots With A Smartphone Camera
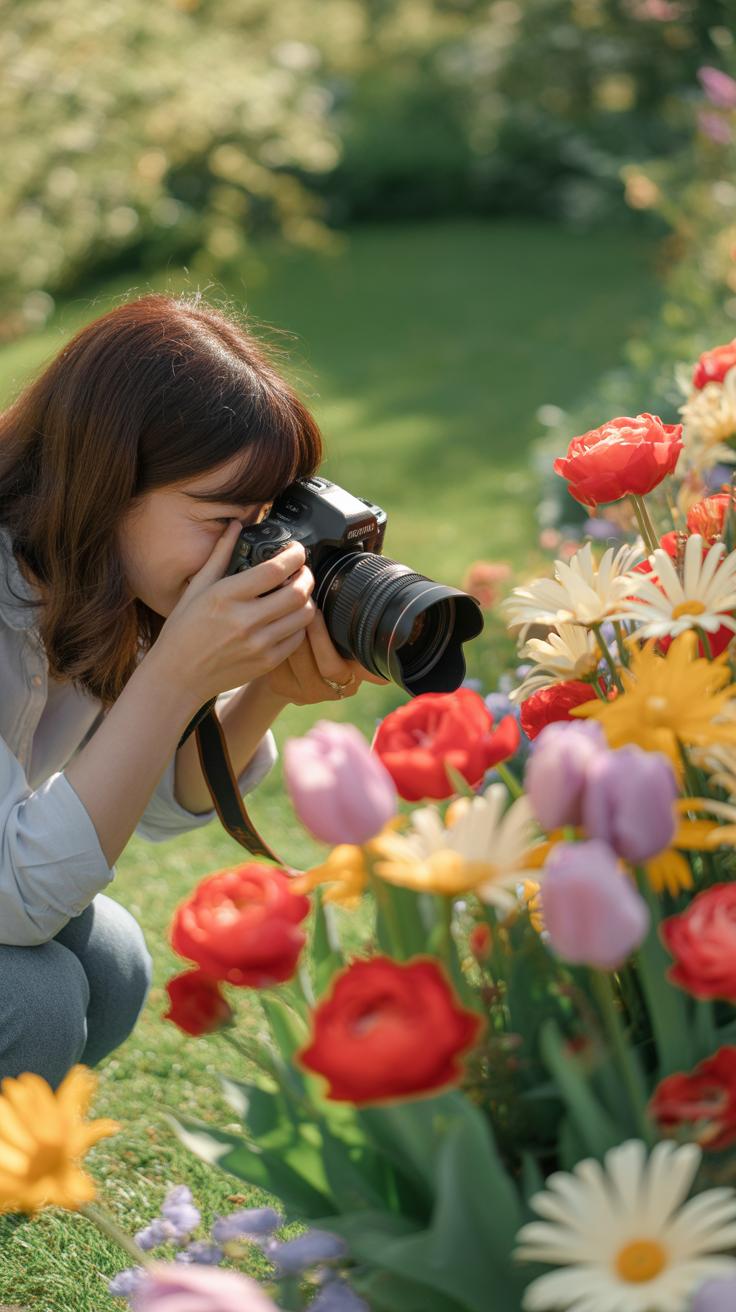
Smartphone cameras rely on small sensors and software processing. To get sharp flower photos, you must lock your focus manually. Tap the flower on your screen until the focus square appears and stays set. This prevents the lens from hunting or blurring the subject. Avoid using digital zoom because it crops pixels and ruins image quality. Move your body closer to the flower instead of pinching the screen to zoom.
Lighting determines the final clarity of your mobile images. Bright noon sun creates harsh shadows that confuse the sensor. Shoot during the golden hour or under thin clouds for even light. Use the exposure slider to dim the image if the flower petals look too bright. Stabilize your phone with both hands or a tripod. Wind often causes motion blur in outdoor shots. Wait for a calm moment before you tap the shutter button.
Basic DSLR And Mirrorless Settings That Work Well For Flowers
Professional cameras offer control over depth of field through aperture settings. Use Aperture Priority mode to manage the background blur. Select a low f-stop number like f/2.8 or f/4 to make the flower stand out. This technique mimics the soft backgrounds found in early impressionist photography. A fast shutter speed is also necessary to freeze moving stems. Set your shutter speed to at least 1/200th of a second for crisp results.

Manual focus provides more accuracy than autofocus when shooting close-up details. Turn the focus ring until the stamen and petals look sharp. Use a low ISO setting to keep the image clean and free of digital noise. Aim for ISO 100 or 400 for the best color reproduction. If the light is low, use a tripod rather than increasing the ISO. Proper exposure preserves the delicate textures and natural colors of the floral subject.
Exploring Creative Flower Photography Ideas Through Composition
Applying The Rule Of Thirds To Frame Your Flower Shots
The rule of thirds divides your frame into a grid with nine equal parts. Place the center of the flower or a specific petal on one of the four intersections. This technique creates a balanced yet dynamic image. Natural subjects rarely sit in the dead center of a frame in professional work. Off-center placement guides the eye through the entire photo instead of fixing it on one spot.
Aligning the stem with a vertical grid line adds structural stability to your shot. You create tension and interest by leaving more space on one side of the flower. This method prevents the image from looking like a flat scientific record. Use your camera grid overlay to verify placement before you press the shutter. Consistent use of this mathematical grid improves the visual flow of your outdoor floral portraits.
Using Leading Lines And Negative Space In Flower Portraits
Leading lines direct the viewer toward your main subject using natural shapes. Use the stem or a curved leaf to create a path for the eye. These lines should start from the corner or edge of the frame. They pull the viewer into the scene and emphasize the depth of the garden. In macro photography, the edge of a petal serves as a sharp line that defines the focal point.
Negative space refers to the empty areas around the flower. Use a clear sky or a blurred green background to isolate the subject. This technique removes distractions and makes the colors of the flower pop. It gives the viewer a place to rest their eyes while focusing on the details of the bloom. Large areas of solid color create a minimalist look that appears modern and professional in various lighting conditions.
Essential Tips For Taking Pictures Of Flowers Outdoors
Must Have Gear And Accessories For Outdoor Flower Photography
Standard camera bodies work well, but your lens choice determines the final image quality. Macro lenses provide the necessary 1:1 magnification ratio for detailed close-up shots. Without specific optics, you cannot capture the intricate textures of petals or reproductive organs. Stability is also a primary concern because extreme close-ups amplify even the slightest camera shake during the exposure process.
- Macro Lens: A dedicated macro lens allows for a life-size magnification of the flower. This hardware is essential for sharp focus at very close distances. Standard zoom lenses often fail to focus when moved too close to the subject.
- Tripod: A sturdy tripod eliminates blur caused by shaky hands. Choose a model with a central column that tilts or reverses. This feature allows you to position the camera inches from the ground for low-growing plants.
- Reflector: Small handheld reflectors bounce natural light into shadowed areas of the flower. This tool balances the exposure without the need for complex artificial lighting setups. White or silver surfaces provide the most neutral and effective light fill.
- Remote Shutter Release: Pressing the camera button manually creates vibration that ruins sharpness. Use a remote cable or a wireless trigger to fire the shutter. This ensures the camera remains perfectly still during the critical moment of capture.
- Diffuser: A translucent fabric disc softens harsh, direct sunlight. Placing a diffuser between the sun and the flower mimics the lighting of a cloudy day. This technique prevents blown-out highlights and preserves the natural color saturation of the bloom.
Small accessories solve specific environmental problems that expensive cameras cannot fix on their own. Plamps or small clamps hold distracting stems out of the frame without damaging the plants. Kneeling pads protect your body when you must work at ground level for extended periods. These tools allow you to focus on composition rather than physical discomfort or mechanical limitations.
How Wind And Weather Conditions Affect Your Flower Shots
Wind is the primary enemy of sharp flower photography. Even a light breeze moves a flexible stem enough to create motion blur at standard shutter speeds. You must increase your shutter speed or use a physical windbreak to lock the subject in place. High-speed bursts increase your chances of hitting a sharp frame between gusts during unpredictable weather.

Cloudy days provide the best natural light for outdoor floral work. Overcast skies act as a giant softbox that eliminates deep shadows and highlights. Rain adds valuable visual elements like water droplets which enhance the texture of the petals. Avoid shooting in the middle of a sunny day because the high contrast hides detail and washes out deep colors.
How To Improve Flower Photography With Depth And Focus Techniques
Using A Shallow Depth Of Field To Isolate Your Flower Subject
Set a wide aperture using low f-stop numbers like f/2.8 or f/4 to create a shallow depth of field. This technique creates a sharp subject against a blurred background. Use a long focal length lens to compress the scene and enhance this effect. Distance matters in this process. Position your camera close to the flower while keeping the background far away from the petals.
A shallow depth of field removes visual clutter from the frame. Busy gardens contain distracting leaves and stems that ruin a shot. By blurring these elements, you force the viewer to look exactly where you want. This method replicates the look of professional macro photography without expensive gear. Keep your camera steady because a thin plane of focus leaves very little room for physical movement errors.
Earth laughs in flowers, so let your lens capture the gentle joy of a garden in bloom. Every petal tells a story of sunbeams and simple beauty waiting to be framed.
— Ralph Waldo Emerson
Manual Focus Versus Autofocus When Shooting Close Up Flowers

Autofocus systems often struggle with thin stems and moving petals. Wind causes flowers to sway and forces the camera to hunt for focus. This lag results in blurry images and missed shots. In bright light, the sensor might lock onto high-contrast background elements instead of the flower. Use single-point autofocus if you must use electronics, but recognize its limitations in dense foliage and macro ranges.
Manual focus provides the precision needed for professional results. Switch your lens to manual mode and use the focus peaking feature on your digital screen. This tool highlights sharp edges in bright colors. Rotate the focus ring slowly until the most important part of the flower glows. This control ensures the pollen or petal edges stay sharp. It eliminates the frustration of technical errors during critical light windows.
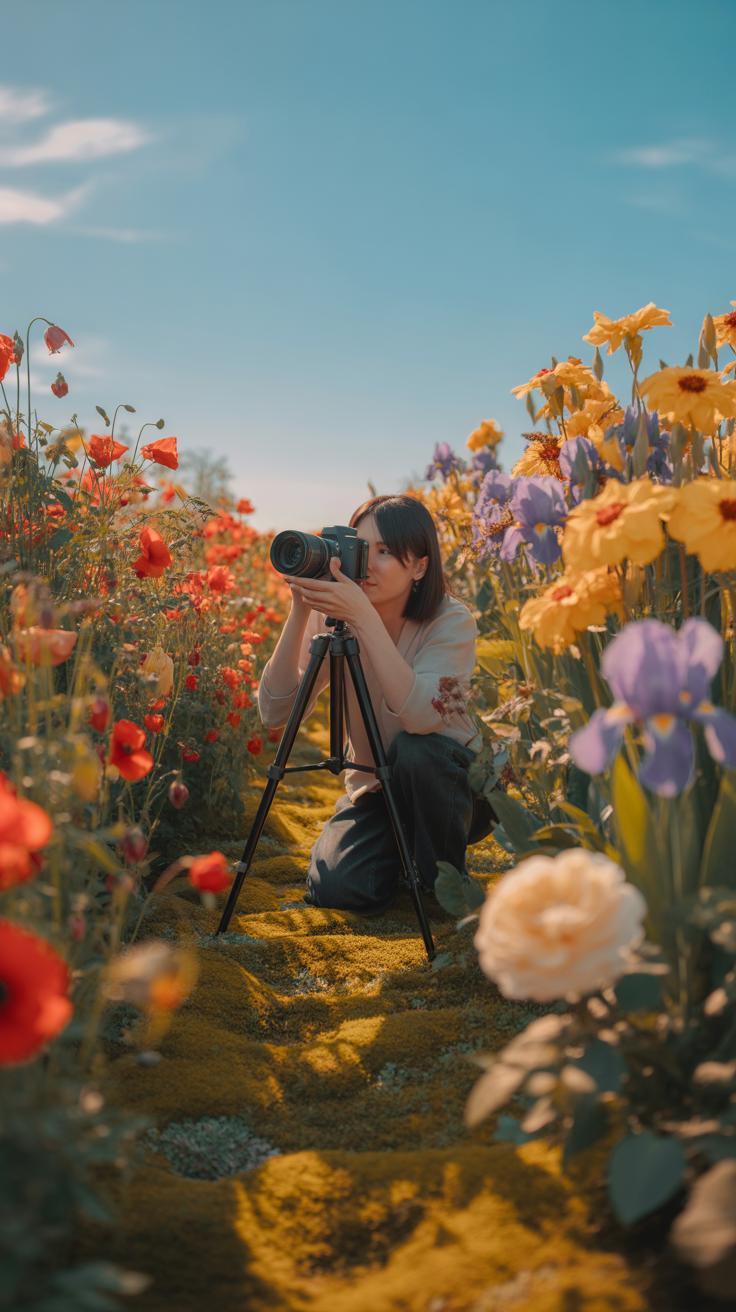
Flower Field Photoshoot Photo Ideas For A Dramatic Outdoor Look
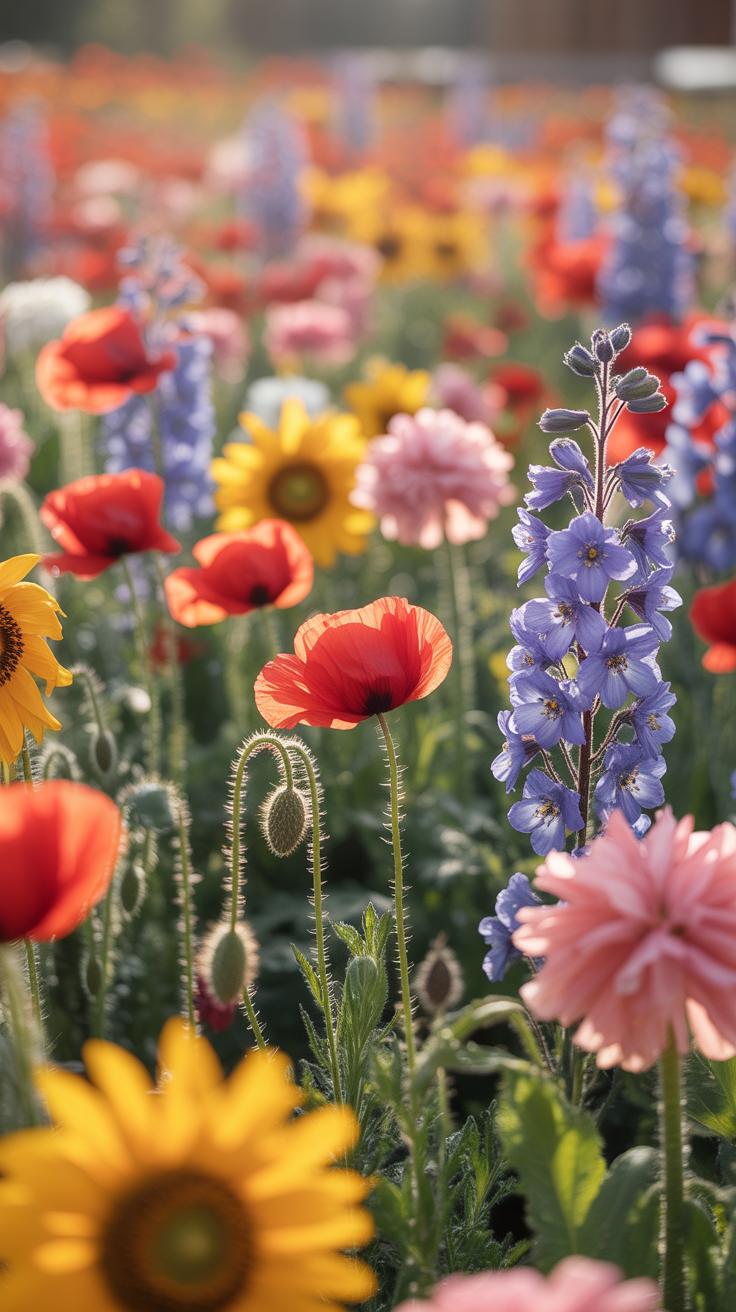
Capturing Depth And Scale Across A Wide Flower Field
Wide flower fields look flat without a clear anchor. You must use a focal point in the foreground to create depth. A person or a distinct prop provides a sense of scale against the horizon. This technique forces the eye to travel through the image. Use a small aperture like f/8 or f/11 to keep both the front flowers and the distant background sharp.

Composition relies on leading lines to pull the viewer into the frame. Natural paths or rows of planted flowers serve this purpose. Align these lines so they point toward your main subject or a sunset point. Positioning the horizon on the upper third line follows the rule of thirds. This balance prevents the sky from overpowering the sheer volume of the floral landscape.
Positioning Yourself Low To Create An Immersive Field Perspective
Dropping your camera height changes the entire look of a field. Shooting from the level of the flower heads creates a dense wall of color. This removes empty patches of soil or grass from the frame. It makes a sparse field look thick and lush. You hide the ground and focus entirely on the petals. This low angle creates a professional and high-end look.
Use a wide-angle lens while staying close to the nearest blooms. This creates a foreground blur that frames your subject. The exaggerated perspective makes the flowers near the lens look massive. It pulls the viewer directly into the environment. Frame the subject so they appear nestled within the growth. This physical proximity to the plants adds a raw and tactile feel to every shot.
Mastering Flower Field Photography With Natural Backgrounds
How To Use Bokeh To Make Your Flower Background Glow

Bokeh refers to the quality of out of focus areas in an image. You create this effect by using a wide aperture like f/1.8 or f/2.8. A wide aperture decreases depth of field. This separates the flower from the background. Light hitting dew or leaves creates soft circles of light. These glowing shapes improve the visual impact of your main subject.
Position the flower several feet away from the nearest background object. More distance between the subject and the background increases the blur effect. Use a telephoto lens to compress the scene further. This technique forces the background to expand and soften. Large glass elements in professional lenses produce smoother bokeh. Keep your camera sensor parallel to the flower face for the sharpest results.
Identifying Distracting Background Elements Before You Shoot
Check the frame for high contrast objects before pressing the shutter. Bright white spots or dark branches pull the eye away from the flower. These elements create visual clutter that ruins a clean composition. Scan the edges of your viewfinder for power lines or trash. Move your body a few inches to the left or right to hide these distractions behind the flower.
Changing your shooting angle often fixes background issues. Get low to the ground to use the sky as a clean backdrop. A clear blue or overcast sky provides a neutral canvas for vibrant petals. Look for patches of solid color like green grass or brown dirt. Uniform colors prevent the background from competing with the subject. Simple backgrounds produce the most professional flower field photographs.
Flower Garden Photoshoot Ideas That Work For Every Skill Level
Best Public And Private Gardens For Beginner Flower Photography
Public botanical gardens offer the best starting point for new photographers. These locations group plant species by climate and type. You find labeled sections like rose gardens or alpine collections. This structure lets you predict bloom cycles and plan your gear needs. Professional staff maintain these grounds to ensure plants look healthy. Better plant health translates to less editing time during post-processing.
Private estate gardens provide unique historical backdrops for your shots. Many gardens feature Classical or English Landscape movements. These styles use stone paths, iron gates, and water features to frame nature. Search for local historic houses that open their grounds to visitors. These sites offer architectural leading lines that public parks often lack. Use these physical structures to guide the viewer’s eye toward the flower subjects.
Simple Styling Tricks To Elevate Your Garden Flower Compositions
Composition determines the professional quality of a garden photograph. Beginners often shoot from eye level, which looks generic. You must change your physical relationship to the plants to find a better angle. Use gardening mats to get low to the ground for macro shots. This perspective creates a distinct separation between the flower and the soil. Sharp focus on the stamen creates a clear visual anchor.
- Color Theory Selection: Use a color wheel to find complementary shades before shooting. Primary colors like yellow flowers against purple backgrounds create high contrast. Harmonic colors like pinks and reds offer a soft and unified look.
- Negative Space Utilization: Leave empty areas around a single bloom to reduce visual clutter. This technique focuses all attention on the texture of the petals. High-end editorial photography relies on this method to make the subject pop.
- Reflector Placement: Use a portable white or gold reflector to bounce natural light into shadows. Garden canopies create harsh dark spots that ruin flower details. Filling these areas with soft light reveals the natural veins and patterns of the plant.
- Water Droplet Application: Carry a spray bottle filled with distilled water to simulate dew. Real dew evaporates quickly after the sun rises. Artificial droplets add texture and catch light to make the flower look fresh and vibrant during the shoot.
- Focus Stacking Technique: Take multiple shots at different focus points and merge them later. This method ensures the entire flower remains sharp from front to back. It overcomes the shallow depth of field limitations found in standard macro photography lenses.
Background control is the final step in professional garden styling. Move your feet until the background consists of solid greenery or sky. Busy backgrounds with fences or trash cans distract from the natural beauty. Use a wide aperture to blur distant foliage into a smooth bokeh effect. This technique isolates the subject and provides a clean canvas. Consistent background management separates amateur snapshots from high-quality botanical art.
Editing And Sharing Your Outdoor Flower Photoshoot Results
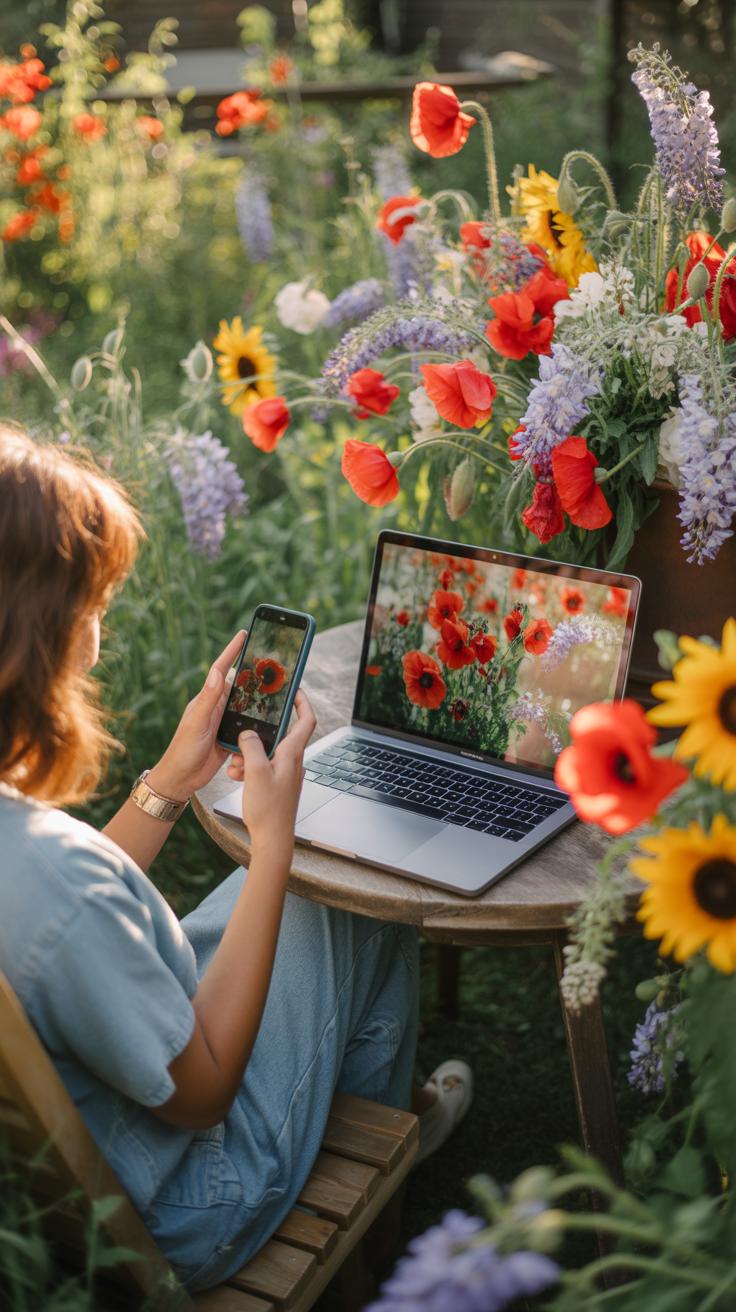
Free And Beginner Friendly Editing Tools For Flower Photos
Beginners should start with Snapseed or Darktable to manage raw files and color correction. Snapseed offers mobile agility for quick adjustments like brightness and contrast. Darktable provides an open-source alternative to paid desktop software. These tools allow you to fix exposure and shadows without spending money. Use them to stabilize your workflow before investing in professional suites. Efficient editing requires software that handles high-resolution data without crashing.
Focus on the histogram to ensure you do not lose detail in bright petals. Use the healing tool to remove distracting dust or insects from the frame. Adjust the white balance to correct shifts caused by natural light changes. Sharpness should be applied sparingly to avoid digital noise. Export your final files in JPEG format for universal compatibility. Proper editing enhances your original vision without distorting the natural colors.
How To Present And Share Your Flower Photography Online
Digital presentation requires specific file formats and color profiles to maintain accuracy. Use the sRGB color space for all web uploads to prevent color shifting on different screens. Platforms like Instagram and Pinterest favor vertical orientations for mobile viewing. Resize your images to match the platform requirements to avoid blurry compression. High-quality presentation proves your technical skill to potential viewers and clients.
Naming and metadata provide critical information for search engines and archival purposes. Add your name and a brief description to the IPTC metadata fields. This practice protects your intellectual property and helps people find your work. Choose a consistent aesthetic for your online gallery to build a recognizable brand. Direct engagement on photography forums provides technical feedback for your growth. Data-driven sharing strategies maximize the reach of your flower photography results.
Frequently Asked Questions

What is the best time of day for a beginner to take flower photos outside?
For those just starting out, timing is everything. The best outdoor flower photoshoot tips always suggest shooting during the “golden hour,” which occurs shortly after sunrise or before sunset. The light is soft, warm, and multidimensional during these times, helping you avoid the harsh shadows and blown-out highlights that occur midday. This natural diffusion makes your floral subjects appear more vibrant and professional without needing extra equipment.
How can I get a blurry background in my outdoor floral photography?
Achieving a soft, blurred background—known as bokeh—is a classic look for garden photography. To do this, switch your camera to Aperture Priority mode and select the lowest f-number available, such as f/2.8 or f/4. Physically moving closer to the bloom while keeping the background distant also enhances this effect. Following these outdoor flower photoshoot tips will help your primary subject pop while creating a dreamy, high-end lifestyle aesthetic.
Do I need an expensive professional camera to take high-quality flower pictures?
Absolutely not! You can capture stunning floral images using just your smartphone. Modern mobile cameras have incredible macro capabilities and “Portrait” modes that mimic professional lenses. Focus on using natural stabilizers, like leaning against a tree, and look for interesting angles or unique color contrasts in your backyard. Great photography is more about your creative eye and understanding light than it is about owning the most expensive gear on the market.


