Understanding The Basics Of Flower Close Up Macro Tips For Sharper Images
What Macro Photography Actually Means And Why It Matters For Flowers
Macro photography is the art of capturing small subjects at life size or larger on the camera sensor. Technically, true macro requires a 1:1 reproduction ratio. This means the flower stamen or petal occupies the same physical space on the sensor as it does in reality. Professionals use this technique to reveal textures and structures that the naked eye cannot see during casual observation.
Understanding this definition prevents equipment mistakes. Standard lenses often carry a macro label but only offer 1:3 magnification. This creates soft images when you crop them later. For flowers, true macro gear allows you to fill the frame with tiny details like pollen grains. This technical precision is what separates a snapshot of a garden from a professional study of botanical anatomy.
How Magnification Ratios Affect The Detail You Capture In Flower Petals
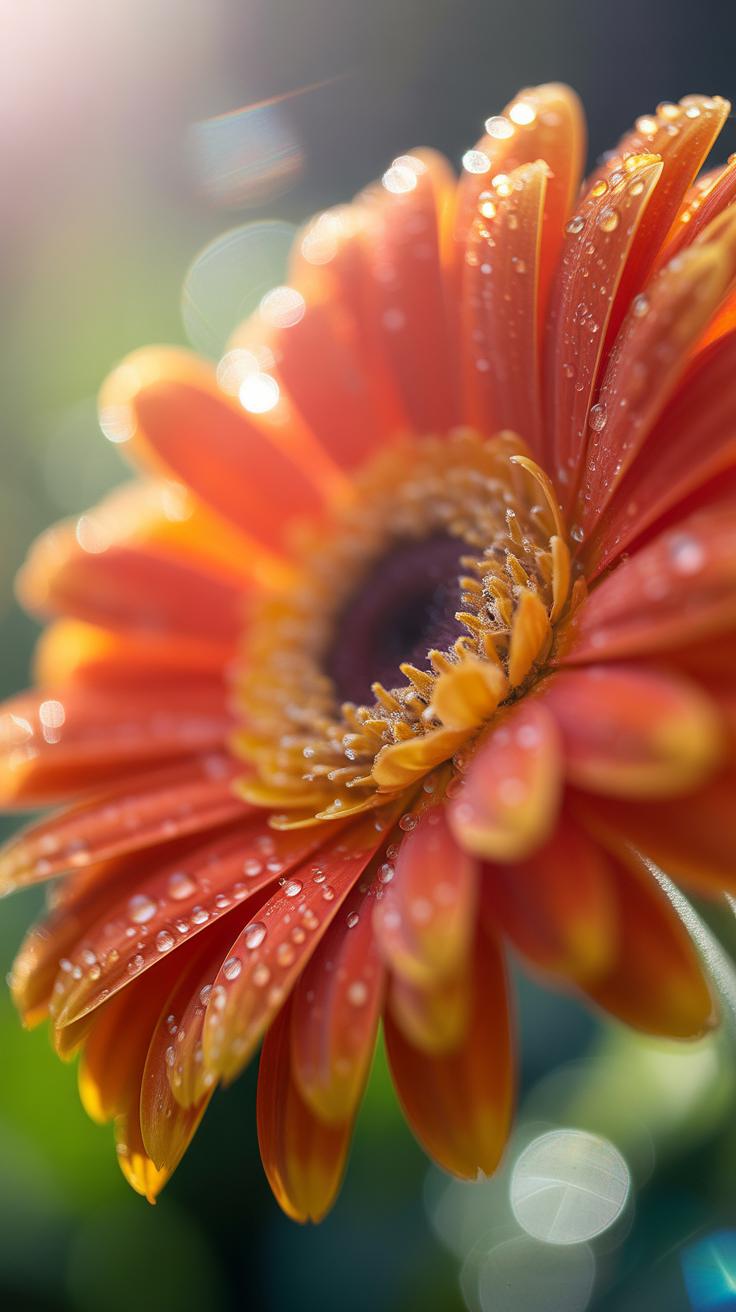
Magnification ratios dictate the level of visible detail in your floral shots. A 1:1 ratio captures the intricate veins and cell structures of a petal with perfect clarity. If you use a 1:2 ratio, the subject appears at half its actual size on the sensor. This reduces the resolution of fine textures. You must choose your ratio based on the specific botanical feature you want to highlight.
High magnification ratios also shrink your depth of field. At 1:1 magnification, only a sliver of the flower remains in sharp focus. You must manage this thin focal plane with precision. Moving the camera just one millimeter can shift the focus from the petal edge to the background. Understanding these ratios helps you control how much of the flower stays sharp and how much fades into blur.

Choosing The Right Beginner Macro Photography Tools Without Breaking The Budget
Dedicated Macro Lenses Vs. Extension Tubes: Which Should A Beginner Start With
Macro lenses provide a 1:1 magnification ratio. This means the subject appears life sized on your camera sensor. These lenses offer superior glass quality and flat field focus. They maintain sharpness from the center to the edges of the frame. Professionals choose them for their ease of use and internal focusing mechanisms. However, a high quality macro lens requires a significant upfront financial investment.
Extension tubes offer a cheaper way to start. These are hollow cylinders that fit between your camera body and your lens. They move the lens further from the sensor to decrease the minimum focus distance. This trick allows standard lenses to focus on small details. Tubes have no glass elements so they do not degrade image quality. They are the most cost effective tool for testing your interest in macro.
Essential Accessories Every Beginner Needs For Stable And Sharp Macro Shots
Magnification amplifies every tiny vibration of your camera. Even a slight breeze or a heavy footstep will ruin your focus. You must stabilize the camera to achieve professional results. Beginners often overlook the importance of physical support systems. Proper gear ensures your shutter stays open long enough to capture light without adding blur. Sharpness depends on keeping the distance between the lens and the flower perfectly still.
- Solid Tripod: A heavy tripod prevents camera shake during long exposures. Look for models with legs that can spread flat to the ground. This feature allows you to reach the low angles required for most ground level wildflower shots.
- Remote Shutter Release: Pressing the camera button creates mechanical vibration that blurs the image. Use a wired remote or a wireless trigger to fire the shutter. This keeps your hands off the gear during the actual exposure for maximum clarity.
- Focus Rail: Fine movements are difficult to make by moving a tripod. A focus rail attaches to the tripod head and allows millimeter scale adjustments. You turn a knob to move the camera forward or backward until the focus is perfect.
- Plamp or Clamp: Wind is the enemy of sharp flower photos. Use a specialized clamp to hold the flower stem steady without damaging it. This tool connects to your tripod and prevents the bloom from swaying while the shutter is open.
- Diffuser Scrim: Harsh sunlight creates deep shadows and blown out highlights on petals. A small handheld diffuser softens the light hitting the flower. This creates even illumination and brings out the natural colors and textures of the botanical subject.

Lighting and focus depth are the two biggest technical hurdles. You need more light when using extension tubes because they physically block some light from reaching the sensor. Small portable LED panels help fill in shadows in dark forest environments. Always prioritize stability over fancy lighting kits. A sharp photo with natural light beats a blurry photo with expensive flashes. Invest in your support system first to see immediate improvements.
Simple Macro Photography Tips For Getting Tack Sharp Focus Every Time
Why Manual Focus Gives You Greater Control Over Flower Detail At Close Range
Autofocus systems often fail during high magnification macro work. The lens hunts because the depth of field is too thin. A camera sensor cannot predict which part of the stamen or petal you want sharp. Manual focus removes this guesswork. You decide exactly where the focal plane sits. This precision is vital when the area of focus is only a few millimeters wide.
Switch to manual mode and use your camera screen to zoom in. This live view magnification allows you to see fine textures clearly. Move the focus ring slowly until the subject edges look crisp. Physical stability helps this process. Use a tripod or lean against a solid object. Manual control ensures the lens does not shift focus right before you trip the shutter.
Love of beauty is taste but the creation of beauty is art. To see the world in a grain of sand and a heaven in a wild flower, hold infinity in the palm of your hand and eternity in an hour.
— William Blake
How To Use Focus Stacking To Overcome The Shallow Depth Of Field Challenge
Macro lenses create a very narrow slice of focus. Getting an entire flower head sharp in one shot is often physically impossible. Focus stacking solves this by combining multiple images. You take several photos while slightly moving the focus point from front to back. Each frame captures a different section of the bloom. Software then merges these sharp parts into a single high detail image.
Precision is the most important factor for a successful stack. You must keep the camera perfectly still between every shot. Use a steady tripod and a dedicated macro rail for the best results. Small increments produce the cleanest final blend. Set your aperture to its sharpest point, usually between f/5.6 and f/8. This technique delivers professional depth that a single exposure can never match.
Mastering Light For Creative Macro Flower Photography That Stands Out
How Natural Diffused Light Enhances Texture And Color In Flower Close Ups
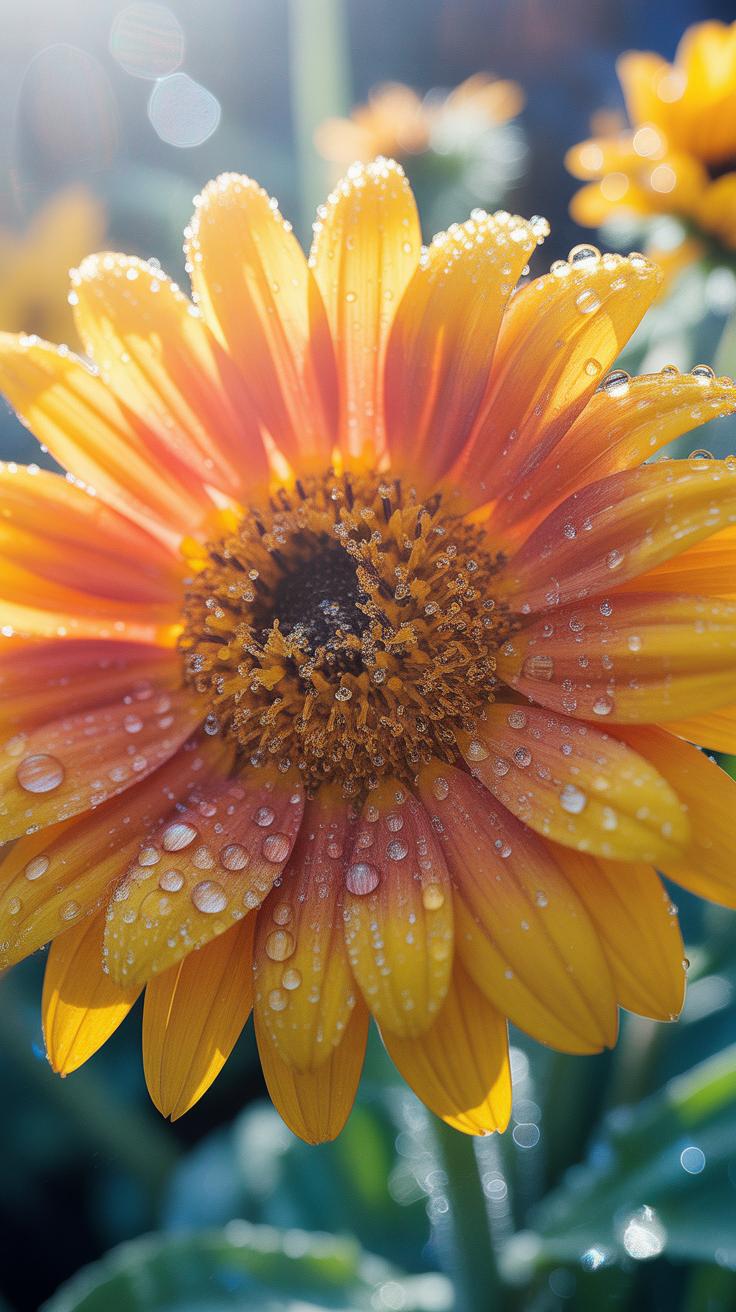
Direct sunlight creates harsh shadows and blown out highlights on delicate petals. Diffused light acts as a giant softbox for your subject. It spreads light evenly across the flower surface. This even distribution reveals fine textures like veins and pollen grains. Soft light also increases color saturation. It prevents the camera sensor from losing detail in high contrast areas during the midday sun.
Overcast days provide the best natural diffusion for macro work. Clouds act as a physical filter for the sun. If you shoot in clear weather, use a handheld white nylon diffuser. Place the diffuser between the sun and the flower. This setup mimics a studio environment in the field. It lowers the dynamic range. Your camera can then capture the full spectrum of the flower petals.
Using A Ring Flash Or Reflector To Fill Shadows In Your Macro Flower Shots

Macro lenses often sit very close to the subject. This proximity can block ambient light and cast unwanted shadows. A ring flash attaches to the front of the lens. It provides a 360-degree light source that eliminates deep shadows in the flower core. This tool is standard for clinical and scientific macro work. It ensures every part of the stamen and pistil remains visible to the viewer.
Small reflectors offer a manual way to bounce light into dark areas. Use a silver reflector for a cool, bright kick. Use a gold one for a warmer tone. Hold the reflector opposite your main light source. This technique maintains the depth of the image without needing battery power. It allows you to balance the exposure between the foreground flower and the darker background elements effectively.
Perfecting Composition For A Stunning Flower Macro Photography Close Up
Applying The Rule Of Thirds And Leading Lines To Guide The Viewers Eye
The Rule of Thirds divides your frame into nine equal parts. Place the floral stigma or a specific petal at the intersection points. This technique avoids the static feel of dead-center framing. It creates a natural path for the eye to follow. Use your camera grid overlay to align these key focal points accurately. Proper alignment ensures the most important details capture immediate attention.

Leading lines in macro photography often come from stems or petal edges. Position these lines to point toward the center of interest. Radial symmetry in flowers provides natural paths for the viewer. Diagonals create a sense of movement and energy in a still frame. Aligning these biological structures with your frame corners adds Professional stability. These geometric choices turn a simple plant photo into a structured visual narrative.
How Background Bokeh And Color Contrast Elevate Your Floral Compositions
Bokeh refers to the quality of out-of-focus areas in your image. A wide aperture like f/2.8 creates a shallow depth of field. This blurs distracting twigs or leaves behind the flower. A clean background forces the viewer to focus only on the subject. Professional macro photographers manage the distance between the flower and the backdrop. Increasing this gap ensures a smoother blur and removes harsh shapes.
Color contrast relies on the color wheel to make subjects pop. Place a red flower against a green leaf background for maximum impact. Complementary colors create a visual vibration that draws the eye. Use muted background tones to highlight vibrant petal saturations. Avoid busy patterns that compete with the main subject for dominance. Strategic color placement defines the edges of the flower clearly. This separation creates a three-dimensional effect on a flat screen.
Best Camera Settings For Macro Photography Flowers In Any Lighting Condition

Understanding Aperture, Shutter Speed And ISO For Crisp Macro Flower Images

Macro photography requires precise control over depth of field. Use an aperture between f/8 and f/11 to keep the flower center sharp. Open lenses like f/2.8 create a blur that is too thin for most subjects. Smaller apertures like f/16 or f/22 increase depth but introduce diffraction. This optical limit reduces overall image clarity. Always prioritize a sharp focal point over maximum depth.
Shutter speed must stay fast to stop motion blur from wind. Set your shutter at 1/200th of a second or higher. Use ISO to balance the exposure when light levels drop. Keep ISO under 800 to prevent digital noise from ruining fine petal details. Modern sensors handle higher ISO well but macro shots demand clean textures. Adjust these three variables constantly as ambient light changes outdoors.
How Shooting In RAW Format Gives You More Control During Post Processing
RAW files capture all data from the camera sensor without compression. JPEGs discard data to save space which limits your ability to fix mistakes. Flower colors often shift under different sun conditions and RAW lets you correct white balance later. You can recover lost details in bright highlights or dark shadows easily. This flexibility is essential when shooting high-contrast scenes in direct sunlight.
Processing RAW images allows for superior sharpening and noise reduction. You control the final look of the flower rather than letting the camera software decide. Specialized software extracts more dynamic range from a RAW file than any standard format. This technical advantage ensures your macro prints look professional and high-quality. Always select the uncompressed RAW setting in your camera menu before you start shooting.
Exploring Botanical Photography Tips For Artistic And Scientific Accuracy

How Botanical Photographers Balance Artistic Expression With True To Life Color Accuracy
Botanical photographers use X-Rite ColorChecker charts to ensure scientific precision. They place these cards in the frame during test shots to calibrate white balance. This step removes color casts caused by filtered sunlight or green foliage. Precise calibration allows the artist to manipulate shadows later without ruining the natural hue of the specimen. It maintains a factual record of the plant.
Artistic expression comes from selective focus and lighting angles. Photographers use a shallow depth of field to isolate specific biological structures like stamens. They use diffusers to soften harsh midday sun. This creates a clean look that highlights form while keeping colors grounded in reality. Realism serves the scientific purpose while composition serves the art. Proper exposure prevents clipping in bright petals.
Choosing The Right Flowers And Growth Stages That Produce The Most Compelling Macro Subjects
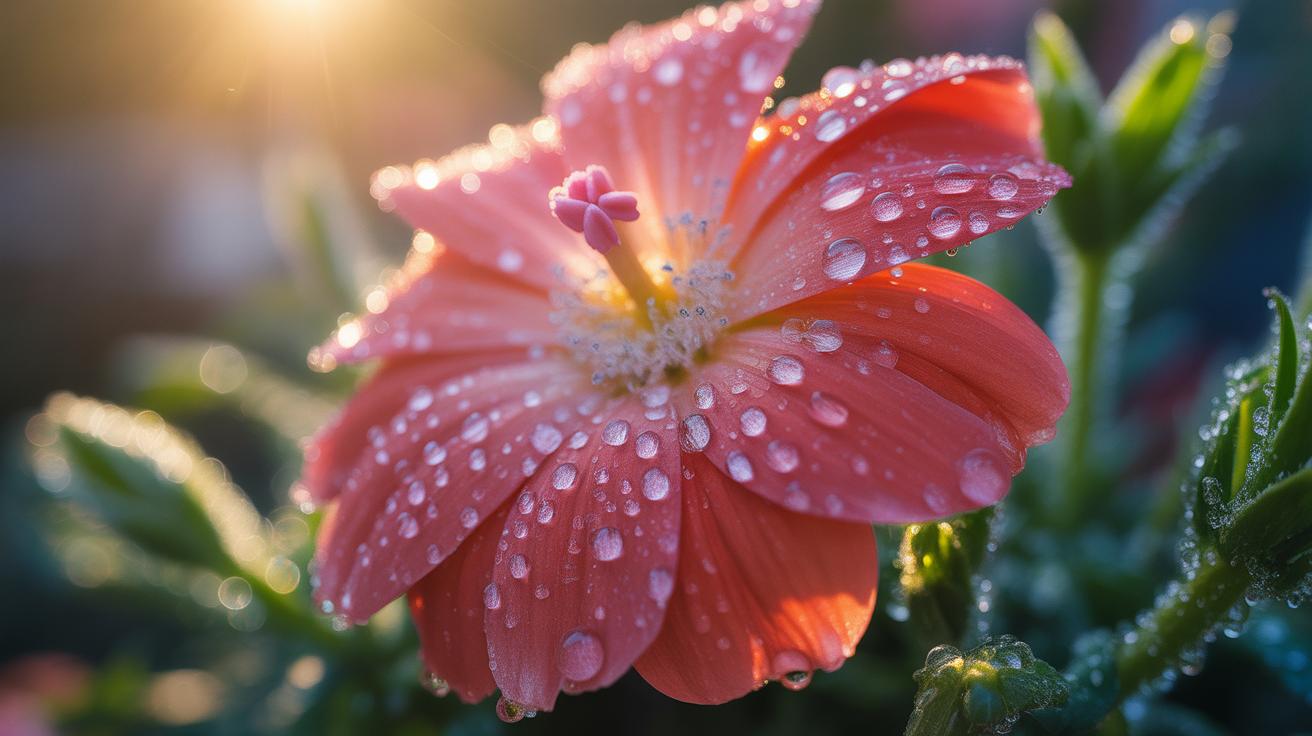
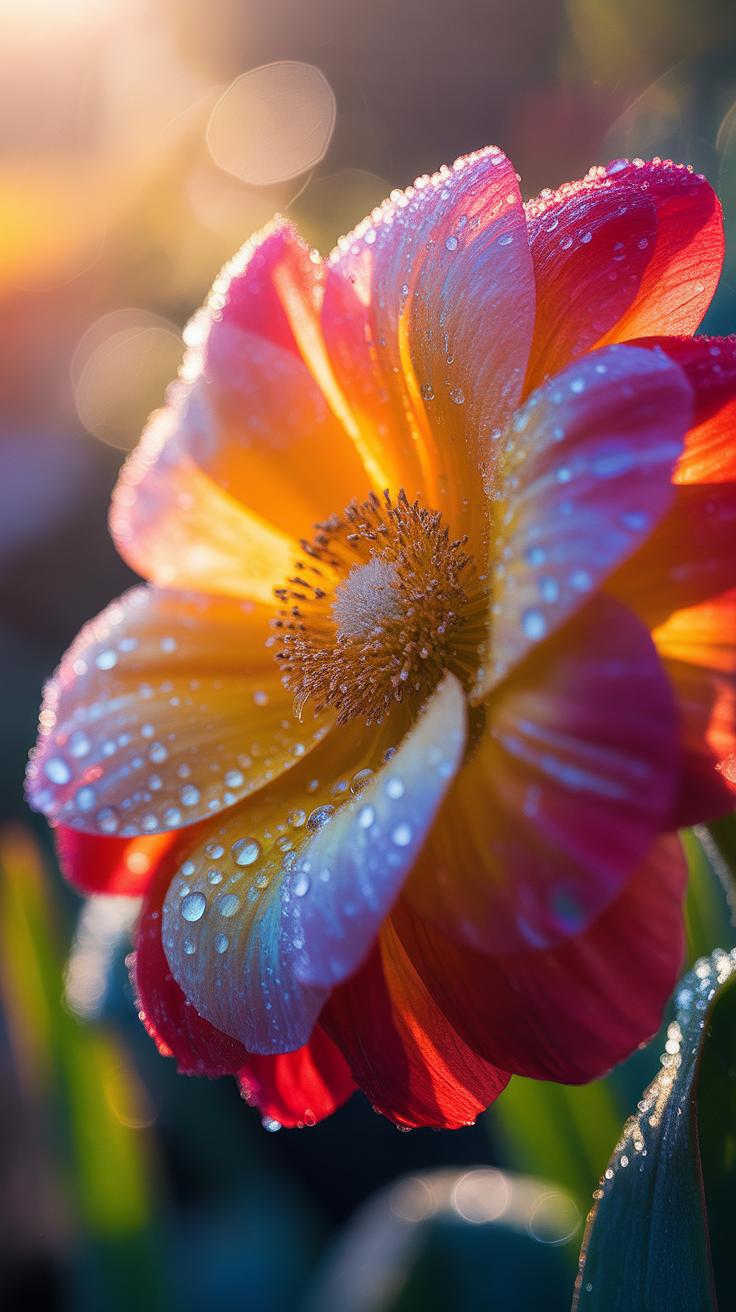
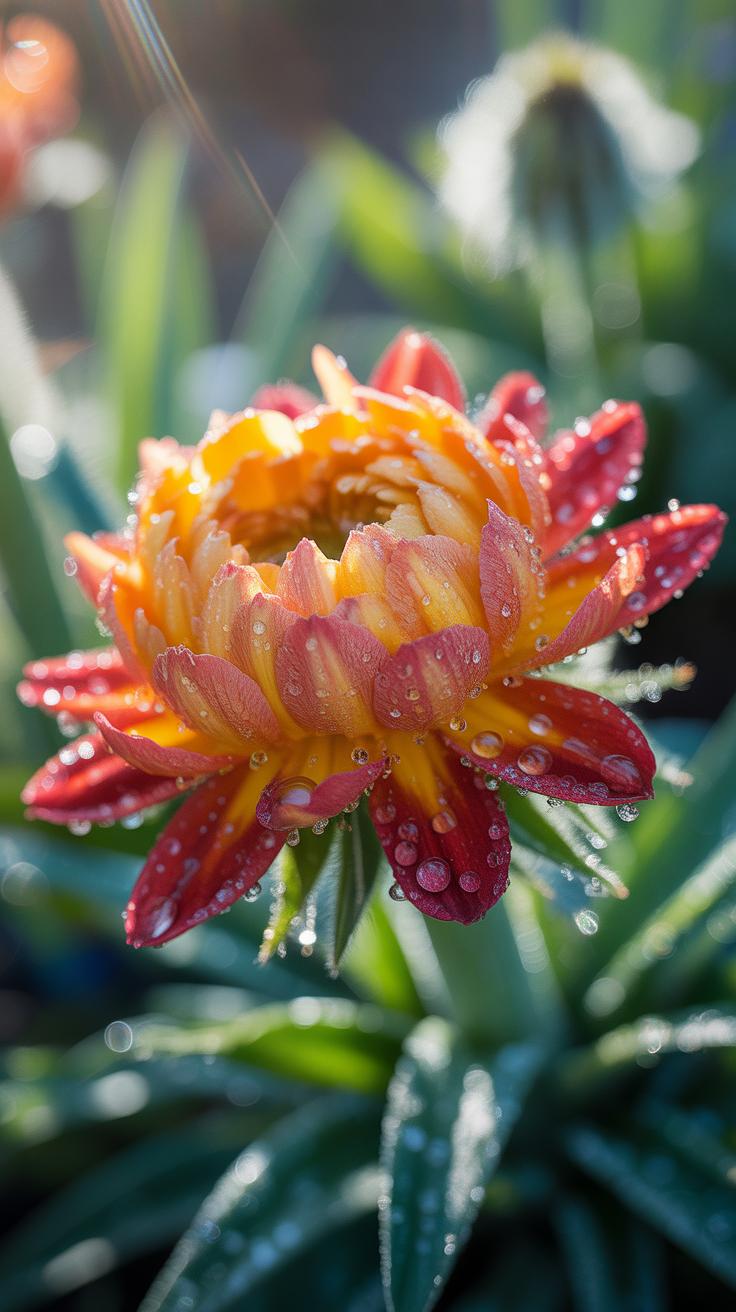
Select subjects based on structural integrity and detail density. Early morning light reveals moisture that adds texture to the petals. Botanical accuracy requires showing the plant in its peak reproductive state. Look for specimens without insect damage or brown edges. These flaws distract from the geometric patterns found in nature. High magnification makes every small imperfection look like a major scar.
- Pre-Bloom Buds: These stages show the protective sepals and the geometric tension of the plant before it opens. They provide a structural look that highlights the strength and engineering of the botanical species.
- Peak Anthesis: This is when the flower is fully open and the reproductive organs are most visible. It offers the highest level of detail for macro lenses focusing on pollen and nectar guides.
- Seed Pod Development: Late-stage growth provides complex textures and hard lines. These subjects work well for high-contrast black and white shots because they emphasize form and physical persistence over soft petal colors.
- Withered Specimens: Capturing the decay stage offers a look at the skeleton of the flower. It provides a unique scientific perspective on the life cycle and shows the vascular system of the petals clearly.
- Young Shoots: Focus on emerging leaves to show the fine hairs or trichomes. These features protect the plant and create intense visual interest when photographed with a dedicated macro lens at high ratios.
Timing is the most important factor for success. Some species only open for a few hours. Research the specific bloom schedule of your target flower to avoid wasted trips. Windy conditions ruin sharp shots of delicate growth stages. Use a sturdy tripod and a wind shield to stabilize the stem. Documenting the entire life cycle provides a more complete botanical narrative for your portfolio.

Inspiring Macro Flower Photography Ideas Easy Enough For Any Skill Level
Creative Themes Like Water Droplets, Pollen Detail And Petal Symmetry To Try At Home
Macro photography thrives on isolating specific textures and patterns. Focus on the geometry of petals to find natural symmetry. Use a spray bottle with water and glycerin to create stable droplets on leaves. These drops act as tiny lenses that refract the colors of the flower. Capture the fine grains of pollen on the stamen. This level of detail requires high magnification and a steady hand.
Select one specific area of the flower rather than the whole bloom. Look for repeating patterns in the arrangement of the petals. High contrast lighting emphasizes these shapes and creates a bold graphic look. Keep your camera sensor parallel to the subject to maximize the plane of focus. Small adjustments in your position change the entire composition. Precision is more important than equipment when shooting these themes.
How To Build A Simple DIY Home Studio Setup For Consistent Macro Flower Results
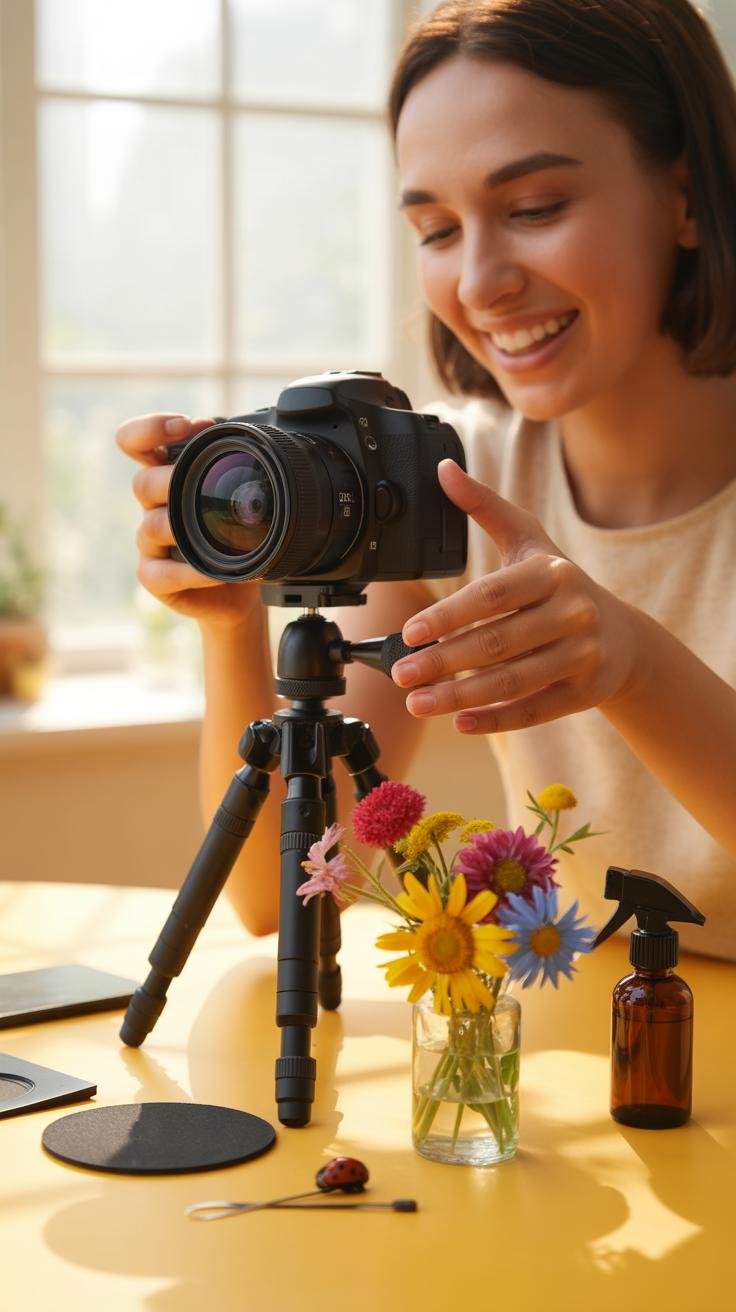
Control your environment to get professional results at home. Find a room with a large window for soft natural light. Use a white foam board to bounce light back into the shadows of the flower. This removes harsh dark spots without expensive flash gear. Secure your flower in a clamps or a heavy vase to stop all movement. Even slight vibrations ruin macro shots.
Use a solid color poster board for a clean background. Black creates a dramatic look while white or gray keeps the focus on the subject. Place the background several inches behind the flower to ensure it stays out of focus. Use a tripod and a remote shutter release to prevent camera shake. Manual focus works best when shooting at extreme close ranges. Consistent setups produce repeatable high quality images.
Frequently Asked Questions

What is the best way for a beginner to start with macro flower photography?
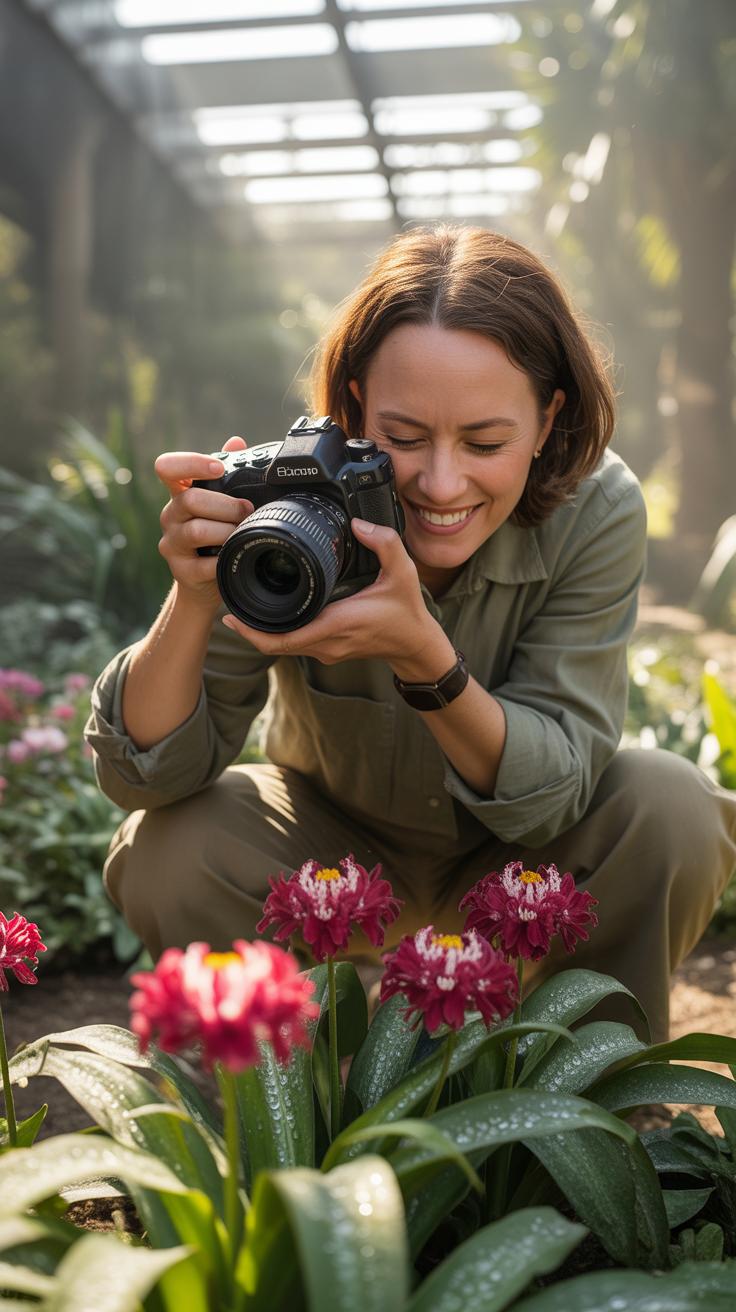
Getting started is all about mastering focus and stability. To see immediate results with your macro flower photography tips, begin by shooting on a cloudy day to achieve soft, even lighting that highlights delicate petal textures. Use a tripod to eliminate camera shake, and try switching to manual focus. This allows you to pinpoint the exact part of the bloom, like the stamen, that you want to be razor-sharp.
How do I get a blurry background in my flower photos?
Achieving a creamy, out-of-focus background, or bokeh, requires a shallow depth of field. Use a wide aperture, such as f/2.8 or f/4, and ensure there is plenty of physical distance between the flower and the elements behind it. By following these macro flower photography tips, you can make your subject pop against a soft backdrop, creating a professional and artistic look that emphasizes the intricate details of the plant.
Do I need an expensive macro lens to take high-quality floral close-ups?
You don’t need to spend thousands to capture stunning detail. While dedicated lenses are great, budget-friendly alternatives like extension tubes or close-up filters can turn a standard kit lens into a macro powerhouse. Even modern smartphones often have a built-in macro mode that performs exceptionally well in bright light. Focus on composition and lighting first, as these foundational elements often matter more for a beautiful image than having the priciest gear.


