Why Proper Flower Stem Cutting Tips Make All The Difference
The Science Behind Clean Stem Cuts And Water Uptake
Flowers rely on xylem tubes to transport water from the base to the petals. A dull blade crushes these tiny vascular channels and blocks hydration. Use a sharp knife or bypass shears to keep these pathways open. Clean cuts prevent air bubbles from entering the stem. These bubbles cause an embolism that stops all water movement. Immediate submersion ensures a continuous flow.
Bacteria thrive in jagged tissue and dirty water. Microbes quickly clog the stem ends and trigger premature wilting. Sharp tools leave a smooth surface that heals less and resists rot. Professional florists prioritize tool sanitation to eliminate pathogens. You must remove lower foliage to keep the water clear. Clean environments and precise cuts create the internal pressure needed to keep the flower heads upright.
How The Right Cut Extends The Life Of Cut Flowers
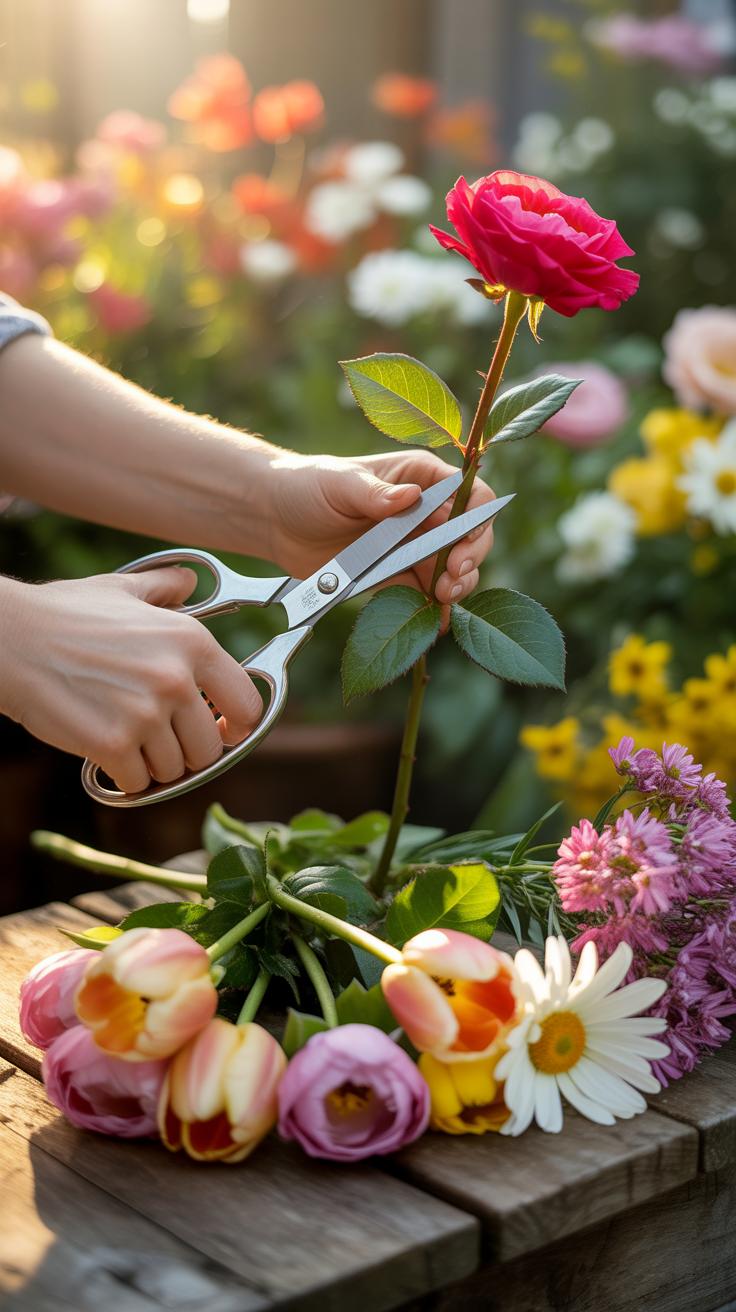
Cutting stems at a forty-five degree angle increases the surface area for water absorption. This technique prevents the stem from sitting flat against the bottom of the vase. A flat stem restricts intake and starves the bloom. Increasing the contact point with water ensures the plant receives enough fluids. This simple adjustment provides the hydration required to maintain cellular structure and color.
Proper timing and technique stabilize the plant after the initial harvest shock. You should recut stems every two days to expose fresh tissue. This removes the calloused end and any bacterial buildup. Consistent maintenance allows the flower to process nutrients from the flower food. Rapid water uptake prevents the neck from drooping. Strategic cutting remains the most effective way to double the vase life of your floral arrangements.

How To Cut Flowers For A Vase Getting The Basics Right
Choosing The Best Time Of Day To Cut Fresh Flowers
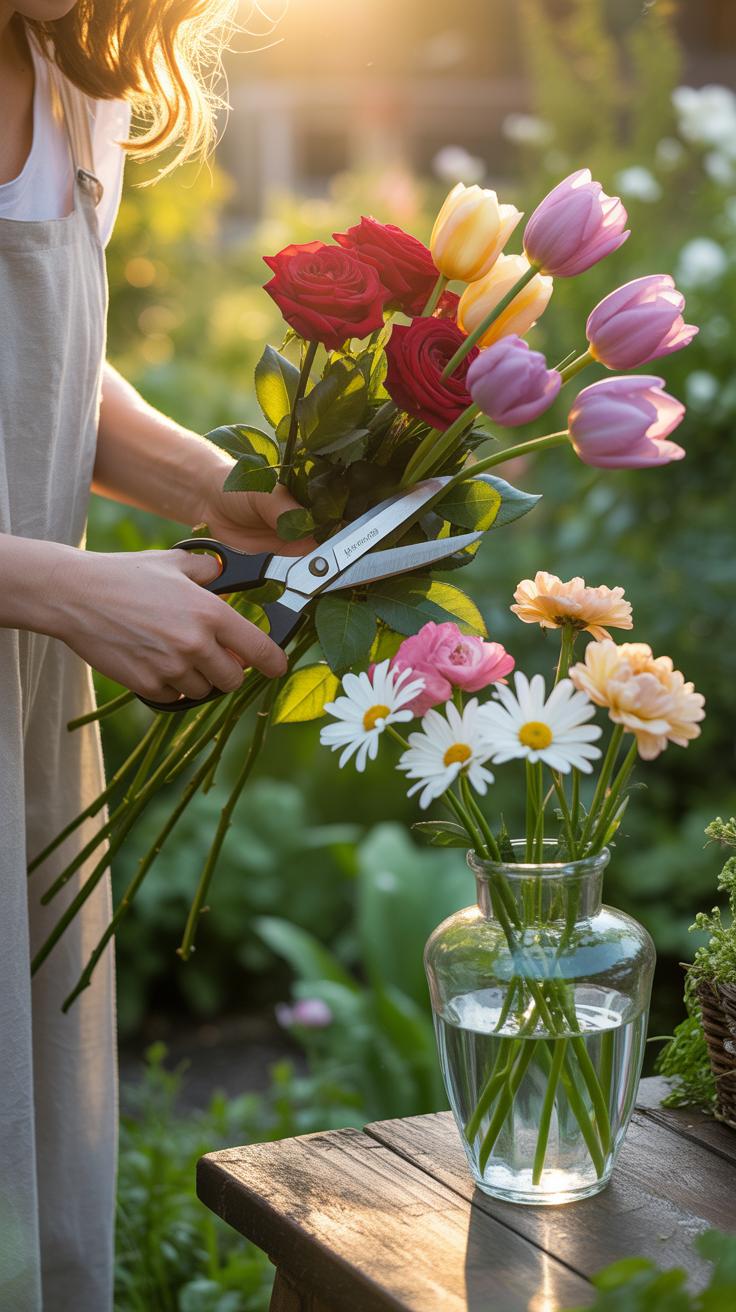
Cut flowers in the early morning before the sun high hits the sky. Plants contain the most water at dawn. This high turgor pressure ensures the stems stay rigid and strong. Flowers cut in the heat of the day lose moisture through transpiration. This leads to immediate wilting and a much shorter vase life for your bouquet.
Evening is the second best option if mornings are impossible. Sugars build up in the leaves throughout the day due to photosynthesis. These carbohydrates provide food for the blooms once they are in the vase. Cool temperatures at night allow the plant to recover from solar stress. Always prioritize the morning hours to get the best results for your floral arrangements.
Essential Tools And Preparations Before You Make Your First Cut
Proper tools prevent damage to the plant vascular system. Dull blades crush the stem walls and block water uptake. Clean your equipment with isopropyl alcohol to kill bacteria and fungi. Pathogens thrive in dirty water and will rot your stems from the bottom up. Preparation ensures the flower transitions smoothly from the garden to the indoor environment.
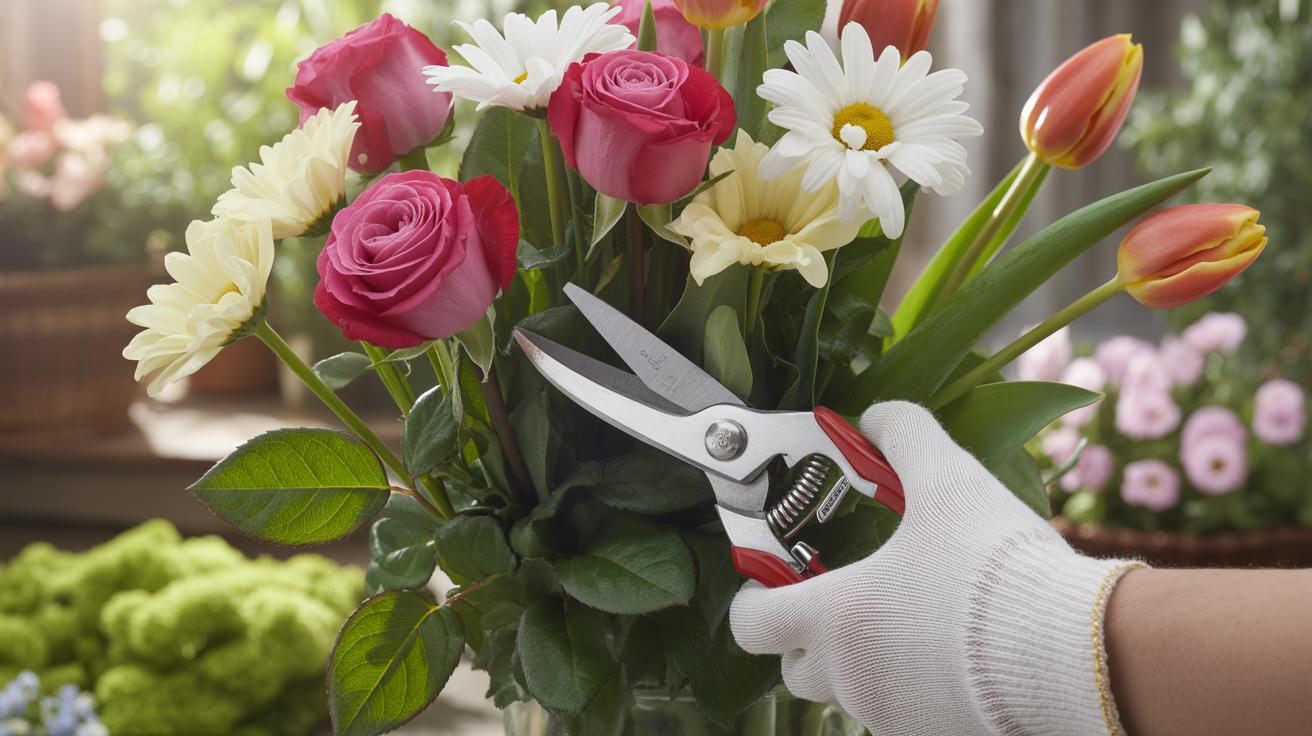
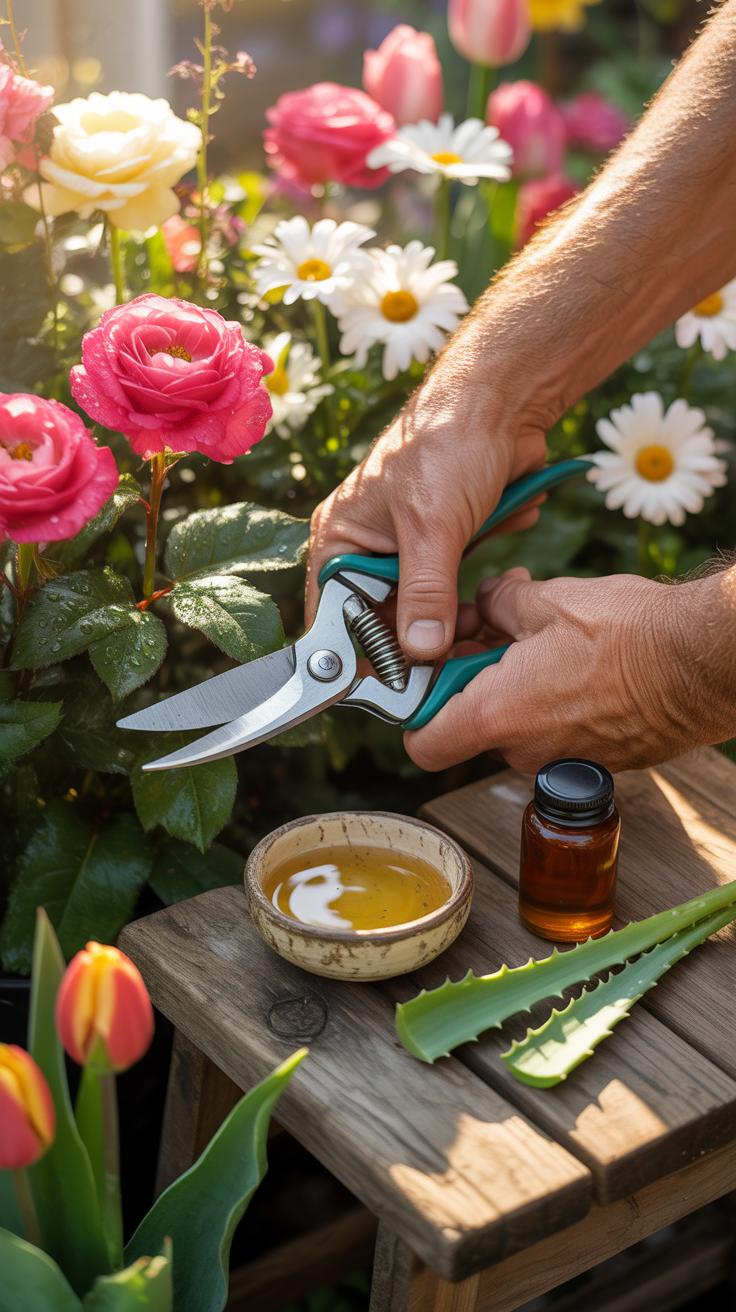
- Bypass Pruners: Use these for woody stems like roses or lilies. The two blades pass each other like scissors to make a clean slice. These tools prevent the crushing of delicate water-conducting tissues inside the stem.
- Floral Snips: Choose these for thin or soft-stemmed annuals. They offer high precision for tight spaces. Sharp snips allow you to cut without tearing the outer skin of the plant which prevents air bubbles from entering.
- Standard Buckets: Keep a clean plastic bucket nearby filled with lukewarm water. Placing stems into water immediately after cutting prevents air embolisms. Air pockets in the stem block water flow and cause the heads to droop instantly.
- Floral Preservative: Mix a professional solution into your vase water before starting. These packets contain sugar for food and bleach to kill bacteria. Acidifiers in the mix also help the water move faster through the stem.
- Disinfectant Spray: Apply a diluted bleach solution to all cutting surfaces. Bacteria transfer from old plants to new cuts very easily. Clean tools ensure that no diseases interrupt the hydration process of your newly harvested flowers.

Set your workstation in a shaded area to avoid direct sunlight during the process. Sharpness is the most important factor for any tool you choose. Test your blades on a piece of paper first. If the blade tears the paper it will tear the flower. Use only professional grade steel to maintain a reliable edge over long periods.
How To Cut A Rose Stem The Right Way For Maximum Bloom Life
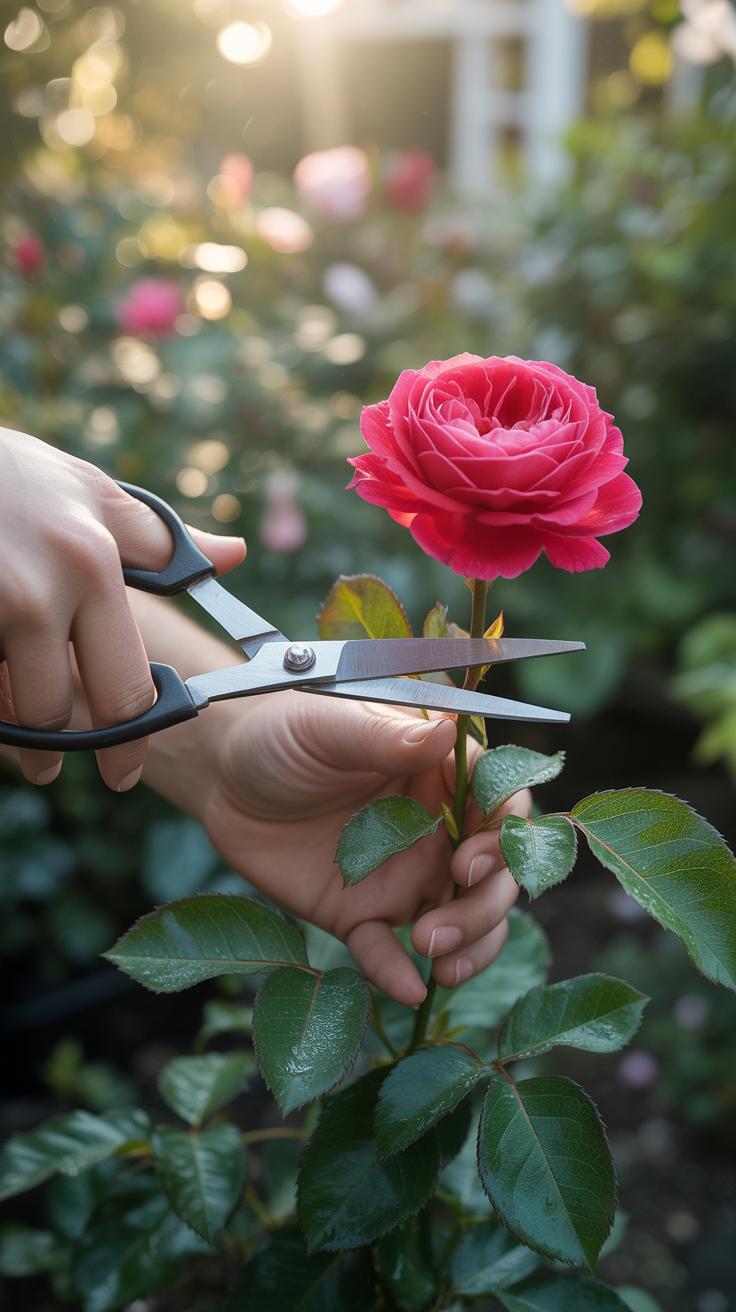
The Correct Angle And Length For Cutting A Rose Stem
Cut every rose stem at a forty five degree angle. This sharp slant increases the surface area for water intake. It also prevents the stem from sitting flat against the bottom of the vase. A flat cut blocks the flow of water and nutrients. Use sharp bypass pruners to avoid crushing the vascular tissue. Clean tools ensure the stem stays open and healthy.
Standard roses require a stem length that supports the flower head without bending. Remove at least one inch from the bottom of the stem immediately before placing it in water. This timing is critical because air bubbles form in the stem within seconds. These bubbles create a blockage called an embolism. Re-cutting every two days maintains a clear path for hydration and extends the bloom life.
Removing Leaves And Thorns Without Damaging The Stem

Strip all foliage that falls below the water line in the container. Submerged leaves rot quickly and encourage bacterial growth in the water. Bacteria clog the stem and cause the rose head to droop prematurely. Use your hand to gently pull leaves downward. Do not scrape the outer skin of the stem. Damaging the bark allows pathogens to enter the flower.
Avoid removing thorns unless necessary for handling or aesthetics. Thorns are part of the rose anatomy and unnecessary removal creates open wounds on the stem. These wounds lead to faster dehydration and invite infection. If you must remove thorns use a dedicated rose stripper tool very carefully. Keep the protective outer layer intact to ensure the flower receives maximum hydration for a longer period.
How To Propagate Roses From Cuttings A Step By Step Overview
Selecting The Healthiest Rose Stems For Successful Propagation
Successful propagation starts with selecting semi-hardwood stems. These stems are firm but still flexible. Look for wood from the current season’s growth after the first bloom fades. This tissue contains the highest concentration of natural growth hormones. Avoid stems that are too soft or overly woody. High-quality stems ensure the cutting has enough stored energy to survive the transition.

Check each stem for health markers. Choose straight stems about the thickness of a pencil. Ensure the parent plant is free of black spot or mildew. Healthy leaves indicate a strong vascular system. Select a section with at least four distinct nodes. Nodes are the specific points where leaves emerge. These areas contain the specialized cells necessary for rapid root development and stem growth.
Preparing And Rooting Rose Cuttings In Soil Or Water
Prepare the cutting by making a clean forty-five-degree cut just below a node. Remove any flowers or buds to redirect energy toward root production. Strip the bottom leaves but keep two sets at the top for photosynthesis. Use a sharp, sterilized knife to avoid crushing the stem fibers. This precision prevents rot and allows the cutting to intake moisture effectively during the initial stage.
- Stem Scarification: Gently scrape the outer bark on the bottom inch of the stem. Exposing the cambium layer increases the surface area for root initiation. This tactical move triggers the plant’s healing response and speeds up the growth of new root tissue.
- Rooting Hormone Application: Dip the wounded end of the stem into a rooting powder or gel. These synthetic auxins jumpstart cell division at the nodes. Using a hormone treatment significantly increases the success rate by providing the chemical signals required for root differentiation.
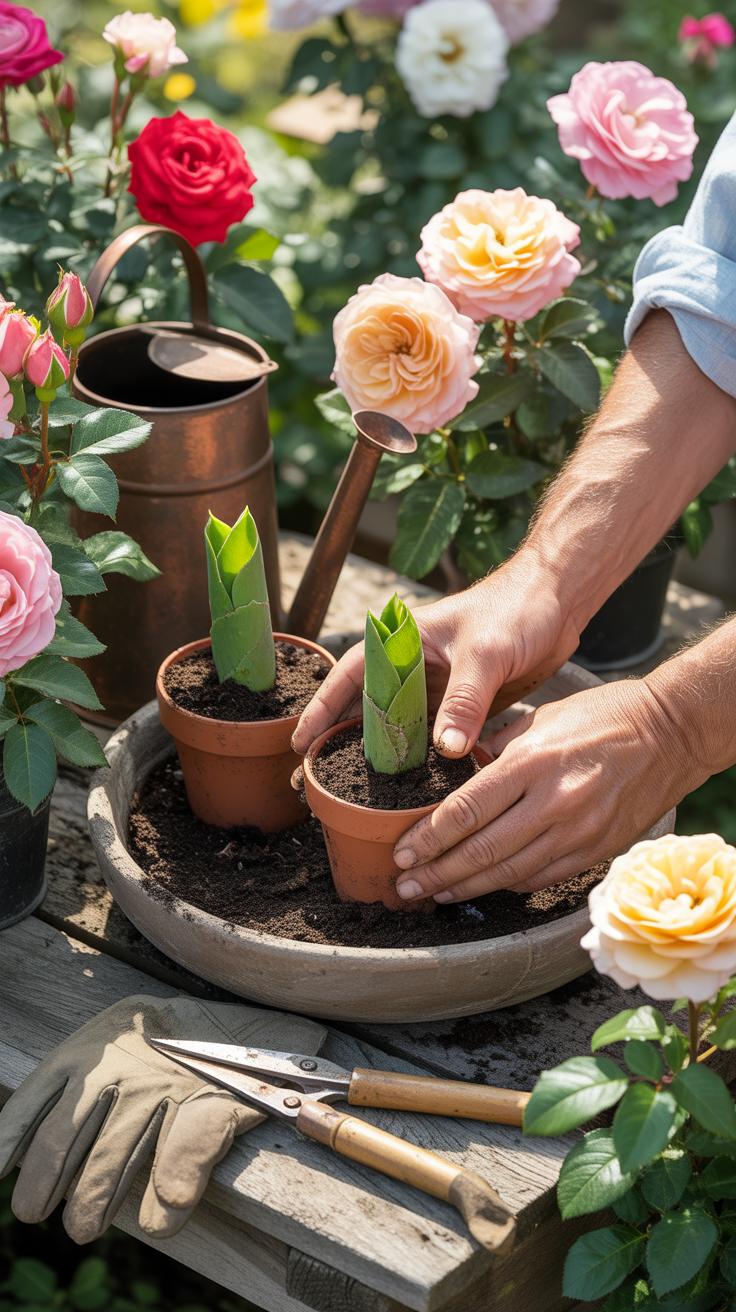
- Medium Selection: Place cuttings in a well-draining mix of perlite and peat moss. While water rooting is possible, soil propagation creates stronger root structures. A light, airy medium prevents the stem from suffocating. It also provides the physical resistance needed to develop a robust root ball.
- Humidity Control: Cover the cuttings with a clear plastic dome or bag. This creates a miniature greenhouse environment to prevent moisture loss through the leaves. Roses require high humidity until they establish roots. Check the moisture levels regularly to ensure the soil remains damp but never waterlogged.
- Light Exposure: Position the containers in bright, indirect sunlight. Direct sun will overheat the cuttings under the plastic and kill the delicate tissue. Indirect light provides the energy for photosynthesis without the risk of scorching. Proper lighting ensures the cutting remains active while it builds a new root system.
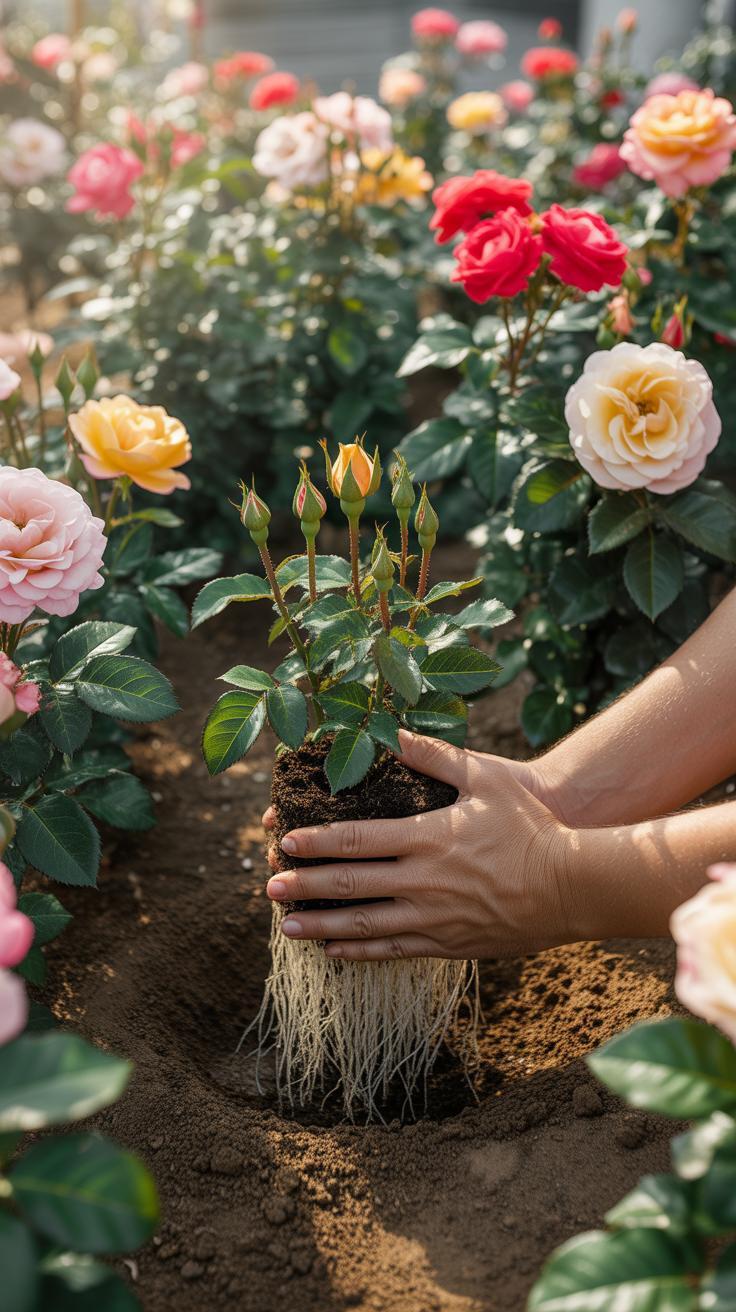
Monitor the cuttings for several weeks for signs of new growth. Resistance when gently tugged indicates that roots have successfully anchored into the medium. Once roots reach two inches in length, transition the plant to a larger pot with standard garden soil. Gradually acclimate the new rose to outdoor conditions to prevent transplant shock. Follow these steps to maximize your propagation yield.
Propagating Roses And Rooting Roses Trends Gaining Ground In 2024
Modern Propagation Methods Gardeners Are Using Today

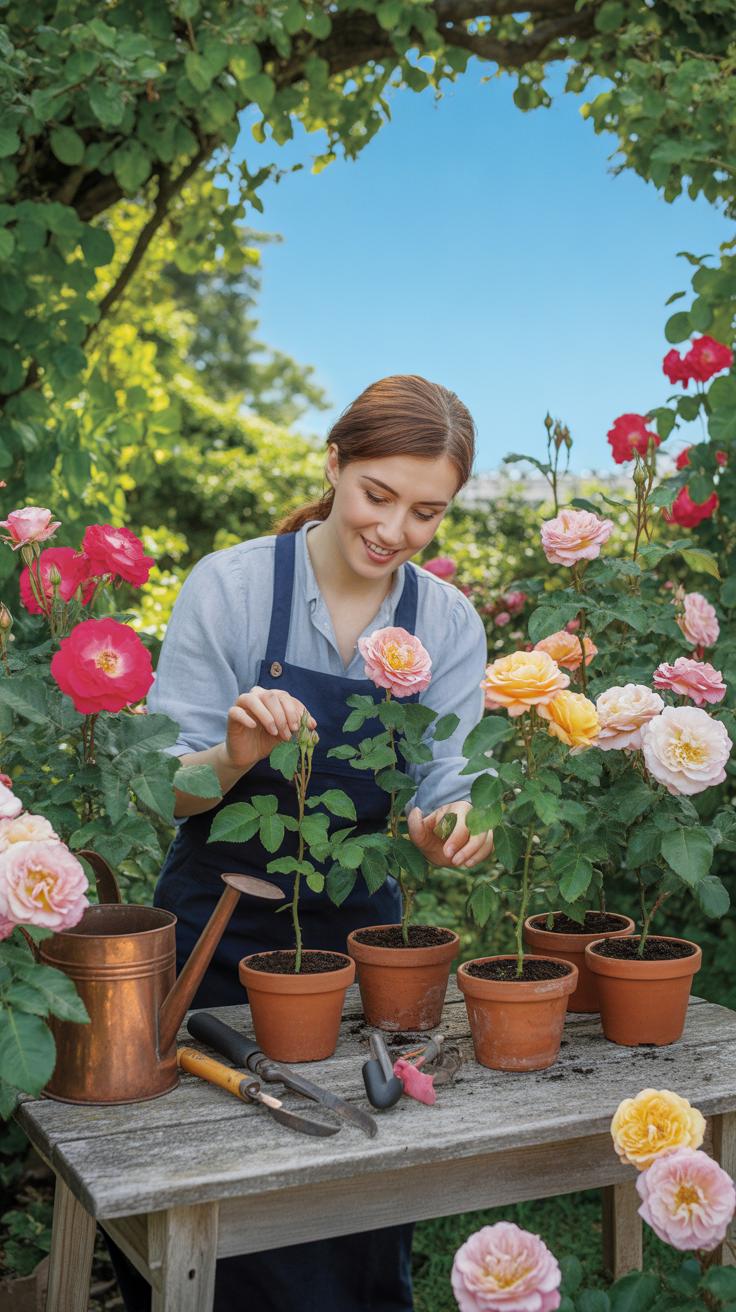
Modern gardeners now use semi-hardwood cuttings taken in late summer. This method yields higher success rates than older dormant techniques. You must select a stems that recently finished flowering. Cut a six-inch section just below a leaf node. Remove the lower leaves but keep two sets at the top. This balance ensures the stem can still create energy while focusing on root growth.
Current trends favor the use of specialized rooting hormones and perlite-heavy substrates. These materials provide maximum aeration and prevent fungal rot. Many professionals now use bottom heat mats to accelerate cellular division. Consistent moisture is vital during the first four weeks. Gardeners use clear plastic domes to maintain high humidity around the foliage. This controlled environment mimics professional greenhouse settings for faster plant establishment.
Just as our elders taught us, a clean cut and a little patience turn a simple stem into a lasting legacy of beauty. To garden is to believe in tomorrow.
— Audrey Hepburn
Why Home Rooting Roses Has Become A Popular And Rewarding Practice
Home rooting allows gardeners to preserve heirloom varieties that are no longer sold in stores. Mass-market nurseries often focus on a limited number of patented hybrids. Rooting your own cuttings ensures you can replicate hardy plants that thrive in your specific local climate. This practice saves money and builds a deeper understanding of plant biology. It turns a simple hobby into a serious technical skill.
Rooting roses at home also bypasses the limitations of grafted plants. Most commercial roses use a different rootstock which can suckered and weaken the main plant. Own-root roses are more resilient to extreme cold and live longer. If the plant dies back to the ground in winter, it regrows as the same variety. This long-term reliability makes home propagation a strategic choice for serious landscape planning.
How To Propagate Roses Successfully Conditions That Matter Most

Ideal Temperature, Humidity, And Light For Rose Cutting Success
Rose cuttings require specific environmental controls to initiate root growth before the stem dries out. Maintain ambient temperatures between 70 and 80 degrees Fahrenheit. Excessive heat causes moisture loss and tissue stress. Place cuttings in bright, indirect light rather than direct sun to prevent scorching. Consistent warmth in the rooting medium encourages cellular division at the base of the stem.
High humidity is the most critical factor for survival. Use a clear dome or plastic wrap to keep humidity levels near 90 percent. This prevents transpiration while the cutting lacks roots to draw water. Proper air circulation helps stop fungal growth even in damp conditions. Check moisture levels daily to ensure the medium stays damp but never saturated. Stable conditions produce the highest success rates.
Common Mistakes To Avoid When Propagating Rose Cuttings
Many growers fail by using blunt tools or dirty blades. A jagged cut crushes the vascular tissue and prevents water uptake. Always use a sterilized, razor-sharp knife to make a 45-degree angled cut at a node. Removing too many leaves or leaving too many on the stem also kills the plant. Keep two leaves at the top to power growth through photosynthesis.
Avoid over-watering the soil which leads to stem rot. Saturated soil lacks the oxygen necessary for root development. Using old wood instead of semi-hardwood from the current season growth reduces the chance of success. Do not disturb the cuttings once you plant them in the medium. Pulling on the stem to check for roots destroys delicate new fibers and halts the entire propagation process.

Rose Plant Care After Cutting Keeping Your Roses Healthy And Thriving
Watering, Feeding, And Mulching Practices For Post Cut Rose Plants
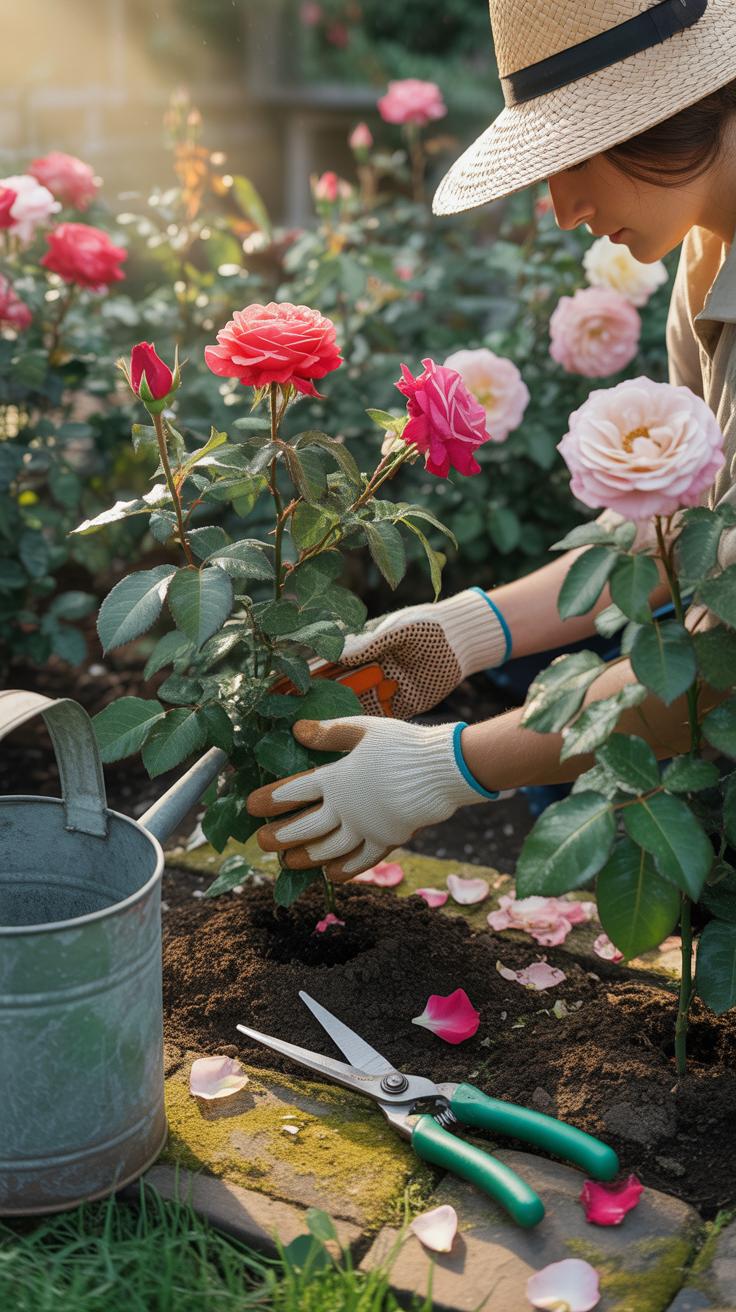
Post-cut roses require immediate hydration to recover from the physical shock of pruning. Deliver water directly to the root zone to avoid wetting the foliage. This prevents fungal diseases like black spot or powdery mildew. Deep watering encourages roots to grow further into the soil. Maintain consistent moisture levels during the active growing season. Do not let the soil dry out completely.
Apply a balanced fertilizer after the first bloom cycle to replenish lost nutrients. Nitrogen supports new cane growth while phosphorus drives root development. Spread a two-inch layer of organic mulch around the base of the plant. Keep mulch away from the main stem to prevent rot. Mulch regulates soil temperature and retains moisture effectively. These steps ensure the plant has the energy to produce new stems.
Recognizing Signs Of Stress In Roses After Stem Cutting
Monitor the plant for yellowing leaves or drooping stems immediately after cutting. These symptoms often indicate water stress or nutrient deficiencies. Inspect the cut sites for discoloration or dieback. Healthy tissue remains firm and green while stressed tissue turns brown or black. Rapid wilting suggests the plant cannot transport water fast enough through its vascular system. Address these issues quickly to prevent long-term damage.

Observe the new growth for stunted leaves or small flower buds. Pests like aphids often target the soft tissue that emerges after a cut. Search for visible insects or sticky residue on the underside of leaves. Changes in leaf color can signify soil pH imbalances or root rot from overwatering. Maintain a clean environment around the plant to reduce stress. Strong plants recover faster and resist common garden pathogens.
Garden Remedies For Common Problems When Cutting Flower Stems
Natural And Household Remedies To Keep Cut Flowers Fresh Longer
Bacteria kill cut flowers fast. You must keep the water clean to extend bloom life. Add a small amount of household bleach to the vase. One teaspoon per quart of water stops microbial growth. This keeps the stem ends clear for better water intake. Sugar provides energy for the plant cells. Mix two tablespoons of sugar with the bleach to feed the blooms.
Acidity helps water move through the stem. Use white vinegar or lemon juice to lower the pH level of your water. Aim for a slightly acidic environment. This mimics the natural sap of the plant. High pH levels cause stems to deteriorate and rot. Proper acidity levels ensure the vascular system stays open. Change the solution every two days to maintain chemical balance.
Treating Wilting And Stem Blockage Using Simple Garden Remedies
Air bubbles block water flow in the stem. This process is called an embolism. It happens when you cut stems in dry air. Submerge the stem ends in a bucket of warm water. Cut one inch off the bottom while the stem is underwater. This prevents air from entering the fresh wound. The warm temperature helps the plant absorb liquid much faster.
Some flowers produce sticky sap when cut. This sap hardens and seals the stem base. This seal prevents the flower from drinking. Dip the cut ends of woody stems into boiling water for thirty seconds. This heat treatment breaks down the sap blockage. It clears the path for hydration. Immediately move the flowers into cool water after this heat dip to stabilize them.
Trending Flower Stem Cutting Tips From Expert Gardeners And Florists
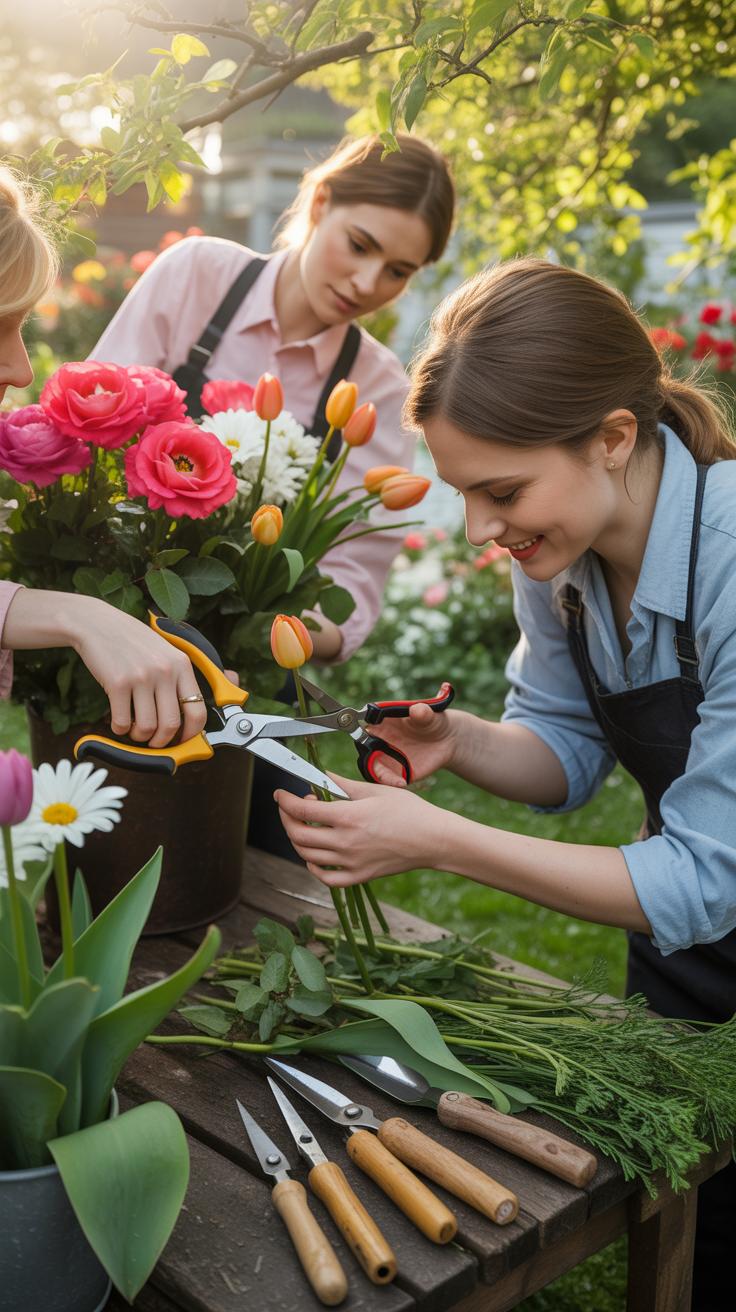
Professional Florist Techniques Now Being Adopted By Home Gardeners
Home gardeners now use professional tools to increase flower longevity. Traditional kitchen scissors crush the vascular system of the plant. This prevents water from moving up the stem. Experts use bypass pruners or sharp floral knives instead. A clean cut ensures the xylem remains open for maximum hydration. This method prevents the stem from sealing itself off too early after harvest.
Timing and temperature are critical factors for success. Experts cut stems in the early morning when the cells are turgid. Cutting during the heat of the day causes immediate wilting. Florists also use the underwater cutting technique for woody stems. This prevents air bubbles from entering the stem. An air lock stops water flow. Recutting stems every two days maintains the flow of nutrients.
Sustainable And Eco Friendly Stem Cutting Practices On The Rise
Sustainability movements now influence how people harvest flowers. Gardeners avoid floral foam because it contains microplastics. Instead, they cut stems at varying angles to secure them in reusable metal frogs. This reduces waste in the design process. Professionals prioritize local, seasonal cutting to lower carbon footprints. This shift focuses on the natural growth cycle of the plant rather than chemical forcing.
Modern techniques prioritize the health of the mother plant. Gardeners use the deadheading method to redirect energy to new growth. They make cuts just above a node or leaf junction. This ensures the plant continues to produce blooms throughout the season. Chemical preservatives are also losing popularity. Many now use natural solutions like apple cider vinegar or sugar. These options provide nutrients without harming the environment.
Frequently Asked Questions

Why is it important to cut flower stems at an angle?
Cutting your stems at a 45-degree angle is one of the most essential flower stem cutting tips for beginners. This technique increases the surface area of the exposed vascular system, allowing the bloom to drink more water efficiently. Additionally, an angled cut prevents the stem from sitting flat against the bottom of the vase, which could otherwise create a vacuum seal and lead to premature wilting or dehydration.
How should I prepare my flowers to make them last longer in a vase?
To maximize longevity, always use sharp, sterilized shears rather than kitchen scissors, which can crush the delicate water-conducting tissue. Remove any foliage that will sit below the water line to prevent bacterial growth. For the best results, implement these flower stem cutting tips under lukewarm running water; this prevents air bubbles from entering the stem, ensuring a continuous flow of hydration to the petals for a vibrant display.
Do I need professional floral tools to get a clean cut on my stems?
You don’t need an expensive toolkit to maintain a beautiful indoor garden. While professional floral knives are great, a pair of high-quality garden pruners or even a sharp utility knife works perfectly well for most varieties. The key is ensuring the blade is clean and sharp to avoid fraying the edges. Prioritizing tool maintenance is a budget-friendly way to ensure your DIY arrangements look professionally curated and fresh for days.


