What Is Flower Pressing And Why ItS A Rewarding DIY Flower Press Hobby
The History And Origins Of Pressing Flowers As A Craft
Flower pressing began as a rigorous scientific method for botanical study. Early botanists needed to preserve plant specimens for identification and transport without them rotting. This practice dates back centuries and gained massive popularity during the Victorian era. People began using pressed flowers for sentimental art and scrapbooks. This period shifted the craft from purely scientific work to a widespread decorative household activity.
The Oshibana technique from Japan adds deep technical history to this hobby. It dates back to the sixteenth century and treats pressed plants as paint. Artists create entire landscapes using only dried organic matter. Modern flower pressing combines these Japanese artistic methods with European botanical preservation. Today, the hobby focuses on both scientific accuracy and home decor. It remains a primary way to document local plant biodiversity.
Why Pressing Flowers At Home Is Perfect For Beginners Of All Ages
Pressing flowers at home requires very little financial investment. Beginners can start with basic household items like heavy books and absorbent paper. You do not need expensive machinery or chemical preservatives to achieve high quality results. The process teaches patience and observation of nature. It allows anyone to preserve a physical memory from a garden or a special event with zero technical training.
The learning curve for this craft is low but the utility is high. Most people understand the basic mechanics of pressure and moisture removal immediately. This accessibility makes it a viable bridge into more complex botanical arts. Children learn about plant anatomy while adults focus on design and composition. It provides a tactile connection to the environment that digital hobbies lack. You create a permanent product from a temporary specimen.
Essential Materials You Need To Know How To Press A Flower Successfully
Basic Supplies Required To Get Started With Flower Pressing At Home
Success in flower pressing requires moisture management and even pressure. You must remove water quickly to prevent mold and browning. Choosing the right materials ensures the plant pigments remain stable during the drying process. High-quality absorbent paper acts as the primary engine for this transformation. Proper tools allow you to handle delicate petals without causing bruising or tears that ruin the final aesthetic.
- Acid-Free Blotting Paper: This specialized paper absorbs moisture rapidly without reacting chemically with plant tissues. Using acid-free options prevents the yellowing of petals over time. It provides a flat surface that minimizes texture transfer to the flower.
- Cardboard Dividers: Corrugated cardboard sheets provide structural integrity and necessary airflow between layers. The internal flutes allow moisture to escape the stack more efficiently. Use clean slices to ensure even distribution of weight across the entire press.
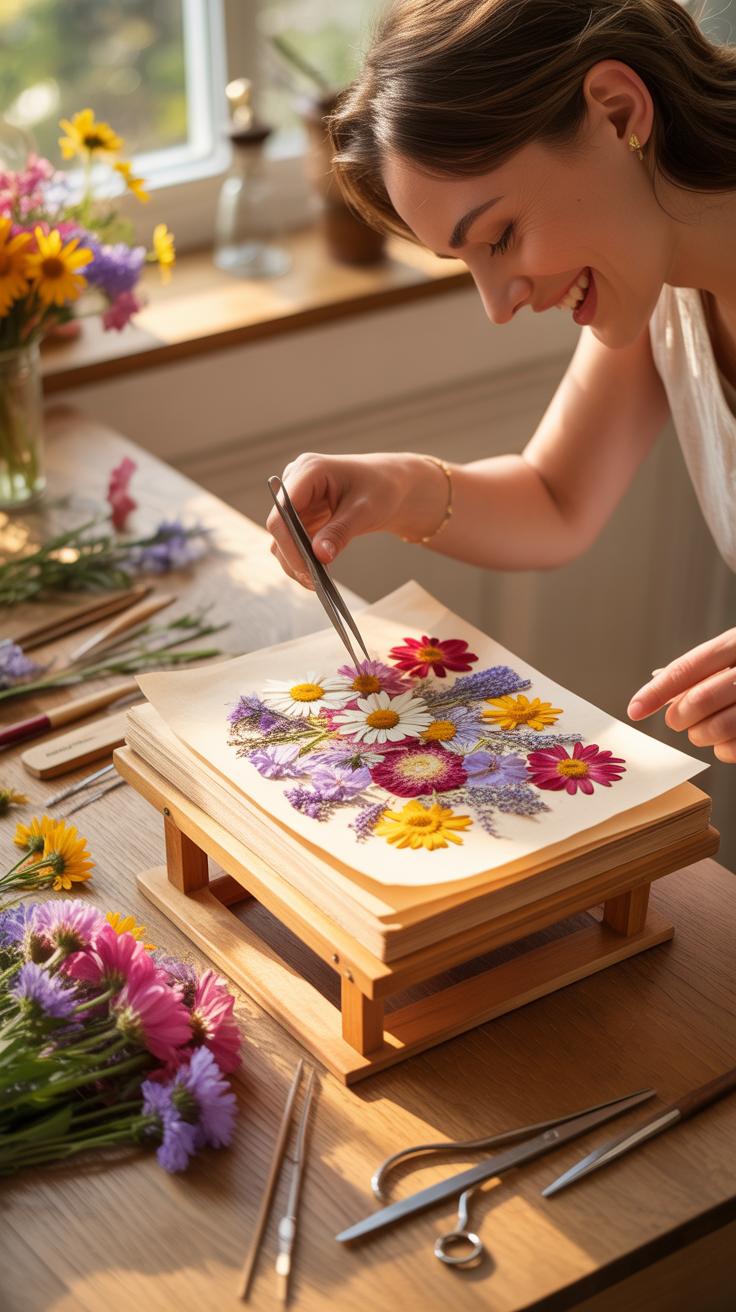
- Fine-Tipped Tweezers: Small tweezers allow for the precise placement of thin petals and stems. Avoid touching specimens with your fingers to prevent the transfer of oils and salt. Precision tools help you arrange the flower in a natural position before applying pressure.
- Exacto Knife or Scissors: Sharp blades are necessary for thinning thick stems and removing bulky centers. Reducing the physical volume of the flower ensures it dries flat rather than distorted. Clean cuts prevent the plant fibers from fraying or holding unnecessary moisture.
- Parchment Paper: This non-stick layer prevents delicate or sticky flowers from adhering to the more expensive blotting paper. It acts as a protective barrier during the initial phase of moisture release. Professionals use it to facilitate the safe removal of dried specimens.
Organization is just as critical as the hardware you select. Labeling each layer with the date and species prevents confusion during long drying periods. Keep your workspace dry and free of dust to avoid contaminating the specimens. Once you gather these core supplies, the physical act of pressing becomes a repeatable process. Mastery of these tools directly impacts the color retention and structural integrity of your collection.
Choosing Between A Store Bought Flower Press And A Homemade DIY Version
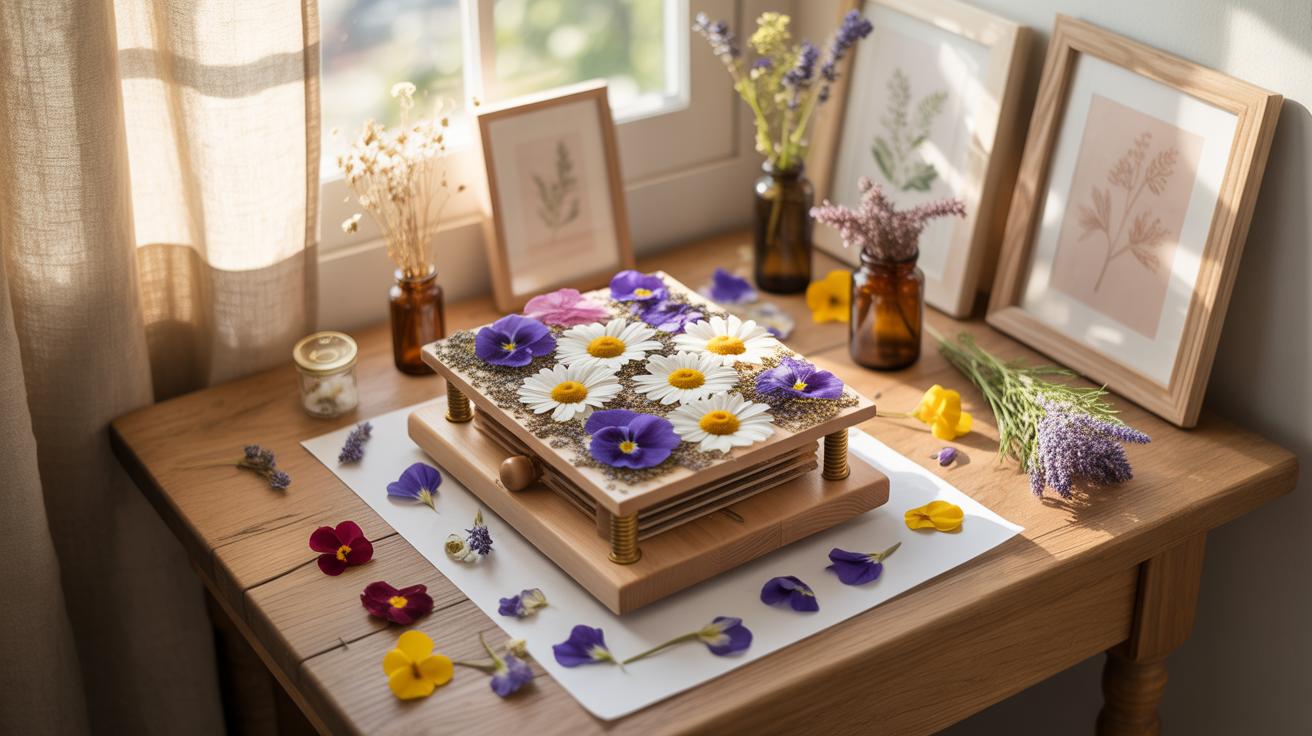
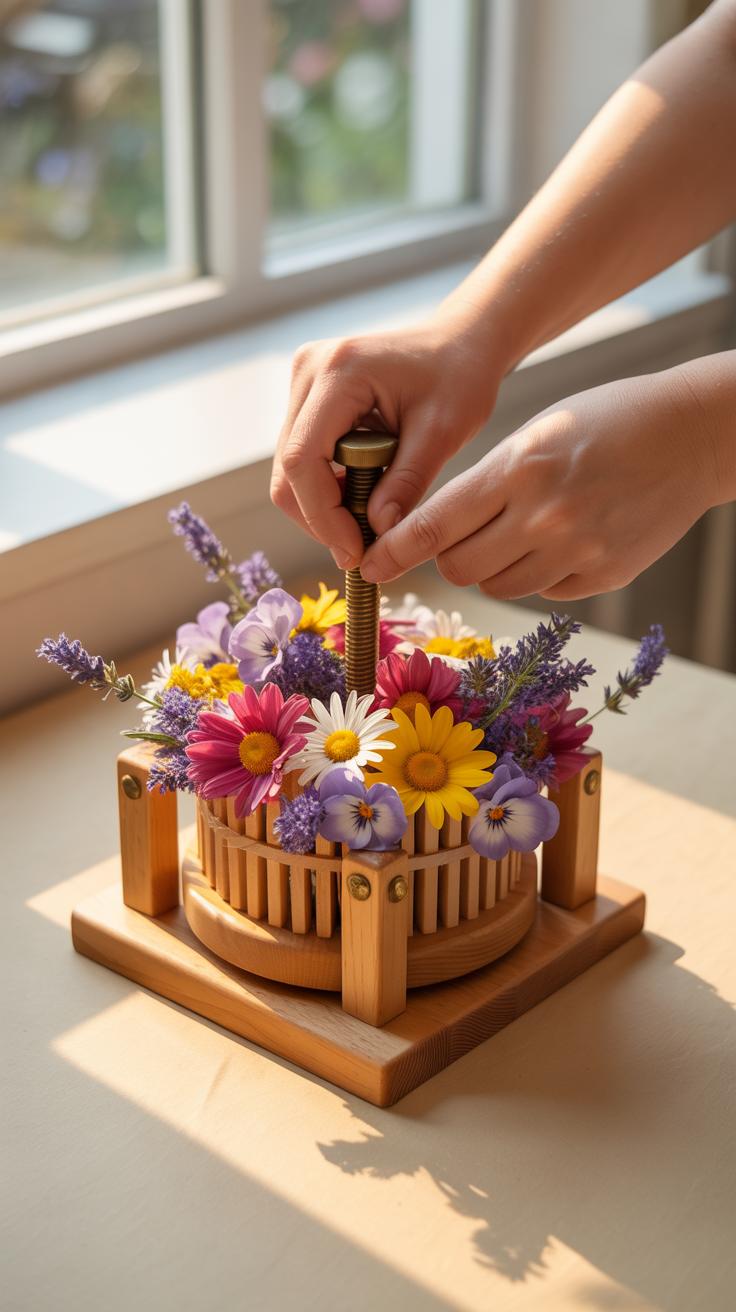
Commercial flower presses offer convenience and standardized results for hobbyists and professionals. These units typically feature wood or acrylic plates held together by long bolts and wing nuts. This design allows for high, adjustable torque to flatten specimens effectively. Store-bought kits often include pre-cut blotting paper and cardboard, which saves time for those who want to start immediately without sourcing individual components.
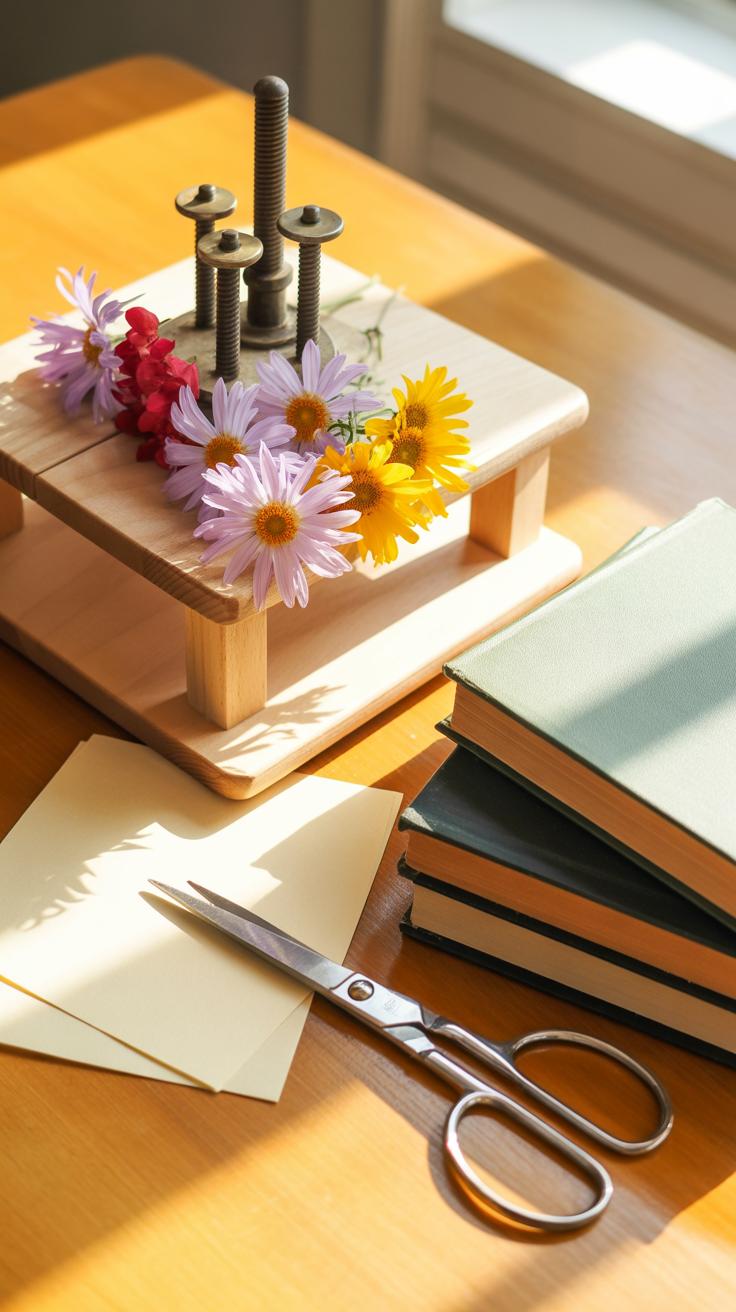
Homemade presses provide a cost-effective alternative using heavy books or plywood scraps. You can build a custom press to accommodate large stems or many flowers at once. The Victorian method used heavy book pages, but modern DIY versions utilize heavy weights or C-clamps for better tension. While store-bought models look better on a shelf, a well-constructed homemade press achieves the same scientific results if you maintain consistent pressure.
How To Choose The Best Flowers And Pressed Flowers Herbs For Pressing
Which Flower Varieties Press Most Beautifully And Hold Their Color
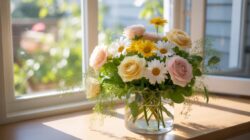
Flat-faced flowers yield the best results for beginners. Pansies, violas, and daisies possess a naturally thin profile. These specimens dry quickly and maintain their structural integrity under pressure. Avoid thick bulbs like lilies or peonies initially. These contain excess moisture that leads to mold. Select flowers with vibrant pigments. Yellows, oranges, and blues retain their original hue the longest after the preservation process finishes.
Tissue-thin petals are the industry standard for high-quality pressing. Poppies and cosmos offer a delicate texture that adheres well to paper. Many professionals use small filler flowers like Queen Anne’s Lace to provide intricate detail. These species distribute pressure evenly across the press. Red and purple flowers often turn brown or black due to chemical oxidation. Choose varieties with single layers of petals to ensure a successful flat finish.
The Best Time To Harvest Flowers And Herbs Before Pressing Them
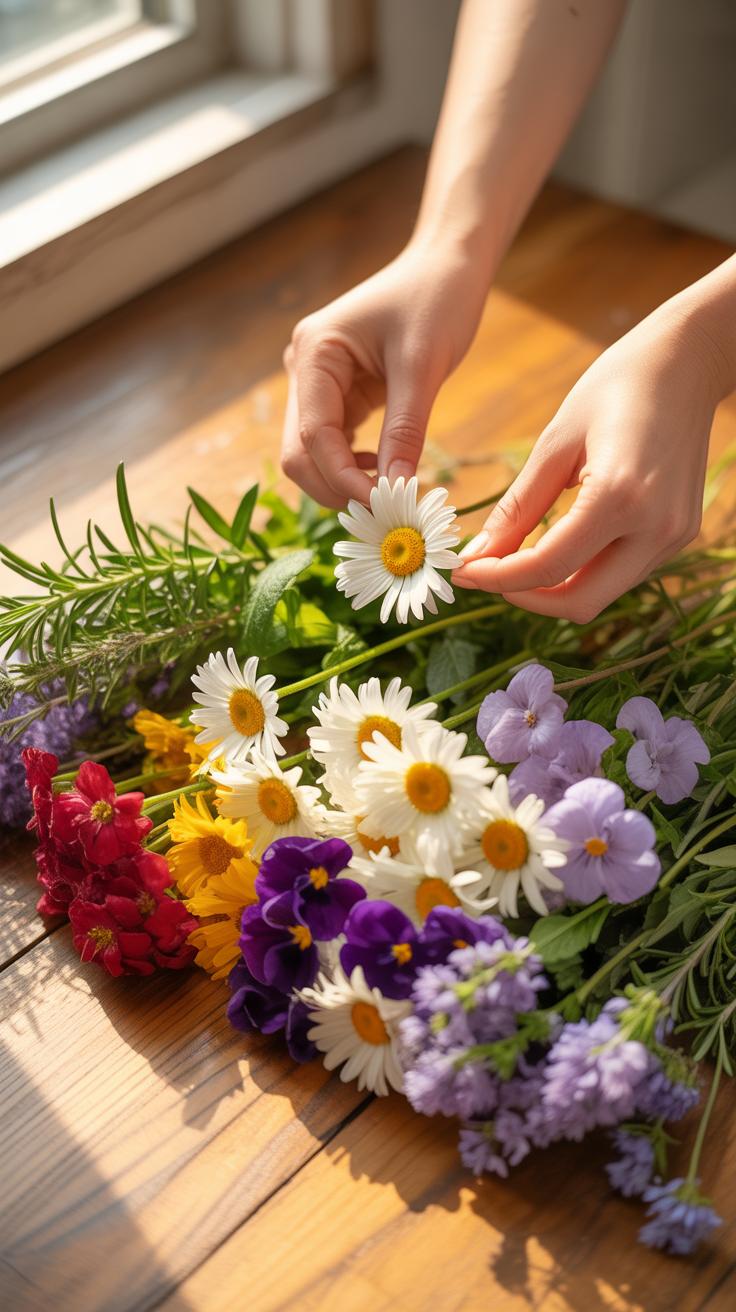
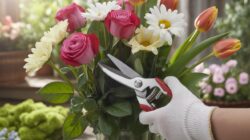
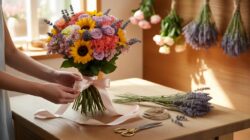
Timing determines the success of the drying process. Harvest your specimens on a dry morning after the dew evaporates. Moisture on the petals causes browning and fungal growth. Pick flowers when they first open. Mature blooms often drop petals once you place them in the press. Herbs like lavender and rosemary require picking before they start to flower. This preserves the green color and essential oils.

Cut stems at a forty-five-degree angle with sharp shears. Place the stems in water immediately if you cannot press them right away. Professional herbarium collectors suggest pressing within one hour of cutting. This prevents wilting and maintains the natural shape of the plant. Do not harvest after a rainstorm. The plant cells hold too much water during this time. Dry petals are the primary requirement for a clean, archival result.
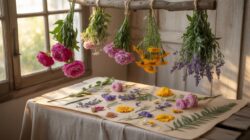
Step By Step Guide On How To Press Flowers Using The Book Method
Preparing Your Flowers Correctly Before They Go Into The Press Or Book
Harvest flowers in the morning after dew evaporates. Moisture causes mold and ruins your specimens. Select blooms at their peak color and structural integrity. Remove extra leaves and stems to reduce bulk. Use a sharp blade to slice thick flower centers or bulbs in half lengthwise. This ensures the plant sits flat against the paper surface and dries at an even rate.
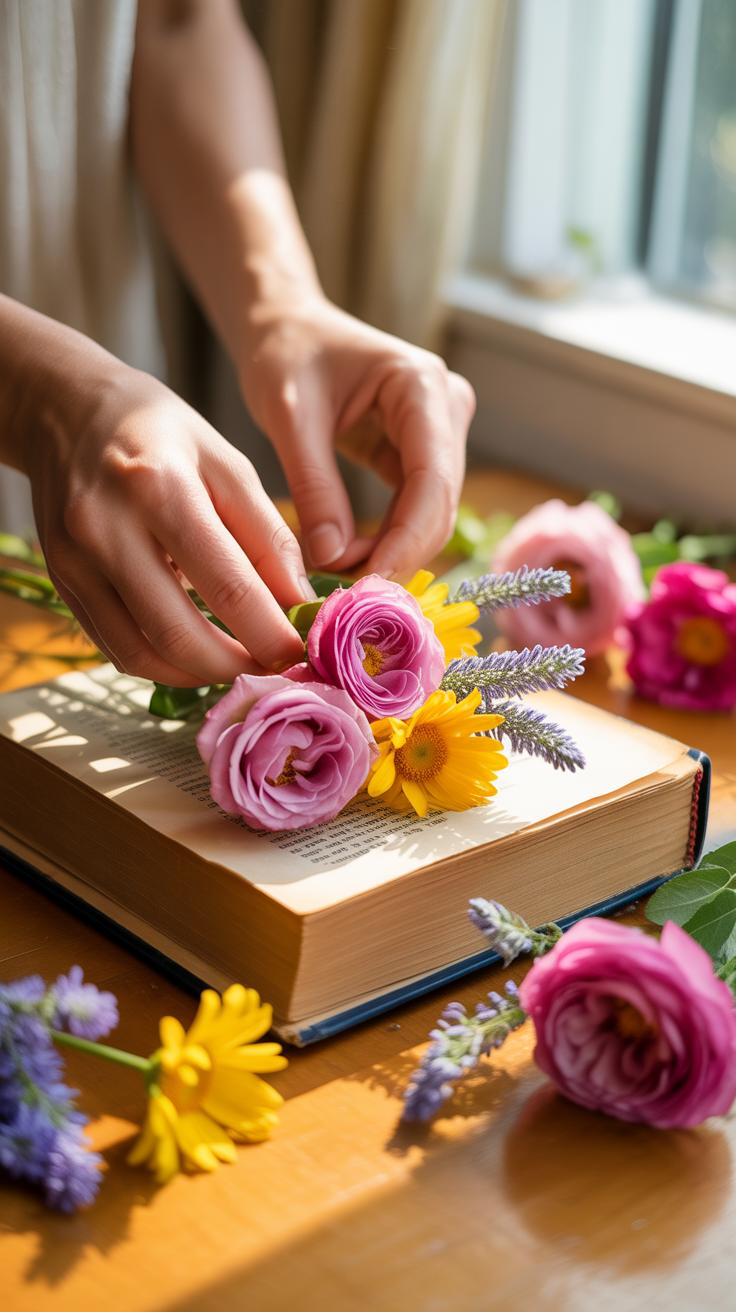
Place specimens between two sheets of acid-free parchment or blotter paper. This protects your book pages from staining and acid damage. Do not overlap petals or leaves during placement. Overlapping causes the plants to fuse together during the drying process. Ensure every part of the plant touches the paper. Position the flowers exactly as you want them to appear in their final dried state.
How Long To Leave Flowers Pressing And How To Check For Readiness
Standard flower pressing requires two to four weeks of constant pressure. Heavy books or weights must remain undisturbed during this period. The cellulose in the plant fibers needs time to lose moisture completely. Environmental humidity levels dictate the exact speed of the process. High humidity environments require more time. Do not move or peek at the flowers during the first ten days of pressing.

Test for readiness by touching the petals gently with your fingertip. The plant should feel like thin paper or dry parchment. If the specimen feels cool or limp, it still contains moisture. Return it to the press for another week immediately. Properly dried flowers will be stiff and brittle. They should not droop when you lift them from the paper. Handle the finished specimens with tweezers to avoid breakage.
Pressing Flowers DIY How To Build A Simple Wooden Flower Press At Home
Materials And Dimensions Needed To Construct A Basic DIY Flower Press
Building a functional flower press requires rigid materials that distribute pressure evenly. Wood provides the necessary structural integrity to prevent warping during the drying process. You must select hardware that allows for high tension and incremental adjustments. Proper sizing ensures you can process multiple specimens without crowding the surface area. High quality absorbent layers prevent mold and keep the flower shape intact.
- Plywood Boards: Use two pieces of 9 by 12 inch plywood. Ensure the wood is at least five eighths of an inch thick to prevent bending. Sand the edges to avoid splinters while handling the press.
- Carriage Bolts: Purchase four stainless steel carriage bolts. These should be three inches long and one quarter inch thick. These bolts provide the vertical structure for the press and hold the tension.
- Wing Nuts and Washers: Get four matching wing nuts and flat washers. Wing nuts allow you to tighten the press by hand without extra tools. Washers protect the wood surface from damage during repetitive tightening cycles.
- Corrugated Cardboard: Cut several sheets of cardboard to match your board dimensions. Cardboard provides essential airflow between layers. This ventilation speeds up the moisture removal process and prevents the plants from rotting.
- Blotting Paper: Use acid free blotting paper or plain newsprint. This material pulls moisture directly out of the plant fibers. Avoid using waxed paper or paper towels with heavy textures that leave imprints on petals.
Precision in your measurements leads to a more effective tool. Drill four holes in the corners of both boards. Align these holes perfectly so the bolts slide through without resistance. A symmetrical press applies uniform force across the entire plant. This balance is critical for professional results. Use durable hardware to ensure your press lasts for many seasons of heavy use.
How To Assemble And Use Your Homemade Press For Consistent Results
Slide the bolts through the bottom board and lay it flat on a work surface. Place a layer of cardboard followed by two sheets of blotting paper. Arrange your flowers on the paper without letting them touch or overlap. Cover the specimens with another sheet of paper and cardboard. Repeat this stacking process until the press is full or you run out of plants.

Place the top board over the bolts and add the washers and wing nuts. Tighten each nut evenly to apply balanced pressure. Check the tension every two days as the plants lose moisture and volume. Keep the press in a warm and dry location with good air circulation. Wait two to three weeks before opening the press to ensure the flowers are completely dry.
Creative Flower Pressing Ideas And Nature Crafts To Make With Your Pressed Blooms
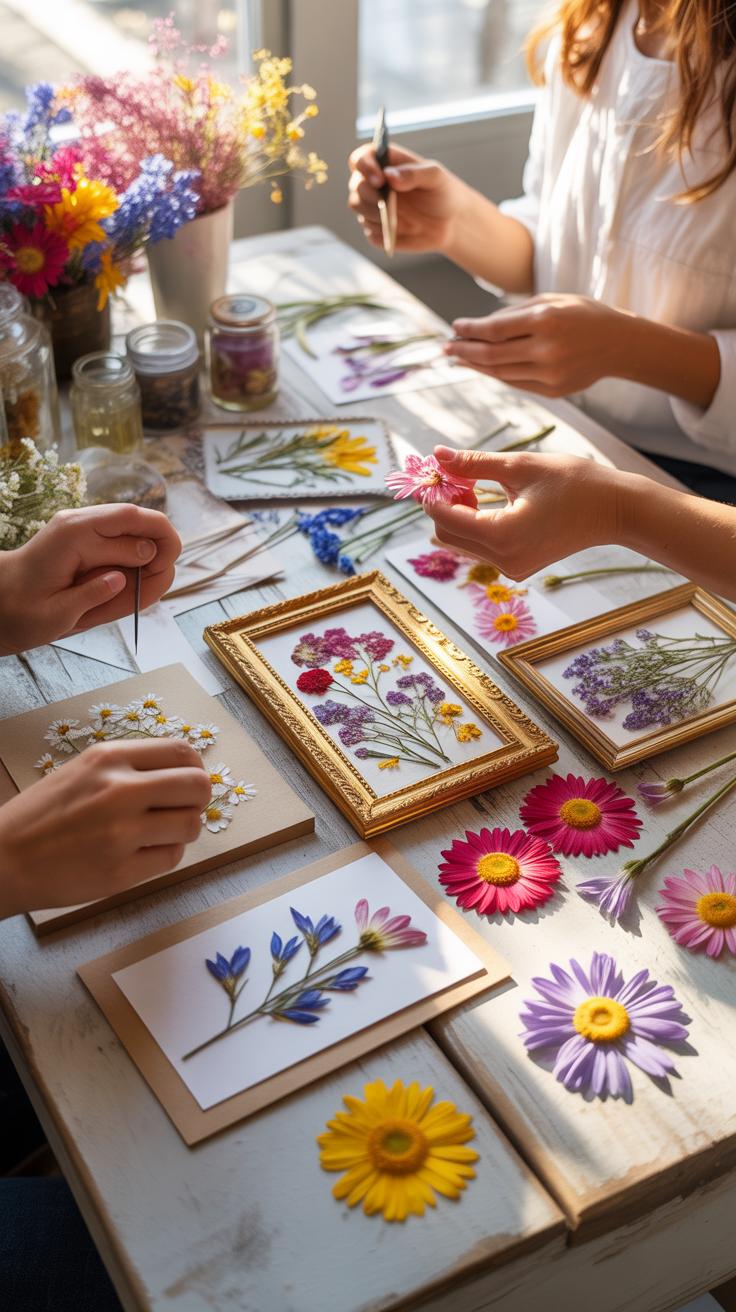
Decorative Projects You Can Create Using Your Finished Flower Pressings
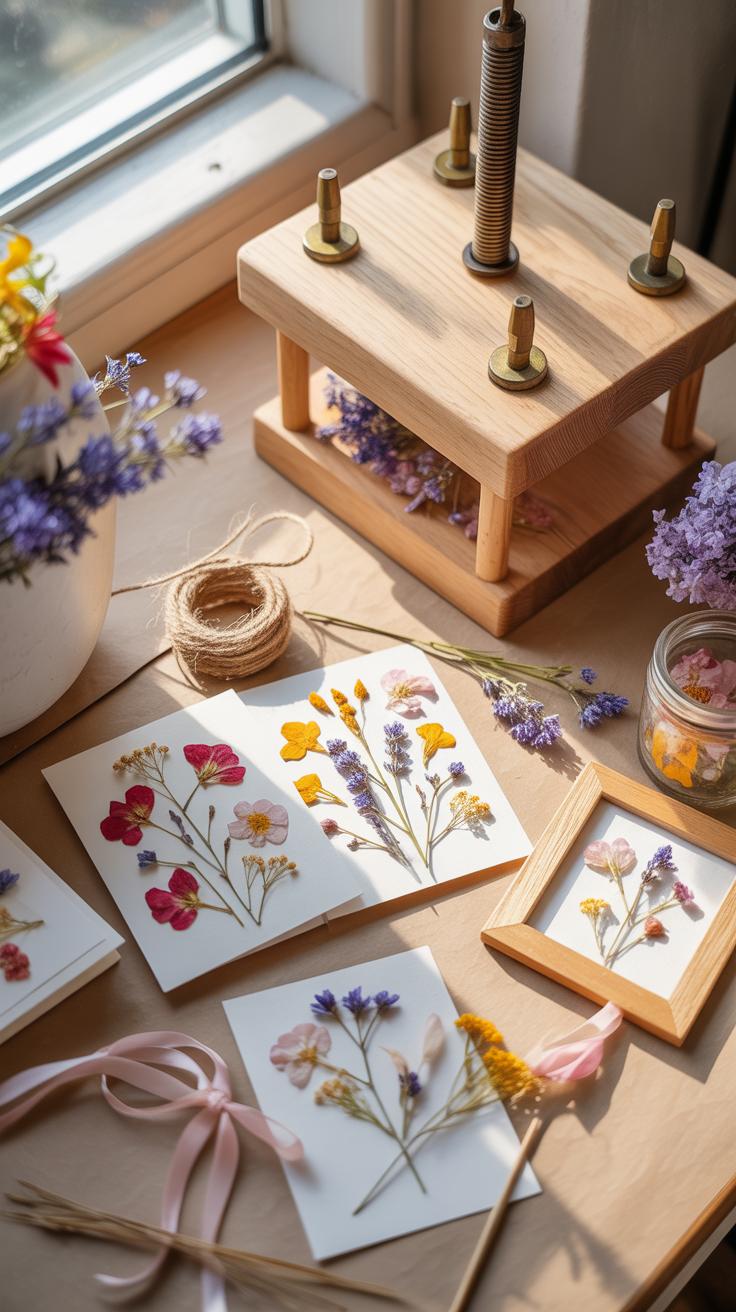
Pressed flowers serve as raw materials for functional home goods beyond simple keepsakes. You can apply dried specimens to handmade candles by dipping the bloom in melted paraffin and pressing it against the wax surface. This technique requires heat to fuse the organic matter to the candle body safely. Resin casting offers another durable option for preserving the flat shape of your pressed botanical material.
Stationery remains the most common application for these dried elements. Use archival glue to mount thin petals onto cardstock for custom greetings or bookmarks. Ensure the adhesive is acid-free to prevent the paper from yellowing over time. You can also laminate pressed leaves between sheets of clear contact paper to create waterproof items. These methods prioritize the preservation of the plant color while providing a practical use.
Preserving flowers is a way of keeping the memory of a summer’s day or a loved one’s gift forever. It is a simple joy that turns nature’s fleeting beauty into a lasting treasure for your home.
— Tasha Tudor
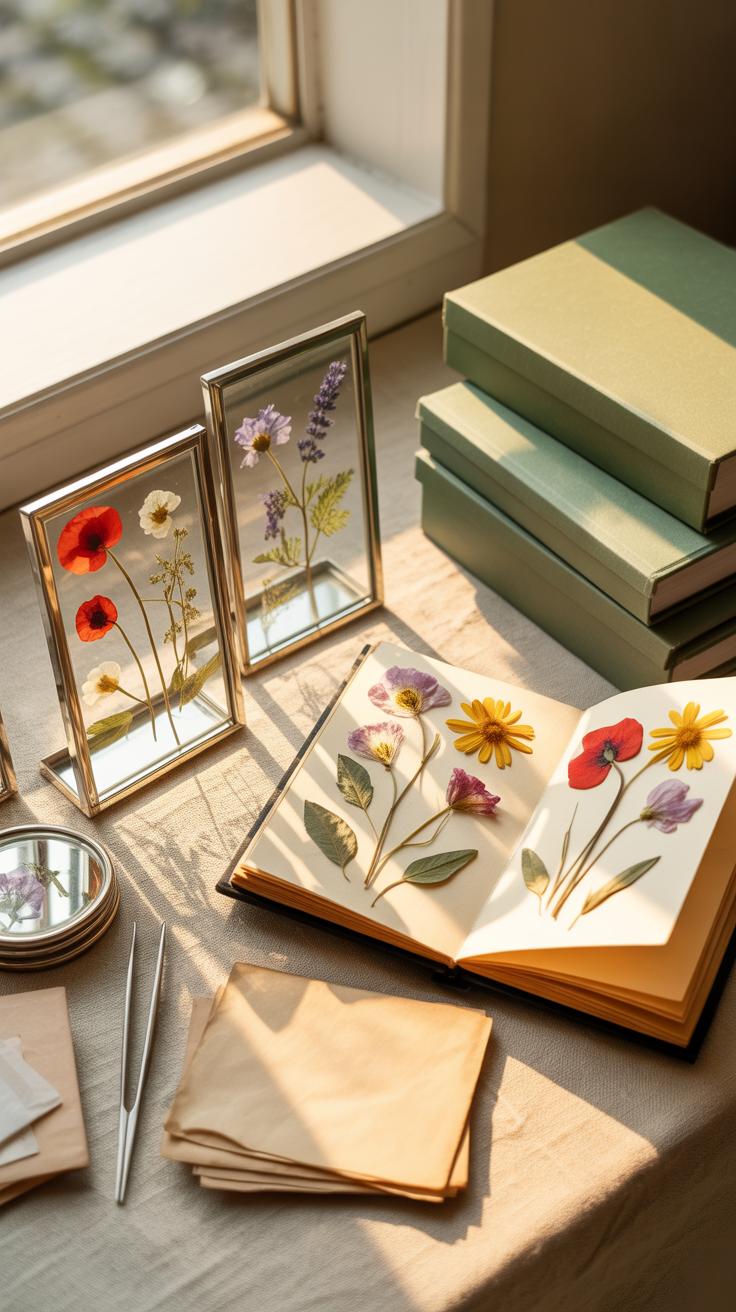
How To Frame And Display Pressed Flowers As Wall Art In Your Home
Displaying pressed flowers as wall art requires protection from UV light and moisture. Select a glass frame that seals tightly to prevent air from rehydrating the plant tissue. Float frames are effective because they suspend the flower between two panes of glass without a backing mat. This style mimics the look of 19th-century herbarium sheets used by Victorian botanists to catalog new species.
Placement of the finished frame dictates how long the colors will last. Direct sunlight bleaches the natural pigments out of the petals within months. Choose a north-facing wall or a hallway with indirect light to maintain the original hues. If you use a wooden frame, verify that the backing material is acid-free. Low-quality cardboard will leach acid into the specimen and turn the vibrant petals brown.
How To Choose Pressed Flower Crafts That Match Your Skill Level And Style
Beginner Friendly Pressed Flower Projects That Require Minimal Tools
Beginners should focus on flat surfaces to avoid bulk and adhesive failure. Clear glass frames provide the simplest entry point for pressing flowers at home. You place the dried specimens between two glass panes to hold them via friction. This method mirrors the Victorian era practice of botanical mounting but requires no glue. It allows you to see the anatomy of each plant clearly without complex chemicals.
Stationery projects offer another low-barrier option for new crafters. You can use a standard glue stick to fix thin petals onto heavy cardstock. Avoid liquid glues that warp thin paper or saturate delicate blooms. Clear packing tape or self-adhesive laminating sheets work well for bookmarks. These materials prevent oxygen from reaching the plant matter. This slows the natural fading process and protects the flowers from physical handling.
Intermediate Flower Pressing Ideas For Those Ready To Elevate Their Craft
Intermediate crafters should move into resin casting and three-dimensional surfaces. Working with epoxy resin requires precise mixing ratios to prevent flash cures that burn delicate petals. You must ensure flowers are bone dry before immersion. Any remaining moisture triggers rot or creates unsightly bubbles inside the cured plastic. This technique preserves the color longer than exposure to open air. It creates durable items like jewelry and coasters.
Furniture upcycling represents a significant step up in technical difficulty. Decoupage techniques allow you to apply pressed specimens to wood or metal. You must use a high-quality sealant like polycrylic to protect the organic matter from UV light and moisture. This style draws inspiration from the 18th-century French art of Lacca Povera. Success depends on smooth application and sanding between layers. It turns everyday objects into permanent botanical records.
Tips For Preserving And Storing Your Flower Pressings For Long Lasting Beauty
How To Properly Store Pressed Flowers To Prevent Fading And Brittleness
Light and humidity destroy pressed specimens. Store your finished flowers in acid-free paper folders or scrapbooks. Acid causes the plant tissue to yellow and degrade over time. Choose a dark, cool location for storage. Basements are often too damp while attics are too hot. Maintain a stable environment to keep the cellular structure of the petals intact and prevent crumbling.
UV rays bleach the natural pigments from the petals. If you display your work in frames, use UV-protective glass to block solar damage. Keep framed pieces away from direct windows or bright lamps. Use archival-quality glue for mounting to prevent chemical reactions. Proper air sealing stops moisture from re-entering the dried fibers. This process mimics botanical herbarium standards used for centuries.
Common Flower Pressing Mistakes Beginners Make And How To Avoid Them
Beginners often rush the process by opening the press too early. This reintroduces moisture and causes the flower to curl or mold. You must wait at least two to three weeks for total moisture evaporation. High-water content plants like lilies or succulents rarely press well without advanced techniques. Start with flat-faced blooms like pansies or daisies for the best initial results.
Using the wrong paper causes permanent damage. Avoid textured towels or glossy paper that traps moisture against the petal. Newsprint or blotting paper works best because it absorbs liquid quickly. Tighten your press straps or bolts evenly to ensure flat drying. Uneven pressure creates ridges and ruins the aesthetic. Clean your flowers before pressing to remove bugs or dirt that cause rot during the drying cycle.
Frequently Asked Questions

What are the best types of flowers for beginners to start with?
If you are new to pressing flowers at home, it is best to choose blooms with naturally flat faces. Varieties like pansies, violas, cosmos, and daisies are ideal because they lack bulky centers. These flowers dry evenly and quickly, reducing the risk of mold. Avoid thick succulents or heavy roses until you gain more experience, as thinner petals yield the most vibrant and crisp results for your first botanical projects.
How do I ensure my flowers don’t turn brown or lose their color during the process?
To maintain vibrant colors when pressing flowers at home, timing is everything. Harvest your blooms on a dry morning after the dew has evaporated but before the sun is too hot. Use acid-free blotting paper or plain untextured cardboard to absorb moisture efficiently. By changing the paper every few days during the first week, you remove excess humidity quickly, which helps lock in those stunning natural pigments before they have a chance to fade.
Do I need to buy a professional wood press to get high-quality results?
Not at all! You can achieve beautiful results using everyday household items like heavy encyclopedias or coffee table books. Simply place your specimens between sheets of parchment paper and tuck them deep inside the pages of a weighted book. This DIY method is incredibly effective and accessible for anyone interested in the hobby. It proves that creating preserved botanical art doesn’t require expensive equipment or a significant financial investment to start today.


