How Do You Dry Flowers Understanding The Basics Before You Begin
Why Flower Drying Has Been Practiced For Centuries
Humans have dried flowers for thousands of years to preserve biological resources. Ancient Egyptians used dried botanicals in tomb garlands and cosmetics. During the Middle Ages, people used dried herbs and flowers for medicine and pest control. These practices were functional rather than decorative. Preservation allowed communities to maintain access to essential plant properties long after the growing season ended.
In the Victorian era, dried flowers shifted toward social communication and décor. The Language of Flowers movement created a demand for permanent floral tokens. People needed ways to keep sentimental blooms intact for years. This period refined air drying and pressing into standardized techniques. Today, preservation serves both commercial floral design and industrial research. Modern methods build on these early attempts to stop natural decay.
What Happens To A Flower Structurally During The Drying Process
Flower drying is the controlled removal of moisture from plant tissues. Living flowers contain up to ninety percent water held within cell vacuoles. When you start the drying process, evaporation pulls this water out. If the water leaves too fast, petals shrivel and lose their shape. If it leaves too slow, mold and bacteria destroy the organic matter. Success depends on balancing speed and airflow.
The cellular structure changes as the plant dehydrates. Cellulose fibers harden and become brittle as the moisture exits. This creates a rigid skeleton that maintains the visual form of the bloom. Pigments also react to the loss of water and exposure to oxygen. Darker colors often intensify while lighter colors may fade or turn brown. Reliable drying techniques lock the cell walls into place before the flower can collapse or rot.
Choosing The Best Way To Dry Flowers Based On Flower Type And Purpose
How Flower Thickness, Moisture Content And Petal Density Affect Your Method Choice
Flower anatomy dictates the drying process. High moisture plants like lilies or tulips rot if you hang them in humid air. Succulent stems trap water and require silica gel to pull moisture out fast. Thin petals on poppies or pansies shrivel easily. These delicate types need pressing to keep their shape. You must match the extraction speed to the moisture level of the bloom.
Petal density creates structural challenges. Dense flowers like roses or carnations hold water at the base of the head. Air cannot reach the center effectively. This causes mold before the flower dries completely. Use desiccant beads for thick blooms to ensure even drying from the inside out. Flat flowers with single layers work best for traditional air drying. Always check the center for softness before finishing.
Matching The Right Drying Technique To Your Intended Use Or Craft Project
Your final project determines your tactical approach. Use air drying for rustic decor or large floral installations. This method preserves long stems for vases or wall hangings. It works for hardy varieties that do not need perfect color retention. The dried stems remain flexible enough for wreaths. Choose this if you need bulk material and have low precision requirements for the petal color.
Select pressing or silica for high detail work. Pressed flowers suit flat surfaces like glass frames or paper resin art. They lose 3D form but keep clear outlines. Silica gel maintains the original 3D structure and vivid color for shadow boxes. This technique mimics the Victorian era preservation style. Use it for wedding bouquets or professional displays where the flower must look alive but stay dry.

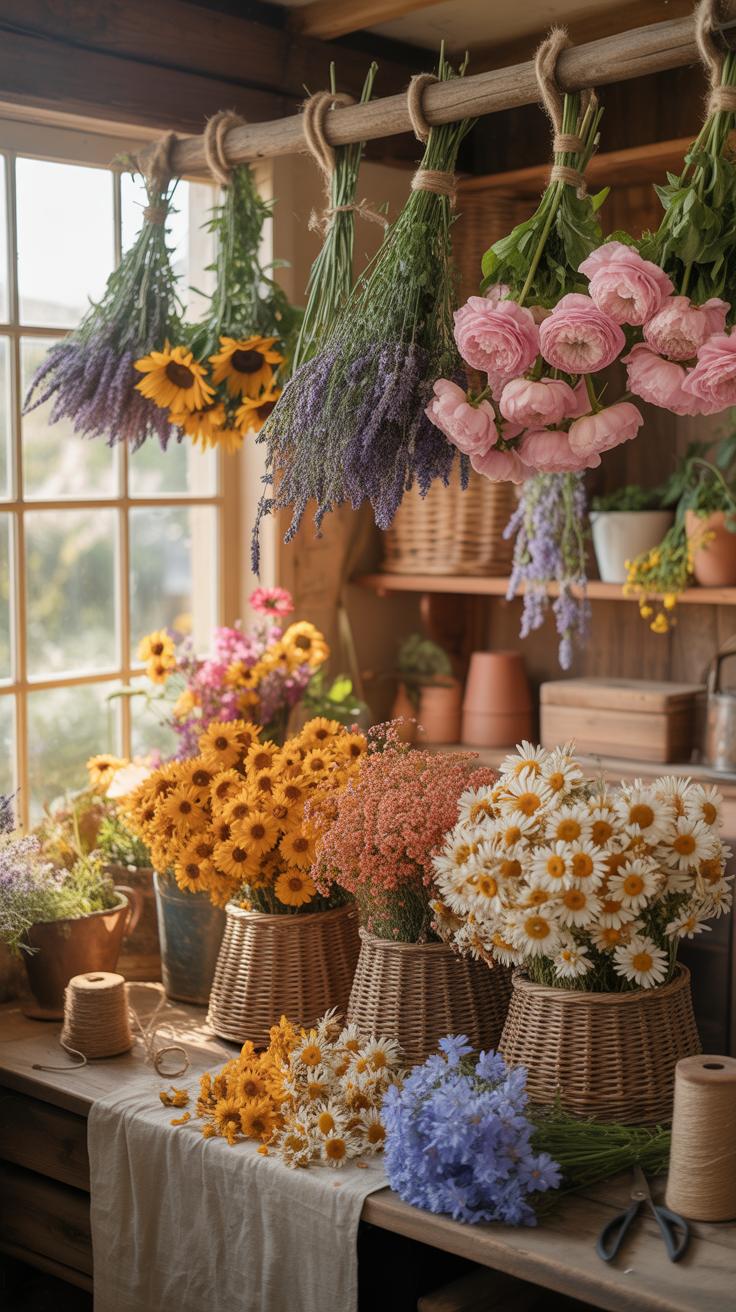
How To Dry Your Own Flowers Using The Air Drying Method
Step By Step Guide To Hanging And Bundling Flowers For Air Drying
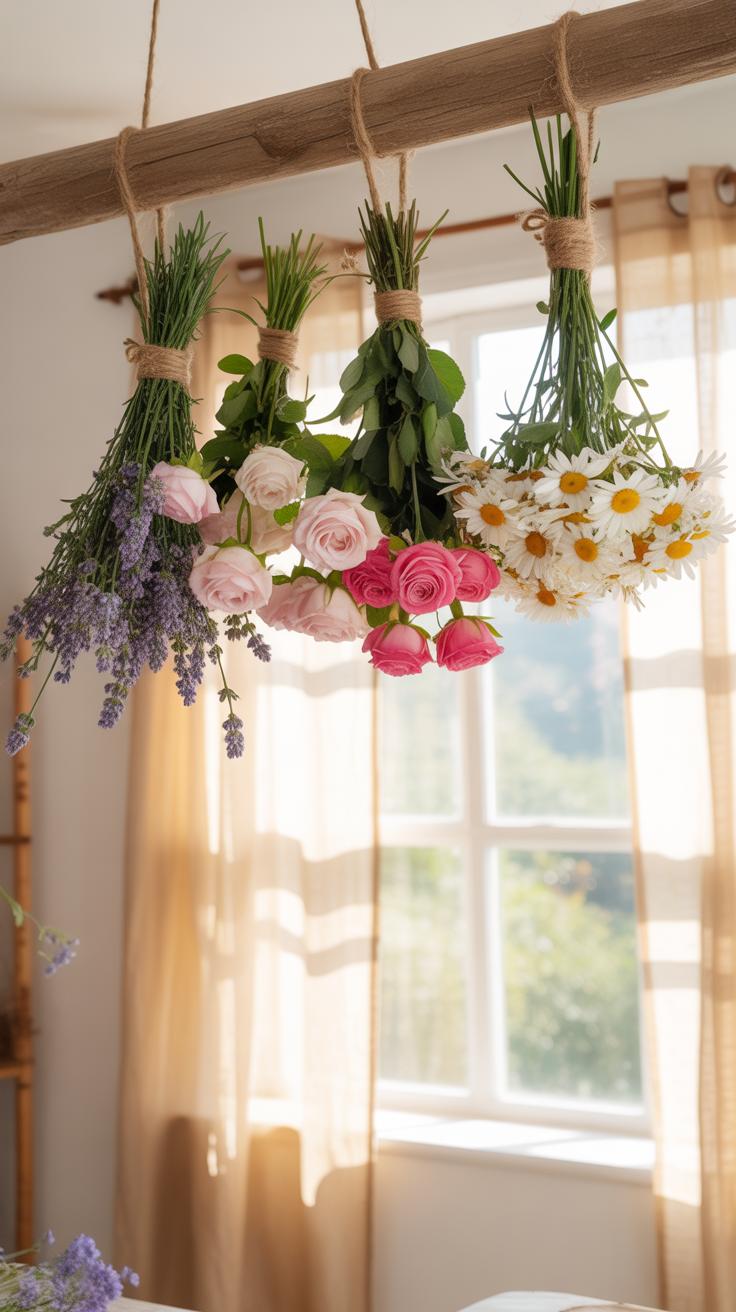
Air drying is the oldest and most reliable method for preserving floral structures. You must harvest flowers just before they reach full maturity to prevent petal drop during the dehydration process. Remove all foliage from the stems to increase airflow and prevent mold growth. Grouping stems into small bundles ensures even drying and maintains the structural integrity of the plant material.
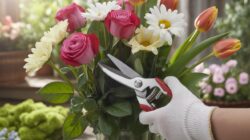
- Stem Preparation: Strip all leaves and thorns from the bottom two-thirds of each stem. This focuses the drying energy on the flower head and prevents moisture from trapping between damp leaves. Clean stems also reduce the risk of fungal infections during the process.
- Bundle Size: Group three to six stems together using a sturdy rubber band. Do not use string for the initial wrap because stems shrink as they lose water. A rubber band maintains a constant grip on the dwindling stem diameters to prevent slipping.
- Hanging Position: Attach the bundle to a hook or line so the flower heads point toward the floor. Gravity pulls the sap into the flower head and keeps the stems straight. This position prevents the heads from drooping or wilting as they lose cellular tension.
- Spacing Protocol: Space each bundle at least six inches apart on the drying line. Proper air circulation is the most critical factor for success. Overcrowding traps humid air around the petals and leads to rot or browning before the drying process completes.
- Securing Method: Use a paperclip or S-hook to hang the rubber-banded bundles from a horizontal wire. This setup allows you to move bundles easily without disturbing the fragile petals. Ensure the wire is high enough to avoid any physical contact with walls or equipment.
Finalize the process by checking the tension of your ties every forty-eight hours. Stems lose significant mass and can fall if the attachment point loosens. Once the petals feel like thin parchment and the stems snap easily, the process is complete. Proper bundling technique ensures the flowers remain upright and marketable for professional or personal use in long-term floral arrangements.
To dry a flower is to keep a memory from fading, holding a piece of summer in your hands long after the frost has come. Mastering this art ensures that the beauty of today becomes a treasure for tomorrow.
— Gertrude Jekyll
Ideal Conditions, Timelines And Common Mistakes To Avoid When Air Drying
Successful air drying requires a dark room with consistent airflow and low humidity. Sunlight is your primary enemy because UV rays destroy natural pigments and turn vibrant blooms brown. Select a space like a dry attic or a ventilated closet to maintain color saturation. Avoid kitchens or bathrooms where steam and high moisture levels rehydrate the plant tissue and cause rapid decay.

The drying timeline typically lasts between two and three weeks depending on the ambient temperature. Thick flowers like roses take longer than thin-petaled varieties like lavender. A common mistake is harvesting flowers that are too wet from dew or rain. Always cut your flowers in the mid-morning after the sun evaporates surface moisture. This prevents trapped water from rotting the center of the flower head.
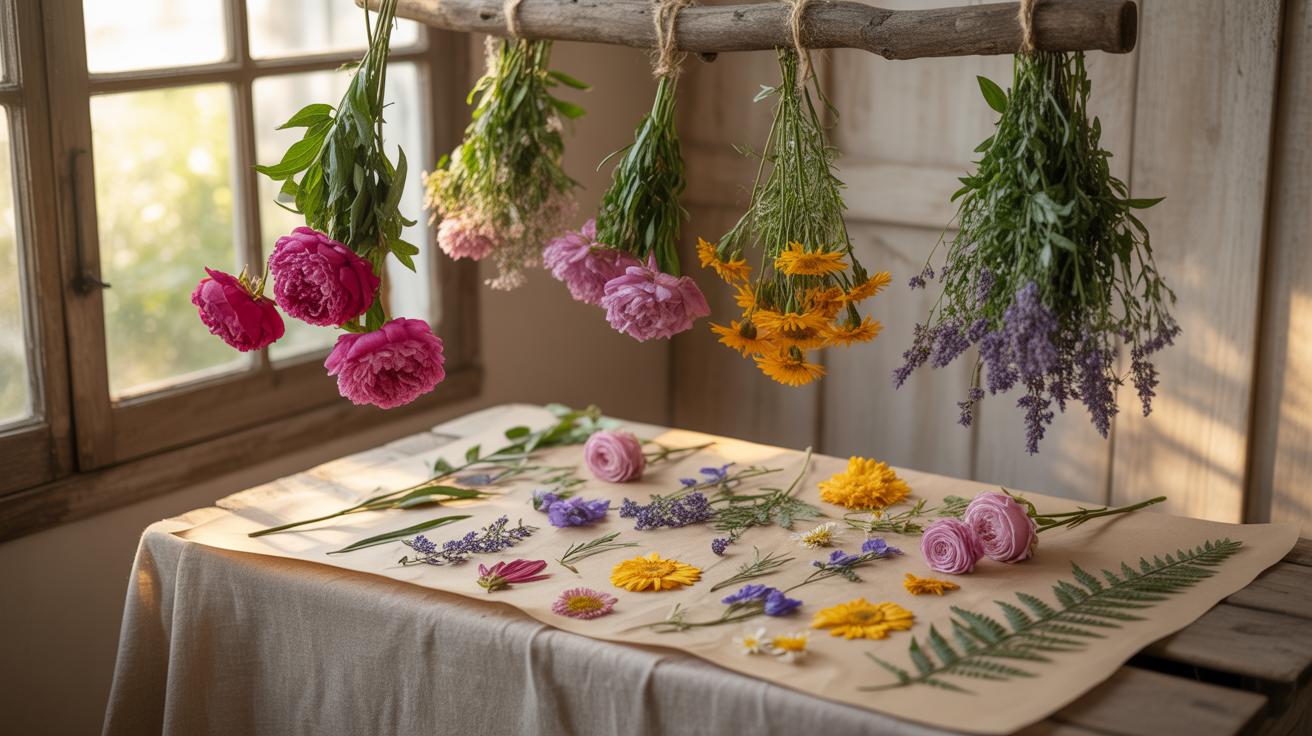
Pressed Flowers How To Use The Pressing Method For Flat Delicate Blooms
How To Press Flowers Using A Book, Flower Press Or Weighted Board
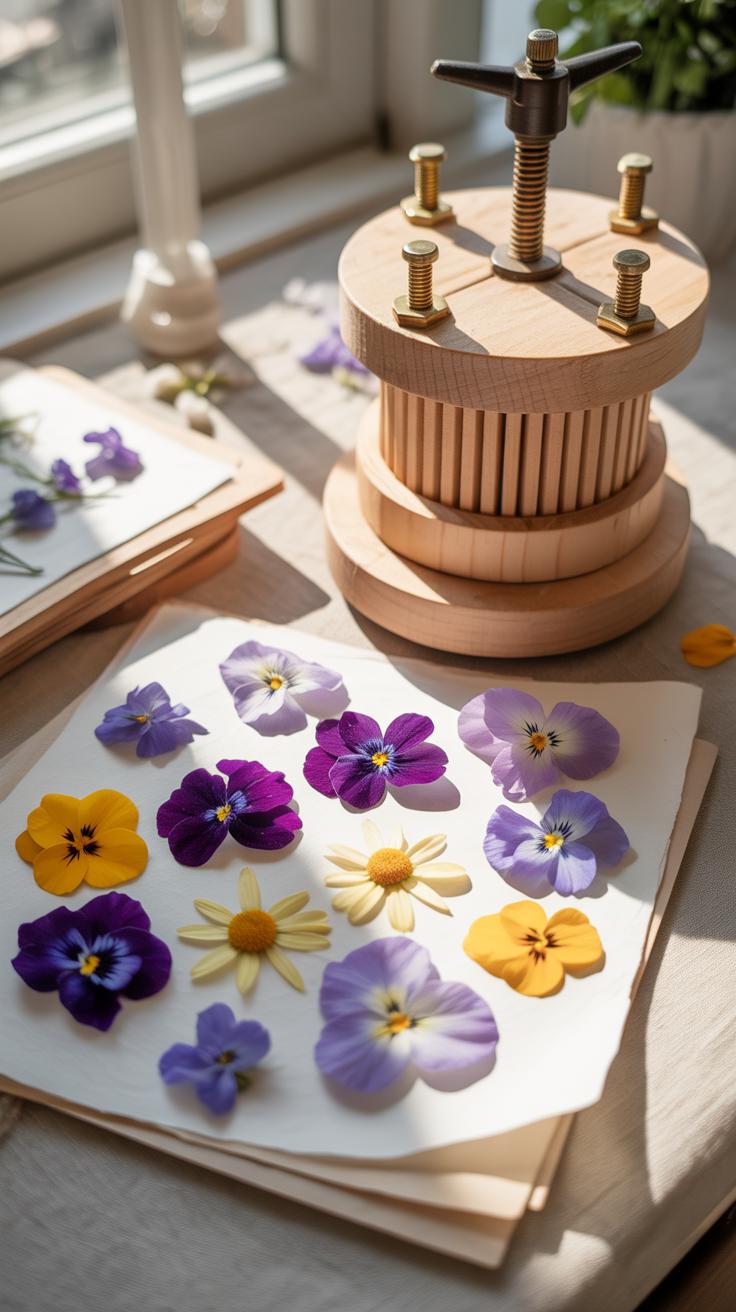
Choose blooms at peak dryness to prevent mold growth during the process. Place your specimen between layers of absorbent parchment or blotting paper. Do not use paper towels because their texture leaves impressions on the petals. If using a heavy book, ensure the weight distributes evenly across the entire surface. This pressure forces moisture out while maintaining the natural shape of the plant.
Tighten the bolts on a traditional flower press every few days to maintain constant pressure as the plant shrinks. For weighted boards, use bricks or heavy stones to provide at least twenty pounds of force. Leave the specimen undisturbed for three weeks in a cool and dry room. Checking too early can tear the delicate cell walls. Once the petals feel like thin paper, they are ready for use.
Which Flower Varieties Respond Best To Pressing And Why

Successful pressing requires species with low moisture content and naturally flat profiles. Thick flowers like lilies or standard roses often rot because they hold too much water. Focus on single layer blooms such as violas, pansies, and daisies. Their thin anatomy allows for rapid moisture transfer to the paper. This speed preserves the original color pigments before oxygen can dull or brown the petals.
Wildflowers and ferns dominate this category due to their structural simplicity. These plants lack the heavy nectar and dense centers found in larger cultivars. Victorian era botanical collectors favored these varieties for their herbarium sheets because they remain stable for decades. Selecting plants with naturally thin stems ensures the entire specimen dries at the same rate. This uniformity prevents the center from molding while the edges crisp.
How To Dry Flowers At Home Using Silica Gel For Professional Level Results
What Silica Gel Is And How It Works To Absorb Moisture From Flowers
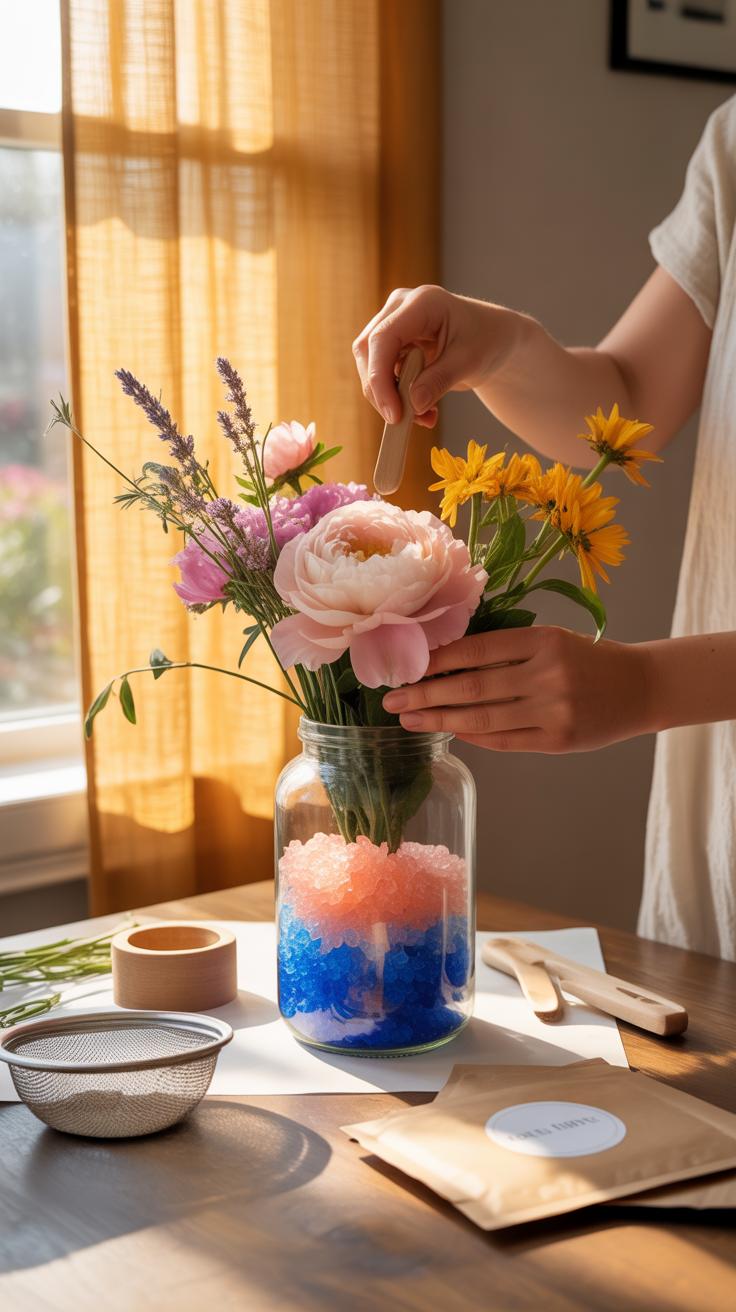
Silica gel is a porous form of silicon dioxide. It is a desiccant, not a gel. This material pulls water molecules from plant tissues through adsorption. The process maintains the original shape and color of the petals. High-quality versions often contain indicator beads. These beads change color when the material reaches its maximum water capacity. This feature tells you when to dry the beads.

Chemically, silica gel offers a faster drying rate than open air. Speed prevents the natural decay and browning of delicate blossoms. You can reuse the material many times. Simply heat the saturated beads in an oven to remove the trapped moisture. This industrial tool provides a controlled environment. It is the gold standard for preserving complex flower structures like roses and peonies without structural collapse.
A Practical Walkthrough For Burying And Retrieving Flowers In Silica Gel
Pour one inch of silica gel into an airtight container. Place the flower heads face up on the base layer. Slowly pour more material around and over the blooms. Ensure the gel fills every gap between the petals to prevent flattening. Seal the container tightly. Keep it in a cool and dry location. Check the progress after two to four days for best results.
Removal requires a steady hand and patience. Gently pour off the top layers of silica gel until the flowers appear. Lift the stems carefully from the container. Use a soft brush to remove any stuck grains from the petals. Over-drying makes the flower tissue brittle and prone to shattering. Stop the process once the petals feel like fine paper. Store the finished flowers away from direct sunlight.
How To Dry Flowers For Crafts Using A Microwave Or Conventional Oven
Using A Microwave With Silica Gel To Speed Up The Flower Drying Process Safely
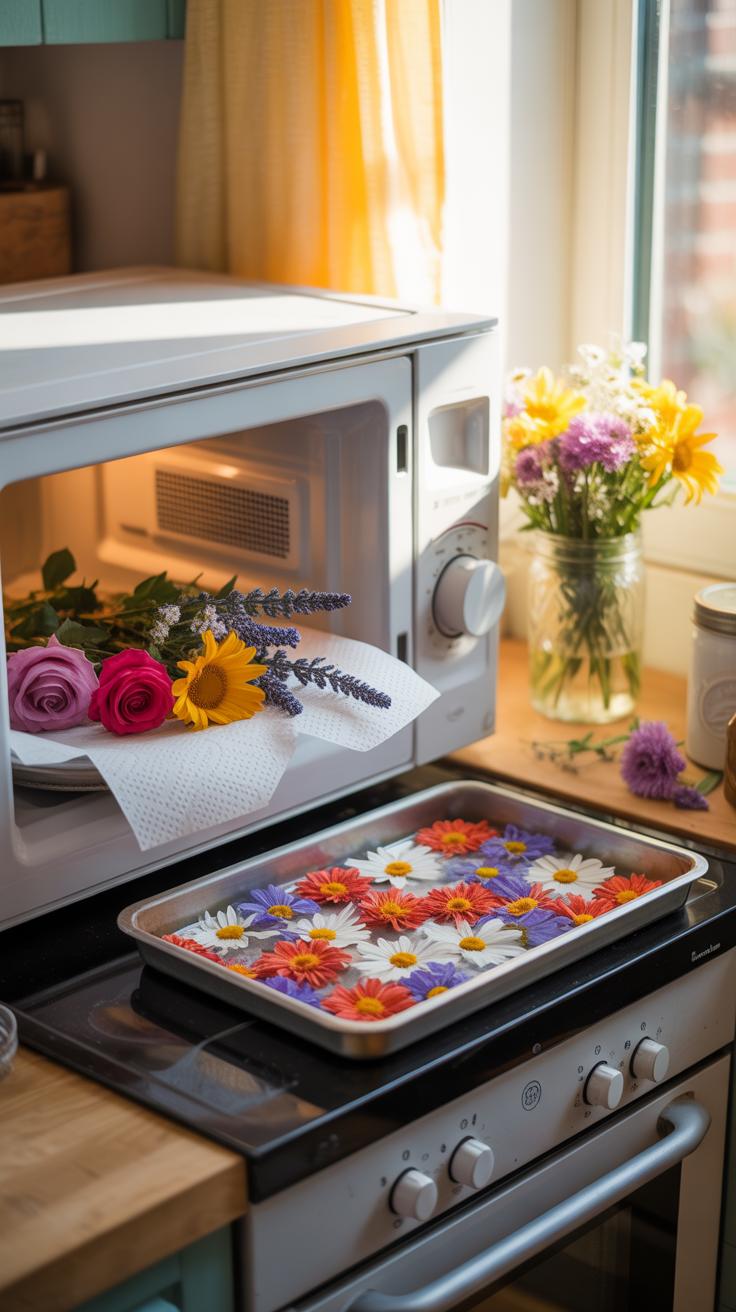
Microwave drying delivers rapid results by agitating water molecules to evaporate moisture quickly. You must use a microwave-safe container and high-quality silica gel beads to support the petals. Pour one inch of silica gel into the container and place the flower head upward. Cover the bloom completely with more gel. This method prevents the structural collapse often seen in air drying. It preserves vibrant colors by shortening heat exposure time.
Heat the container in thirty-second intervals at half power. Check the progress after every cycle to avoid scorching the organic material. Total time varies based on the density of the flower head. Denser blooms like roses take longer than thin daisies. Remove the container and let it sit covered for twenty-four hours. This cooling period allows the silica gel to finish pulling deep moisture from the center of the flower.
Oven Drying Flowers At Low Temperatures: What Works And What To Watch Out For
Oven drying works best for sturdy flowers or flat botanicals intended for potpourri. Set your oven to the lowest possible temperature, usually between one hundred and one hundred fifty degrees Fahrenheit. High heat will turn petals brown and make them extremely brittle. Arrange the flowers on a wire cooling rack placed over a baking sheet. This setup ensures even airflow around the top and bottom of each individual bloom during the process.
Keep the oven door cracked open during the drying period to allow moisture to escape the chamber. Monitor the flowers every twenty minutes to ensure they do not burn. The process typically takes two to four hours depending on the ambient humidity and flower type. Remove the flowers once they feel dry and papery to the touch. Immediate removal prevents the petals from over-cooking and losing their shape or natural color.
How To Preserve Flowers Using Glycerin For Long Lasting Supple Results

The Science Behind Glycerin Preservation And How It Replaces Moisture In Plant Cells
Glycerin preservation works through a process called systemic uptake. The plant draws a mixture of glycerin and water through its vascular system using transpiration. As the water evaporates from the leaves, the glycerin remains trapped inside the cells. This chemical replaces the natural sap and moisture. Unlike air drying, this method keeps the plant tissue flexible and prevents it from becoming brittle.
The glycerin acts as a humectant. It absorbs moisture from the air to keep the specimen soft. This process changes the chemical structure of the plant. It stops the natural decay process by stabilizing the cell walls. The resulting specimen maintains its structural integrity and texture for years. You will notice a slight color change as the glycerin replaces the natural pigments during the absorption phase.
How To Prepare A Glycerin Solution And Which Flowers And Foliage Respond Best
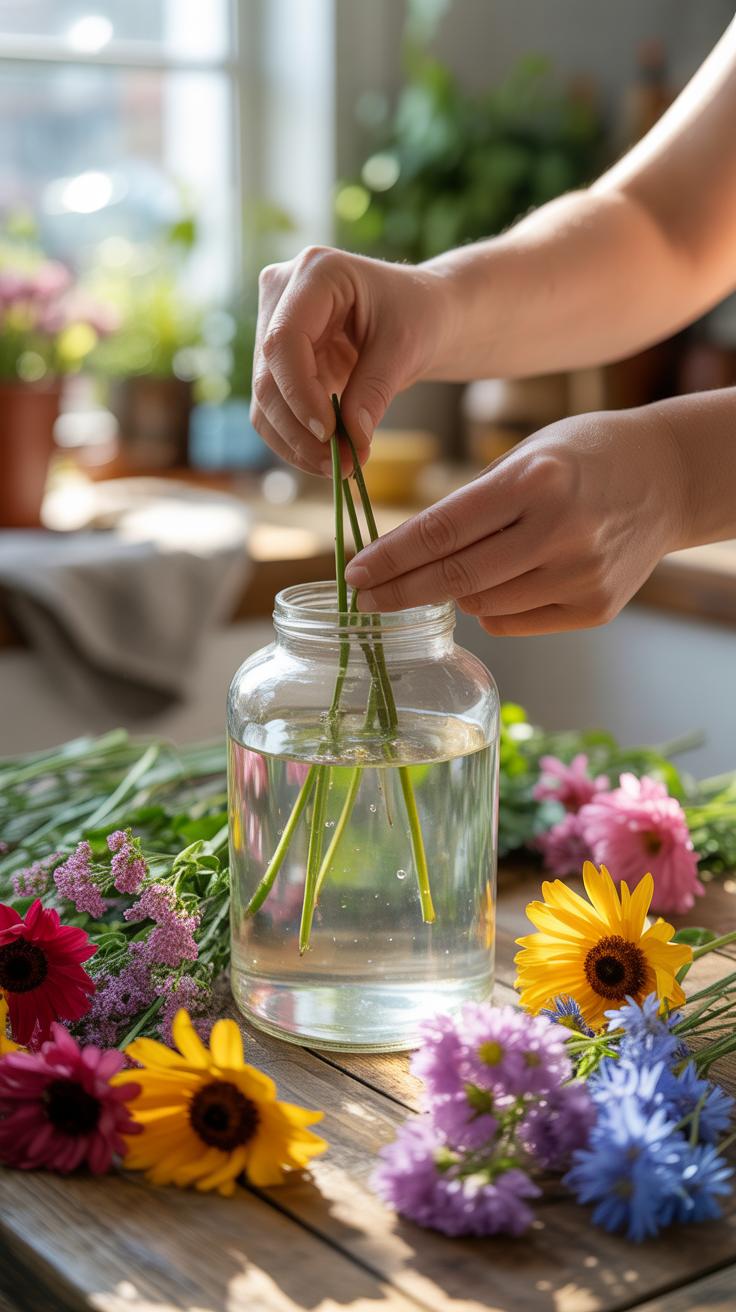
Mix one part vegetable glycerin with two parts hot water. Stir the solution until it is completely clear. You must use hot water to ensure the glycerin dissolves and moves easily through the stems. Cut the stems at a sharp angle to maximize surface area for intake. Crushing the ends of woody stems with a hammer helps the plant absorb the heavy liquid much faster.
This technique works best on thick, leathery foliage and sturdy branches. Magnolia leaves, eucalyptus, and ivy respond well to this treatment. It is also effective for hydrangeas and bells of Ireland. Avoid using this on delicate flowers with thin petals like poppies or lilies. These soft tissues often turn brown or become too heavy and droop. Stick to woody plants for the most consistent and professional results.

Dried Flowers How To Store And Display Your Preserved Blooms Properly
Best Practices For Storing Dried Flowers To Prevent Fading, Brittleness And Mold
Correct storage requires strict environmental control. Light is the primary enemy of preserved botanical material. Ultraviolet rays break down organic pigments and cause rapid fading. Keep all dried specimens in total darkness if you are not displaying them. Temperature should remain constant and cool. Heat accelerates the breakdown of plant fibers. Brittle stems snap easily under thermal stress. Maintain low humidity to stop mold growth.
Air circulation prevents moisture buildup around the petals. Do not seal dried flowers in plastic bags or airtight containers. Moisture trapped inside leads to fungal rot. Use breathable cardboard boxes or acid-free tissue paper for long-term storage. Store containers off the floor in a dry closet. Check your inventory every three months for pests. Insects like larder beetles often target dried organic matter. Use cedar blocks to repel them.
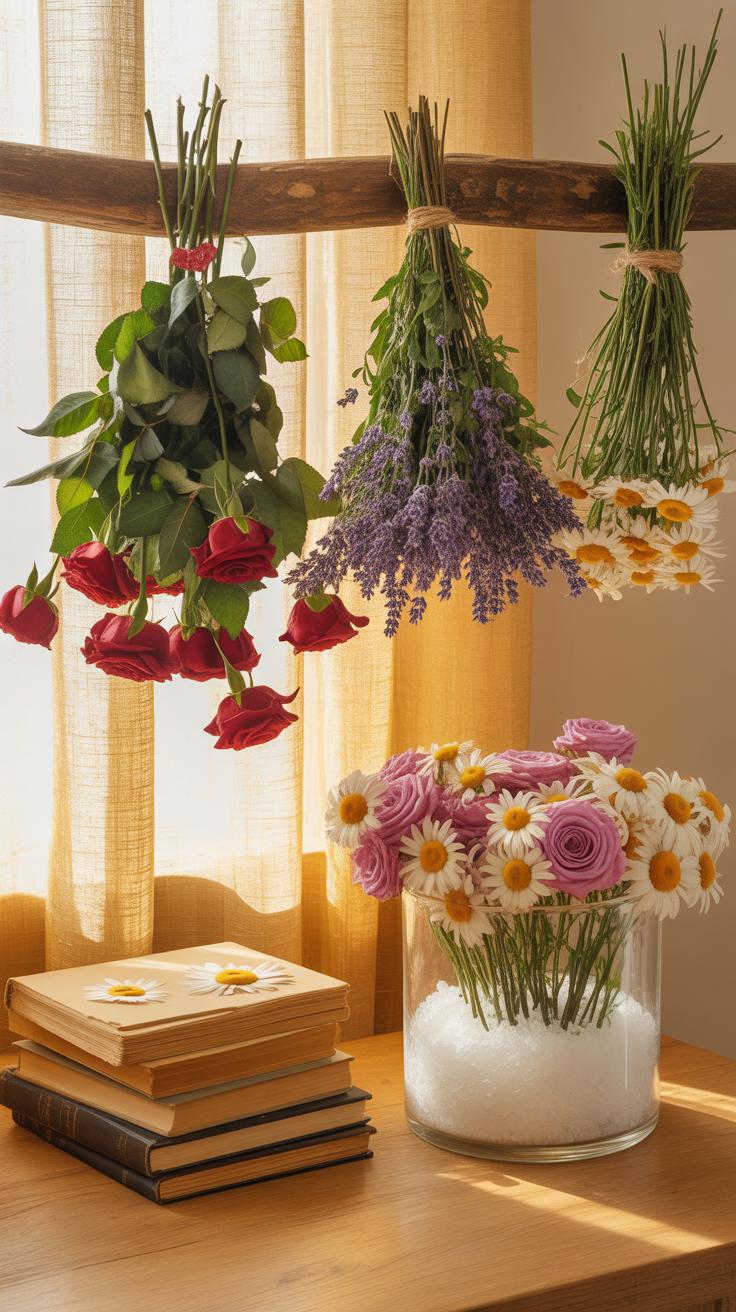
Creative And Timeless Ways To Display Dried Flowers In Your Home
Effective displays integrate dried florals into modern and classical interior design. Shadow boxes offer the best protection for fragile specimens. This technique gained popularity during the Victorian era for preserving sentimental bouquets. Mounting flowers behind glass keeps dust away and reduces physical contact. Use archival glue to secure stems to a heavy paper backing. This method keeps the flowers upright and prevents sagging over time.
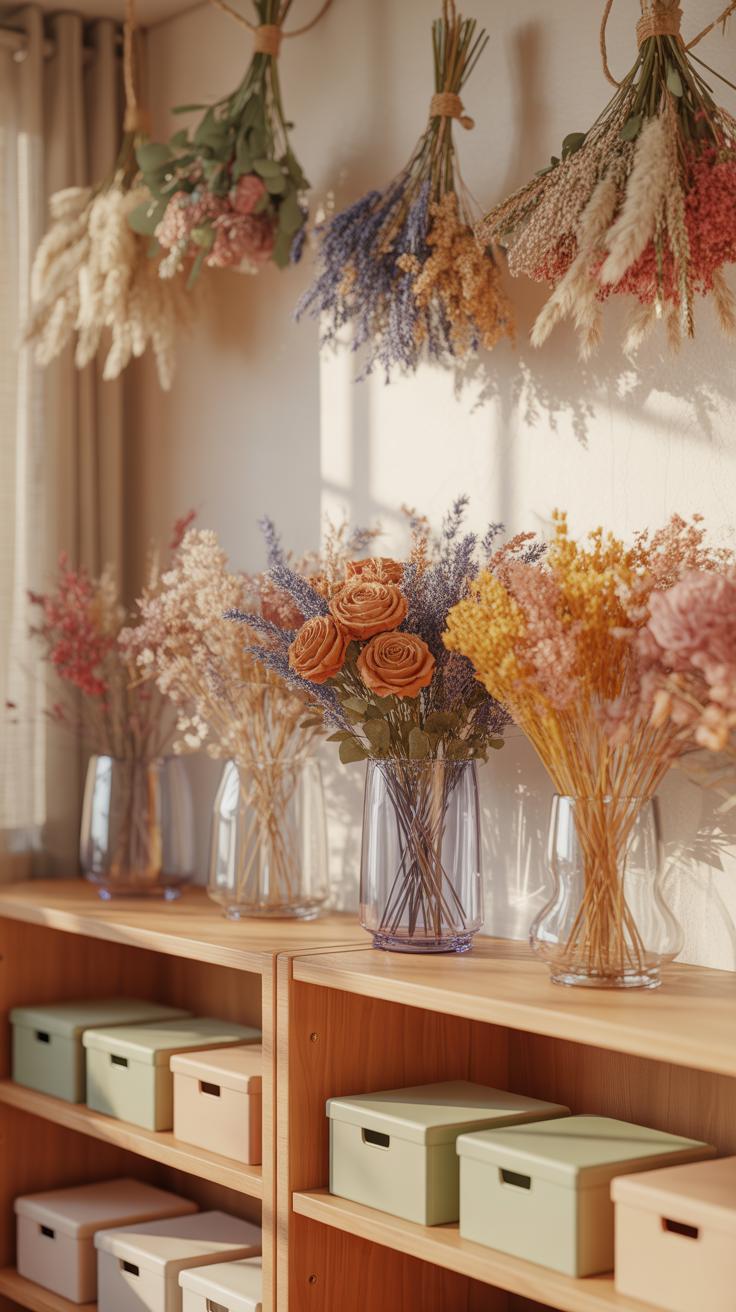
Exposed arrangements work well in areas with low foot traffic. Place dried bundles in heavy ceramic vases to provide a stable base. Avoid bathrooms or kitchens where steam and grease damage the petals. In minimalist designs, hang single stems from a wooden rack using twine. This method mirrors historical apothecary drying rooms. Ensure the display sits away from direct sunlight and air vents. Clean the blooms gently with a soft brush.
Pressed Flower Crafts Inspiring Projects You Can Make With Dried And Pressed Blooms
Popular Pressed Flower Craft Ideas Including Framed Art, Bookmarks And Resin Work
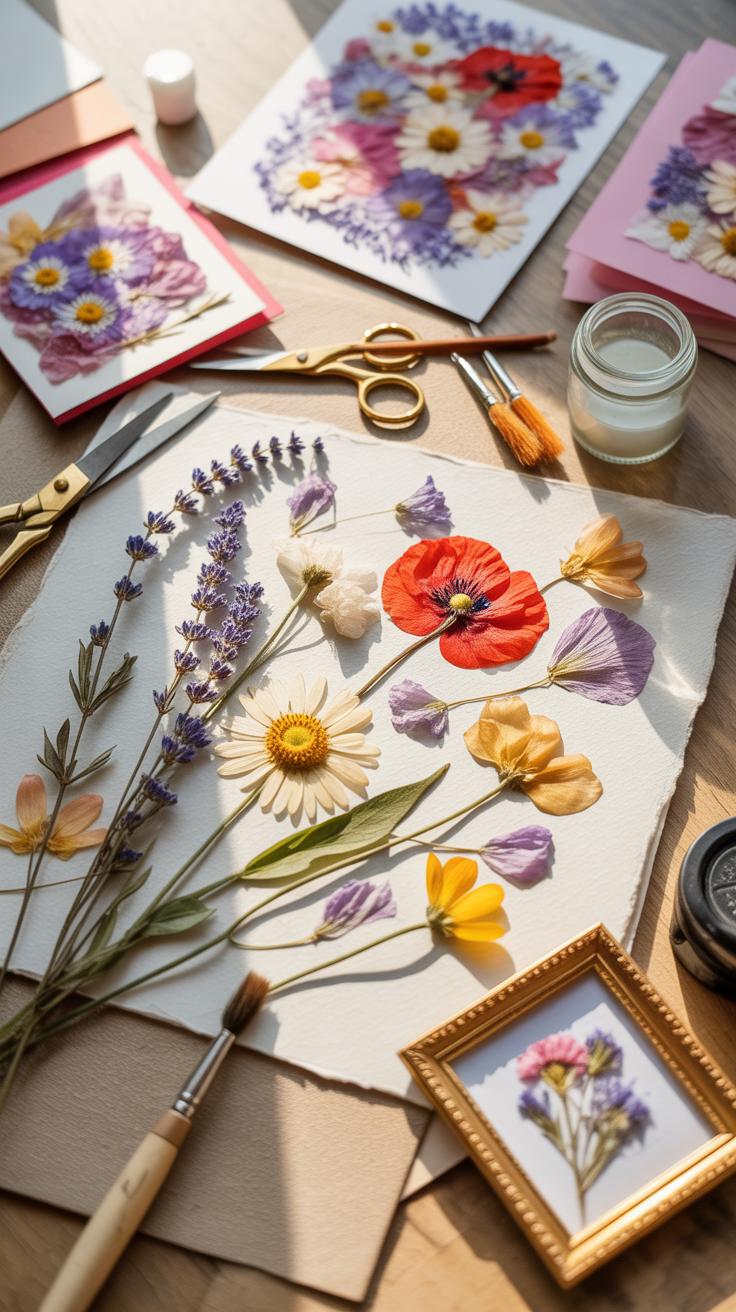
Pressed flowers serve as primary elements in botanical art and modern resin casting. Framed compositions follow the Victorian tradition of preserving specimens for scientific and aesthetic display. Designers arrange these dried materials on acid-free paper to create permanent wall decor. This process requires precise placement to maintain the balance of the composition. Every petal must lay flat to prevent shadows or unwanted texture within the frame.
Resin work offers a contemporary method for protecting delicate blooms in three-dimensional forms. Crafters embed pressed flowers in jewelry, coasters, and paperweights using clear epoxy resin. This medium prevents air exposure and stops degradation over time. Bookmarks remain a high-demand item due to their simple construction and utility. You laminate the pressed specimens between thin plastic layers or specialty cardstock to ensure they survive frequent handling and light exposure.
Essential Materials And Tips For Getting The Best Results From Your Pressed Flower Crafts
Successful botanical crafting depends on using the correct adhesive and substrate materials to prevent browning. You must choose a glue that dries clear and does not saturate the thin plant tissues. Porous surfaces like watercolor paper or unglazed wood provide the best grip for organic matter. Selecting flowers at their peak hydration ensures they retain the most vibrant colors after the pressing process is complete.
- Acid-Free Adhesive: Use pH-neutral glue to prevent the plant material from reacting chemically with the bonding agent. This prevents yellowing and keeps the delicate petals firmly attached to your chosen background surface without damaging the cellular structure.
- Fine-Point Tweezers: Handling dry flowers with your fingers introduces oils and moisture that cause rapid decay. Tweezers allow for precise placement of fragile stems and prevent the accidental tearing of paper-thin blooms during the complex assembly process.
- UV-Resistant Sealant: Application of a protective spray or resin coating stops ultraviolet light from bleaching the natural pigments. This step is mandatory for items displayed in rooms with windows to ensure the colors remain saturated and true over time.
- Silica Desiccant: Store your pressed inventory in airtight containers with silica packets to remove any lingering moisture. Humidity is the primary enemy of dried crafts and causes mold growth or structural softening if the storage environment is not controlled strictly.
- Precision Burnishing Tool: Use a smooth tool to press the edges of the flowers into the adhesive or laminate. This removes air pockets that cause silvering in resin or lifting in paper crafts. Proper contact ensures the specimen looks like a flat graphic element.
Precision matters more than artistic flair when working with brittle botanical specimens. You must work in a low-humidity environment to keep the plants from absorbing moisture from the air. High humidity causes the flowers to curl or lose their structural integrity during the assembly phase. Always test your sealants on a scrap piece before applying them to your final project. Proper preparation guarantees that your finished craft remains a durable piece of art.
Harvesting Tips And Expert Advice To Get The Most From Any Flower Drying Technique
The Best Time Of Day And Stage Of Bloom To Harvest Flowers Before Drying
Cut flowers in the morning after the dew evaporates but before the sun intensifies. Heat causes plants to lose moisture and wilt rapidly. Harvesting at peak hydration ensures the stems remain turgid and upright during the initial drying phase. This timing preserves the cellular structure of the petals. Avoid picking flowers in the late afternoon when they are heat stressed and dehydrated.
Select blooms that are just opening or in the late bud stage. Fully open flowers often drop their petals or lose their shape once the drying process begins. Roses should show color but remain tight. Lavender is best harvested when the bottom third of the spike has flowered. This timing locks in the color and prevents the flower from shattering as it loses its internal water content.
How Humidity Seasonal Changes And Flower Condition Impact Your Drying Success
Ambient humidity is the primary enemy of successful flower preservation. High moisture levels in the air slow down evaporation and encourage mold growth. You must ensure your drying area is dark, dry, and well ventilated. In humid climates, use a dehumidifier to maintain a consistent environment. Steady air circulation prevents moisture from trapped between petals, which is where rot usually starts during the curing process.
Seasonal shifts dictate the natural resin and water content within plants. Flowers grown in late summer often have lower water levels than those grown in spring. This makes them easier to dry quickly. Always inspect stems for pests or diseases before bringing them indoors. Any existing damage or fungal spores will spread rapidly in a drying rack. Only preserve healthy specimens to ensure the structural integrity of your finished product.
Frequently Asked Questions

What are the best flower drying techniques for someone just starting out?
If you are a beginner, air drying is the easiest of all flower drying techniques to master. Simply bundle your blooms with a rubber band and hang them upside down in a dark, dry area with good airflow. This method requires no special equipment and works beautifully for sturdy varieties like lavender, roses, and baby’s breath, helping you achieve a vintage, rustic aesthetic without any steep learning curve.
How can I preserve the vibrant color of my petals while drying them?
To maintain vivid colors, the best flower drying techniques involve using silica gel or a microwave press. Silica gel beads draw moisture out rapidly while supporting the flower’s physical structure, which prevents the browning often caused by slow air drying. Always keep your drying flowers out of direct sunlight, as UV rays act as a natural bleach and will quickly fade even the most brilliant pinks and blues.
Is it possible to dry flowers effectively without buying expensive equipment?
Absolutely! You can achieve professional results using everyday household items. Placing flowers between the pages of a heavy book lined with parchment paper is a classic, cost-effective method for pressing flat blooms. Alternatively, using a conventional oven on its lowest heat setting or simply utilizing a dark closet for air hanging allows you to preserve your sentimental bouquets beautifully without spending a dime on specialized preservatives or drying kits.


