What Is Flower Soap Making And Why Handmade Soap With Flowers Is So Popular
The Origins And Appeal Of Handmade Soap With Flowers
Flower soap making roots back to ancient civilizations like Egypt and Rome. These cultures infused fats with dried herbs and floral extracts for hygiene and ritual. They used lavender and rose for scent and skin benefits. This practice shifted soap from a basic cleaning agent to a luxury item. Modern makers use these same botanical principles to create high-quality functional art today.
The appeal lies in the intersection of chemistry and botany. Consumers want transparency in their skincare products. Handmade soap with flowers offers visible proof of natural ingredients. Makers use cold process or melt and pour techniques to embed these elements. This process appeals to the senses through texture and natural fragrance. It bridges the gap between industrial manufacturing and traditional craft.
Why Soap With Flowers Stands Out Among Modern Handmade Soap Ideas
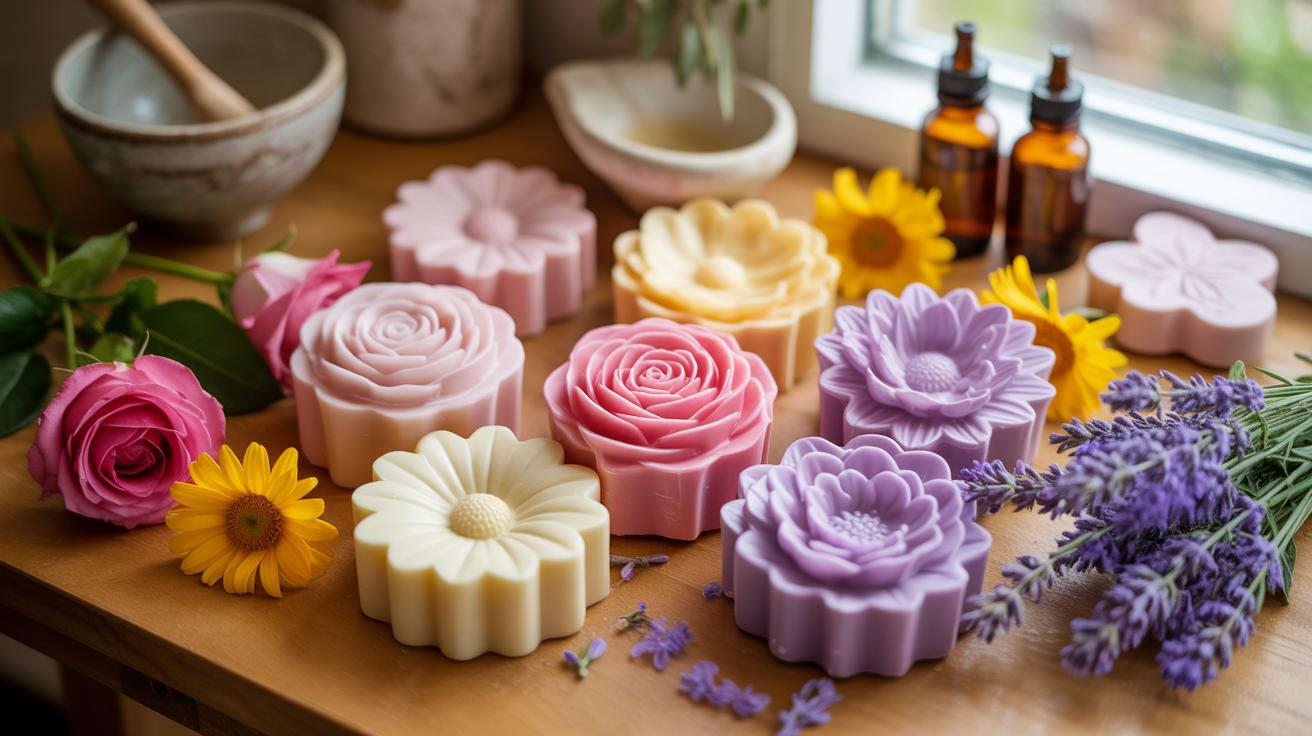
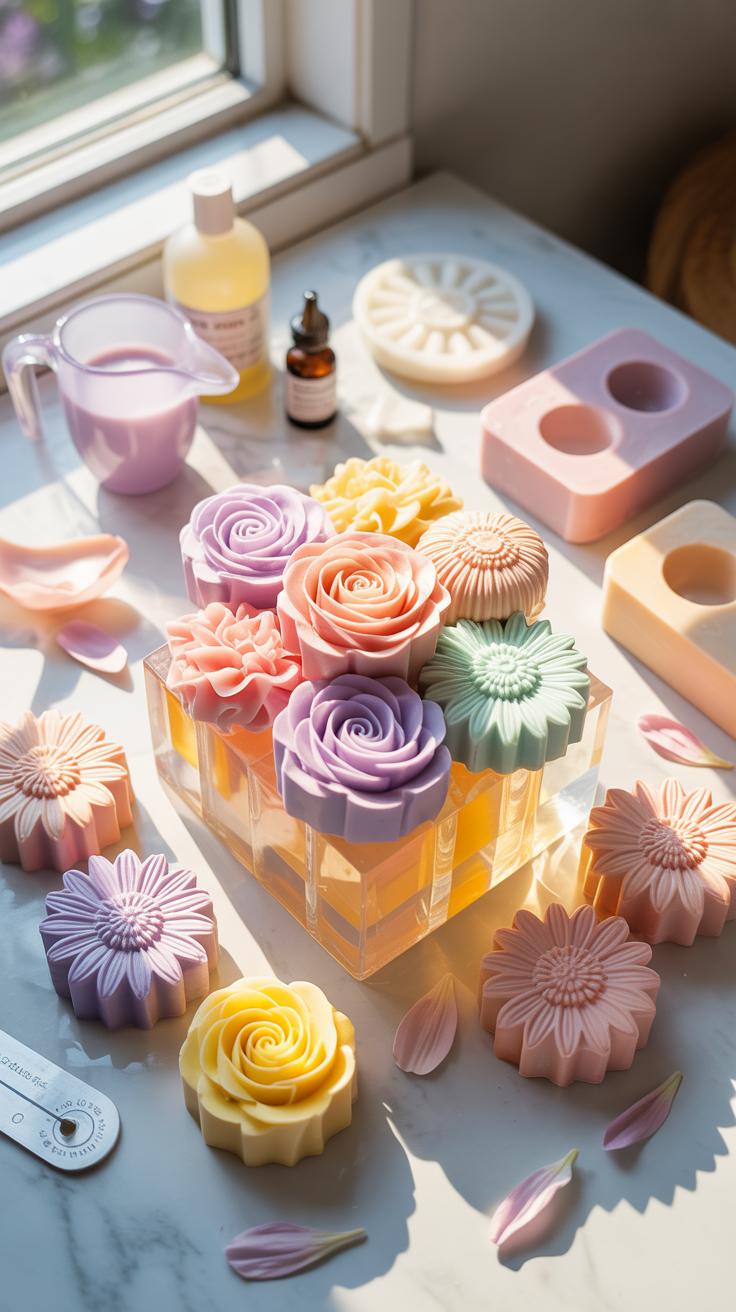
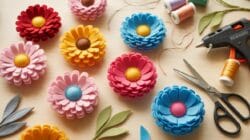
Soap with flowers dominates the market because it solves the giftability problem. Plain soap bars look like utility items. Botanical bars look like premium decor. This aesthetic value allows for higher price points and better margins. Makers use dried petals or intricate piping to create visual depth. This strategy differentiates a brand in a crowded digital marketplace where visuals drive sales.
Technical skill sets these products apart from standard cold process bars. Mastering flower soap making requires knowledge of botanical discoloration and bleeding. Some flowers turn brown when they hit high pH levels in lye. Professionals choose specific species like calendula or cornflower that retain color. This technical expertise ensures a superior end product. It moves the maker from a hobbyist to a serious artisan builder.

Essential Materials And Ingredients For Flower Soap Making
Core Supplies You Need To Get Started With Soap Making Ideas
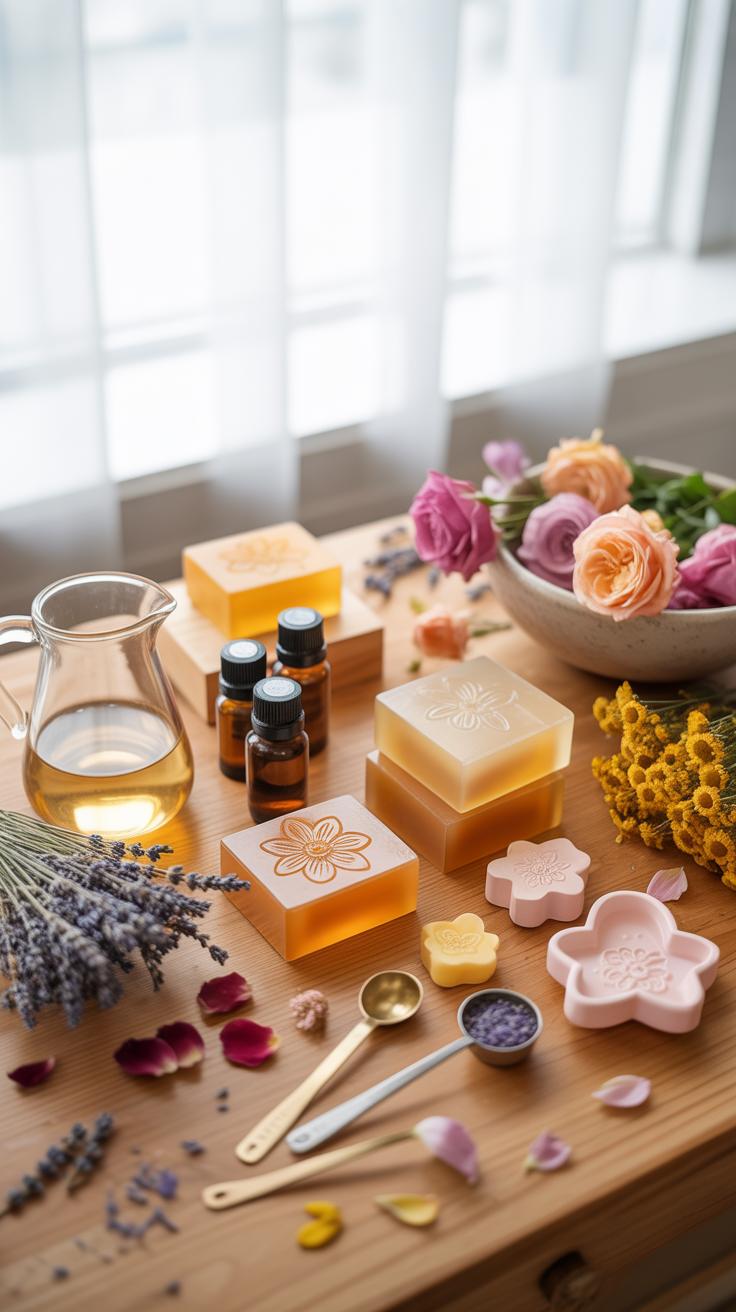
Successful flower soap production requires precision tools to manage temperature and chemical reactions. You must use heat-resistant containers and accurate scales to ensure recipe stability. Poor equipment leads to uneven curing or failed textures. These tools allow you to manipulate the soap base effectively while protecting the delicate structural integrity of your floral additions during the molding process.
- Scale: A digital scale measures ingredients by weight rather than volume. This ensures accuracy in lye and oil ratios which is critical for safe saponification. Inconsistent measurements produce soft or harsh soap bars.
- Thermometer: Infrared or candy thermometers track the heat of the oils and lye solution. You must hit specific temperature windows to prevent the soap from scorching your fragile flower petals or botanicals during mixing.
- Immersion Blender: This tool creates a stable emulsion between fats and liquids quickly. It brings the soap mixture to trace without excessive manual stirring. Rapid emulsification is vital when working with floral scents that accelerate the thickening process.
- Silicone Molds: Flexible silicone allows for easy removal of intricate flower shapes without breaking the petals. These molds withstand high temperatures and remain chemically inert. They provide the detail necessary for high-quality botanical soap designs.
- Safety Gear: Nitrile gloves and wrap-around goggles protect your skin and eyes from caustic lye splashes. Safety is a non-negotiable requirement for the cold process method. You cannot skip these items when handling active chemical components in soap making.
Organization of your workspace determines the final quality of the aesthetic. Clear the area of debris and set your tools in order of use. This flow prevents delays when the soap begins to set. Speed is essential when placing floral elements into the wet base before it hardens. Proper preparation eliminates mistakes and maximizes the visual impact of your floral themes.
Choosing The Right Botanicals And Dried Flowers For Your Soap Flower Designs
Selecting botanicals requires knowledge of how plant pigments react to high pH levels. Most fresh flowers turn brown or black when they hit wet soap due to the alkaline environment. You must use dried specimens that retain their cellular structure under pressure. Calendula and cornflowers are industry standards because they maintain color better than roses or lavender in the finished product.
You should opt for air-dried or silica-gel dried flowers to ensure zero moisture content. Residual water in the plants can cause mold growth inside the soap bar over time. Focus on herbs like rosemary or heather for texture and durability. Position these elements on the surface or within clear glycerin layers to keep them visible. Proper selection ensures your design remains vibrant throughout the entire shelf life.
Understanding Melt And Pour Soap As Your Base For Flower Designs
How Melt And Pour Soap Works And Why It Is Beginner Friendly
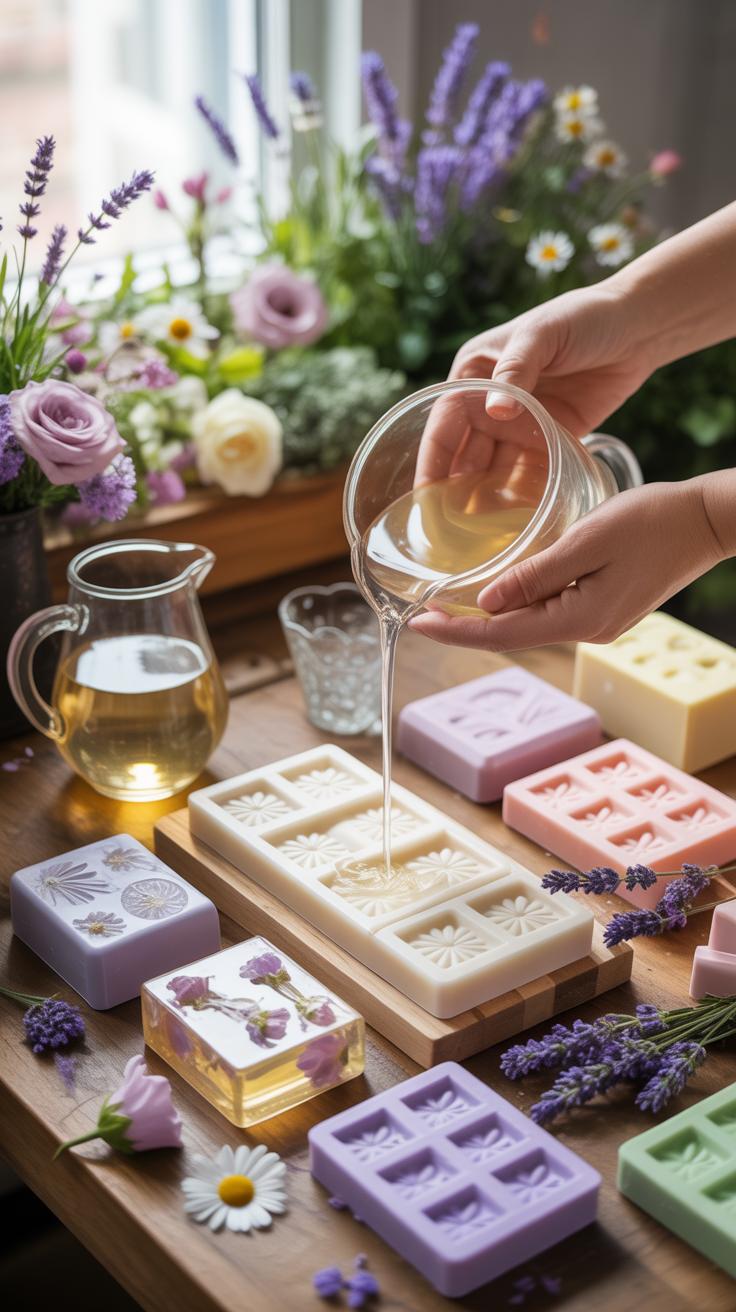
Melt and pour soap uses a pre-saponified base. Manufacturers have already completed the chemical reaction between fats and sodium hydroxide. You do not handle active lye or wait weeks for the product to cure. You simply apply heat to liquefy the base. This speed allows you to focus entirely on the artistic placement of flowers and botanical Design.
This method offers superior control for beginners. You can work in small batches without complex math or safety gear. The base hardens quickly once it cools. This rapid setup time keeps your flower petals from sinking or drifting. It provides a stable medium for intricate work. You get immediate results and can fix mistakes by remelting the soap if Necessary.
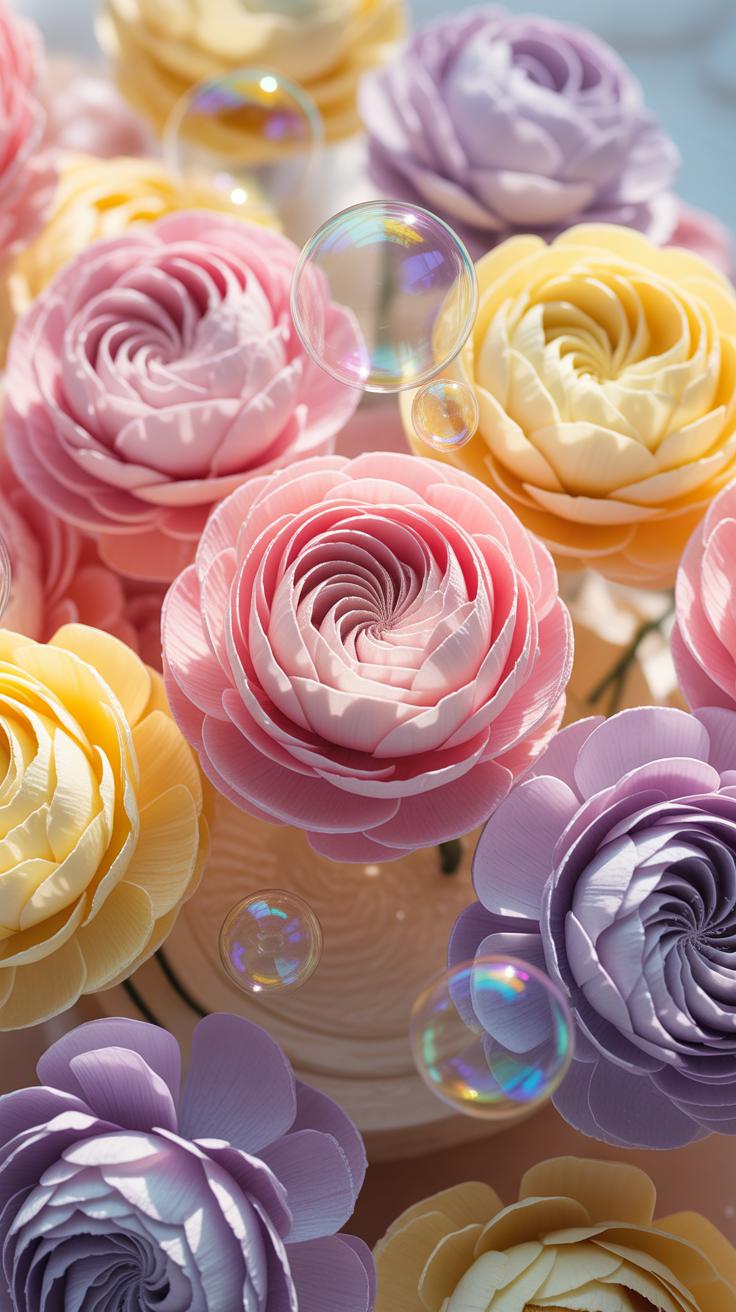
To paint a flower is to capture a memory of spring, and crafting them in soap allows that fleeting beauty to linger in our hands. Every petal formed is a quiet celebration of nature’s grace.
— Livia Cetti
Selecting The Best Melt And Pour Soap Base For Embedding Flowers
Clarity determines the success of your flower soap making. You must choose a transparent glycerin base to make your botanical inserts visible. Opaque bases containing titanium dioxide will hide your flowers. Look for bases with low water content to prevent shrinking over time. High quality transparent bases stay clear and do not yellow. This ensures your design remains sharp and Professional.

Consider the sweat resistance of the base. Glycerin attracts moisture from the air which creates beads on the surface. Look for low sweat formulas if you live in humid climates. These bases preserve the visual integrity of the embedded flowers. Avoid bases with heavy synthetic scents that might clash with your botanicals. A neutral base allows the natural beauty of the flowers to Stand.
Step By Step Guide To Creating Your First Melt And Pour Soap Ideas Design With Flowers
Preparing Your Workspace And Molds For Melt And Pour Soap Ideas
Organization determines the quality of your final product. Sanitize your work surface with seventy percent isopropyl alcohol to prevent contamination. Arrange your silicone molds on a flat, level tray to ensure even cooling and straight edges. Set your botanical elements and fragrance oils within reach. High humidity creates glycerin dew on the soap surface, so work in a climate-controlled room to avoid sweating.
Select clear glycerin soap base to showcase your flowers. Chop the base into uniform one-inch cubes to ensure even melting without scorching. High heat ruins the clarity and destroys the scent of the additives. Use heat-safe glass or heavy plastic containers for melting. Keep a spray bottle of rubbing alcohol nearby to eliminate surface bubbles. Speed is vital because the soap starts to set immediately after removal from heat.
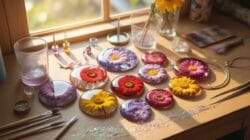
Pouring, Layering And Setting Your Flower Soap Making Creation

Layering requires precise timing to prevent the different pours from mixing or separating. Pour a thin base layer of clear soap at approximately one hundred thirty degrees Fahrenheit. This temperature is low enough to protect the delicate petals but warm enough to flow evenly. Position your dried botanicals facedown into the warm soap. This ensures the best side of the flower remains visible through the top of the finished bar.
- Suspension Technique: Use a suspension soap base to keep heavy botanicals from sinking to the bottom. This specific formula has a higher viscosity that holds petals in place throughout the entire cooling process for a three-dimensional appearance.
- Mist Application: Spray the first layer with isopropyl alcohol before pouring the second layer. This breaks the surface tension and acts as a glue. It creates a permanent bond between the two pours so the soap does not split later.
- Fragrance Loading: Add essential oils or fragrance at the last possible second before pouring the final layer. Most oils have a low flash point. Stirring them in while the base is too hot causes the scent to evaporate into the air.
- Bubble Removal: Spritz the top of each pour with rubbing alcohol immediately after the liquid hits the mold. This clarifies the surface by popping trapped air bubbles. It results in a glass-like finish that makes the floral details inside much sharper.
- Thermal Management: Maintain consistent room temperature while the molds sit undisturbed. Moving the tray during the cooling phase creates ripples on the surface. Allow at least four hours for the bars to harden completely before you attempt to unmold the finished product.
Avoid the temptation to put the molds in the freezer to speed up the process. Rapid cooling causes the soap to become brittle and lose its natural clarity. Once the soap feels cold to the touch and firm in the center, peel the silicone away from the edges. Slowly push the bottom of the mold to release the bar. Wrap the finished soap in plastic film immediately to prevent moisture loss.
Handmade Soap Flower Design Techniques For Stunning Visual Effects
Embedding Vs. Topping: Two Core Handmade Soap Flower Design Approaches
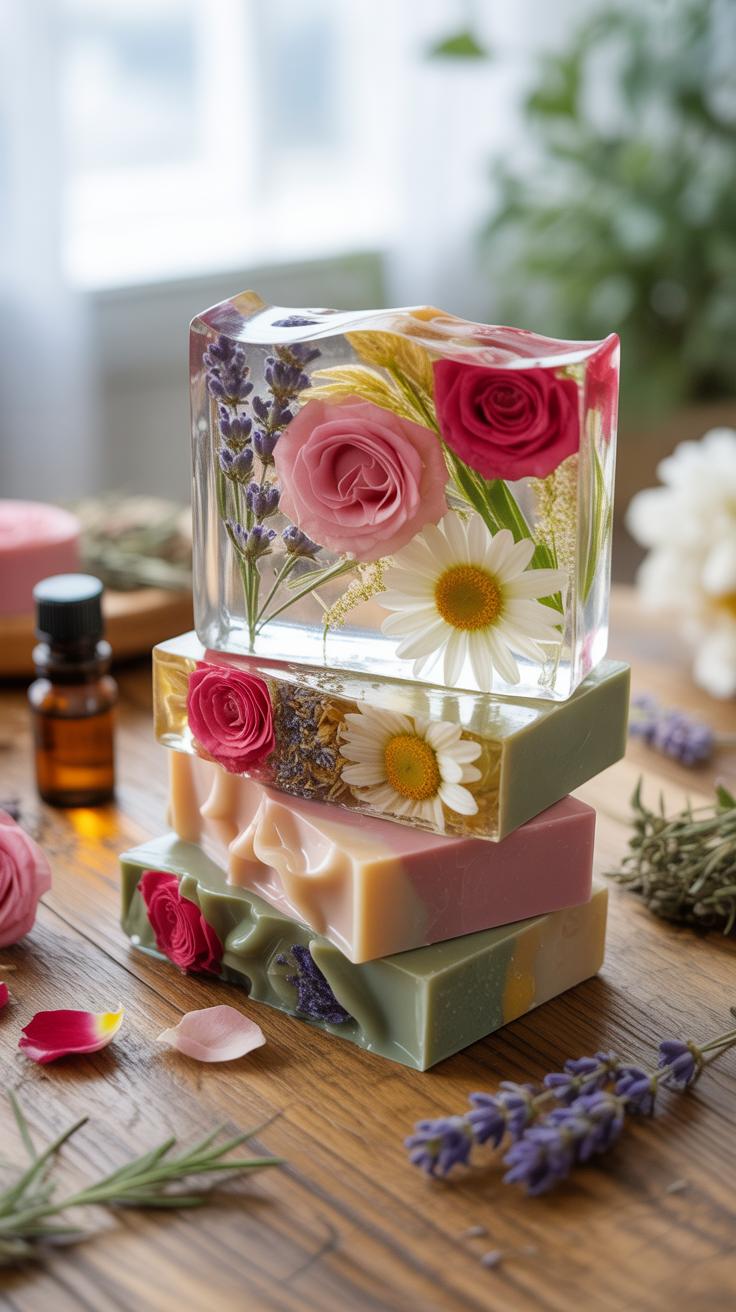
Embedding involves placing pre-made soap flowers inside a clear or translucent base. This technique protects the delicate shapes from external air and moisture. It creates a three-dimensional depth within the bar. You must monitor the temperature of the melted base carefully. If the base is too hot, the embedded flowers will melt. Success requires precise timing and a steady hand during the pouring phase.

Topping focuses on placing soap flowers on the surface of the wet soap loaf. This method creates a highly tactile and artisanal appearance. You apply the flowers after the main soap batch reaches a thick trace. This ensures the decorations do not sink to the bottom. It allows for complex floral arrangements that mimic real bouquets. Use a spray of rubbing alcohol to bond the flowers to the surface.
Using Colorants And Mica Powders To Elevate Your Soap Flower Aesthetic
Colorants define the realism of your soap flowers. Use lab-created micas for consistent results across different batches. Natural clays provide earthy tones but offer less control over the final shade. Cold process soap requires stable pigments that can withstand high pH levels. If the pigment is not stable, colors will morph or fade during the curing process. Always test small batches before committing to a full design.
Mica painting adds a final layer of professional detail to the petals. Use a dry brush to apply mica powder directly onto the hardened soap surface. This highlights textures and creates a metallic or pearlescent sheen. You can also mix mica with high-percentage isopropyl alcohol for a liquid paint. This mixture dries quickly and adheres well to the soap. Proper application prevents the color from smudging when the user touches the soap.
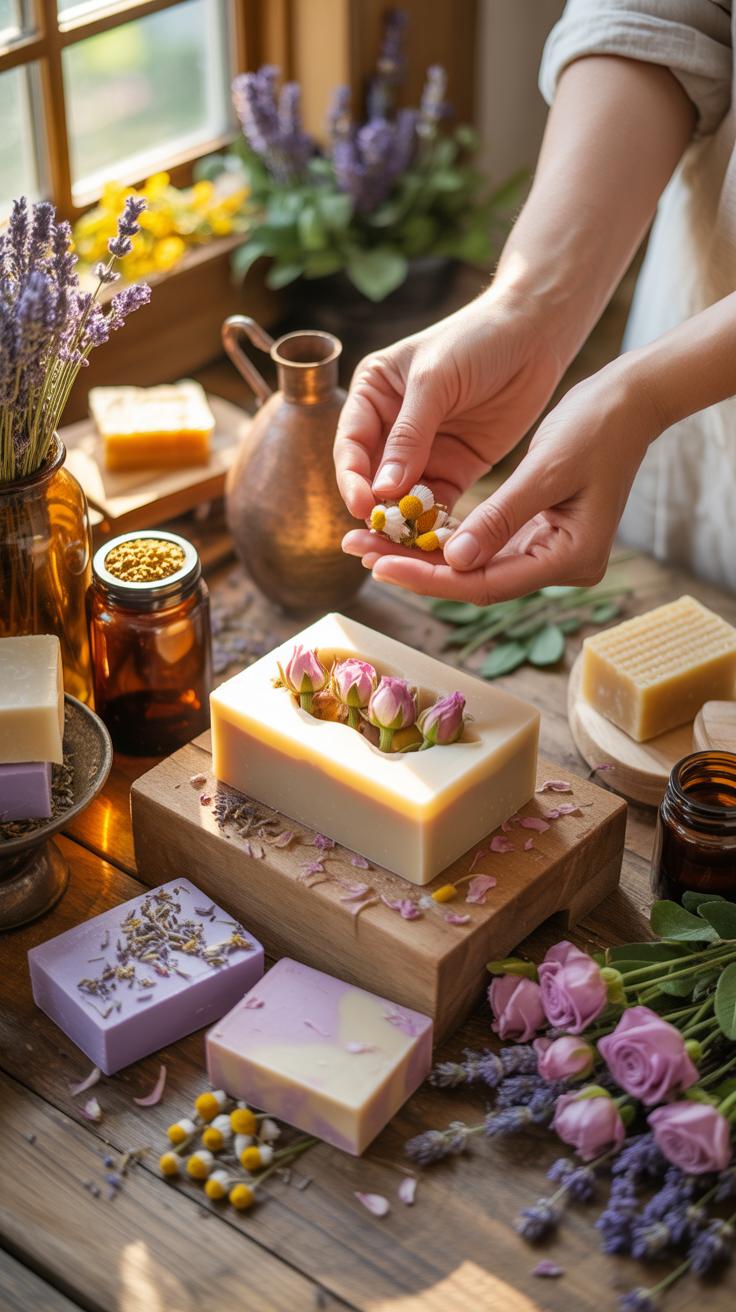
Working With Natural Botanicals To Craft Authentic Soap With Flowers
Which Dried Flowers Work Best And Stay Vibrant In Soap With Flowers
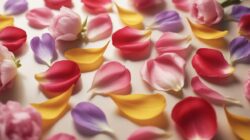
Most natural flowers turn brown or black when they touch high pH lye. This chemical reaction destroys the pigment in delicate petals like roses or lavender. Use calendula petals for the best results. They contain tough carotenoids that resist the alkaline environment. These petals stay bright orange or yellow. This makes calendula the industry standard for reliable botanical color in cold process soap.
Blue cornflowers also maintain their hue well in most recipes. Always test a small batch before committing to a full production run. Avoid hibiscus or red rose buds if you want vibrant colors. These specific botanicals oxidize quickly and look like tea leaves within days. Strategic selection prevents your product from looking dirty or aged. Stick to proven survivors to ensure your soap remains visually appealing for the customer.
How To Properly Dry And Preserve Flowers Before Adding Them To Soap
Moisture is the enemy of shelf-stable soap. Any water trapped inside a flower will cause mold growth over time. You must remove all hydration before embedding botanicals. Use a desiccant like silica gel for the fastest and most efficient drying process. This method locks in the shape of the flower better than air drying. It ensures your botanicals do not shrivel or lose their structural integrity.
Store your dried botanicals in airtight containers away from direct sunlight. UV rays bleach the natural colors and degrade the organic matter. If you harvest your own plants, pick them after the morning dew evaporates. This reduces the initial moisture load on the plant tissue. Proper preparation ensures the flowers do not rot inside the cured soap bars. Quality control at this stage dictates the final lifespan of your handmade product.
Adding Fragrance And Skin Nourishing Oils To Your Soap Flower Recipes

Best Essential Oils That Complement Floral Themes In Soap Flower Making
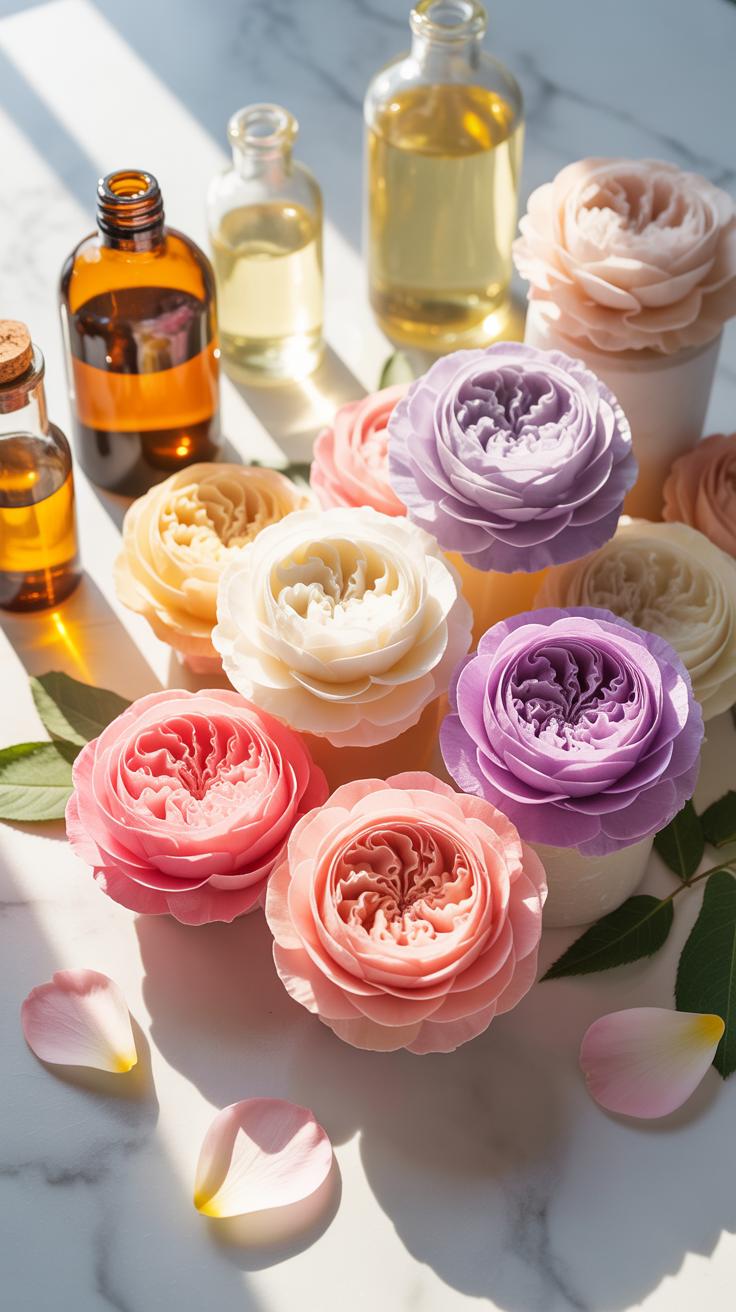
Select essential oils with high flash points to ensure the scent survives the saponification process. Lavender and rose geranium provide stable scent profiles that do not distort under high heat. High-quality steam-distilled oils offer the best results for intricate flower designs. Avoid oils with high vanillin content because they cause brown discoloration in your white floral petals. Stick to clear or pale oils to maintain color integrity.
Measure your fragrance load by weight rather than drops for exact replication of successful batches. Standard usage rates range from 0.5 to 1 ounce of oil per pound of soap base. Stir the fragrance into the soap at trace once the temperature drops below 110 degrees Fahrenheit. This timing prevents the delicate aromatic compounds from evaporating too quickly. Consistent scent distribution ensures every petal on the finished soap flower smells the same.
Incorporating Carrier Oils For A Moisturizing And Luxurious Soap Bar
Carrier oils determine the hardness and conditioning properties of your final soap flower. Sweet almond oil and jojoba oil work well because they mimic natural skin lipids without making the bar too soft. These oils increase the superfatting level of your recipe. High superfatting ensures the soap remains gentle on the skin during use. Balance your hard fats with these liquid oils to maintain the structural strength of the flower.
Add extra carrier oils during the trace phase for cold process soap or after melting for melt and pour bases. This method preserves the raw vitamins and fatty acids in the oil. Do not exceed a five percent superfat level if the soap flowers require fine detail. Over-oiling leads to a soft bar that loses its shape in humid conditions. Choose refined oils to avoid unwanted natural scents that clash with your floral fragrance.
Packaging Gifting And Selling Your Handmade Soap Ideas With Flower Designs
Creative Packaging Tips To Showcase Your Handmade Soap Flower Designs
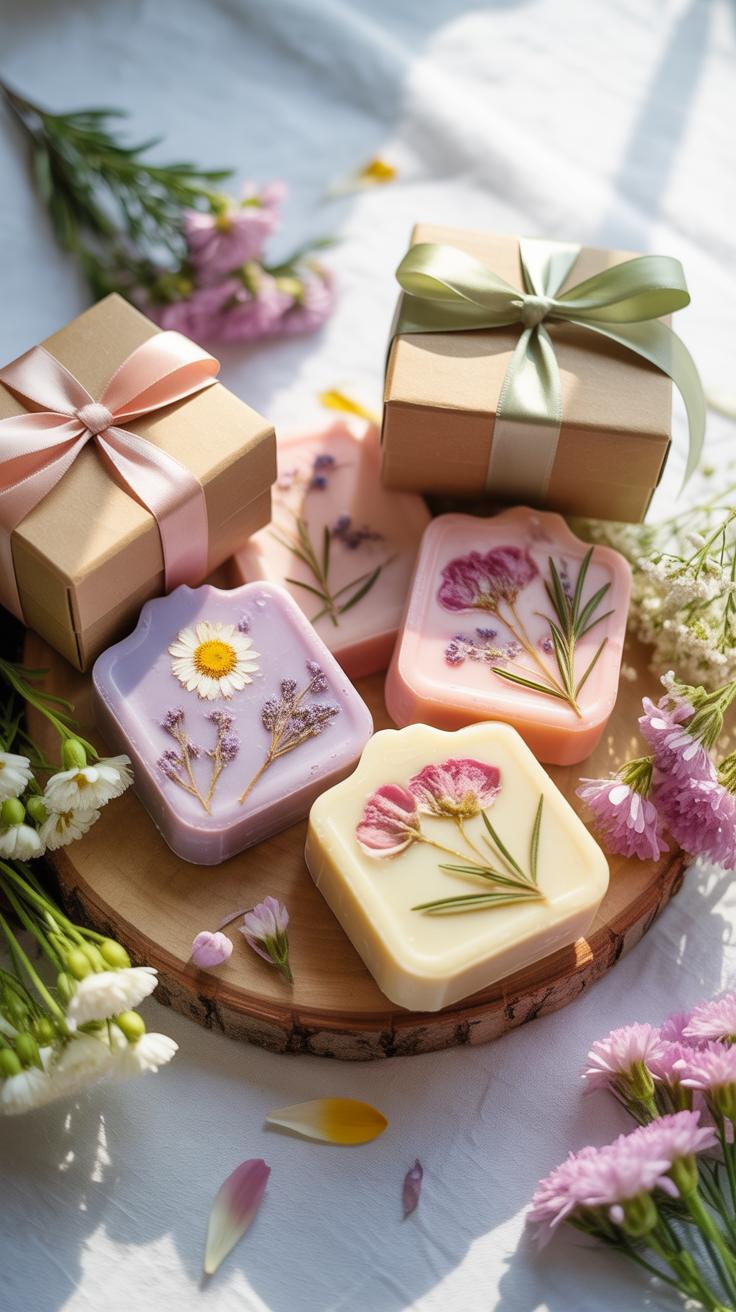
Visible packaging is the primary rule for flower soap. Opaque boxes hide the intricate petals and color gradients you worked to create. Use clear biodegradable bags or shrink wrap to protect the soap while showing the design. This prevents dust accumulation and preserves the scent. Select high quality materials that do not react with the finished soap base or leach oils onto the label.
Labeling must follow cosmetic regulations to ensure consumer safety. Include the full ingredient list and net weight on every bar. Use minimalist bands or recycled paper wraps to keep the focus on the floral artwork. Neutral tones like kraft paper or white cardstock provide a clean backdrop for vibrant petals. This approach elevates the perceived value of the product for gifting or retail display.
Turning Your Flower Soap Making Hobby Into A Small Business Opportunity
Scaling a soap business requires precise cost analysis and legal compliance. Calculate the cost of raw materials and labor for every batch. Pricing must cover overhead and allow for profit margins. Register your business and research local laws regarding cosmetic sales. Insurance is a non negotiable requirement to protect against liability claims. Professional documentation of your process ensures consistency as production volume increases.
Marketing depends on high quality visual content. Use macro photography to capture the detail in your flower designs. These images build trust with online shoppers who cannot smell or touch the product. Focus on specific niches like bridal showers or boutique hotels to secure bulk orders. Reliable shipping methods are vital. Use sturdy inserts to prevent the delicate flower petals from breaking during transit to your customers.
Frequently Asked Questions

What are the best methods for a beginner to start flower soap making?
For beginners, the easiest way to master flower soap making is by using the melt-and-pour method. This approach involves melting a pre-made soap base and pouring it into silicone floral molds. It is much safer and faster than cold process methods because you don’t have to handle lye. Simply add your favorite scents and colors to create beautiful, intricate botanical designs that look professional right from your first batch.
How do I incorporate real dried petals into my soap without them turning brown?
When practicing flower soap making with real botanicals, discoloration is a common challenge. To keep petals looking vibrant, choose hardy varieties like calendula, cornflowers, or rosebuds. It is essential to ensure the flowers are completely dried before adding them to the liquid soap. For the best visual results, try placing the petals at the bottom of the mold or pressing them onto the surface just as the soap begins to set.
Is flower soap making an expensive hobby to start at home?
Not at all! You can begin this creative craft on a very modest budget by repurposing kitchen tools like heat-safe glass bowls and silicone baking molds. High-quality soap bases and essential oils are available at affordable prices, and you can even harvest and dry flowers from your own garden to save money. This makes it a highly accessible lifestyle hobby for anyone looking to create personalized, artistic gifts without a large financial investment.


