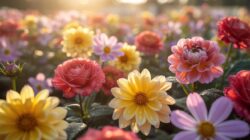
What Are Flower Photography Props And Why Do They Matter
Defining Flower Photography Props Beyond Just Fresh Blooms
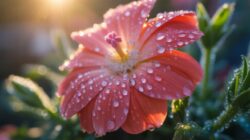
Flower photography props include any physical items used to support or enhance a floral subject. These items provide structure and context for the image. Common examples include vintage vessels, specialized gardening tools, and textured surfaces. They are not merely decorations. They function as tools to control the composition. Professional photographers use these objects to direct light and create depth within a scene.
These props often draw from historical design movements like Dutch Still Life or Mid-century Modernism. Stoneware and weathered wood provide tactile contrast to soft petals. Industrial items like rusted shears or twine add a sense of utility. You must select items based on their material properties. Glass reflects light while matte ceramics absorb it. The choice of prop dictates the technical requirements of the shot.
How The Right Props Elevate The Visual Story Of Your Floral Photography Setup
The right props build a narrative around the flower. They tell the viewer where and when the plant exists. A silver tray suggests a formal indoor setting. A terracotta pot implies a garden environment. These visual cues guide the viewer’s eye through the frame. Props establish a sense of scale and proportion. Without them, a single bloom lacks a point of reference.
Contrast is the primary tactical goal of using props. Hard edges of metal or stone emphasize the delicate nature of a flower. Specific color palettes in props can either harmonize with the bloom or provide a bold counterpoint. Neutral tones allow the natural colors of the plant to stand out. Using props correctly ensures the final image feels intentional. It transforms a simple snapshot into a deliberate composition.
Choosing The Best Photoshoot Backdrops For Floral Compositions
Solid, Textured And Patterned Backdrops: Which Works Best With Flowers
Solid backdrops focus all attention on the botanical subject. Use matte paper or non reflective fabric to eliminate unwanted glare. This setup works best for scientific or clinical floral studies. Professional photographers choose neutral tones like gray or bone to avoid light spill onto petals. This technique ensures the camera sensor captures the true color and shape of the flower without distraction.
Textured backdrops like reclaimed wood or lime wash add depth and grit. These materials create a narrative of age and nature. Patterned backgrounds require caution because they compete with organic shapes. Stick to subtle vintage wallpaper if you want a Dutch Golden Age aesthetic. Busy patterns confuse the eye and ruin the composition. Use texture to provide contrast against soft flower petals for a balanced shot.
How Color Theory Guides Your Backdrop Choice For A Harmonious Floral Scene
Color theory dictates the mood of your floral photography. Use a color wheel to find high contrast or harmonious matches. Complementary colors create energy by placing flowers against backdrops on the opposite side of the wheel. For example, purple flowers stand out against yellow backgrounds. This method creates a bold look. It forces the viewer to look at the primary Subject immediately.
Analogous color schemes create a calm and professional feeling. Pair red roses with deep mahogany or orange backgrounds for a monochromatic effect. This technique is common in modern editorial work. Select cool toned backdrops like slate for warm flowers to create separation. This physical distance between the subject and the background helps the lens focus. Correct color selection reduces the need for heavy digital editing later.
How To Use A Flower Installation As A Dynamic Photography Prop
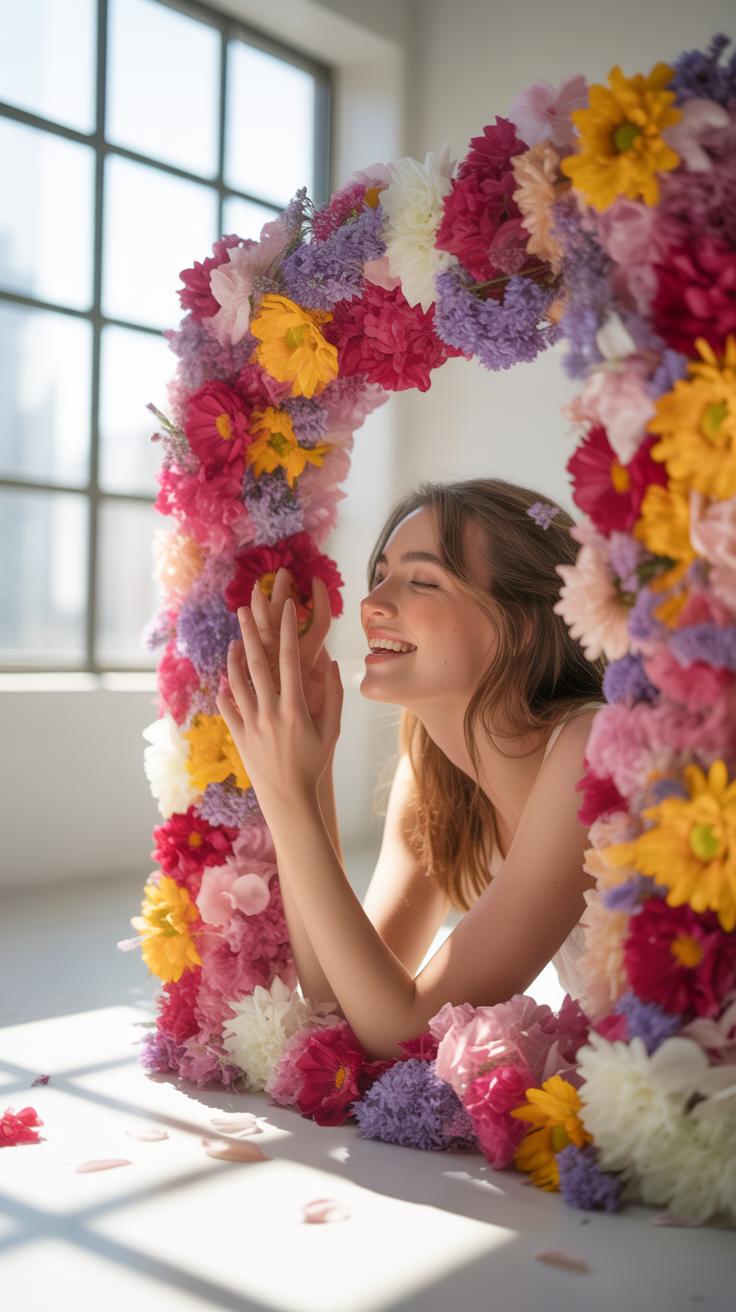
Building A Floral Arch Or Wall Installation As A Reusable Photo Backdrop
To build a reusable floral backdrop, you must use a solid structural base. Heavy gauge chicken wire or a metal grid provides the necessary tension to hold stems in place. Secure the frame to a wall or a freestanding weighted stand. This hardware allows you to swap out blooms without dismantling the entire rig. Choose materials that can withstand repeated piercing by floral wire and water tubes.
Select hardware that matches the scale of your studio space. Use zip ties to anchor foam cages if you require live hydration for the stems. A modular design allows you to move the installation to different lighting setups. Focus on the structural integrity of the base to ensure the prop remains stable during long shoots. This foundation supports various Flower Photography Props throughout different seasonal campaigns.
Mixing Dried And Fresh Flowers In An Installation For Lasting Visual Appeal
Mixing dried and fresh elements creates depth and extends the lifespan of the prop. Use dried bleached ruscus or palm spears to establish the initial shape and volume. These sturdy materials act as a mechanical support for softer live stems. This technique reduces the total cost of the installation over time. The structural rigidity of dried plants keeps the overall form from drooping during the shoot.
Insert fresh focal flowers like ranunculus or roses into hidden water vials within the dried framework. This method allows you to refresh only the wilted components while keeping the bulk of the installation intact. The contrast between different textures adds visual interest to high resolution images. Strategic placement of fresh blooms creates a sense of life and natural movement. This hybrid approach optimizes both your budget and your creative output.
Essential Studio Background Ideas That Complement Floral Product Photography
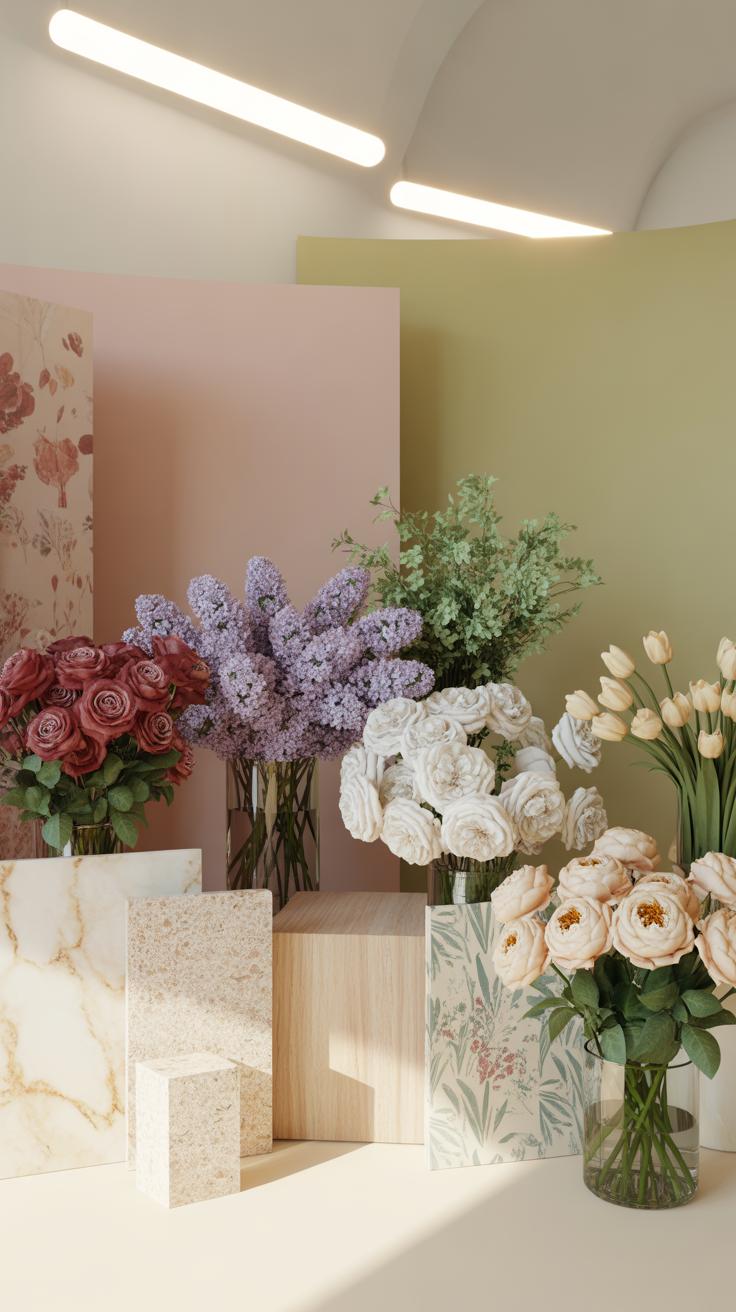
Using Marble, Linen And Wood Surfaces As Natural Studio Backgrounds For Flowers
Marble provides a cool temperature and hard surface that reflects light toward the stems. Real Carrara marble offers grey veining that adds texture without competing with the floral colors. This material works best for high end product shots because it suggests luxury and cleanliness. Ensure the marble is matte or honed to prevent harsh glare from studio lights or windows during the shoot.
Linen and wood provide organic warmth and tactile contrast. Unfinished oak or reclaimed pine boards introduce vertical or horizontal lines that guide the eye toward the bloom. Linen fabric absorbs excess light and softens the overall composition. These materials ground the subject in a realistic home setting. Use neutral tones like beige or charcoal to keep the focus on the natural saturation of the petals.
Top Prop Materials To Pair With Your Studio Background For A Cohesive Look
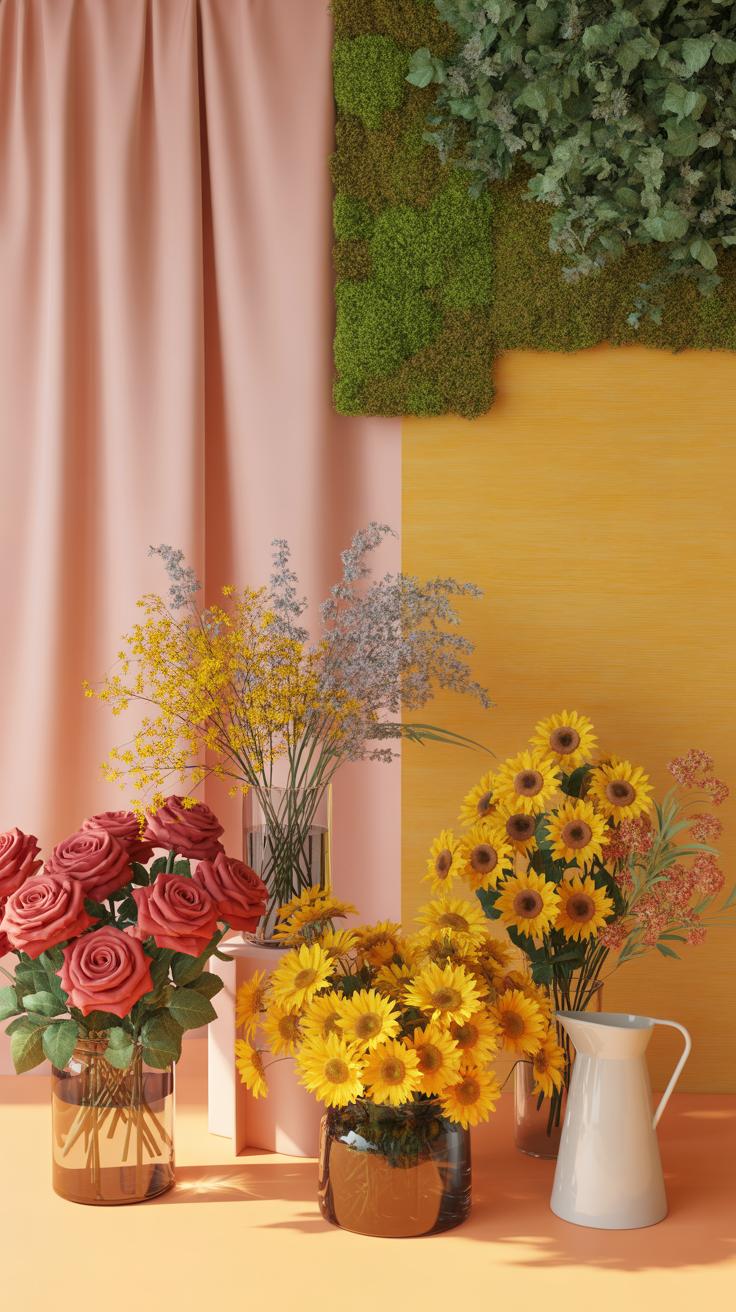
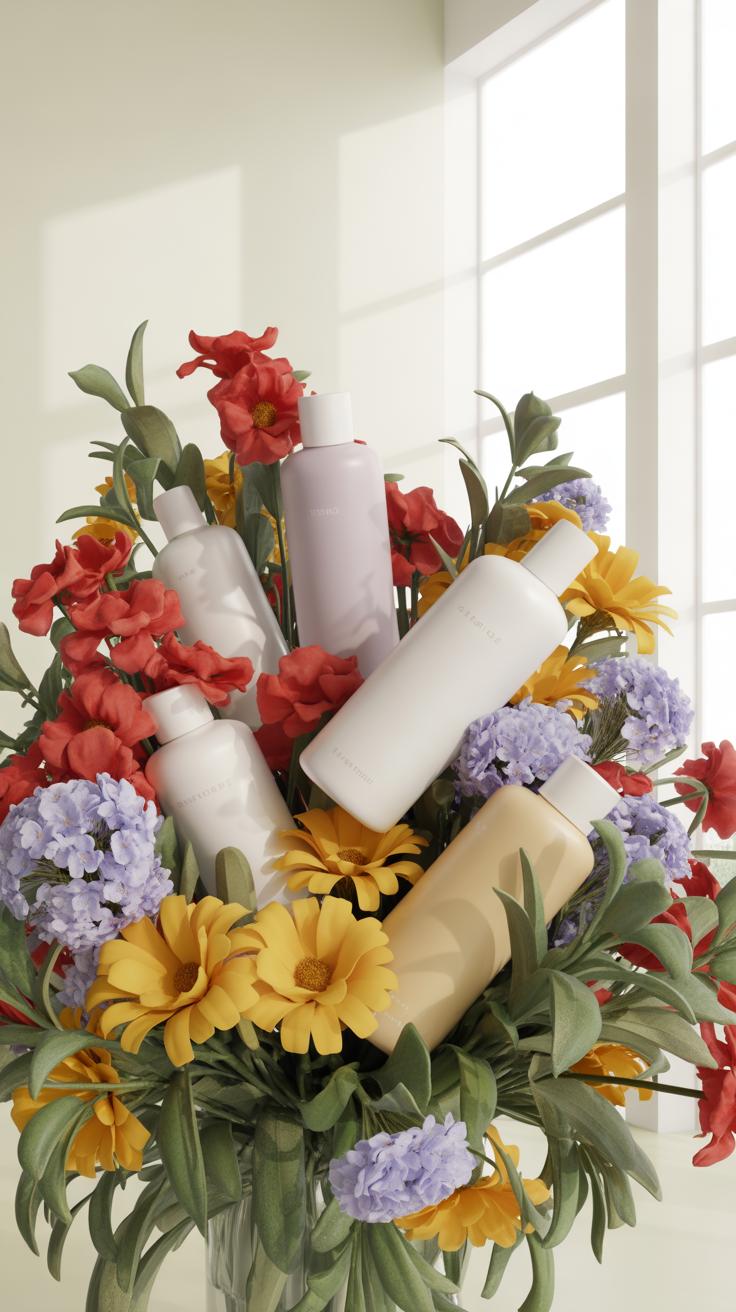
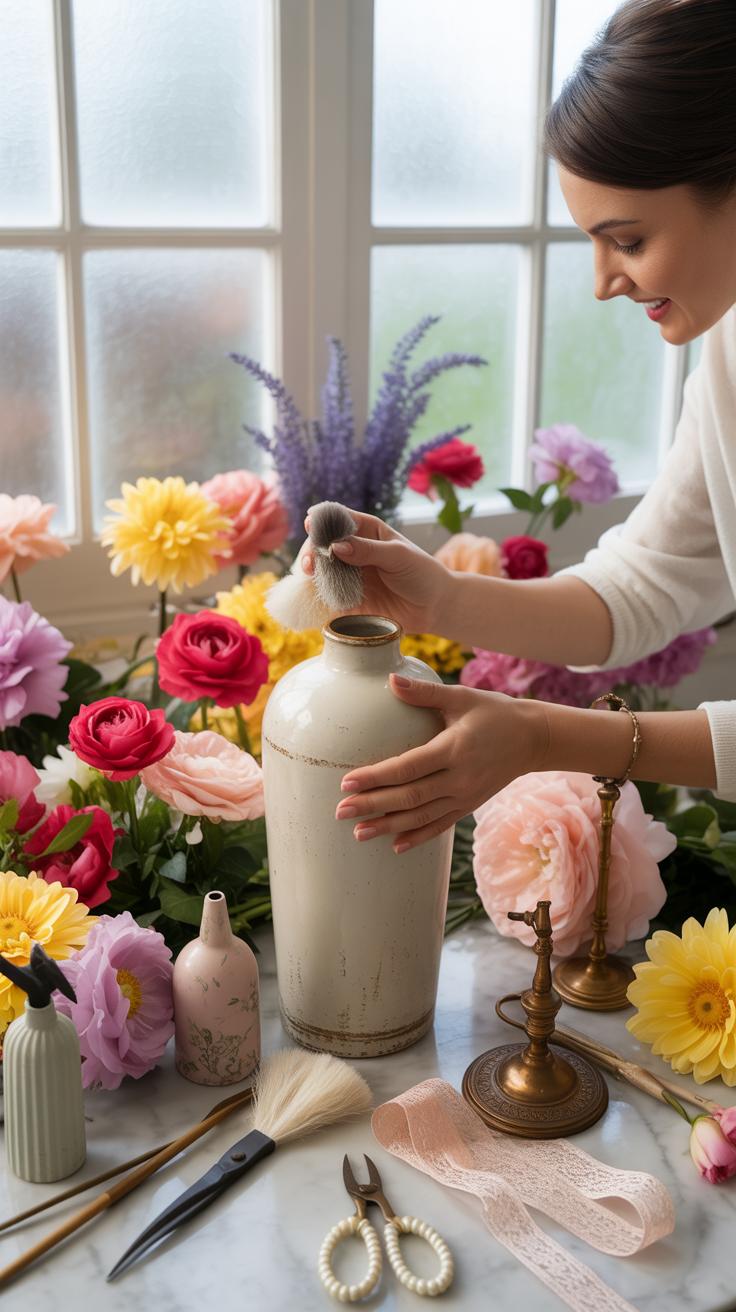
The right secondary materials bridge the gap between the plant and the base surface. You must match the physical weight of your props to the visual weight of your background. Glass and ceramic items function as functional anchors. They hold the water and provide the necessary height. Select items that share a common finish or historical style to maintain a professional and unified aesthetic.
- Clear Glass: Use thick glass vessels to show stems and water clarity. This material disappears into the background while providing structure. It suits modern and minimalist styles where the floral architecture is the primary focus of the photograph.
- Matte Ceramics: Stoneware with a dull finish prevents distracting highlights. Use these on wood or linen surfaces to create a rustic or wabi-sabi look. The tactile nature of clay complements the soft texture of organic flower petals and leaves.
- Brass Accents: Metal elements add a sharp edge to soft floral scenes. Brass provides a warm tone that pairs well with deep green foliage. Small trays or shears act as directional props that lead the viewer toward the center of the frame.
- Parchment Paper: Old paper or heavy cardstock adds a vintage layer. This material works well on wooden surfaces to create a dark academia or botanical study mood. It provides a flat neutral color that makes bright flower colors pop with high contrast.
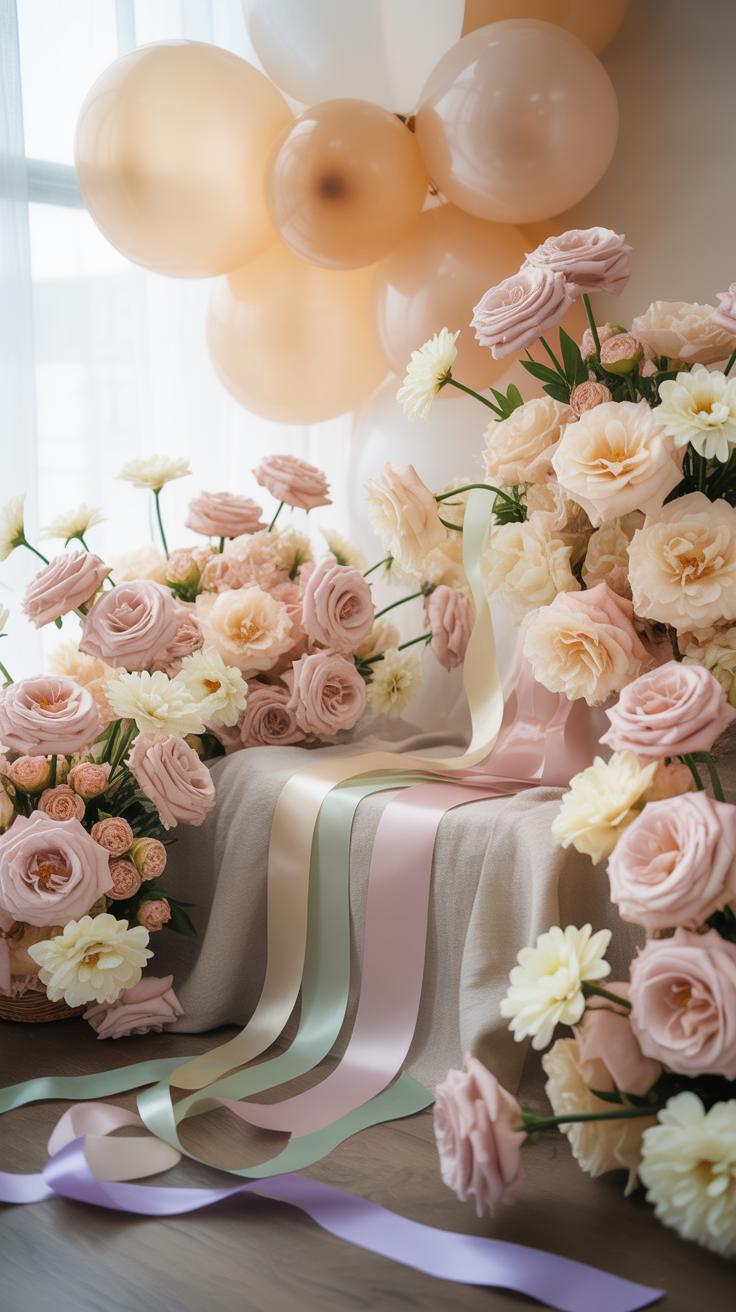
- Silk Ribbon: Fine silk adds a vertical element and fluid lines. Drape it across marble or wood to soften the hard edges of the background. Choose colors that exist within the flower itself to create a monochromatic and sophisticated color palette.
Avoid mixing too many textures in a single shot. Stick to three primary materials to keep the composition clean. If you use a busy marble background, keep the floral containers simple and solid. Balance is the key to professional product photography. Every prop must justify its place in the frame. If a material does not improve the flower, remove it immediately to save time.
Product Photography Flowers Styling Tips For Clean And Commercial Shots
How Negative Space And Minimalist Props Strengthen Product Photography With Flowers
Negative space directs the eye toward the primary subject. In commercial flower photography, empty areas prevent visual clutter. Strategic gaps create a professional look that fits modern advertising layouts. Minimalist props like acrylic blocks or plain linen boards support the flower without competing for attention. This technique ensures the viewer identifies the brand or the specific floral variety within a few seconds.
Minimalism forces the photographer to focus on form and color. Removing unnecessary elements highlights the natural texture of the petals. Clean backgrounds allow editors to place text or logos easily during post-production. Use neutral tones like grey, white, or beige to maintain color accuracy. This approach creates a high-end feel that appeals to premium markets. It reduces distractions and emphasizes the structural beauty of the plant.
The best props are those that carry the soul of a life well-lived, turning a simple bouquet into a memory captured in light. A stylish home is not made of things, but of the stories we weave through every vintage vase and heirloom treasure.
— Martha Stewart
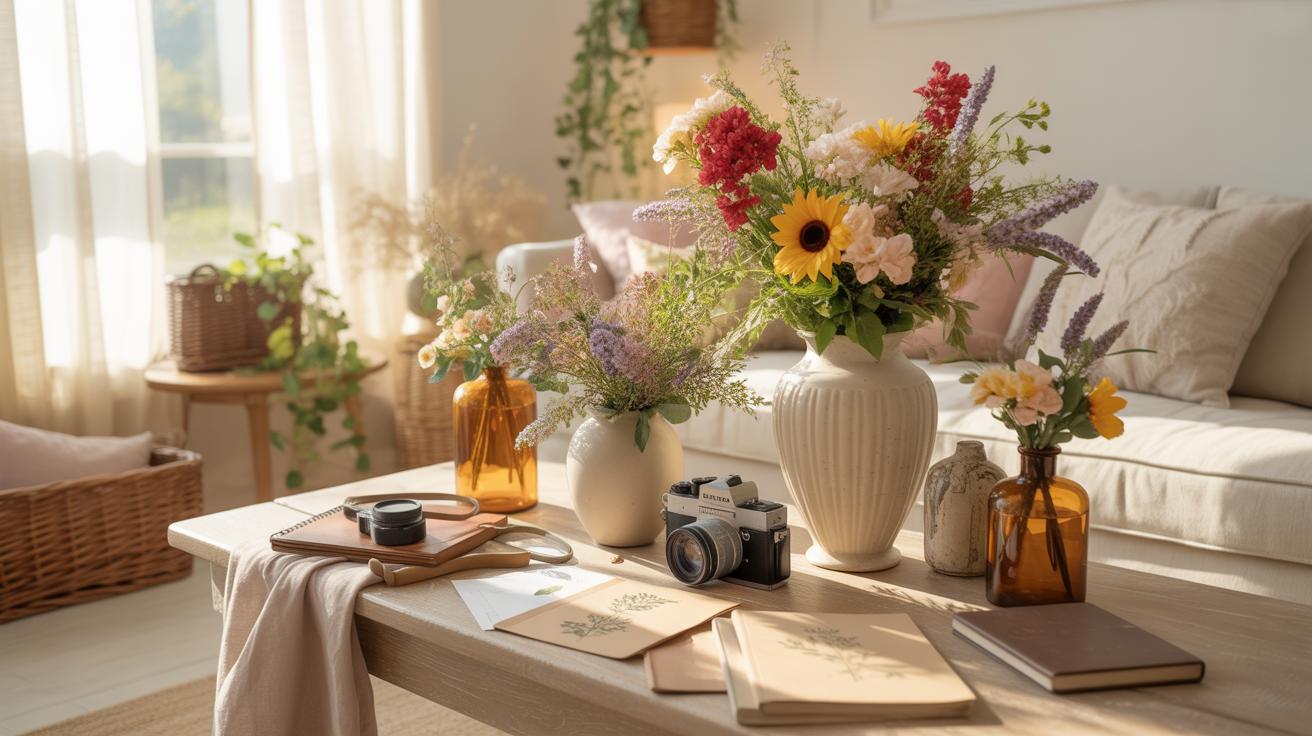
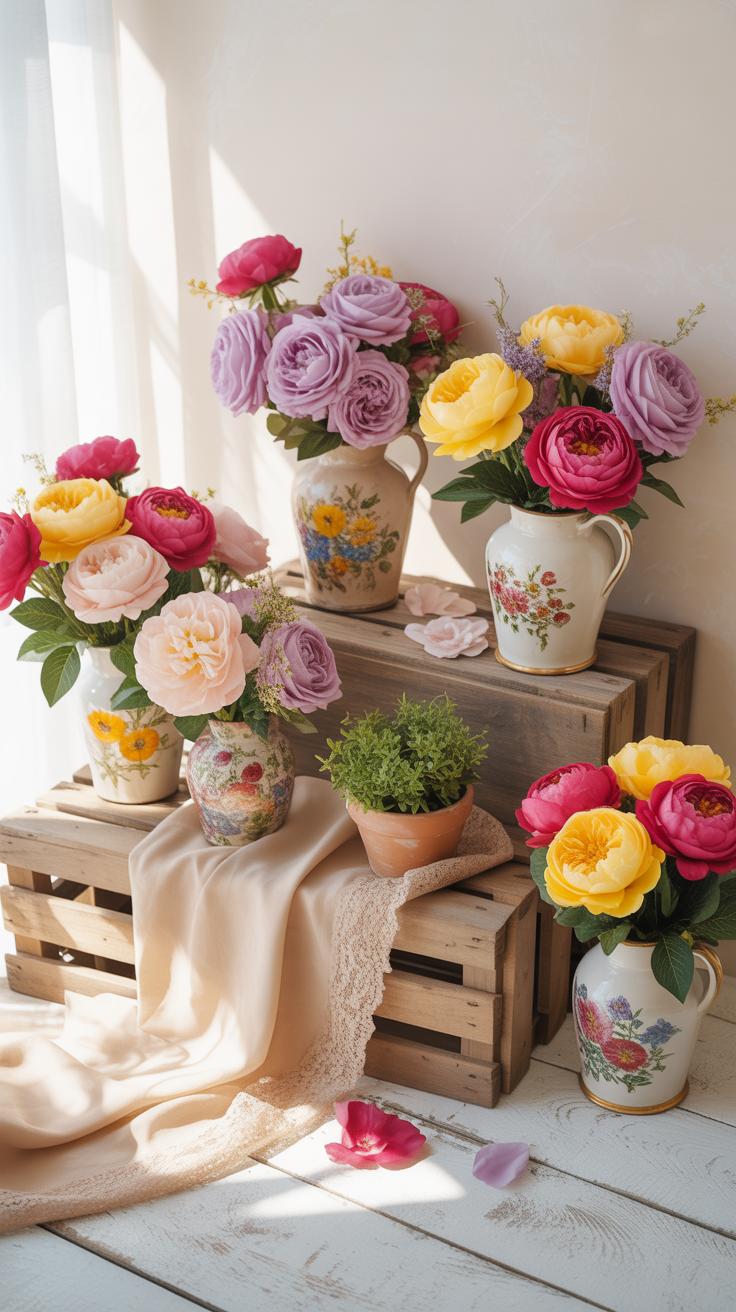
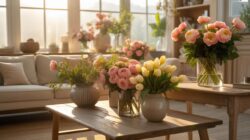
Selecting Vases, Vessels And Trays That Let The Flower Remain The Star

The vessel must serve as a foundation rather than a focal point. Use clear glass or frosted cylinders to hide messy stems while maintaining a clean profile. Stoneware with a matte finish prevents unwanted light reflections during the shoot. Historically, the Bauhaus movement influenced this functional approach. Choose shapes that follow the natural curve of the bloom. Avoid busy patterns or bright colors that clash with the petals.
Trays provide a tactile base for flat lay compositions. Metal trays in brushed gold or slate offer a refined surface that grounds the image. Ensure the material does not produce a hot spot under studio lights. Wood trays add warmth and organic texture to a sterile setup. Select props that match the scale of the flower. Large vessels can swallow small blossoms and ruin the visual balance of the shot.
Spring Set Up Photography Props That Capture The Season Authentically
Seasonal Flower Choices And Complementary Props For An Authentic Spring Scene
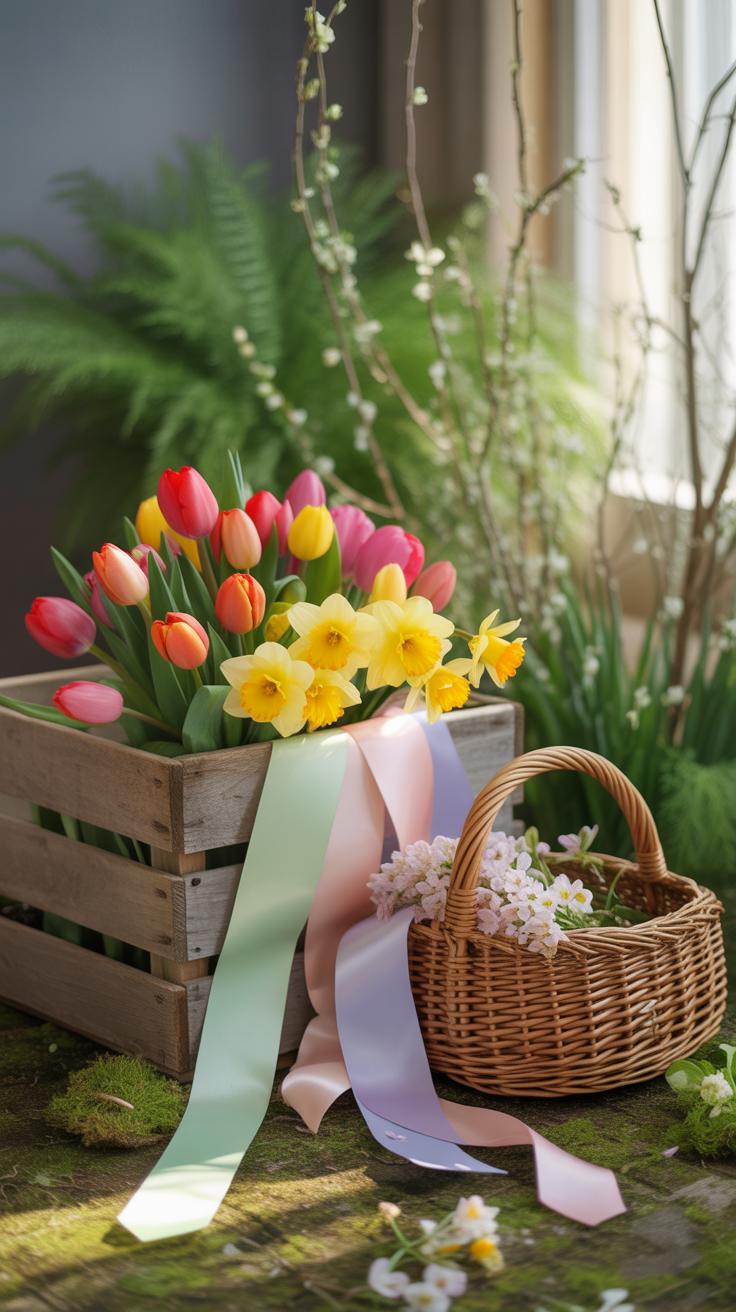
Spring flower photography requires species with short lifecycles. Focus on tulips, daffodils, and hyacinths. These blooms possess soft stems and high water content. They reflect the early growing season. Use raw terracotta pots or aged wooden crates to ground the image. These materials provide a neutral base. They mirror traditional gardening practices from the 19th century. This creates a realistic scene for the viewer.
Select props that suggest growth and activity. Metal potting shears or vintage seed packets add narrative depth. Ensure these items show signs of use. Brand new tools look fake in a spring setting. Use weathered zinc trays to hold small bulbs. Zinc became a standard greenhouse material due to its rust resistance. This historical accuracy adds credibility to your composition. Keep the focus on the natural textures.
Layering Natural Light With Pastel Props To Perfect Your Spring Product Photography
Natural light peaks in quality during the spring months. Use sheer linen diffusers to soften harsh shadows. Move your setup near a north-facing window for consistent exposure. Pastel props work best here to mimic the soft color palette of the season. Choose ceramic vases in duck egg blue or pale mint. These colors do not compete with the delicate petals of spring blossoms. They enhance the visual harmony.
Avoid using high-gloss surfaces that cause glares. Matte finishes absorb light and create a soft glow. Incorporate silk ribbons or cotton gauze to add texture without weight. These materials represent the lightness of the air after winter. Use white foam boards to bounce light back into the shadows. This technique fills the frame evenly. It highlights the intricate details of the flower anatomy. Simple tools deliver the best results.
Floral Props For Baby Shower Deco Styled Photography Shoots
Soft Floral Arrangements And Delicate Props That Suit A Baby Shower Deco Theme
Baby shower photography requires soft lighting and low-contrast textures. Select matte finish props to prevent harsh glares on camera. Wooden crates and woven baskets provide a neutral base for floral displays. These materials ground the image while maintaining a gentle aesthetic. Position large arrangements in the background to create depth. Use smaller clusters for close-up shots of detail items like shoes or cards.

Incorporate textiles like linen and muslin to add tactile layers. These fabrics absorb light and soften the overall look of the scene. Avoid synthetic plastics that look cheap under studio lights. Stick to organic materials that mirror the life and growth theme of the event. Arrange flowers in clusters rather than rigid lines. This creates a more natural and effortless feeling in the final photographic composition.
Best Flower Varieties And Prop Pairings For Dreamy Baby Shower Photography
Select flowers with high petal counts to maximize visual volume without adding weight. Peonies and ranunculus are standard choices for their round shapes and soft edges. These blooms fill space effectively in flat lay compositions or handheld bouquets. Pair these flowers with vintage-style props like silver rattles or ceramic basins. This combination creates a timeless look that avoids fleeting design trends.
- Ranunculus: Use these for their tightly layered petals and strong stems. They hold up well during long shoots without wilting. Their circular symmetry draws the eye toward the center of your photographic frame.
- Hydrangeas: These provide large scale and act as a natural base for other stems. Use one or two heads to fill empty gaps in a basket or large vase. They create a lush and abundant atmosphere.
- Baby’s Breath: Distribute these small white clusters to add texture and a sense of lightness. They work best as filler between larger focal flowers. They are light enough to rest on delicate fabrics without staining.
- Sweet Peas: These flowers offer thin stems and ruffled edges for a delicate appearance. Use them in bud vases to create height and movement. Their organic shapes break up the stiffness of more formal arrangements.
- Woven Bassinets: Use natural willow or reed baskets as a primary vessel for floral overflows. The texture of the weave adds visual interest to the lower third of the image. This prop provides a clear focal point.
Balance the scale of the flowers with the size of the accompanying props. Do not let large blooms overwhelm small keepsakes like ultrasound photos or jewelry. Use floral foam or frogs to secure stems in specific angles for the camera. This ensures the best side of every flower faces the lens. Consistency in color temperature between props and petals will yield the most professional and cohesive results.
Styling A Floral Photography Setup At Home Without A Professional Studio
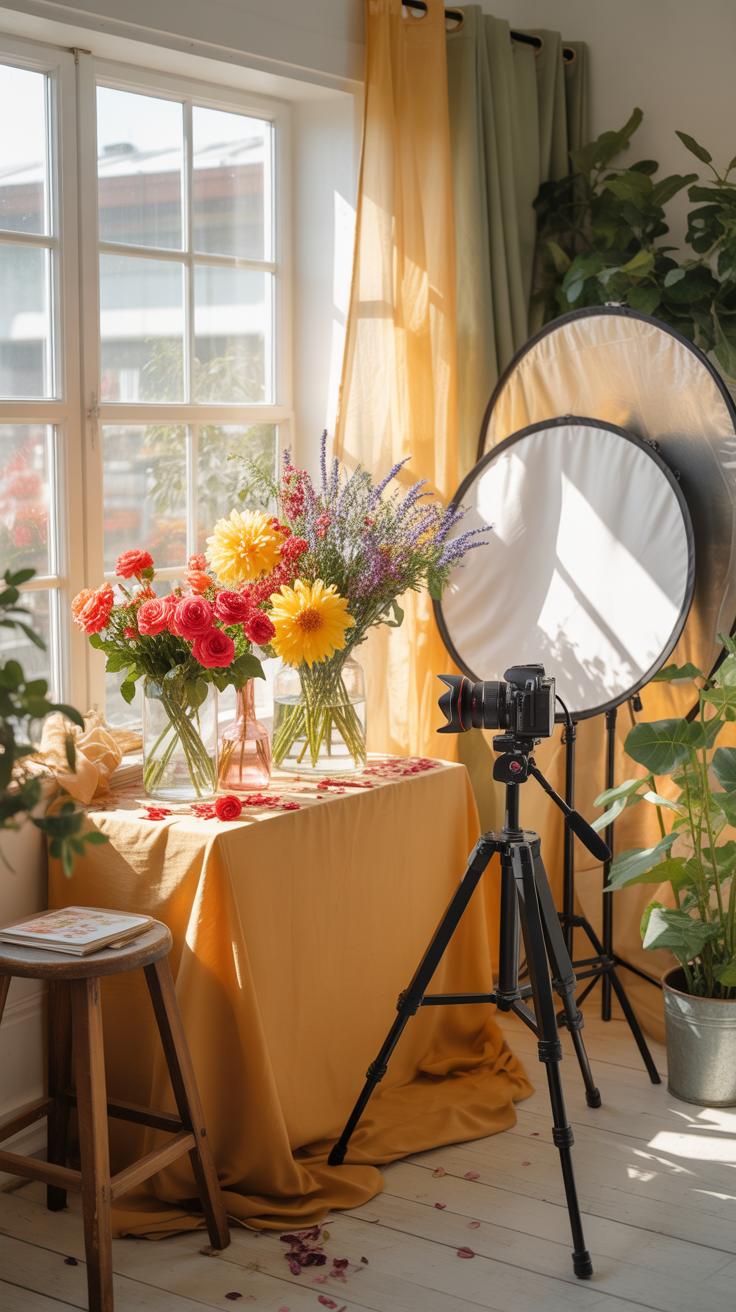
Room By Room Guide To Finding The Best Natural Light Spots In Your Home
North facing windows provide the most consistent light throughout the day. This soft light mimics a large studio softbox. It prevents harsh shadows and keeps flower colors accurate. East facing rooms offer strong morning light perfect for high contrast shots. Use these rooms early to capture crisp textures. Avoid direct midday sun in south facing rooms because it blows out delicate petal details.
Kitchens often have white surfaces that act as natural reflectors. Use a white countertop to bounce light back into the shadows of your floral arrangement. Bathrooms with frosted glass windows create an instant diffusion layer. This setup removes the need for expensive silk screens. Move your setup within three feet of the light source. Small adjustments in distance significantly change the depth of your shadows.
Budget Friendly Prop Sourcing Ideas For A Professional Looking Home Floral Shoot
Thrift stores offer the best access to authentic materials like weathered brass and stoneware. Look for heavy ceramic vessels with matte glazes. These textures absorb light rather than reflecting it. This prevents distracting hot spots in your final image. Seek out linen remnants or cotton canvas at fabric shops. Natural fibers provide a timeless look that fits the Still Life movement aesthetic.
Old wooden cutting boards serve as excellent base plates for organic styling. Scour your kitchen for glass jars or vintage medicine bottles to hold single stems. Neutral tones in gray or beige work best for backgrounds. They ensure the floral colors remain the focal point. Use matte spray paint to update mismatched containers. This creates a cohesive look across your Flower Photography Props collection for very little cost.
Caring For Your Flower Photography Props To Keep Them Shoot Ready
How To Store Dried Florals And Reusable Props To Extend Their Lifespan
Store dried flowers in a dark and dry environment to prevent fading and mold. Sunlight bleaches organic pigments quickly. Humidity causes stems to soften and lose their shape. Use airtight plastic bins or acid-free cardboard boxes for long-term storage. Place silica gel packets inside these containers to pull moisture away from the delicate plant fibers. This keeps the material brittle and crisp.
Keep hard props like ceramic vases and marble slabs away from high-traffic zones. Wrap glass items in acid-free tissue paper to avoid scratches or chemical reactions. Stack flat backdrops vertically to prevent warping from weight pressure. Use climate-controlled rooms rather than garages or basements. Stability in temperature prevents wood from cracking and metal from rusting. Organized storage ensures every item is ready for immediate use.
When To Refresh Your Prop Collection And What Signs To Look Out For
Inspect organic props for structural failure and shedding. Dried stems eventually become too fragile to handle without shattering. Look for dust buildup that you cannot remove with a soft brush or compressed air. Discard any floral items showing signs of pests or fungal growth. Keeping old organic material risks contaminating new sets. Replace these items when they no longer hold a sharp silhouette under studio lights.
Monitor hard goods for visible wear that distracts the camera lens. Scratched acrylic and chipped enamel create unwanted highlights or shadows in high-resolution shots. Trends also dictate when to rotate your inventory. Mid-century modern vessels or minimalist stoneware may lose their visual impact as styles evolve. Sell or donate props that no longer fit your primary aesthetic. Frequent assessment keeps your portfolio looking current and professional.
Frequently Asked Questions

What are the most essential flower photography props for beginners?
If you are just starting out, prioritize versatile items that complement natural textures. A simple ceramic vase, a linen tablecloth, and vintage garden shears are excellent foundational flower photography props. These items add a sense of lived-in charm and scale to your shots without distracting from the floral focal point. Focus on neutral colors to ensure your props don’t clash with the vibrant hues of your blooms.
How do I style props to make my floral photos look professional?
Professional styling is all about layering and depth. Begin by placing your main arrangement, then tuck secondary flower photography props like open art books or delicate jewelry dishes into the foreground and background. This creates a “lifestyle” story rather than a flat image. Experiment with heights by stacking books under small bud vases, and always consider how shadows fall across your props to add a moody, artistic dimension.
Can I find effective photography props on a tight budget?
Absolutely! You don’t need expensive designer decor to create stunning visuals. Look for unique glassware at thrift stores, use dried botanical stems from your own backyard, or repurpose textured kitchen towels as rustic backdrops. Even simple brown craft paper can be crinkled up to create a high-end editorial look. Nature provides the best inspiration, so pieces like weathered stones or interesting driftwood make beautiful, free additions to any setup.


