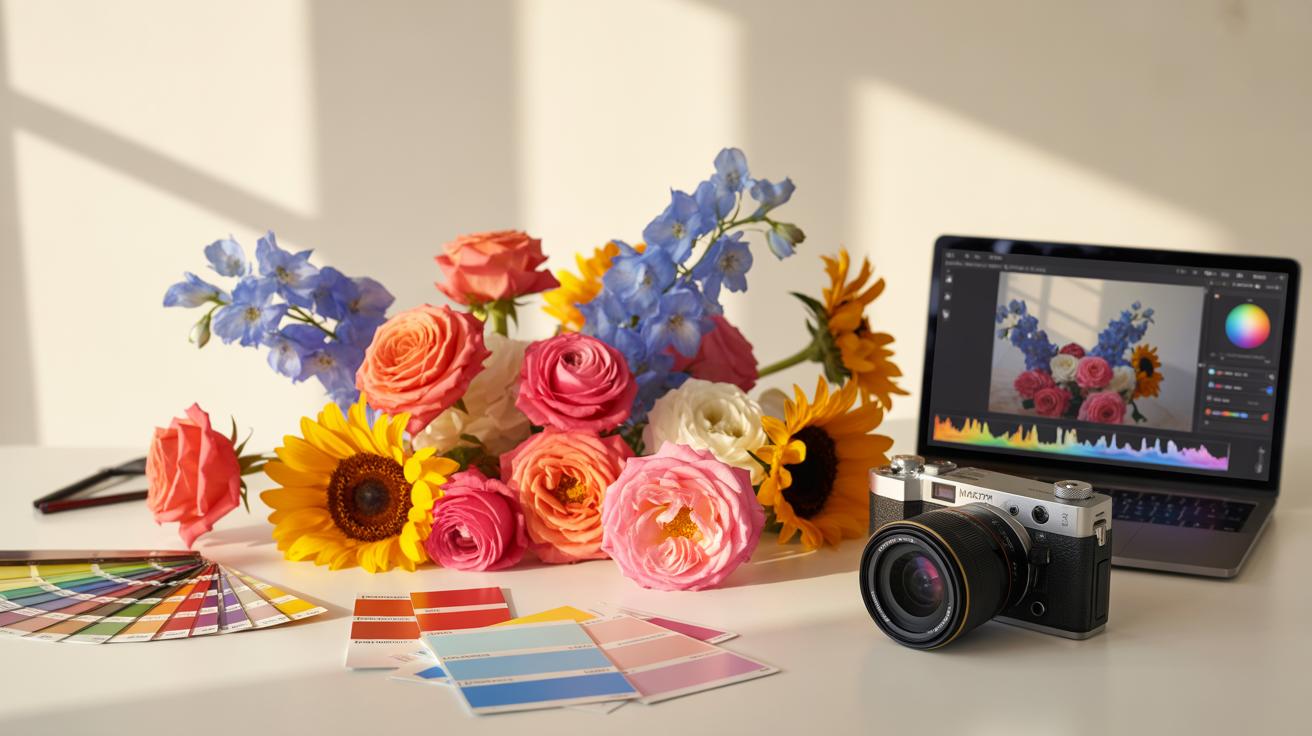
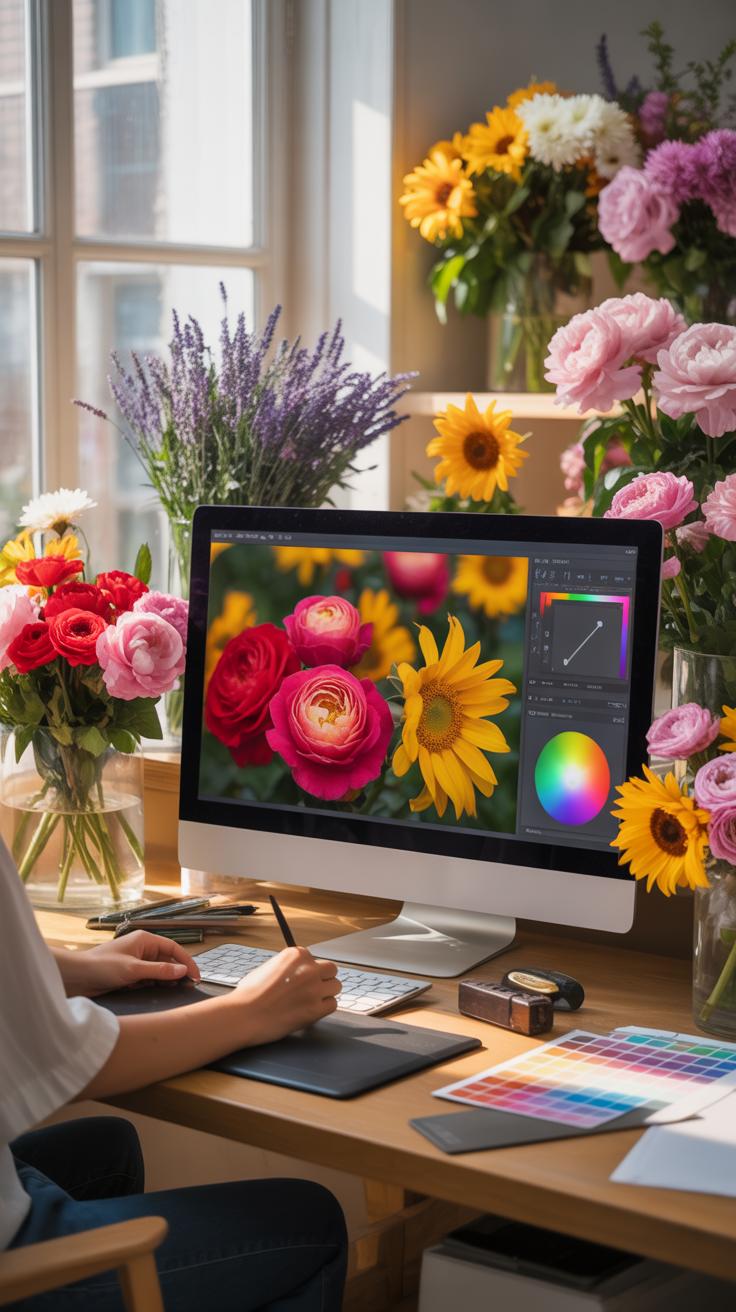
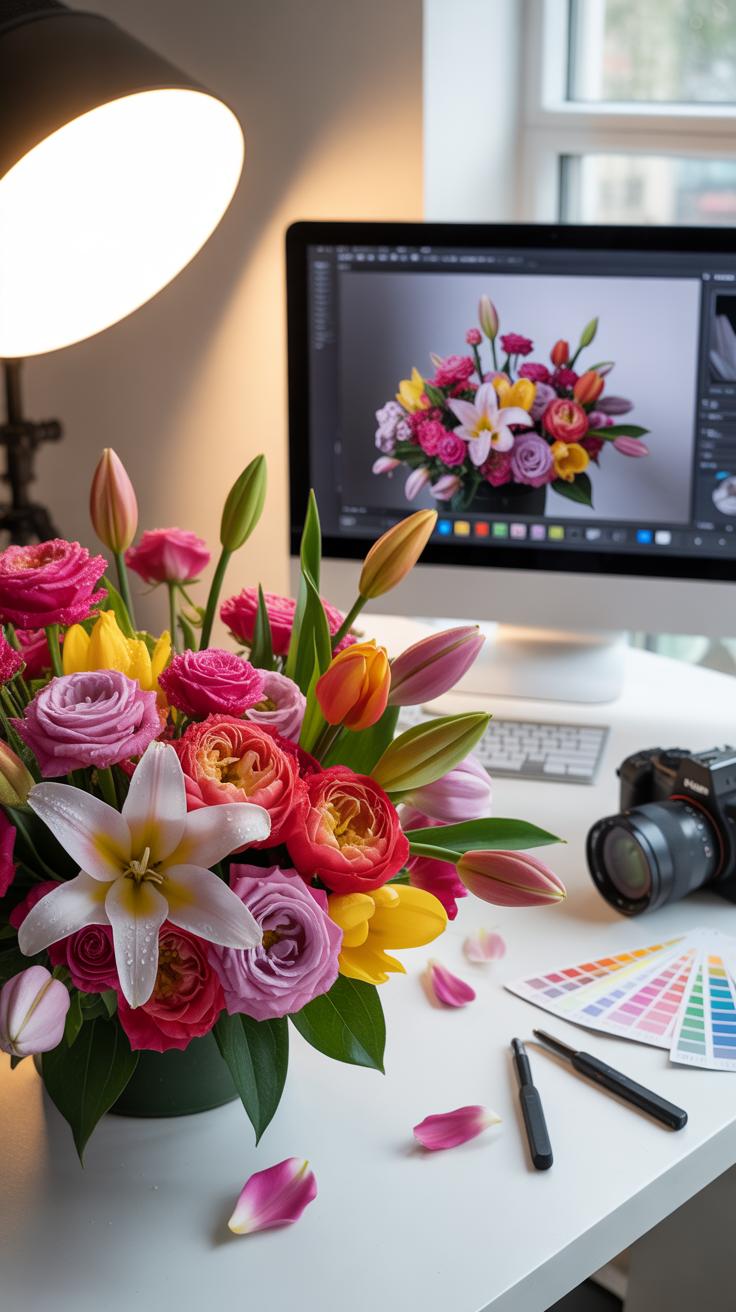
Why Flower Editing Starts With Understanding Your Subject
The Natural Characteristics Of Flowers That Affect Your Photos
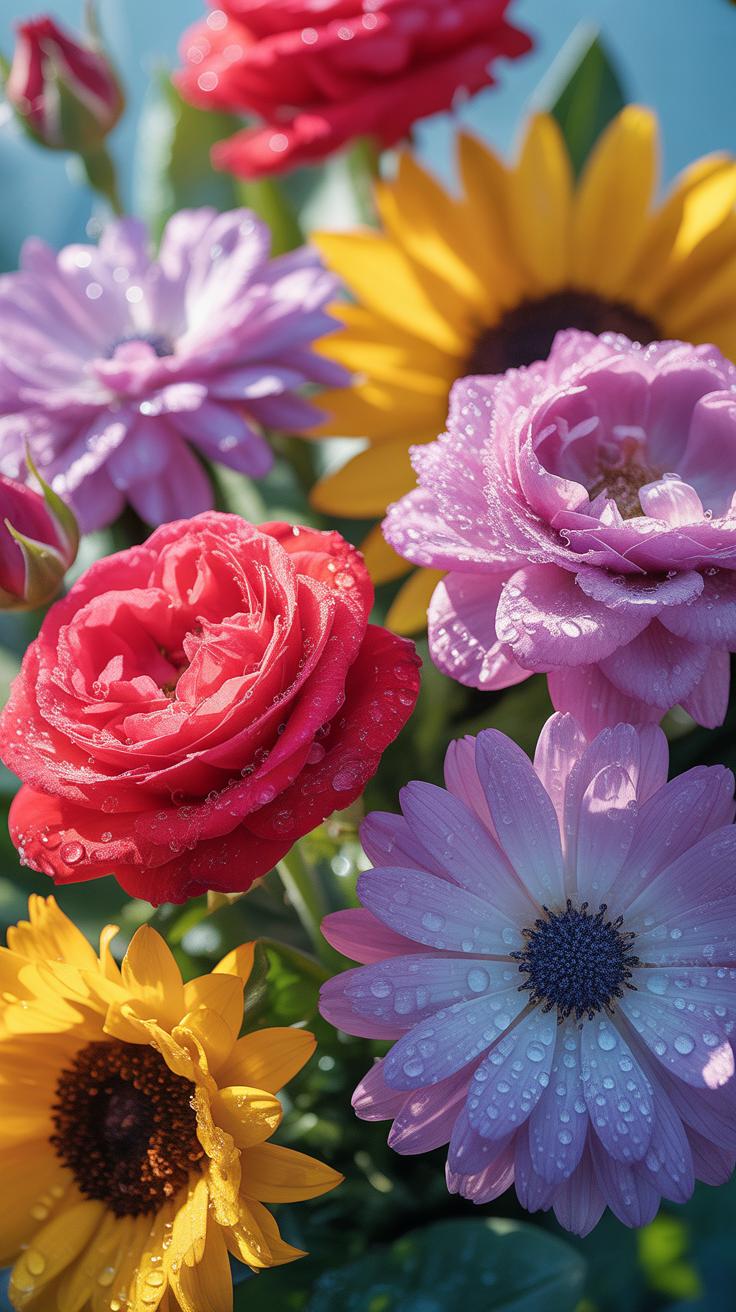
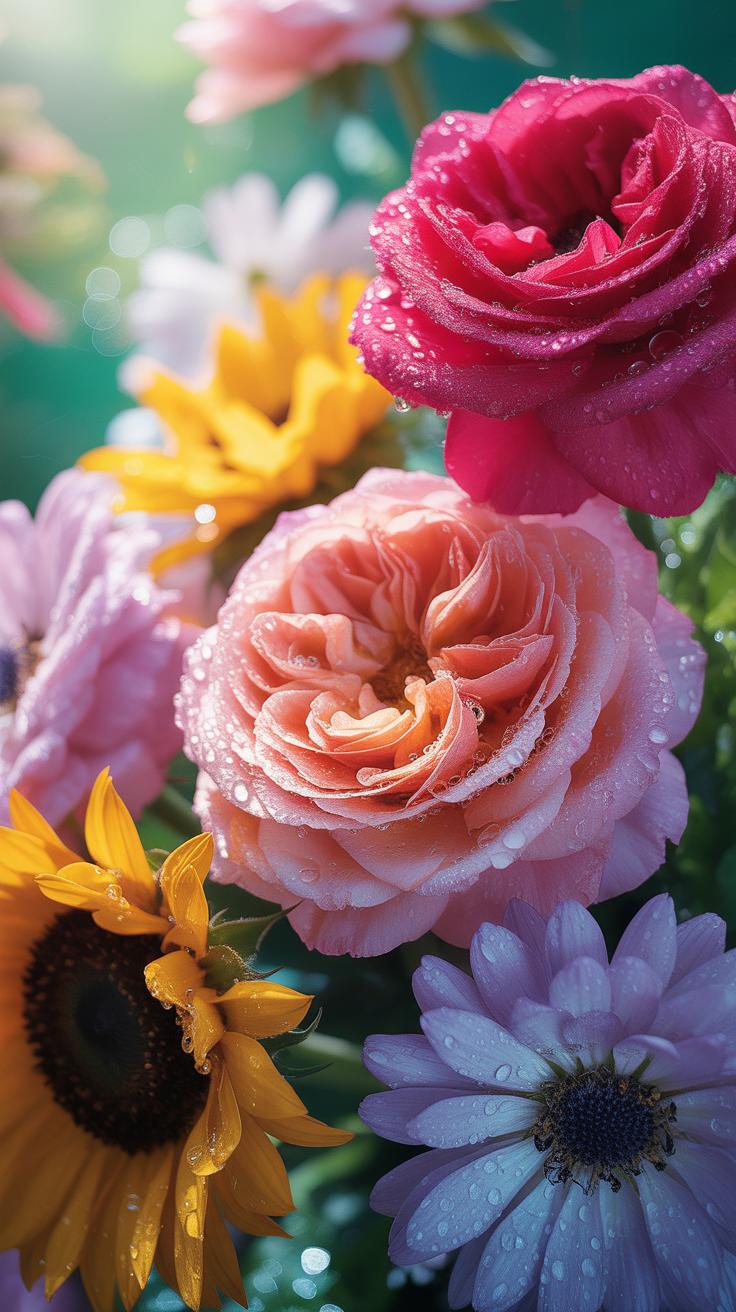
Flowers possess unique physical traits that dictate your digital workflow. You must identify the botanical structure before opening software. Radial symmetry requires precise centering or intentional off-center cropping. Asymmetric blooms demand balance through negative space. Color theory plays a vital role because flower pigments react differently to sensor shifts. Darker petals absorb more light and lose detail quickly in the shadows during the raw conversion process.
Study the specific anatomy of your subject to preserve its realism. Petals often have delicate veins or microscopic hairs that define their character. High sharpening settings destroy these fine details and create digital noise. You must adjust your clarity and texture sliders based on the specific species. Soft-petaled roses require a different touch than rugged sunflowers. Sharpness should enhance the natural structure rather than masking it with artificial artifacts.
How Light And Petal Texture Influence Your Editing Decisions
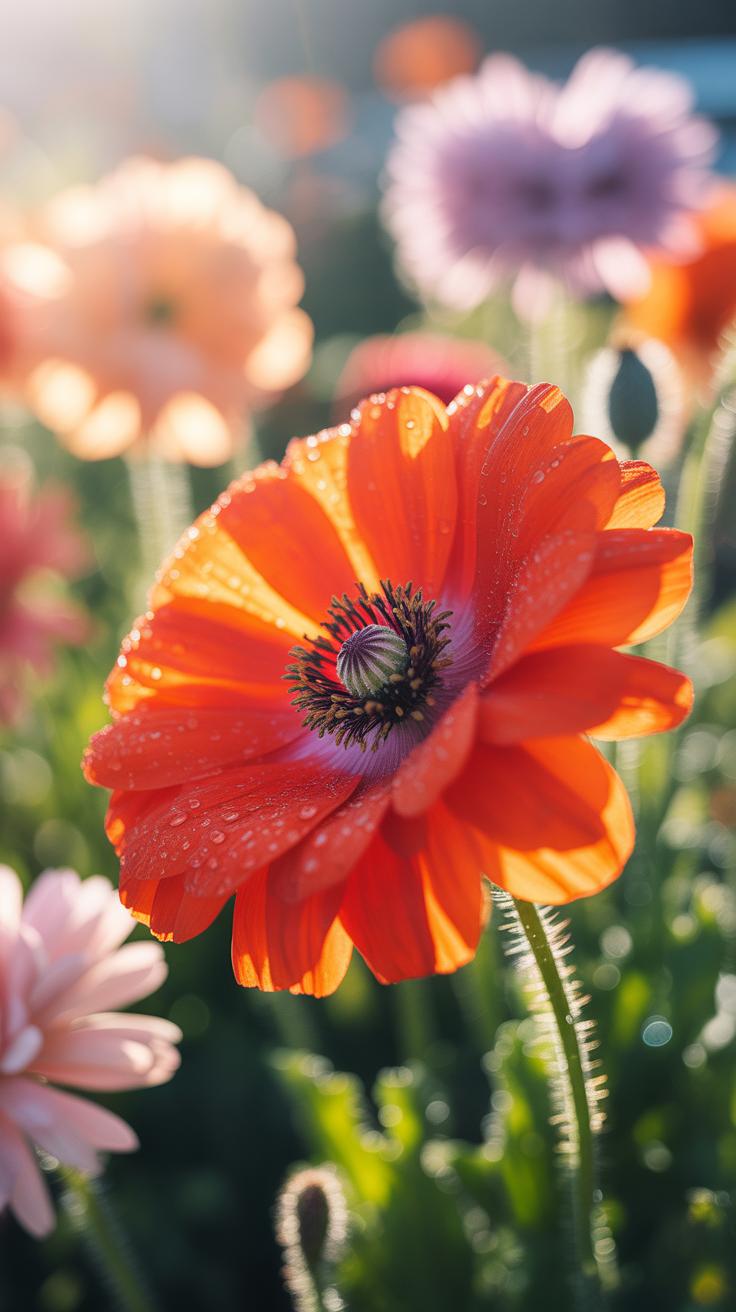
Petal texture determines how light bounces off the surface of the flower. Waxy petals create specular highlights that can ruin a shot if not managed. These bright spots require careful luminance adjustments to prevent blown-out pixels. Matte petals behave differently by diffusing light across the surface. You must use local adjustment brushes to pull out the subtle gradients found in softer flower varieties during the editing stage.
Light penetration varies based on petal thickness and density. Thin petals allow backlighting to pass through which creates a glowing effect. This transparency requires you to monitor your white balance closely to avoid color casts. Dense petals cast hard shadows within the bloom itself. You must use dodge and burn techniques to manage these internal shadows. Proper light management ensures the flower retains its three-dimensional form on a flat screen.

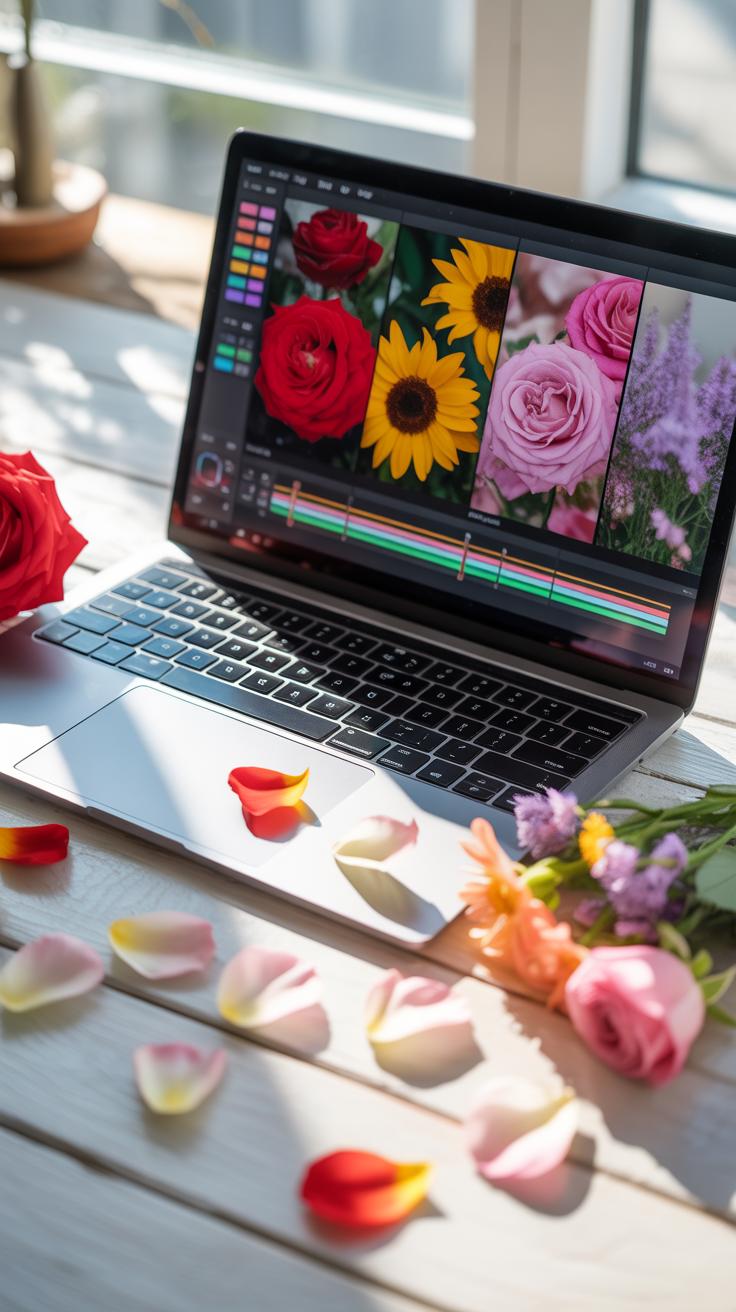
Choosing The Right Software For Flower Photo Editing
Adobe Lightroom Vs Photoshop: Which Is Best For Flower Photos
Lightroom serves as the primary tool for batch processing and global color corrections. Its non-destructive workflow allows you to manage raw files without altering original pixel data. You can sync exposure and white balance across hundreds of shots instantly. This speed is vital when managing large catalogs of garden photography. It handles basic masking and color grading with efficiency.
Photoshop provides pixel-level control for advanced compositing and detailed retouching. Use it to remove distracting twigs or insects that ruin a clean composition. It excels at focus stacking by merging multiple frames for maximum depth of field. While Lightroom is for organization and general tone, Photoshop is for precision tasks. Most professionals use both tools in a combined workflow for best results.
Free And Mobile Tools That Deliver Great Results For Beginners
Snapseed offers powerful selective editing tools for mobile users at no cost. Its healing brush and control point technology allow you to brighten specific petals without affect the background. Darktable provides an open-source alternative for desktop users who need raw processing capabilities. These tools match professional software for basic color and exposure work. They provide a solid foundation for learning light theory.
Adobe Lightroom Mobile brings professional sliders to your phone for quick social media uploads. It uses the same engine as the desktop version for consistent color science. Simplified interfaces help beginners focus on composition and lighting rather than complex menus. Most mobile apps now include masking features previously reserved for high-end computers. Start with these tools to master the basics before investing in expensive subscriptions.
Essential Photo Adjustment Settings Every Flower Editor Should Know
Mastering Exposure, Contrast, And Highlights For Vibrant Petals
Correct exposure prevents loss of detail in light colored flowers. Overexposed shots wash out the delicate textures of the petals. Use the histogram to ensure pixels do not clump against the right edge. Adjust the exposure slider to balance the overall light levels. This step creates a solid base for all further color and detail work on the flower image.
Contrast separates the flower from its background. High contrast makes the edges of the petals look sharper and more defined. Lower the highlights if the sun created hot spots on the flower surface. This recovery technique brings back the natural veins and patterns in the plant tissue. Use the shadows slider to add depth to the center of the bloom for a three dimensional look.
Using White Balance And Temperature To Bring Out Natural Flower Tones
White balance determines if the flower colors look accurate or distorted. Cameras often struggle with purple and blue petals under natural sunlight. Adjust the temperature slider to remove unwanted yellow or blue tints from the scene. Use the tint slider to correct magenta or green shifts often seen in forest photography. Proper calibration ensures the flower matches its real world appearance.

Natural lighting changes throughout the day and affects the color temperature. Morning light is cool while evening light is warm. Match your software settings to the time of day the photo was taken. This consistency keeps the greens of the stems looking healthy rather than sickly. Accurate white balance serves as the foundation for all secondary color grading and saturation adjustments in the edit.
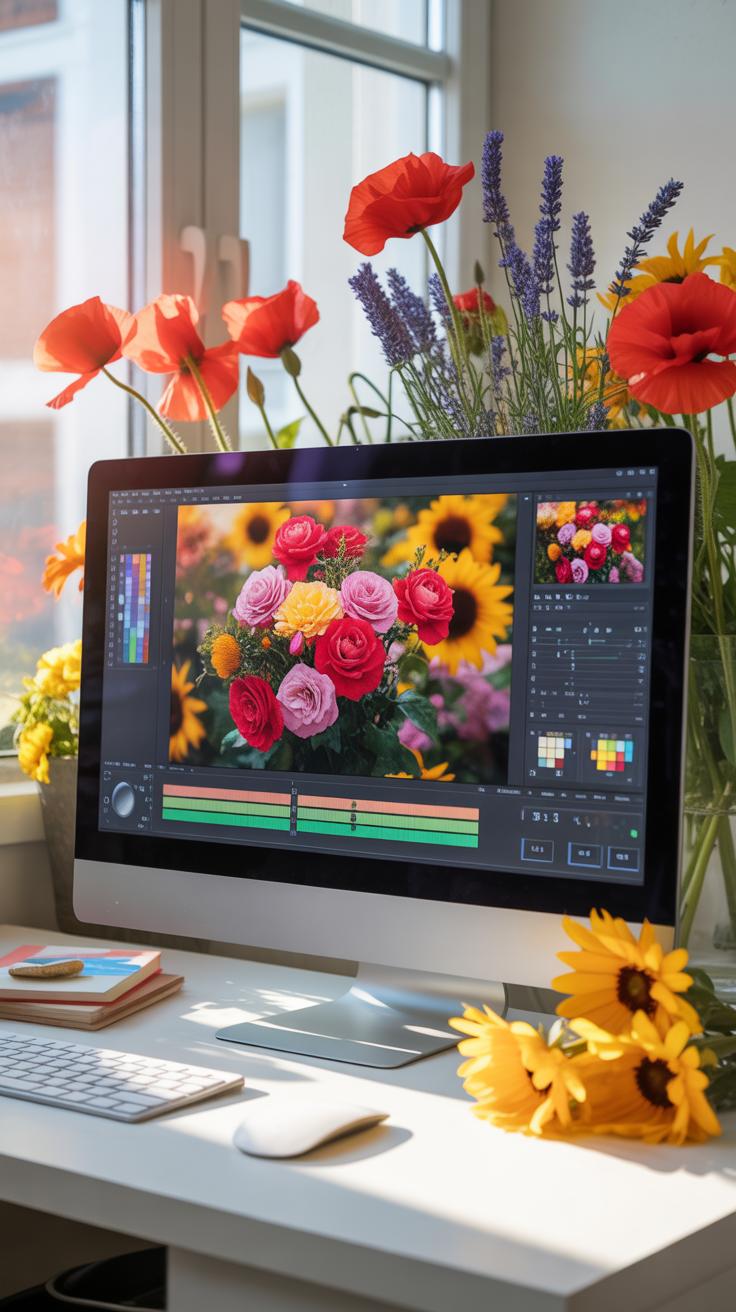
Nature Photo Editing Tips For Perfecting Color In Flower Images
How To Use HSL Sliders To Isolate And Enhance Individual Flower Colors
The HSL panel allows precise control over Hue, Saturation, and Luminance for eight specific color channels. You must identify the primary color of the bloom to make impactful changes. Use the Hue slider to shift a red rose away from orange or magenta tones. This tool changes the color identity without affecting the rest of the image. It ensures the flower remains the focal point.
Luminance is the most critical slider for flower depth. Increasing luminance makes a color brighter while decreasing it adds richness and weight. Target the green channel to darken foliage and create contrast against the petals. Adjusting the saturation of specific colors prevents the entire photo from looking fake. Use these targeted adjustments to correct color casts caused by sunlight or artificial garden lights.
Editing is the gentle art of bringing back the sunlight that first kissed the petals in your memory. A great photograph is one that fully expresses what one feels about what is being photographed.
— Ansel Adams
Avoiding Oversaturation While Keeping Flower Colors Looking True To Life
Digital sensors often struggle with highly saturated reds and yellows. This results in clipped color channels where detail disappears into a solid blob of paint. You must monitor your histogram to ensure no color channel hits the right edge. Use the Vibrance slider instead of Saturation. Vibrance targets muted colors first and protects skin tones or already saturated hues from blowing out.

Professional editors use the Calibration panel to fix narrow color ranges. Adjust the primary blue or green sliders to shift the overall color mix toward a natural look. If the petals look neon, drop the saturation of that specific color in the HSL panel immediately. True color accuracy requires a calibrated monitor. Always compare your edited image against the raw file to ensure the botanical features remain realistic.
How To Edit Flower Photos For A Sharp And Detailed Look
Sharpening Techniques That Bring Out Petal And Stamen Detail
High frequency detail in flowers exists primarily in the stamen and petal edges. Apply a high pass filter on a separate layer to target these specific areas without affecting smooth color transitions. Set the radius between 1.0 and 3.0 pixels depending on your image resolution. Change the blend mode to overlay or soft light. This method creates localized contrast that mimics physical sharpness without adding digital artifacts or halos.
Use luminance masking to protect the softest parts of the bloom. Petals often have delicate gradients that break apart when over sharpened. Apply sharpening only to the highlights and midtones where the pollen and textures reside. This selective approach preserves the organic feel of the plant. Avoid universal sharpening sliders because they create crunchy edges. Focus your efforts on the focal point to lead the eye of the viewer directly.
Reducing Noise Without Losing Fine Floral Texture In Your Images

Noise reduction often destroys the micro contrast found in organic subjects. Use AI denoising tools early in your raw workflow to separate grain from actual plant fibers. These algorithms identify the difference between sensor noise and the tiny hairs on a flower stem. Apply the effect conservatively to keep the natural grit of the petal. A perfectly smooth flower looks fake and loses its botanical value.
Mask your noise reduction to target the dark background and out of focus areas. These zones show noise most clearly but contain the least amount of important detail. Keep the subject mask clean to ensure the stamen remains crisp. If the image looks too plastic after processing, add a small amount of fine grain back in. This step restores the illusion of sharpness and provides a professional finish to the frame.
Background And Depth Techniques When You Edit Flower Photos
How To Enhance Bokeh And Blur Backgrounds To Isolate Your Flower Subject
Digital sensors often fail to capture the buttery smoothness of high-end optical glass. To fix this, use a depth map or select the subject with a masking tool. Inverse the selection to target only the background. Apply a Gaussian or Lens Blur effect. Keep the radius subtle to maintain a realistic transition. Sharp edges on a blurred background look fake and unprofessional.

Focus on the physics of light when applying digital blur. Real lenses create bokeh shapes based on aperture blades. Most modern software allows you to mimic these geometric patterns. Adjust the bokeh highlight slider to make light spots pop without blowing out the highlights. This technique directs the eye toward the flower. It removes visual noise that competes with your primary subject for attention.
Removing Distracting Elements From The Background Of Flower Pictures
Cluttered backgrounds ruin a clean floral shot. Use the Content-Aware Fill or Patch tool to remove stray twigs and dead leaves. These elements create harsh lines that break the flow of the image. Zoom in to 100 percent to check the edges of the petals. Ensure the software does not smudge the flower boundary. Clean backgrounds make the colors of the bloom appear more vivid.
Color distractions require a different approach than physical objects. If a bright green leaf behind the flower is too distracting, use a localized saturation brush. Lower the intensity of that specific area. You can also shift the hue of background foliage to a more neutral tone. This creates color contrast between the flower and its surroundings. A dark or muted background provides the best anchor for bright petals.
Step By Step Workflow For Editing Flower Photos From Start To Finish
Building A Consistent Editing Workflow For Every Flower Photo Session
A standardized workflow ensures technical accuracy and saves time across large image sets. Start by correcting the global white balance and exposure to establish a neutral baseline. Adjusting basic tones first prevents color shifts later in the process. Pro photographers use non-destructive software like Adobe Lightroom or Capture One to maintain raw data integrity. Systemic editing keeps your portfolio looking uniform and professional.
- Global Adjustments: Set the overall exposure and white balance. These foundational steps ensure colors appear natural and highlights remain within the printable range before you move to localized edits or style choices.
- Targeted Masking: Use radial or linear filters to isolate the flower. This separates your subject from the background. You can then increase clarity on petals while softening the surrounding foliage to create depth.
- Color Grading: Utilize HSL sliders to refine specific flower hues. This allows you to shift greens away from yellow or deepen the saturation of petals without affecting the rest of the image pixels.
- Detail Enhancement: Apply sharpening specifically to the stamen and petal edges. Use masking tools to avoid sharpening background noise. This creates a focal point that draws the eye directly to the center of the bloom.
- Final Cleanup: Remove distractions using healing or cloning tools. Small spots, dust, or insect damage on petals divert attention. Cleaning these imperfections ensures the viewer focuses on the form and color of the flower.

Organize your workflow to handle batches efficiently using presets or synchronization tools. Apply your base corrections to all photos from the same lighting setup simultaneously. This creates a cohesive look across the entire gallery. Finish by reviewing each image individually for unique flaws. A disciplined approach reduces errors and helps you master the technical side of Editing Flower Photos.
Exporting Your Finished Flower Photos At The Right Resolution And Format
Choosing the correct export settings preserves the hard work you put into editing. For digital displays and social media, use the sRGB color space to ensure color consistency across different screens. Set the resolution to 72 pixels per inch for web use to balance speed and quality. Always save a high-resolution master copy in a lossless format like TIFF for any future printing needs.
For physical prints, switch the color space to Adobe RGB or ProPhoto RGB to capture a wider gamut. Set the resolution to 300 pixels per inch to ensure sharp lines and smooth color transitions on paper. Match your aspect ratio to the intended frame size to avoid unwanted cropping. Correct file management prevents compression artifacts and maintains the fine details of your flower photography throughout the delivery process.
Pro Level Flowers Composition And Retouching Finishing Touches
Using Vignettes, Gradients, And Presets To Add A Professional Final Look

Vignettes and radial gradients guide the eye of the viewer. Use a subtle dark vignette to dim the edges of the frame. This technique emphasizes the center of the flower. Many photographers use radial filters to increase exposure only on the petals. This creates a spotlight effect that separates the subject from the background. Keep your adjustments small to maintain a natural look.
Presets provide a consistent starting point for your workflow. Apply a preset to establish a specific color grade across your series. Adjust the opacity of the preset to avoid over-processing. Use linear gradients to darken the bottom of the image. This grounds the flower and prevents the eye from wandering. These tools save time and ensure your botanical photos look professional and cohesive.
Common Flower Editing Mistakes To Avoid And How To Fix Them
Amateur editors often ruin flower photos with heavy-handed adjustments. Over-saturation is the most common error in botanical photography. It destroys the fine details in the petals and makes the colors look fake. Another mistake is over-sharpening the entire image. This creates digital noise and harsh edges. You must target your edits to specific areas to keep the textures looking soft and realistic.
- Over-Saturation: Excessive saturation kills the tonal range in bright petals. Histograms often show clipped color channels when you push the sliders too far. Use the vibrance tool instead to boost duller colors safely.
- Excessive Sharpening: High sharpening values create white halos around the edges of petals. This artifact looks cheap and distracts the viewer. Only sharpen the center of the flower using a mask to protect the soft background.
- Crushing the Blacks: Deep shadows can hide important structures in the stem and leaves. Losing this detail makes the photo look flat and heavy. Monitor your black points to ensure you maintain some texture in the darkest areas.
- Artificial Background Blur: Adding fake bokeh in post-production often looks sloppy around the flower edges. The transition between the subject and the blur must be perfect. Only use depth maps or careful masking if you must enhance the blur.
- Ignoring Color Casts: Natural light often reflects green or blue tints onto the flower. These casts distort the true color of the petals. Use the white balance dropper or hue sliders to neutralize unwanted tones in your final edit.
Fix these issues by using layers and masks for every adjustment. Review your photo at a small size and then at full resolution. This helps you spot artifacts that appear during the retouching process. Always compare your edited version to the original raw file. If the texture of the petals looks like plastic, pull back your settings. Technical precision preserves the natural beauty of the plant.
Frequently Asked Questions

What are the most important basic steps for a beginner to take when editing flower photos?
When you are first starting out, the key is to enhance the natural beauty without over-processing. Begin by adjusting the exposure to ensure the petals look bright and vibrant. Then, focus on fine-tuning the saturation and contrast to make the colors pop. Mastering these fundamental techniques when editing flower photos allows you to highlight delicate details and textures, creating a professional look even if you have never used professional software before.
How can I make the colors in my floral photography look more vibrant and realistic?
To achieve vivid results, use the HSL slider to target specific hues like greens and pinks. Increasing the “Vibrance” rather than just “Saturation” helps prevent the colors from looking artificial. You should also pay attention to white balance to ensure the sunlight looks natural. By carefully balancing these elements while editing flower photos, you can replicate the breathtaking, true-to-life tones of a garden in full bloom directly on your screen.
Do I need expensive professional software to edit high-quality botanical images?
Absolutely not! You can create stunning visuals using free mobile apps like Snapseed or Lightroom Mobile. These platforms offer powerful tools for cropping, color correction, and sharpening that are perfect for hobbyists. Many of these accessible tools provide professional-grade filters and manual adjustment layers, proving that you don’t need a high-priced subscription to produce artistic, gallery-worthy results that will beautifully enhance your home decor or social media feed.


