Understanding The Basics Of Floral Photography Tips For Beginners
What Makes Floral Photography Unique Compared To Other Genres
Floral photography centers on botanical anatomy and color theory. Unlike street or landscape work, this genre requires extreme control over the depth of field. You manage tiny physical spaces where a millimeter of movement shifts the focus. You must understand how light interacts with translucent petals. This discipline maps back to 17th-century Dutch still-life painting techniques. Those artists used directional light to create depth and drama in static subjects.
Precision is the primary requirement for success with plants. Flowers do not move on their own, but wind and growth patterns create mechanical challenges. You are working with fragile subjects that wilt or change under hot studio lamps. This genre demands a mix of macro technical skills and an eye for minimalist composition. You must isolate specific details from a busy natural background. This creates a clean look suitable for modern home decor.
Essential Camera Settings Every Beginner Should Know Before Photographing Flowers
A wide aperture is the most critical setting for floral work. Use a low f-stop number like f/2.8 or f/4 to blur the background. This technique isolates the flower and removes distracting visual noise. Beginners often make the mistake of using auto-focus in close-up shots. Switch to manual focus to ensure the sharpest part of the image lands exactly on the stamen or a specific petal edge.
Shutter speed must remain high to negate camera shake and plant movement. Even a light breeze will ruin a sharp macro shot. Set your ISO as low as possible to prevent digital grain from destroying fine textures. Use a tripod and a remote shutter release to stabilize the frame. These tactical choices ensure the final print looks professional and clear when displayed on a wall. Accurate settings produce high-quality files for large-scale home styling.

How To Choose The Right Equipment For Photographing Flowers
Best Lenses For Close Up Floral Photography And Why They Matter
Macro lenses are the industry standard for floral photography. They provide a one to one magnification ratio. This means the flower appears life sized on the camera sensor. These lenses have a short minimum focus distance. You can get very close to the petals without losing focus. Sharpness remains high across the entire frame. Use a focal length between ninety and one hundred millimeters.
Standard prime lenses are a secondary option for wider shots. They offer wide apertures like f/1.8 or f/2.8. This creates a shallow depth of field. The background blurs and separates the flower from the clutter. This technique is common in modern editorial styles. Avoid using wide angle lenses for close work. They distort the shape of the petals. Stick to telephoto lengths to maintain accurate floral proportions.
Must Have Accessories That Elevate Your Flower Photography Results
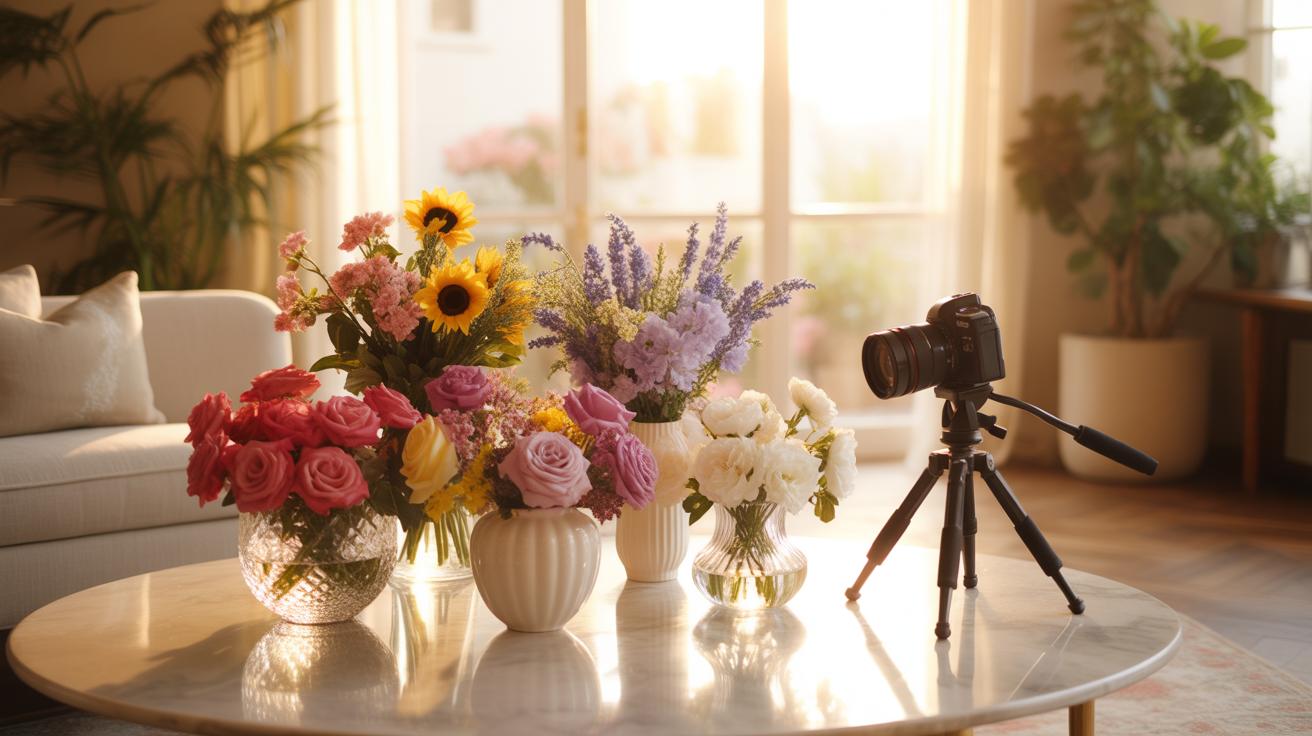
High quality accessories solve lighting and stability problems immediately. Natural light is often too harsh or too dim. You need tools to control the environment around the plant. A heavy tripod prevents motion blur during long exposures. This is critical when shooting indoors with low light. Small adjustments to your setup save time during the editing phase. Use professional tools to ensure sharp images.
- Sturdy Tripod: Stability is mandatory for sharp macro shots. A tripod with a tilting center column allows for low angle positions. This helps you reach flowers at ground level or on low tables. It eliminates camera shake during slow shutter speeds.
- Circular Polarizer: This filter removes glare from waxy leaves and wet petals. It increases color saturation without using software. You rotate the glass to block specific light waves. This results in deeper greens and more vibrant floral tones in every shot.
- Collapsible Reflector: Use a silver or white reflector to bounce light into dark shadows. This balances the exposure across the flower head. It fills in deep crevices between petals. It is a portable and cheap way to mimic a professional studio lighting setup.
- Remote Shutter Release: Touching the camera causes vibrations that ruin close up shots. A remote trigger lets you fire the shutter without physical contact. This ensures maximum crispness when using high magnification. It is essential for focus stacking techniques in floral work.
- Plamp or Small Clamp: Wind moves flowers and creates motion blur. Use a specialized clamp to hold the stem steady. Attach one end to your tripod and the other to the plant. This keeps the subject perfectly still while you frame and take the shot.
Diffusion panels are also vital for outdoor sessions. They soften direct sunlight to prevent blown out highlights. Harsh light destroys the delicate texture of the petals. A diffuser creates even tones and preserves fine details. Place the panel between the sun and the flower. This mimics the lighting of a professional studio. Consistent light quality separates amateur snapshots from high end floral art.
Mastering Natural Light Core Floral Photography Techniques For Stunning Shots
How The Direction And Quality Of Light Transforms Your Floral Images
Direction determines the mood and texture of your floral subject. Front lighting flattens the image and illuminates every petal detail. Side lighting creates depth by casting shadows across the bloom. This technique highlights the physical form of the flower. Backlighting makes petals appears translucent. It creates a glow effect that separates the flower from the background.
Golden hour provides the best light quality for outdoor shots. The sun is low and soft. Midday sun creates dark shadows and bright spots that ruin contrast. This harsh light hides the true color of the petals. Avoid direct sunlight to maintain color accuracy. Consistent light quality ensures the camera sensor captures the fine textures of the organic material correctly.
Using Diffusers And Reflectors To Soften Harsh Light When Photographing Flowers

Diffusers act as a barrier between the sun and the flower. This tool scatters light rays to remove hard edges. It mimics the effect of a cloudy day. You can use a dedicated nylon screen or a white bedsheet. This setup prevents blown out highlights on delicate white or yellow petals. It keeps the exposure even across the frame.
Reflectors bounce light back into the shadowed areas of the plant. Use a silver surface for maximum light return or white for a subtle fill. Position the reflector opposite your main light source. This technique recovers detail in the dark folds of the bloom. It balances the high contrast without using a flash. Proper placement improves the overall three dimensional look.
Seasonal Flower Photography Tips To Keep Your Portfolio Fresh All Year
How To Adapt Your Shooting Style Across Spring, Summer, Autumn, And Winter Blooms
Spring blooms like tulips and daffodils require high-key lighting to emphasize their thin petals. Use shallow depth of field to isolate these small plants from messy garden backgrounds. Summer sunflowers and zinnias handle direct sun better due to their thick structures. Increase your shutter speed to freeze movement during active summer winds. Stronger light allows for lower ISO settings which keeps your images clean.

Autumn flowers like chrysanthemums or dried hydrangeas offer deep textures and warm tones. Use side lighting to highlight the drying edges and structural changes of late-season plants. Winter photography focuses on evergreens, hellebores, or forced indoor bulbs like amaryllis. Use a tripod and longer exposures in low winter light. High contrast works best when shooting white flowers against dark wood or stone surfaces for interior decor.
Finding The Best Time Of Day To Shoot Seasonal Flowers For Maximum Color Impact
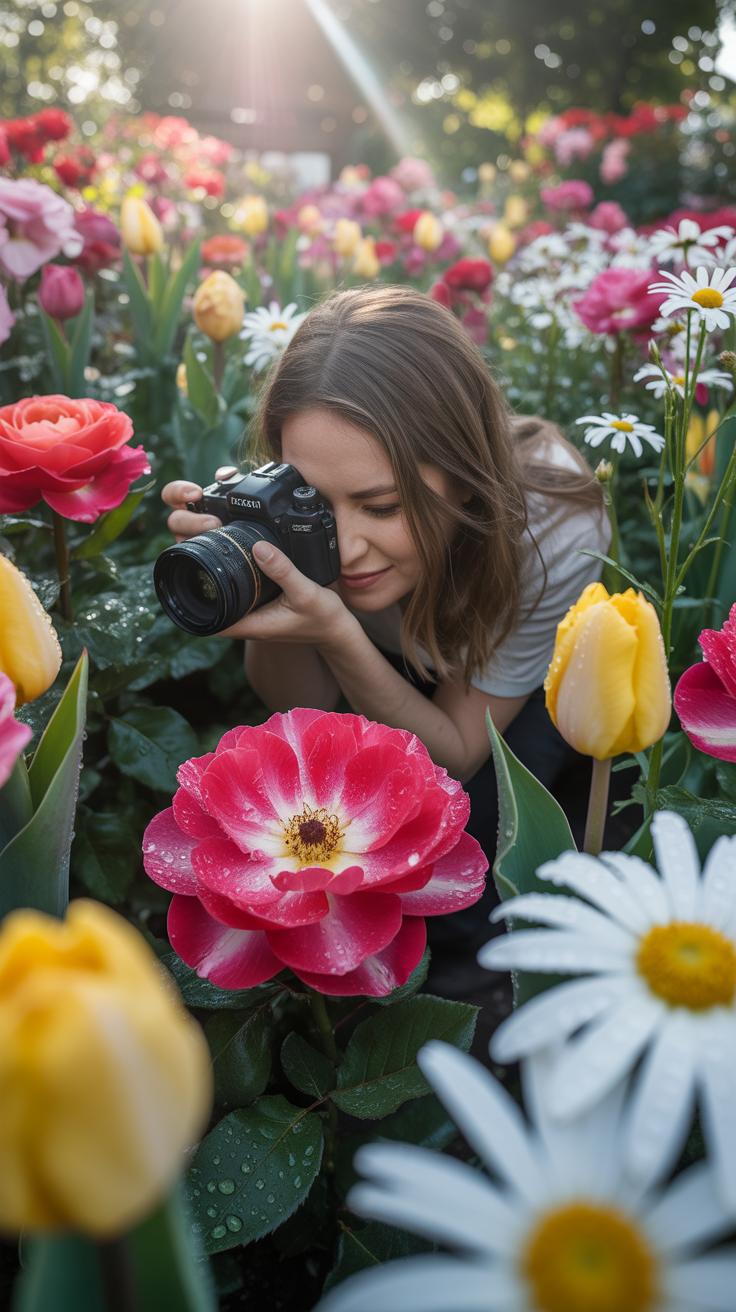
Early morning light provides the most color accuracy for floral photography. The blue hour before sunrise creates cool tones that make pink and purple blooms pop. Dew on petals adds natural texture without intervention. Most flowers reach peak hydration at dawn which prevents drooping in your shots. This time of day offers soft, diffused light that avoids harsh shadows on delicate floral structures.
Late afternoon golden hour adds warmth to red and yellow varieties. This directional light emphasizes the shape and volume of the flower head. Avoid midday sun because it washes out vibrant pigments and creates high-contrast hot spots. If you must shoot at noon, use a portable silk diffuser to soften the light. Modern interior styling favors natural color palettes over heavily edited digital filters for a high-end look.
Creative Floral Photography Ideas For Beginners To Try At Home
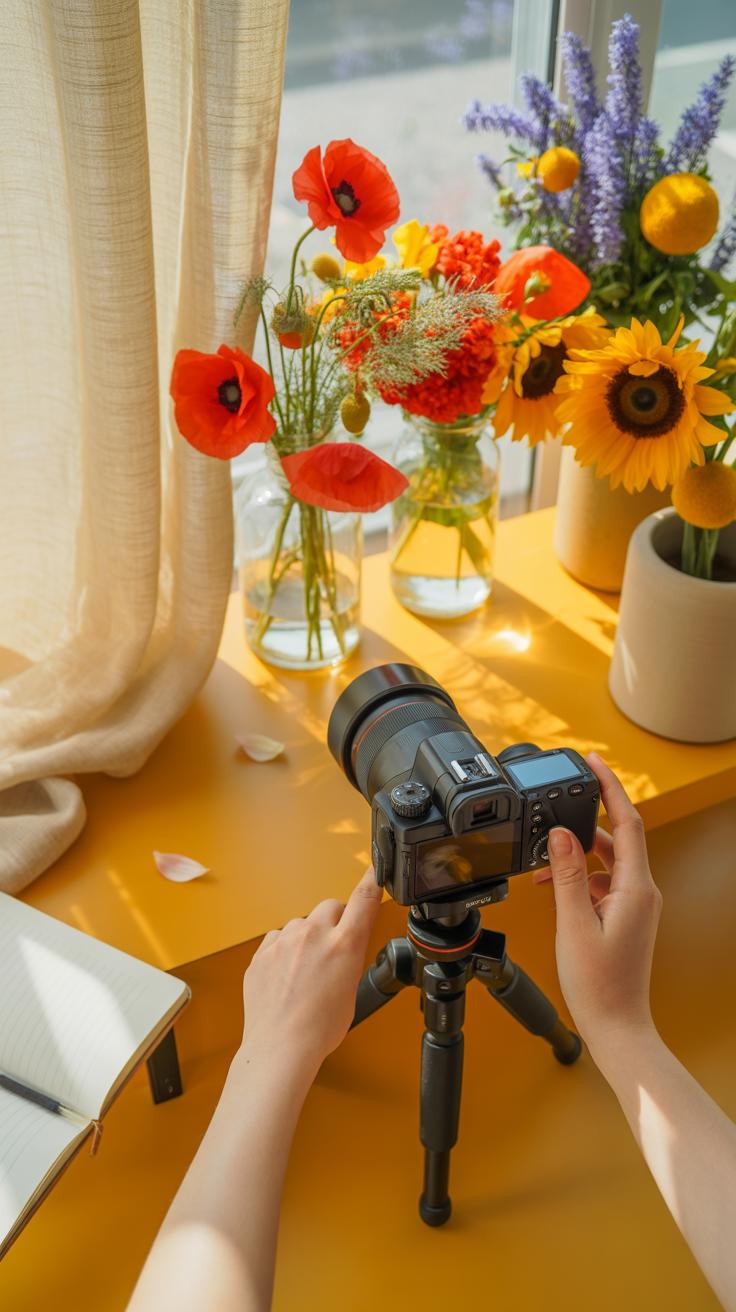
Simple Indoor Setups That Produce Professional Looking Floral Photographs

Position your subject near a north-facing window to achieve soft and even light. This setup mimics a professional studio softbox without the high cost. North light remains consistent throughout the day and prevents harsh shadows on delicate petals. Place a piece of white foam board opposite the window. This reflects light back into the shadows to reveal hidden textures and fine details.
Choose a neutral wall or a piece of matte cardstock for your background. Busy patterns distract the eye and ruin the visual impact of the flower. Move the flower three feet away from the background to create depth. Use a wide aperture like f/2.8 to blur the backdrop. This technique isolates the subject and makes the colors pop against the plain surface.
Using Household Items As Props To Add Depth And Story To Your Floral Shots
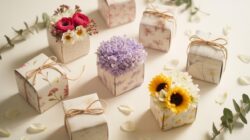
Incorporate vintage glass bottles or ceramic pitchers to anchor your composition. These objects provide a sense of scale and ground the botanical subject. Clear glass adds reflections and plays with light transmission. Ceramics offer a matte texture that contrasts with shiny leaves. Arrange these items off-center using the rule of thirds. This creates a balanced look that feels intentional and structured.
Integrate textured fabrics or open books to build a narrative. A linen tablecloth adds organic lines and subtle shadows to the frame. Antique books provide a dark and muted base that highlights vibrant floral colors. Avoid using shiny plastic or bright items that steal focus from the plant. Every prop must support the flower. If a prop does not add value, remove it immediately.
Composition Rules And Flower Photography Tips And Tricks For Striking Results
Applying The Rule Of Thirds And Leading Lines In Your Floral Compositions
The rule of thirds divides your frame into a grid of nine equal parts. Place the center of the flower or a significant petal on the intersection points. This technique prevents the image from looking like a basic snapshot. It creates balance and draws the eye across the frame naturally. Use your camera grid overlay to align these key elements during the shoot.
Leading lines guide the viewer toward the main subject. In floral photography, use stems or the curve of a petal to create these paths. Align the stem so it starts from a corner of the frame and moves toward the bloom. This creates a sense of movement and direction. Directing the viewer’s eye ensures they do not miss the intended focal point of your photo.
How Negative Space And Depth Of Field Create Visual Impact In Flower Photography
Negative space is the empty area around your flower. It removes distractions and forces the viewer to focus on the subject. A clean wall or a simple backdrop helps the flower stand out. Do not fear empty space in your frame. It creates a high-end look suitable for modern home decor. Use it to emphasize the shape and color of the bloom.
Depth of field controls what stays in focus. Use a wide aperture like f/2.8 to blur the background into a soft wash of color. This isolation separates the flower from its environment. Sharp focus on the stamen or a single petal edge creates a professional result. A shallow depth of field mimics the way the human eye sees fine details up close.
How To Improve Flower Photography With Color Theory And Background Selection

Choosing Complementary And Contrasting Colors To Make Flowers Pop On Camera
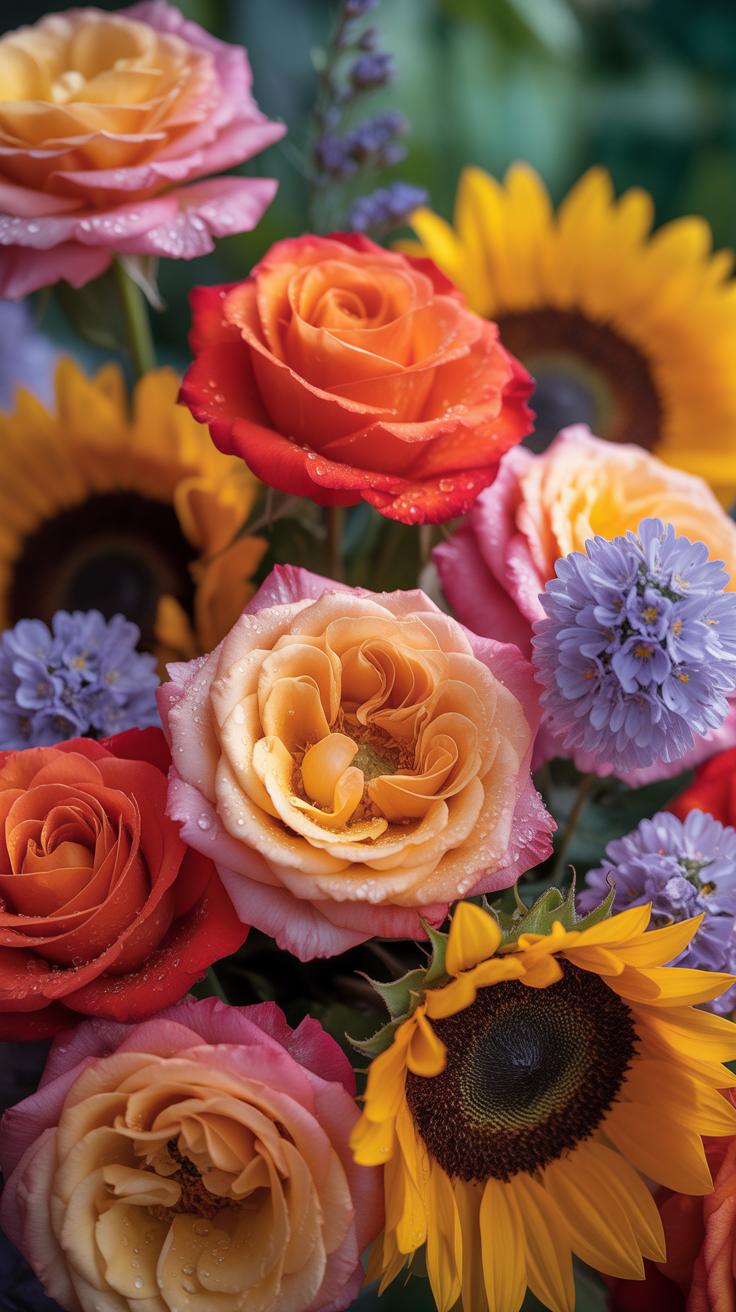
Color theory dictates how the human eye perceives depth and focus. Use the color wheel to select backgrounds that sit opposite your primary flower color. This creates a complementary contrast. For example, place a yellow sunflower against a deep violet backdrop. This technique forces the subject to advance toward the lens while the background recedes. It creates immediate visual impact.
Direct secondary colors also provide high visual tension. Use triadic schemes for complex arrangements involving three distinct hues. Avoid monochromatic schemes unless you have strong directional lighting to define shapes. High saturation in the subject requires lower saturation in the background to prevent optical fatigue. Test your color balance in natural light to ensure the digital sensor renders the specific pigments accurately without blowing out highlights.
How Background Texture And Tone Influence The Mood Of Your Floral Images
Background texture changes how light interacts with the frame. Smooth surfaces like silk reflect light and create a sterile or modern feel. Rough textures like reclaimed wood or linen absorb light and add organic depth. These material choices link your work to specific design movements like Brutalism or Mid-Century Modern. Match the texture to the botanical structure of the flower for a cohesive image.
Tone manages the emotional weight of the photograph. Dark tones create a chiaroscuro effect. This style mimics seventeenth-century Dutch floral paintings. It emphasizes the transience of the bloom. Light tones create an airy and clean aesthetic suitable for minimalist interior design. Always ensure the background tone is at least two stops different from the flower. This separation ensures the camera sensor captures clear edges around the petals.

Inspiring Ideas For Floral Photography Projects That Decorate Your Home
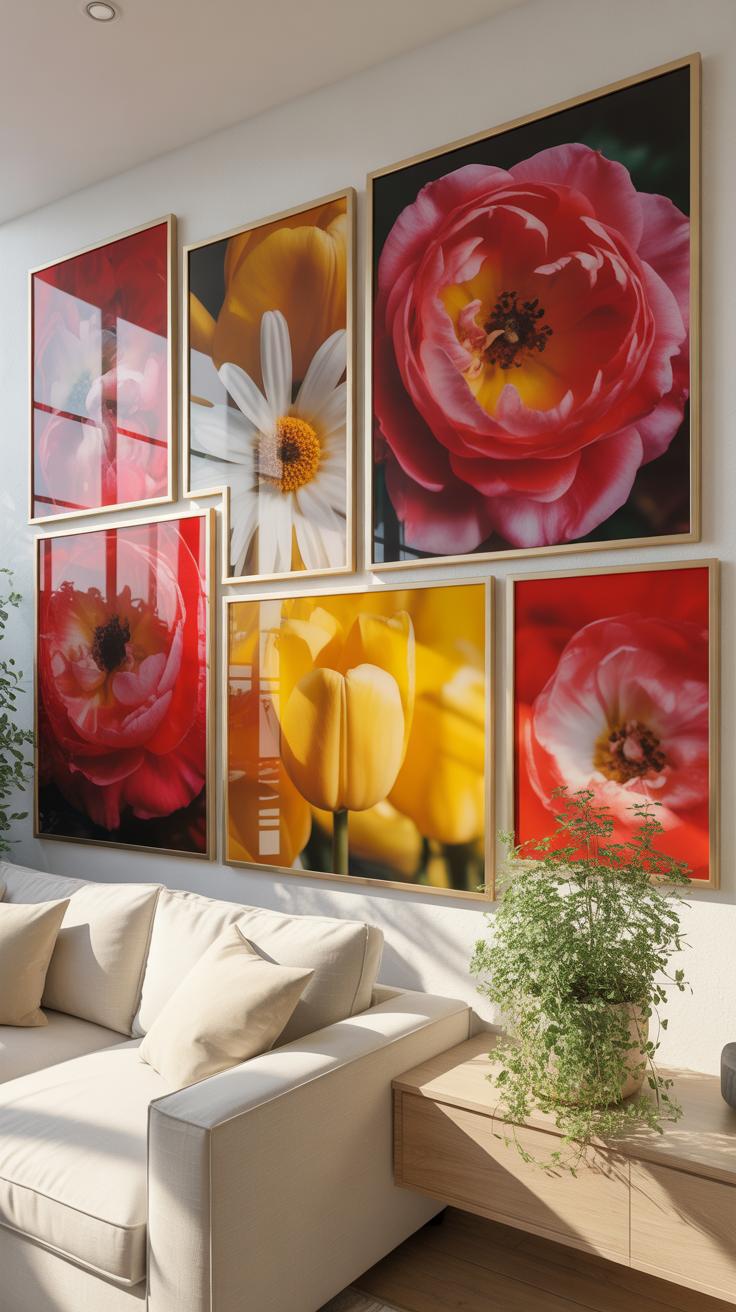
How To Plan A Cohesive Floral Photography Series For Wall Art Or Photo Books
Successful wall art requires a unified theme. Select one variable to remain constant across your series. This could be a specific genus of flower, a single color palette, or a consistent lighting style. High-key lighting provides a modern feel. Low-key lighting creates a classic Dutch Golden Age aesthetic. Decide on your visual anchor before you take the first shot to ensure the final collection looks intentional.
Consistency in post-processing is the next tactical step. Use the same color grading and contrast levels for every image in your set. If you choose a matte finish for one photo, apply it to all. This creates a professional flow in photo books and on gallery walls. Align your compositions by using similar negative space. Strategic planning prevents your home decor from looking cluttered or mismatched.
Each flower is a soul blossoming in nature, and capturing its fleeting elegance allows you to preserve a touch of garden grace within your home.
— Gerard de Nerval
Printing And Displaying Your Floral Photographs To Complement Your Home DéCor Style
Choose print mediums based on the interior design era of your room. Modern minimalist spaces benefit from frameless acrylic or metal prints. These materials provide high clarity and deep saturation. Traditional homes require archival paper with weighted mats and wooden frames. Match the frame finish to existing furniture wood or metal fixtures. Correct material selection ensures the art integrates with the architecture of the space.
- Giclée Fine Art Paper: Use heavy weight cotton rag paper for a texture that mimics watercolor paintings. This works best for soft, diffused floral shots in classic or cottage-style interiors. It prevents glare from nearby windows.
- Acrylic Mounting: Select this for bold, high-contrast images. The light refracts through the acrylic layer to make colors appear more vivid. It suits contemporary homes with clean lines and industrial materials like glass or polished concrete.
- Metal Chromaluxe Prints: Print onto aluminum for extreme durability and a sleek profile. These prints resist moisture and fading. Use them in kitchens or bathrooms where humidity levels are high. They offer a sharp, high-definition look.
- Canvas Wraps: Choose canvas to add physical texture to your walls. This medium works well for painterly floral compositions. It eliminates the need for expensive framing and reduces the overall weight of large-scale wall installations.
- Matted Gallery Frames: Utilize wide white mats to give your floral photography breathing room. This draws the eye toward the subject and creates a formal, curated appearance. Stick to black, white, or oak frames for a timeless look.
Consider the scale of your display relative to your furniture. Large singular pieces serve as focal points above sofas or beds. Smaller sets of three or four work better in hallways or entryways. Level your frames at eye height, which is typically 57 to 60 inches from the floor. Proper spacing between frames should stay between two and three inches. Accurate placement transforms raw photos into professional interior design elements.
Advanced Floral Photography Techniques To Refine Your Artistic Vision
Using Macro Photography To Reveal Hidden Details Within Flower Petals And Stamens
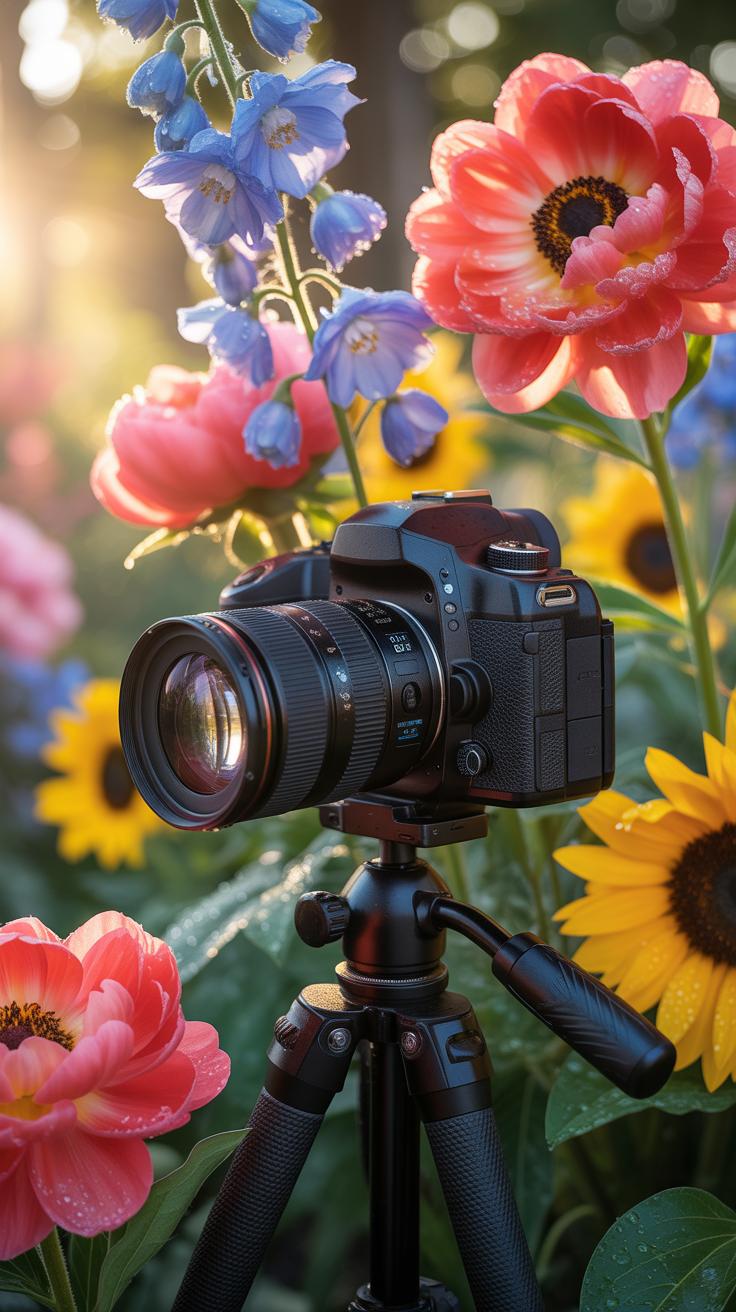
Macro photography requires specialized gear to achieve a one-to-one magnification ratio. Use a dedicated macro lens with a focal length between 90mm and 105mm for the best results. This range provides a comfortable working distance from the flower. A tripod is mandatory because the depth of field is extremely shallow at close ranges. Even tiny vibrations from your hands will ruin the focus.
Focus stacking is the best way to maintain sharpness across the entire reproductive organ of the plant. Take multiple shots while slightly shifting the focus point from the front to the back of the stamen. Use post-processing software to merge these layers into a single crisp image. Control the light with a small reflector to eliminate harsh shadows inside the flower head.
Experimenting With Motion Blur And Multiple Exposures For Abstract Floral Art
Intentional Camera Movement creates a painterly effect that mimics Impressionist art. Set your camera to a slow shutter speed between one-half and two seconds. Move the camera vertically or rotationally while the shutter is open. This technique strips away the physical structure of the flower. It leaves behind a wash of color and form that works well in modern interior design settings.
Multiple exposure mode allows you to layer two different images in the camera sensor. Overlay a sharp image of a flower with an out-of-focus shot of the same subject. This adds a soft glow known as the Orton Effect. You can also combine different species to create a surreal botanical composition. Select the average gain setting to ensure the final image exposure remains balanced and professional.
Editing And Post Processing Floral Photography Tips To Perfect Every Image
Key Editing Adjustments That Enhance Color, Clarity, And Detail In Flower Photos
Focus adjustments on the histogram to ensure no loss of detail in the highlights or shadows. Digital sensors often struggle with saturated reds and yellows in flowers. Lower the saturation while increasing the vibrance to protect petal textures from clipping. Use a local adjustment brush to sharpen only the reproductive organs of the plant. This draws the eye to the sharpest point.
Adjust white balance to remove color casts from artificial lights or green foliage reflections. Use the clarity slider sparingly to avoid artifacts on soft petal edges. Dehaze tools can add depth to images shot in flat lighting conditions. Apply a subtle vignette to pull focus toward the center of the bloom. These technical steps ensure the final image looks professional and lifelike for home decor.
How To Develop A Consistent Editing Style That Ties Your Floral Portfolio Together
Create a custom preset based on your lighting preferences to standardize your workflow. Use the same color grading settings for shadows and highlights across all images in a series. This creates a cohesive look when you hang multiple prints on a single wall. Consistency depends on maintaining a steady white point and black point. Do not vary your contrast levels significantly between different shots.
Limit your color palette to specific tones that match your interior design goals. High-key editing works well for minimalist spaces while low-key edits suit moody or traditional rooms. Apply the same grain or sharpening amount to every file in the set. Proper style development requires disciplined repetition of these settings. This technical uniformity makes your floral photography look like a deliberate and curated art collection.
Frequently Asked Questions

What are the most basic floral photography tips for someone just starting out?
To begin, focus on natural lighting and stability. Place your flowers near a north-facing window to capture soft, diffused light that highlights delicate textures without harsh shadows. Use a tripod or a steady surface to avoid blur, especially since close-up shots require precision. These essential floral photography tips help beginners achieve professional-looking results that instantly elevate the aesthetic of any room when printed and framed as custom wall art.
How can I style a floral photo shoot to match a modern home interior?
For a sleek, modern look, embrace minimalism by photographing a single stem against a solid, neutral background like white or charcoal grey. Pay attention to composition by utilizing the rule of thirds to create visual balance. These practical floral photography tips ensure your final images feel sophisticated and intentional. Choosing high-contrast colors, such as a white lily against a dark backdrop, creates a bold statement piece perfect for contemporary living spaces.
Do I need an expensive camera to take high-quality floral photos for my home?
Not at all! You can capture stunning imagery using just a smartphone and a few inexpensive accessories. Utilize a macro lens attachment for your phone to capture intricate details like pollen or petal veins. By focusing on creative angles and using large pieces of white poster board as reflectors, you can produce gallery-worthy prints on a small budget. Great photography is more about light and composition than having the priciest gear.


