What Are Resin Flower Coasters And Why Are They So Popular Right Now
Understanding What Resin Flower Coasters Are And How They Are Made
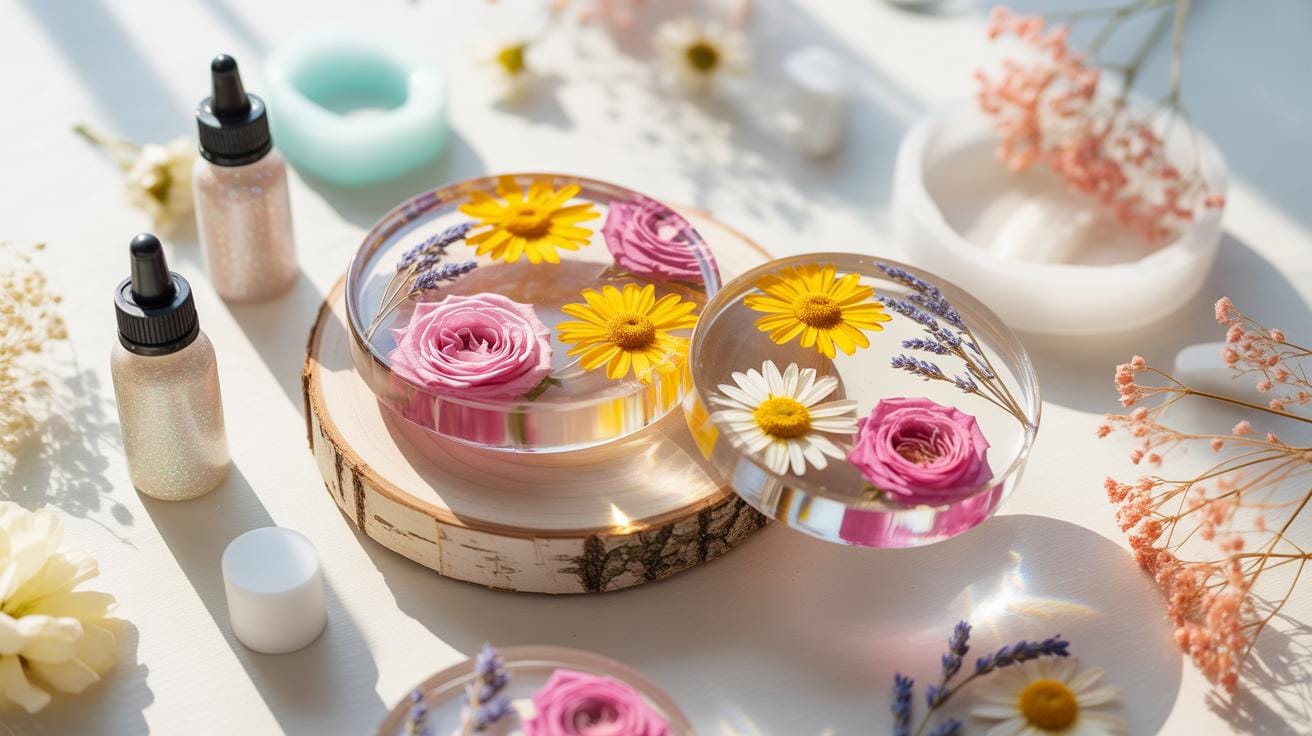
Flower resin coasters are functional pieces of art created by casting botanical elements in a synthetic liquid polymer. Most makers use epoxy resin which consists of a resin and a hardener. When you mix these two parts, a chemical reaction occurs that turns the liquid into a solid, clear plastic. This process allows the maker to preserve organic material forever inside a durable surface.
The production process requires precision and temperature control to ensure clarity. Makers first dry flowers completely to prevent mold or discoloration. They place these dried specimens into silicone molds and pour the mixed resin over them in layers. This layering technique prevents the flowers from floating to the top. After a curing period of twenty-four to forty-eight hours, the resin reaches full hardness and heat resistance.
Why Resin Coasters With Flowers Have Become A Trending DIY Art Form
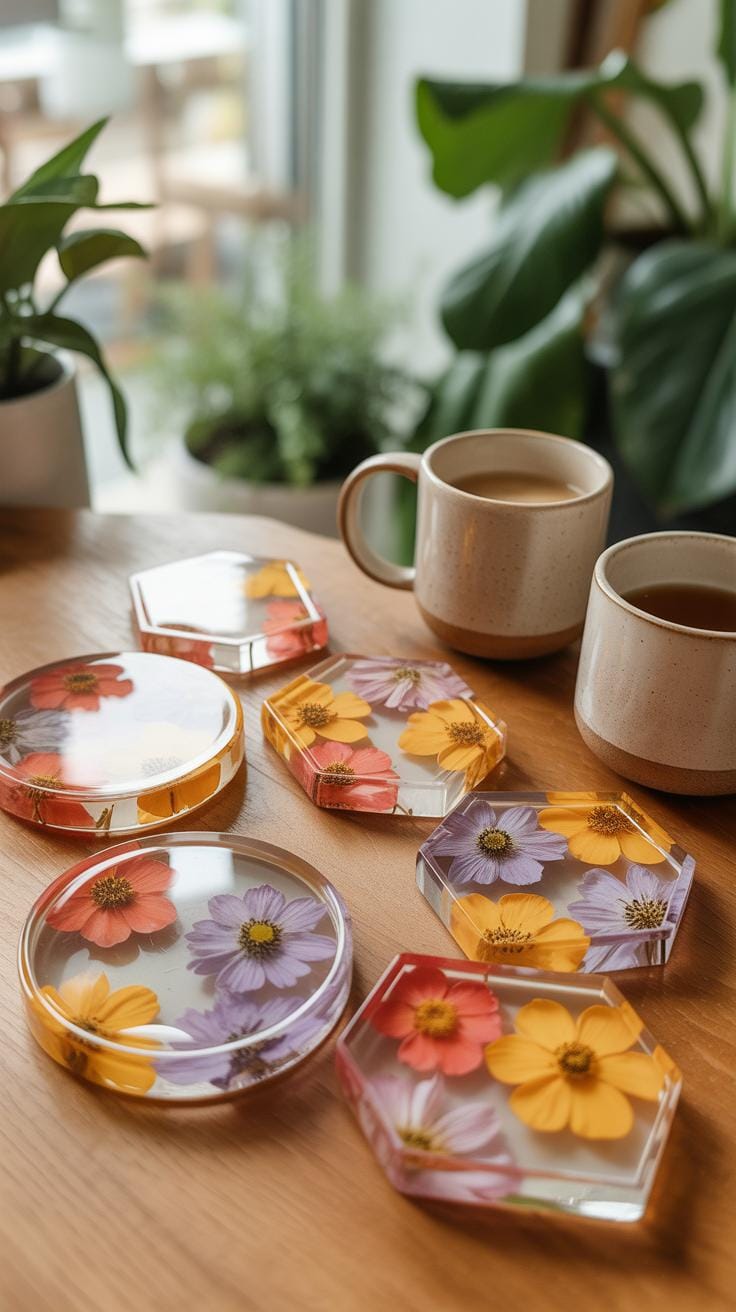
Modern interest in these coasters stems from the broader resin art movement that gained momentum through social media platforms. High definition video content allows artists to demonstrate the satisfying transition from liquid to solid. This visual appeal has turned a technical industrial process into an accessible craft. Consumers value the ability to freeze nature in time while creating items for daily use.
Market demand has also shifted toward personalized and handmade home decor. Flower resin coasters sit at the intersection of botanical preservation and minimalist design. They offer a way to memorialize significant events like weddings or funerals by using specific floral arrangements. The rise of affordable, high quality silicone molds and low odor resins has lowered the entry barrier for new creators entering the market today.
Essential Materials You Need To Get Started With DIY Resin Art
The Complete List Of Supplies Required For Your First Resin Coasters With Flowers
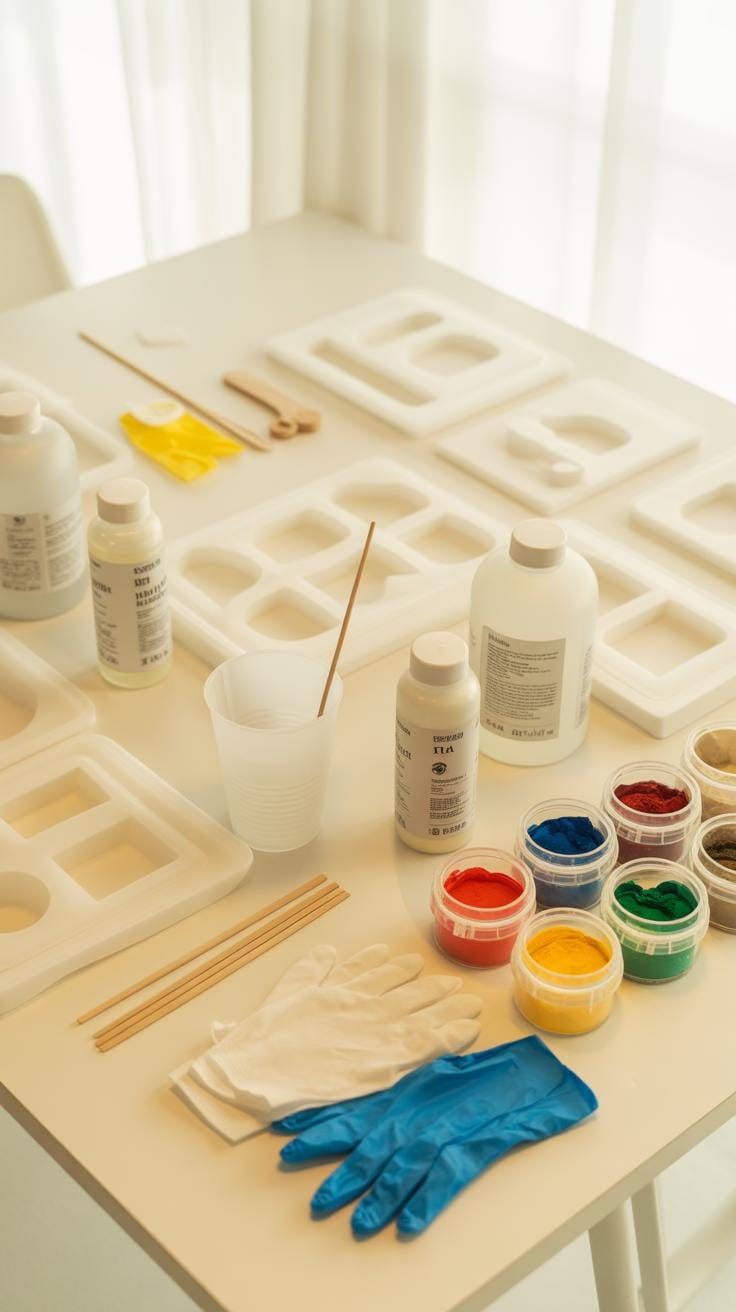
Success in resin casting depends on having the correct assembly of tools before you mix any chemicals. You cannot stop mid-process to find a missing item because resin has a limited working time. Gather professional grade silicone molds and high quality mixing containers to ensure a clean release. Precision is the only way to avoid sticky or cloudy results.
- Dried Pressed Flowers: Use flowers that are completely dehydrated to prevent rotting or color change inside the resin. Moisture reacts poorly with epoxy chemicals and creates unsightly brown spots or bubbles over time.
- Two-Part Epoxy Resin: Select a clear casting resin specifically designed for art projects. This material consists of a resin and a hardener that create a chemical reaction to turn liquid into a durable solid plastic.
- Silicone Coaster Molds: Choose flexible silicone molds with a smooth interior finish for easy removal. These molds generate a high-gloss surface on your finished product without the need for extensive polishing or sanding.
- Digital Scale or Measuring Cups: Accurate ratios are critical for the curing process. Use graduated measuring cups for volume-based resins or a digital scale for weight-based formulas to ensure the chemical bond activates correctly.
- Heat Gun or Butane Torch: Bubbles naturally form during the mixing process and must be removed for clarity. A localized heat source thin out the resin and forces trapped air to the surface where it pops instantly.
Safety equipment is just as important as the artistic components of your kit. Always wear nitrile gloves to protect your skin from liquid resin which can cause severe allergic reactions. Work in a space with active ventilation and use a respirator mask rated for organic vapors. These protective measures keep your workspace safe while you focus on the technical placement of your dried floral elements.
How To Choose The Right Epoxy Resin For Flower Coaster Projects
You must select a resin with high UV resistance to prevent yellowing over time. Flower coasters often sit in sunlight on coffee tables and cheap resins will turn amber within months. Look for formulas labeled as deep pour or casting resin if you plan to create thick layers. These versions have a lower viscosity and a slower curing time which helps air bubbles escape.
Standard coating resins are too thick for intricate floral work. They trap air around the petals and often flash cure if poured too deep. A thin casting resin permeates the small crevices of dried flowers more effectively. Check the manufacturer technical data sheet for the maximum pour depth. Following these specific depth limits prevents the resin from overheating and damaging your delicate botanical specimens during the cure.

How To Press And Dry Flowers For Pressed Flowers DIY Resin Projects
The Best Methods For Pressing And Drying Flowers Before Using Them In Resin
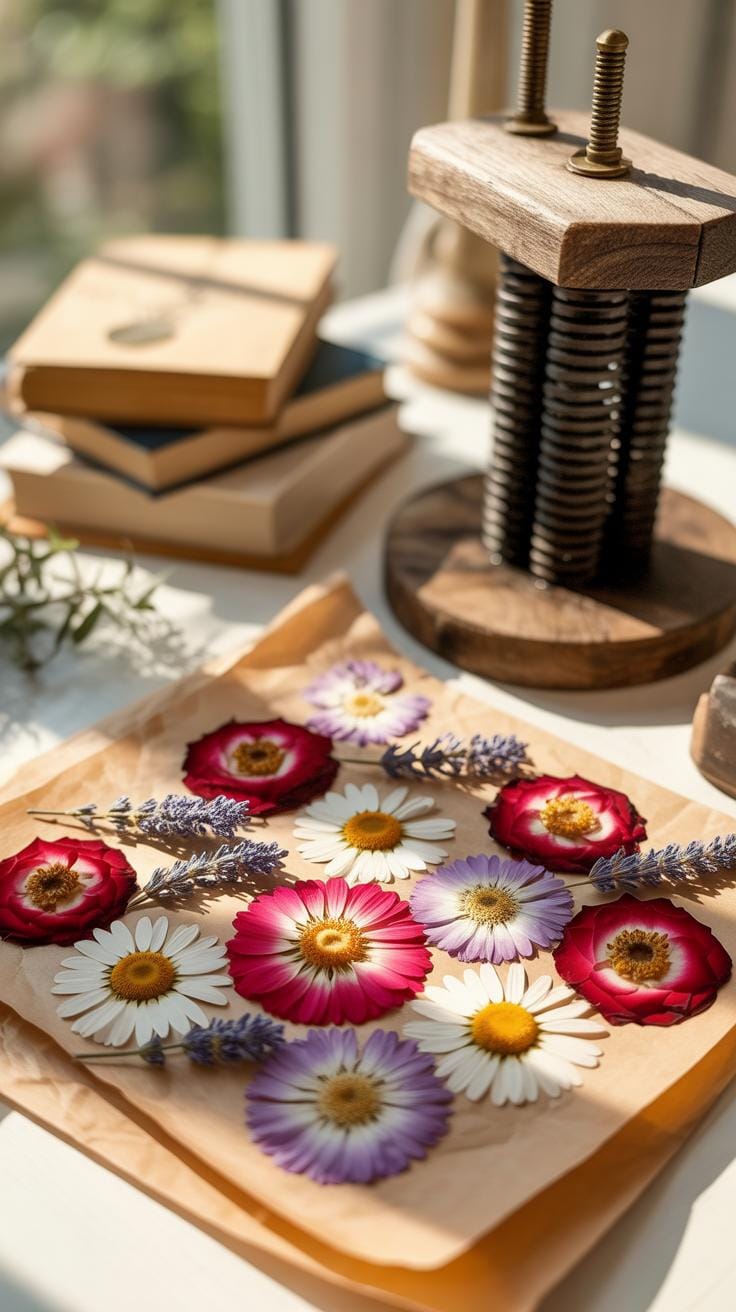
Moisture is the enemy of any resin project. Use a traditional wooden flower press or heavy books to extract water over two to three weeks. Place blooms between sheets of parchment or blotting paper. This prevents sticking and absorbs oils. You must ensure the specimen is completely flat. Air must circulate to prevent mold and browning during the curing process.
Speed up the drying process with silica gel crystals for three dimensional shapes. Place flowers in an airtight container and cover them with the desiccant. This method preserves the original color and structure better than pressing. Most flowers dry within three to seven days using this technique. Always brush off excess dust before submerging the plant material in the liquid epoxy resin.
To create is to preserve a fleeting moment of beauty, like capturing a garden’s soul forever in a drop of morning dew.
— Elizabeth Lawrence
Which Flower Varieties Work Best For Resin Art Ideas With Dried Flowers
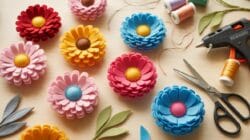
Select flowers with thin profiles and low moisture content for the best results in coasters. Pansies, violas, and daisies are industry standards because they lay flat with minimal bulk. These species retain their pigment well during the chemical reaction of the resin. Avoid thick succulents or heavy bulbs. These thick plants often rot or trap air bubbles inside the mold.

Specific colors behave differently when they contact chemicals. Yellow and orange flowers maintain their vibrancy through the heat of the resin cure. Blue and purple petals may turn translucent or shift to gray over time. Test your chosen variety in a small batch first. Use Queen Anne’s Lace or small ferns for structural filler. These plants add texture without overpowering the main floral focal point.
Step By Step Guide To Creating A Circular Coaster With Dried Flowers
How To Prepare Your Mold And Mix Your Resin For A Circular Coaster With Dried Flowers
Clean your silicone mold with high-quality isopropyl alcohol first. Dust and debris ruin the surface finish of the resin. Level your workspace using a spirit level tool. Uneven surfaces cause lopsided coasters that function poorly. Select a clear casting epoxy resin with a low viscosity. Use graduated measuring cups to ensure a perfect one-to-one ratio by volume. Accuracy prevents sticky results.
Mix the resin and hardener slowly for three full minutes. Scrape the sides and bottom of the cup constantly. Rapid stirring introduces air bubbles that cloud the final piece. Let the mixture sit for two minutes after stirring. This allow bubbles to rise to the surface for easier removal. Pour a thin base layer into the center of the circular mold. This layer should be three millimeters thick.
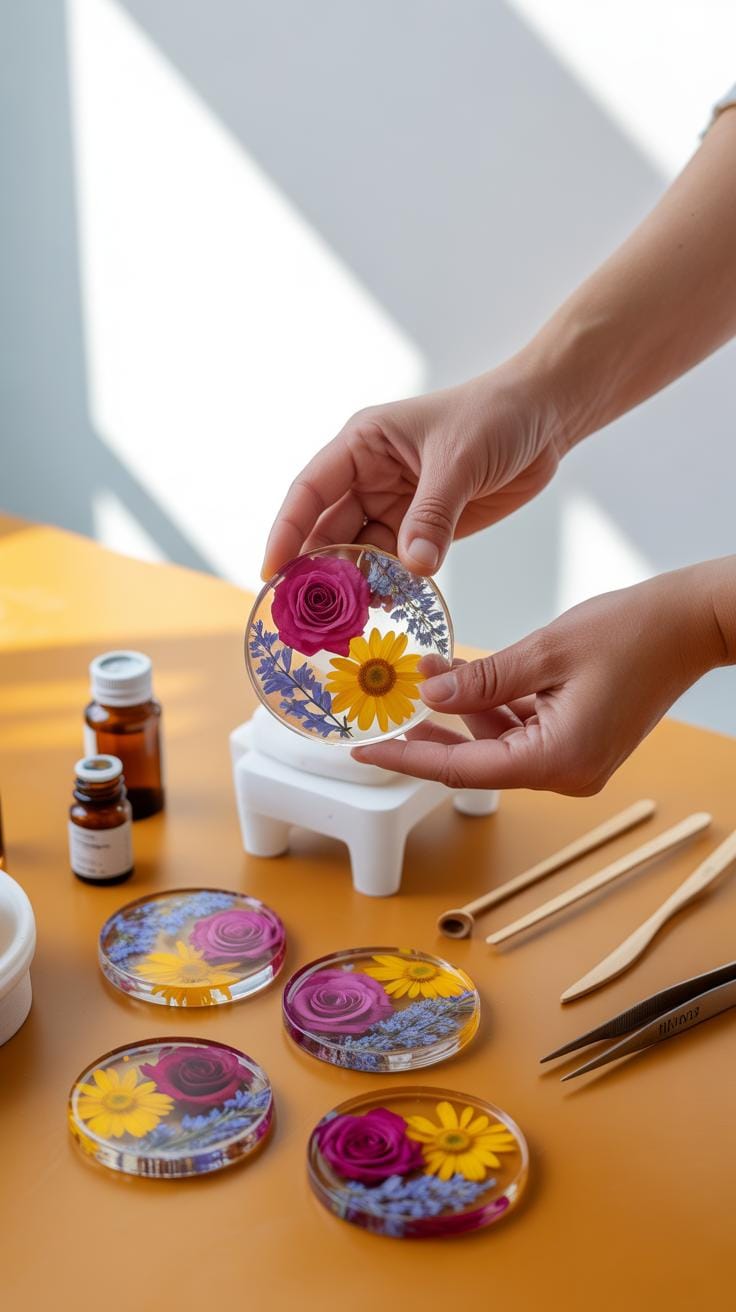
How To Place And Set Your Dried Flowers Inside The Resin Coaster Mold

Select completely dehydrated botanical specimens for this step. Moisture in flowers reacts with resin to cause browning or rot. Place the largest flowers face down into the wet base layer. Use fine tweezers for precise positioning. Press each petal down gently to release trapped air pockets. Arrange the smaller filler items around the primary focal points to create a balanced visual composition.
Wait for the base layer to reach a gel-like consistency before adding more resin. This timing prevents the flowers from floating to the top or drifting to the edges. Pour the second layer slowly over the back of a metal spoon. This technique breaks the fall of the liquid and protects your arrangement. Torch the surface briefly to pop any remaining bubbles. Let the piece cure fully.
Creative Resin Coasters Ideas To Make Your Designs Stand Out
How To Use Color Pigments And Alcohol Inks To Elevate Your Resin Coasters Flowers
Color pigments provide a solid foundation for flower resin coasters. Use mica powders to create a shimmering backdrop that mimics natural stone or silk. Stir the powder thoroughly into the resin to avoid clumps. This technique ensures the floral elements remain the focal point while adding depth. Distribute the pigment evenly to prevent the colors from overpowering the delicate textures of the dried petals.

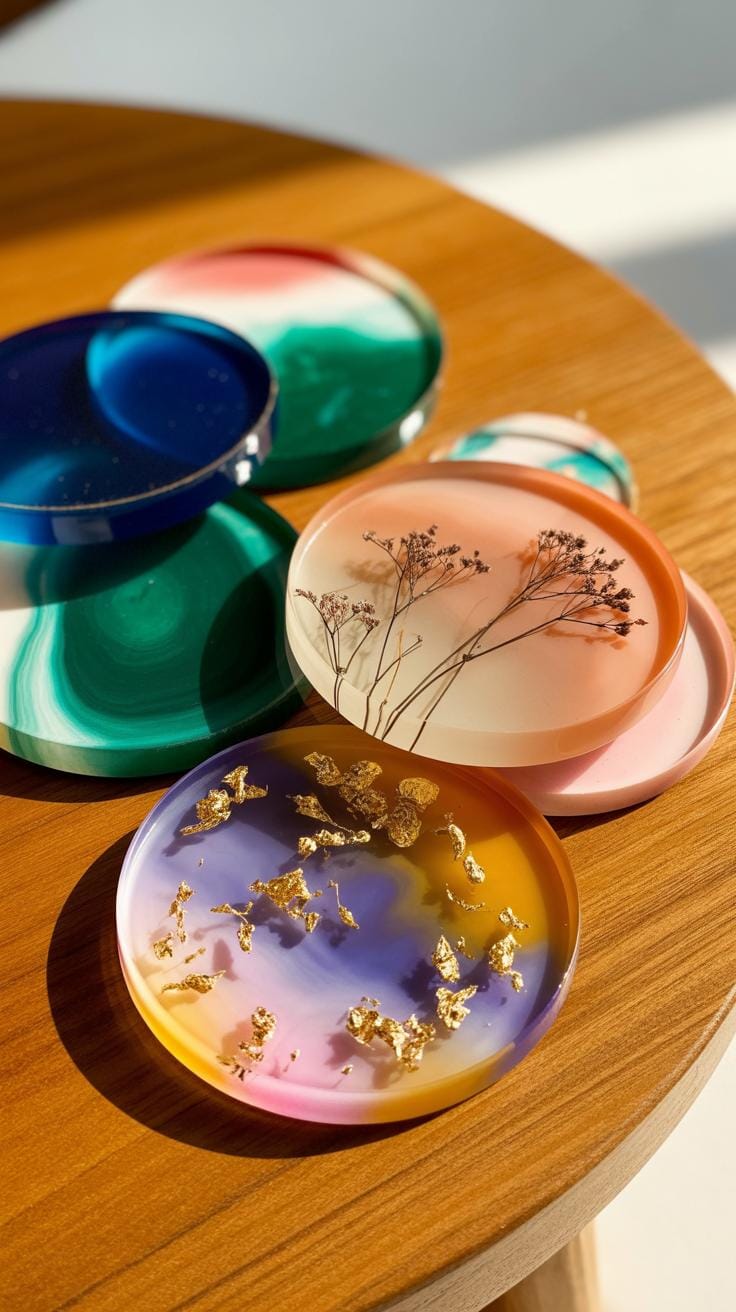
Alcohol inks offer a different tactical advantage through transparency and movement. Drop ink into wet resin to create the petri dish effect. This method uses the chemical reaction between the ink and resin to create organic trails. These trails look like roots or stems moving through the coaster. Use white ink to push colored inks downward. This adds a three-dimensional look that frames your flowers perfectly.
Layering Techniques And Mixed Media Ideas For Unique DIY Coasters
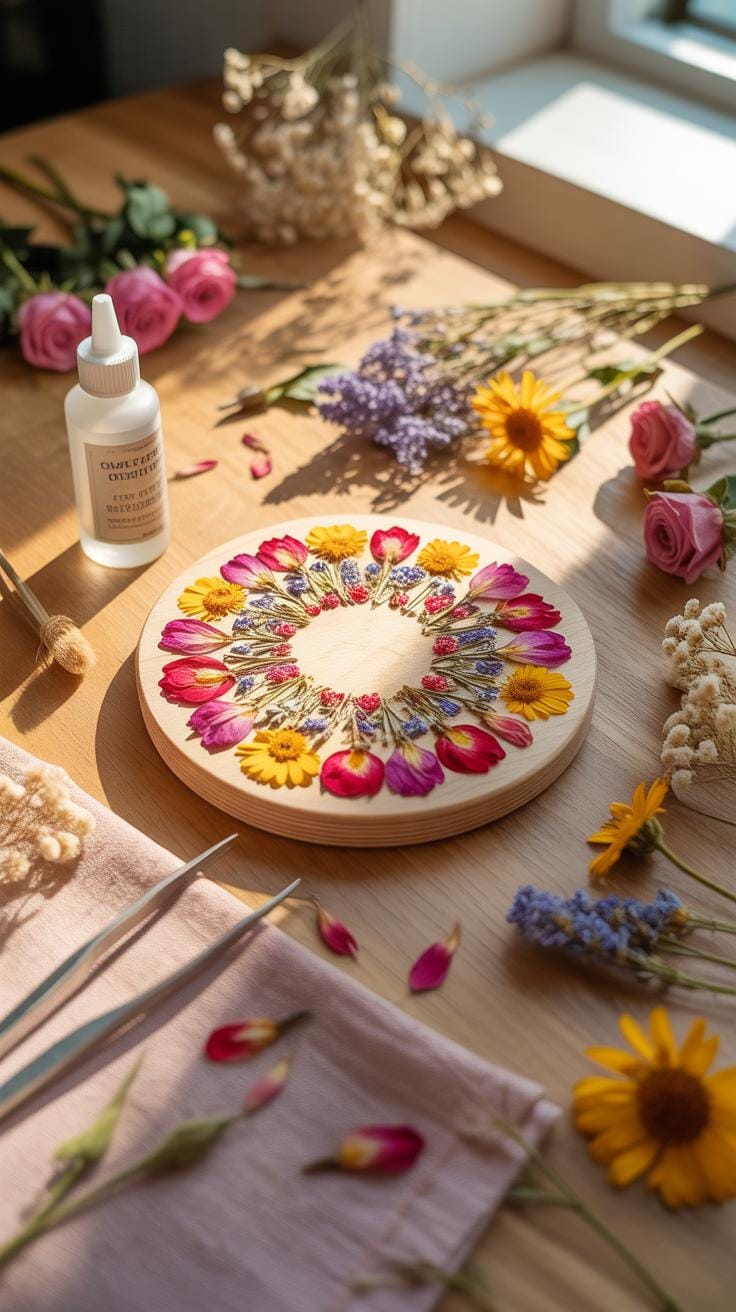
Layering resin is a strategic necessity for high-quality coasters. Pour a clear base layer first and let it reach a tacky state. Place your dried flowers on this layer to lock them in position. This prevents the botanical elements from floating to the surface. A second pour seals the flowers and creates a smooth top finish. This method ensures your design stays exactly where you intended.
Incorporate mixed media to increase the market value of your work. Add gold leaf or copper flakes to mimic various historical art movements like Art Nouveau. Small glass beads or quartz sand provide physical weight and visual contrast. These materials fill the negative space around the flowers. Ensure all added materials are completely dry. Moisture causes the resin to cloud or fail during the curing process.
Safety Precautions And Best Practices When Working With DIY Resin Art
Understanding The Health Risks Of Epoxy Resin And How To Stay Protected

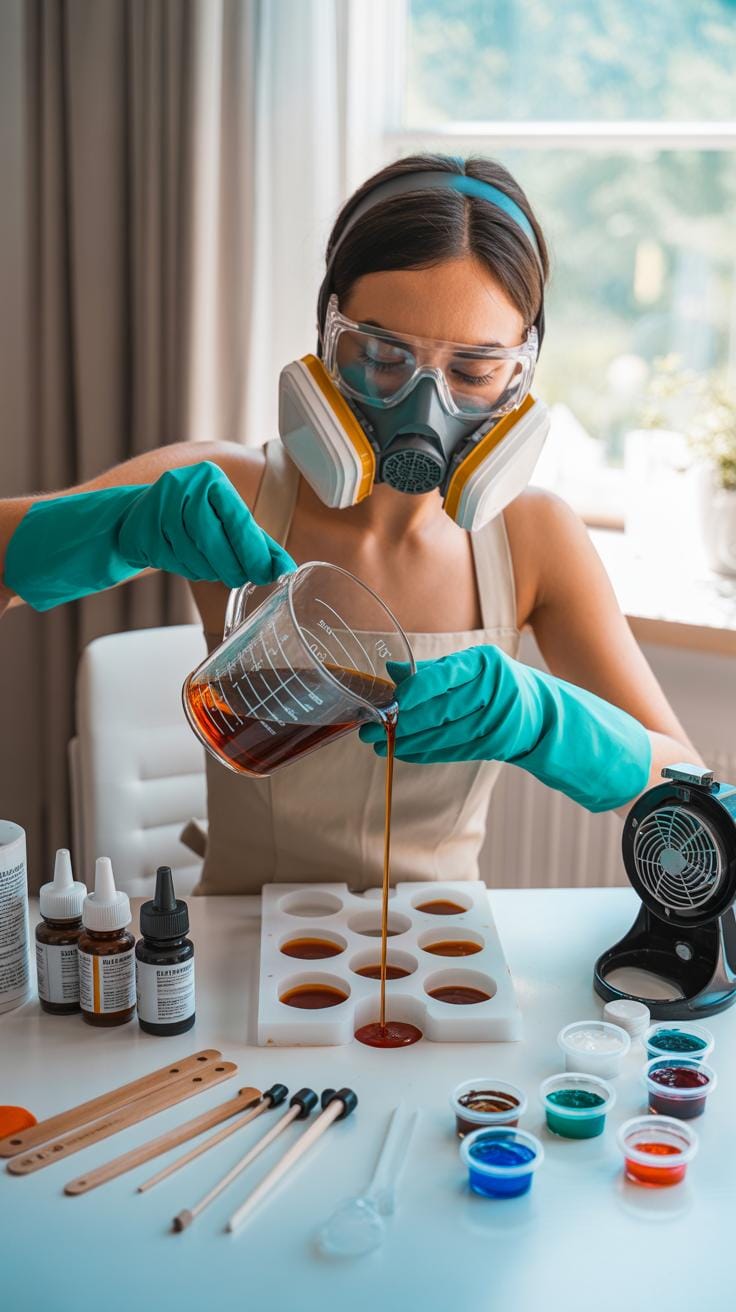
Epoxy resin contains chemicals that cause serious health issues without proper protection. Vaporized monomers and additives irritate the respiratory system and eyes. Prolonged skin contact leads to contact dermatitis or permanent chemical sensitivities. You must wear a respirator with organic vapor cartridges to block harmful fumes. Relying on simple dust masks or surgical masks will not protect your lungs from these toxic chemical vapors.
Safety gear acts as your primary defense against chemical burns and long-term illness. Always wear nitrile gloves because latex dissolves when exposed to resin chemicals. Protective eyewear prevents splashes that can cause permanent eye damage during the mixing phase. Wear long sleeves to keep sticky resin off your skin. Take immediate action if resin touches your skin by using citrus-based cleaners or soap and water.
Workspace Setup Tips To Ensure Safe And Successful Resin Coasters With Flowers
A controlled environment determines the quality of your flower resin coasters. You need a dedicated space with high airflow to disperse fumes quickly. Basements or small rooms without windows are dangerous choices for resin work. Place your work table on a level surface to prevent resin from pooling unevenly. Cover all surfaces with silicone mats or plastic sheeting to catch inevitable drips and spills.
- Ventilation Systems: Use exhaust fans or open windows to create cross-ventilation in your room. This movement pulls toxic fumes away from your breathing zone. Air purifiers with HEPA filters do not catch chemical vapors effectively. Only active airflow or specialized charcoal filtration systems work for resin.
- Temperature Control: Maintain a consistent room temperature between 70 and 75 degrees Fahrenheit. Cold air prevents resin from curing and traps bubbles around the delicate flower petals. High heat accelerates the curing process too fast and causes the resin to yellow. Stable temperatures ensure a crystal clear finish.
- Lighting Requirements: Install bright overhead lights or adjustable desk lamps to spot bubbles and dust. Side lighting helps you see tiny imperfections on the surface of the coaster. Good visibility allows you to remove debris before the resin begins to gel. Working in dim light results in ruined pieces and wasted materials.
- Level Working Surface: Use a bubble level to verify your table is perfectly flat. Even a slight tilt causes the resin to overflow on one side. This lopsided cure destroys the balance of your coasters. Level surfaces keep the flowers centered and the resin depth consistent across the entire mold.
- Waste Management: Keep a lined trash can nearby for immediate disposal of stir sticks and cups. Wet resin on tools can transfer to other surfaces and create a permanent mess. Do not pour liquid resin down household drains because it will harden and block pipes. Allow leftover resin to cure in the cup before disposal.
Organize your tools and dried flowers before you mix the two-part epoxy. Once the chemical reaction starts, you have a limited working time known as the pot life. Sudden movements or searching for tools can introduce dust into your wet resin. Keeping a clean and organized station prevents accidents and keeps contaminants out of your art. Proper preparation saves time and reduces the risk of chemical exposure.
How To Troubleshoot Common Problems With Resin Coasters Flowers
Why Your Resin Has Bubbles Or Yellowing And How To Fix These Issues
Bubbles form from aggressive mixing or trapped air within organic flower tissues. You must stir your resin slowly with a flat silicone tool to minimize air intake. Use a heat gun or butane torch to pop surface bubbles within ten minutes of pouring. Do not overheat the resin or you will scorch the delicate flower petals and cause permanent damage.
Yellowing happens because of UV light exposure or using low quality resin. You must select a resin with hindered amine light stabilizers and UV blockers to maintain clarity. Avoid placing finished coasters in direct sunlight for long periods. Keep your mixing ratios exact to ensure the chemical reaction completes properly. Precise measurements prevent the sticky residue that attracts dirt and ruins the clear finish.
How To Prevent Flowers From Browning Or Sinking Inside Your Resin Coaster
Flowers brown because moisture reacts with the resin chemicals during the curing process. You must dry your flowers completely using silica gel before embedding them. Moist petals will rot and turn brown or translucent within days. Silica gel preserves the original color and shape better than air drying. Seal the dried flowers with a clear spray sealant to create a protective barrier.
Sinking occurs when you pour too much resin at once. Heavy flowers drop to the bottom of the mold before the resin thickens. You must work in multiple thin layers to control flower placement. Pour a base layer and let it reach a gel state before adding your dried flowers. This sticky surface holds the flora in place. Add a final top layer to seal the design completely.

How To Finish Seal And Care For Your DIY Coasters Long Term
How To Sand, Polish, And Add Protective Feet To Your Finished Resin Flower Coasters
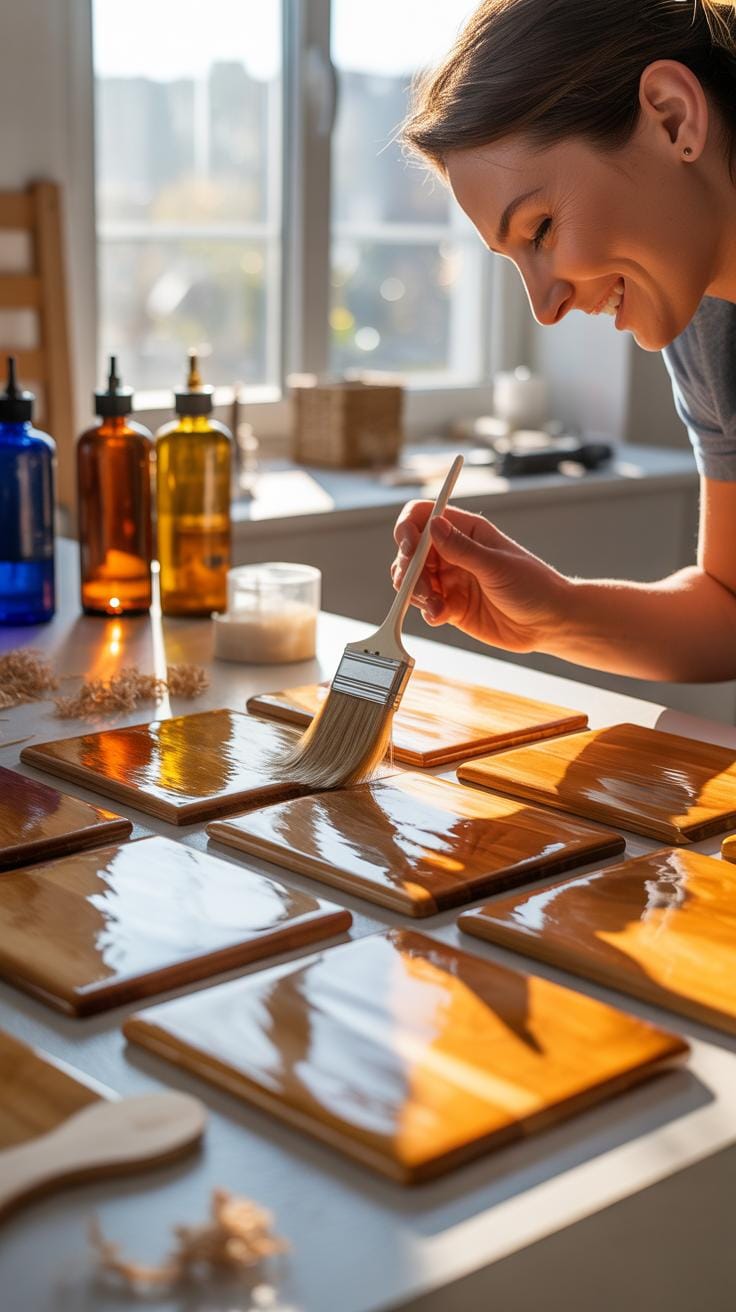
Rough edges occur where the resin meets the mold top. Use wet sanding techniques to remove these sharp lips. Start with 400 grit sandpaper and work up to 3000 grit. Keep the surface wet to prevent dust inhalation and heat buildup. Heat can soften the resin and ruin the finish. Consistent circular motions ensure an even surface across the entire coaster base.
After sanding, apply a high-quality polishing compound to restore clarity. Use a microfiber cloth or a buffering pad for the best results. Press firmly but do not stay in one spot too long. Once the surface shines, attach clear silicone bumper feet to the bottom. These feet prevent the resin from suctioning to surfaces. They also protect your furniture from scratches caused by the hard plastic.
How To Clean And Maintain Your Resin Coasters With Flowers So They Last For Years
Resin is a durable plastic but reacts poorly to high heat. Never place these coasters in a dishwasher or microwave. Extreme heat causes the material to soften or warp. Clean the surfaces using warm water and mild dish soap only. Harsh chemicals or abrasive scrubbers will dull the finish and create micro-scratches. Wipe them dry immediately with a soft cloth to avoid water spots.
UV exposure is the primary enemy of preserved botanical inserts. Even high-quality resins yellow over time if left in direct sunlight. Store your coasters in a shaded area when you are not using them. This preserves the natural colors of the dried flowers. If the surface becomes dull after years of use, repeat the polishing process. This simple maintenance keeps the resin looking clear and professional.
Frequently Asked Questions

What are the best types of flowers to use for resin casting?
When making flower resin coasters, it is essential to use completely dried or pressed flowers rather than fresh blooms. Fresh flowers contain moisture that reacts poorly with the chemicals, often turning the petals brown or causing unwanted rot over time. You can purchase pre-dried botanicals or use silica gel to preserve your own garden favorites, ensuring your vibrant floral designs remain preserved and beautiful within the hardened epoxy.
How do I prevent air bubbles from forming in my resin?
Achieving a crystal-clear finish on your flower resin coasters requires a few simple techniques. Start by stirring your resin and hardener slowly to minimize air entrapment. After pouring, use a heat gun or a handheld butane torch to gently pass over the surface, which pops any rising bubbles. For the best results, pour in thin layers and let the resin sit for a few minutes before adding your delicate florals.
Can I create these coasters on a budget without expensive equipment?
Absolutely! You can start this rewarding hobby without a massive investment. Basic silicone molds, affordable craft-grade epoxy, and wildflowers from your backyard are all you need to begin. While professional pressure pools are popular, they aren’t necessary for high-quality results. By focusing on simple tools like wooden stir sticks and reusable measuring cups, you can produce professional-looking home decor pieces while keeping your initial startup costs very low.


