Why Learning How To Dry Herbs Natural Is Worth Every Effort

The Science Behind Natural Herb Drying And Why It Preserves Flavor
Natural herb drying relies on evaporation to remove moisture without damaging plant cells. High heat from ovens or dehydrators often evaporates essential oils along with the water. These oils contain the compounds responsible for taste and scent. By using ambient air and low light, you keep these volatile compounds trapped within the leaf structure. This maintains a high concentration of flavor for future use in cooking.
Proper airflow is the critical driver in this biological process. Stagnant air allows mold to grow and degrades the plant material. Moving air carries moisture away while the plant maintains its structural integrity. This slow removal of water prevents the chemical breakdown found in high-heat methods. Natural drying ensures the chemical profile of the herb remains identical to its fresh state. This creates a superior end product for any application.
Health And Culinary Benefits Of Naturally Dried Herbs Over Store Bought
Store-bought herbs often sit in warehouses for months before reaching shelves. This long storage time leads to oxidation and loss of vitamins. Industrial processing also uses high heat to speed up production cycles. This heat destroys many heat-sensitive antioxidants found in fresh greens. Drying herbs naturally at home ensures you keep these nutrients intact. You control the environment to prevent any nutrient degradation or chemical exposure.
Commercial herbs frequently contain anti-caking agents or fillers to improve shelf appearance. Home-dried herbs are pure plant material with no added chemicals. The flavor intensity is much higher because the volatile oils have not escaped through industrial over-processing. You use smaller amounts of home-dried herbs to achieve the same culinary results. This makes your cooking more efficient and your pantry more potent. Natural drying provides a cleaner and more effective product.

Getting Started With DIY Herb Drying Tools And Preparation
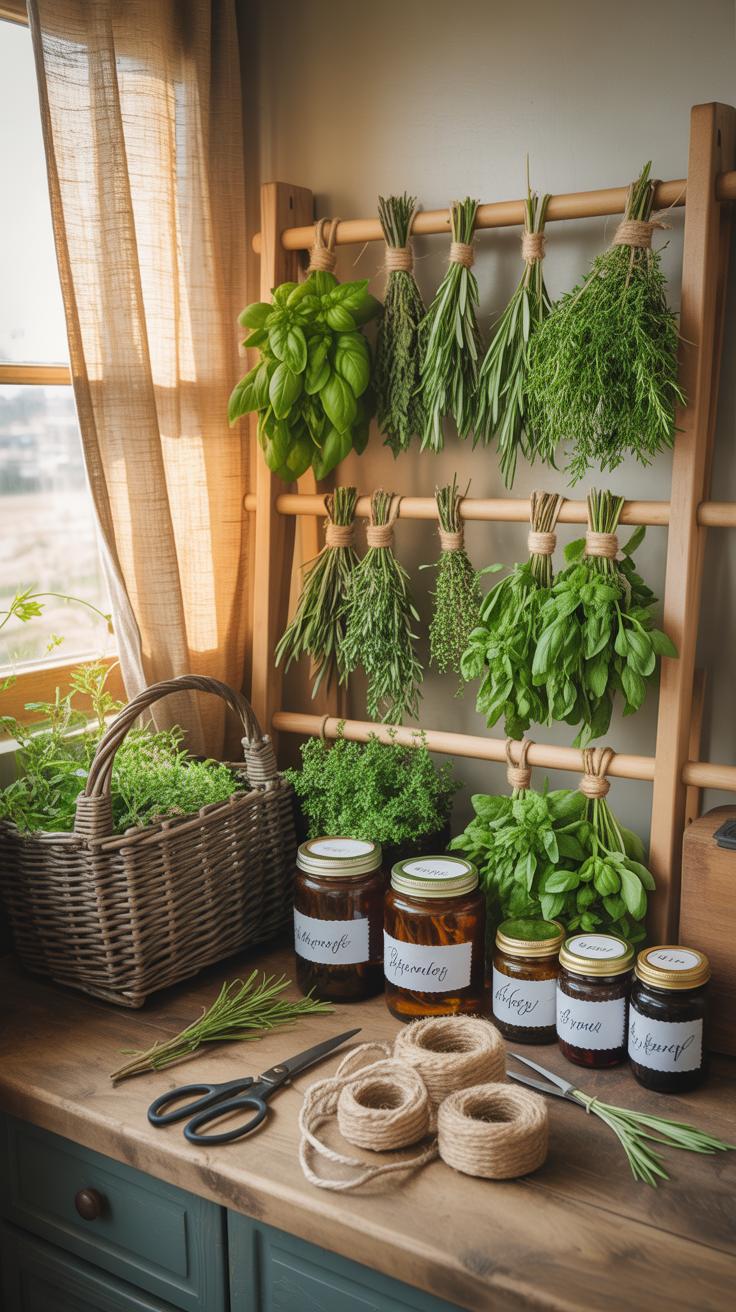
Essential Tools And Materials You Need Before You Begin DIY Herb Drying
Success in herb drying depends on your setup. You must assemble your equipment before you harvest. This prevents wilting and loss of potency. Proper tools ensure airflow and prevent mold growth. High quality materials allow you to control the environment. You need a clean workspace and specific storage containers. Preparation is the difference between professional grade herbs and useless organic waste.
- Sharp Shears: Precision blades prevent crushing the plant stems during harvest. Crushed stems leak essential oils and degrade the flavor profile before the drying process even starts. Use stainless steel for easy cleaning.
- Natural Twine: Use uncolored jute or cotton string to bundle herbs. Synthetic materials can slip or melt if you use heat. Natural fibers provide a tight grip as the stems shrink during dehydration.
- Drying Racks: Mesh screens or hanging tiers maximize surface area. Air must circulate around every leaf to remove moisture quickly. Avoid solid surfaces that trap humidity and encourage fungal growth or rot.
- Paper Bags: Use plain brown bags for the hanging method. Punch holes in the sides to allow gas exchange. These protect your herbs from dust and light while catching any seeds or leaves that fall.
- Airtight Glass Jars: Dark glass containers are best for final storage. They block ultraviolet light which destroys chemical compounds. Ensure the seals are airtight to keep moisture from re-entering the dried plant material.
Organize your space to minimize the time between cutting and hanging. Every minute a cut herb sits in the sun, it loses volatile oils. Keep your tools sanitized to avoid cross contamination. Dirty shears can spread pathogens that ruin an entire batch. Efficient systems lead to consistent results. Mastery of your tools allows you to focus on the technical aspects of the drying process.
The smell of dried herbs is the perfume of the earth and the memory of summer preserved for the winter hearth.
— Rosemary Gladstar
How To Harvest Herbs At The Right Time For Optimal Drying Results
Timing determines the concentration of essential oils in your herbs. You must harvest just before the plants flower. Once buds open, the plant directs energy toward reproduction. This shift reduces the flavor and aroma in the leaves. Trace the weather patterns and plan your cut for a dry day. Moisture on the leaves at harvest time leads to immediate decay.

Wait until the morning dew evaporates but before the sun gets too hot. Mid morning is the tactical window for peak oil content. High heat later in the day causes oils to dissipate into the air. Use sharp tools to make clean cuts above the leaf nodes. This practice protects the parent plant and ensures a rapid start to the drying phase. Efficient harvesting preserves the chemical integrity of your herbs.
How To Dry Herbs Using The Air Drying Method
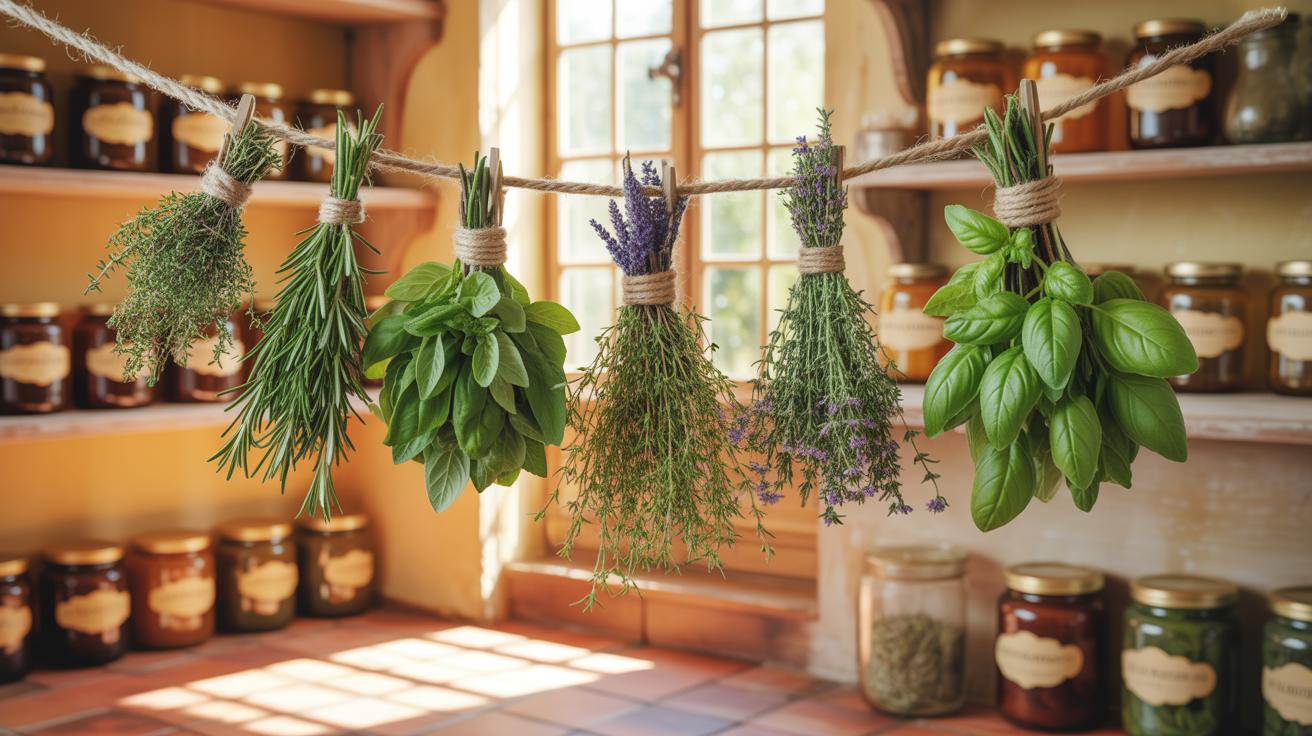
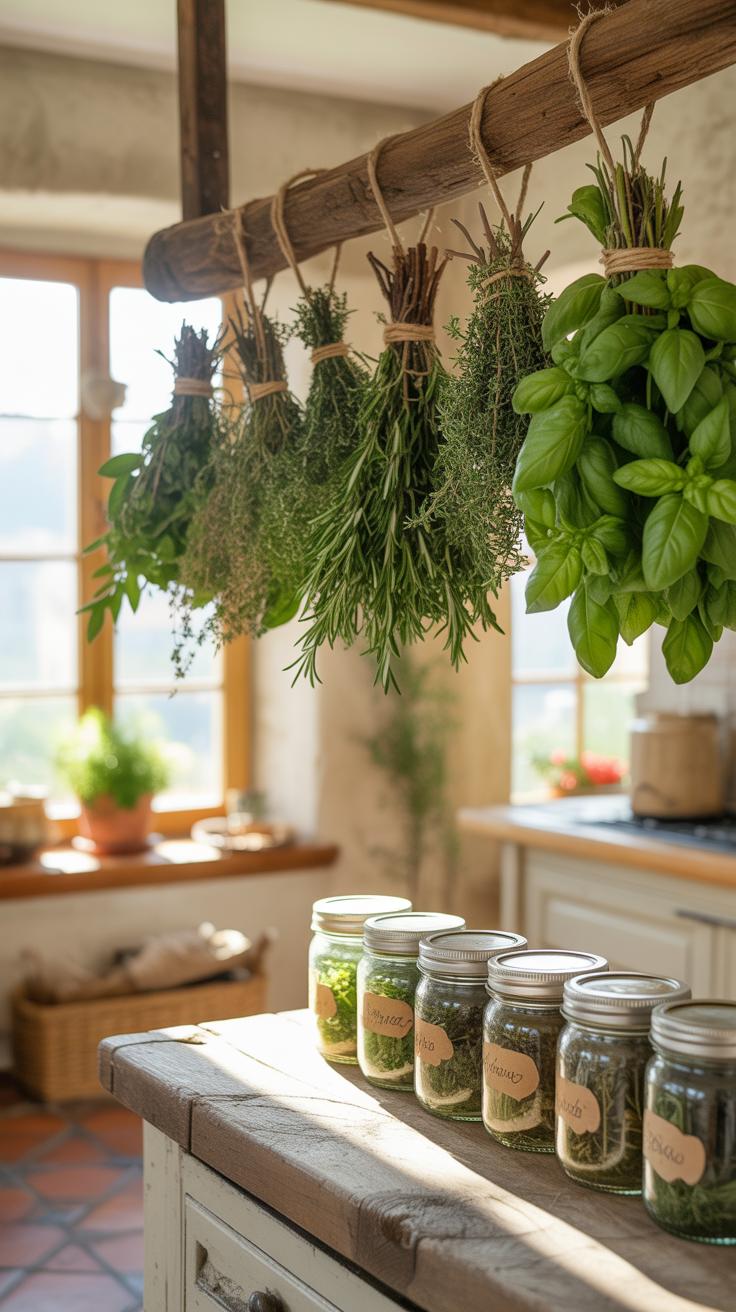
Step By Step Air Drying Process For Bundling And Hanging Your Herbs
Harvest herbs in the morning after the dew evaporates but before the sun gets too hot. Shake the stems to remove insects and dust. Strip the bottom inch of leaves from each stem to create a clean tying point. Group the herbs into small bundles of five to eight stems. Smaller bundles ensure proper airflow and prevent mold growth in the center.
Secure each bundle tightly with twine or a rubber band. Loop the string around a drying rack or a nail in a dark room. Ensure the herbs hang upside down so the essential oils flow from the stems into the leaves. Choose a location with low humidity and no direct sunlight. Sunlight quickly bleaches the color and destroys the volatile oils that provide flavor.
Best Herbs Suited For Air Drying And How Long The Process Takes
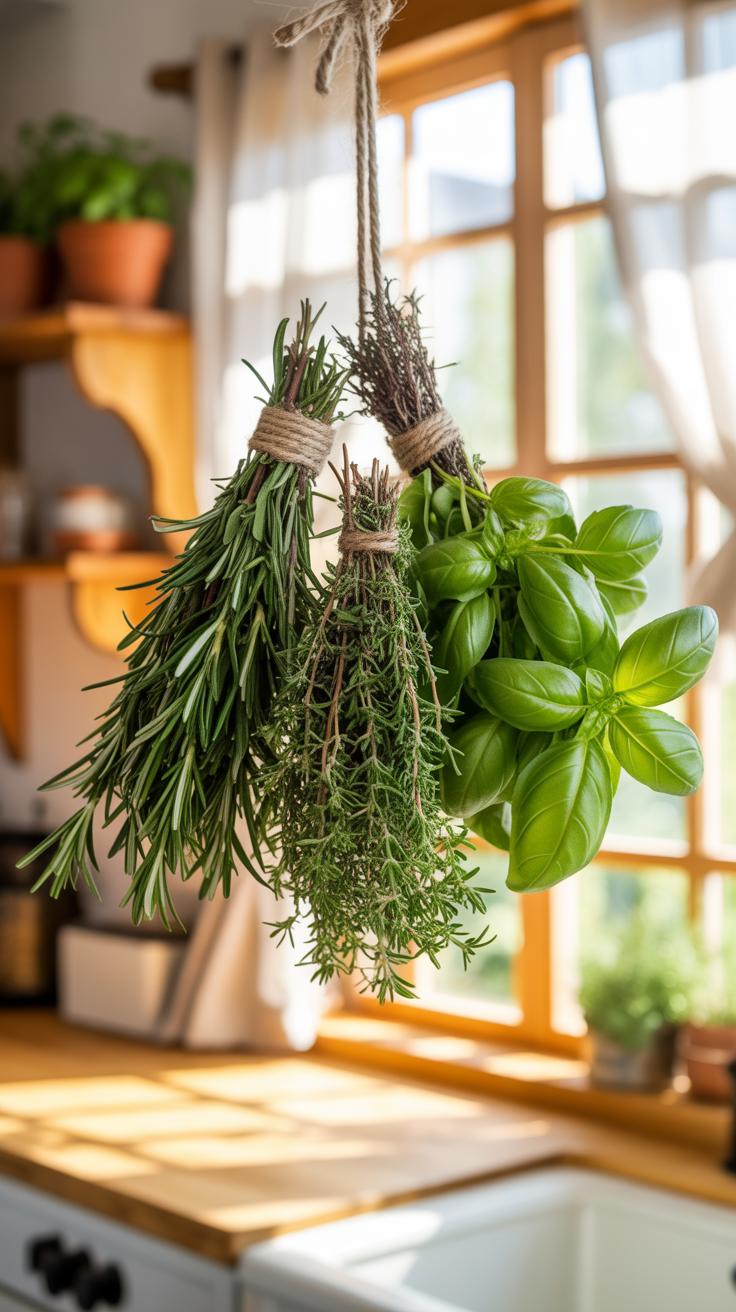
Low-moisture herbs with sturdy stems perform best during the air-drying process. This includes rosemary, thyme, sage, and oregano. These varieties contain less water and resist mold during the slow drying period. Bay leaves and lavender also dry well using this traditional method. Avoid high-moisture herbs like basil or mint for hanging. They often turn brown or rot before they can fully dehydrate.

The drying process typically takes between five and ten days depending on the humidity. Check the leaves daily for any signs of spoilage or moisture. The herbs are ready when the leaves feel crisp and crumble easily between your fingers. Do not rush this timeline. Removing herbs too early leads to spoilage during storage. Ensure the stems snap cleanly before you strip the leaves for final storage.
Oven Drying Reliable Herb Drying Instructions For Quick Results
How To Use Your Oven Safely And Effectively To Dry Fresh Herbs
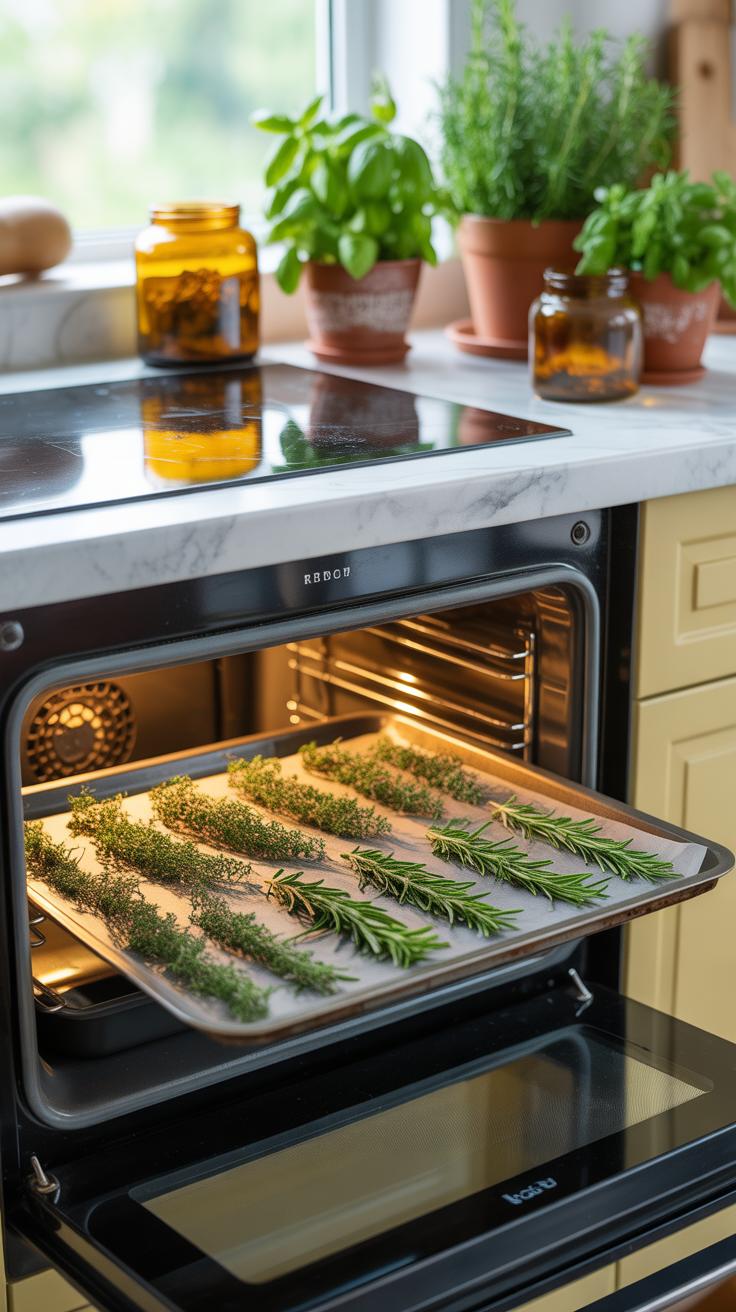
Preheat your oven to its lowest possible setting to avoid scorching. Most modern ovens bottom out at 170 degrees Fahrenheit, which is often too high. Use an oven thermometer to verify the actual temperature inside the chamber. Propping the door open slightly with a wooden spoon allows moisture to escape and helps lower the internal heat to a safer range.
Spread clean herbs in a single layer on a muslin-lined baking sheet or a cooling rack. Airflow must reach all sides of the plant material to ensure even moisture removal. Avoid overlapping the stems or leaves to prevent damp spots that lead to rot. Rotate the tray every thirty minutes to compensate for hot spots. This method works best for sturdy herbs like rosemary and sage.
Temperature Guidelines And Timing For Oven Dried Herbs Without Losing Potency

Aim for a target temperature between 110 and 130 degrees Fahrenheit to preserve essential oils. Higher heat destroys the delicate chemical compounds that provide flavor and medicinal value. At these low temperatures, the process typically takes one to four hours depending on the water content of the herb. Succulent herbs like mint take longer than thin leaves like parsley or cilantro.
Check the herbs frequently by touch to determine readiness. The leaves should crumble easily between your fingers when fully dried. Do not wait for the stems to become brittle, as they take longer and might cause the leaves to overcook. Once the leaves feel crisp, remove the tray immediately and allow them to cool completely. Promptly move the dried herbs into airtight glass containers.
Microwave And Dehydrator Methods Modern Herb Drying Ideas That Work
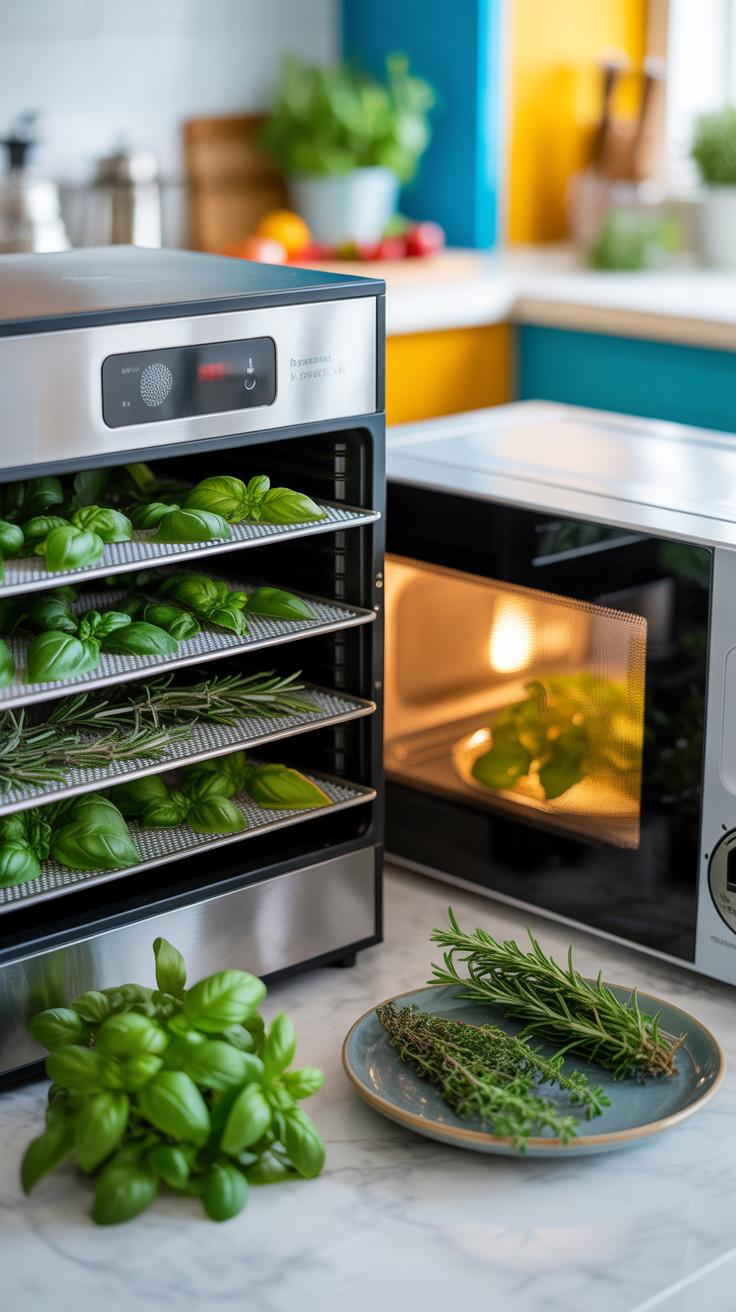
Using A Food Dehydrator For Consistent, Even Herb Drying Results
Food dehydrators offer the most control for drying herbs. These machines use a heating element and a fan to circulate air. This combination removes moisture steadily without cooking the plant material. Set the temperature between ninety-five and one hundred and fifteen degrees Fahrenheit. Higher temperatures destroy volatile oils and ruin the flavor profile. Consistent airflow prevents mold growth during the process.

Spread the herbs in a single layer on the trays. Do not let the leaves overlap or touch. This setup ensures every surface receives equal exposure to the moving air. Check the progress every hour after the first two hours. Most herbs dry completely within four to eight hours. Once the leaves crumble easily, they are finished. Store them immediately in airtight glass jars.
Microwave Herb Drying: A Fast And Practical Technique For Small Batches
Microwave drying works by heating the water molecules inside the herb rapidly. This method is the fastest way to preserve the green color and essential oils. It works best for thin, delicate leaves like parsley, mint, or cilantro. Use two paper towels to sandwich the clean, dry herb sprigs. The paper absorbs the released steam to prevent the herbs from becoming limp or soggy.
Run the microwave on high power in thirty-second intervals. Check the texture after every burst to avoid scorching the delicate tissue. Most batches take less than two minutes total to reach a brittle state. If the herbs smell like they are burning, stop the process immediately. This technique is ideal for small amounts needed for immediate cooking. It saves time compared to traditional air drying.
How To Dry And Preserve Herbs For Long Term Storage
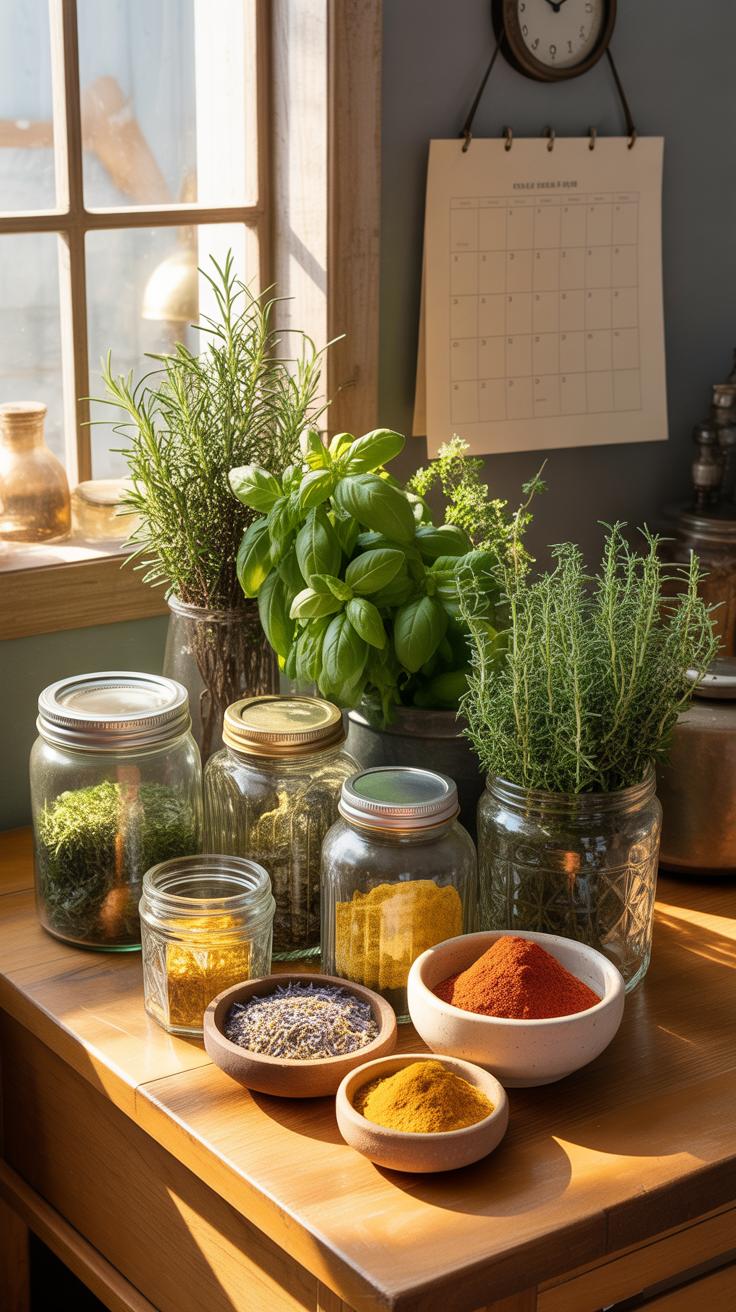
Proper Storage Containers And Conditions That Keep Dried Herbs Fresh Longer

Air and light destroy the chemical compounds in dried herbs. You must use airtight glass jars to prevent oxidation and moisture absorption. Choose amber or cobalt glass to block ultraviolet rays that bleach color and neutralize essential oils. Avoid plastic containers because polymers often react with volatile herb oils. Metal tins work well if they have a food grade coating to prevent metallic leaching into the leaves.
Store your sealed containers in a cool and dark location. Temperature fluctuations cause condensation inside the jar which leads to mold growth. Keep the storage area below sixty degrees Fahrenheit for maximum potency. Do not store herbs above the stove or near a dishwasher. Heat vents and direct sunlight accelerate the breakdown of flavor. Proper storage ensures your harvest remains viable for twelve to eighteen months.
How To Label, Date, And Organize Your Dried Herb Collection Effectively
Clear labeling prevents confusion between similar looking green flakes. Write the common name and the botanical name on every jar. Include the specific date of harvest and the drying method used. This data helps you track which techniques yield the best flavor retention. Use permanent ink on water resistant labels to ensure details remain legible in high humidity kitchen environments.
Organize your collection by usage frequency or flavor profile. Place new batches at the back of the shelf to ensure you use older stock first. This rotation system reduces waste and maintains a fresh inventory. Conduct a sensory check every six months to verify quality. If an herb loses its characteristic aroma when rubbed between fingers, compost it. Efficient organization saves time and maintains the integrity of your culinary ingredients.
Understanding Dried Herbs Quality Potency And Shelf Life

How To Test Whether Your Dried Herbs Have Retained Flavor And Aroma
Standard sensory evaluation remains the most reliable method for checking herb quality. Rub a small amount of the dried material between your palms to release the essential oils. Take a deep breath to check for a sharp and recognizable scent. High quality herbs will hit the nose immediately with a clear profile. If the aroma is faint or smells like old hay, the potency is gone.
The visual check is your second line of defense. Analyze the color under bright light to ensure it remains vibrant rather than dull or brown. Proper drying preserves the chlorophyll and volatile compounds that give herbs their pigment. If the plant looks gray or bleached, the chemical integrity has failed. Brittle textures that turn to fine dust instantly often indicate over-processing or excessive age in storage.
How Long Dried Herbs Last And Signs That They Have Lost Their Potency
Dried leaves typically maintain peak potency for twelve to eighteen months when stored in airtight containers away from light. Ground herbs degrade faster because the increased surface area exposes more volatile oils to oxygen. Whole seeds and bark can last up to three years due to their dense structure. You must track the harvest date to ensure your inventory remains effective for culinary or medicinal use.
Several physical cues signal that your supply has expired. A significant loss of color is a primary indicator of light damage or oxidation. If the herbs develop a musty smell, moisture has entered the container and mold may be present. Taste testing a small sample is the final step. When the flavor profile is flat or bitter, the active compounds have evaporated and the herb is useless.

What To Do With Dried Herbs Creative Uses In Cooking And Beyond

Culinary Applications: How To Substitute Dried Herbs For Fresh In Recipes
Dried herbs possess a higher concentration of volatile oils than fresh plants. This physical change happens because water loss shrinks the leaf material. You must adjust your measurements to prevent overpowering a dish. The standard ratio is one to three. Use one teaspoon of dried herbs for every tablespoon of fresh herbs called for in your recipe. This ensures flavor balance.
Timing determines the success of your flavor extraction. Add dried herbs early in the cooking process. Heat and moisture take time to rehydrate the plant tissues and release stored oils. Crushing the leaves between your palms before adding them breaks the cell walls. This action speeds up the release of aromatic compounds. High heat tasks like searing require caution to avoid burning the concentrated solids.
Beyond The Kitchen: Using Dried Herbs For Teas, Remedies, And Home Fragrance
Dried botanicals serve high-value purposes outside of standard food preparation. They provide the base for shelf-stable infusions and topical applications. Potency remains high for several months if you store the material away from light and oxygen. You can leverage these concentrated properties for physiological effects or atmospheric control. Precise application depends on the specific chemical profile of the dried herb you select for the task.
- Herbal Tea Infusions: Use dried leaves to create potent hot beverages. Steep one teaspoon of dried material in boiling water for five to ten minutes. This method extracts water-soluble compounds like polyphenols and flavonoids effectively. Always cover the vessel during steeping to trap the steam and essential oils.
- Therapeutic Salves: Infuse dried herbs into carrier oils like olive or jojoba over low heat. Use the strained oil to create topical balms with beeswax. Dried herbs are superior to fresh herbs for this process. They lack water content which prevents bacterial growth and mold in your finished skin care products.
- Natural Home Fragrance: Place dried aromatics like lavender or mint in breathable fabric sachets. These bundles release scent into small spaces like closets or drawers for months. You can refresh the scent by gently squeezing the bag to crush the plant matter. This mechanical action breaks open remaining oil glands for a new scent burst.
- Herb-Infused Vinegar: Combine dried herbs with apple cider or white wine vinegar in glass jars. Let the mixture sit in a cool place for two to four weeks. The acetic acid acts as an effective solvent for the plant minerals. Use the final product as a base for hair rinses or natural surface cleaners.
- Traditional Smudge Bundles: Tie dried woody herbs like sage or rosemary tightly with cotton twine. Light the tip and blow out the flame to produce smoke. This practice relies on the slow combustion of dried plant resins. It has been used for centuries across various cultures to clear air and neutralize unpleasant odors.
Quality control is vital when using dried materials for non-culinary needs. Ensure the herbs are completely brittle before processing them for storage or crafts. Any remaining moisture triggers rot within sealed containers or oil infusions. Monitor your inventory for changes in color or scent profile. Brown or odorless herbs have lost their chemical efficacy. Discard old material to maintain the tactical integrity of your remedies.
Common Mistakes To Avoid When You Dry Herbs At Home

Why Moisture, Heat, And Light Are The Biggest Enemies Of Dried Herbs
Moisture causes rapid decay and fungal growth in harvested plant material. High humidity levels prevent evaporation and trap water within the cell walls. This leads to rot before the drying process finishes. You must control the environment to ensure a quick transition from fresh to dry. Excess water also dilutes the essential oils that provide flavor. Keep your workspace dry and ventilated to protect your harvest.
Heat and light destroy the volatile organic compounds that give herbs their potency. High temperatures bake the flavor out of the leaves. Sunlight triggers chemical reactions that break down chlorophyll and medicine. This process is called photodegradation. It turns vibrant green herbs into brown, tasteless dust. Maintain a cool and dark environment to preserve the chemical integrity of your plants. Professional results require strict climate control.
Troubleshooting Tips For Herbs That Mold, Discolor, Or Lose Flavor During Drying
Mold occurs when air circulation is poor or humidity is too high. If you see white fuzz or dark spots, discard the batch immediately. Never try to salvage moldy herbs because they contain harmful spores. To fix this, increase the space between hanging bundles. Use a fan to move air constantly. Thinner bundles dry faster and face a lower risk of internal moisture buildup.
Discoloration and flavor loss signal poor processing speeds or environmental exposure. Brown leaves usually mean the drying temperature was too high or the herbs took too long to dry. Dull flavor results from harvesting at the wrong time or improper storage. Harvest your herbs in the morning after the dew evaporates but before the sun gets hot. Put finished herbs in airtight glass containers right away to lock in quality.
Frequently Asked Questions

What are the simplest herb drying techniques for a complete beginner to try at home?
If you are just starting out, air drying is the easiest of all herb drying techniques. Simply gather your fresh herbs into small bundles, secure the stems with twine, and hang them upside down in a warm, dry spot away from direct sunlight. This traditional method requires zero special equipment and works beautifully for hearty herbs like rosemary and thyme, ensuring you preserve their aromatic oils without any complex setup.
How can I tell when my herbs are properly dried and ready for storage?
Testing for dryness is a crucial step in all herb drying techniques to prevent mold growth during storage. Your herbs are ready when the leaves feel crisp and brittle, crumbling easily between your fingers. The stems should also snap sharply rather than bending. If there is any remaining suppleness or moisture, continue the drying process for another day to ensure your harvest stays flavorful and safe for long-term use.
Is it possible to dry herbs effectively without buying an expensive food dehydrator?
Absolutely! You do not need pricey gadgets to master various herb drying techniques. Beyond air drying, your kitchen oven is a fantastic budget-friendly tool. Set your oven to its lowest temperature—ideally under 150°F—and place herbs on a parchment-lined tray. Wood-pulp paper bags are another affordable option; simply place herbs inside and hang them to dry. These accessible methods deliver professional results using items you likely already have in your pantry.


