
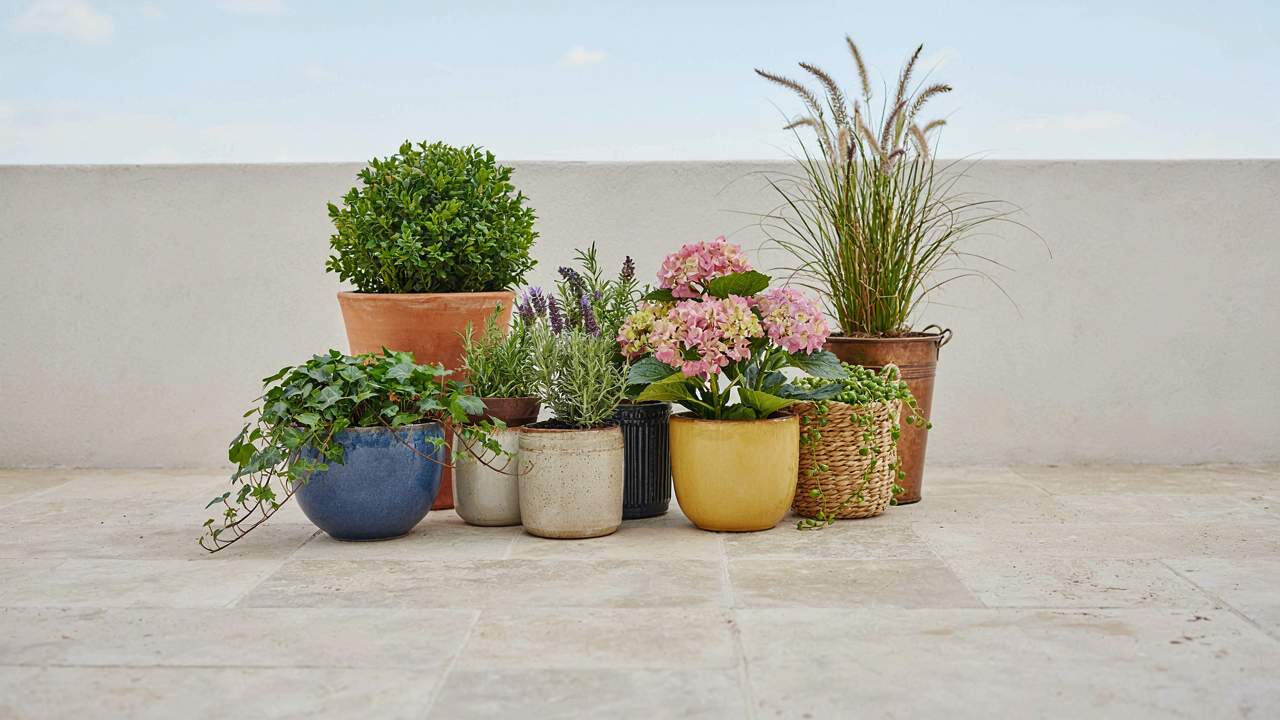
Beyond Aesthetics: The Ecology Of Patio Container Gardening

Your Microclimate Is Not Your Neighborhood’s Microclimate
You want a beautiful patio that impresses people, but you’re secretly afraid of killing expensive plants. That fear is smart. Here’s the actual mechanism: a container on your patio exists in a physics problem, not a garden. Wind speed accelerates around hard surfaces. Heat radiates off pavement and reflects off walls. Sun angles change by latitude and season. Your patio is a controlled environment where every variable compounds.
Most people check a plant’s USDA hardiness zone and assume they’re done. Wrong. A zone tells you winter minimums outdoors in open ground. A container sitting on concrete 12 inches above soil level experiences hotter days, colder nights, and faster water loss. Afternoon sun exposure on a west-facing wall can swing container soil 15 to 20 degrees hotter than ambient air by mid-summer. Wind desiccates soil faster than you’d predict. Map your patio’s sun hours across seasons, note wind patterns, and measure afternoon heat reflection. These three inputs determine what survives, not a hardiness zone.
Plants Win Through Adaptation, Not Appearance
Stop selecting plants because they’re Instagram-worthy. Pick them because their physiology handles your patio’s actual conditions. Resilience comes from root structure, leaf architecture, and water storage capacity, not flower color.
Succulent combinations work on most patios because they’ve evolved xerophytic traits: waxy cuticles reduce transpiration, shallow roots access moisture quickly from small containers, and thick leaves store water during dry spells. Sedums, sempervivums, and echeveria handle extreme heat, wind, and neglect because evolution built them for stress, not show. When you pair them correctly, they thrive with minimal intervention. Choose herbaceous perennials or tropical plants if you want them, but understand the trade-off: they demand consistent moisture, humidity, and often supplemental feeding. There’s no free option here.
The Substrate Scrutiny: Why Potting Mix Matters More Than You Think

The All Purpose Trap
You want to believe one bag solves everything because shopping is friction. The truth is harsher: “all-purpose” mixes are engineered for average conditions that don’t exist in your specific container. They’re a compromise that fails across the board. A mix designed for moisture retention will suffocate succulents. A fast-draining blend starves thirsty perennials. The bag label obscures what actually matters: the particle size distribution, peat or coir ratio, and amendment load determine whether roots access oxygen or drown in standing water.
Most gardeners buy the same mix for every plant type and blame the plant when it fails. The mechanism is simple: container gardening compresses the root zone into unforgiving physics. A plant in ground has 10 feet of soil to find the conditions it needs. A plant in a pot has inches. Your substrate is the entire environment. Switch mixes based on plant physiology, not convenience.
Water And Air Movement
This is hydraulic engineering applied to root zones. Think of soil particles as a pipe network. The size and arrangement of particles determine pore space. Larger particles create macropores where air moves freely. Smaller particles trap water in micropores. You need both, but the ratio shifts based on your plant. Succulents demand 40 percent or more of their pore space as macropores. Ferns and moisture-loving plants tolerate smaller pore ratios because they thrive in higher water availability.
Drainage holes alone mean nothing if your substrate holds water like concrete. A dense mix will wick moisture upward from drainage holes, keeping the bottom saturated while the top dries faster. This creates two zones with competing conditions and dead roots in the waterlogged lower section. Add perlite, pumice, or coarse bark to any dense mix to fragment water retention and create air channels. Test your amended mix by watering a test pot and observing how quickly water drains through. If it pools for more than 30 seconds after watering, add more amendment. If it drains in under five seconds, you’ve built proper aeration.
The “Thrive And Survive” Protocol For Container Garden Design
Match Plants To Shared Water And Light Needs
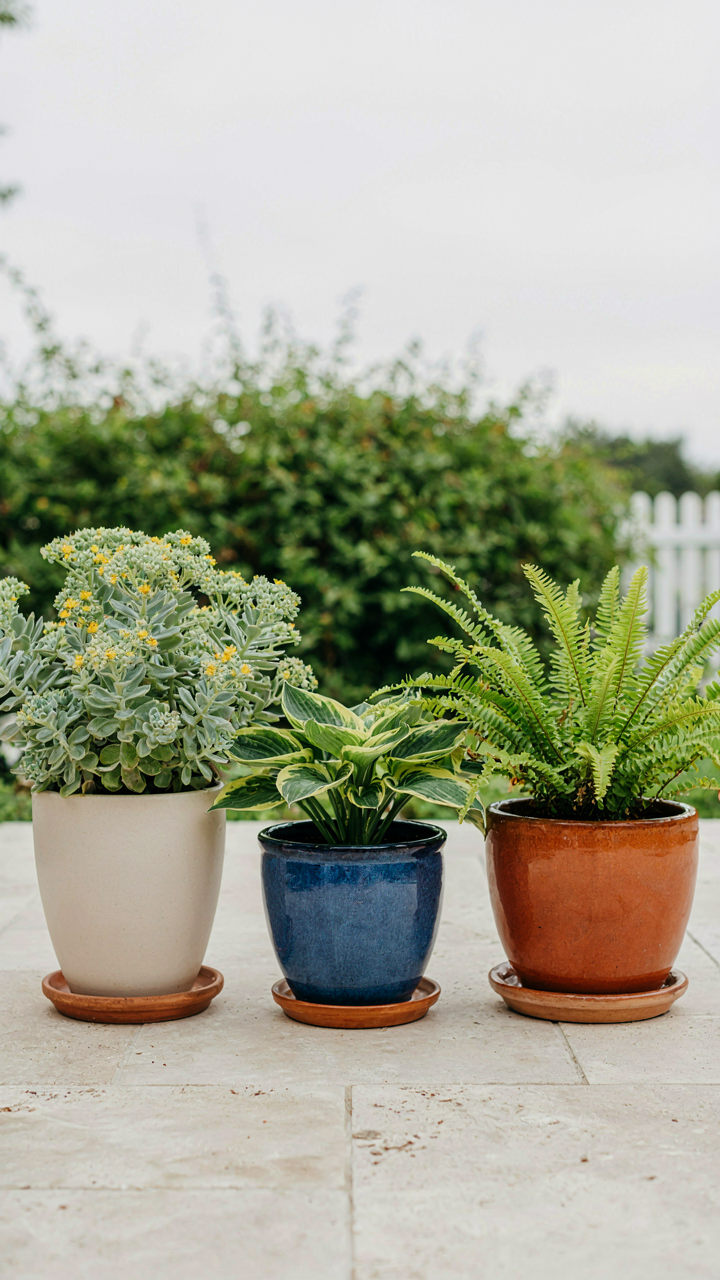
You want your containers to look effortless, which means you’re actually afraid of the daily maintenance grind that kills most patios. The mechanism is simple: plants in the same container compete for water and light, so mismatched combinations force you to choose a compromise that satisfies no one. Biology calls this resource partitioning. In patio containers, it’s the difference between a thriving display and a graveyard where some plants drown while others dessicate.
Group by watering schedule first. Sun lovers like sedums and lavender demand fast-draining soil and infrequent water. Shade plants like hostas and ferns need consistent moisture and less evaporation. Mixing them in one pot means either overwatering the sedums into rot or underwatering the hostas into stress. The standard advice about “choosing complementary textures” is lazy and wrong. You’re not designing for Instagram. You’re designing for survival, which means matching species that actually want the same conditions.
Plant New Combinations Every Six Weeks
Continuous bloom isn’t about luck or buying premium varieties. It’s about staggered succession. Most gardeners plant one container in spring and watch it decline through August. The real move is planting fresh combinations every six weeks on a fixed calendar. This isn’t complicated—it requires only planning, not skill. Mark your calendar for May 1st, June 15th, August 1st, and September 15th. On each date, refresh one or two containers with new seasonal stock while the previous plantings peak elsewhere on the patio.
Staggered planting creates overlap, not gaps. Your May container blooms June through July. Your June container takes over July through September. Your August container carries you through November. This system demands less maintenance than constant deadheading and fertilizing. You’re not fighting decline—you’re replacing it. The container that peaks loses your attention, but a fresh one is already in its prime somewhere else. Rotate containers to different light zones during their decline to extend their useful life or cull them entirely and start fresh.
Watering Wisdom: Precision Hydration For Potted Plants Outdoor
Plants Don’t Need Water Daily
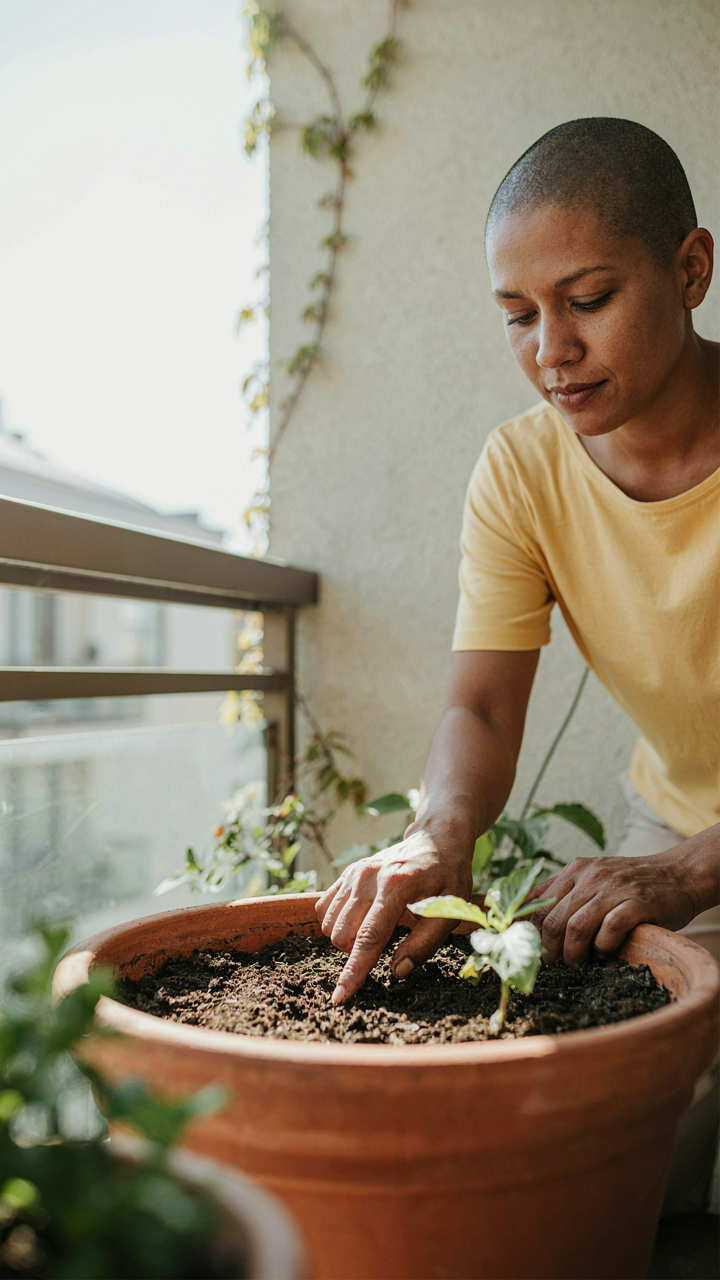
You’re worried you’ll kill expensive plants through neglect. Here’s the actual mechanism: soil in containers holds water in pore spaces, and roots absorb it over time. Daily watering doesn’t match how plants consume moisture. Most people water by habit, not by plant demand. The result is root rot from oxygen displacement, not from underwatering.
Container soil dries unevenly based on pot size, material, drainage holes, and sun exposure. A six-inch terra cotta pot in direct sun dries faster than a twelve-inch glazed ceramic in partial shade. Check soil moisture two inches down with your finger before watering. If it feels moist, skip the watering. Soil should dry between waterings to allow oxygen back into the root zone.
Read The Plant Before It Dies
Water stress signals appear gradually, not suddenly. Wilting doesn’t always mean underwatering, and yellowing doesn’t always mean overwatering. You need to read the full picture. Underwatered plants wilt, recover quickly after watering, and have dry, hard soil. Overwatered plants wilt, stay wilted even after watering, and have soil that smells sour or stays wet for days.
The mechanism is simple: roots need oxygen as much as water. Waterlogged soil blocks oxygen absorption. The plant starves even though surrounded by moisture. Check drainage holes for blockages and ensure soil drains completely within two to three hours after watering. If water pools on the surface, your soil is compacted or your pot lacks adequate drainage holes.
Nutrient Cycles: Feeding Your Summer Planter, Not Just Watering It

What Plants Actually Pull From Soil
You want your containers to look full and healthy without doing the work to understand why they fail. Here’s the mechanism: plants need nitrogen, phosphorus, and potassium in large quantities—that’s biology talking—but containers drain these nutrients faster than ground soil because water moves through them constantly. Each watering leaches some nutrient load out the drainage hole. Your job isn’t just adding water; it’s replacing what leaves.
Macronutrients (nitrogen, phosphorus, potassium) drive growth, flowering, and root structure. Micronutrients (iron, zinc, manganese, boron) enable enzyme function and prevent deficiencies that show as yellowing leaves or stunted stems. Most container mixes start depleted or become depleted within 4-6 weeks. A slow-release fertilizer at planting solves part of this, but liquid feeding during the growing season is where you catch problems before they crater your display.
Biology Changes Everything
The common advice is wrong: organic and synthetic fertilizers both feed plants, so pick whichever’s convenient. Not true. Synthetic fertilizers dissolve instantly and feed the plant directly, which works fast but doesn’t build soil structure. Organic matter (fish emulsion, compost tea, kelp) feeds soil microbes first, which then release nutrients to roots over time—this is biology, not chemistry.
Containers with living soil biology hold nutrients longer because microbes convert organic matter into plant-available forms continuously. Synthetic-only feeding creates nutrient spikes followed by crashes. Over a season, you’ll chase deficiencies with more frequent applications. Mixing a slow organic base (compost added at planting) with targeted synthetic feeds during peak growth gives you speed and stability. Feed weekly during bloom with diluted liquid fertilizer once the slow-release layer depletes around week five or six.
Container Choices: Engineering For Longevity And Growth
Material Science Decides Your Replacement Cycle
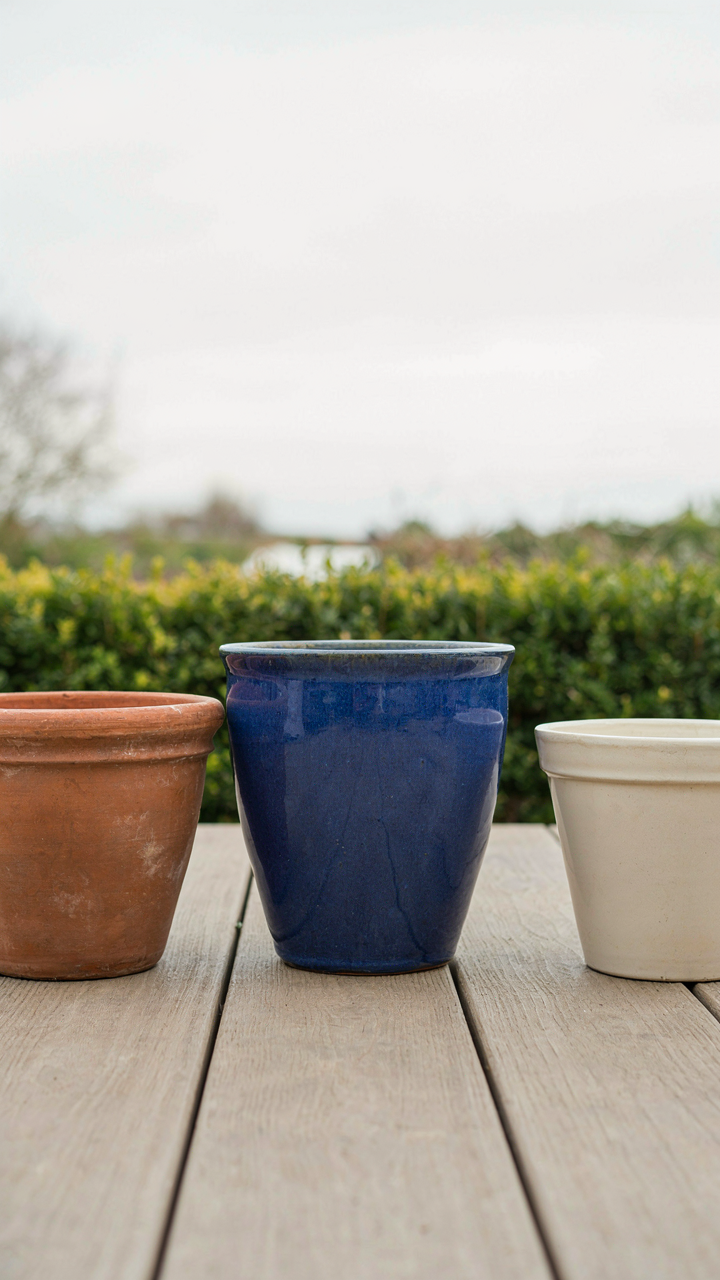
You want containers that look good and last. That’s not vanity—it’s economics. Here’s the material science at work: porosity is your actual enemy. Porous materials like terracotta and wood absorb water, freeze, crack, and rot on predictable timelines. They’re also terrible insulators, meaning roots experience temperature swings that stress plants. Ceramic glazed containers reduce porosity and improve root temperature stability. Plastic and resin containers insulate better and weigh less, solving the logistics problem most people ignore until their back reminds them.
The weight calculation determines whether you maintain your combination or abandon it. Terracotta holds water weight plus soil weight plus plant weight—a 16-inch pot filled and planted hits 40 to 50 pounds. Composite resin cuts that to 15 to 20 pounds. On a second-story deck or roof, weight becomes a structural constraint disguised as an aesthetic choice. Fiberglass holds up better than plastic under UV exposure and doesn’t degrade in three seasons. Pick materials based on replacement cost, not initial price.
Root Systems Don’t Negotiate With Space
Container size determines root bound timing, which determines growth ceiling, which determines whether your combination survives or stagnates. Most advice says “bigger is better”—that’s incomplete. A 12-inch pot fills with roots in one season for fast-growing plants like tomatoes and herbs. Root bound plants stop developing new leaves, stop flowering, and become pest magnets because they’re already stressed. A 16-inch pot buys you two seasons before that threshold.
The mechanism is simple: roots need oxygen between soil particles. When roots completely fill available space, air pockets disappear. Plants can’t absorb water efficiently at that point even if you water them daily. For perennial combinations you want lasting three or more years, size up one container size larger than the plant’s current root system needs. For seasonal combinations, match pot size to the growth timeline—a 14-inch container works for a five-month growing season, an 18-inch for year-round plantings. Measure your tallest plant at purchase, estimate its mature height, then size the container so roots have room to develop without triggering stress response before your intended end date.
The “Adapt Or Die” Method For Mixed Flower Pots
Seasonal Transitions Without Sacrificing Continuity
You want your containers to look intentional year-round without replanting everything four times annually. That’s the real problem here. Succession planting solves it by staggering plant lifecycles so something is always performing while others transition out. Think of it as plant rotation inside a single container, not across your entire patio.
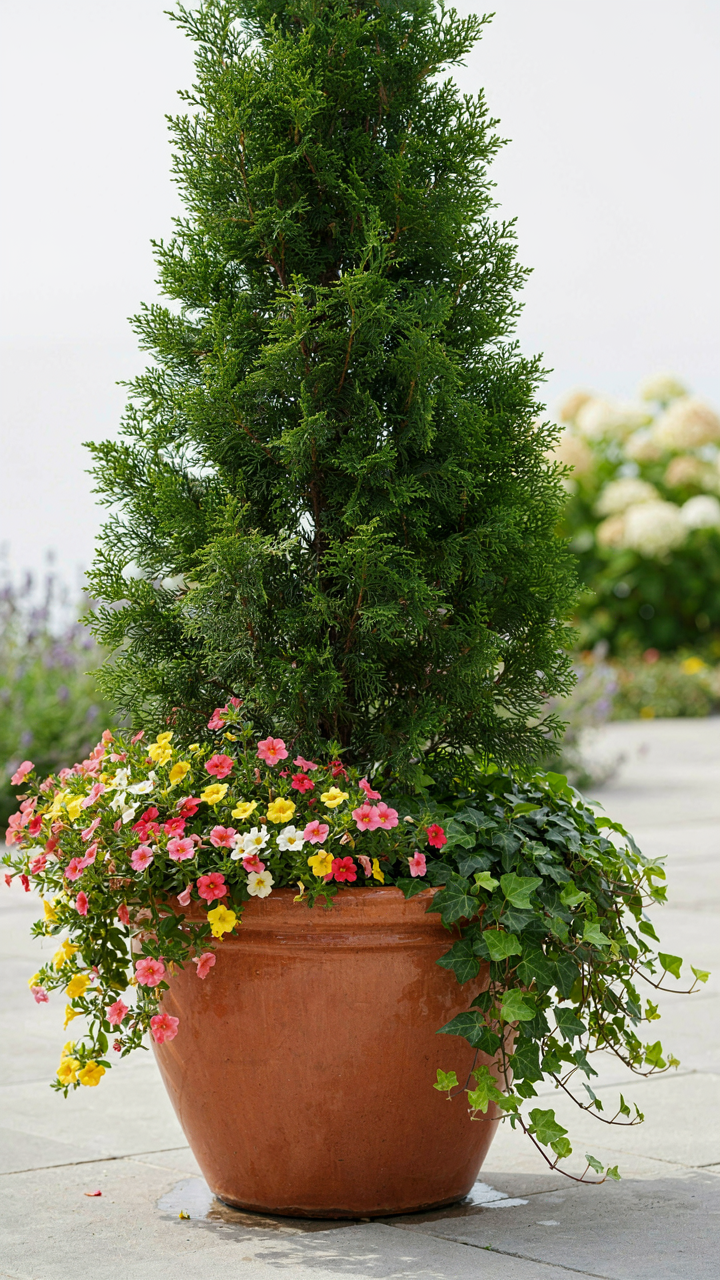
The mechanism is simple: design containers with three layers of lifespan. Your anchor plant stays permanent, usually a structural evergreen. Your seasonal star performs for six to eight weeks then fades. Your filler extends that window by shifting species as temperatures change. Spring tulips give way to summer calibrachoa, which yields to fall ornamental grasses. You’re not dumping soil and replanting. You’re removing spent plants and sliding new ones into existing gaps. This requires slightly loose soil composition upfront, which most people skip, then wonder why succession planting feels like extra work.
Structural Plant Architecture Wins The Stability Game
Biology teaches us that rigid structures resist collapse. Apply this directly: container combinations fail because they lack internal bracing. Your upright spike plant (celosia, salvia, ornamental grass) acts as the load-bearing column. Your trailing plants distribute weight laterally. Your mounding plant fills dead space and prevents soil from compacting around the edges where water channels out unused.
The common advice about “thriller, filler, spiller” is incomplete. It describes visual layers, not mechanical ones. Structural stability matters because wind loads hit containers harder than most people calculate, and a top-heavy combination tips or leans within two weeks. Your tall plant needs to originate from the container’s center mass, not the edge. Your trailers anchor at the rim and pull downward, countering uplift forces. Test this: a container with a centered spike and perimeter trailers withstands weather that topples one where all plants cluster together. Spacing placement by function, not aesthetics, extends container life and eliminates mid-season collapse repairs.
Pest & Disease Protocols: Proactive Defense In Garden Containers
Build Your Container Defense System
You’re worried about losing plants to bugs you didn’t see coming. The real mechanism is this: containers are closed ecosystems. Pests multiply faster in isolation than in open garden beds because predators can’t find them, airflow is restricted, and you’re watering the same soil repeatedly, creating humidity pests love. Think of it like military defense: containers need perimeter control before invasion, not after.
Start with physical barriers and soil hygiene. Use sterile potting mix every season—never reuse old soil without pasteurizing it. Screen drainage holes with fine mesh to block fungus gnats from entering below. Inspect every plant before it enters your patio. Quarantine new additions for two weeks minimum. Space containers to allow air circulation, which deters fungal spores and reduces pest habitat.
- Sterile potting mix: Fresh mix each season eliminates soil-borne pathogens and pest larvae already present in recycled containers and old media.
- Mesh screening on drainage: Gnats and other insects enter through drainage holes; screening creates a one-way valve for water, not pests.
- Quarantine protocol: New plants harbor hidden infestations; isolate them away from your main patio collection for observation.
- Container spacing: Touching containers allow pests to migrate between plants; spacing forces them to travel exposed, where you spot them.
- Neem oil applications: Apply preventively on a two-week schedule during warm months before infestations establish, not after you see damage.
The point is prevention scales. One infested plant isolated in quarantine costs you time. One infestation spread across your entire patio collection costs you the season.
Catching Problems While They’re Small
Early detection works only if you know exactly what to look for and check consistently. Most people scan containers once weekly, which is too slow. Pests reproduce on a cycle measured in days, not weeks. A single spider mite today becomes a population explosion by your next inspection.
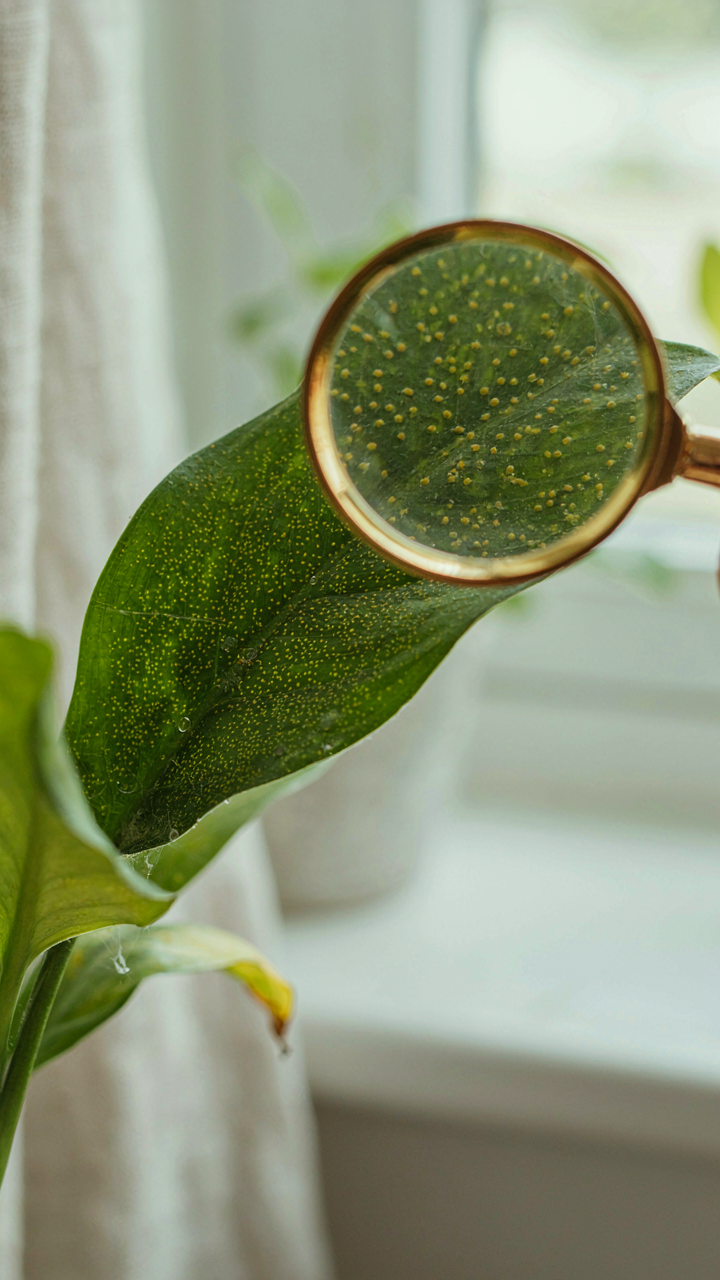
Check the undersides of leaves every two days during peak pest season. Spider mites, scale insects, and whiteflies colonize leaf undersides first where light is low and predators miss them. Look for sticky residue on leaves below the infestation—that’s pest excrement, a leading indicator of population density. Yellow stippling on upper leaf surfaces confirms spider mites are feeding. Isolate any container showing these signs immediately, treat it separately, and monitor surrounding plants harder for the next three weeks. Early treatment with insecticidal soap stops mites before they spread; delayed treatment requires stronger interventions like sulfur dust or repeated neem applications.
Winter Survival: The Overlooked Season For Porch Flowers

Know Your Plant’s Real Limits
You care about this because dead containers feel like personal failure. The mechanism is simple: hardiness zones measure the minimum temperature a plant survives, not thrives. Your USDA zone tells you the coldest average winter low in your area. A plant rated for zone 5 dies reliably in zone 3, regardless of how well you tend it. This is biology, not negotiable.
Most gardeners ignore their zone and buy what looks good at the nursery. They lose the container every January and blame themselves. The fix is backward: choose plants rated two zones colder than your actual zone, then you survive the bad years. Check the tag before purchase. If the tag doesn’t list a zone, don’t buy it for winter containers. Overwintering a marginal plant wastes time and money.
Techniques That Actually Protect Containers
Most overwintering advice is incomplete because it treats containers and ground plants the same. Containers lose heat from all sides, not just the top. Soil temperature in a pot drops 10 to 15 degrees faster than in ground beds. This acceleration means your plants need active protection or they fail.
The real protocol: move containers to the south side of a building, against the wall. Wrap the pot itself in burlap or move it into a cold frame. Group pots together so they share heat. Water only when soil is bone dry to avoid ice formation that splits the pot. In spring, move containers gradually into light over two weeks rather than sudden exposure. This step prevents shock and keeps roots from failing under the new sun intensity.
Pruning For Performance: Shaping Your Flower Container Combinations
How Plants Respond To Pruning Cuts
You want your containers to look full without micromanaging them every week. Here’s what actually happens: pruning triggers auxin redistribution. Auxin is the plant hormone that suppresses lateral bud growth when it concentrates at the terminal tip. Cut the tip, and you remove the chemical brake on side shoots. Those dormant nodes activate and push out growth where you cut, not where the plant wants to grow. This is basic plant physiology. Most people think pruning just removes dead weight. It’s a hormone hack.
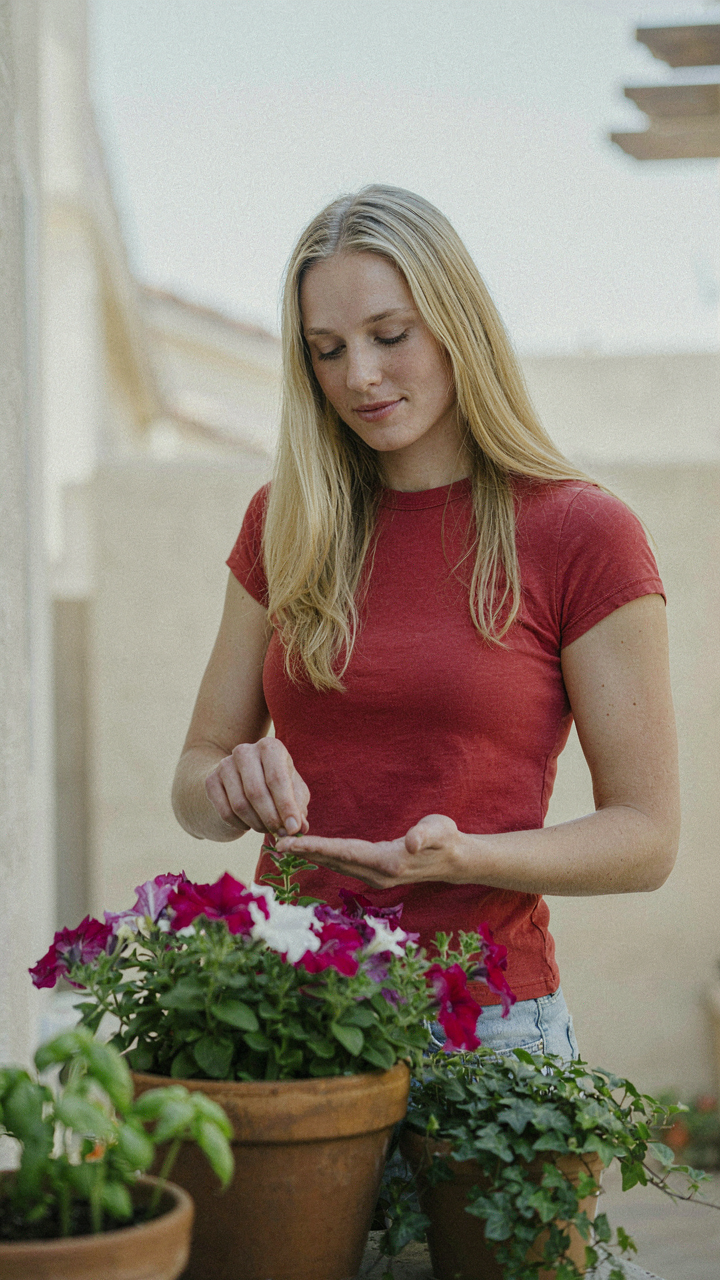
When you prune a petunia, verbena, or calibrachoa in a container, you’re not cleaning up. You’re redirecting the plant’s energy budget toward lateral branching. Pinch or cut above a node, and the plant reads that as permission to activate buds below. The result is bushier structure without adding fertilizer. Containers already fight height constraints, so strategic pruning compounds that advantage. Remove the top third of growth early in the season, and you get a wider plant that fills the container’s horizontal plane instead of stretching vertical.
Deadheading Versus Structural Pruning
These are not the same operation, and treating them as interchangeable wastes effort. Deadheading removes spent flowers to trigger more blooms and extends flowering cycles. Structural pruning cuts back portions of the plant to reshape architecture and control size. You deadhead weekly or bi-weekly once blooms appear. You do structural pruning once or twice early in the season, before peak flower production. Confuse these and you either spend hours pinching off flowers or you end up with an overgrown leggy container in mid-summer with no pruning window left to fix it.
Structural pruning happens in weeks two and three after planting. Cut back new growth by a third. This forces the plant to branch instead of shoot upward. Once flowers arrive, stop structural work and switch to deadheading only. Removing spent blooms keeps the plant signaling for more flowers without disrupting the shape you established. The mechanism is different: structural pruning uses auxin response for form. Deadheading uses bloom absence to trigger flowering hormones. Prune for shape early. Deadhead for volume later.
The Only Thing Limiting Your Patio Garden Is Your Willingness To Confront Biological Reality

Most people fail at patio containers because they ignore what plants actually need, not what Instagram tells them to plant together. Stop designing for aesthetics first. Choose your sun exposure, your watering capacity, your climate zone. Then build containers around those constraints. Pick one shaded corner of your patio today and commit to observing it for a full week. Notice where the light hits. Notice how the wind moves. Notice where water pools. That’s your design brief. Your patio containers will only succeed when you stop fighting what nature demands and start building with it.



