
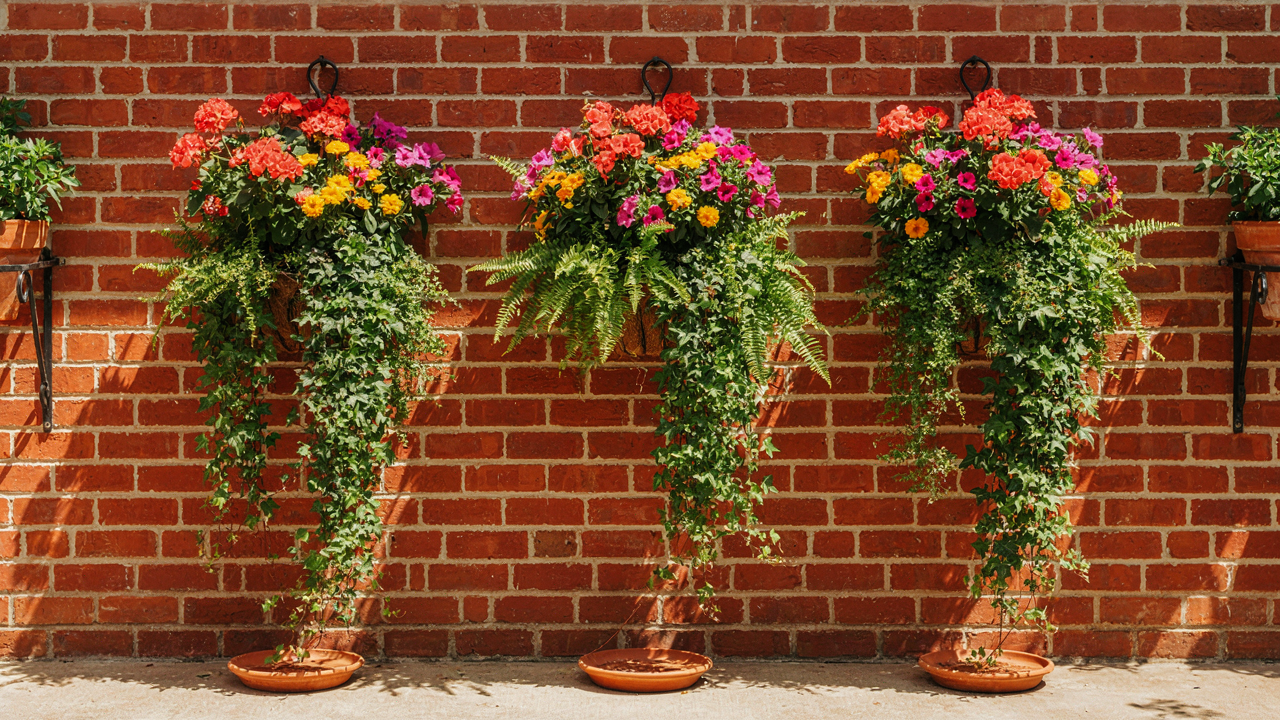
The Illusion Of “Simple”: Why Your Hanging Basket Brackets Fail
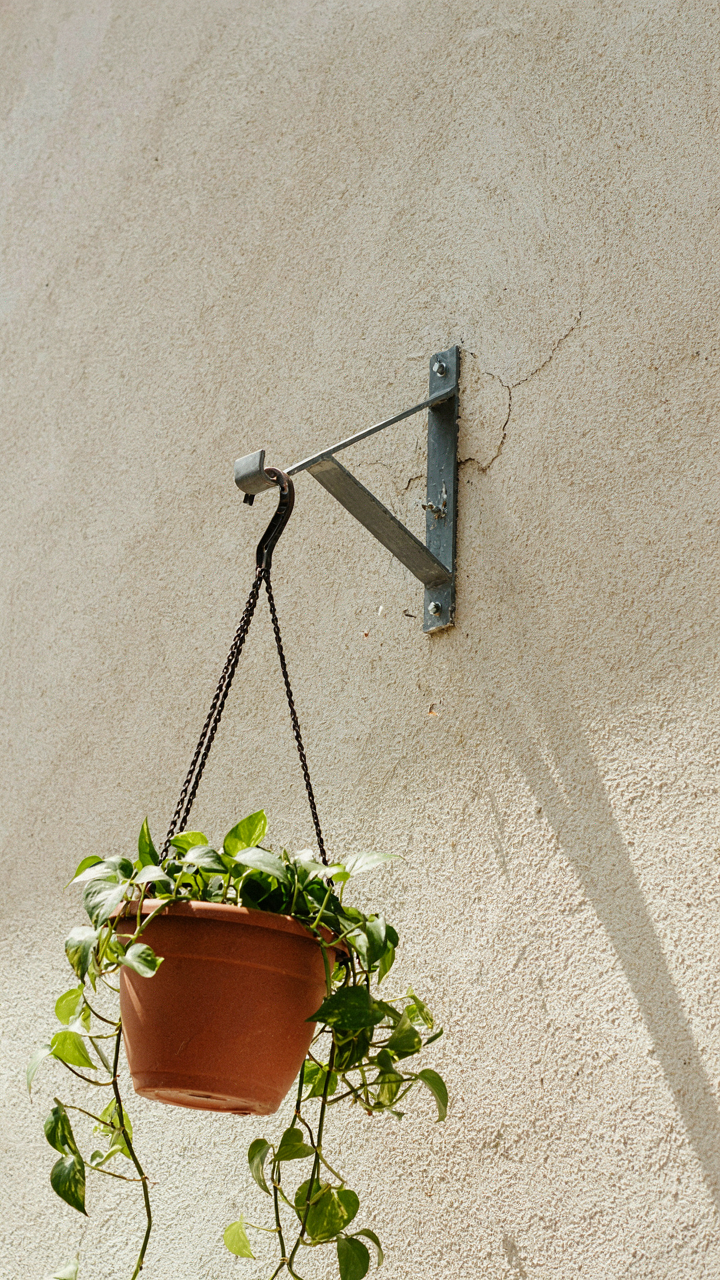
What Everyone Gets Wrong About Bracket Design
You want to believe installation is just drilling and hanging. The real fear is that you’ll mess it up and destroy your wall or watch your plants crash to the ground. Here’s what actually matters: bracket failure is a load distribution problem, not a fastener problem. Most people blame the screw. The screw isn’t the weak point. The bracket geometry and how force travels through it determines whether your setup holds or fails.
The standard advice says “use the right anchor for your wall type.” That’s incomplete. Anchors matter, but they’re downstream of a bigger issue. Your bracket design—specifically the angle of the arm and the distance from the wall to the load—creates leverage that multiplies the force hitting your wall exponentially. A shallow-angle bracket spreads stress. A steep one concentrates it. Almost nobody talks about this before buying.
Load Capacity Means Nothing Without Context
Every bracket lists a weight rating. Nobody reads the fine print about where that rating applies. The stated capacity assumes ideal conditions: the load centered directly below the fastening point, perfect wall material, zero dynamic stress. Real hanging baskets don’t follow this math. Wind moves them. Water adds sudden weight during watering. The bracket arm extends away from the wall, creating a lever. Physics says: force equals mass times the distance from the pivot point. Your wall anchors are that pivot. A 10-pound basket hanging 8 inches out creates 80 pounds of rotational force at the bracket base.
Ignore this mechanism and you get predictable failure. The anchor holds initially. The bracket arm flexes under repeated stress. Micro-cracks form in the drywall or concrete around the fastener. Within weeks or months, the whole assembly shifts. Then it fails fast. The real capacity of your setup is the bracket weight rating divided by the distance ratio between the load and the wall. Calculate that before you hang anything.
The Foundation Fallacy: Wall Brackets Are Not Universal

The Surface You’re Actually Mounting To
You want the bracket to work everywhere so you don’t have to think about it. That’s not how materials work. The substrate determines whether your bracket holds or fails, and most people skip this entirely because they assume “into the wall” means one thing.
Brick, wood, and vinyl siding are chemically and structurally different. Brick is porous and unforgiving. Fasteners compress the material rather than grip it. Wood accepts fasteners that cut threads as they go in, but fastener hold-strength depends on wood density and grain direction. Vinyl siding is hollow and flexible, designed to move with temperature, so a rigid bracket in vinyl creates leverage points that eventually tear through. Your bracket doesn’t fail because it’s weak. It fails because the installation method ignores what the surface actually is.
Fastener Strategy Changes The Load Equation
Material science dictates fastener selection, and this is where most installations go wrong. The right anchor or screw isn’t the strongest one. It’s the one matched to the substrate’s density, thickness, and shear capacity.
For brick, expansion anchors create mechanical lock by forcing a plug outward into the material. For wood studs, lag bolts or wood screws directly thread into grain and hold through friction. For vinyl siding, you need fasteners that distribute load across a wider area rather than concentrating pressure on a single point. Using a standard anchor in brick, then expecting the same fastener to work in siding, guarantees one of them fails. Test your substrate first. Drill a small pilot hole. Check what comes out. That tells you density and composition. Then select fasteners rated for that specific material and the load weight of your basket.
The “Black Wrought Iron Plant Hanger” Deception: Aesthetics Vs. Engineering

Where Beauty Betrays Load Capacity
You want the wrought iron look because it signals taste and permanence. Here’s what actually matters: wrought iron hooks sold today aren’t wrought iron at all. They’re cast steel painted black. The distinction kills your plants. Cast steel fractures under repeated stress. Wrought iron, the real historical material, was hand-forged and fibrous, meaning it bent before it broke. When you hang a 40-pound basket on what you think is wrought iron, you’re betting on material science that changed 80 years ago. The mechanism is simple: manufacturers switched to casting because it’s cheaper and faster. You get the silhouette, not the structure.
Most people assume old-school materials perform better because they look better. Wrong. A modern powder-coated steel bracket rated for 75 pounds will outlast a “wrought iron” knockoff rated for 30 pounds. The weight limit is your real data point. Check the spec sheet before the finish. That number comes from destructive testing and material composition, not marketing copy. If the vendor won’t state a weight rating, they know it’s weak.
Paint And Corrosion Never Take A Day Off
Rust isn’t aesthetic damage you can ignore. It’s structural failure in progress. A painted finish on cast steel contains the rust for months, sometimes a year. But paint cracks from UV exposure and temperature cycling. Once moisture reaches the substrate, rust accelerates below the paint layer where you can’t see it. By the time the black finish looks compromised, the metal beneath has lost 30 to 40 percent of its cross-sectional thickness in vulnerable stress points.
Powder coating outlasts paint by 5 to 10 years because it forms a thicker, more durable polymer barrier. Galvanized steel beats both. The zinc layer corrodes preferentially to the steel underneath, buying you time. If you live in a coastal region or high-humidity climate, galvanized isn’t optional. It’s the protocol. Buy the bracket with the highest-rated finish for your environment, inspect it every 18 months, and replace it when the coating fails. Don’t wait for visible rust to make the call.
The Gravity Protocol: Engineering Your Hanging Plant Bracket Outdoor

Extension Arms And Load Distribution
You want your bracket to hold without failing because failure means a dead plant, a damaged surface, and the nagging feeling you cheaped out. Borrow the physics concept of leverage: your bracket functions as a rigid lever, and the distance from the wall to the basket’s center is your moment arm. A twelve-inch arm supporting a thirty-pound load creates three hundred sixty foot-pounds of rotational force at the mounting point. The wall anchor must counteract this entirely.
Most people ignore the extension arm’s role and simply buy whatever looks sturdy. The real mechanic is this: doubling your arm length quadruples the stress on your fasteners. A six-inch bracket holding the same weight half as far from the wall requires one-quarter the anchor strength. Your first move is measuring from wall face to basket center, then selecting brackets rated for that specific distance. Manufacturers list this spec because the math demands it.
Wind Load And Bracket Rigidity
Wind doesn’t push straight down—it hits sideways and creates angular force your bracket wasn’t designed to resist. A twenty mile-per-hour gust exerts lateral pressure that brackets rated for vertical weight alone cannot handle. The material and thickness of the bracket’s arm determine how much deflection occurs under this shear stress. Steel brackets deflect less than aluminum. Thicker arms deflect less than thin ones.
The standard advice says “just buy stainless steel.” That’s incomplete. Stainless resists corrosion, but material choice should drive from wind exposure first, then corrosion second. A thin stainless bracket flexes the same as a thin aluminum one under lateral load. Select bracket thickness based on your exposure level, then choose stainless or powder-coated steel as your corrosion barrier. Mount brackets with two fasteners minimum, three if your exposure is high wind, and space them vertically to distribute the shear load across multiple points on the wall.
The Unspoken Cost Of Cheap Hanging Plant Bracket Solutions
You’re Betting On Materials That Age Poorly
You want to believe the $3 bracket works because admitting it doesn’t means you wasted money and time already. That’s the real fear. Here’s the mechanism: cheap brackets fail through a simple material degradation cycle. Mild steel without proper coating oxidizes. Plastic brackets become brittle under UV exposure. Thin-gauge metal bends under load that a thicker bracket handles without strain. You replace the bracket. The plant comes down. You buy another one. Repeat.
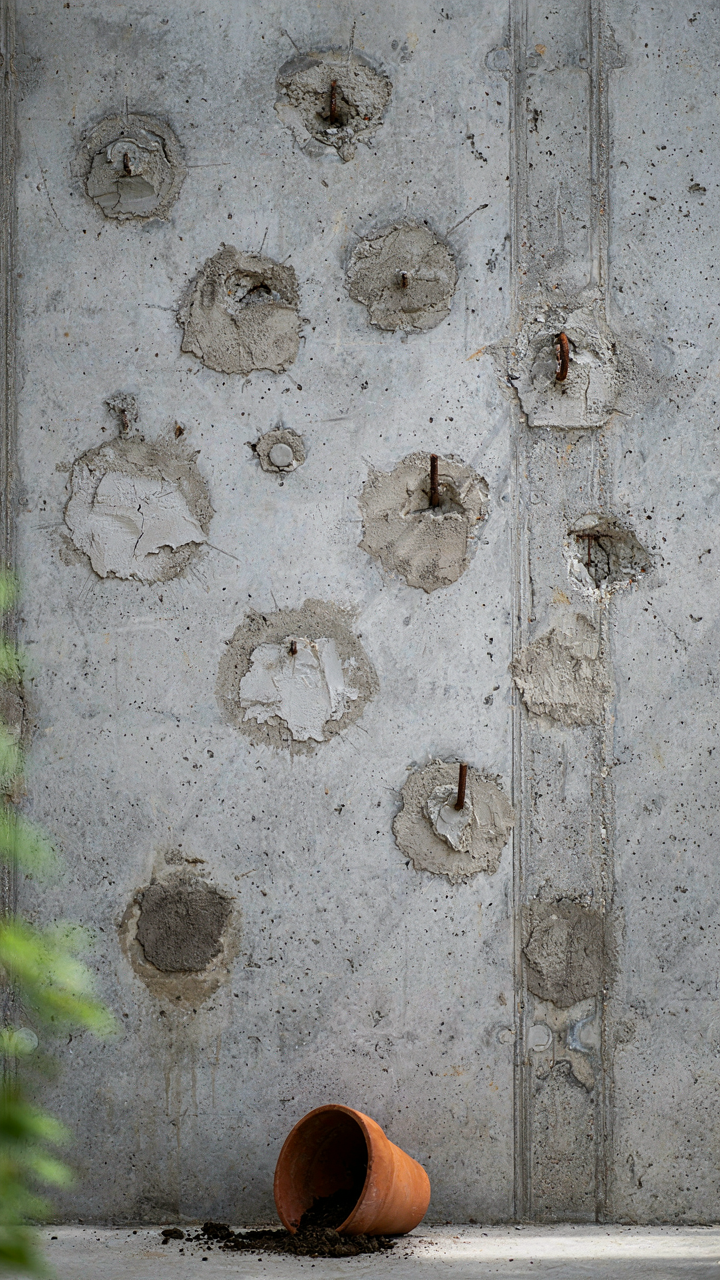
The math compounds against you fast. A bracket that lasts three months costs you four replacements per year. That’s twelve mounting holes drilled into the same wall section. Each hole damages the substrate slightly more than the last. The financial loss isn’t just the brackets themselves. It’s the compounding damage to the surface you’re installing them on.
Wall Damage Escalates Faster Than You Notice
Economics calls this negative externality: the cost you don’t account for until it’s severe. With brackets, the externality is structural. Each failed bracket leaves a hole. Each new hole through crumbling drywall weakens the anchor point for the next bracket. Cheap plastic anchors pull out of damaged holes. You drill higher. You drill lower. You drill to the side.
After four or five replacement cycles, you’ve created a section of wall that won’t hold any bracket securely. The wall needs repair before you can mount anything else there. Meanwhile, a plant falls during the replacement process and breaks. Soil spills. The basket cracks. You’ve now spent more on repairs and replacements than you would have spent on one quality bracket from the beginning.
Beyond The Hook: The ‘Hanging Basket Wall’ System

Stacking Brackets For Density
You want to feel like you’ve solved something without actually committing to a real garden redesign. The mechanism people miss: bracket systems work on the same load-distribution principle as load-bearing walls in architecture. Each bracket carries its own weight instead of forcing one anchor point to handle everything.
Modular bracket frames hold multiple baskets in a single footprint. Steel or aluminum rails mount horizontally or vertically, then individual brackets slide into predetermined positions. This removes the guesswork of spacing and prevents the common mistake of random hole-drilling that weakens walls. You install once, adjust basket positions infinitely.
The actual advantage is adjustability without damage. Traditional methods require drilling new holes when you want to rearrange. Modular systems let you move baskets up, down, or sideways by repositioning brackets along the rail. Heavy-duty rails handle repeated bracket movement without degradation, which matters when you change your layout seasonally or experiment with plant combinations.
Installation starts with a level and stud finder. Mount the rail to solid framing with lag bolts, not drywall anchors. Space brackets every 12 to 16 inches depending on your basket weight and rail material specifications. Confirm each bracket locks securely before hanging any basket.
Vertical Growth Within Arm’s Reach
Space efficiency is the frame, but execution determines whether this becomes functional or becomes clutter. Climbing plants, cascading varieties, and compact root systems stack vertically without fighting each other for nutrients or light.
Vertical arrangements solve the real problem: ground-level garden space disappears fast in small yards. Stacking baskets forces you to think in zones. Lower baskets catch shade and morning moisture. Upper baskets get unobstructed sunlight and drain faster. Each level performs a different ecological role instead of competing at the same height.
Plant selection makes vertical gardens survive or fail. Shallow-rooted trailing petunias work. Deep-rooted tomatoes do not. Ivy, jasmine, and sedum tolerate confined spaces. Herbs like oregano and thyme actually thrive in basket density because drainage improves at height. The bracket system becomes dead weight if you force incompatible plants into it.
Start with three baskets on a single rail and observe light patterns before expanding. Place shade-tolerant plants at the bottom, sun-dependent varieties at top. Water runs down from upper baskets to lower ones, so position moisture-loving plants lower on the wall. Adjust this hierarchy based on what dies first.
Outdoor Hanging Brackets: Weathering The Storm Of Ignorance

The Metal That Actually Survives
You care about this section because rust stains on your patio look like failure. Here’s the mechanism: corrosion isn’t random decay—it’s an electrochemical reaction between metal, oxygen, and moisture. Galvanized steel dominates the market because the zinc coating sacrifices itself first, protecting the steel underneath. Stainless steel works differently. It forms a passive oxide layer that regenerates when scratched, making it self-healing in normal conditions. Aluminum oxidizes instantly but that gray layer actually stops further corrosion, unlike iron oxide which keeps eating inward.
The common advice says “just use stainless.” Wrong. Stainless fails fast in salt air environments because chlorides penetrate that oxide layer. Galvanized outlasts it in coastal zones by design. The real protocol: match the coating to your climate. Galvanized for humid or salty regions. Stainless for mild climates where salt spray isn’t a factor. Powder coating over any base metal adds a barrier, but only if applied correctly during manufacturing—field applications chip and fail within seasons because installers don’t prep surfaces properly.
Metal Movement Under Heat And Cold
Physics calls this thermal expansion, and brackets experience it like any fastened structure. When temperature swings 80 degrees between summer sun and winter cold, the metal expands and contracts. Most brackets use steel or aluminum—aluminum expands almost twice as much as steel per degree. This creates problems when you bolt a steel hook to an aluminum bracket. They move at different rates. Fasteners loosen. Joints fail. Paint cracks at stress points.
The standard fix people apply is worthless: “just tighten it more.” That guarantees the bracket fails faster because you’ve already created tension the movement can’t absorb. The actual mechanism requires slip-fit design or material matching. Pre-drill holes slightly larger than fasteners. Use washers to distribute load. Better: buy brackets where the hook and bracket are the same material so they expand together. Installation matters more than the material itself here—a properly installed mismatched set outlasts a poorly installed matched set by years.
The Metal Hanging Bracket Conundrum: Steel Vs. Aluminum Vs. Iron

Why The Material Choice Actually Matters
You care about this section because you want to pick the “right” material and feel confident you won’t look stupid when it fails. Here’s the mechanism: tensile strength is how hard a material resists being pulled apart, and weight is how much force gravity applies to the bracket itself. Steel has high tensile strength but adds significant load. Aluminum trades some strength for weight reduction. Iron sits between them but rusts aggressively unless coated. The real constraint isn’t the material’s capacity to hold weight, it’s whether your wall anchor can handle the combined load of bracket, basket, soil, and water without pulling free.
Most people fixate on the basket’s weight limit and ignore the bracket’s actual stress distribution. A steel bracket rated for 50 pounds doesn’t mean your drywall anchor can take 50 pounds. The bracket concentrates force at two or three mounting points. Material science calls this “load concentration.” Your bracket transfers that load through a narrow contact zone, which is why a thinner aluminum bracket with better anchor placement often outperforms a heavier steel one bolted into inadequate fasteners.
How Manufacturing Changes What You Actually Get
Welding versus casting produces brackets with fundamentally different failure modes, and the industry doesn’t talk about this plainly. Welded brackets join separate pieces using heat and filler metal. Casting pours molten material into a mold. Welded steel brackets can fail at the weld joint if the welder didn’t penetrate properly, while cast iron brackets can develop internal voids during cooling that become fracture points under tension. A welded bracket gives you visible quality if you inspect the bead, but a cast bracket hides its defects until failure.
The manufacturing method determines how the material behaves under repeated cycles of weight shift and weather exposure. Welded brackets handle dynamic loading better because the metal flows and bonds across the joint. Cast brackets are rigid but brittle. If you’re choosing between a welded steel bracket and a cast iron one at the same price point, the welded option will outlast it in real conditions because casting introduces hidden weak points that expand over time through freeze-thaw cycles. Inspect the connection point where the bracket meets the wall mount—if it’s smooth and uniform, welding created it; if it has a seam line or rough transition, that’s casting.
The Elevated Aesthetic: Hanging Lantern Brackets For Purpose

What Hanging Brackets Actually Hold
You want people to notice your space without trying too hard. That’s the real reason you’re reading this. But here’s what everyone misses: a hanging bracket is a load-bearing anchor point, not decoration. Think of it like structural engineering’s concept of load distribution. The bracket doesn’t hold weight evenly across its surface. It concentrates force at specific attachment points into your wall or ceiling. Most people install these brackets treating them as interchangeable hangers. They’re not. A lantern bracket that holds a 15-pound light fixture requires different anchor geometry than one holding a 3-pound plant basket. The metal gauge, the angle of the arm, and the fastener type all shift based on what you’re suspending. Choose the wrong one and you’re not just wasting money. You’re creating a liability.
Lantern brackets extend beyond plants because the mechanism is universal: secure a decorative object at height using minimal visual intrusion. This works for outdoor lighting because the bracket’s horizontal arm positions the fixture away from the mounting surface, casting light outward instead of flat against the wall. It works for bird feeders because the same arm length that distances a lantern from heat reflection distances feed from predators on the ground. The bracket solves a single structural problem repeatedly. Your choice of what hangs depends on what problem you’re solving in that specific location, not on bracket versatility.
Position Creates Function And View
Functional beauty isn’t a phrase. It’s a result of placing objects where they solve problems while existing in sight lines. Most advice says “hang brackets at eye level for visual balance.” That’s incomplete. Eye level changes based on approach angle and standing position. What matters is the bracket’s position relative to three things: light source, traffic pattern, and what’s behind it. A lantern bracket on a south-facing wall at 8 feet high catches afternoon sun and casts dramatic shadow patterns on the surface behind it. The same bracket at 6 feet on a north wall becomes ambient without shadow play. One is functional because it controls light. The other is functional because it doesn’t interfere with it. Neither is better. Both are purposeful.
Strategic placement means you map these variables before drilling. A bird feeder bracket should hang where you can see it from your most-used interior window, but high enough that jumping predators can’t reach it. That might be 7 feet up on the back fence post, not 5 feet on the front corner. A light fixture bracket should position the source to illuminate a pathway or seating area, not just dangle in dead space. Placement also accounts for maintenance: can you reach it safely to clean or replace bulbs? The bracket’s location determines whether your hanging system becomes a functional asset or a forgotten installation you avoid maintaining.
The Permanent Solution: Investing In Unshakeable Support

Where To Source Hardware That Actually Lasts
You want this section because you’re tired of replacing cheap hooks every season. The real mechanism is material specification. Most people buy whatever’s on the shelf at a big box store without checking the tensile strength or corrosion rating of the metal. That’s the gap between a hook that fails in eighteen months and one that holds for a decade.
Professional-grade sourcing means knowing what materials match your climate and load requirements. Stainless steel, galvanized steel, and powder-coated aluminum each perform differently depending on humidity, salt exposure, and weight demand. Buy from suppliers who list material specs and load ratings, not from retailers stacking product by price alone.
- Stainless Steel Brackets (Grade 304 or 316): Resists rust in humid and coastal climates. Grade 316 adds molybdenum for superior corrosion resistance in salt environments. Higher cost but eliminates replacement cycles.
- Galvanized Steel Hooks: Zinc coating protects underlying steel from oxidation. Cheaper than stainless but requires inspection every 2-3 years in high-moisture areas for coating breakdown.
- Powder-Coated Aluminum: Lightweight option with durable finish. Verify coating thickness exceeds 2.0 mils and check UV stability ratings for sun-exposed installations.
- Forged Iron Brackets: Heavy-duty option for extreme loads. Requires regular maintenance and repainting to prevent rust. Best for protected installations or decorative applications with lower weight demands.
- Hardware Suppliers vs. Retail: Industrial suppliers provide load ratings and material certifications. Retail stores rarely stock specs. Order direct from distributors for brackets rated beyond your actual load by a safety factor of two.
Installation location determines material choice more than aesthetics. A coastal property with salt spray needs stainless. A covered porch can use galvanized or powder-coat. Know your environment first, then match the metal to it.
Getting The Installation Right So It Never Shifts
Installation precision beats hook quality every time. Most people install brackets level by eye or trust a single fastener per anchor point. Wrong approach. The mechanism is load distribution and structural redundancy borrowed from civil engineering. A hanging basket isn’t a point load—it’s dynamic force that moves with wind and plant weight changes. You need multiple anchor points sharing that stress.
Drill pilot holes at exact depth using a stop collar on your drill bit. This prevents over-drilling into wall cavities or undershooting into surface material only. Use fasteners rated for your wall type: toggle bolts for drywall, masonry anchors for concrete, lag bolts for wood studs. Tighten each fastener in a cross pattern, not sequentially, to ensure even pressure distribution. Wait forty-eight hours before hanging the basket so adhesive anchors cure fully. Check tightness monthly during the first season because initial settling occurs. The installation holds not because the hardware is premium, but because you distributed force across multiple points and verified anchor depth before loading weight.
The Real Obstacle Isn’t The Bracket; It’s Your Fear Of Committing To Permanence
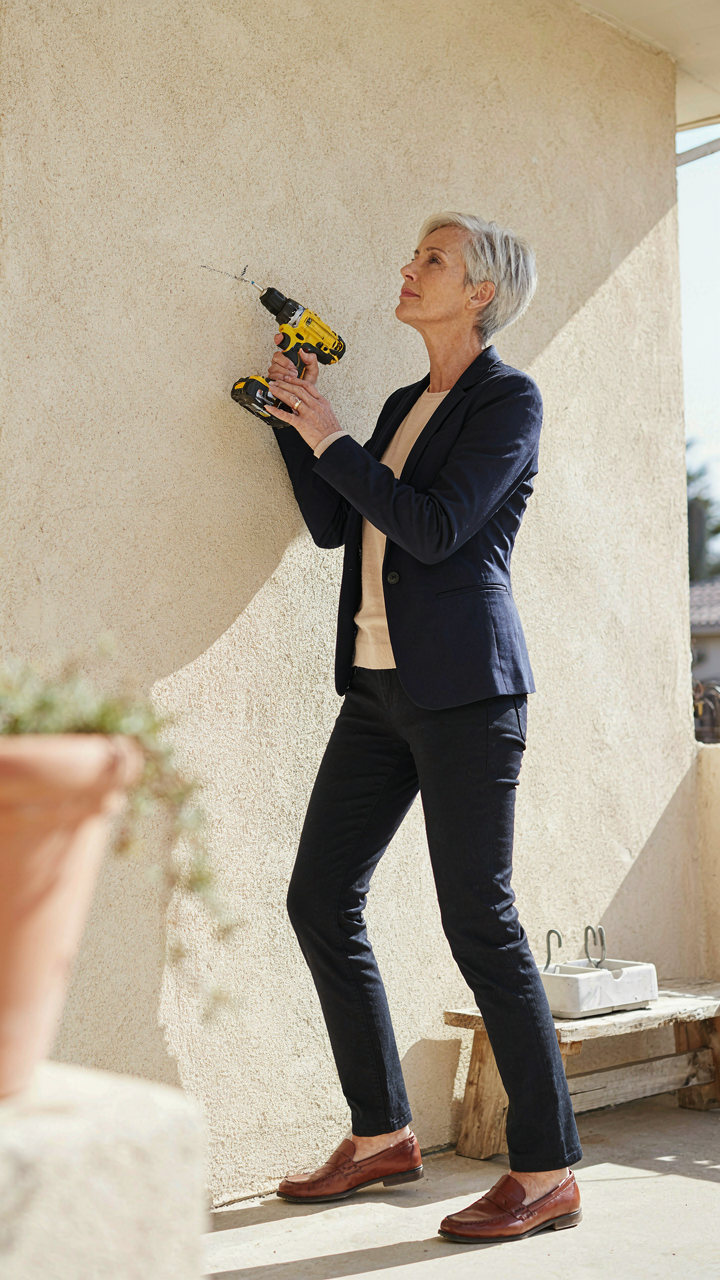
You don’t hesitate on hanging basket hooks because you lack information. You hesitate because drilling into your wall feels permanent. But here’s the shift: permanence is freedom. Pick a hook today. Mark the wall. Drill the hole. The worst outcome is filling one small hole later. What stops most people isn’t incompetence—it’s the paralysis of waiting for perfect conditions that never arrive.



