

The Illusion Of Aesthetic Greenhouse Shelving Ideas
When Instagram Becomes Your Grow Plan
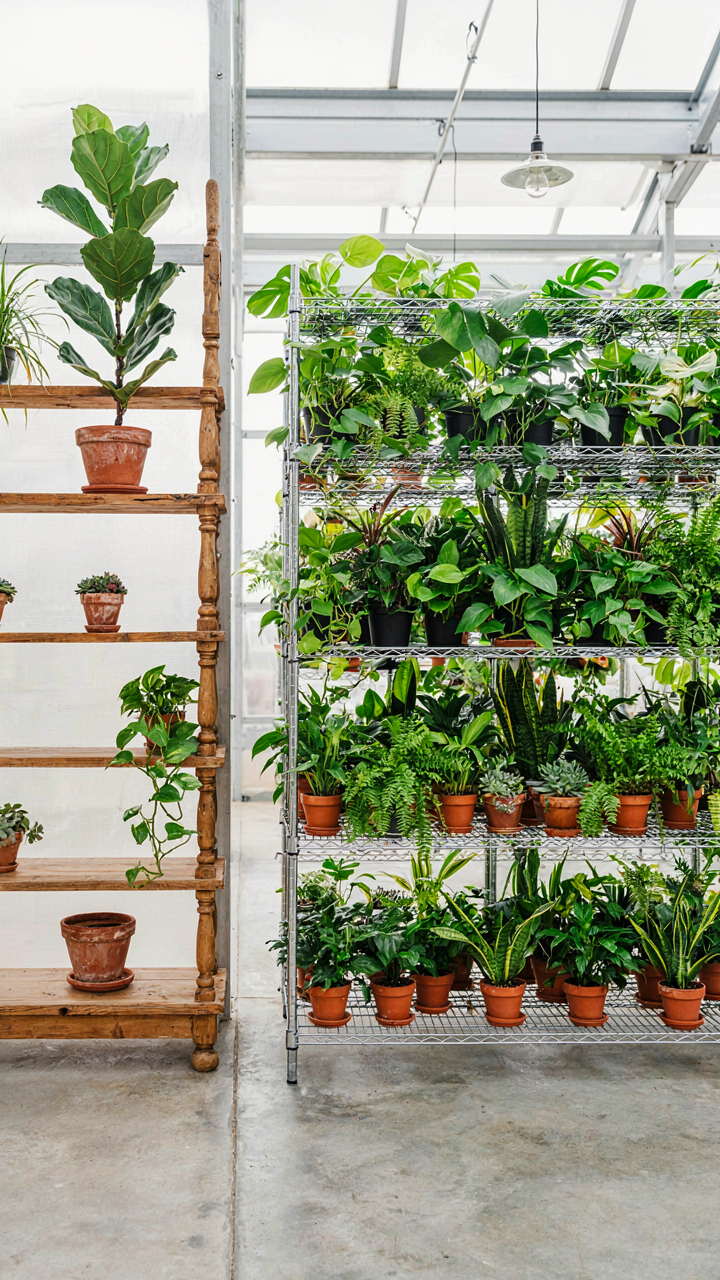
You want your greenhouse to look intentional. That’s not shallow, but it’s also not why you’re actually here. You’re avoiding the fact that most people choose shelving based on how it photographs, not whether plants survive on it. This is a display problem masquerading as a design problem. The mechanism is simple: light distribution follows physics, not aesthetics. Shelves positioned for symmetry block airflow and create dead zones where fungal issues breed unchecked. A visually balanced layout often means unbalanced light exposure across your plants.
Real greenhouse shelving solves for environment first, then appearance follows. Metal shelving with proper spacing performs better than reclaimed wood arranged for mood. The shelves that look “natural” or “rustic” in design often trap moisture and deteriorate faster than industrial alternatives. You choose form over function, then blame the materials when your tomatoes get powdery mildew in July. The greenhouse is not an extension of your living room aesthetic. It operates under different rules.
The Cost Of Prioritizing Pictures Over Production
Every design decision you make in a greenhouse either improves or degrades growing conditions. Conventional advice says to “balance beauty and function,” which is corporate speak for “make the wrong compromise at half speed.” Shelving height, shelf density, and material choice determine light penetration, humidity management, and pest vulnerability. Tight spacing looks organized in a flat lay photo. It also creates microclimates where spider mites thrive and air stagnates. You end up replacing shelves annually because they rust faster when moisture can’t escape underneath.
The real cost is vertical inefficiency. A shelf system designed for visual balance typically holds 30 to 40 percent less plant density than one optimized for airflow and light transmission. You’re paying for premium materials, then losing production capacity to achieve a staged appearance. Adjust shelf height based on plant type and growth stage, not on what creates visual rhythm. Space shelves 18 to 24 inches apart for most vegetables and herbs, measured from the top of one shelf to the bottom of the one above. This is not a design variable. It’s a biological requirement.
The 3 Tiered Efficiency Protocol For Greenhouse Shelving
Ground Level Load Bearing
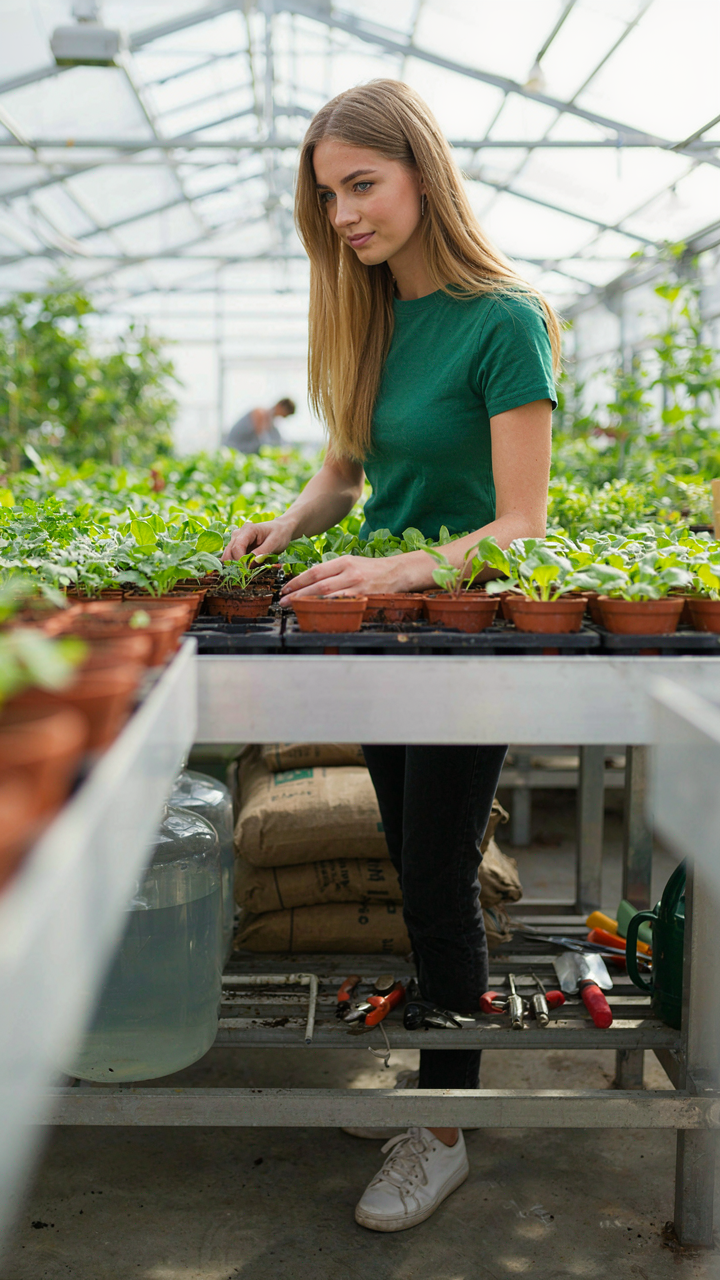
You want your greenhouse to look intentional, not like you’re storing chaos. That’s the real driver here. The mechanism is simple: gravity moves down, so your bottom shelf absorbs the heaviest objects and distributes their weight into the structure’s foundation. Water weighs 8.3 pounds per gallon. Soil, gravel, and tools stack fast. Put dense inventory where it belongs.
Bottom shelves need genuine load capacity, not aesthetic framing. Steel or reinforced wood withstands repeated weight cycles without deflection. Position water reservoirs, fertilizer bags, and hand tools here. This isn’t organization theater. You’re moving the operational friction point to where it costs the least energy to access repeatedly. Heavy objects stay low because moving them up and down daily burns your focus and your back.
Active Work Zone Placement
Middle shelves are where propagation lives, and propagation is where your greenhouse either generates value or wastes it. Borrow from manufacturing’s concept of the “point of use”—your mid-tier shelf should be exactly where your hands work most. Seed trays, active cuttings, daily monitoring equipment, and water misters live here at arm height and eye level.
This tier moves the fastest because it handles living material in transition. Seedlings germinate. Cuttings root. You check moisture daily. Organize by growth stage, not by alphabetical plant name. Everything you touch during routine operations stays within a two-foot vertical window around your torso. The fewer steps between task and tool, the more work actually gets done. Position your mid-shelf at 36 to 42 inches from the ground to match human working height.
DIY Greenhouse Shelves: The Strategic Minimalist Approach

Materials That Actually Hold Weight
You want shelves that look intentional, not like you assembled them from a hardware store bargain bin. Here’s what actually matters: load capacity beats aesthetics every time, and most people ignore this until plants crash through mid-season. Think in terms of structural engineering—load distribution is your constraint, not your budget.
- Pressure-treated lumber (2×10 or 2×12): Resists moisture and rot in humid greenhouse environments. Spans 3-4 feet without sagging under plant weight. Costs less than aluminum but requires yearly inspection for decay.
- Galvanized steel angle iron: Non-corrosive frame supports. Takes repetitive moisture cycles without degradation. Heavier than wood, harder to install solo, but outlasts lumber by decades.
- Polycarbonate or acrylic panels: Allows light transmission while bearing moderate weight. Better than solid shelving for plant visibility from below. Requires metal frame reinforcement every 18-24 inches.
- Concrete blocks or cinder blocks: Free-standing, infinitely stacked, zero rot risk. Heavy, inflexible, but ideal for temporary seasonal setups or test configurations before permanent install.
- Marine-grade plywood with epoxy coating: Mid-range option that handles moisture better than standard plywood. Coating adds cost but extends lifespan 5-7 years compared to bare wood.
Most greenhouse owners rotate their shelving material choice based on climate zone, not preference. If your greenhouse sits in high humidity with temperature swings, galvanized steel is non-negotiable. If you’re in a drier climate with seasonal use, pressure-treated lumber works fine. The mechanism is simple: material durability directly determines how often you rebuild.
Building Systems That Grow With You
Don’t build a fixed shelf grid and pray it fits your future plants. The real pattern here is modular stacking—borrowed from manufacturing, where production lines scale without redesign. Your shelves should support different configurations without permanent attachment.
Start with a base frame that bolts together rather than welds or screws. This means you adjust shelf height by 6-inch increments as plants mature or seasons shift. Horizontal bracing every third shelf prevents racking. The genius isn’t the materials—it’s that you can remove one shelf unit in March and add capacity in June without touching the structure below it. Most greenhouse builders bolt shelves to the perimeter walls for lateral stability, but this locks you into one layout forever. Instead, use vertical posts independent of the greenhouse frame and attach shelves to those posts only. You then own complete control over reconfiguration without structural compromise.
Light Dynamics: The Unseen Force Of Greenhouse Organization

Where You Place Shelves Actually Matters
You want your greenhouse to look deliberate, like you understand the space. Here’s what actually determines that: light doesn’t spread evenly. Think of it as a physics problem where your shelves are obstacles in a light field. The sun’s angle changes by season and hour, and shadows move. Most people stack shelves without mapping this first, then wonder why plants languish in the back while the front thrives. You need to physically observe light movement before you anchor anything.
Shelves should run perpendicular to your primary light source, not parallel to it. If light enters from the south, run shelves east to west so each shelf gets direct exposure on its surface rather than casting deep shadow on the tier below. Height matters more than people admit: lower shelves catch reflected light from soil and surfaces; upper shelves get direct beam. Measure shadow depth at three times of day before finalizing positions. This single step prevents the dead zone most greenhouses develop by default.
Filling The Gaps With Supplemental Light
Everyone says “add grow lights where it’s dark.” That’s lazy. The real problem is that supplemental lighting only works when integrated with your shelf geometry, not just bolted on as an afterthought. Consider spectral distribution: plants use blue wavelengths for vegetative growth and red for flowering. A single fixture overhead doesn’t match what the plant needs at different growth stages under different natural light conditions.
Mount supplemental lights on the undersides of shelves facing downward, angled slightly toward the plants below. This prevents wasted upward emission and creates consistent exposure for tiered plants. Use full-spectrum LEDs rated for horticultural use, not generic shop lights. Position fixtures eight to twelve inches above the plant canopy and run them for twelve to fourteen hours daily. Start with the shadowed zones identified in your light map, then expand based on actual plant performance over two growing cycles.
Inside Greenhouse Ideas: Humidity Regulation As A System
Airflow Considerations: Shelves As Flow Disruptors
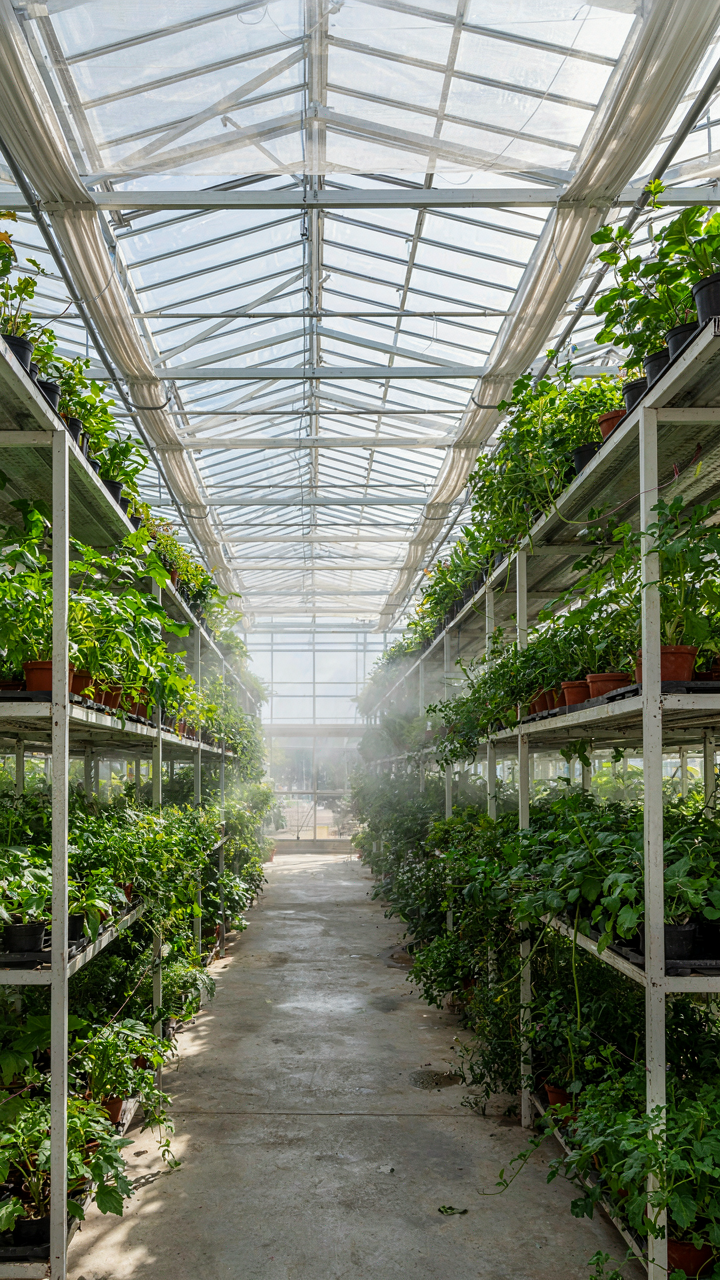
You want shelving that looks intentional, not like you’re just stacking plants on metal racks. Here’s the mechanism: shelves obstruct air movement, and stagnant air kills plants faster than most people realize. Use physics terminology: shelves function as baffles in fluid dynamics. They redirect airflow patterns rather than block them entirely. Spacing matters more than material. Slatted shelves beat solid ones because gaps let air pass through instead of pooling above and below each level.
Most greenhouse advice ignores this and just says “ensure ventilation.” That’s incomplete. The real work happens at the shelf level. Install shelves 18 to 24 inches apart vertically to allow air circulation between rows without creating dead zones. Position them perpendicular to your primary airflow direction, whether that’s from intake vents or fans. This forces air to move across plant foliage instead of bypassing it entirely.
Moisture Distribution: Misting Systems And Shelf Materials
Most people pick shelf materials based on aesthetics or cost, then wonder why humidity doesn’t distribute evenly across their plants. The material itself becomes part of your moisture management system. Metal conducts and dissipates moisture quickly. Wood absorbs it. Plastic traps it. Each choice changes how water moves through your greenhouse environment and which plants thrive where.
Steel slat shelving works best because moisture drips through rather than pooling on top. Pair this with drip irrigation or misting lines that run along the shelf length, not just overhead. Water your plants from above, but position misting nozzles to catch the overspray and rehydrate the air between shelf levels. Measure humidity at three points: top shelf, middle shelf, bottom shelf. If readings vary by more than 15 percent, your shelf setup is creating pockets instead of an even environment. Adjust nozzle placement until readings stabilize.
Ergonomics Of Growth: Designing For The Gardener, Not Just Plants

Working Height Optimization For Reduced Strain
You want this section because you’re imagining yourself effortlessly tending plants, not because you care about biomechanics. The real mechanism is simple: shelving height determines how many minutes per day your body stays in a pain position. Ergonomics borrowed from industrial workstations teaches us the concept of “neutral zone”—the height where your joints stay aligned. For greenhouse shelving, neutral zone means your elbows sit at roughly 90 degrees when you reach the shelf where you spend most time working. This isn’t preference. It’s physics applied to repetition.
Most gardeners stack shelves at whatever height fits their space, then wonder why their shoulders ache after thirty minutes of watering. Set your primary working shelf between 36 and 48 inches from the floor. Reach distance should not exceed 18 inches horizontally. Secondary shelves for storage or less-frequent tasks can go higher or lower. Your hands should do the work, not your spine.
Movement Flow: Pathways And Tool Access
The real problem isn’t shelf design. It’s that people arrange greenhouses like storage units instead of workspaces. You’ll move through your greenhouse hundreds of times per season. Each unnecessary step or blocked reach costs time you won’t notice until you total it. Main pathways need minimum 24 inches of width for comfortable movement. Place your most-used tools and supplies at elbow height and within arm’s reach of your primary work zone.
Tool access fails when shelving traps equipment behind other supplies. Mount a shallow tool rail or pegboard at 60 inches height along your main work wall. This keeps frequently used items visible and instantly grabbable without bending or reaching overhead. Your daily efficiency hinges on whether you can grab a trowel or pruner in under three seconds without reorganizing what’s in front of you.
The “Lean Manufacturing” Model For Greenhouse Shelving

Stop Designing For Instagram
You want your greenhouse to look intentional, not like you’re hiding poor planning behind aesthetics. Here’s the mechanism: lean manufacturing, borrowed from Toyota’s factory floors, eliminates motion waste. In greenhouse shelving, this means removing every shelf placement that doesn’t serve a plant’s actual needs or your workflow. A shelf positioned for visual balance but requiring you to reach awkwardly or creating dead zones wastes time and disrupts plant health.
Most people design shelving around what looks good in photos. They stack narrow shelves to maximize count, create asymmetrical patterns for style, or leave gaps between units for “breathing room.” None of this matters if plants suffer from poor air circulation, you waste forty minutes weekly retrieving something from a back corner, or you can’t actually water efficiently. Strip the design to what your plants require and what your hands need to accomplish the task.
Measure Your Motion, Not Your Aesthetics
Track every movement you make in your greenhouse for three days. Count steps to retrieve tools, reach plants, adjust watering systems, rotate stock. This data tells you where shelves belong and their optimal height and depth. Standard recommendations like “30-inch shelf depth” fail because they ignore your actual reach, your plant types, and your workflow pattern.
Height matters more than designers admit. Shoulder height works for frequent access. Knee height suits heavy, stationary pots you seldom move. Eye level catches pest damage early. Depth beyond 24 inches forces you into a poor posture that injures your back over months. Measure your own body, your own rhythm, your own plants. Then build shelving that removes friction from every single task you perform.
Beyond Fixed Structures: Modular Greenhouse Set Up Ideas
Rotating Systems That Match What Grows
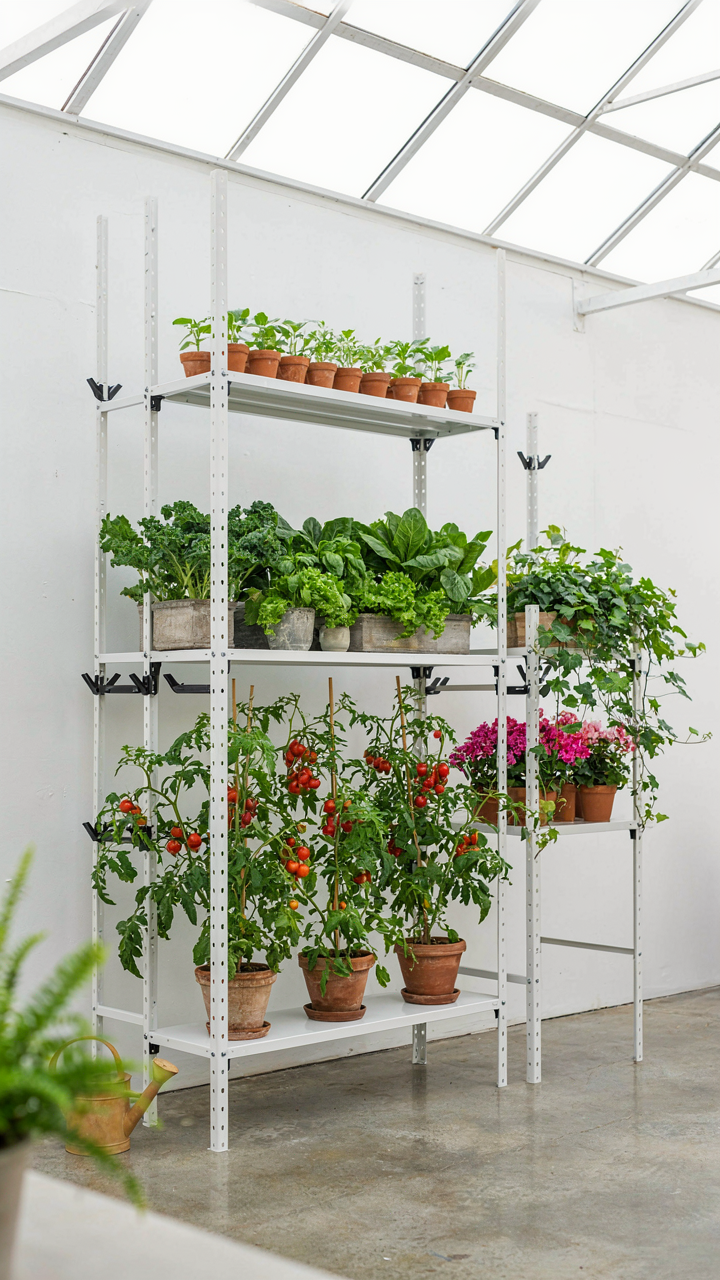
You want modular shelving because you’re afraid of being locked into one layout when your plants change. The real mechanism is biological succession—plants have different height and light demands at different growth stages, so your shelf arrangement must match the plant’s timeline, not your ego. Fixed structures force you to retrofit later. Modular systems let you shift height, spacing, and density without dismantling anything.
Tiered shelving with adjustable brackets solves this. Metal uprights with movable shelf pins let you raise or lower each tier in two-inch increments. Seedlings need dense, low stacking. Established plants need vertical spread. Fruiting crops need different spacing than foliage. You change the configuration seasonally—spring setup differs from summer differs from dormant season. The cost upfront is higher, but you avoid buying new units when your growing focus shifts.
Building For The Greenhouse You Haven’t Planted Yet
Stop planning for your current plant list. You’ll change it. Economics teaches us to think in terms of optionality—the capacity to change without massive sunk cost. Modular greenhouse shelving is optionality applied to vertical growing space. You preserve the ability to scale up, add specialty crops, or pivot to propagation without structural waste.
Design your framing with extra vertical clearance and oversized uprights rated for heavier loads than you need now. Use universal shelf bracket systems compatible with multiple shelf materials—wood, metal mesh, slatted trays, propagation flats. Buy the core structure, add shelves incrementally. This approach lets you add a misting system later, install grow lights in empty zones, or expand footprint. The protocol is simple: size your frame for 150 percent of your current need, then stock only what you use today.
The Zero Clutter Mandate For Greenhouse Interior Ideas
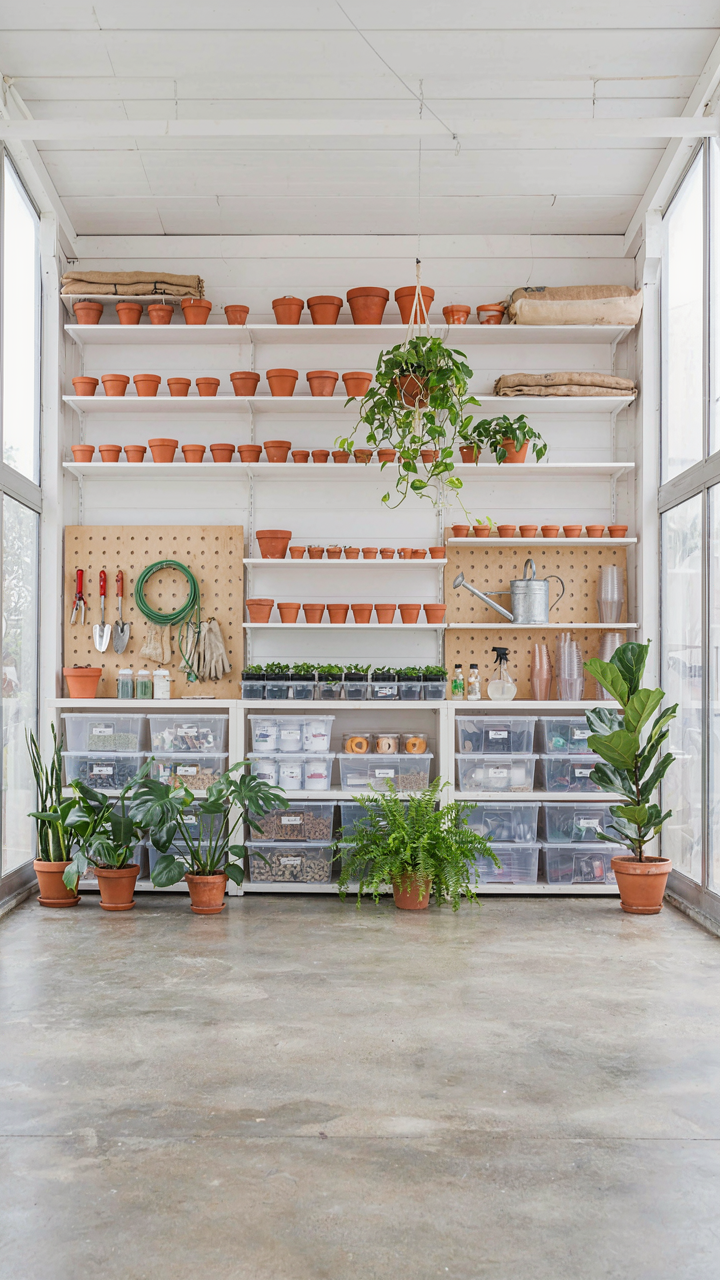
Storage Solutions That Disappear Vertical Space
You want the greenhouse to look intentional, not like a shed exploded inside it. Here’s what nobody says: vertical storage isn’t about aesthetics. It’s about inventory control. In warehouse management, they call it “cubic utilization”—maximizing every inch of space to minimize what sits on the floor taking up real estate. Your greenhouse operates the same way. Wall-mounted shelving, pegboards, and hanging systems compress your tools and supplies into the vertical plane, leaving the floor clear for actual work and plant movement.
The mechanism is simple. Horizontal floor space controls what you can do inside the greenhouse. Every square foot occupied by a shelf or storage unit is a square foot you cannot walk through, move pots across, or expand your growing area. Vertical storage inverts this equation. You gain storage capacity without losing functional floor space. Install shelving at arm height and above—use the dead space between your eye line and the roof. This frees the ground plane entirely.
Tools And Supplies Dedicated Accessible Zones
Most greenhouse owners scatter their tools everywhere. They have pruners in three locations, fertilizer bags piled wherever, and spend time searching instead of working. This is false efficiency masquerading as flexibility. Create one designated zone per tool category: hand tools in one corner, soil amendments in another, pots stacked in a third. This removes decision-making from the equation.
The zones must be accessible without obstruction. Position your most-used items at waist to shoulder height on sturdy shelving units. Reserve overhead space for seasonal or bulky items you access infrequently. Use clear containers or labels so you know what’s where without opening everything. The payoff is measurable: less time searching, fewer duplicate purchases, and fewer broken tools buried under other clutter.
Durability Vs. Delusion: Building Greenhouse Shelves That Last

Material Science: Rust, Rot, And UV Resistance
You want shelves that look good in photos because you’re secretly afraid you wasted money on your greenhouse setup. Here’s what actually matters: economics borrowed from materials engineering teaches us about degradation curves. Your shelf doesn’t fail suddenly. It follows a predictable decay pattern based on three variables: the material’s atomic structure, environmental exposure, and load stress over time.
Metal rusts through oxidation. Wood rots through moisture penetration and fungal colonization. Plastic degrades under UV radiation. Each process accelerates in greenhouse conditions because heat and humidity amplify chemical reactions. Galvanized steel resists rust longer than bare steel because the zinc coating sacrifices itself first, buying time. Pressure-treated lumber stops rot by blocking water absorption, but the treatment breaks down over years. Polycarbonate and high-density polyethylene resist UV better than PVC or acrylic, which yellow and become brittle within five to seven years of direct sun exposure.
The Math Of Buying Once
Nobody talks about this directly: cheap shelves are expensive when you factor in replacement labor. A wire shelving unit costs $60 and lasts three years before rust makes it unstable. A stainless steel or powder-coated aluminum frame costs $200 and lasts fifteen years minimum. The math isn’t complicated. Dividing total cost by years of service reveals the true annual expense.
Stainless steel costs more upfront but doesn’t rust, ever. Powder coating on steel rusts through once the finish chips, making it a fixed-lifespan product. Aluminum doesn’t rust but can corrode and weaken if not anodized. Cedar resists rot naturally but costs more than pressure-treated pine. The decision framework is simple: calculate replacement frequency for each option, then pick based on your replacement threshold, not your opening budget.
Your Greenhouse Isn’t Failing Because Of Bad Shelves, But Because You Treat It Like A Display Case, Not A Production Engine

Most people buy greenhouse shelving ideas and nothing changes. They arrange plants like furniture in a showroom. The real move? Build shelves that force workflow. Stack seedlings where you water them. Position cuttings where light hits hardest. Move mature plants through zones like a factory line. Your greenhouse produces results or it produces Instagram photos. Pick one and design accordingly. Stop decorating and start engineering.



