
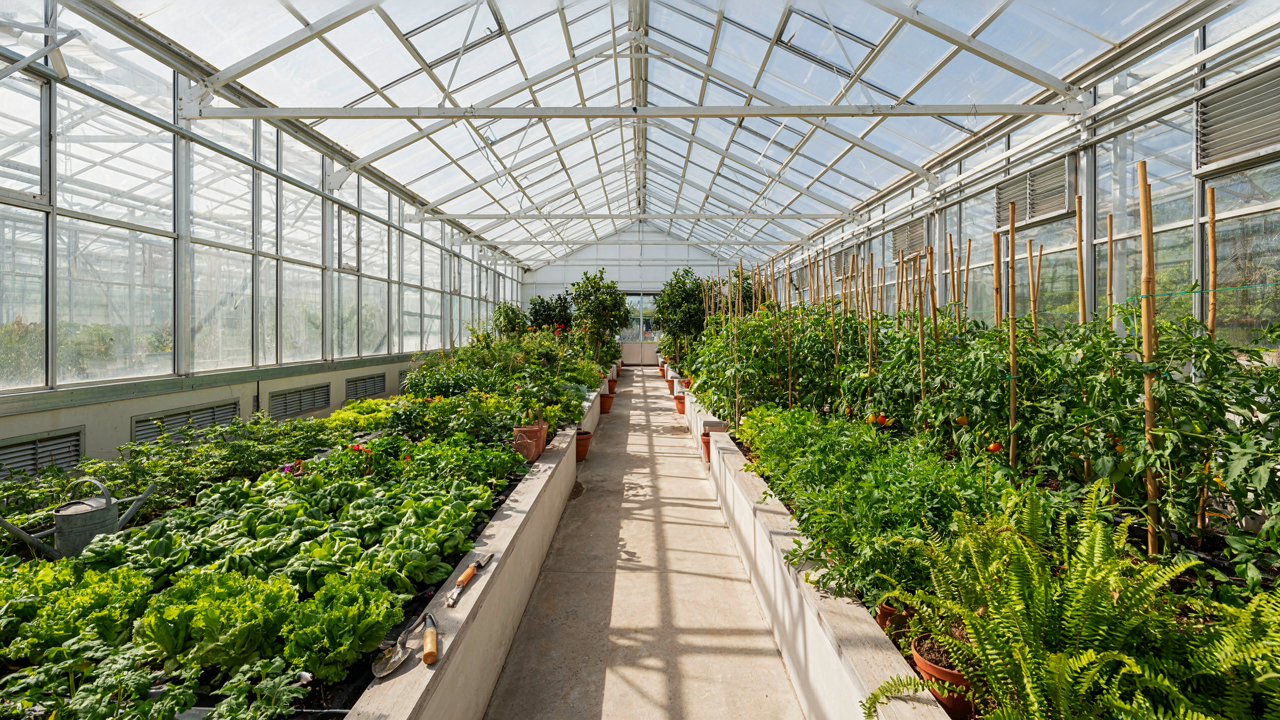
Why Your “Easy” Greenhouse Ventilation Is Failing (It’s Not What You Think)

Placement Beats Equipment Every Time
You want to believe a fan solves this because fans are cheap and require zero thinking. They don’t. The real problem is that most growers position vents and fans based on gut feeling instead of how air actually moves through three-dimensional space. Hot air rises. Cool air sinks. You need intake vents low on one side and exhaust vents high on the opposite side to create cross-ventilation. Without this opposing pressure dynamic, you’re just moving stale air around the same dead zones.
Most greenhouses fail because growers treat ventilation like decoration instead of thermodynamic infrastructure. You can buy the best exhaust fan on the market, but if your intake vent is on the same wall or blocked by plants, you’ve created a recirculation trap. The mechanism is simple: air follows the path of least resistance. If that path loops back through itself, temperature stratification wins and your cooling fails. Position intake vents where cool air enters naturally, then position exhaust where hot air naturally rises to exit.
The Automation Trap Nobody Admits
Set it and forget it sounds efficient until you realize most automated systems lack the sensitivity to detect micro-climate differences plants actually experience. A thermostat reads one point in space. Your greenhouse has multiple microclimates. The area near south-facing glass runs 8 to 12 degrees hotter than the shade zone by the north wall. An automated vent opener triggered at 75 degrees opens everywhere, cooling the cold zone unnecessarily while the hot zone stays dangerous.
The real cost is wasted energy and inconsistent growing conditions that stunt yields. Manual monitoring sounds old-school, but it forces you to observe what’s actually happening instead of trusting a sensor. You notice when humidity spikes in the corner. You catch when afternoon sun creates a heat pocket. You adjust intake and exhaust balance based on real conditions, not preset numbers. Start with basic thermometers in multiple zones, then graduate to automation only after you understand the patterns you’re trying to solve.
The Stack Effect Protocol: Mastering Natural Outdoor Greenhouse Ventilation
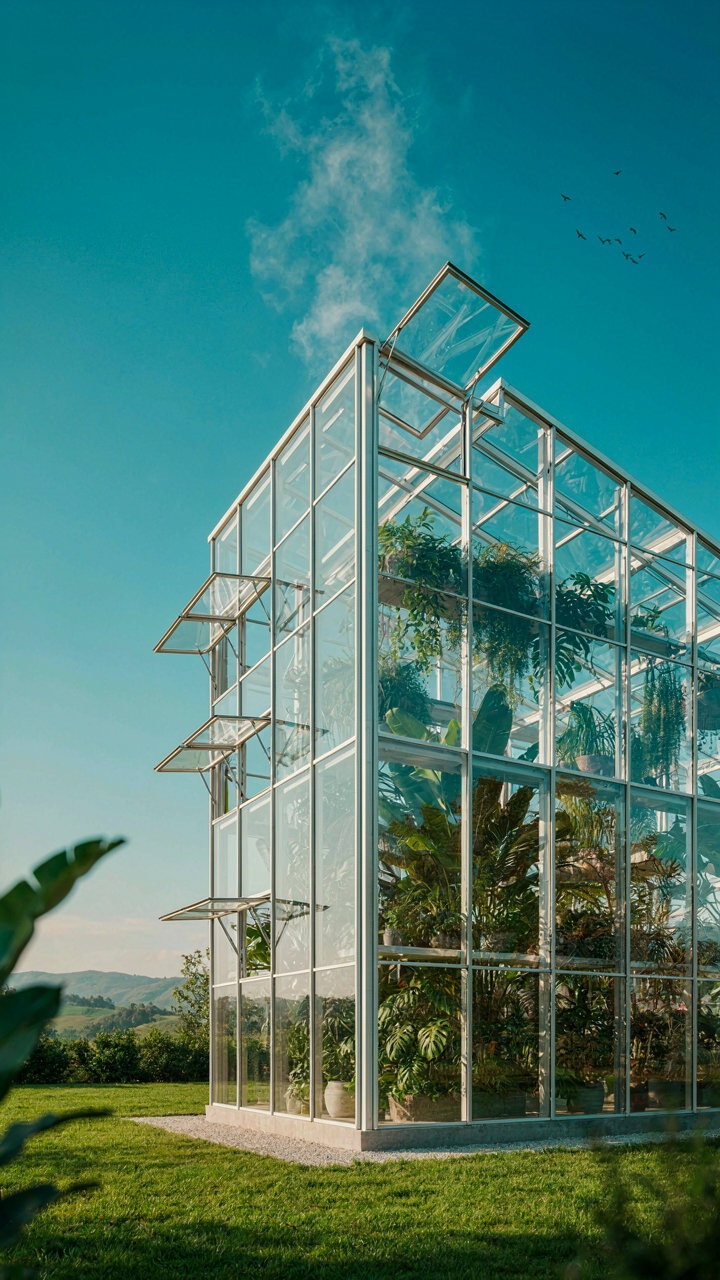
How Heat Movement Creates Airflow
You want natural ventilation to work without fans because you believe it makes you a smarter gardener. The real mechanism is physics, not virtue. In thermodynamics, the stack effect describes how temperature differences between two points force air movement without external power. Hot air becomes less dense and rises. Cool air becomes denser and sinks. Your greenhouse is a closed system where this principle either works or stagnates completely based on vent placement alone.
The stack effect only functions when two conditions exist simultaneously: temperature differential and a path for air to escape and enter. Without both, you have convection inside the greenhouse that leads nowhere. Most beginners install one roof vent and wonder why heat still builds. They’re missing the inlet. Heat rises to your roof vent, but if no cool air enters from below, the rising air pulls a vacuum and nothing moves efficiently. The gradient collapses.
Lower Vents Feed The System
Strategic vent placement means treating your greenhouse as a two-chamber pump. You need intake vents at the lowest point and exhaust vents at the highest point. Ground-level or near-ground vents pull in ambient air. Roof vents expel heated air. The larger the temperature gap between inside and outside, the faster air cycles. On a 20-degree day with 85-degree greenhouse air, that 65-degree differential creates strong pull without any electrical input.
Size matters more than you think. A single small roof vent paired with undersized lower vents creates bottlenecks. Air wants to move, but the plumbing is too narrow. Install lower intake vents with combined area roughly equal to or slightly larger than your exhaust vents. This prevents back-pressure and keeps the cycle moving. Position lower vents on the side opposite prevailing winds when possible. This prevents external wind from short-circuiting your stack and pushing air straight through without dwelling time in the growing zone.
Beyond The Fan: How To Improve Greenhouse Ventilation Without More Gadgets

Stack Effect Design Into Your Layout
You want the easy answer because you think buying equipment solves problems. It doesn’t. Physics solves problems, and specifically the stack effect from thermodynamics: hot air rises, cold air sinks, and you can engineer this into your greenhouse structure itself. Position your intake vents at the lowest point of your greenhouse and exhaust vents at the peak. This vertical separation forces air to move without electricity.
The mechanism is simple pressure differential. Warm air inside becomes less dense than cool outside air. This density difference creates upward force. Your job is removing obstacles to that movement. If intake and exhaust vents sit at the same height, you kill the stack effect entirely. Most beginners place vents carelessly and then blame the season. Separation in height is non-negotiable.
Vent Placement That Actually Works
Most advice about vent sizing is wrong because it ignores the relationship between vent area and air velocity. Aerodynamics tells us that the faster air moves through a smaller opening, the more effective cooling occurs per unit of air. But you need total vent area to be approximately 15 to 20 percent of your floor area split between intake and exhaust. This isn’t arbitrary. It’s the ratio that prevents dead zones where stagnant air pools.
Intake vents belong on the north side or lower wall. Exhaust vents belong on the south-facing roof or highest point. This orientation maximizes solar heating in winter while preventing direct sun from blasting through intake vents in summer. Place intake vents slightly larger than exhaust vents to maintain slight positive pressure, which prevents hot spots and ensures air circulates through the entire space before exiting. Measure and calculate before building.
The Breath Of Fresh Air Blueprint For Your Home Greenhouse
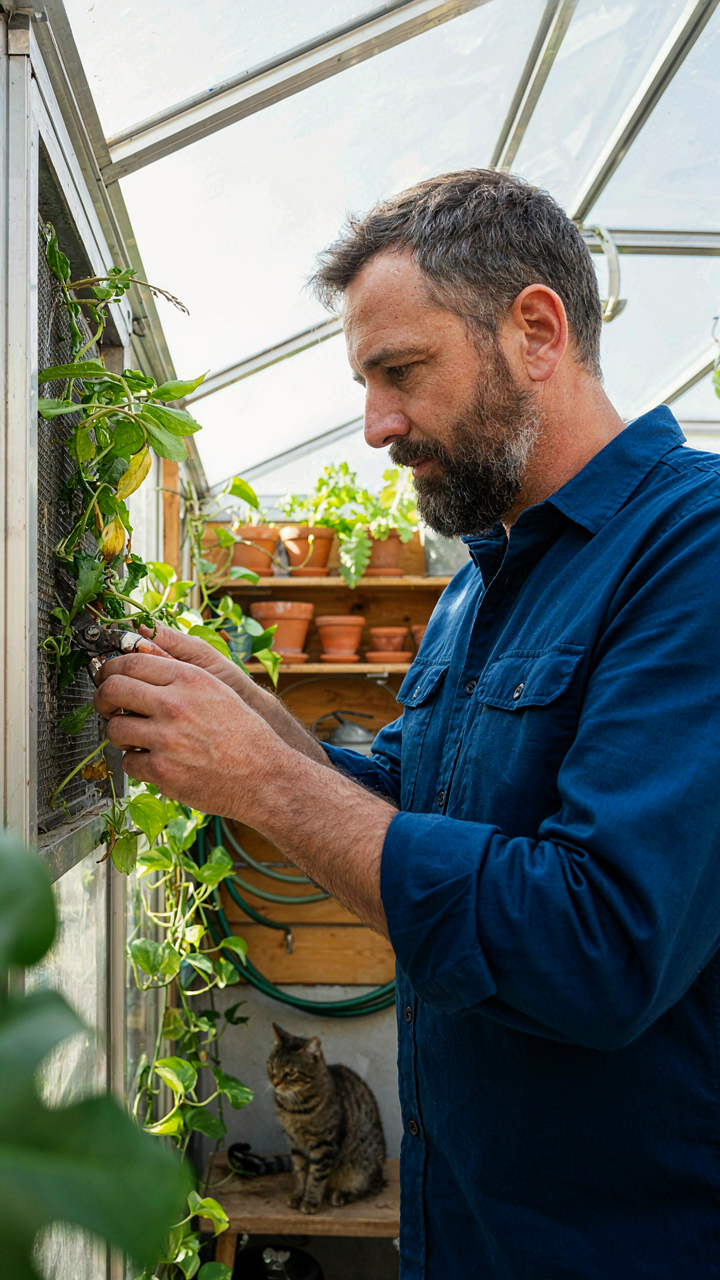
Match Your Vents To Your Square Footage
You want your greenhouse to feel alive, but you’re actually worried it’ll overheat and kill everything you planted. Here’s the mechanism: air movement is a mass transfer problem from thermodynamics. Hot, humid air needs an escape route proportional to your greenhouse volume, not your feelings about it. A standard rule is one square foot of vent opening per 100 square feet of floor space, split evenly between intake and exhaust. Ignore this and you create dead zones where heat traps.
The math works because air density changes with temperature. Warm air rises and needs exit points at the roof or high walls. Cool replacement air needs inlet points at the base or opposing side. If your greenhouse runs 10 by 12 feet, that’s 120 square feet, meaning you need 1.2 square feet of combined vent area minimum. Undersizing vents forces your plants to survive in stagnant warmth. Oversizing costs money but never hurts air exchange.
Clear The Path Between Intake And Exit
Most greenhouse operators think ventilation is about opening vents. It’s not. Ventilation is about airflow velocity and pressure differentials. A vent choked by shelving, tools, or hanging plants moves air at half the rate of an unobstructed one. The air takes the path of least resistance, which means it stagnates in corners where you can’t see it happening.
Walk through your greenhouse and trace an imaginary line from your lowest intake point to your highest exhaust point. Remove anything blocking that corridor. Move propagation trays away from vents. Relocate storage shelves. Trim back foliage touching vent covers. The cost is zero. The payoff is consistent air exchange that prevents fungal pressure and temperature swing damage. Make this your monthly maintenance protocol.
Seasonal Strategies: Efficient Greenhouse Ventilation For Every Climate
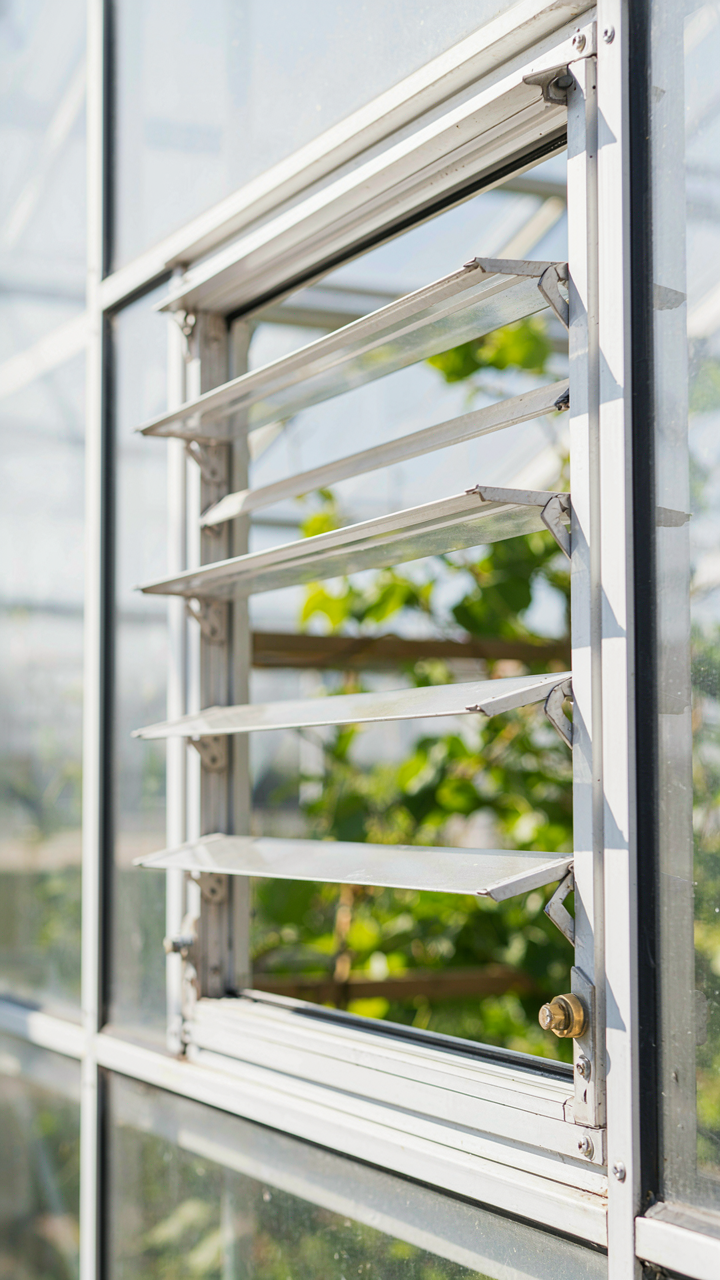
Summer Heat Management Without Constant Labor
You want your plants to survive without you babysitting vents every two hours. Here’s the mechanism: heat moves through air by convection, and you control it by creating pressure differentials that move air naturally. When outside temperature exceeds inside by even five degrees, air rises and exits through high vents while cooler air gets pulled in from low openings. This isn’t a choice your greenhouse makes—it’s physics working whether you understand it or not.
Most growers treat summer ventilation as a reactive problem. They crack vents open, close them, adjust constantly. The real move is sizing your vents to handle peak summer load automatically. You need lower intake vents totaling at least one-sixth of your floor area, and upper exhaust vents of equal size. Position intakes on the side facing prevailing winds and exhausts on the opposite end. This ratio moves enough volume passively without requiring you to intervene.
- Louver Vents At Roof Peak: Automated louvers open at set temperatures, releasing hot air through convection. They cost upfront but eliminate the timing problem entirely.
- Shade Cloth Deployment: Install 30 to 50 percent shade cloth on the south-facing side. Blocks radiant heat before it enters rather than fighting it after. Attach with clips, not permanently, so you remove it in fall.
- Evaporative Cooling On Mist Lines: Fog systems cool air by five to fifteen degrees when humidity is below sixty percent. Runs only during peak heat hours and uses minimal water compared to overhead irrigation.
- Continuous Ridge Vents: A full-length opening along the roof peak that stays partially open year-round. Outperforms end vents because it captures stack effect across the entire length.
- Intake Baffles Below Benches: Direct incoming air under growing surfaces instead of blowing directly on plants. Preheats intake air in winter and distributes cooling more evenly in summer.
Stack effect is how hot air rises naturally through vents, but it only works if you don’t strangle the intake. Your vent math must balance perfectly or you create negative pressure, which pulls in unfiltered air and destabilizes microclimate. Run a full calculation: measure floor area, multiply by intake vent ratio requirement, then size exhaust to match. Undersizing either side defeats the entire system.
Winter Condensation Without Chemical Additives
Condensation is not humidity you failed to remove—it’s water vapor that hit a cold surface and became liquid. The distinction matters because it changes your entire approach. When warm, wet air inside contacts cold glass or plastic at dawn, moisture condenses instantly. You think the problem is “too much humidity,” but the real problem is temperature differential. Solve that, and condensation disappears.
Winter ventilation requires opening vents even when it feels counterintuitive. Cracking upper and lower vents for fifteen to thirty minutes after sunrise exchanges interior moist air for drier outside air. Your plants transpire heavily at night, loading the space with moisture. Morning vents purge it before condensation settles on leaves and creates fungal pressure. This costs almost nothing—just discipline to open and close on schedule. Many growers skip this step because it seems wrong to vent when it’s cold outside. It’s the exact moment you need to.
The second layer is insulation on surfaces that drip. Condensation forms fastest on single-layer plastic or glass. Add bubble wrap insulation or upgrade to double-wall polycarbonate, which keeps interior surfaces warmer. A five-degree temperature difference between inside glass and inside air eliminates condensation almost entirely. Pair this with the morning purge protocol and you need zero additional equipment. Execute the purge every clear morning when outside humidity drops, typically between sunrise and two hours after.
The “Less Is More” Approach To How To Ventilate A Greenhouse

Observe, Orient, Decide, Act
You want to feel like you’ve “solved” your greenhouse climate so you can stop thinking about it. But that’s the trap. Military strategy borrows the OODA Loop—Observe, Orient, Decide, Act—because static solutions fail when conditions change. Your greenhouse ventilation works the same way. Most beginners set a thermostat, leave it, and wonder why plants suffer in unpredictable weather. Real ventilation demands a feedback cycle, not a set-and-forget system.
Observation means checking your greenhouse three times daily during the first month. Note when condensation appears on glass, when leaves start to curl, when air feels stagnant. Orient yourself to your specific microclimate, not generic advice. Decide on one adjustment per observation period—opening a vent wider, adding a fan, adjusting louver angle. Act on that decision, then observe the result. This loop compresses months of guessing into weeks of actual data.
The 80 Percent Problem
Economics teaches the Pareto Principle: eighty percent of results come from twenty percent of effort. In greenhouse ventilation, beginners waste resources trying to control everything equally. They add fans, louvers, shade cloth, and exhaust systems simultaneously, then complain nothing works. Wrong approach. Identify the single biggest heat or humidity driver in your greenhouse and fix that first.
For most small greenhouses, natural convection through roof vents and intake louvers handles eighty percent of heat escape on temperate days. You don’t need complex mechanical systems yet. Test this: open your roof vent fully for two hours, measure temperature drop, then adjust intake to match airflow pressure. If that solves your problem, stop. Add a basic oscillating fan for air circulation only. The remaining twenty percent of edge cases—extreme heat waves, winter humidity spikes—gets addressed only after you’ve mastered the eighty percent solution.
DIY Greenhouse Plans: Simple Solutions For Constant Airflow

The Cheapest Ventilation Moves That Actually Work
You want to feel resourceful without spending money. Here’s the mechanism: most beginners ignore passive ventilation because it requires zero hardware and produces zero satisfaction. Thermal buoyancy in physics describes how warm air rises and creates pressure differentials. Apply this to your greenhouse: cut opposing vents at different heights on your structure’s walls. Hot air escapes from the upper vent while cooler air enters the lower one. This cycle runs for free, all day, without fans or electricity.
The practical move is brutal in its simplicity. Install one vent near your greenhouse roof and one near the base on opposite sides. Size them identically. On a 100-square-foot structure, start with vents that each occupy 1 to 2 percent of your floor area. In summer, temperature differentials of 15 to 20 degrees between inside and outside trigger enough air exchange to prevent heat stress. You adjust by opening or closing louvers manually as seasons shift. No mechanism means no maintenance.
Building Ventilation Into Your Structure From Day One
The common advice says “add vents later.” That’s wrong and expensive. Your greenhouse frame design determines airflow efficiency before you build anything. Think of it architecturally: traditional pit greenhouses worked because their sunken design created natural draft zones where cold air pooled at ground level and hot air escaped through roof openings. Your surface-level structure needs the same principle engineered in. Decide on roof pitch, vent placement, and door positioning during your planning phase, not after assembly.
Construct your frame with ridge vents or roof louvers oriented along the greenhouse’s longest axis to follow prevailing wind direction in your region. This amplifies cross-ventilation. Gable ends with openable panels work better than flat roofs for passive systems. Size your entrance door to function as an intake vent on calm days when thermal buoyancy alone isn’t enough. Build vent frames sturdy enough to stay open consistently without drifting shut. Your structure’s geometry becomes your ventilation system.
Why You Don’t Need To Be An Expert For Optimal Greenhouse Ventilation

The Physics Of Air Movement You Already Understand
You’re worried mastering ventilation requires engineering credentials. It doesn’t. The mechanism is borrowed from thermodynamics: hot air rises, cold air sinks. That’s convection, and it does 80 percent of your ventilation work for free. You just need to create pathways for it. Place intake vents low, exhaust vents high, and the temperature differential moves air through your greenhouse automatically. No calculations needed.
Most beginners overthink this and buy expensive fans before understanding passive airflow. Stop. Let temperature gradients work first. Install louvers or ridge vents at the top and foundation vents at the bottom. Measure interior temperature against exterior. When the gap widens, passive systems struggle and active ventilation becomes necessary, not premature. This tells you whether you actually need mechanical help or just better vent placement.
Long Term Stability Beats Crisis Management
Consistent airflow prevents the compounding problems that wreck crops. High humidity breeds fungal disease. Stagnant air traps heat and stresses plants. Both issues cascade, forcing you into reactive spending on treatments and equipment. Proper ventilation stops these chains before they start. A greenhouse with stable temperature and humidity swings costs less to maintain over seasons than one where you chase problems after they emerge.
The protocol is simple: check thermometer and hygrometer readings twice daily for two weeks. Record the peaks and troughs. This data shows you what your current vents actually deliver. Adjust vent sizes or positions based on what you measure, not what you assume. Run this audit quarterly as seasons change. You’ll catch ventilation gaps before they damage plants, which means fewer crop losses and lower long term operating costs.
The Real Obstacle Isn’t Ventilation; It’s Your Addiction To Complexity Over Foundational Understanding

You don’t need a smart system. You need moving air. Stop waiting for the perfect setup and crack open your greenhouse doors today. Watch how your plants respond over the next week. That response teaches you more than any guide ever will. The gap between knowing greenhouse ventilation tips and actually using them is just action, and you’re stalling.



