
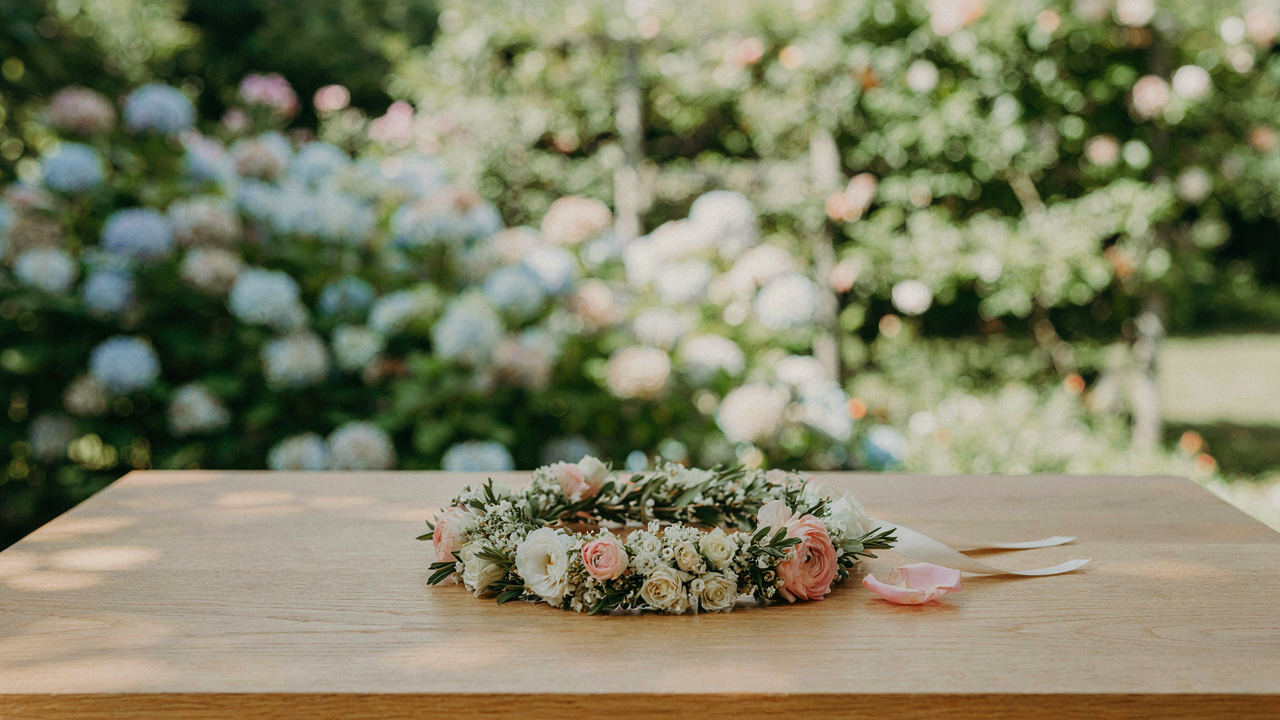
The Myth Of Effortless Elegance: Why Most “Simple” Flower Crown Wedding Attempts Fail

What Everyone Gets Wrong About Easy Design
You want to look like you didn’t try. That’s the real motive here, and it costs you money because you’ll buy the wrong flowers twice. The mechanism is borrowed from industrial design: constraint elimination. Most “simple” flower crown advice removes constraints when it should add them. Florists and Pinterest boards strip away the structure that makes a crown actually hold together, leaving you with loose stems and collapsing petals by the ceremony’s halfway point.
The consensus says to use “seasonal” and “affordable” stems. That’s incomplete. Those flowers need water retention, structural integrity, and a predictable lifespan under heat and movement. Filler greenery isn’t decoration—it’s the skeleton. Without it, your crown becomes a drooping mess. The gap between what looks good in a photo and what survives four hours of being worn is where most DIY crowns fail. You need floral tape, a wire base, and flowers chosen for durability, not Instagram aesthetics.
The Cost Of Uninspired Choices
Most people buy whatever looks green at the grocery store and whatever blooms look “romantic.” This wastes money because you’re paying retail prices for flowers that won’t hold. A grocery store rose costs the same as a garden rose, but it wilts in half the time. The actual cost isn’t the purchase price—it’s the second purchase when your first attempt collapses.
The real lever is choosing flowers by their stem strength and water-holding capacity first, then aesthetics second. Hypericum berries, solidago, and eucalyptus are boring names for flowers that actually work. They hold water, resist crushing, and last through a full day. Build your crown structure around these, then add your focal flowers. This inverts the typical approach and eliminates waste before it happens.
Deconstructing The Bridal Flower Crown: Essential Elements Of Intentional Design
Choosing Flowers That Command Attention
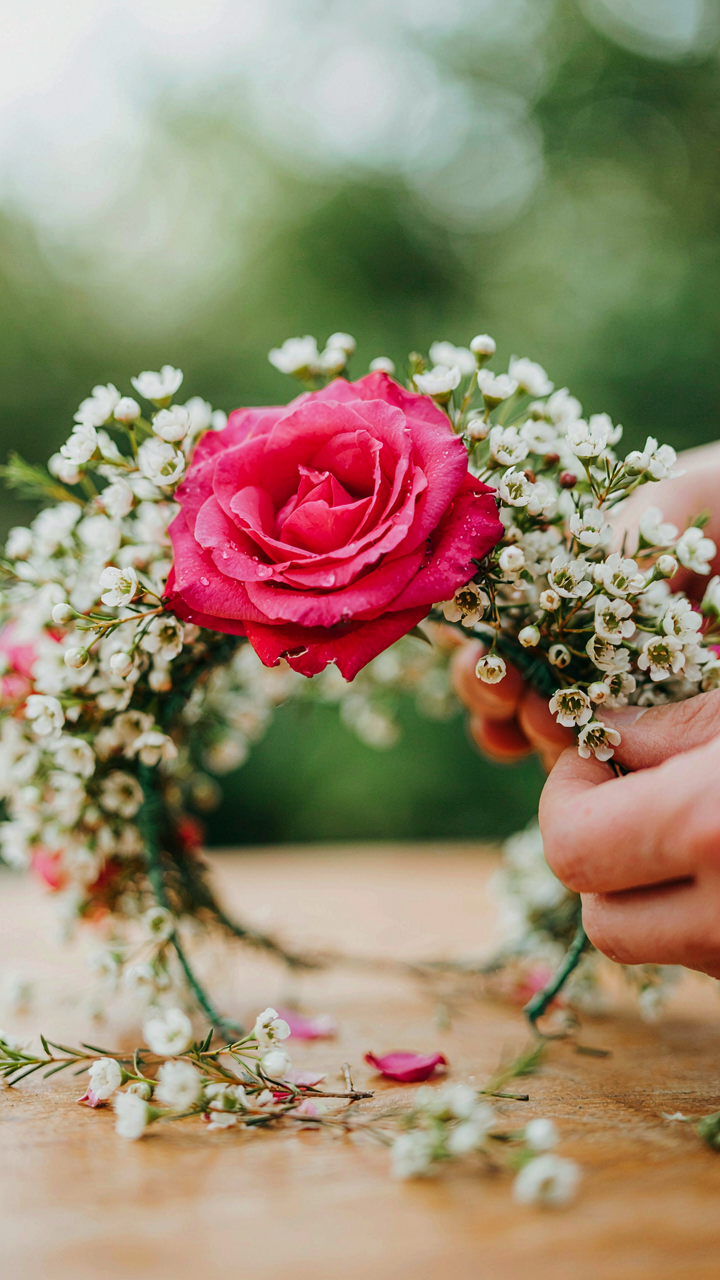
You want people to notice the crown before they notice your face. That’s the real problem you’re solving here, and most advice skips it entirely by talking about “seasonal blooms” and “color palettes.” Forget that noise. Borrow from floral design’s principle of focal hierarchy: larger flowers create visual weight and stop the eye. Roses, peonies, and ranunculus do this because their bloom diameter forces attention. Smaller filler flowers like waxflower or astilbe exist to support those focal points, not compete with them. The mechanism is simple: a crown without scale variation reads as texture, not structure. That’s why it disappears on camera.
Start with one large focal flower type. Build outward with medium-sized blooms. Fill gaps with the smallest material last. This order prevents the crown from becoming a confused mass where nothing reads clearly. Many DIY crowns fail because builders treat every flower as equal, scattering small blooms throughout and wondering why the crown looks thin and weak. Your eye needs somewhere to land and rest. Without that landing pad, a flower crown registers as decoration. With it, it registers as intentional design.
Greenery As The Load Bearing Framework
Structure wins before aesthetics do. Think of greenery the way a structural engineer thinks about load distribution: it’s not decoration, it’s the frame that holds everything upright. Foliage like eucalyptus, leather leaf, and ruscus doesn’t just fill space between flowers—it creates a rigid base that prevents petals from drooping or shifting during the ceremony. Without this framework, flowers sink, tilt, and separate. The crown collapses from its own weight and movement.
Select greenery with sturdy stems and thick leaves. Spiral it around your base wire in alternating directions to lock everything in place. Add flowers only after the green framework supports its own structure. This sequence matters more than flower choice because a weak base makes premium blooms look cheap. The greenery does ninety percent of the engineering work. Flowers get the credit, but greenery determines whether the crown holds for six hours or falls apart in two.
The “Scarcity Principle” Method For A Distinctive Flower Crown Hairstyle
Why Fewer Flowers Actually Stand Out
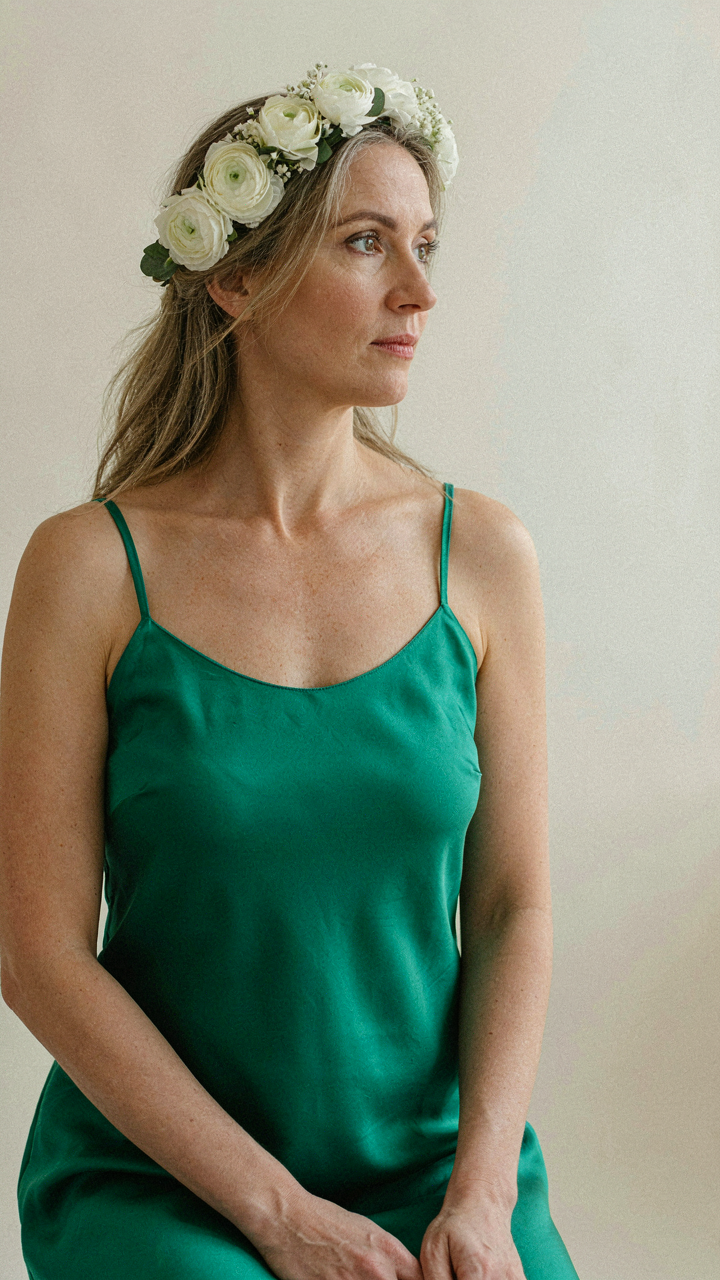
You want your crown to feel expensive and rare, not like you raided a grocery store bulk bin. Economics teaches us that scarcity drives perceived value. Apply this to flower crowns: removing blooms increases impact. Most people overload their crowns with flowers, thinking more equals better. They’re wrong. A sparse crown reads as intentional, controlled, and memorable. Dense crowns blur together in photos and fade into background clutter. The mechanism is simple: constraint forces the eye to land on what remains, making each bloom matter.
Strategic removal also solves a structural problem nobody mentions. Fewer flowers mean less weight pulling at your hair, less water retention in the mechanics, and less likelihood of petals browning before the ceremony ends. You’re not being minimalist for aesthetic reasons alone. You’re engineering durability and presence simultaneously. Start with a base frame, add blooms in clusters of three or five at key points around the crown, then stop. Resist the urge to fill gaps.
Strategic Placement Over Saturation
Don’t scatter flowers evenly across the crown. Concentrate them where they create visual leverage. Florists call this “focal point design,” but the real principle is scarcity applied spatially. Place your largest or most textured blooms at the front and sides where they frame the face. Leave the back sparser, especially near the neck where guests see it during ceremony moments. This asymmetry reads as intentional rather than random.
The result is a crown that photographs distinctly and lasts through eight hours of wear without wilting into a sad, drooping state. You’re trading volume for visibility and longevity. Measure your crown base, divide it into zones, and commit to filling only two or three zones completely. This discipline transforms a flower crown from decoration into a design statement that actually functions.
Matching Your Wedding Floral Crown To Your Persona, Not The Pinterest Board
Your Actual Style Lives In Constraints, Not Inspiration Feeds
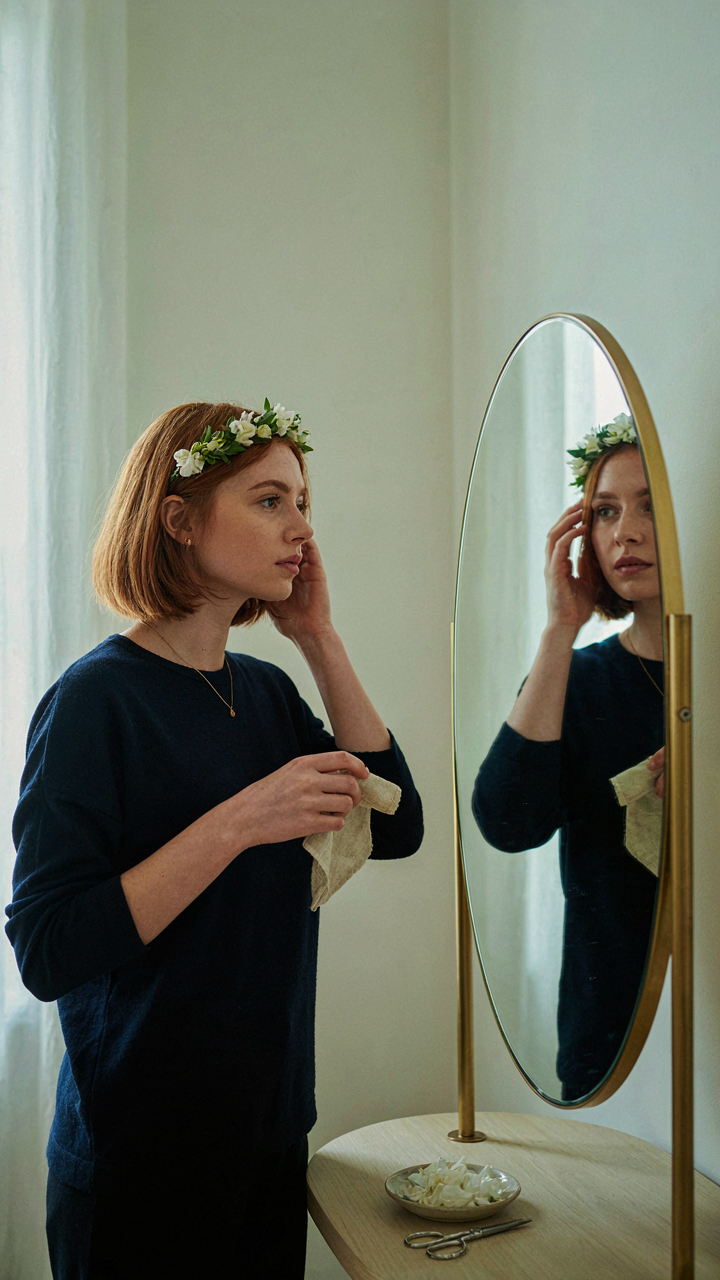
You’re hoping a flower crown will solve a status problem: making you look like the version of yourself you’ve curated online. That won’t happen. The real mechanism is this: your actual style emerges from what you consistently choose when nobody’s watching, not from what you save in a folder. A flower crown either matches how you move through the world or it doesn’t. The gap between those two states is where most brides waste money and feel wrong in photos.
Start by auditing three specific things you already own: your everyday shoes, your jewelry rotation, and the one coat you wear most. Not what you think you like. What you actually wear. If your baseline is minimalist and understated, a massive garden-style crown with trailing ribbons creates visual noise that contradicts your actual preference. The crown should feel like an extension of your existing pattern, not a departure into someone else’s aesthetic.
Stop Collecting Trends, Start Tracking Seasons
Everyone says to avoid trends. That’s incomplete advice because it misses why people chase them in the first place: trends feel safe because they’re already validated. But here’s the actual problem with wedding flower crowns: they sit in a strange zone where they’re specific enough to date quickly but visible enough in photos that you’ll notice the shift. What matters is separating the seasonal reality from the stylistic choice.
Eucalyptus and greenery-heavy crowns with minimal blooms have dominated for nearly a decade because they photograph well in certain lighting and read as “intentional” rather than “overdone.” That’s a design fact, not a rule. If your venue has strong natural light and your wedding happens in June with peak bloom availability, a full peony crown works regardless of whether it’s trendy. If your venue is dim and your date is February, sparse and architectural choices function better. Build backward from your specific conditions, then select the aesthetic that fits.
The Minimalist’s Toolkit: Crafting Your Wedding Hair Flower Crown With Precision
What You Actually Need To Buy
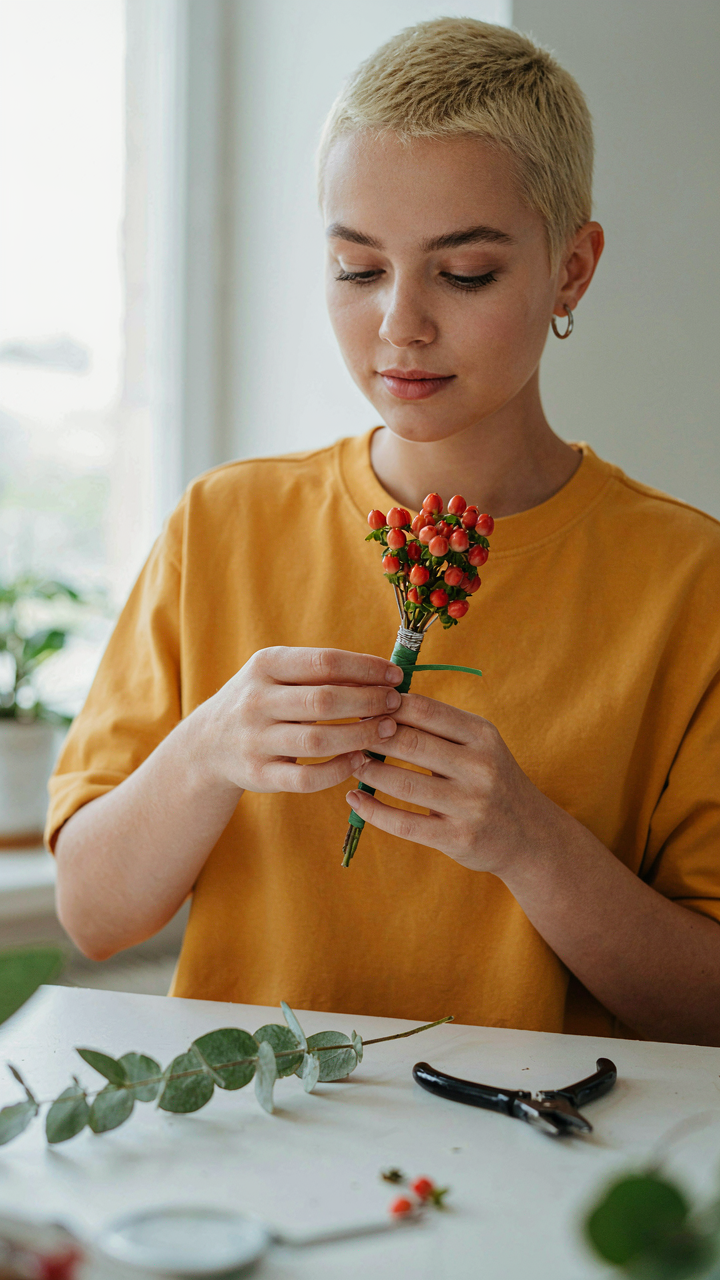
You want permission to skip the expensive floral design kit because you’re afraid you’ll mess up and waste money. Here’s the mechanism: precision requires constraint, not options. Limit your materials and you limit failure points. Professional florists use this principle constantly—they own fewer tools than amateurs, not more.
- Floral wire (22 to 26 gauge): Thin enough to bend without kinking, thick enough to hold flower weight. Florists use this as the structural backbone. Comes in green to blend with stems.
- Floral tape: Seals wire joints and binds stems. The adhesive activates when stretched slightly. One roll lasts through multiple crowns.
- Wire cutters or scissors: Sharp edges matter. Dull cutters crush stems and reduce water absorption. A single pair suffices for all cutting tasks.
- Fresh flowers and greenery: Choose stems with firm necks that won’t droop under their own weight. Roses, eucalyptus, and hypericum berries work because they’re structurally stable.
- Measuring tape or string: Crown diameter varies by head size. Measure before assembly to avoid remake waste.
Nothing else matters. Everything else is distraction. Buy these five categories and you have what professionals use. The difference between a botched crown and a clean one isn’t more tools—it’s understanding how each tool works on the stem itself.
Building The Frame Without Collapse
The real work happens before flowers touch wire. Most guides skip this, which is why crowns fail mid-ceremony. Think of structural engineering: load distribution determines durability. In crown-building, the base frame absorbs all weight, not the flowers themselves.
Start with a base loop using 22-gauge floral wire. Make it slightly larger than your head measurement—the frame compresses when flowers add weight and tape wraps around it. Secure the overlap with floral tape using three full wraps, then stretch the tape as you wrap to activate the adhesive. The frame must be rigid before you add a single stem. Test it by hand pressure—if it flexes significantly, reinforce the overlap point with a second wire wrap. Once the base holds shape, attach secondary wire supports at four cardinal points (top, bottom, left, right) to the main loop. These supports distribute flower weight evenly and prevent the crown from collapsing under asymmetrical loading.
Attach flowers using the wrap-and-tape method: position the stem against the frame, wrap floral tape around both five times with gentle tension, then move to the next stem. The tape bonds flower to frame progressively. Space stems roughly one inch apart initially—you’ll fill gaps in a second pass. Never exceed three flower stems per inch or moisture retention fails and petals wilt within hours. Complete the first pass, step back, identify weight imbalances, then add reinforcement stems to heavy sections. This deliberate two-pass approach prevents the amateur mistake of over-crowding early and creating a lopsided structure that won’t balance on the head.
Integrating The Flower Crown Veil: A Strategic Fusion, Not An Afterthought
Matching The Crown To Your Veil
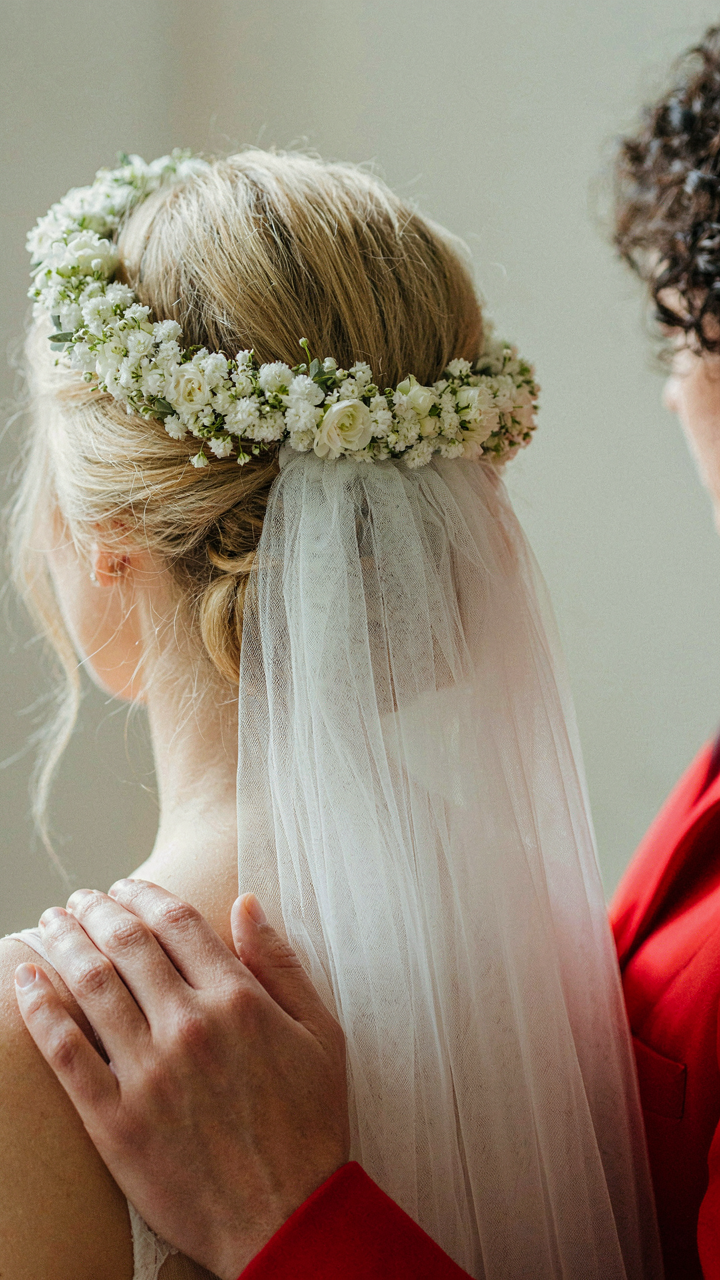
You want the crown and veil to look intentional because your guests will sense the difference between “planned” and “bolted together.” This is basic visual hierarchy from graphic design: the eye needs to follow a path, not bounce between competing elements. A crown that contradicts your veil’s weight, texture, or color stops the entire look cold.
Start by defining your veil first. A lightweight tulle veil demands a lighter crown structure with smaller flowers and thinner stems. A dramatic cathedral veil needs a heavier, denser crown to anchor the visual balance. The rule is simple: veil weight determines crown weight. Mixing these breaks the composition before anyone consciously knows why the look feels off.
Anchoring Without Movement
Most people secure a crown to a veil and call it done. They’re wrong. The veil moves independent of your scalp during the ceremony, and a loosely attached crown will shift with it, creating slack and exposure. Use a three-point attachment system: anchor the crown base to your hair with bobby pins at the back, then pin the veil to the crown itself at two spots where the veil’s comb sits against the crown’s structure.
The veil’s weight should distribute through the crown, not hang from it. This means your crown’s base needs rigid support where it contacts your head. If you’re building a custom crown, run a thin floral wire through the back section and bend it to match your head’s curve. This prevents the crown from sliding forward as the veil pulls backward during ceremony movements.
Beyond The Altar: Repurposing Your Bridal Flower Crown For Lasting Impact

Keep It Alive: Pressing And Preservation
You want to keep it because throwing away a hundred dollars of flowers feels wasteful, and you need proof the day happened. Here’s the mechanism: flowers contain water. Remove that water before decay sets in, and the structure survives intact. Pressing works by flattening blooms between weight and time, typically two to three weeks in a dark, dry space. Silica gel works faster, replacing moisture in days while maintaining shape better than pressing. Both methods work. The difference is aesthetic preference and timeline.
Store pressed crowns flat in acid-free boxes away from direct sunlight and humidity. Frame them under glass, or keep them sealed in archival storage for decades. The frame approach gives you a wall piece immediately. The sealed box approach keeps options open for later decisions. Either way, you need darkness and dryness. Heat and light fade color. Moisture breeds mold. Temperature swings crack dried stems. Control the environment, and the crown stays intact for years without deterioration.
Second Life: Actual Uses Beyond Display
Forget the romantic idea of displaying your crown on a shelf like a museum piece. That’s what people tell you to do, and most crowns sit untouched until donated or discarded. Real second lives come from repurposing the physical crown itself. Remove flowers and reuse the wire frame base for a smaller event crown, bridesmaid accessory, or flower girl piece. The structure is already built. The flowers are already invested. One frame becomes three applications with different blooms for different events.
Dried flower arrangements benefit from crown components. Take individual preserved blooms and redistribute them into smaller centerpieces, guest favors, or a permanent arrangement for your home. You also have the option to sell the crown to a resale market if the preservation was clean and the style remains in demand. Some couples recover 20-40% of initial cost through platforms serving budget-conscious brides. The key is deciding on repurposing strategy before the wedding ends, not six months later when mold has set in and the decision becomes moot.
The 3 Phase Bridal Flower Crown Hairstyles Protocol For Unforgettable Presence

Clarify Your Anchor Before The Planning Starts
You want the flower crown to do the work of making you memorable without looking like you tried too hard. The mechanism here is constraint. Wedding planners call this “vision alignment,” but what it really means is eliminating decisions on the day so your presence stays intact instead of fracturing across a hundred micro-choices about stem placement and petal angle. Start by defining one non-negotiable: the crown’s relationship to your hair texture, face shape, and the venue’s light. This isn’t aesthetics. This is logistics that prevents regret.
Write down three things before any florist consultation. First, how your hair naturally falls and where you want weight. Second, whether you want blooms touching skin or floating above it. Third, the primary light source at your ceremony and reception, because flowers read completely different in direct sun versus ambient indoor light. These constraints do the filtering work upfront. You stop entertaining options that won’t work and move toward the single version that will. Precision in vision prevents panic on the day.
Execute With A Specific Attachment Protocol
The common advice is to “secure it gently so it doesn’t slip.” That’s useless. Here’s what actually matters: a flower crown stays in place through mechanical redundancy, not hope. Your florist should use a combination of floral wire wrapped around a base comb, bobby pins clipped through the comb teeth at multiple points, and a thin elastic band that anchors to your hairline without visible tension. Test the crown on your actual hair texture in your actual venue lighting at least once before the ceremony. Walk, turn your head, bend forward. If it shifts more than half an inch, the attachment isn’t sufficient.
The execution protocol happens in reverse. You and your florist confirm attachment method one week prior. You do a full dress rehearsal with hair, crown, and movement three days before. You inspect the crown the morning of, noting any wilting stems or loose mechanics. Then you never touch it again. The moment you grab it to adjust, you’ve introduced variables that compound throughout the day. Confidence on camera comes from knowing the engineering is solid, not from hoping the flowers stay put while you navigate emotion and logistics.
The Real Obstacle Isn’t Simplicity, But The Fear Of Distinctiveness Masked By Generic Taste
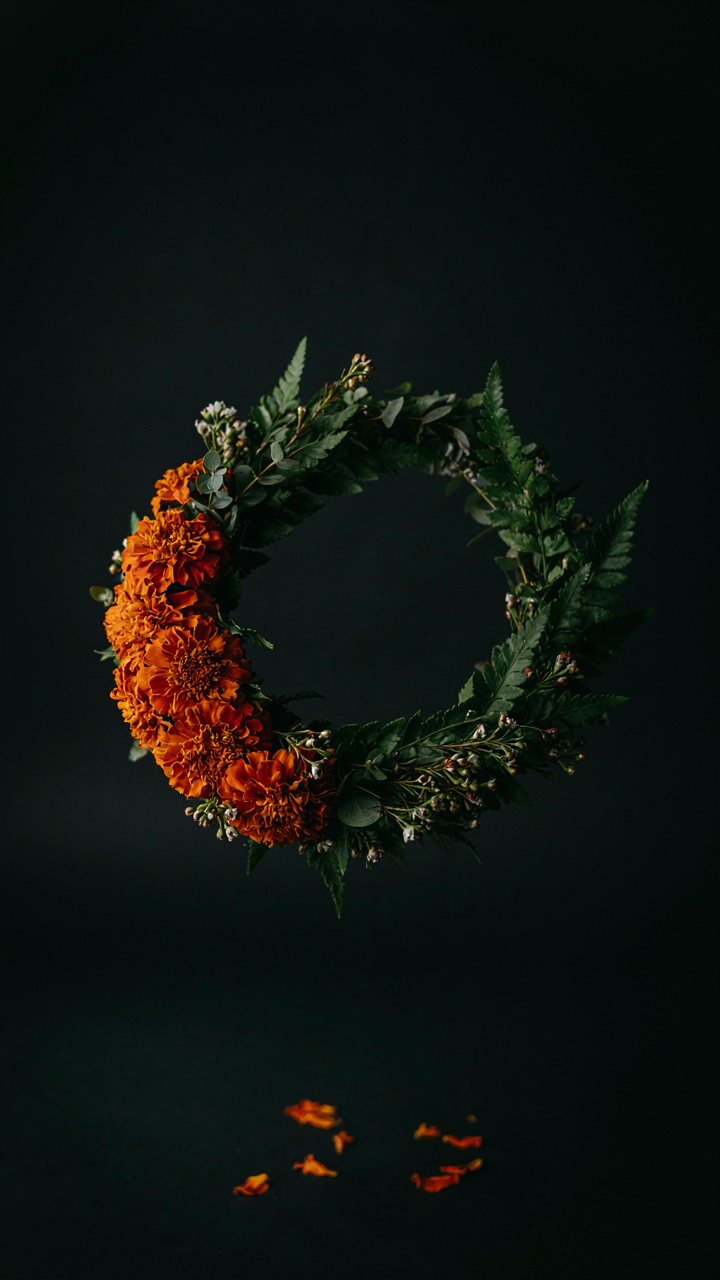
Most people fail at a flower crown for weddings because they’re afraid their choice won’t match what they saw on Pinterest. They want permission to break the mold that doesn’t actually exist. Stop asking if your design is “right.” Make one today with whatever flowers you have access to. Your wedding doesn’t need validation from strangers online, it needs your fingerprint on it.



