
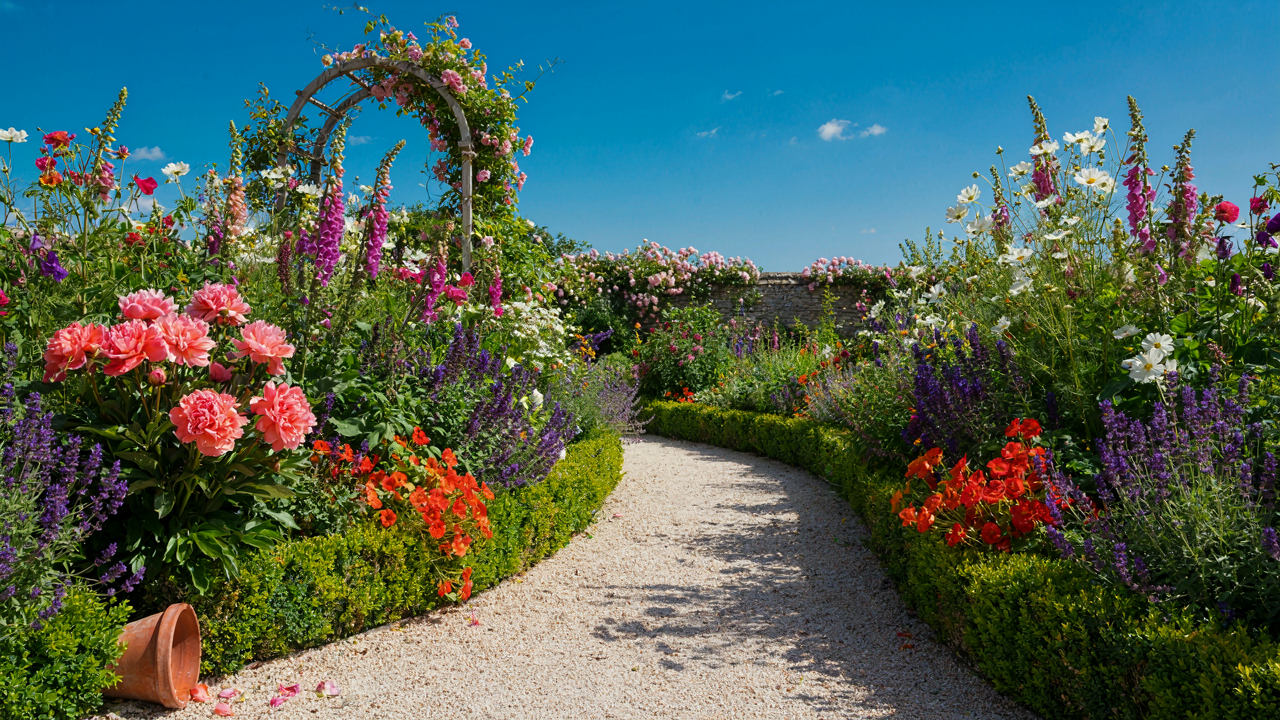
Beyond Whimsy: The Undeniable Function Of Cottage Garden Paths
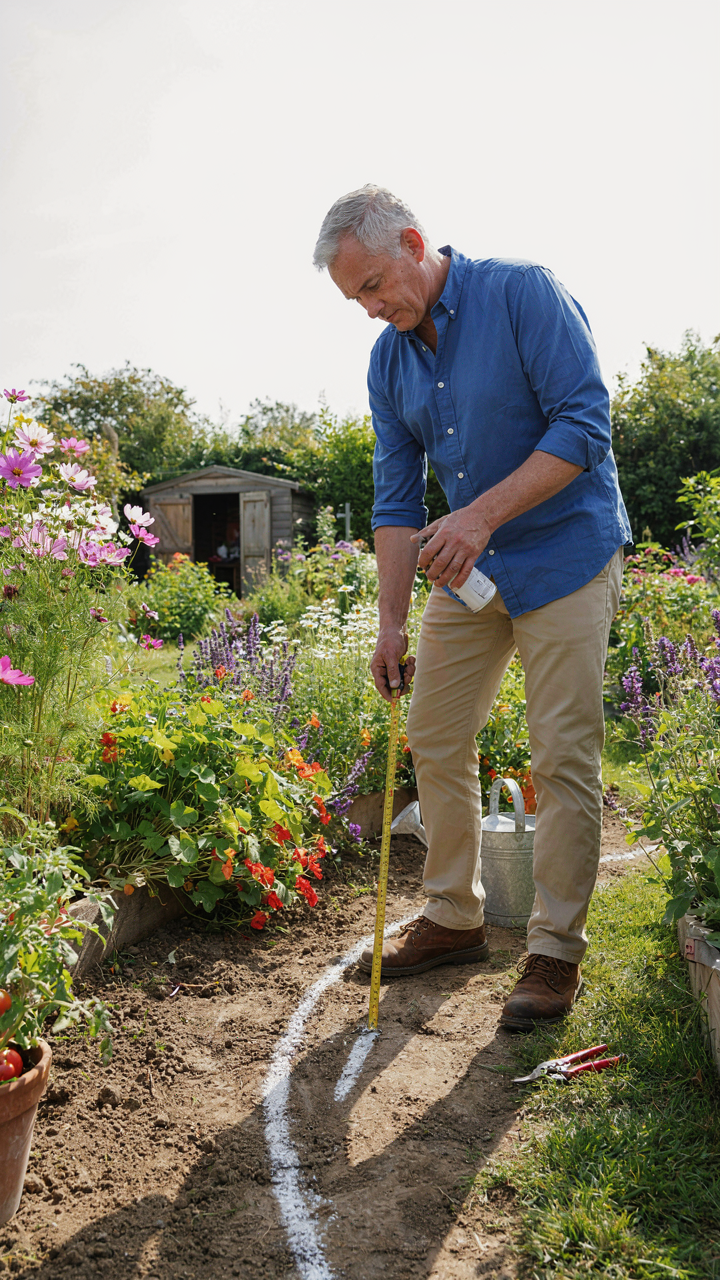
Cottage Garden Paths Aren’t Accidents
You want to believe your garden happened organically, that you somehow stumbled into charm without planning. That’s the real reason you’re reading this. The truth is simpler: cottage gardens follow traffic patterns the same way supply chains follow economics. Paths emerge from repeated foot traffic, soil compaction, and water runoff. They’re load-bearing routes, not decorative afterthoughts. The Victorian cottage garden didn’t invent paths to look pretty. It routed paths where people actually walked, where carts needed to move, where water naturally drained. Every curve served movement or drainage. You either design this intentionally or waste money replanting what foot traffic destroys.
The “accidental charm” narrative masks a calculation. Gardeners studied how people moved through space, where shade was needed, which routes minimized garden damage. They built paths where necessity demanded them, then planted around that infrastructure. This is engineering dressed as aesthetics. The apparent randomness of a cottage garden path layout reflects real constraints: property lines, existing structures, soil conditions, sun exposure. When you understand this, you stop copying Instagram photos and start solving actual problems in your garden.
Utility First, Then Everything Else
Most cottage garden advice reverses the priority. It says: choose materials for character, then worry about drainage. Wrong. This is backwards thinking that costs money. A path must first prevent water pooling, second provide stable footing, third accommodate the width needed for your actual use case. Only then does material selection matter. Clay paths look romantic and fail in three seasons. Gravel requires constant raking. Stepping stones create tripping hazards. The utility hierarchy determines which material survives repeated foot traffic without degradation.
Width matters more than surface texture. A path narrower than two feet forces single-file movement and becomes a liability during wet weather when you can’t step around puddles. A four-foot path accommodates two people, a wheelbarrow, or emergency access. The material fills that width requirement first. Whether it’s brick, gravel, or packed earth depends on budget and climate, but the skeleton is function. Start by mapping foot traffic patterns in your garden. Mark the routes people naturally take. Measure the width each route needs. Then choose material. This sequence prevents expensive mistakes.
The English Cottage Walkway Blueprint: Designing For Invisible Efficiency
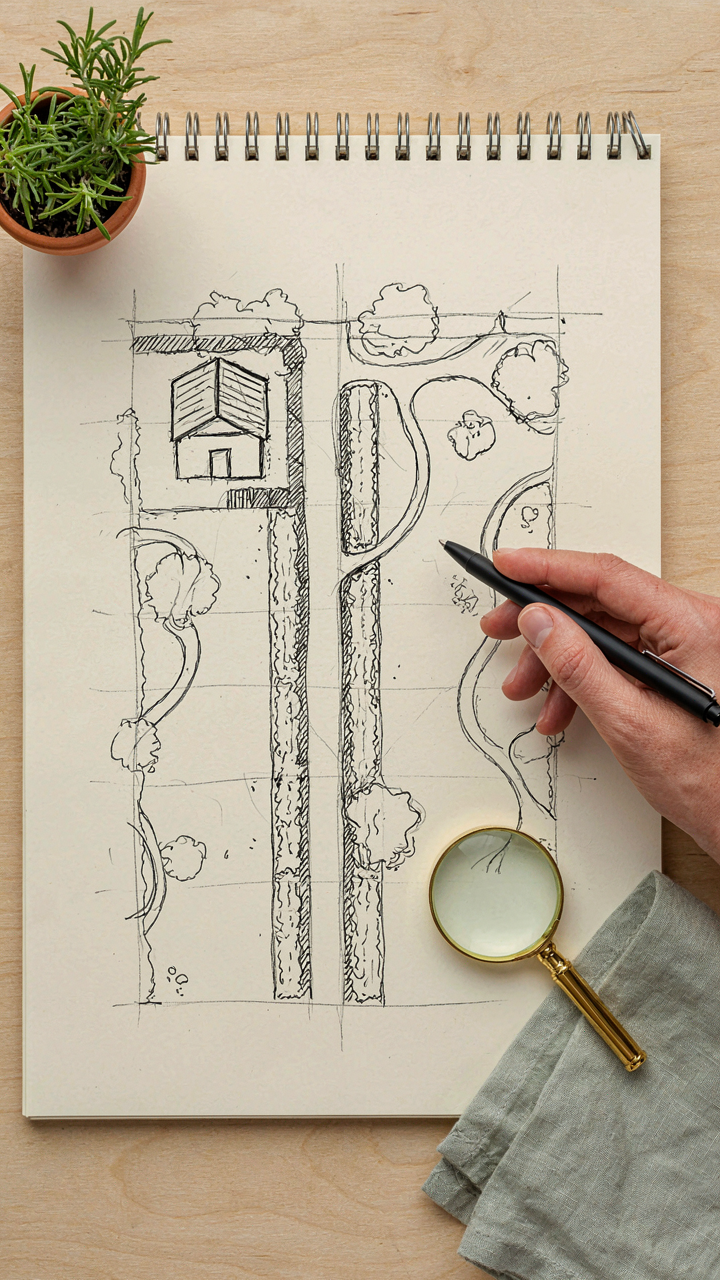
Where People Actually Walk
You want a cottage garden that looks effortless. That desire costs you money and maintenance time when paths go to the wrong places. The real mechanism is this: humans follow desire lines, not intentions. A path succeeds when it sits where foot traffic already wants to go, not where it should theoretically go.
Start by observing natural movement patterns before laying stone. Watch where people enter from the house, where they pause to tend plants, where they move toward water sources or storage. Mark these zones on paper. The kitchen garden needs the fastest access. The perennial borders attract lingering. The compost or tool shed sits where you can reach it without crossing planted beds. This geography determines everything that follows, and most people skip this step because they design from a fantasy version of their garden instead of its actual use.
Getting Work Done Without Fighting The Layout
Maintenance and harvest need their own circulation system, separate from visual pathways. This is the principle of dual-zone routing borrowed from logistics, where high-traffic operational routes stay distinct from customer-facing routes. Your maintenance corridor runs between the most labor-intensive areas: vegetable beds, compost, water sources, and cutting zones. It doesn’t need to be scenic. It needs to be direct and wide enough for a loaded wheelbarrow.
The real mistake is designing one path system for everything. You end up squeezing a barrow between delicate plantings, crushing edges, or taking three times longer than necessary. Establish the work route first as your skeleton. Mark it wide, ideally 3 to 4 feet minimum for wheelbarrow passage. Secondary paths for visitors can meander. The operational path goes straight. Once you separate these functions, maintenance becomes friction-free instead of constant negotiation with your own garden design.
The “Romantic Cottage” Illusion: Material Choices That Undermine Or Uphold
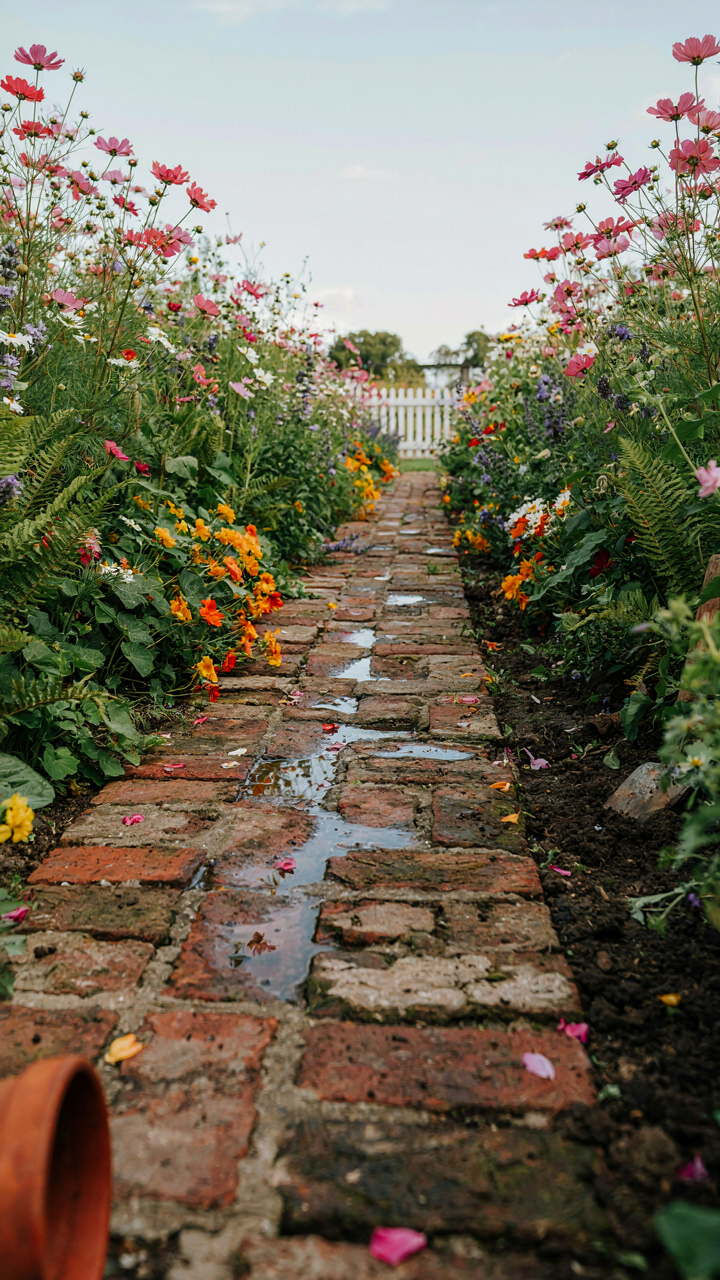
What Actually Survives The Rain
You want the aesthetic without admitting you’re terrified of maintaining it. That’s the real tension here. The mechanism is simple: cottage garden pathways fail because people choose materials based on how they photograph, not how they perform under actual weather and foot traffic over five years.
Gravel looks period-correct but migrates into beds, compacts unevenly, and demands raking every season. Brick and stone hold up if laid on proper base preparation, but most installers skip that work entirely. Concrete lasts longest but reads institutional unless textured or aged. The practical hierarchy is inverted from the aesthetic hierarchy most people operate from. Measure your climate’s freeze-thaw cycles, foot traffic patterns, and drainage slope before material selection, not after.
The Trend Tax You Don’t See Coming
Generic advice says “mix materials for visual interest.” That’s incomplete. What it should say is: mixing materials accelerates the failure of whichever material has the shortest lifespan, because maintenance demands compound and most homeowners standardize to the weakest link.
Reclaimed materials photograph beautifully but often have structural inconsistencies. Salvaged slate and old brick command premium prices yet may fail faster than modern equivalents because original installation methods were different and you cannot replicate them exactly. Before sourcing vintage materials, identify what made them fail the first time. The cost trap isn’t the material itself, it’s the assumption that age equals durability.
The Cottage Garden Path Systems Protocol

Building Paths That Don’t Collapse In Two Years
You want your cottage garden paths to look intentional and last. What you’re really avoiding is the embarrassment of watching them crumble while neighbors’ gardens hold up fine. The mechanism is simple: paths fail because people skip stages. Installation happens in three distinct phases, and skipping even one guarantees failure. The first stage is subgrade preparation. Remove topsoil and vegetation down to firm earth. Compact this base layer until it resists foot pressure. This prevents settling. The second stage is the base course. Lay 4 to 6 inches of crushed stone or gravel. Compact it hard. This creates load distribution. The third stage is the wearing surface. Lay your final material—brick, stone, gravel, or mulch. Each stage depends on the one below it. Most people dump materials on unprepared soil and wonder why paths shift after winter.
Timing matters more than material choice. Install in dry conditions. If the ground is wet, compaction fails and you trap moisture. Moisture means frost heave in winter. Frost heave means broken paths by spring. Build your subgrade and base course first, let them settle for a week, then add the wearing surface. This sequence prevents the most common failure point: materials sinking unevenly into unstable substrate.
Drainage Kills The Path, Or Saves It
This is where cottage garden path design actually fails in practice. Most people treat drainage as decoration or afterthought. Water management is the primary load. Think of paths like hydraulic systems from civil engineering: water flow determines failure rate. Paths that shed water stay usable for decades. Paths that trap water fail in seasons. The mechanism is straightforward. Water penetrates the wearing surface, saturates the base course, and destabilizes the subgrade. Frost then expands that water and heaves the path upward. Summer heat dries the base unevenly, causing subsidence. Both movements break apart materials and create trip hazards.
Establish slope on every path. Two to three percent gradient is enough. That means for every ten feet of length, the path drops one to three inches from one side to the other. Crown the path slightly—higher in the middle, lower at edges—so water runs off both sides. On flat sites, you cannot skip this. Install shallow swales or French drains adjacent to the path to intercept runoff before it reaches the subgrade. Edge the path with stone or raised edges to direct water away from garden beds. Without this protocol, your path becomes a water trap.
Cottage Garden Inspiration: When Growth Challenges Your Design
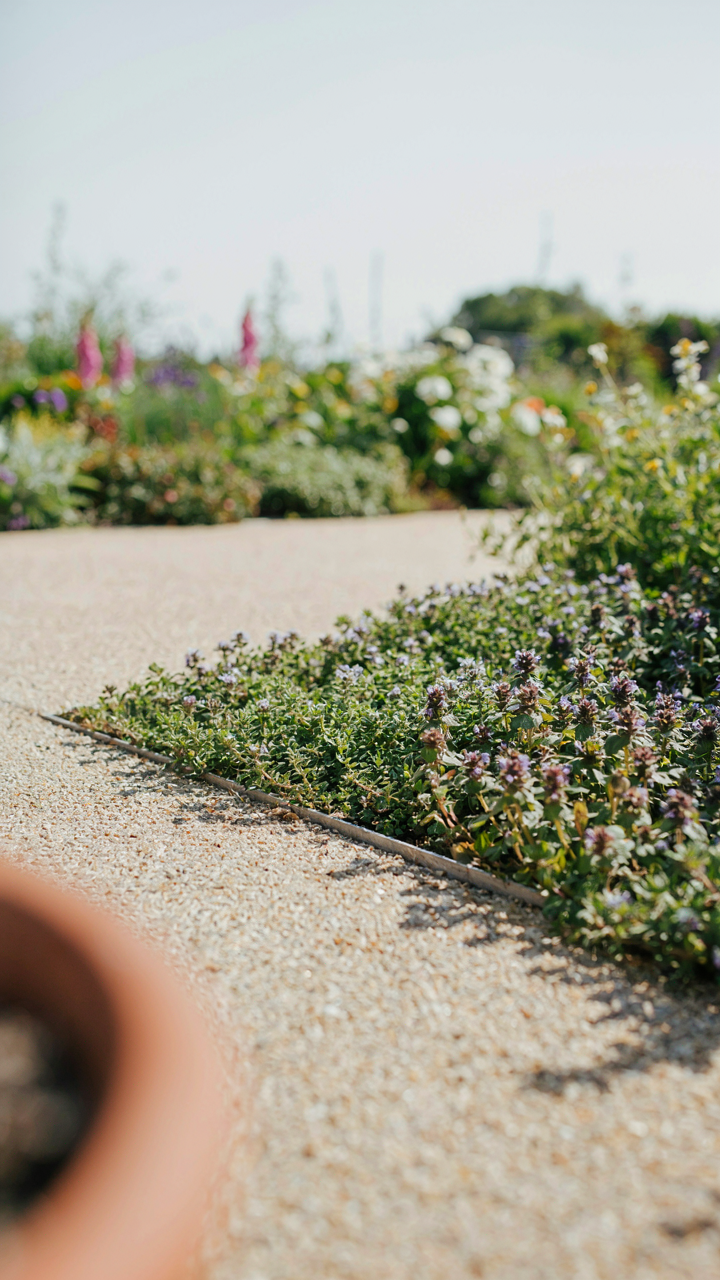
Ecological Succession At Your Path Edges
You want your cottage garden to look effortless, which means you’re avoiding the real work of managing it. The mechanism here comes from ecology: succession is the predictable sequence of plant community change over time. Your path edges experience the same pattern. Early colonizers arrive first, then competitive dominants take over, crowding out everything else. Most gardeners fight this instead of directing it.
The edge of a pathway is a disturbed zone, which means it naturally attracts pioneer plants. These are fast-growing, shallow-rooted species that stabilize bare soil. Instead of replanting bare edges constantly, seed them deliberately with plants you want there. Creeping thyme, self-heal, and low-growing sedums will occupy the space before more aggressive perennials can claim it. You’re not fighting succession, you’re steering which species win the competition.
Containment Zones For Uncontrolled Spread
Military strategy teaches containment: establish a perimeter, control what crosses it, manage resources inside it. Your sprawling cottage plants need the same framework. The common advice is to just divide plants or deadhead more. This fails because you’re treating the symptom, not the system. The real mechanism is preventing plants from establishing new territory in the first place.
Create a physical barrier between the path and aggressive spreaders like catmint, sedums, or ornamental grasses. Use a shallow root barrier, sunken metal edging, or a defined gravel trench at least three inches deep. This stops rhizomes and runners from crossing the boundary. Maintenance then shifts from constant cutback to simple containment: pull anything that breaches the line before it establishes. The barrier does the work; you just enforce the perimeter.
Unconventional Path Ideas: Embracing Imperfection For Superior Results
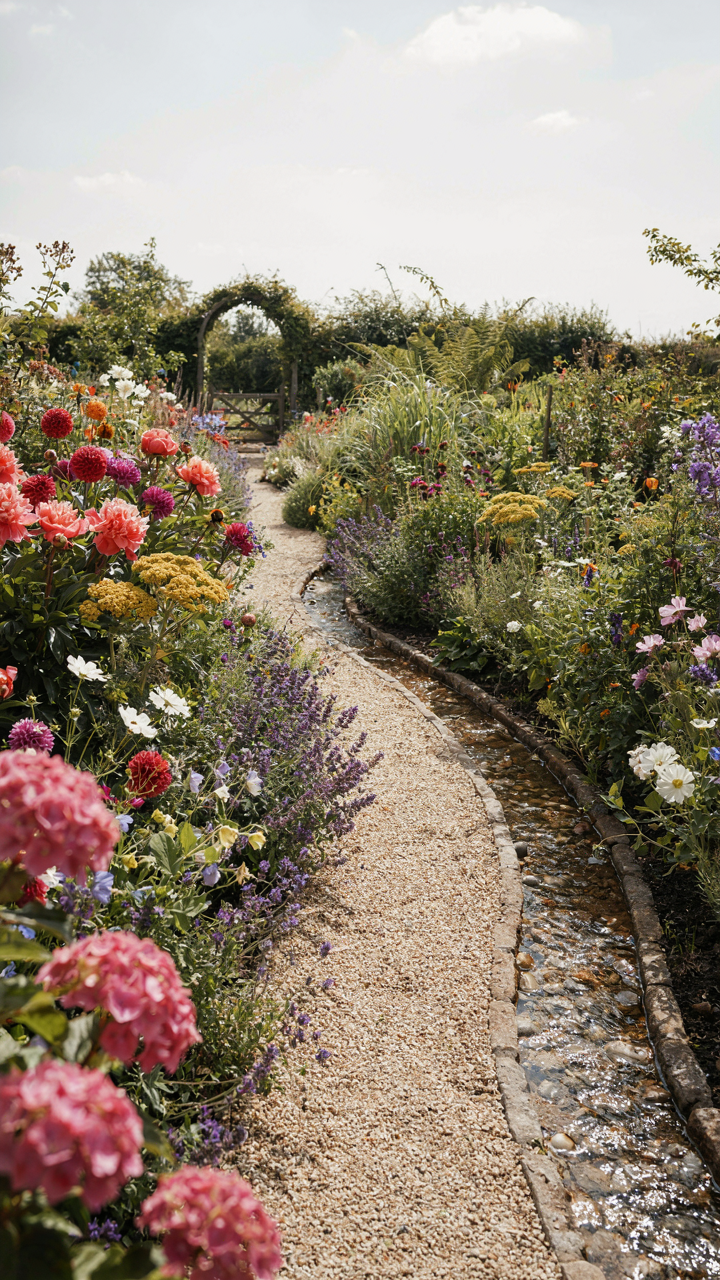
Work With The Land, Not Against It
You want your path to look effortless because you’re afraid a curved route signals poor planning. The opposite is true. Topography dictates path placement in landscape architecture, and cottage gardens borrowed this principle centuries ago. A path that fights elevation gain looks forced. One that follows the slope’s natural descent reads as intentional. The mechanism is simple: water and foot traffic both take the path of least resistance. Design your route to match this, not oppose it.
When you map your path, trace where water naturally runs after rain. Walk your garden during a storm if possible. The flow line becomes your design line. Gravel paths positioned along these drainage channels last longer, settle more evenly, and require less maintenance. You’re not adding infrastructure—you’re revealing what already exists. This eliminates the amateur mistake of laying paths perpendicular to slopes, which forces constant regrading and creates erosion channels alongside the walkway.
The Strategic Meander And Why Straight Fails
Conventional wisdom says straight paths save space and look formal. That’s incomplete. Straight paths also announce every endpoint and compress perceived distance. The art of subtle redirection works by controlling information flow and manipulating how visitors experience your garden’s size. Each turn creates a reveal, which resets attention and makes the journey feel longer. You’re not decorating—you’re engineering psychology through spatial sequencing.
Unexpected turns also solve a practical problem nobody mentions: they break sightlines to garden edges, fences, or neighboring properties. A path that curves right before reaching the boundary feels intentional and complete, while a straight shot to the perimeter exposes your garden’s actual limits. Plan turns at transition points between different planting zones or view angles. The curve itself should be gentle, roughly 15 to 30 degrees. Sharp angles read as forced. Subtle bends feel natural and give visitors permission to slow down and observe.
Cottage Garden Design: Hardscaping Decisions For Soft Landscaping
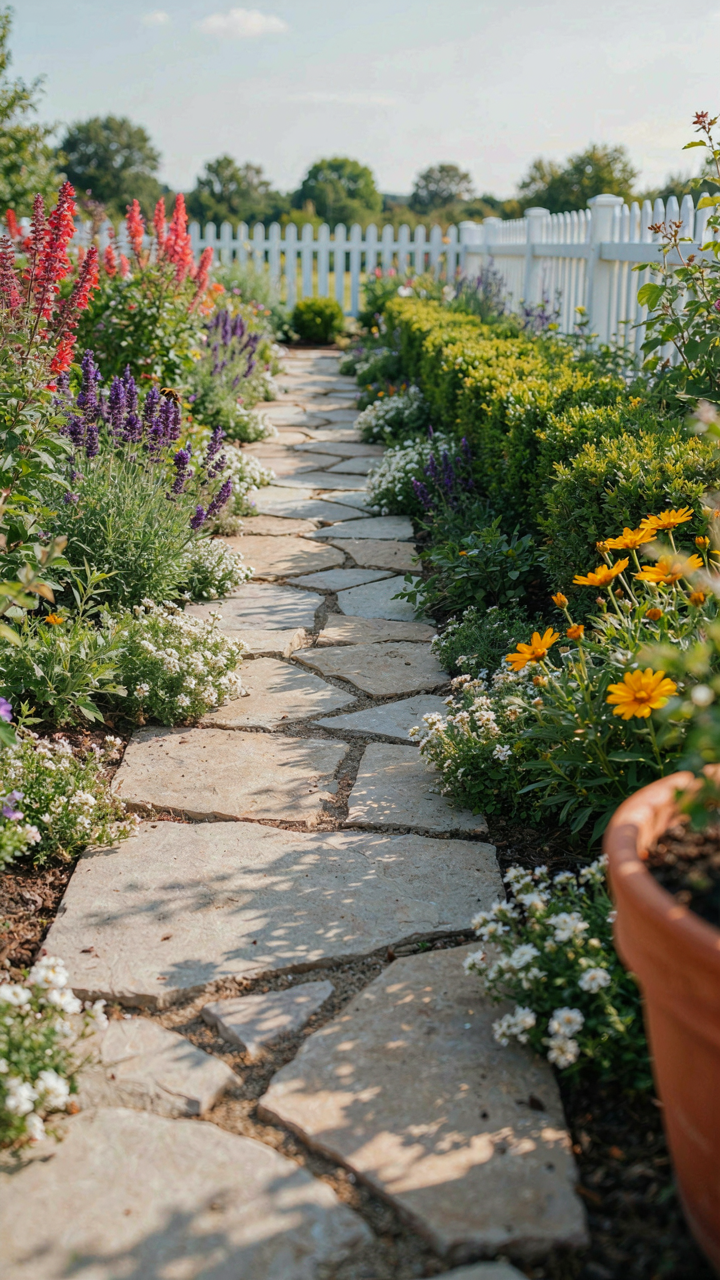
The Structural Spine Your Garden Actually Needs
You want hardscaping to disappear visually while doing all the real work, and that’s the trap. Hardscaping doesn’t vanish—it anchors. Think of it like load-bearing walls in architecture: you place them strategically to support everything else without drawing attention. In cottage gardens, hardscaping creates the skeleton that prevents the soft plantings from becoming visual chaos. Gravel, stone, and edging aren’t decorative afterthoughts. They’re the decision-making framework that lets perennials sprawl without the garden collapsing into disorder.
The mechanism is simple: hard surfaces establish grade, define circulation routes, and create visual resting points. Without them, cottage plantings read as confused abundance instead of intentional abundance. Stone paths, raised beds, and defined borders give the eye permission to appreciate the plants instead of working to understand the space. You install hardscaping first, then plant around it. This reverses the amateur approach of planting densely and hoping structure emerges. It doesn’t.
Soft Boundaries That Still Work
Most advice tells you to blur lines between beds and lawn with drifting plantings, but vague edges create maintenance nightmares and visual uncertainty. Cottage gardens need defined boundaries—they’re just not rigid ones. Use permeable materials and curved lines instead of straight angles. The boundary should read immediately but not aggressively.
- Gravel or crushed stone edging: Creates clear demarcation while allowing water infiltration and easy replanting without permanent materials locking you into one design.
- Low brick or stone headers: Sits flush with soil level, defines the bed perimeter, and ages naturally without screaming “garden edge” at visitors.
- Flexible metal or composite edging: Holds curves without kinking, contains soil creep, and removes easily if you change the layout later.
- Path-as-boundary: Run gravel or stepping stone pathways along bed edges instead of installing separate edging, consolidating structure and function.
- Planted mounding: Build slight grade changes with soil to create natural boundaries that plants then soften, requiring no hardscape material at all.
The real boundary work happens at installation, not maintenance. You choose materials that age into the landscape rather than demand upkeep. Soft boundaries work because they accommodate plant sprawl while preventing soil migration and keeping pathways clear. Set your edges during site preparation, then let plantings blur them gradually over time.
Cottage Landscaping: The Path As An Extension Of Your Garden’s Purpose
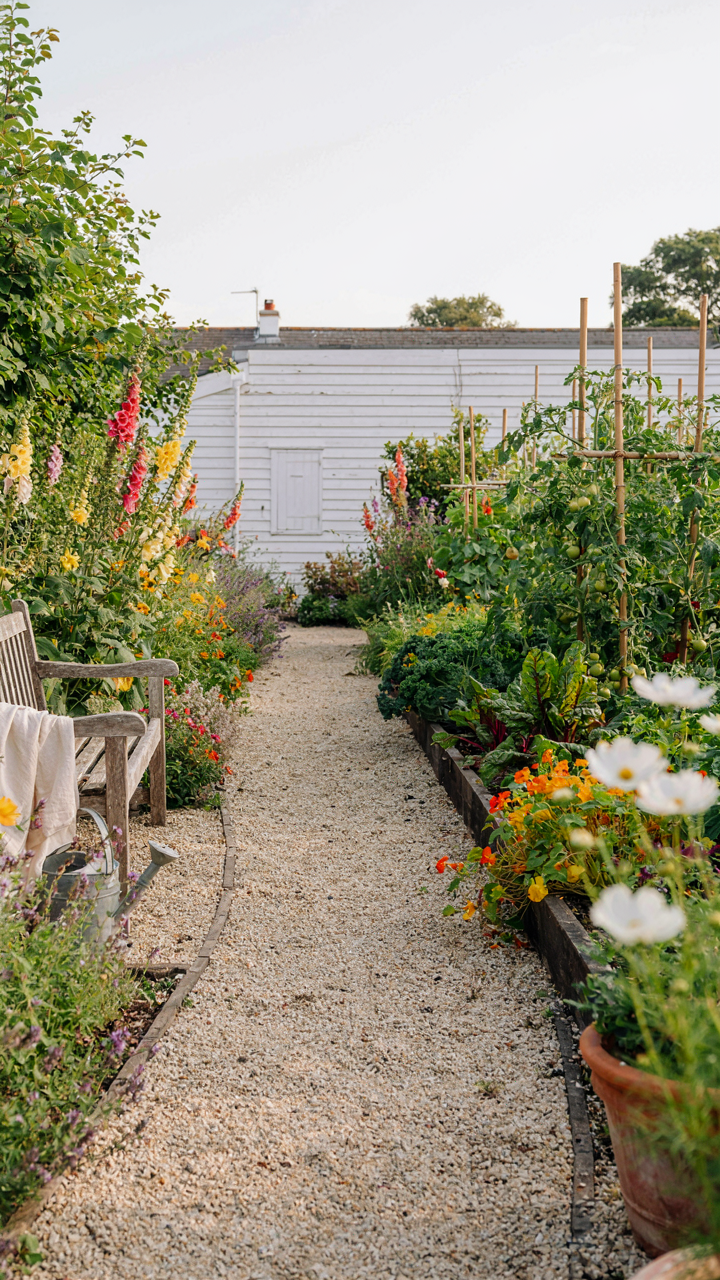
Connecting Functional Zones With Clarity
You want your cottage garden to look effortless. That’s the real motive here, and it blinds you to the fact that paths are infrastructure, not decoration. Borrow the concept from urban planning called “desire lines”—the worn routes people actually take versus the ones designed for them. Your paths should anticipate and formalize where traffic naturally wants to flow between your vegetable beds, seating areas, and entry points. This prevents visitors from trampling plantings and protects the garden’s layout from degradation over seasons.
Most cottage gardens fail because they treat paths as afterthoughts. The mechanism is simple: establish paths where function demands them first, then let aesthetics follow. Route primary paths between the house and your most-used areas. Secondary paths branch to utility zones like compost or tool storage. This hierarchy of movement creates a navigable space that supports the garden’s actual purpose rather than fighting against it.
Walking Routes Across All Seasons
Year-round usability requires thinking like a landscape architect managing water and freeze cycles. The common advice to just “pick materials that age well” misses the real problem: pathways must remain passable when soil softens in spring mud, when frost heaves materials in winter, and when vegetation encroaches in late autumn. Hard surfaces like gravel or stepping stones handle moisture better than bark mulch, which compacts and becomes slippery. The material you choose determines whether your path becomes impassable for three months of the year.
Drainage and material behavior are non-negotiable. Cambered gravel paths shed water naturally and reset after seasonal shifting. Stone or brick pathways need proper subbase preparation to prevent heaving in frost zones. Test your local freeze-thaw cycles before committing material choices. The goal is a path that functions in January mud and August drought alike, not one that looks nice in a catalog photo. When your path becomes unusable, the garden splits into disconnected zones instead of a cohesive whole.
Garden Path Maintenance: The Long Term Return On Strategic Investment

Build Once, Maintain Forever
You want this section because you’re hoping maintenance won’t matter. It matters more than construction. Think of pathways like supply chains in logistics: the initial design determines your ongoing operational cost. A poorly engineered path forces constant intervention. A well-designed one becomes nearly invisible.
The real mechanism is material selection compounding over years. Gravel paths demand annual topping and raking. Permeable pavers settle unevenly and trap debris. Brick laid on sand migrates. Formal stone set in mortar holds firm but requires pointing repair. Your upfront choice locks in either low or high friction maintenance for the next decade.
- Permeable Paving Over Gravel: Reduces annual refresh cycles from 1-2 times yearly to once every 3-4 years. Durable porous materials like recycled rubber or permeable pavers stabilize faster than loose stone.
- Proper Base Preparation and Compaction: A 4-6 inch compacted base of crushed stone prevents settling. Settling creates pooling, accelerates edge erosion, and forces re-edging work that gravel paths need constantly.
- Edge Containment Systems: Metal or rigid plastic edging eliminates grass creep and reduces trimming labor. Without it, lawn encroaches annually, and defining the path boundary becomes endless work.
- Slope and Drainage Design: Even 2-3 percent grade shed water away from the surface. Poor drainage causes pooling, moss growth, and freeze-thaw damage that accelerates deterioration faster than any other factor.
- Formal Stone With Mortar Joints: Higher upfront cost, but mortar joints lock stones in place and prevent shifting. This reduces the need to relevels sections, unlike sand-set materials that require frequent adjustment.
The choice you make in month one determines the maintenance rhythm for the next ten years. Spend the time getting the base right, and you’re done thinking about it. Cut corners, and you’ll be fixing it every spring.
Early Warning Signs Before Collapse
Most people notice path problems too late because they stop looking. The damage starts months before it becomes obvious. Weeds sprouting through cracks signal water infiltration underneath. Soft spots under foot mean the base has failed underneath the surface layer. Moss growth indicates drainage pooling, which leads to freeze-thaw fracture in cold seasons.
Check your pathways quarterly, not seasonally. Walk the entire length and press down on sections to feel for movement or soft spots. Look for water sitting on the surface hours after rain. Photograph the same sections annually to catch subtle changes in surface alignment. Early intervention costs 20 percent of what full replacement costs. Waiting until sections crack or settle beyond re-leveling makes rebuilding inevitable. Start inspecting now or commit to replacing it in five years.
The Path Problem: Your Real Obstacle Isn’t Aesthetics; It’s Your Refusal To Impose Order On Perceived Chaos
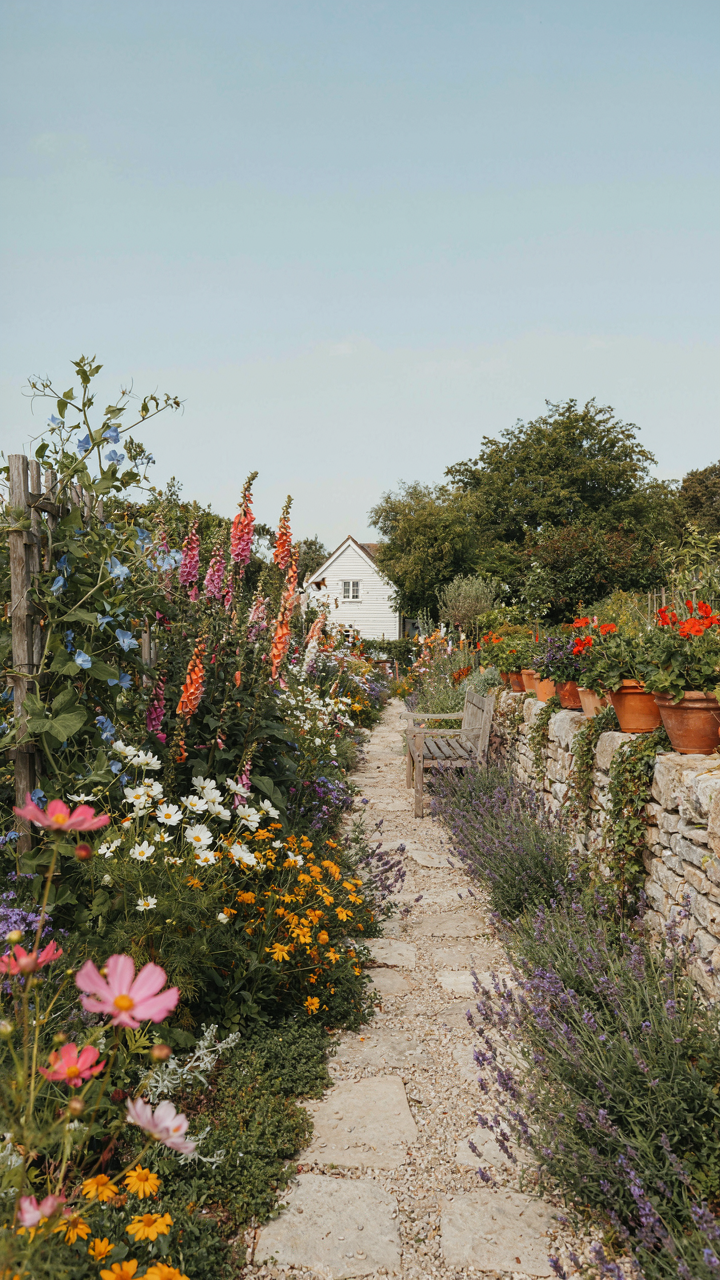
Most people won’t build cottage garden pathways because they confuse control with sterility. They think structure kills romance. It doesn’t. It amplifies it. Your overgrown garden doesn’t look charming. It looks abandoned. Today, sketch one pathway on paper. Just one. Decide where feet naturally want to go, then build toward that instinct instead of against it. A garden without paths isn’t wild. It’s just undecided.



