Introduction
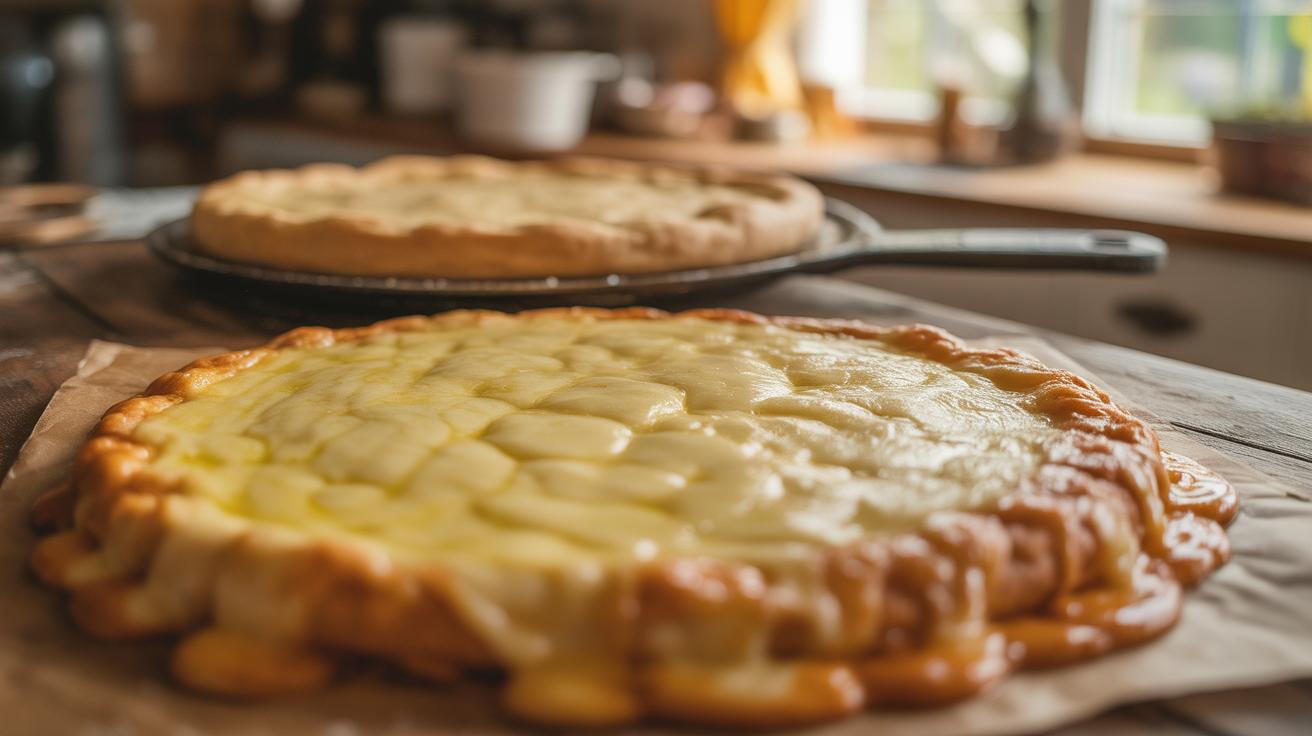
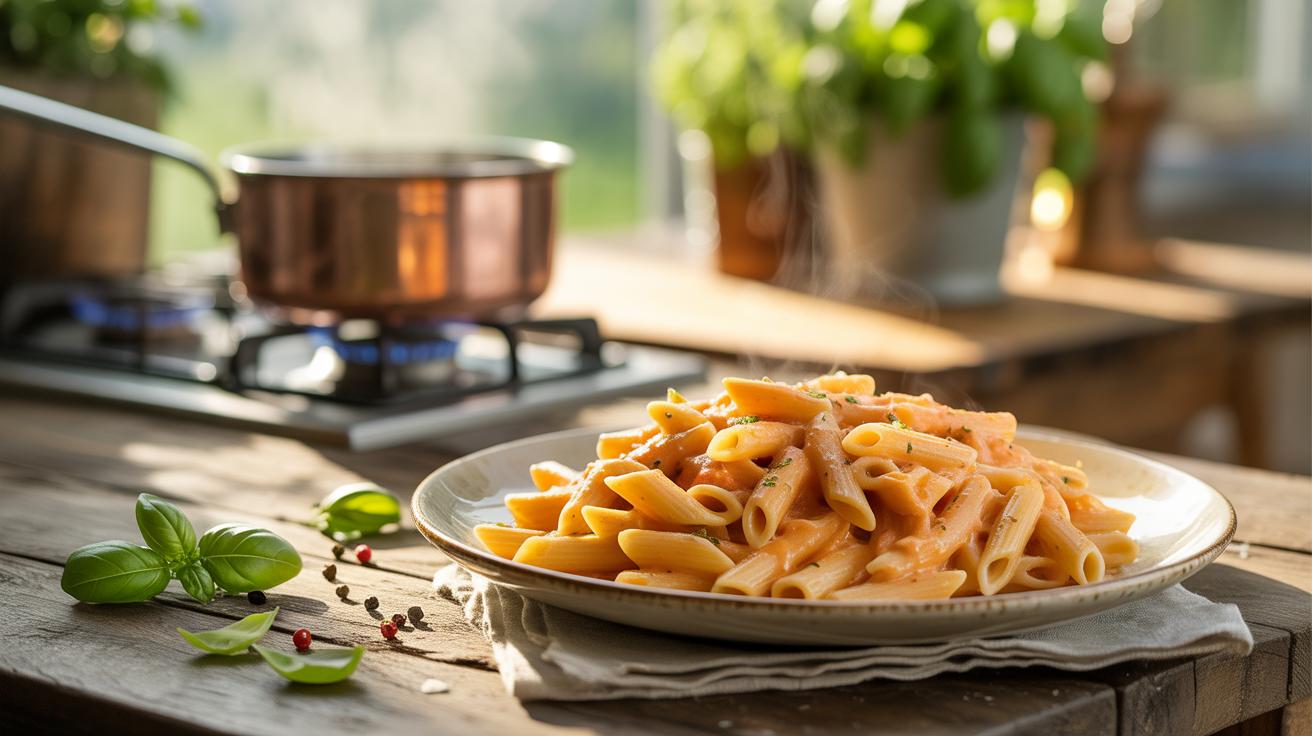
Cheese pizza is a favorite for many people. It combines a crispy crust with gooey, melted cheese to create a dish loved by kids and adults alike. Making cheese pizza at home can be both fun and rewarding. You get to control what goes into it and enjoy fresh, hot pizza right from your oven.
This article will explore homemade cheese pizza recipes. We will look at choosing the best cheeses, making the crust crispy, and tips to get the perfect bake. Whether you’re a beginner or just looking to improve your pizza-making skills, this guide will help you make delicious cheese pizza with a crust that’s both crispy and cheesy.
Choosing the Right Cheese for Your Pizza
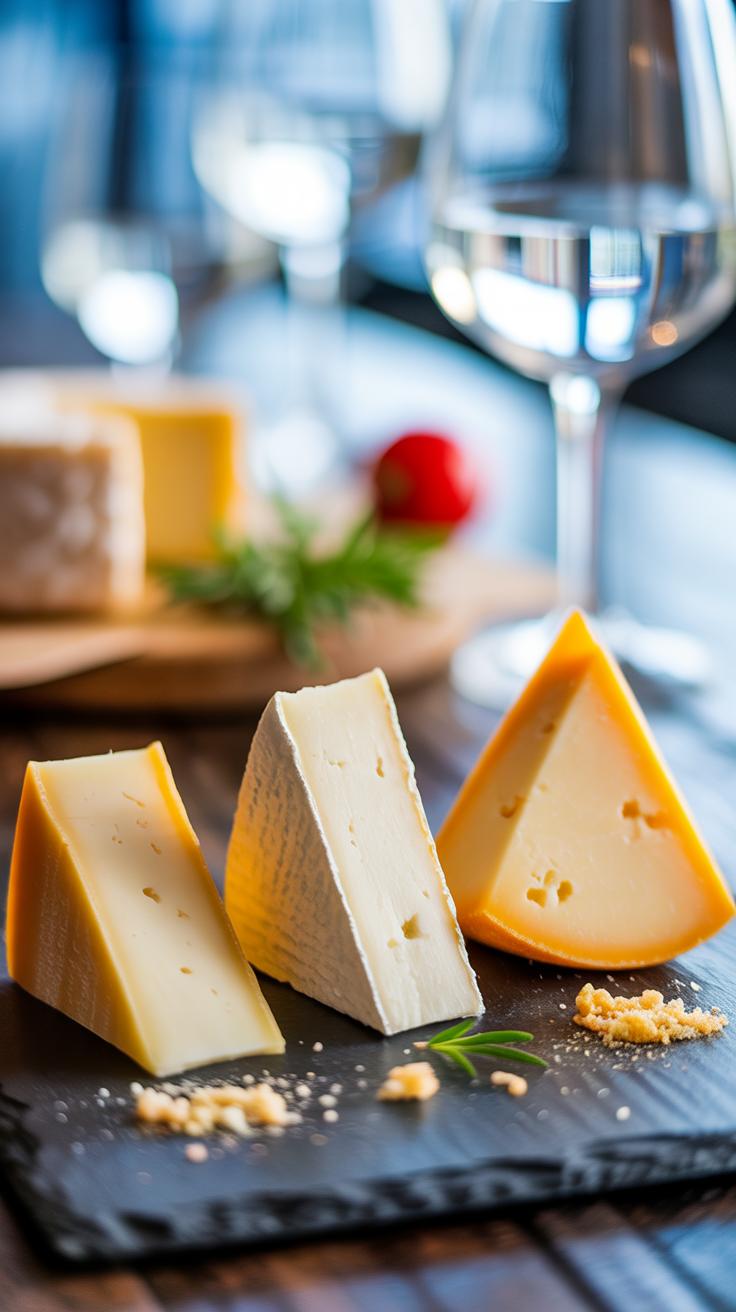
Picking the right cheese can really make or break your cheese pizza. Most people immediately think of mozzarella—and for good reason. It melts beautifully, stretches just enough, and creates that classic gooey layer everyone loves. But mozzarella isn’t just one thing; it comes in different forms that behave differently on your pie.

Aside from mozzarella, cheeses like provolone, cheddar, and parmesan can bring distinct flavors and textures into play. For example, provolone has a slightly sharper flavor and melts well, but it’s not as stretchy. Cheddar offers a stronger taste and tends to separate a bit when heated, which can be interesting depending on what you want. Parmesan doesn’t melt much but adds a sharp, salty punch when sprinkled on top. Mixing these cheeses lets you balance melt, flavor, and texture, changing your pizza’s personality without much extra effort.
Mozzarella and Its Varieties
There are two main types of mozzarella you’ll encounter: fresh and low-moisture. Fresh mozzarella is wetter and softer; it creates pockets of creaminess but can sometimes release water while baking, which might make the crust a bit soggy if you’re not careful. Low-moisture mozzarella, on the other hand, is drier and firmer, which means it browns nicely and stretches well. This variety is often what you find on most pizzeria pizzas.
The reason mozzarella works so well is its balance of stretchiness, melt, and mild flavor. This makes it a blank canvas for toppings and sauce without overpowering other ingredients. It’s stretchy without being chewy and melts into a luxurious blanket that helps the toppings stick.
Other Cheeses to Experiment With
Trying other cheeses can be a fun way to mix up your pizza game. Provolone adds smoothness and a subtle tang. Cheddar contributes bite and gooeyness but sometimes melts unevenly—so maybe a blend would work better there. Parmesan won’t melt like mozzarella but adds a nice savory layer, especially when sprinkled after baking.
Ricotta is another cheese you might try as dollops on top for a creamy contrast. It doesn’t really melt in the traditional sense but adds texture and richness. Blending cheeses isn’t just about stacking flavors—it impacts how the cheese layer behaves when heated. It can enhance melt, improve browning, or create pockets of creamy versus stretchy cheese. Experiment as much as you want—there’s no perfect formula, only your preferences.
Understanding Pizza Dough Basics

Ingredients That Make a Difference
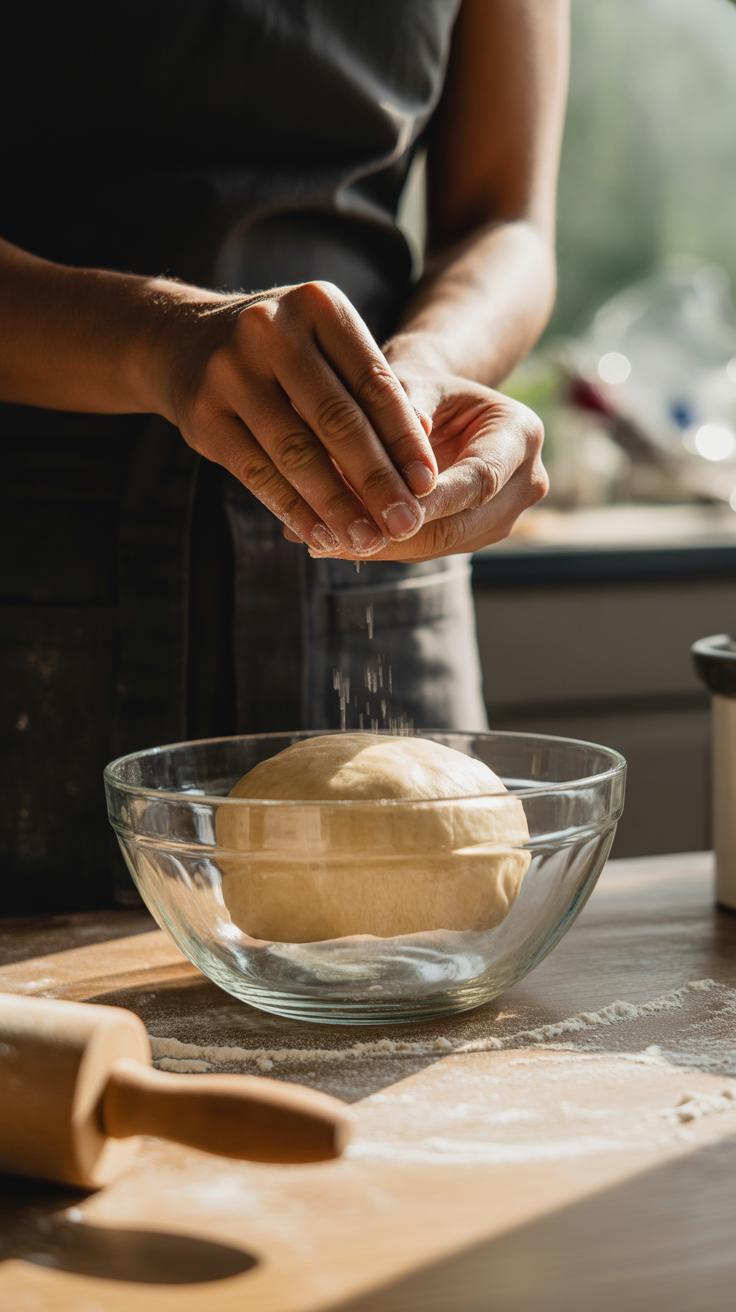
Pizza dough starts simply, with just a handful of ingredients: flour, water, yeast, salt, and sometimes sugar and oil. Each plays a distinct role, and tweaking them changes everything.
Flour forms the dough’s structure. More protein in flour means more gluten, which gives dough its elasticity. Water hydrates the flour, activating gluten and yeast. The amount of water affects how sticky or firm the dough feels—too little and it’s dry, too much and it’s hard to handle.
Yeast is the living agent that makes the dough rise. It feeds on sugars (sometimes added explicitly, sometimes from the flour), producing carbon dioxide that inflates the dough. Without enough yeast, or if it’s too cold, your dough could be flat and dense.
Salt adds flavor, of course, but also tightens gluten strands, giving dough strength. Too much salt can slow yeast down, though, so balance is key. Oil softens dough and helps it brown in the oven, but omitting it makes a chewier crust.
How Dough Texture Affects Your Pizza
The texture of your dough sets the stage for how your crust will behave. Higher hydration—that is, more water relative to flour—usually leads to a lighter, airier crust with more holes, while lower hydration yields a denser, crisper base.
Resting time also matters. Letting dough rest allows gluten to relax, making it easier to stretch and less likely to shrink back. This resting impacts both how crispy and how soft your crust turns out. Sometimes I like a longer rest for more flavor development, even if it means a slightly softer crust.
Different dough types—like classic Neapolitan, New York-style, or Sicilian—use varying hydration levels and fermentation times. These differences shape textures from thin and crisp to thick and chewy. So, the dough recipe you choose is a silent partner in your pizza’s outcome.
What kind of crust do you prefer: something airy with a bit of crunch, or more substantial and tender? Your dough can deliver either, depending on how these basic elements come together.
Preparing Your Dough for a Crisp Crust
Stretching and Shaping the Dough
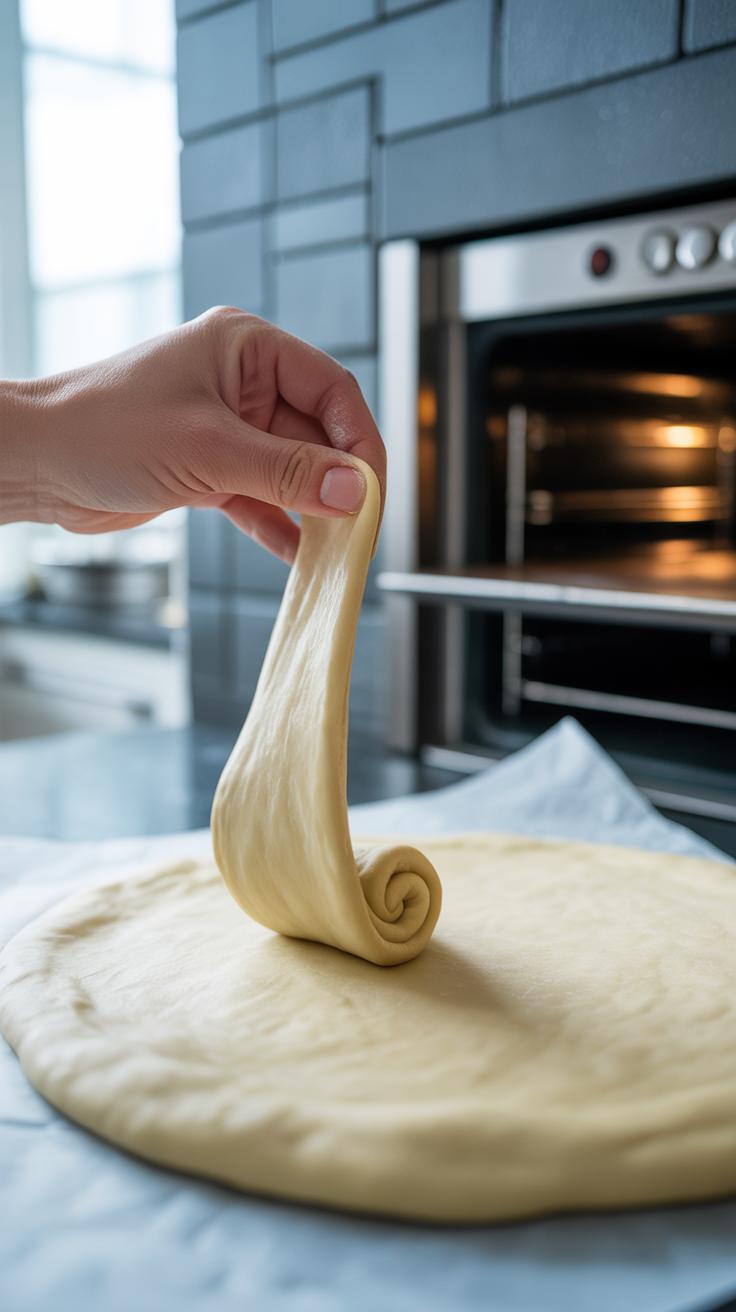
Getting your dough just right is key if you want that crisp crust without losing the light, airy feel inside. When you start stretching, use your fingers to gently press from the center outwards. Think of it like coaxing the dough rather than forcing it—push too hard, and you’ll end up with holes or a torn crust. I often flip the dough onto my knuckles and let gravity do some work while I carefully pull the edges. This helps keep the dough even and prevents thinning too much in one spot.
One trick I’ve found useful is rotating the dough as you stretch it, moving systematically so you don’t stretch the same area repeatedly. It’s tempting to rush, but slow and steady wins here. If the dough pushes back or shrinks back when you stretch, give it a bit more time to rest before continuing. You want to maintain those air pockets—it’s those bubbles that make the crust crisp yet fluffy inside.
Resting and Proofing for Better Texture
Resting is less flashy than shaping but just as crucial for crispness. After kneading, let your dough sit at room temperature for about an hour. This relaxes the gluten strands, making the dough more flexible and less likely to tear when shaped. Then, a longer proofing—say, a few hours in a cool spot or even overnight in the fridge—builds flavor and texture in subtle ways.
Some people think longer proofing might make the crust too dense, but I’ve found that slow fermentation actually strengthens gluten, resulting in a crust that’s crispy on the outside without feeling tough. The timing here depends on your dough and environment, so watch how it behaves rather than sticking rigidly to clocks. When your dough has doubled in size and feels pillowy, it’s ready. Give it one last gentle stretch and you’ll notice a difference in how it holds up during baking.
Choosing the Best Oven Settings for Baking
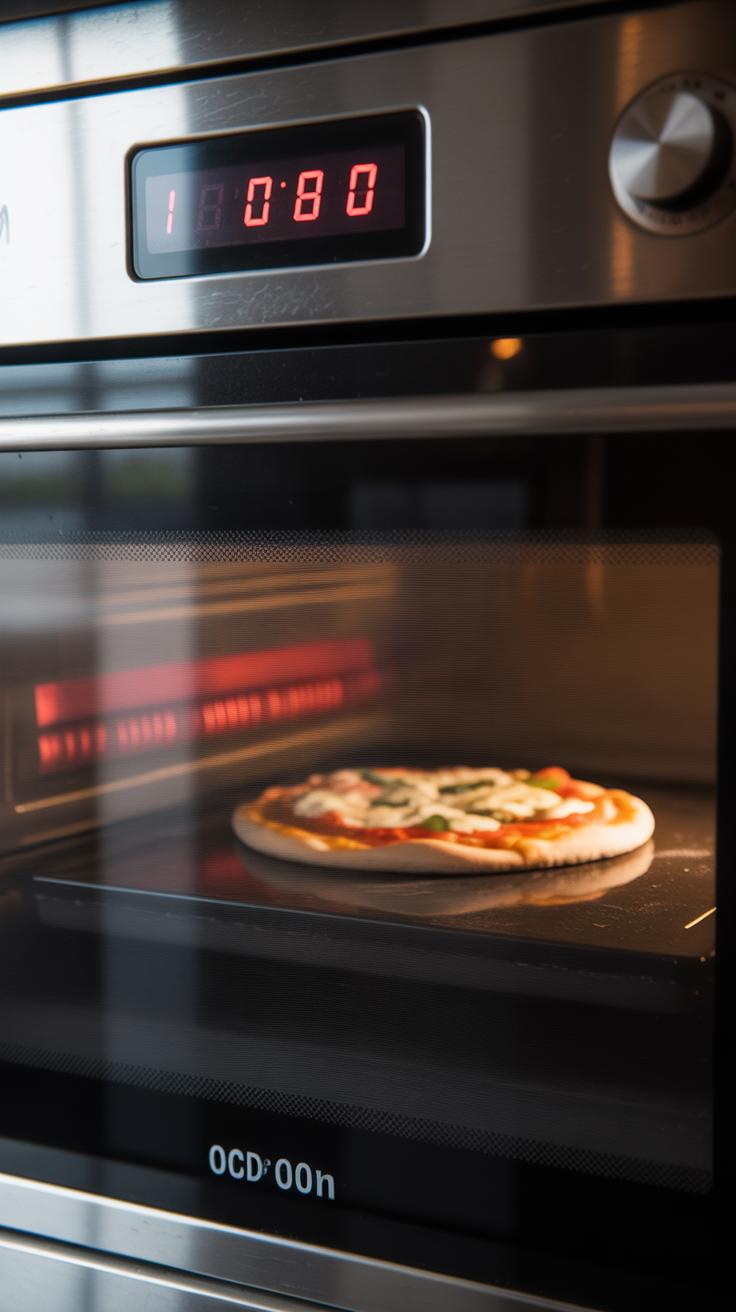
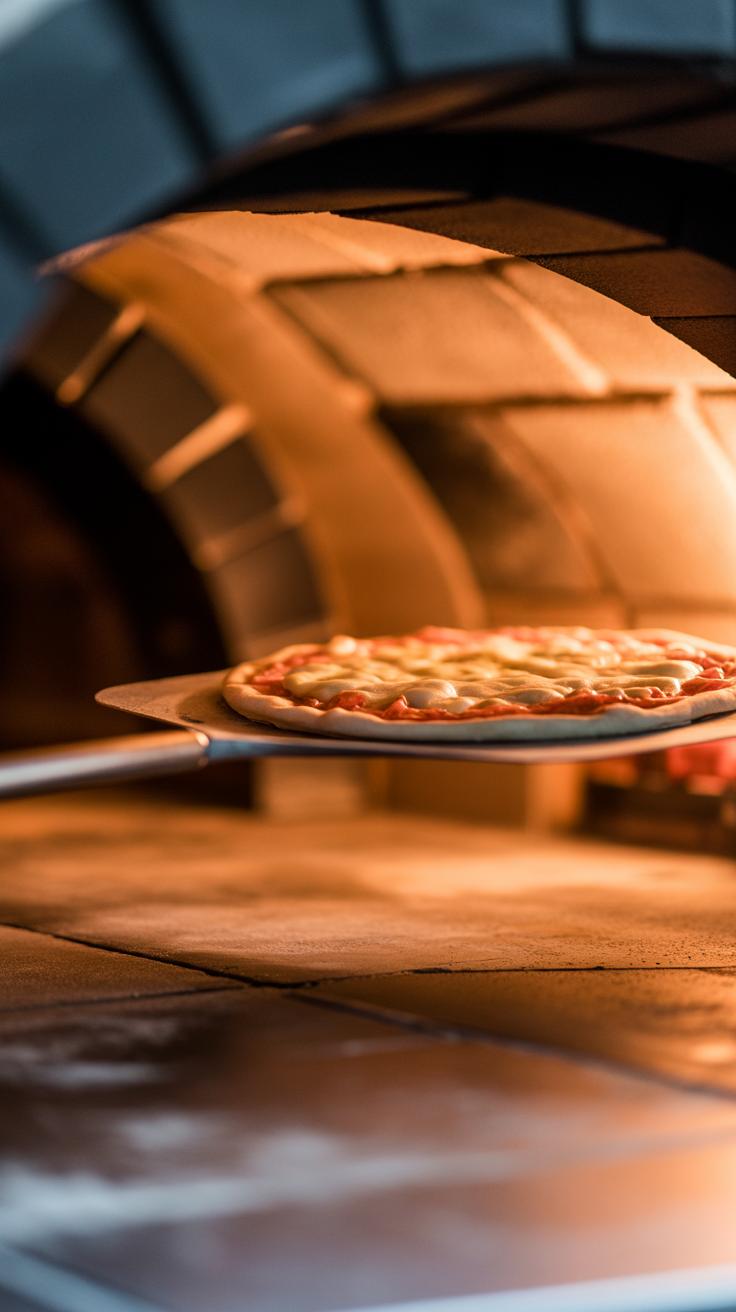
The oven’s temperature and heat source drastically shape how your cheese pizza turns out. In a traditional pizza oven, intense heat from a wood fire or gas flame cooks the pizza quickly, crisping the crust and melting the cheese just right. Home ovens don’t quite reach those extremes, but you can mimic them well enough.
Set your oven as high as it will go—usually between 475°F and 500°F. This range encourages a crust that crisps up without drying out, while allowing the cheese to melt and bubble nicely. If your oven can crank higher, try that, but be ready to watch closely since the pizza may cook much faster than expected.
A simple way to simulate a pizza oven is to use a pizza stone or baking steel. Place it on the middle or lower rack and preheat for at least 30 minutes before baking. These surfaces soak up heat and radiate it evenly, giving your crust that sought-after crunch. Also, they help avoid the uneven cooking that happens when dough sits on a cold or flimsy tray.
When baking, resist opening the oven door repeatedly; it cools the environment and disrupts even heat distribution. Let the stone or steel do the work, and with a bit of trial and error, you’ll find the sweet spot where crust and cheese balance perfectly. Ever noticed how the best homemade cheese pizzas come from those moments when you just let things be?
Topping Your Pizza for Perfect Cheese Coverage
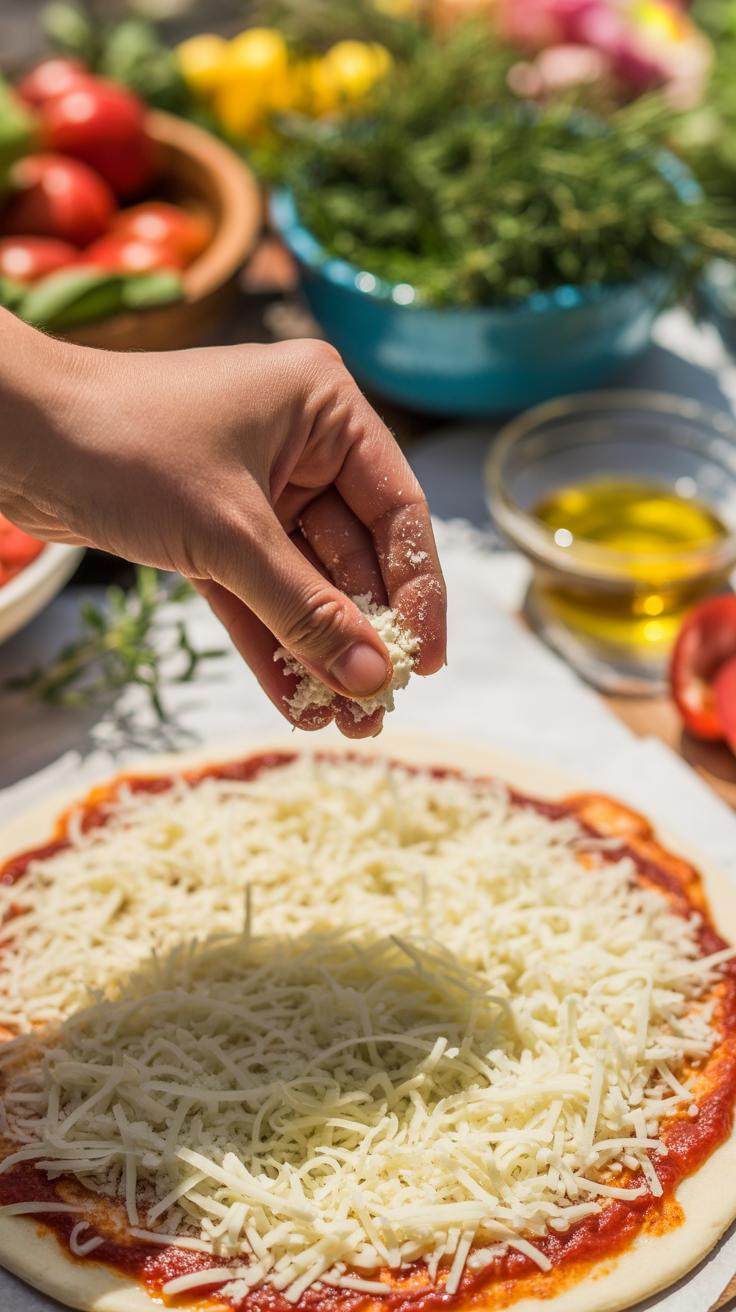
Getting cheese evenly spread on your pizza takes a bit of care, and it definitely affects how it melts and tastes. You want each bite to have that satisfying stretch of melted cheese—not patches that are overloaded or bare spots. When layering cheese, start by sprinkling a moderate amount across the dough, aiming for a thin, uniform layer. Too much cheese can overwhelm the crust, making it soggy, while too little leaves the pizza feeling dry. Finding a balance usually means using about 1 to 1½ cups of shredded cheese on a 12-inch pizza, but feel free to adjust based on your preference.
Choosing between shredded and sliced cheese matters too. Shredded cheese distributes better and melts more consistently, while slices can clump or leave uneven pockets. If you use slices, overlap them slightly but not too thickly. For shredded cheese, tossing it gently before spreading helps avoid clumps—an uneven pile can cause some areas to burn or melt poorly.
Then there’s the sauce. A thick layer of sauce can act like a barrier, preventing cheese from melting smoothly. Too thin, and the pizza might feel dry. You want just enough sauce to cover the dough but still allow that beautiful cheese melt. Think of sauce as the cheese’s teammate—it needs to support without dominating. When the sauce is well balanced, the cheese blends into it, creating that classic, harmonious texture and flavor. So next time you’re topping your pizza, pause to consider how these elements come together on your pie—it can change the whole experience.
Baking Techniques to Enhance Crispness and Cheesy Texture
Baking pizza is not just about tossing it in the oven and waiting—it’s a bit more hands-on if you want a crust that snaps without being hard, and cheese that melts just right. One useful technique is to turn your pizza halfway through baking. Ovens rarely heat perfectly evenly, so shifting your pie ensures no section scorches while another remains undercooked. I’ve found even just a 90-degree turn can make a real difference.
Timing matters, too. Usually, baking for about 10 to 15 minutes at a high temperature (450°F or above) works well, but the exact time can change depending on your oven and dough thickness. Watch closely from the 8-minute mark onward—that’s when subtle changes in color and texture start to show.

Knowing when your pizza is done requires a bit of attention. Check the crust edges—they should be golden and firm but not dried out or crumbly. The cheese should look bubbly and have patches of light browning, signaling gooeyness without overcooking. If your cheese is pulling away from the edges or turning rubbery, it’s gone too far. Oftentimes, a quick lift of the pizza’s edge to peek underneath helps gauge crust crispness without cutting into it.
Sometimes, you might feel tempted to bake longer for extra crunch, but trust me, a slightly softer center with a crisp border often tastes better than a completely hard crust. It’s a balance that’s worth practicing—and maybe a little forgiving when your first try isn’t perfect.
Using Cheese Blends for Richer Flavor
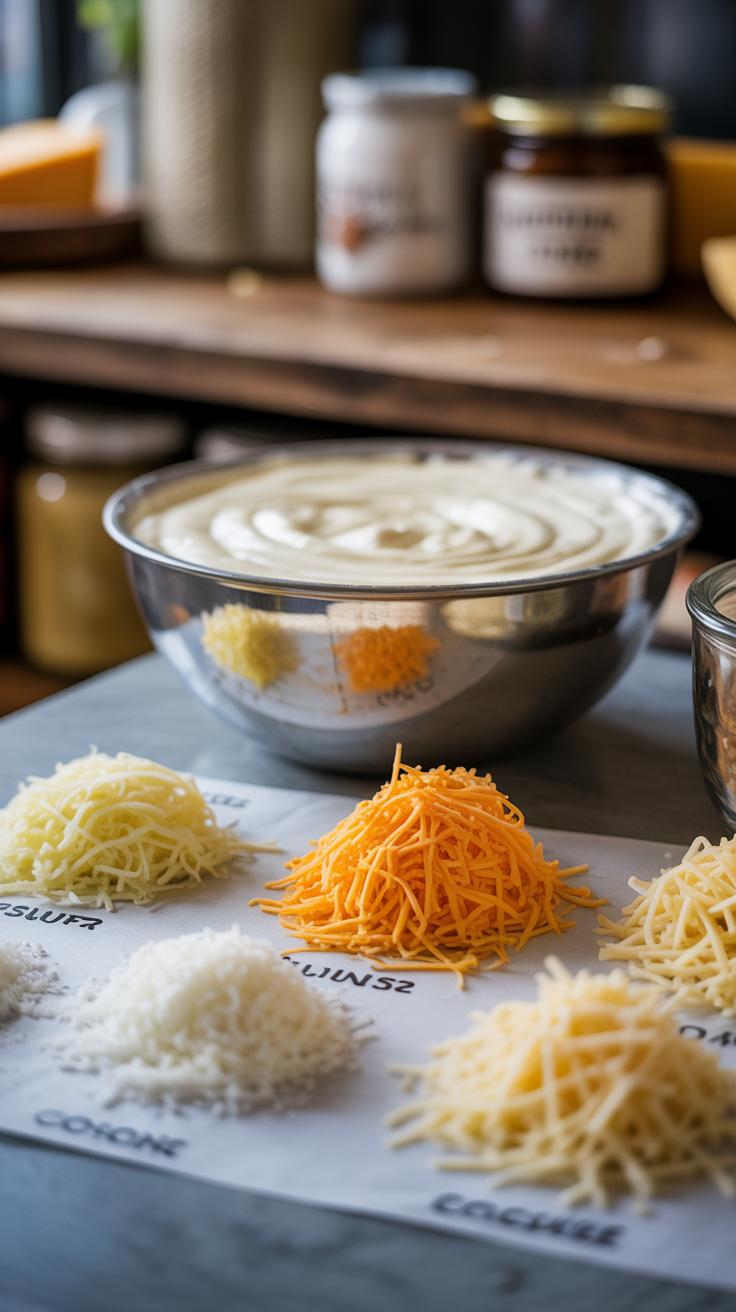
Mixing different cheeses can bring your pizza to a new level—taste-wise, visually, and texture-wise. Each cheese has unique qualities that change the whole experience. For example, mozzarella melts beautifully and stretches perfectly, but it can be a bit mild on taste. Adding something like sharp cheddar introduces a deeper, tangier flavor and a bit more color on top. Provolone offers a slightly smoky and creamy element that balances out the blend.
Popular cheese combos often include:
- Mozzarella and Cheddar: Classic for a reason—the creaminess of mozzarella with cheddar’s sharp bite stands out.
- Mozzarella and Provolone: Creates a smooth, rich profile with a subtle smokiness.
- Mozzarella, Parmesan, and Romano: These together bring a salty, tangy punch and enhance the pizza’s aroma.
- Mozzarella and Fontina: Fontina melts into a velvety texture and adds a gentle nuttiness.
When you mix cheeses, melting changes too. Some cheeses melt quickly and become gooey while others brown faster, giving the surface different textures. For instance, mozzarella sets a gooey base, while cheddar or provolone might brown and bubble to create those tempting golden spots everyone loves. Blends give you more control over how the pizza looks and feels as it bakes.
Ever found your pizza’s cheese a little too oily or dry? That’s often due to using one cheese only. A blend usually balances moisture and fat, improving consistency. So, I like to experiment with small tweaks—sometimes adding a bit more of the sharper cheese, sometimes a milder melting type—just to see what happens. It’s a bit tricky but rewarding when you hit that perfect combo for your crisp and cheesy crust pizza.
Storing and Reheating Cheese Pizza
Proper Storage Techniques
Leftover cheese pizza can be surprisingly tricky to keep fresh. You might think just wrapping it tightly is enough, but there’s more to it. When storing slices in the fridge, place them in a container with a lid or wrap each slice individually in plastic wrap or foil to avoid drying out. Stacking slices directly often leads to soggy bottoms, which nobody wants.
If you want to keep pizza longer, freezing is your best bet. Wrap slices tightly in plastic wrap and add a layer of aluminum foil to protect against freezer burn. This preserves taste and texture better than just tossing slices in a bag. When you eventually thaw the pizza, it might lose a bit of that fresh-baked quality, but at least it won’t go to waste.
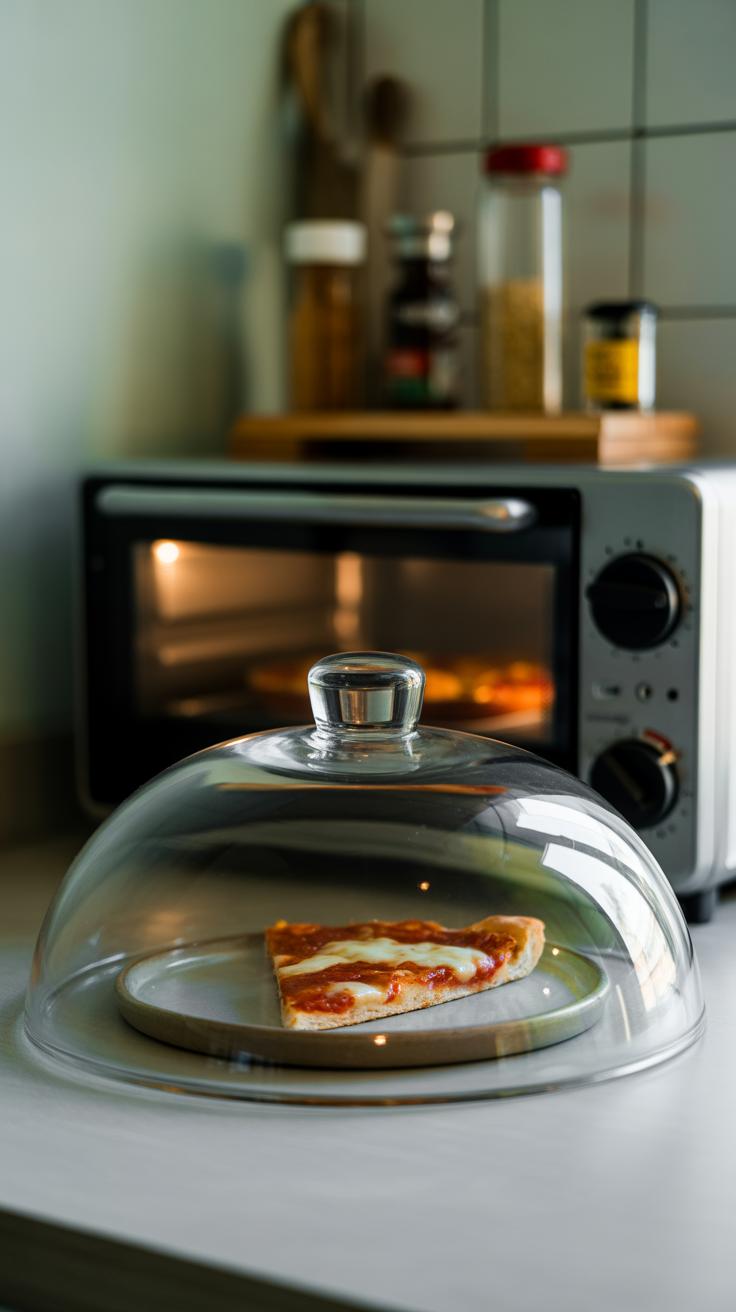
Reheating Tips for Crispness and Flavor
Reheating pizza can be frustrating. Microwave heating works fast but makes the crust limp and rubbery pretty quickly. Instead, try using the oven or stovetop—it keeps crust crisp and cheese melty without overcooking.
- Preheat your oven to around 375°F (190°C). Place pizza slices on a baking sheet or directly on the oven rack for about 7–10 minutes. Keep an eye on the cheese; you want it melted but not burned.
- On the stovetop, heat a nonstick pan over medium heat. Place the slice in the pan, cover loosely with a lid to trap heat, and warm for 5–8 minutes. This method crisps the crust nicely while letting cheese soften again.
Both techniques avoid sogginess and usually bring your pizza close to its original texture. You might wonder if reheated pizza ever matches fresh-made—well, probably not exactly—but these methods come pretty close, at least in my experience.
Troubleshooting Common Cheese Pizza Problems

Fixing a Soggy Crust
Soggy crusts usually come from moisture trapped between toppings and dough. It happens when sauce or cheese sits too long before baking, or if your oven isn’t hot enough to crisp the base quickly. Sometimes the dough itself holds too much moisture—too soft or not stretched thin enough can make it hard to get that crunch.
Try these adjustments:
- Par-bake your dough for a few minutes before adding sauce and cheese. This sets the crust and reduces sogginess.
- Don’t overload your pizza with sauce. A lighter spread works better and avoids wet spots.
- Use a pizza stone or steel to bake. They hold heat well and help crisp the bottom fast.
- Choose dough with a bit less hydration. If your recipe feels slack, cut back on water slightly.
In my experience, switching ovens or baking surfaces noticeably changed crust texture, so don’t be afraid to experiment. Sometimes, getting a crispy crust means tweaking more than one thing at once.
Dealing with Cheese That Does Not Melt Well
If your cheese looks patchy or just won’t melt evenly, the culprit could be the cheese type or how you distribute it. Some cheeses melt better than others. Mozzarella’s a classic for that perfect pull, but if it’s too dry or cold straight from the fridge, it won’t spread or bubble nicely.
Try these tips:
- Use whole milk mozzarella for better melting than part-skim versions. Fresh mozzarella melts differently, so combine types to balance moisture.
- Grate or shred your cheese instead of slicing. Smaller pieces melt more evenly and quicker.
- Let cheese come closer to room temperature before baking. Cold cheese just slows things down.
- Spread cheese in an even layer without clumps or thick piles that can burn or resist melting inside.
Sometimes I’ve noticed blending cheeses—mozzarella with a bit of provolone or fontina—adds both melt and flavor without compromising texture. Have you tried mixing cheeses? It might be worth a go if melt’s been a struggle.
Conclusions
Making homemade cheese pizza lets you enjoy a fresh, tasty meal tailored to your tastes. Using the right cheese and dough ensures your pizza has the perfect balance of crisp crust and melted cheese. Simple steps like stretching the dough properly and baking at the right temperature make a big difference.
Try your own cheese pizza recipe today. Play with different cheese blends and baking times to find what you like best. With practice, you’ll make a pizza that’s both crispy and full of cheesy goodness every time you bake.


