
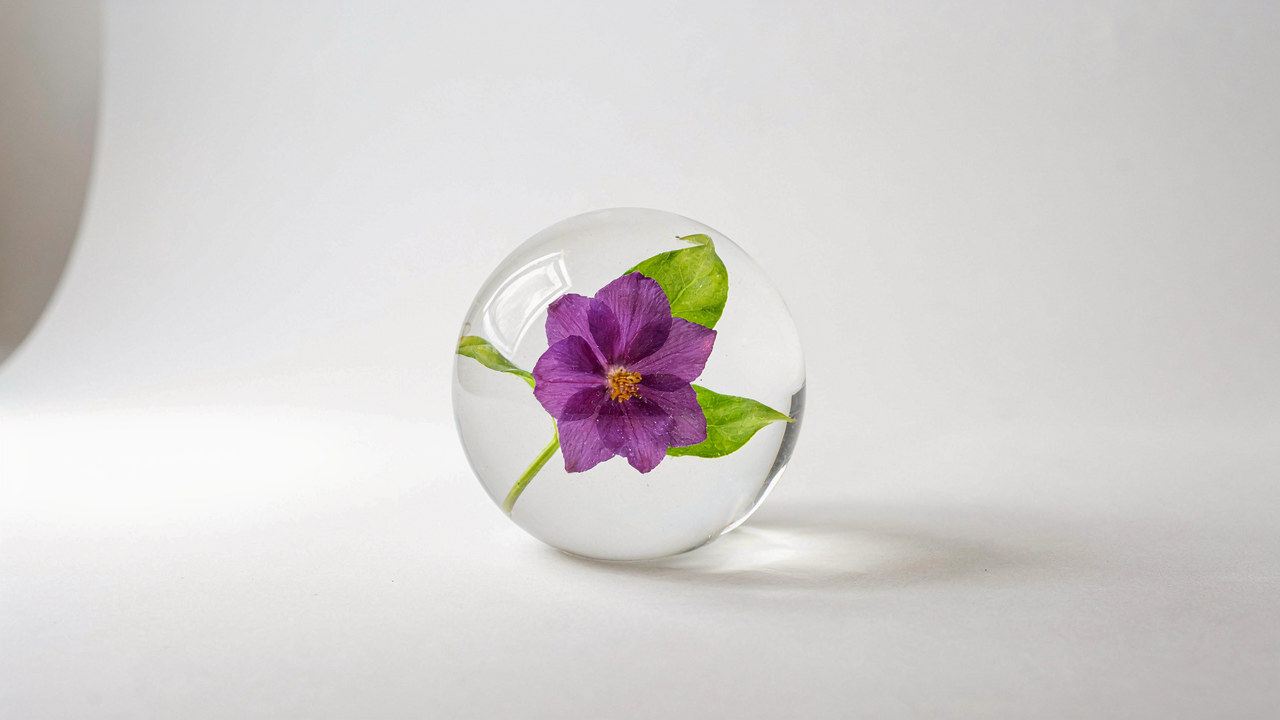
Why Your “Creative” Approach Fails: Understanding Resin Chemistry, Not Artistry

Catalyst Ratios: The Unseen Dictator Of Bubble Formation
You want to blame the resin. You want to blame the flowers. The truth is you’re afraid to measure anything because that feels like work instead of art. Catalyst ratios operate like military supply lines in logistics: too little catalyst, and the reaction stalls; too much, and the system overloads. With epoxy resin, the ratio of hardener to resin determines polymerization speed. Speed controls bubble nucleation and escape velocity.
Most people dump catalyst by feel. This is why bubbles trap themselves. A 1:1 or 2:1 ratio by volume (depending on brand) initiates controlled cross-linking over 24 to 48 hours. Faster cure times mean trapped air has no time to rise and exit. Slower cure times allow gas molecules to migrate upward through lowering viscosity. The mechanism is simple: measure your catalyst precisely, record it, and track which ratios produce bubble-free results on your specific resin brand and ambient temperature.
Viscosity’s Trap: Why Thick Resin Fights Your Artistic Vision
Thick resin looks stable. That stability is a lie. High viscosity slows molecular movement, trapping bubbles like insects in amber. The physics term is “drag force” from fluid dynamics: thicker mediums create higher resistance to particle motion. Bubbles need low resistance to escape during the open-work window before the resin gels.
The common fix of “just heat it up” is incomplete. Heat reduces viscosity temporarily, but it also accelerates cure time exponentially, creating a narrow working window. The real answer: use resin formulations designed for lower initial viscosity, or add viscosity reducers like small amounts of acetone or manufacturer-approved thinners before embedding flowers. This keeps bubble escape possible while maintaining enough body to suspend flowers. Stop fighting the material. Match your resin’s viscosity to your timeline instead.
The Dehydration Doctrine: How To Preserve Flowers Beyond Surface Level Tricks
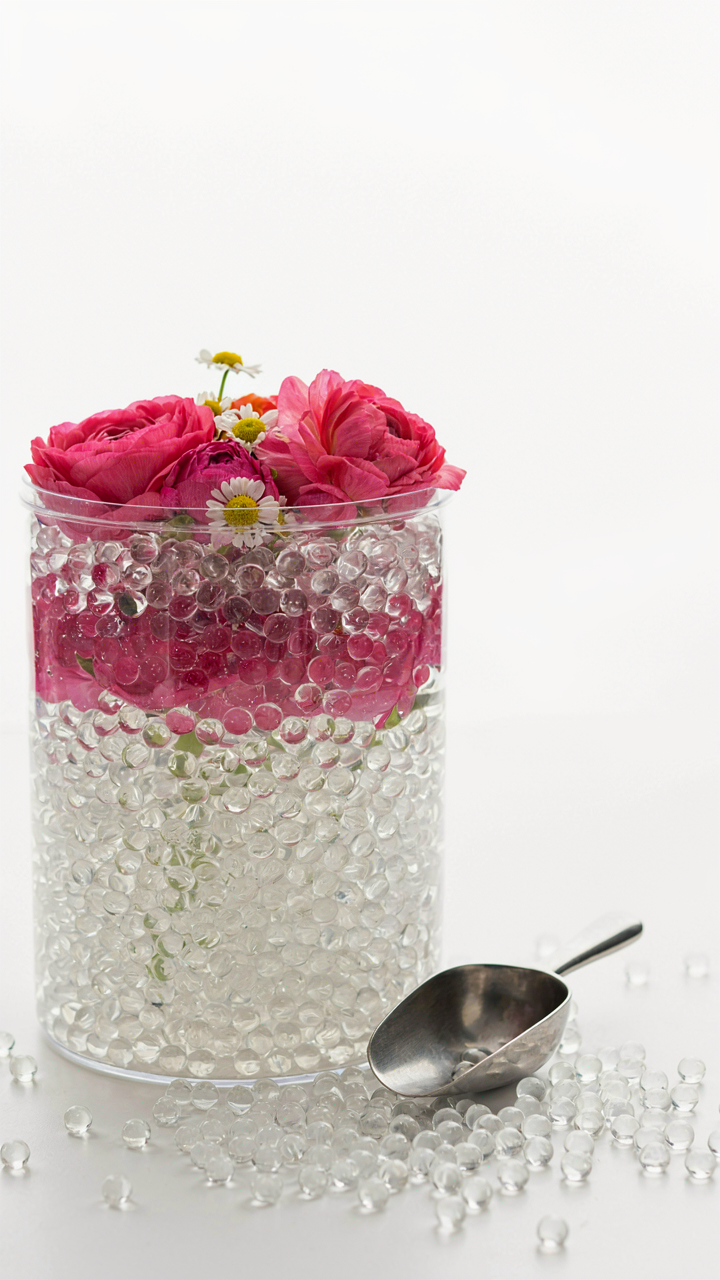
Silica Gel Supremacy: Achieving Bone Dry Flora
You want your flowers to look like they never wilted because you need proof the moment lasted. Here’s what nobody tells you: silica gel works through absorption, not just evaporation. The gel’s porous structure pulls moisture directly from plant cells. Flowers lose water at predictable rates depending on species and cell density. Control that rate, control the outcome.
Silica gel outperforms air drying because it maintains flower shape during dehydration. Air drying collapses petals as water leaves unevenly. Silica gel creates uniform moisture loss. Bury flowers completely in fresh silica, not partially. Partial burial leaves exposed areas to oxidize and brown. Replace silica every two to three days. Dead flowers still contain water; silica gel finishes what air alone cannot.
Pressure Pot Perfection: Forcing Moisture Out Not Just Drying
Pressure vessels operate on a single principle: controlled environment acceleration. In thermodynamics, pressure increases boiling point, but vacuum pressure does the opposite. Lower pressure drops the moisture evaporation threshold without heat damage. This matters for resin flower preservation because heat degrades pigment and structure. A vacuum chamber speeds dehydration in days instead of weeks while keeping flowers intact.
Moisture removal under vacuum pressure is non-negotiable for bubble prevention in resin. Residual water in flowers becomes vapor inside resin, forming the bubbles you cannot remove later. Standard dehydration leaves water trapped in stem tissue and deep petal layers. Vacuum pressure pulls that water out completely. Run the vacuum chamber for four to six hours per batch. Check flowers for brittleness before stopping. The moment petals snap cleanly instead of bending, moisture is gone.
The “Resin Flowers” Immersion Protocol: Preventing The Float Phenomenon
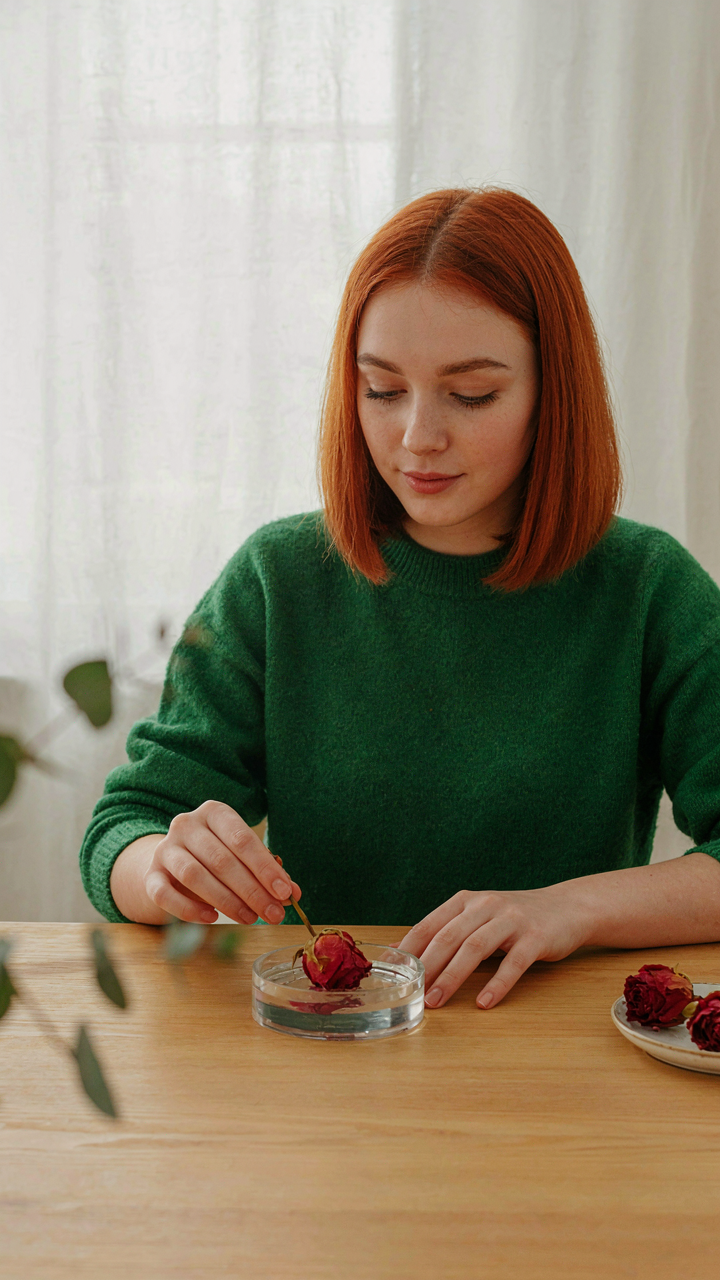
Strategic Layering: Building Stability From The Base Up
You want this to look effortless. That’s why flowers float. The real mechanism is density stratification—borrowed from fluid dynamics, where lighter materials rise through denser ones until equilibrium shifts. Your resin pour is a density column. Flowers don’t understand gravity the way solid objects do. They’re porous, water-logged during preservation, and they displace resin unevenly. Most guides skip this and tell you to “wait for the resin to set.” Wrong. You’re fighting buoyancy before it starts.
Build your base layer first: pour resin to roughly one-third depth and let it cure fully. This creates an anchor zone where viscosity has already hardened. Flowers placed on liquid resin have nothing to grip. Flowers placed on cured resin have a solid platform. Position your flowers on this hardened base while they’re still wet. Their moisture content keeps them slightly heavier and more cooperative. Once you pour the second layer, the flowers are already mechanically held. Capillary action and partial adhesion do the rest of the work.
Pre Coat Mastery: Sealing Flowers Against Buoyancy
The common move is to seal flowers with a spray coating or thin resin layer before embedding. This works partly, but most people misunderstand why. Sealing doesn’t make flowers heavy. It reduces the rate at which resin absorbs into the flower’s cellular structure, which would otherwise trap gas and create lift. A sealed flower stays dimensionally stable longer, giving you a wider working window before buoyancy becomes a problem.
Use a thin, fast-curing epoxy or UV resin as your pre-coat. One light pass covers the surface without adding weight that causes other issues. The goal is a moisture barrier, not a coating thick enough to see. Cure this layer completely before placing the flower into your main pour. When the flower enters uncured resin, the pre-coat prevents immediate saturation and gas pockets from forming. This extends your positioning time by 15 to 25 minutes, which is the difference between fighting the piece and controlling it.
Debubbling Demystified: How To Remove Bubbles From Resin With Industrial Precision
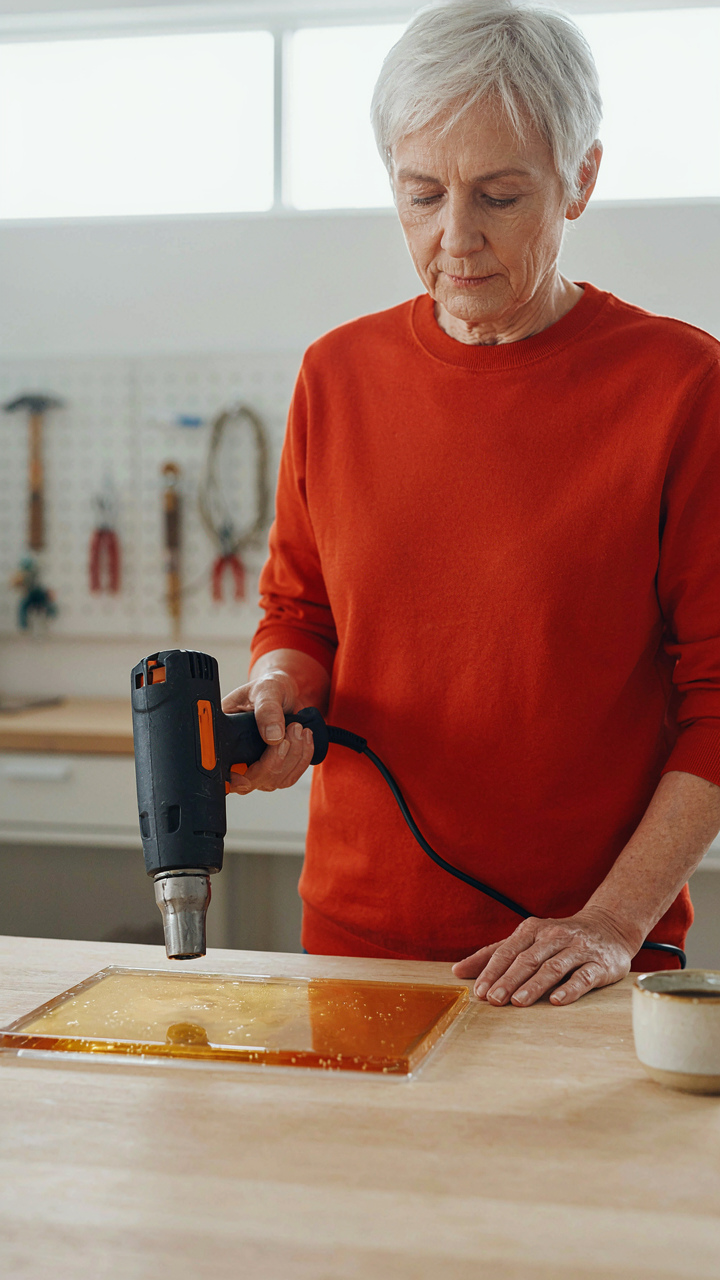
The Heat Gun Method
You want this to work because failed pours cost money and time, and that’s unbearable. Here’s what actually happens: heat guns exploit thermal expansion, a physics principle where materials increase volume when heated. Resin doesn’t behave uniformly. The outer edges warm faster than the center, creating pressure differentials that force trapped air upward and outward. Most people blast heat randomly and wonder why bubbles migrate deeper instead of escaping. The mechanism is directional: you’re creating a thermal gradient, not just warming the surface.
Technique matters more than temperature. Start from the bottom of your piece and move upward in slow, deliberate passes, keeping the gun six to eight inches away. The goal is consistent surface warmth without boiling the resin or creating new bubbles from rapid outgassing. Hold each section for three to five seconds, then move on. Watch for the resin to thin slightly and smooth out. Stop before the surface becomes glossy and mobile, or you’ve overshot and destabilized the entire pour.
The Vacuum Chamber Route
Vacuum chambers operate on a straightforward principle borrowed from physics: reduce ambient pressure, and dissolved gases want to escape their liquid prison. In resin work, this translates directly. Air doesn’t just sit in bubbles as trapped pockets. Much of it dissolves into the liquid at atmospheric pressure. When you pull a vacuum, you’re dropping that pressure floor, and the resin essentially rejects what it can no longer hold. The bubbles don’t vanish. They expand and rise to the surface where they can rupture and evacuate.
Degassing time depends on resin type and bubble size, typically between five and fifteen minutes at 29 inches of mercury. Don’t assume longer is better. Extended vacuum can pull volatile components out of the resin itself, altering cure time and clarity. Bring the chamber back to atmospheric pressure slowly, or you’ll reintroduce air through rapid expansion. The real protocol is: apply vacuum, wait until bubble activity slows, then vent gradually over thirty seconds. Pour immediately after, because the resin will start re-absorbing atmospheric air the moment it leaves the chamber.
The UV Resin Advantage: Speed, Control, And Bubble Mitigation
Flash Curing Locks Out Air Before It Forms
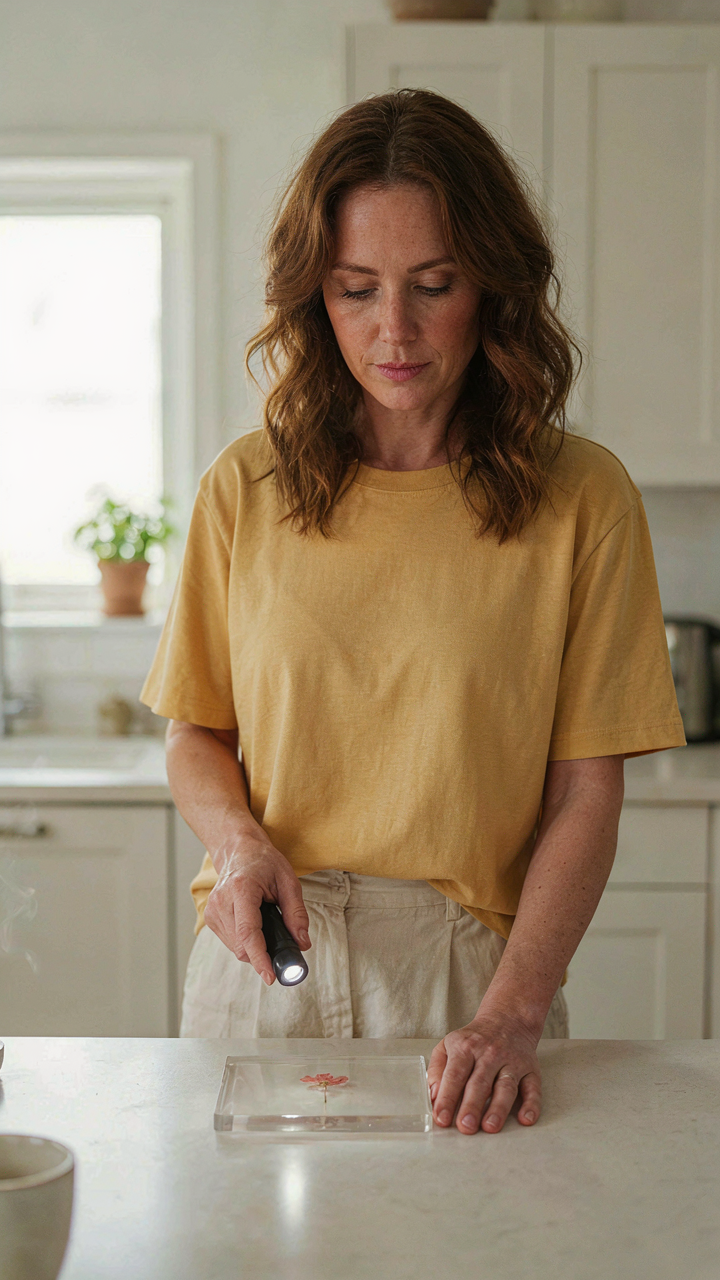
You want speed without the mess. That’s the real reason you’re reading this. Flash curing works like triage in emergency medicine—you intervene at the exact moment air becomes a problem, before it solidifies into trapped bubbles. UV resin begins to harden within seconds of light exposure, which means you can cure the surface layer before subsurface air has time to rise and rupture it.
The mechanism is simple: UV light penetrates the resin and triggers polymerization from the top down. When you flash cure for 15 to 30 seconds after pouring, you create a thin skin that seals the surface. Any bubbles trying to escape now hit a semi-solid barrier instead of open air. They either stay suspended in the lower uncured resin or flatten against that initial skin. A second full cure then locks everything in place without new bubble migration.
Thin Layers Eliminate Bubble Formation At The Source
Thick pours create bubbles. Thin layers prevent them from forming in the first place. UV resin cure speed means you can build flowers in multiple thin passes instead of dumping everything at once and hoping for the best.
Each thin layer cures so fast that dissolved air doesn’t have time to coalesce into visible bubbles. The chemistry is direct: less resin mass equals less distance for air to travel and fewer pockets where pressure can trap it. Pour a quarter-inch layer, cure it fully, then pour the next layer on top. You control bubble formation by controlling volume. Repeat this protocol for every layer until your flowers reach final height.
The “Resin Tutorial” Consequence: Ignoring The Cure Cycle
Temperature Controls Bubble Formation, Not Time Alone
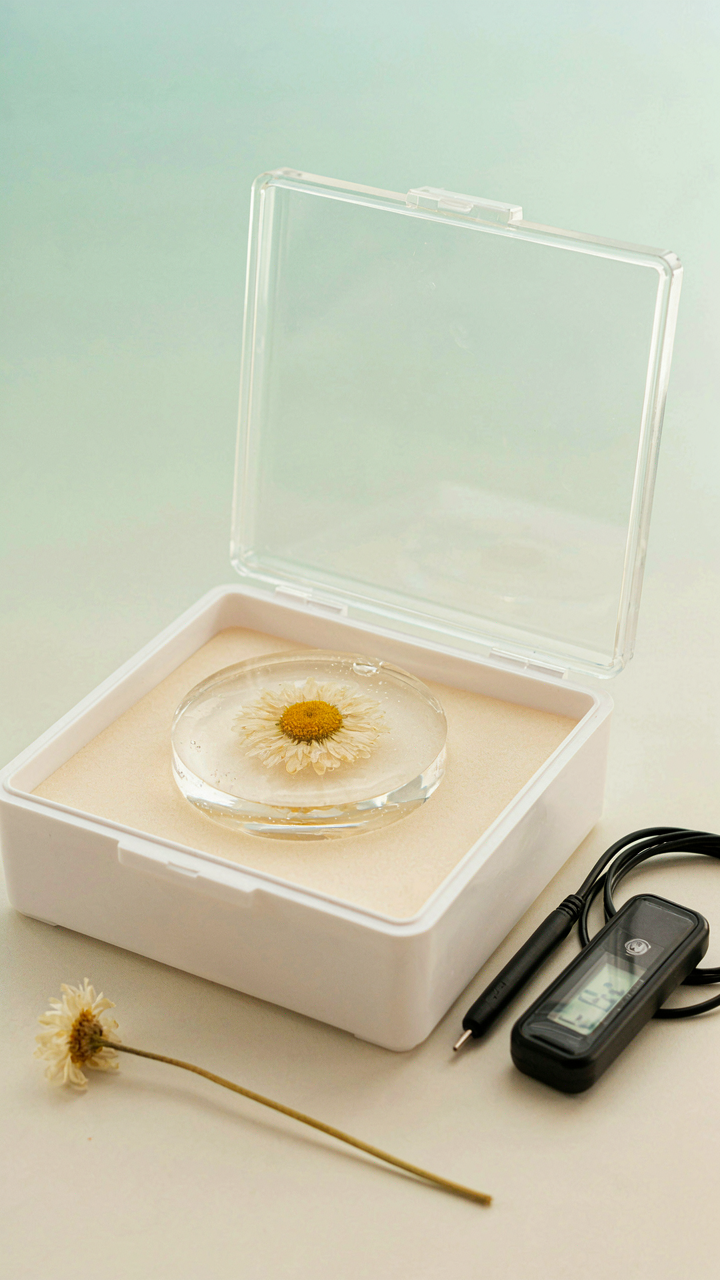
You want the finished piece to look flawless so people think you’re skilled. Here’s what nobody says plainly: ambient temperature is the control variable in cure kinetics, and most resin tutorials skip it entirely. Cold environments don’t just slow curing—they trap dissolved air in the resin matrix longer. The molecules move slower, so bubbles don’t rise and escape before the resin begins its exothermic reaction. You can’t sand or polish your way out of this. The damage happens while you wait.
Epoxy and UV resins both respond to thermal conditions differently. Standard epoxy requires sustained warmth (70-75 degrees Fahrenheit minimum) to cure properly and allow trapped air to migrate upward. Drop the temperature ten degrees and you’ve doubled or tripled bubble residence time. The resin stiffens before bubbles exit. UV resins accelerate their cure in seconds, but ambient cold still affects how uniformly they harden and whether residual air pockets stay suspended in the final piece. Environment is the first mechanism, not an afterthought.
Rushing Post Cure Breaks The Structure
The common advice stops after demolding. That’s incomplete and costs you work. Post-cure is where the polymer chains cross-link to full strength—skipping or shortening this phase means your resin flower bubble fix stays mechanically weak. Handle it too early, apply pressure, or expose it to temperature swings and the internal stresses have nowhere to distribute. Microfractures form around bubble sites before you even notice.
Post-cure protocols vary by resin type, but the principle is fixed: allow the material to reach its programmed cure schedule without interruption. Epoxy typically requires 24 hours at room temperature, then 8-12 hours at elevated heat (150-180 degrees) to achieve full cross-link density. Cut this short and surface stability fails. Scratch resistance drops. The embedded flowers can shift inside the resin under stress. Follow the manufacturer’s cure cycle exactly—don’t estimate or improvise based on feel or appearance.
How To Fix Bubbles In Resin: The Damage Control Playbook
Spot Treatment Surgery: Targeted Heat And Toothpicks
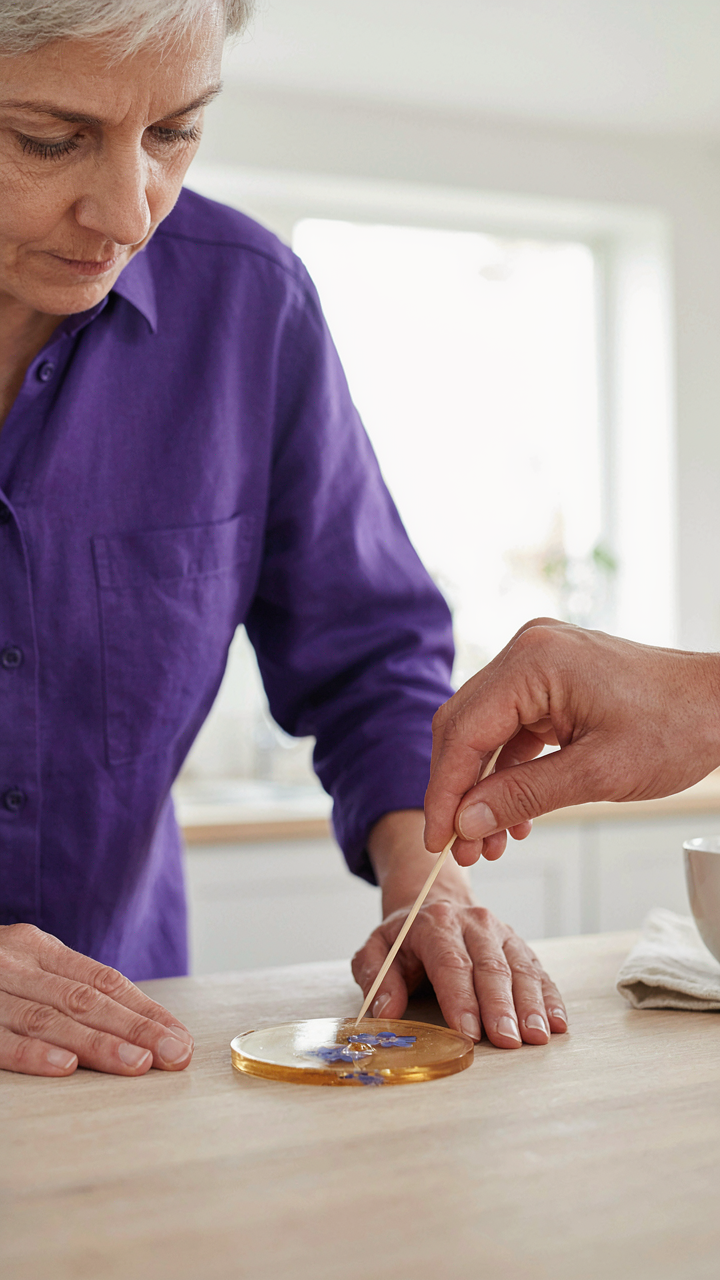
You want to save the piece because throwing it away feels like admitting failure. Here’s the mechanism: bubbles trapped in cured resin are pockets of air surrounded by hardened polymer. Heat softens the surface layer just enough to let those pockets collapse and seal, but only if you apply it with precision. Scattered, aggressive heat makes things worse.
- Heat gun at low setting: Hold it 6 to 8 inches away, moving constantly. Static heat scorches the resin and creates new defects. Keep passes quick and overlapping.
- Toothpick insertion: Use a sterile toothpick to puncture the bubble skin once heat softens it. This releases internal pressure and lets the bubble collapse flat against the surface.
- Micro epoxy or UV resin: Fill the collapsed crater with a matching resin type immediately after the bubble deflates. Use a toothpick to work it into the void completely.
- Curing protocol: Let epoxy cure fully or flash-cure UV resin per manufacturer specs. Rushing this step means the fill won’t bond to the surrounding resin.
- Sanding the patch: After curing, sand the filled area with 220-grit sandpaper until flush with surrounding surface. This removes excess resin and feathers the edges.
The goal is surgical precision, not brute force. One bubble fixed correctly teaches you the protocol. Multiple bubbles in the same piece signal a deeper casting problem: either your resin had too much air when poured, or you didn’t degas it properly. This method handles isolated surface defects, not systemic issues in your pour technique.
Sanding And Recoating: When To Restart, Not Despair
Most advice tells you to sand and recoat, but that’s incomplete. Sanding removes the damaged surface layer, but it doesn’t address whether a thin topcoat will actually stick or just highlight the bubble scar underneath. The real question is depth: how far down does the bubble go?
Shallow bubbles under 2mm sit in the top gloss layer. Sand them with 120-grit to break the shine, then 220-grit to smooth. Wipe with a tack cloth and apply one thin layer of UV resin or epoxy topcoat. Deep bubbles near the flower or base material demand a different call: you’re better off pouring a fresh layer of resin over the whole surface rather than spot-coating. Partial recoats often show seams or uneven gloss because the new resin cures at a different rate than the old layer underneath. Full recoating takes longer but delivers consistent results. Strip back and recast when the damage extends more than halfway through your planned resin thickness.
Beyond Bubbles: The Real “How To Preserve Flowers” Longevity Play
UV Inhibitors: Stopping Discoloration Before It Starts
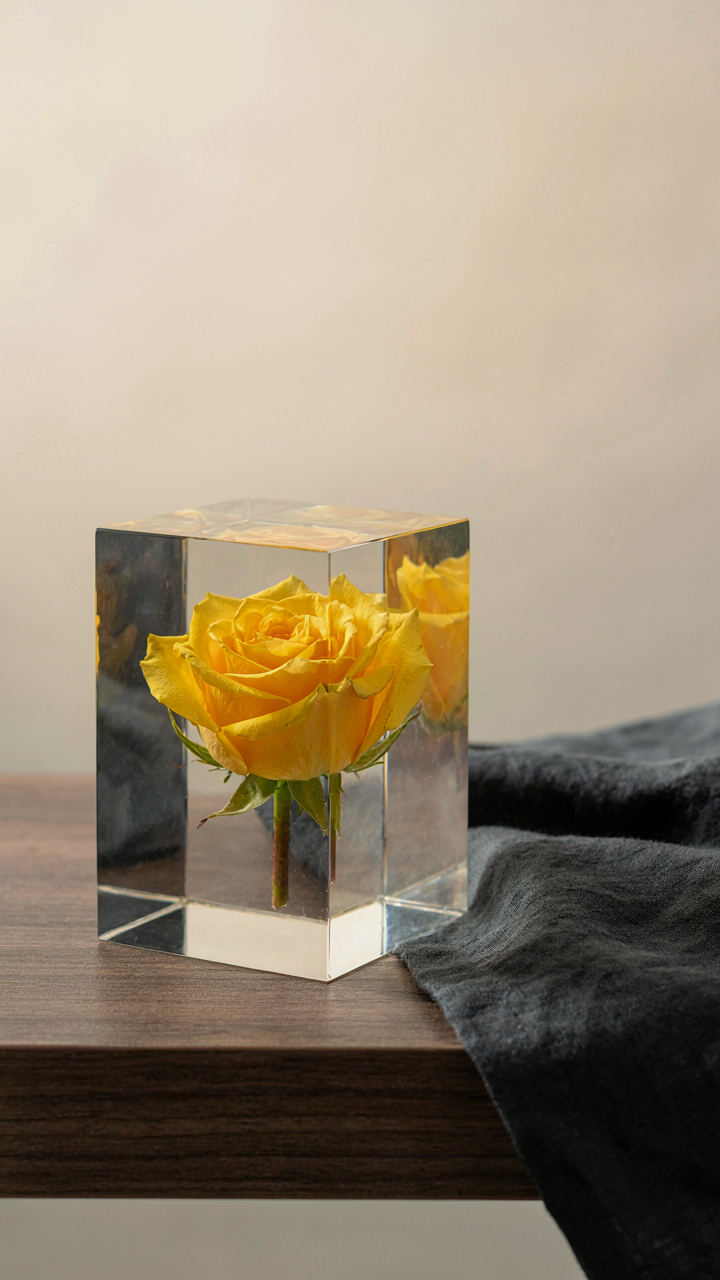
You want your resin flower piece to look pristine in six months so people still think you spent money on it. The mechanism is simple: UV light degrades the organic pigments in preserved flowers through photochemical oxidation. Most epoxy resins absorb UV without protection, allowing light to penetrate and bleach flower color over time.
UV inhibitors work like a chemical filter embedded in the resin itself. They absorb ultraviolet radiation before it reaches the flower material, converting that energy into harmless heat instead of allowing it to break molecular bonds. Add inhibitors during the mixing phase, not after pouring. Standard two-part epoxy doesn’t include adequate UV protection by default, so you must source resin explicitly formulated for UV resistance or purchase inhibitor additives separately and measure them by weight.
Storage Conditions: Protecting Your Investment From Decay
Poor storage kills resin flower pieces faster than bad technique kills the pour itself. Temperature fluctuations cause the resin matrix to expand and contract at different rates than the flower matter inside, creating stress fractures and new bubble pathways. Humidity accelerates decay of any organic material trapped within the resin, especially if the initial seal wasn’t perfect.
Store finished pieces in a stable environment between 65 and 75 degrees Fahrenheit with relative humidity below 50 percent. Keep them away from direct sunlight and heat sources. If you’re shipping or relocating pieces, use rigid containers with padding, never bubble wrap alone. The resin surface scratches easily, and trapped moisture against the surface will cloud clarity over months.
The Material Selection Mandate: Not All Resin Is Created Equal
Casting Vs Coating Resins: Choosing The Right Tool
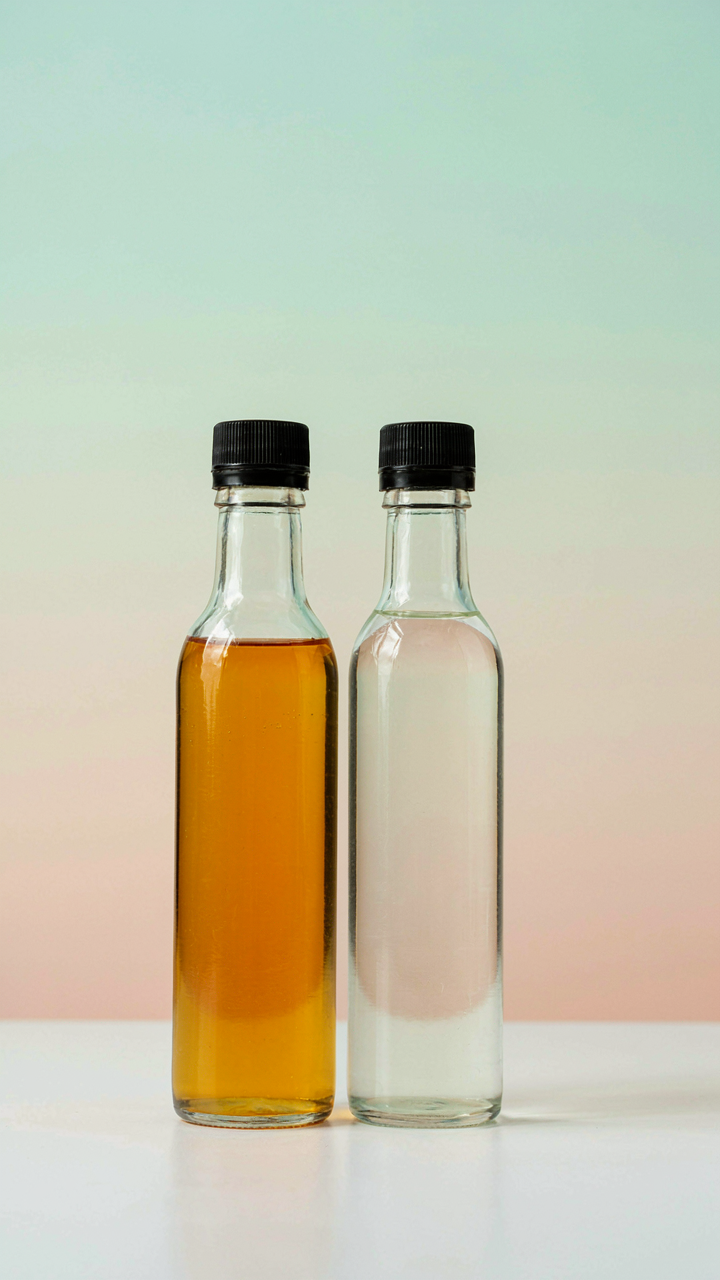
You want to know which resin won’t ruin your flowers because you’re about to spend money and time on this, and failure feels expensive. The mechanism is simple: casting resins and coating resins have different molecular structures that determine how they behave around embedded botanicals. Casting resins cure thicker without sagging, hold their shape in molds, and trap air differently than coating resins. Coating resins flow thin, self-level, and cure in layers. Using a casting resin when you need a coating resin (or vice versa) guarantees bubbles around your flowers because the viscosity won’t match the entrapment problem you’re trying to solve.
Casting resin works when you’re pouring a defined volume into a mold and want it to stay put. The thicker consistency prevents flowers from floating or shifting during cure. Coating resin works when you’re sealing or layering over an existing surface, like protecting already-positioned flowers with a clear top coat. The real mistake most people make is buying generic “epoxy resin” without checking the intended application. Read the technical data sheet. It tells you the viscosity in centipoises (cP). Casting resins run 500-2000 cP. Coating resins run 50-500 cP. Pick based on your actual process, not the label marketing.
Shore Hardness Ratings: Predicting Durability And Finish
Think of shore hardness like tensile strength in materials science: it predicts how your finished piece will perform under stress and time. Shore A measures soft materials on a scale of 0-100, where higher numbers mean more rigid. A 60 Shore A resin stays slightly flexible and resists shattering if dropped. An 80 Shore A resin hardens harder, yellows faster under UV, and becomes brittle over years. Most epoxy resins for resin flower bubbles fix fall between 70-85 Shore A. Lower hardness protects your flowers from cracking during temperature shifts because the resin moves with the material instead of against it.
Durability isn’t just about hardness. It’s about clarity retention and stress tolerance at the material level. A resin rated 75 Shore A will remain optically clear longer than an 85 Shore A under direct sunlight because it resists the micro-fracturing that causes yellowing in rigid cured resin. For special occasion pieces that need to last, choose 65-75 Shore A. Measure this on the technical sheet before purchase. The hardness rating directly determines whether your resin flower bubbles stay trapped after curing or expand and contract themselves into visibility as the piece ages.
The 3 Stage Bubble Prevention Protocol

Before You Pour: Material Preparation
You’re afraid of wasting materials and time on a failed pour. That’s the real reason you’re reading this. The actual mechanism is simple: bubbles form because resin and hardener trap air during mixing, and trapped air expands when exposed to heat or pressure changes. This is basic physics—treat it like degassing, the industrial process of removing dissolved gases before they solidify into your final product.
Start with room temperature resin and hardener sitting undisturbed for at least two hours before mixing. Temperature stability prevents the thermal expansion that forces trapped air upward into your flower embedment. Mix slowly and deliberately in a tall, narrow container rather than a wide shallow one. Slow mixing means less turbulence. Less turbulence means fewer air pockets get beaten into the liquid. The common advice to “just stir well” is incomplete and backwards.
During The Pour: Active Bubble Capture
Pouring is where most people fail because they treat it like a single event instead of a monitored process that continues after the resin hits the mold. The real work happens in the first 30 to 45 minutes after pouring, before the resin begins to gel and trap those bubbles permanently in place.
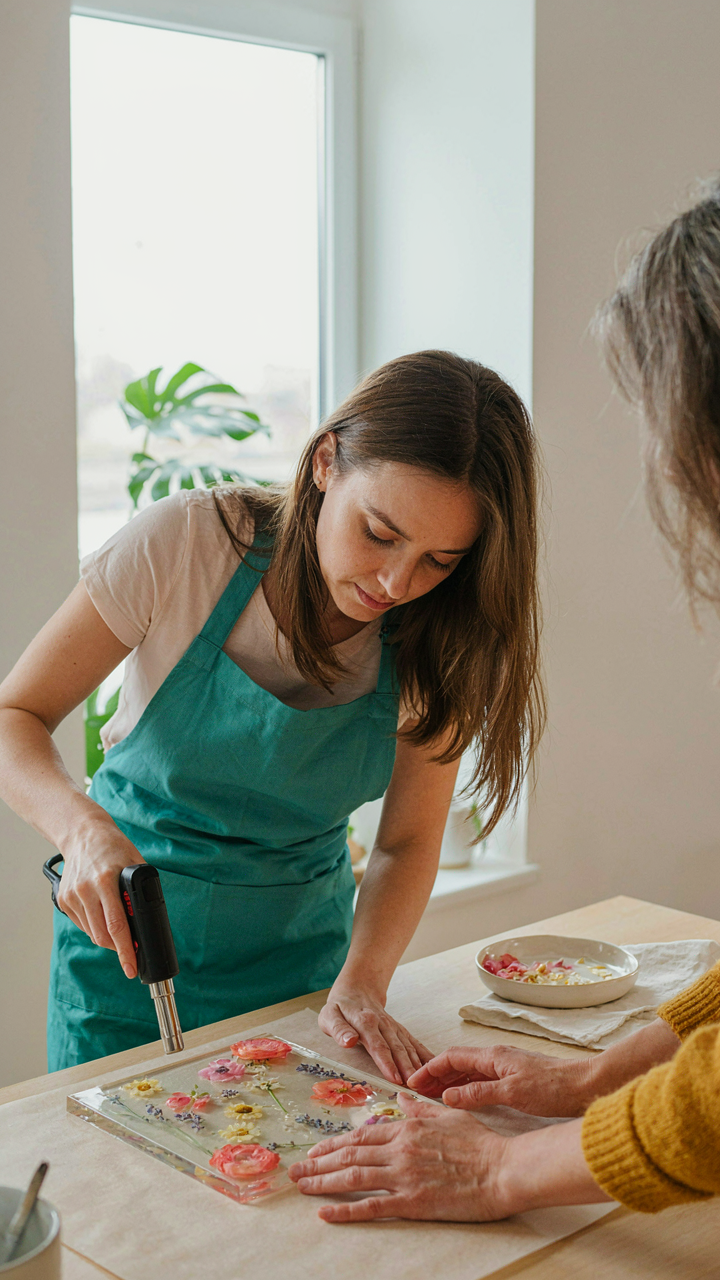
Use a heat gun or torch held 6 to 8 inches from the surface, moving it in steady passes for 60 to 90 seconds immediately after pouring. The heat lowers surface tension and allows trapped air to rise and escape. Do not skip this step or do it halfheartedly. Watch for bubbles actively rising to the surface for the next 20 minutes, then repeat the heat treatment once more before the resin reaches a thick gel state.
The Real Problem Isn’t Bubbles, It’s Your Refusal To Master Predictable Material Behavior
You don’t have a bubble problem. You have a discipline problem. Resin behaves the same way every single time. Temperature, mixing speed, pour height, cure time. These variables don’t lie. Master them once and you eliminate ninety percent of your failures. Stop blaming the material and start treating resin like a system that rewards precision. Your flowers deserve better than hope. Pour with intention.



