
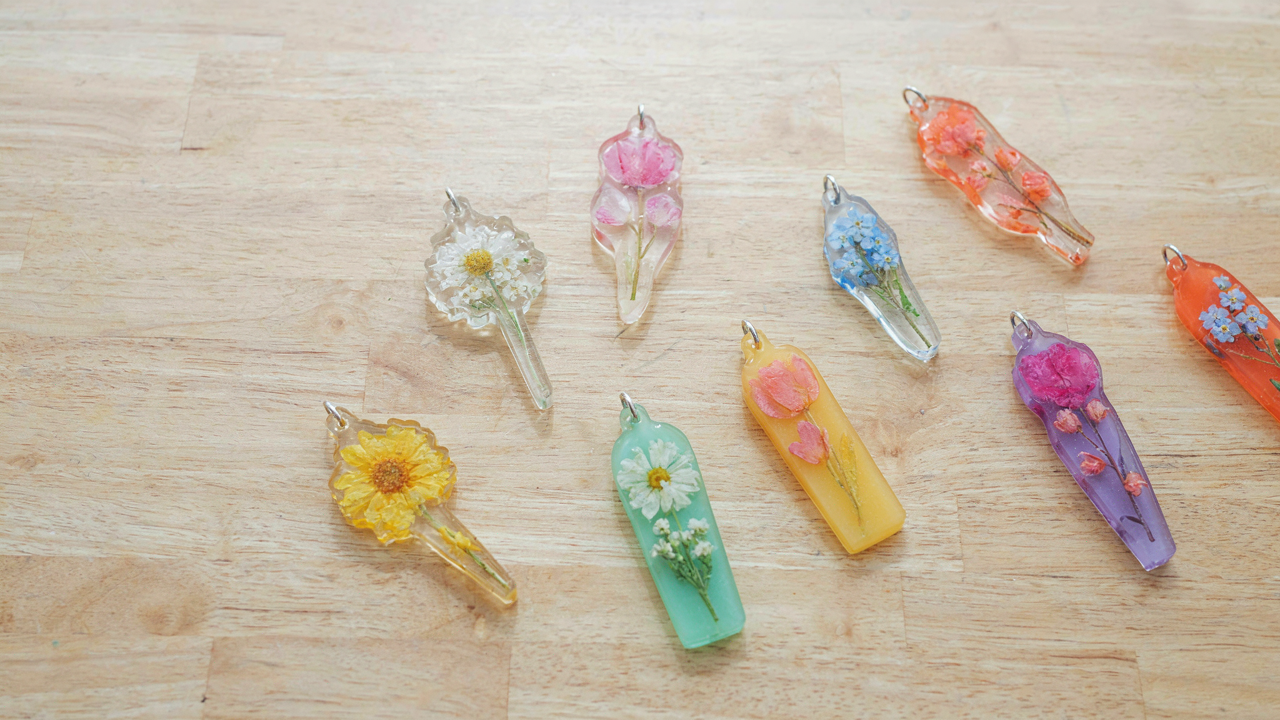
The Unseen Culprits: Why Your “Crystal Clear Resin” Isn’t

Humidity’s Silent Sabotage
You want people to think your bookmarks are flawless. Cloudiness kills that story instantly. Here’s the mechanism: epoxy resin absorbs moisture from humid air, and that moisture gets trapped inside the cured material as micro-bubbles and haziness. It’s not a defect in the resin itself. It’s ambient water vapor infiltrating during the mixing and curing window when the material is still reactive and porous.
Lower humidity below 50 percent during mixing and the first 24 hours of cure. Use a dehumidifier in your workspace, not just hope the weather cooperates. If you live in a humid climate, work early morning when dew point is lowest, or invest in a sealed curing box with silica gel. Moisture doesn’t forgive carelessness. Your clear resin stays clear only if you keep water vapor away from it during its most vulnerable phase.
Temperature’s Grip On Clarity And Cure
Physics governs this one: thermal expansion and contraction determine how resin molecules lock into place, and that molecular alignment directly affects light transmission through the material. Standard epoxy resin cures fastest between 70 and 75 degrees Fahrenheit. Below 65 degrees, cure slows dramatically and you get incomplete polymerization, which creates internal stress and cloudiness. Above 80 degrees, cure accelerates unevenly, trapping air and heat inside before the resin can self-level.
Temperature consistency matters more than the exact number. Fluctuations cause the resin to shrink and expand at different rates, leaving micro-fractures that scatter light. Keep your curing space stable for 48 hours minimum. If your bookmark yellows or stays slightly opaque even after full cure, temperature swings during curing caused it. Use a space heater or AC to maintain steady temperature, not seasonal guessing.
Beyond The Bloom: The “Pressed Flower Crafts” Deception

How Flowers Actually Die In Resin
You want the flowers to stay vibrant because faded bookmarks feel like a personal failure. Here’s what actually happens: flowers contain moisture and cellular material that oxidizes when exposed to air, heat, and light. This oxidation triggers color degradation independent of resin quality. The mechanism is biology, not craftsmanship. You can’t stop oxidation, only slow it with proper drying before the resin encases it.
Air-drying flowers works because it removes moisture gradually without heat shock. Press flowers between absorbent paper in a flat weight for seven to fourteen days. The timeline depends on flower density and ambient humidity, not on some magical ratio. Once fully dry, flowers resist the oxidation process that causes the brown, faded appearance most amateur resin work exhibits. Silica gel drying accelerates this but creates brittleness that causes cracking inside finished resin.
Preparation That Actually Prevents Yellowing
Flower preparation isn’t about aesthetics—it’s about removing compounds that interact with resin chemistry and cause discoloration over time. Most guides skip this step because it takes discipline and nobody wants to hear they’ve been doing it wrong. Flowers contain tannins and oils that can leach into epoxy resin, especially under UV exposure. These compounds are the real culprit behind yellowing, not poor resin selection or age.
Wash dried flowers in distilled water and let them air dry again after preparation. This removes surface dust and reduces tannin concentration. Pat flowers completely dry with lint-free paper before placing them in resin. The goal is zero residual moisture and minimal organic compounds left on the surface. Skip this step, and you’re embedding a slow-release yellowing mechanism into every bookmark you create.
The Viscosity Paradox: Mastering Diy Resin Art Flow
When Thickness Determines Bubble Escape
You want perfect clarity because a cloudy bookmark signals amateur work, and that matters more than you’ll admit. Resin viscosity is a fluid dynamics problem: thicker resin traps air longer; thinner resin lets bubbles rise faster. Most epoxy resins ship at 1000-5000 centipoise. Thinner viscosity means molecules have less resistance to movement, so trapped air pockets migrate upward quicker before the resin hardens.
Heating resin reduces viscosity without diluting it. A 10-15 degree Celsius increase can cut bubble escape time in half. You pour thick resin cold, bubbles stay trapped for hours. You pour thin resin warm, they’re gone in 20 minutes. The trade-off: thin, warm resin flows so fast it can shift your flower petals mid-pour. You need the mechanism working against you to slow the material just enough.
Strategic Pouring Controls Movement And Voids
Everyone talks about pouring “slowly and carefully,” which means nothing. Strategic pouring is pressure management. When you pour from height, kinetic energy creates turbulence that whips air into the resin. When you pour along the edge of the mold from 2-3 inches up, you generate controlled flow instead of chaos.
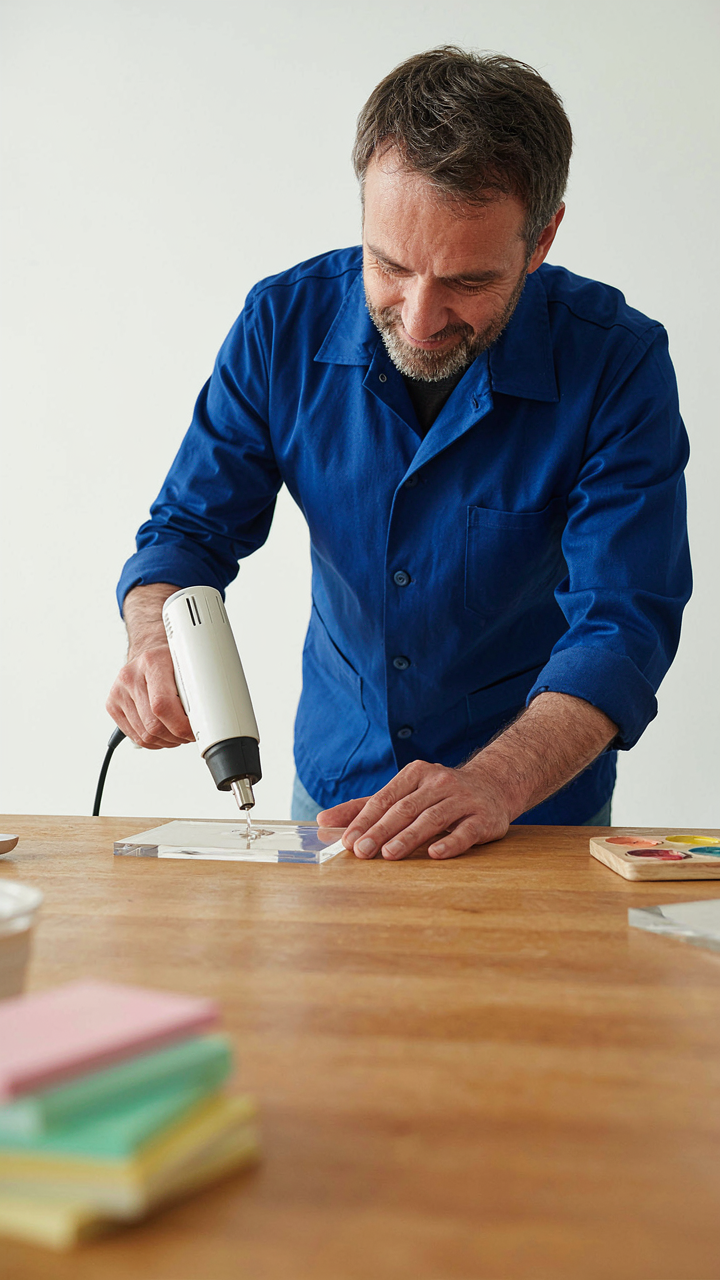
Pour in a spiral pattern from outside toward the center. This prevents voids from forming in corners and under flower stems. Push the resin gently with a heat gun after pouring, moving from edges inward. Never stab downward into the resin. This technique moves air out through the surface without creating new bubbles or displacing your flowers. Wait 5-10 minutes before heat-gunning so the resin sets slightly and your arrangements stay locked in place.
The Curing Anomaly: When “Epoxy Resin Crafts” Go Wrong
When Your Bookmark Stays Tacky
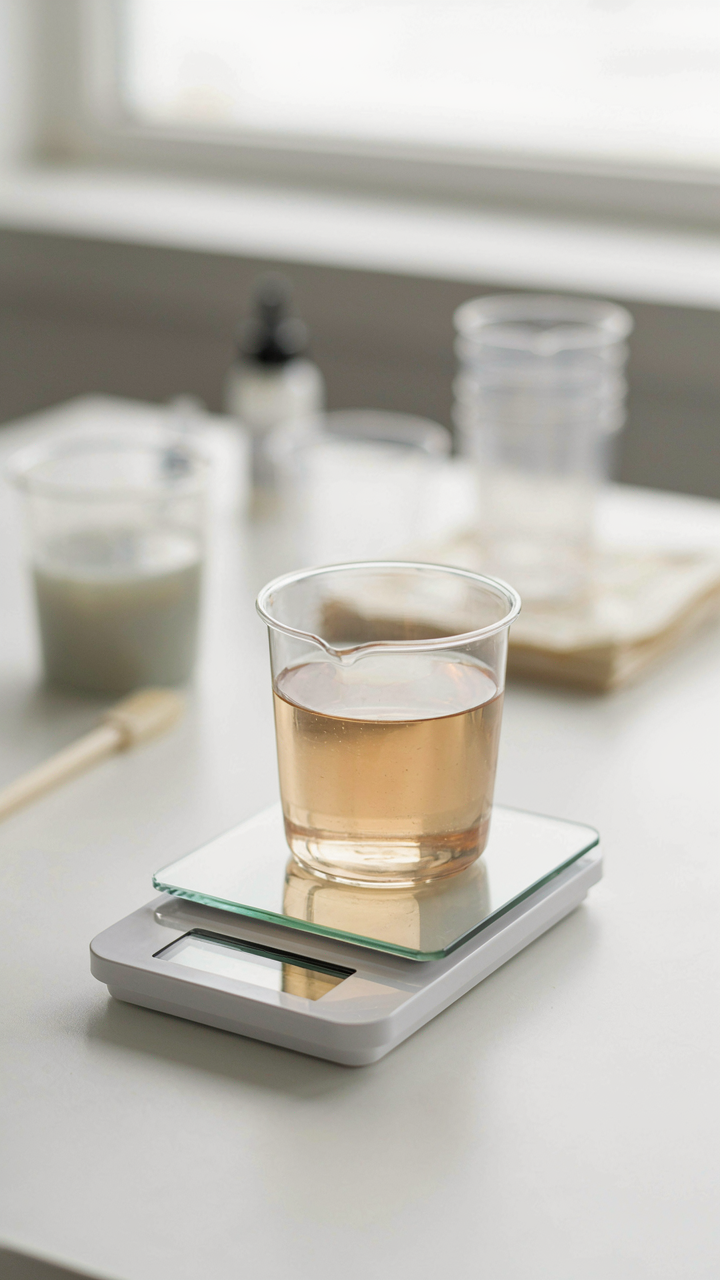
You care about this section because a failed cure means wasted materials, wasted time, and a product that looks amateur. The real mechanism is simple: epoxy resin requires a precise stoichiometric ratio of resin to hardener. Get the ratio wrong by even 10 percent and the chemical cross-linking process stalls. Your bookmark stays soft, never hardens, and traps dust. Most people blame the brand. The actual culprit is measurement error or using old hardener that’s already begun absorbing moisture from air.
Undercure happens when you pour before the resin and hardener finish bonding at the molecular level. You get a sticky surface that never sets, even after days. Overcure is rarer with epoxy but possible: extreme heat or too much hardener accelerates curing so fast that the resin shrinks unevenly, trapping air bubbles and creating cloudy spots. The fix for undercure is prevention, not correction. Measure with a scale, not guesswork. For overcure, lower your room temperature and follow the hardener ratio on the label exactly.
Hitting Maximum Hardness And Clarity
The chemistry here borrows from materials science: crystallization. As your resin sets, the polymer chains align into a more organized structure, which increases hardness and optical clarity. Think of it like how ice is harder and clearer than water. Post-cure accelerates this alignment. Many crafters skip post-cure entirely, which leaves bookmarks slightly softer than they could be and prone to surface scratches.
Post-cure means exposing the fully set bookmark to controlled heat for a set duration. Most epoxy resins reach 80 percent hardness after the initial cure time listed on the package. The remaining 20 percent requires heat. Place your cured bookmarks in an oven at 150-160 degrees Fahrenheit for 2-4 hours. This step hardens the resin completely, eliminates any remaining tackiness, and improves optical clarity. Skip this and your bookmarks remain slightly flexible and collect fingerprints easily.
The Flower Bookmark Engineering Protocol
How Layering Creates Actual Dimension
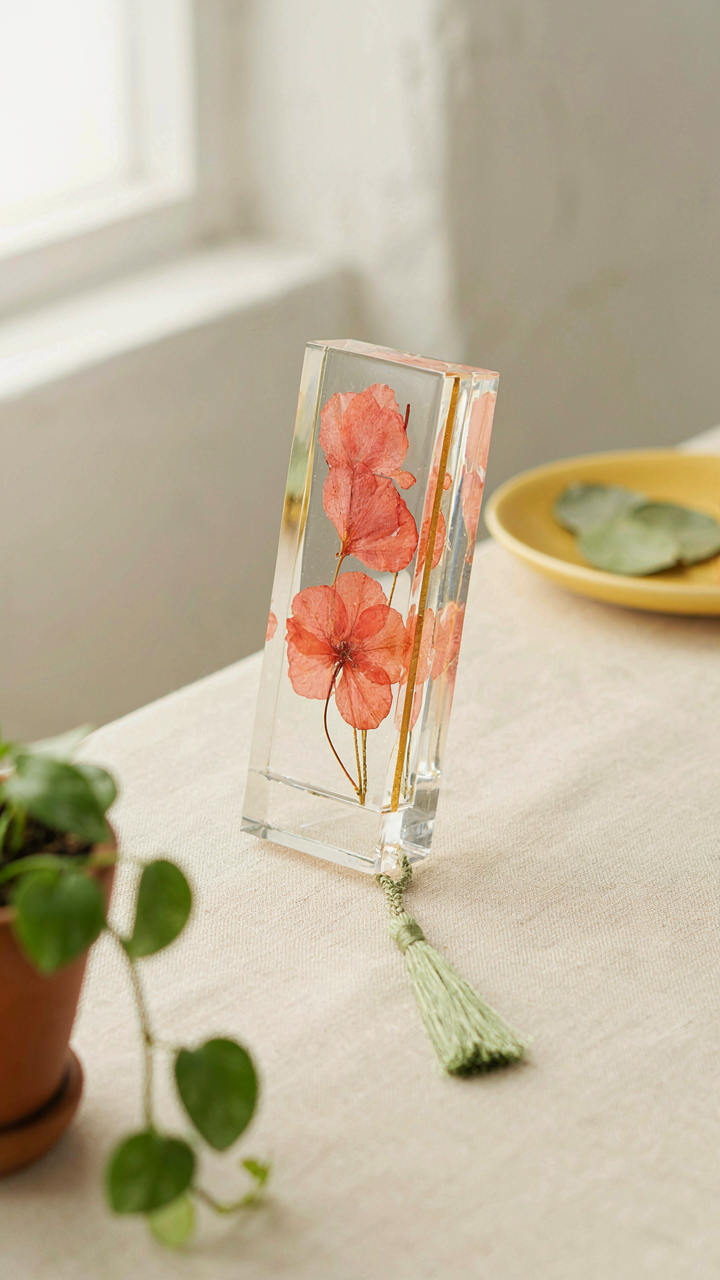
You want people to think your bookmark cost more than it did. That’s the real reason you care about depth. Here’s what actually works: layering isn’t decoration, it’s optics. In photography and visual design, depth of field separates the subject from its background. In resin bookmarks, you replicate this by positioning flowers at different vertical planes within the cast. A flower pressed flat against the bottom creates no illusion. A flower suspended midway through the resin, with clear resin below it, tricks the eye into reading distance.
The mechanism is straightforward. Pour your base resin layer first, let it cure to the tacky stage, then place your primary flower. Pour the next layer only halfway. Position a secondary element at this new level. Finish with a final pour. Light travels through these stacked planes differently, creating shadows and refraction that simulate actual three-dimensional space. The thickness of each layer matters. Thin layers compound the effect. Most people skip this and pour everything at once, which is why their bookmarks look flat.
Locking Elements In Position
Everyone says “use a toothpick to adjust placement.” That’s lazy advice that costs you finished pieces. The real problem isn’t moving flowers during the pour, it’s that flowers float as resin cures. Buoyancy doesn’t care about your intent. You need mechanical constraint, not hope. Embed a small dowel or skewer through the flower stem before pouring, anchoring it perpendicular to the bookmark length. The resin hardens around this barrier, and the flower stays where you positioned it.
Alternatively, create a resin pocket first. Pour resin into a mold, let it cure partially, then carve or press a shallow depression exactly sized for your flower head. Pour the final layer. The flower sits in this engineered pocket instead of floating freely. Securing elements prevents the 30 percent failure rate most makers accept silently. Test your anchor method on scrap pieces before committing material to finished work.
Bubble Warfare: Defeating Air In Your Resin Tutorial
Two Methods That Actually Work
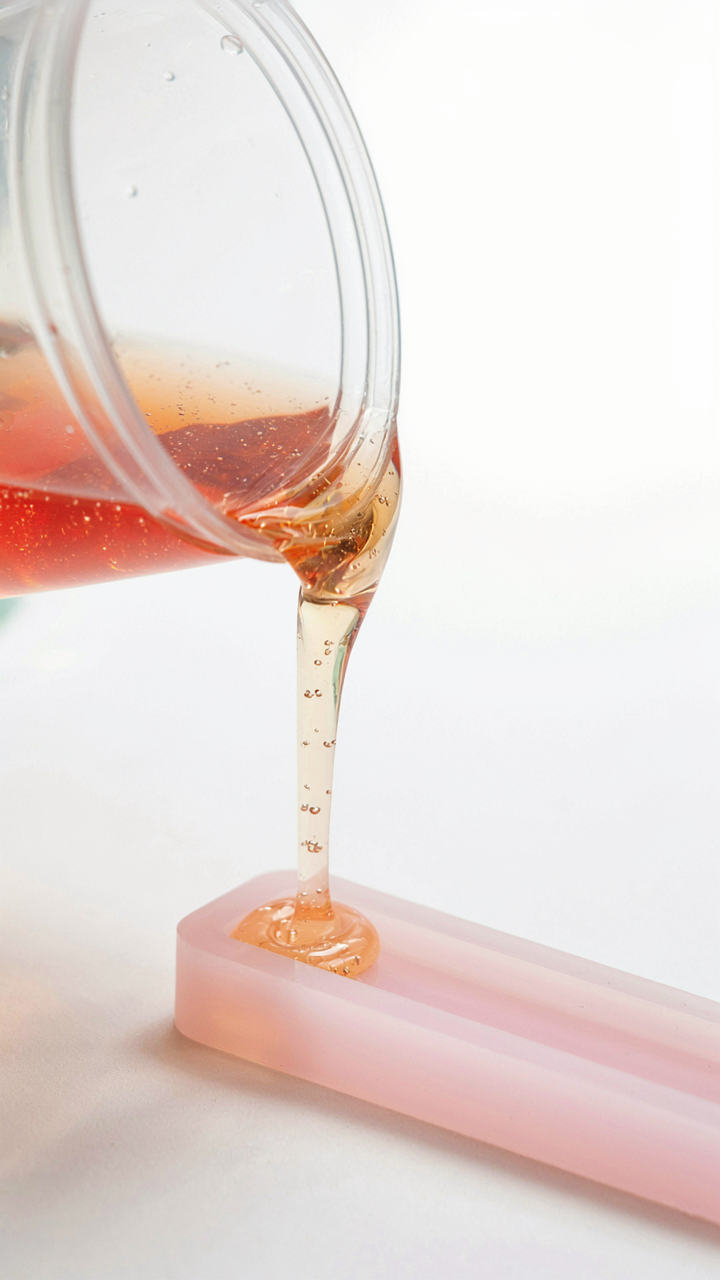
You want bubbles gone because they wreck the clarity you’re selling yourself on. Here’s the physics: air pockets scatter light, and resin’s whole value proposition is that glassy, professional look. Vacuum chambers and heat guns solve the same problem through opposite mechanisms. A vacuum chamber drops atmospheric pressure, forcing dissolved and trapped air out of the resin. A heat gun thins the resin’s viscosity, letting bubbles rise faster to the surface on their own. The vacuum method works better for thick pours and deep bookmarks. Heat guns work faster for shallow designs but risk overheating the resin if you’re impatient.
Vacuum chambers cost money upfront but deliver consistent results. You’ll pull vacuum for five to ten minutes until bubbles stop forming, then pour immediately. Heat guns require actual skill—hold it too close and you’ll cure the surface layer before bubbles escape, trapping them inside. Most makers skip heat guns after one failed batch. If budget is tight, a vacuum chamber pays for itself in salvaged batches within two months of regular work.
Stir Without Feeding The Bubbles
Mixing resin properly is where most people crater their work before the pour even starts. The conventional advice says “stir slowly to avoid bubbles,” which is incomplete garbage. You’re not avoiding bubbles—you’re controlling where they come from. Stir quickly in a circular motion along the bottom and sides of the container for sixty seconds. This fully blends hardener and resin without introducing new air. The mistake is the hesitant, tentative stirring that people do because they’re scared of bubbles. Micro-air pockets hide in unmixed resin. You’re trading invisible defects for visible ones.
- Straight vertical motion: Plunge the stick straight down and pull straight up repeatedly without rotating. This minimizes shearing forces that create air pockets throughout the liquid.
- Figure-eight patterns: Move the stick in a figure-eight across the container floor. This ensures even blending without the circular whipping that traps air in spirals.
- Scrape the sides: Push the stick along the interior walls as you stir. Hardener settles in corners and sits unmixed if you ignore the perimeter.
- Time your stir: Mix for exactly one minute, no more. Over-stirring introduces air you then have to spend time removing later.
- Tap the stick: After stirring, tap the stick against the container rim five times to dislodge clinging bubbles before you pull it out.
Pour within two minutes of finishing your stir. Resin begins setting the moment hardener hits resin, and waiting invites air to creep back into solution. Use a pouring cup with a spout—it gives you control and lets bubbles climb the angled walls instead of traveling straight into your bookmark mold.
The Resin Bookmark Ideas Material Matrix
UV Resin Versus Epoxy Performance
You want UV resin because you think it’s faster. That’s half the reason. The real mechanism is curing speed eliminates air bubble migration, which epoxy can’t stop once it starts expanding.
UV resin cures in minutes under UV light, trapping flowers and inclusions in place before gas bubbles travel upward through the uncured layer. Epoxy takes hours or days, giving bubbles time to rise and create voids behind your embedded botanicals. UV resin also yellows slower under sunlight exposure because it contains fewer reactive components that degrade over time. The trade-off is cost and equipment dependency.
Epoxy works for bookmarks if you accept the bubble problem and plan for it through degassing. UV resin eliminates the variable entirely. Choose UV resin if you’re embedding delicate flowers that can’t tolerate extended cure times and agitation from off-gassing. Choose epoxy only if you already have the equipment and accept post-cure surface defects.
Mold Selection Determines Demolding Success
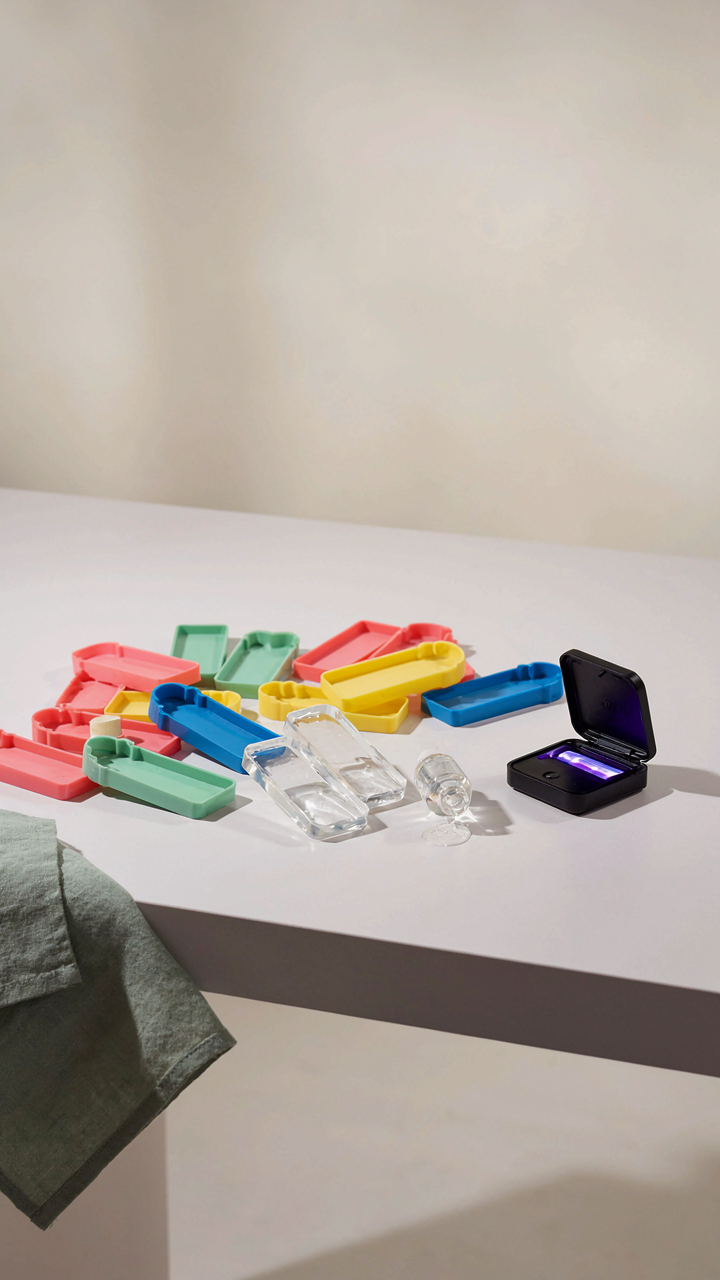
Silicon molds release UV and epoxy resin cleanly because they’re non-porous and flex during extraction. Hard plastic or metal molds stick and damage edges. The demolding mechanism is simple physics: a mold must deform slightly to break the adhesion point between resin and surface.
Thin-walled silicone molds (shore hardness 40-50A) flex without tearing and cost less than thicker variants. Bookmark molds specifically need undercut-free designs because any trapped edge will snap off when you extract the finished piece. Rigid molds create permanent adhesion zones that force you to pry, which fractures thin bookmark edges. Sand the interior of any hard mold lightly before pouring if you must use it, but replace it with silicone for production work. Always demolding should take under 30 seconds without force.
Finishing Fallacies: Polishing Your Resin Jewelry DIY
The Scratch Hierarchy That Actually Matters
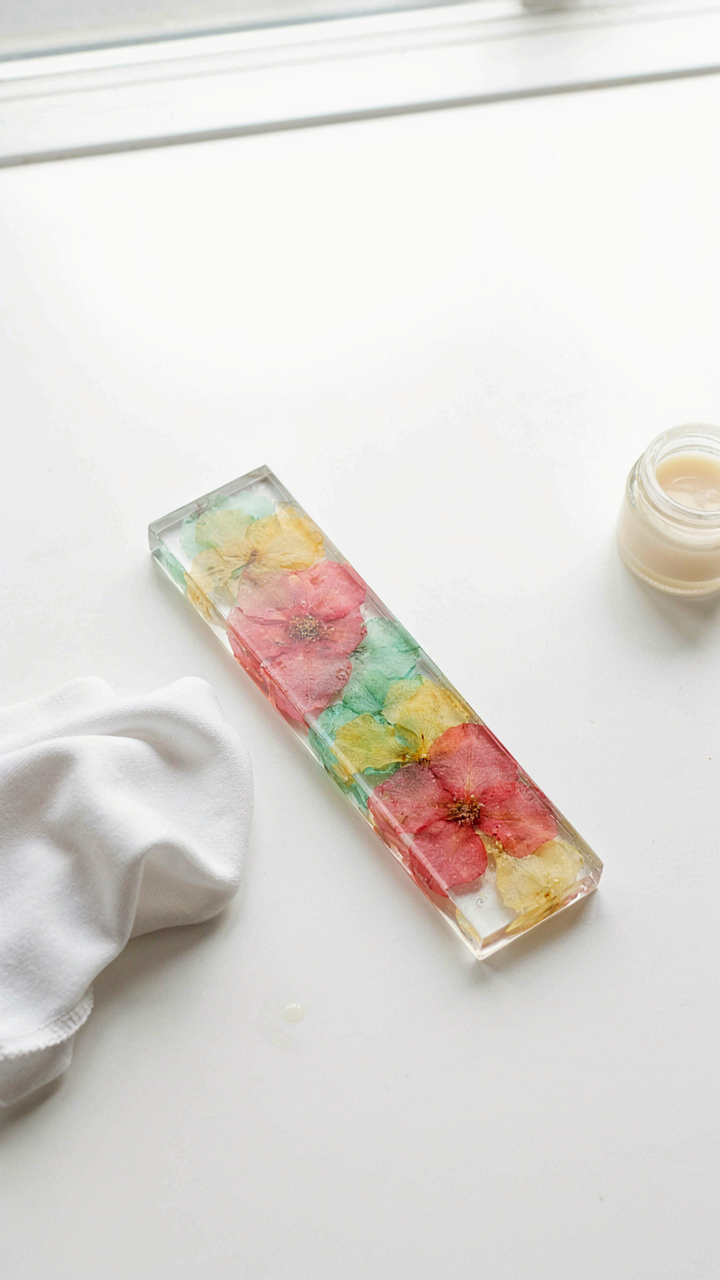
You want that mirror finish because it signals quality. Here’s the mechanism: resin emerges from the mold with microscopic peaks and valleys from the mold surface. Sanding progression works like military doctrine—start rough, end precise. You don’t sand with one grit. You move through grits in order: 220, 400, 600, 1000, 2000. Each pass removes the scratches from the previous grit. Skip steps and deeper scratches hide under shallower ones, staying visible forever.
The real mistake is sanding wet without reason. Wet sanding does help with clogging, but it slows your progression. Dry sand the resin bookmark in passes, moving systematically across the surface. Use a backing pad on a sander or sand by hand with even pressure. The surface should feel uniform to your fingertip before you move to the next grit. Stop when you reach 2000 grit—anything higher doesn’t compound into better results.
Mirror Finishes Demand One Specific Compound
Buffing compounds contain abrasive particles suspended in a carrier oil or wax. The principle mirrors metallurgy: smaller particles = finer results. Most DIY advice tells you to use compound after sanding and call it done. That’s incomplete. Resin bookmarks need a two-compound approach—a cutting compound first to remove sanding marks, then a finishing compound to maximize clarity.
Apply the cutting compound to a buffing pad on a rotary tool or by hand with a cloth. Work in circular motions without heavy pressure. The goal is friction, not force. Once the surface clears, switch to the finishing compound and repeat. You’ll notice the light reflecting differently—that’s the particles settling into micro-scratches and filling them. Wipe clean with a microfiber cloth. A bookmark finished this way stays glossy without yellowing if stored away from direct sunlight.
The Entropy Of Art: Embracing Imperfection In Resin Crafts Tutorial
When Mistakes Become The Design
You want permission to stop obsessing over control. Here’s the mechanism: thermodynamics teaches us that systems naturally move toward disorder. In resin flower bookmarks, this translates directly—bubbles form, pigments separate, flowers shift during cure. Fighting this costs time and money. Working with it costs nothing.
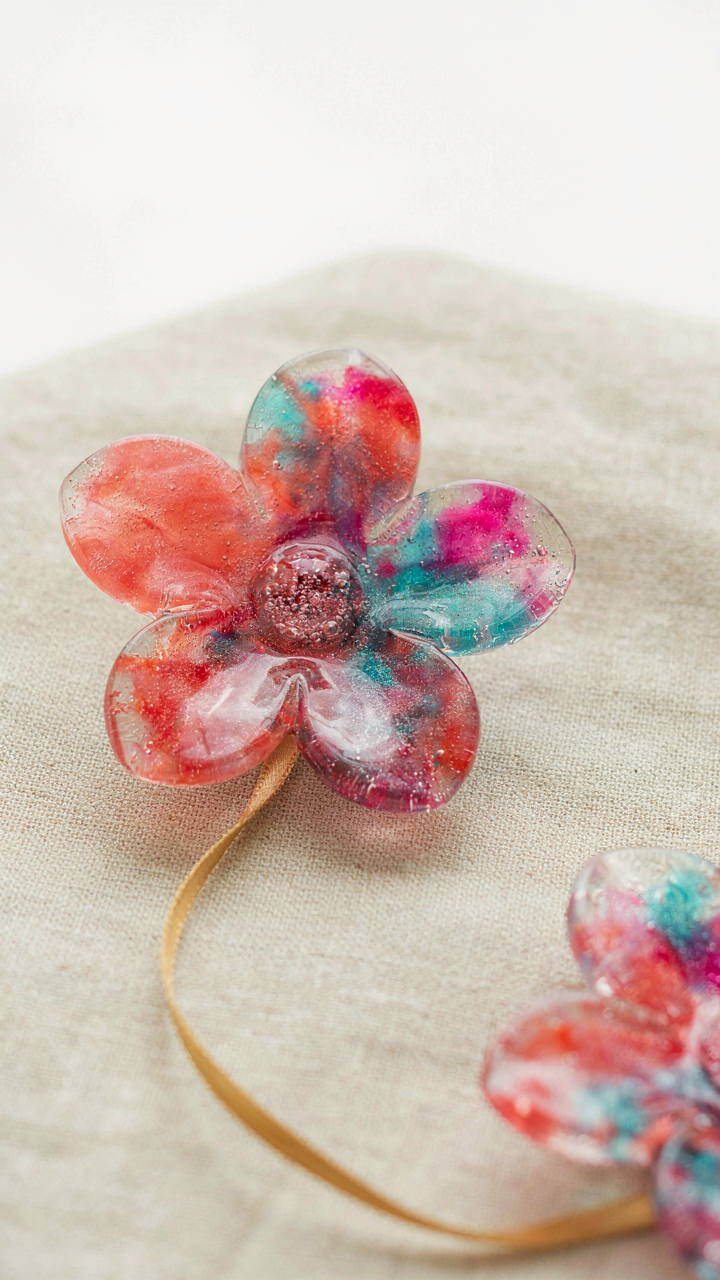
Wabi-sabi, the Japanese aesthetic rooted in impermanence and incompleteness, reframes what most crafters call failure. A bubble becomes texture. Uneven color becomes depth. A flower that rotated slightly during cure becomes proof the piece lived. This isn’t philosophy. It’s resource allocation. You stop redoing batches and start shipping products.
What Biology Reveals About Resin Behavior
Epoxy resin doesn’t behave randomly—it follows predictable chemical kinetics. Heat accelerates the cross-linking process. Moisture disrupts it. Additives change viscosity and cure speed. When you understand these rules, you stop fighting anomalies and start predicting them. A crack that looks like damage is often trapped moisture escaping. A cloud formation is exothermic heat creating localized temperature zones where pigment particles cluster.
Design around these patterns instead of against them. Intentional color separation becomes a marble effect. Deliberate micro-bubbles create a frosted aesthetic that reads as intentional. Control emerges not from preventing variation, but from understanding what causes it and leveraging those causes into your design language. Test one variable at a time, document the result, and repeat it deliberately.
The Iteration Imperative: Your Real Resin Flower Bookmarks Edge
Learn From Every Failed Cast
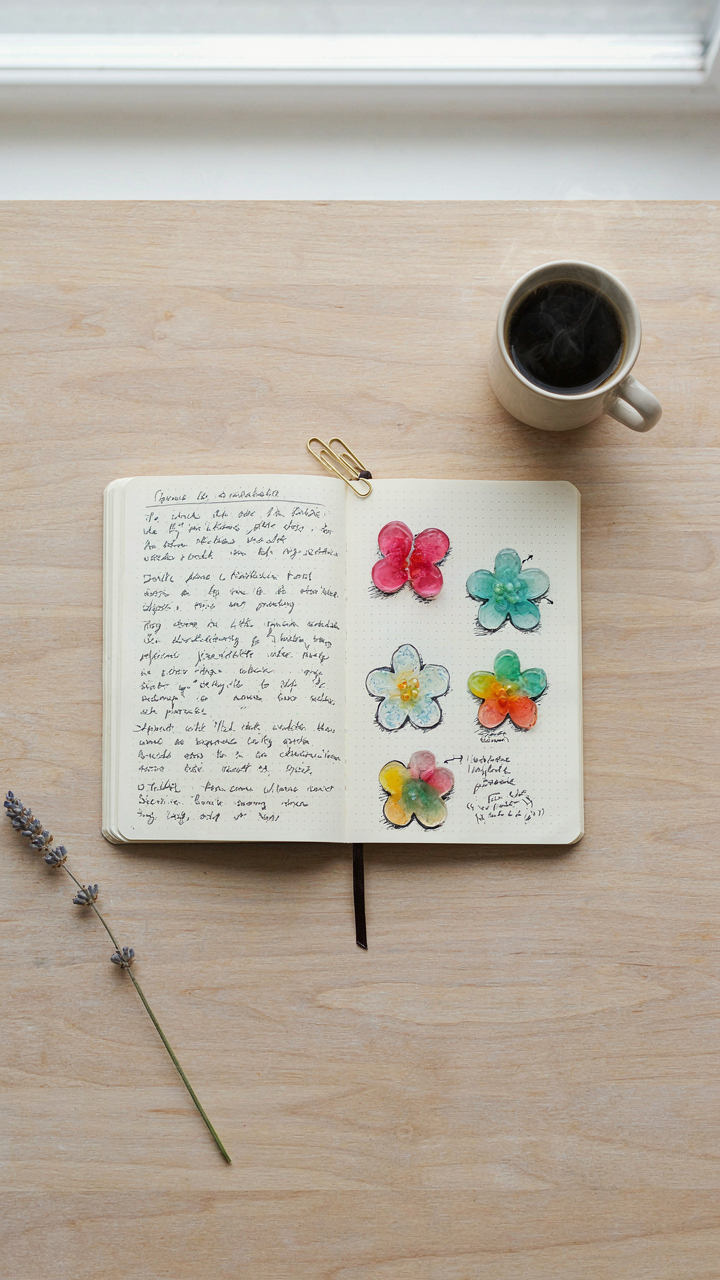
You want this section because you’re afraid of wasting resin and time repeating the same mistakes. Stop. The real mechanism is this: every failed bookmark teaches you a specific constraint you didn’t know existed. Treat failure like quality control sends data back through the assembly line. Each crack, cloudiness, or flower shift reveals whether your cure time was wrong, your mold positioning failed, or your resin batch had moisture contamination.
Document what broke and why. Temperature fluctuations during curing cause most failures—not material defects. Photograph each ruined bookmark with notes on ambient humidity, resin brand, cure location, and how long the piece sat before demolding. Your next batch gets faster because you’re not guessing anymore. You’re operating on evidence. This is non-negotiable if you want consistency instead of hoping for good outcomes.
Run Small Batches Before Going Bigger
Most resin makers jump to production scale immediately, which means they scale their mistakes too. Instead, make three bookmarks at a time using identical conditions. Change one variable per batch: resin type, flower variety, color pigment ratio, or cure temperature. Track results in a simple spreadsheet. This isn’t overthinking. This is preventing the waste of fifty bad units before you notice the pattern.
After twelve small batches across different seasons and humidity levels, you’ll own your process. You’ll know that this resin needs two extra minutes per millimeter of thickness, or that pressed flowers brown faster than fresh ones in UV-cured formulas. That knowledge compounds. Scale happens when your three-unit batches stop failing, not before. Your first production run of twenty happens on solid ground, not blind optimization.
Your True Obstacle Isn’t The Resin; It’s Your Refusal To Embrace Inevitable, Beautiful Chaos

Most people kill their resin flower bookmarks before they start because they chase perfection instead of completion. You’ll mess up the pour. Bubbles will form. Flowers will shift. Good. That’s not failure, that’s your signature emerging. Stop waiting for the perfect conditions and pour today with whatever materials you have. The only difference between someone selling resin flower bookmarks and someone scrolling past them is one person decided their first attempt was worth finishing. Your imperfections aren’t mistakes to hide—they’re the only thing making your work actually yours.



