
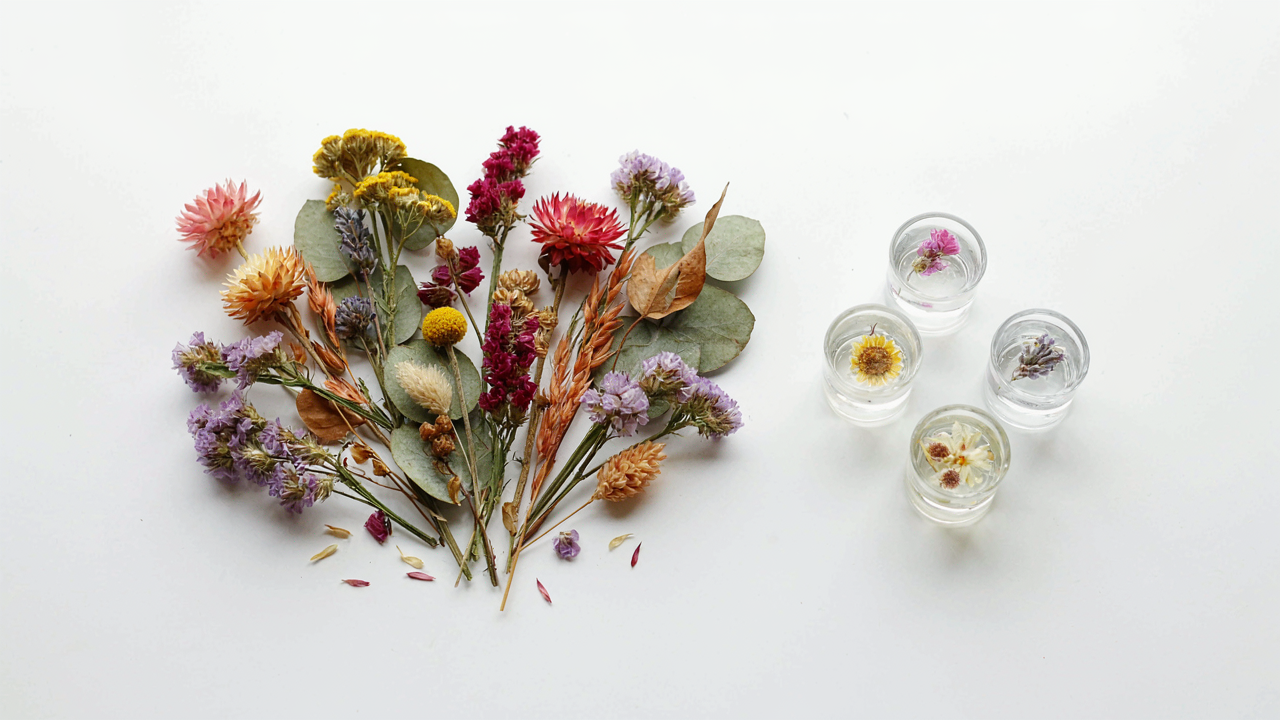
The Illusion Of ‘Simple’: Why Your Resin Flowers Fail
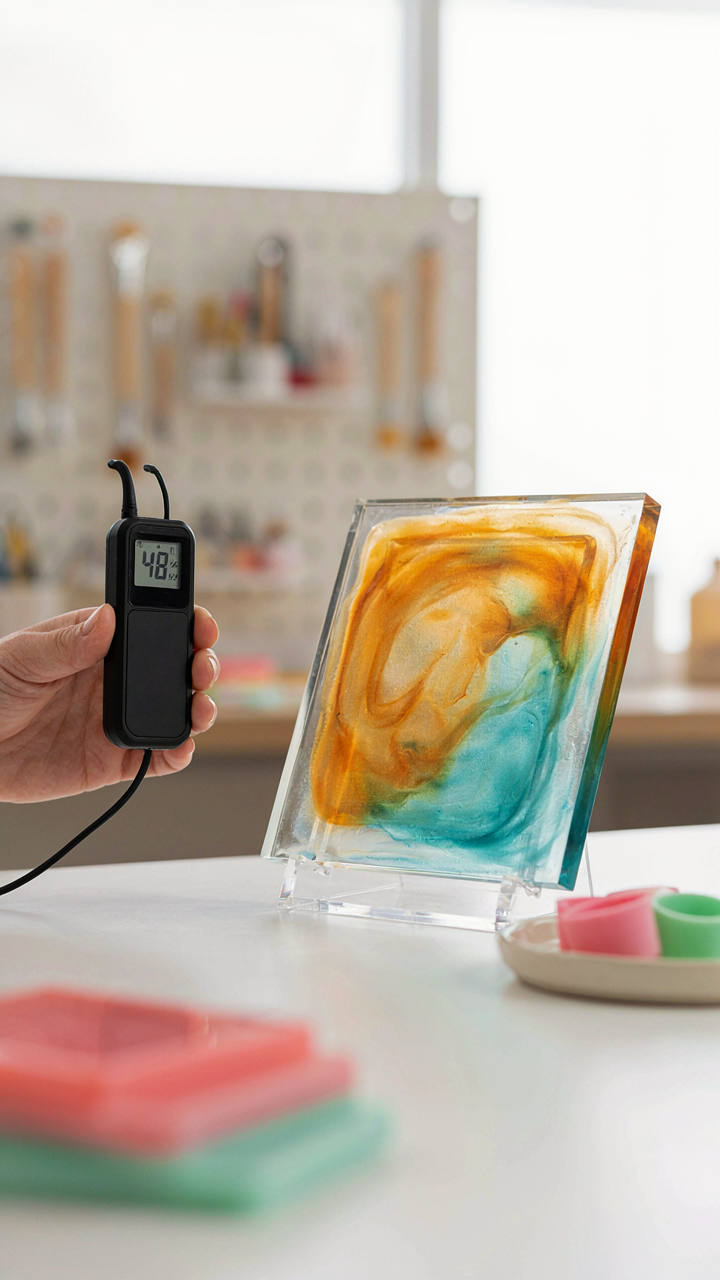
Temperature And Moisture Control Kills Most Projects
You want to believe epoxy resin flower art is just “pour and wait”—that’s the fantasy selling the illusion. The real reason your flowers crack, cloud, or fail to cure is that you’re ignoring thermodynamics. Epoxy is a chemical reaction, not magic. The exothermic process generates heat. That heat, trapped in thick pours or confined molds, accelerates the cure and traps moisture vapor inside the resin, creating internal pressure that fractures flowers from the inside out.
Most beginners skip humidity measurement entirely. Epoxy absorbs moisture from air during the cure window—typically the first 24 hours when the resin is still permeable. This causes amine blush, a cloudy or crystalline coating on the surface. The mechanism is straightforward: water molecules penetrate uncured epoxy, react with hardener components, and create a visible residue. Work in spaces below 50 percent relative humidity. If your climate is humid, run a dehumidifier during and for 48 hours after pouring. Use a hygrometer to verify. Not following this step eliminates most failure modes before they start.
Surface Preparation Decides Everything Before You Pour
Surface prep is where the consensus advice breaks down completely. Most tutorials show you mixing resin and adding flowers, skipping the critical stage that determines adhesion and clarity. The substrate—the surface receiving your flowers—must be clean, dry, and properly sealed or primed. Dust particles, residual mold release agent, or oils from skin contact create nucleation points where air bubbles form and flowers detach after curing.
Clean your work surface with isopropyl alcohol and let it dry completely. If you’re pouring into a mold, seal it with a mold release agent designed for epoxy, applied thin and even. For direct surface work, lightly sand any substrate with 220-grit sandpaper to create mechanical grip. Flowers themselves need inspection—remove any moisture trapped in petals using compressed air or a lint-free cloth. The adhesion between resin and flower depends on surface energy compatibility. Wet or contaminated flowers create a barrier that prevents the resin from bonding at the molecular level, causing shifts or separation within days of curing.
The Desiccation Doctrine: Mastering Dried Flowers For Resin Art
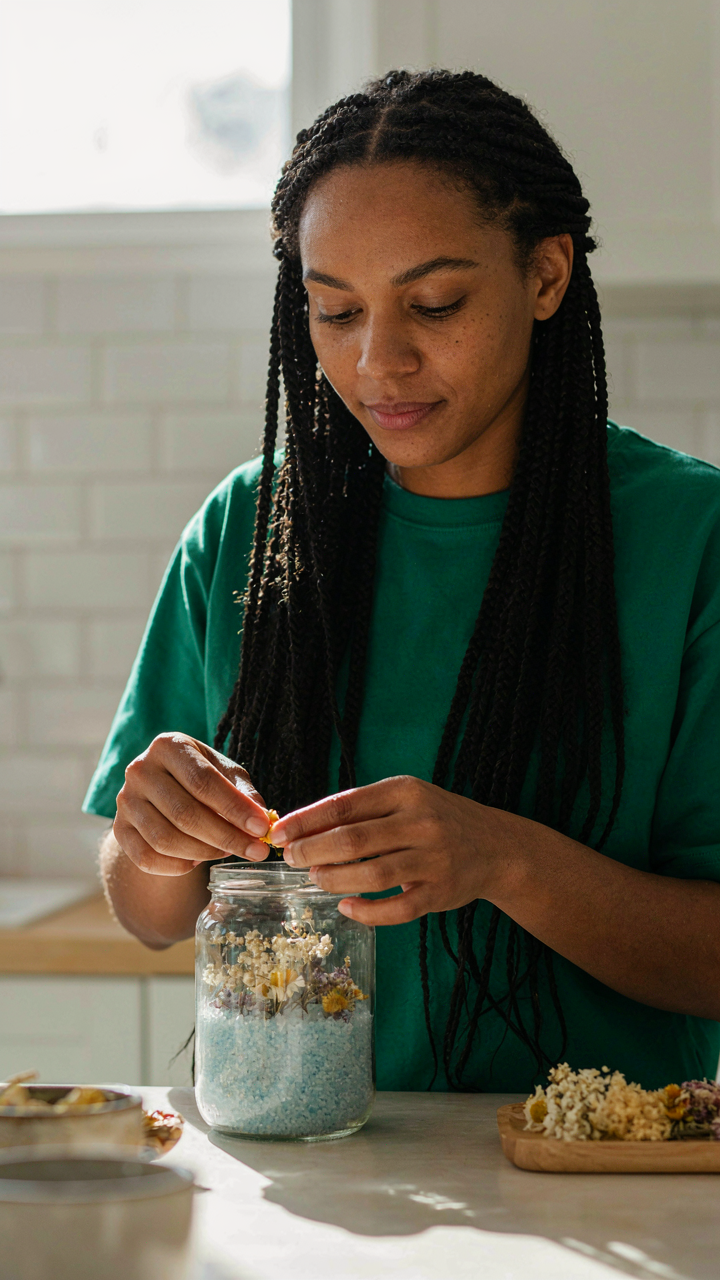
How To Dry Flowers Without Destroying Them
You want dried flowers that won’t turn brown or brittle in the resin. The real fear isn’t about aesthetics—it’s wasting money on materials and time on a piece that fails. The mechanism is simple: water remaining in plant tissue causes oxidation and fermentation once sealed in resin. Remove all moisture before casting, and the flower stays stable. Rush this step, and chemistry works against you.
Drying flowers is borrowed from preservation science—think of it as creating an anaerobic environment before the anaerobic environment of resin. Your goal is controlled dehydration that locks in color and structure.
- Air drying in darkness: Hang flowers upside down in a dark, ventilated space for 2-4 weeks. Light bleaches pigments. Darkness preserves color intensity during the drying window.
- Silica gel method: Bury flowers in food-grade silica gel for 5-10 days. Pulls moisture faster than air drying. Check progress daily to avoid over-drying, which makes petals brittle.
- Desiccant paper or packets: Layer flowers between desiccant sheets in a sealed box. Moisture migrates into the desiccant. Slower than silica gel but gentler on delicate specimens.
- Low heat oven drying: Place flowers on parchment at 150-170°F for 30-60 minutes. Requires monitoring. Works fast but risks color fade and petal shrinkage if overheated.
- Pressed flower alternative: Flatten flowers between heavy books for 3-4 weeks. Creates a different aesthetic. Removes moisture through compression over time without heat.
Test moisture content by touch before casting. A bone-dry flower stem snaps cleanly. A slightly damp stem bends. Cast damp flowers, and water converts to steam inside the resin, creating bubbles that trap air. Those bubbles stay permanent. The window between dried-out-fully and desiccated-to-fragile is narrow, but it exists. Find it for your specific flower type through one practice batch.
When Moisture Sabotages The Resin
Most resin tutorials skip this: trapped moisture doesn’t just create bubbles. It causes resin to cure incompletely, leaving soft spots in the final piece. The uncured resin stays tacky under certain humidity conditions, making the finished work unusable.
Flowers absorb ambient humidity from the air. If you dry them perfectly but store them in a humid environment for days before casting, they rehydrate. The resin pours, looks clear, then fails during cure because the flower tissue is releasing moisture vapor. Prevent this by storing dried flowers in airtight containers with fresh silica gel packets until you’re ready to cast. Pour resin immediately after flowers reach room temperature from storage. Don’t let them sit exposed to air before embedding. The 2-3 minute window between removing the flower from storage and placing it in wet resin matters more than most people admit. After embedding, monitor cure time in a low-humidity space—below 50% relative humidity if possible. Higher humidity slows epoxy cure and increases the risk of moisture-related failure.
The Catalyst Conundrum: Understanding Resin Chemistry
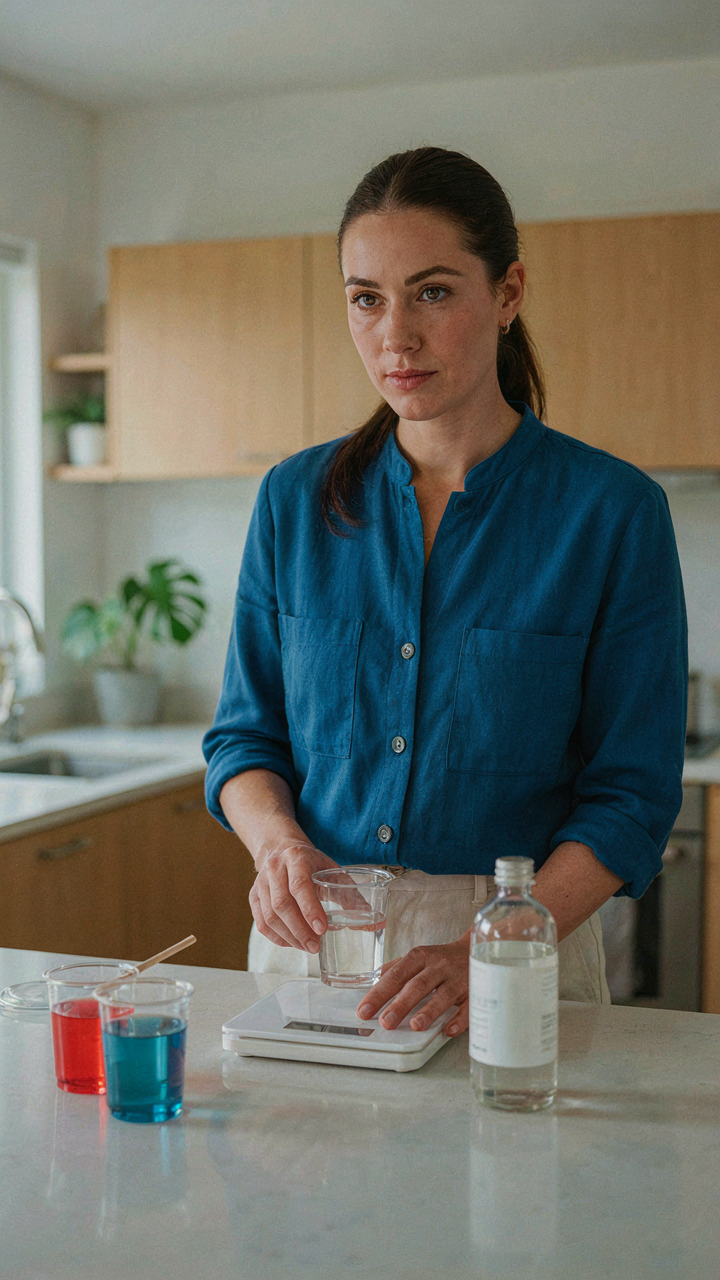
Which Resin Type Matches Your Flowers
You want the shortcut that tells you which resin to buy without reading labels. That’s not how this works. The resin you choose determines whether your flowers stay clear or yellow, whether they cure in hours or days, and whether you waste money on failed pours. Think of resin chemistry like pharmacology: the dosage and compound matter more than the brand name. Epoxy resin dominates flower art because it hardens through a chemical reaction between two components—a resin base and a hardener. This exothermic process creates a stable polymer network. The mixing ratio is non-negotiable. Most epoxy systems require a 1:1 or 2:1 ratio by volume or weight. Deviate from this ratio and you get tacky, uncured work that never hardens properly.
Standard epoxy works for most flower embeddings because it cures clear and handles moderate temperatures without discoloring. Some makers use UV resin instead for speed, but UV resin yellows faster under sunlight and costs more per ounce. The trade-off is worth understanding: epoxy takes 24 to 72 hours to full cure but stays stable for years. Your hardener choice affects cure speed and final clarity. Standard hardeners work at room temperature. Fast hardeners accelerate cure but generate more heat, which can cause bubbles and discoloration in embedded flowers. Slow hardeners give you more working time but demand patience. Pick one based on your workspace temperature and how many pieces you’re making that day.
Cure Conditions You Actually Control
Temperature and humidity are not abstract variables you acknowledge and ignore. They are the mechanisms that determine whether your resin cures properly or fails silently. Physics governs this: lower temperatures slow molecular movement, which slows the hardening reaction. A resin that cures in 24 hours at 72 degrees Fahrenheit might take 72 hours at 50 degrees. Humidity affects cure differently. High humidity can cause amine blush, a cloudy white film that forms on the resin surface as moisture interacts with the curing resin. This is preventable, not inevitable. Most manufacturers recommend curing between 65 and 75 degrees Fahrenheit with humidity below 50 percent. These are not suggestions. They are the operating parameters that separate clear results from hazy failures.
You need to measure and monitor these conditions, not guess. A simple thermometer and hygrometer cost less than five dollars and eliminate the guesswork that wastes material and time. Place your poured pieces in a location where temperature stays stable throughout the cure window. Avoid direct sunlight, heat sources, and damp areas. If your workspace runs cold, you can accelerate cure by moving pieces to a warmer room after the first 12 hours, once the resin is solid enough that movement won’t trap new bubbles. If humidity spikes above 60 percent during cure, cover your pieces loosely with a box to reduce air exposure. Check your resin’s specific data sheet for the hardener you selected, confirm the temperature and humidity thresholds it requires, and create a cure environment that meets those specifications before you pour.
The Bloom’s Paradox: Engineering Your Floral Layout
Where Weight Lives On A Flat Surface
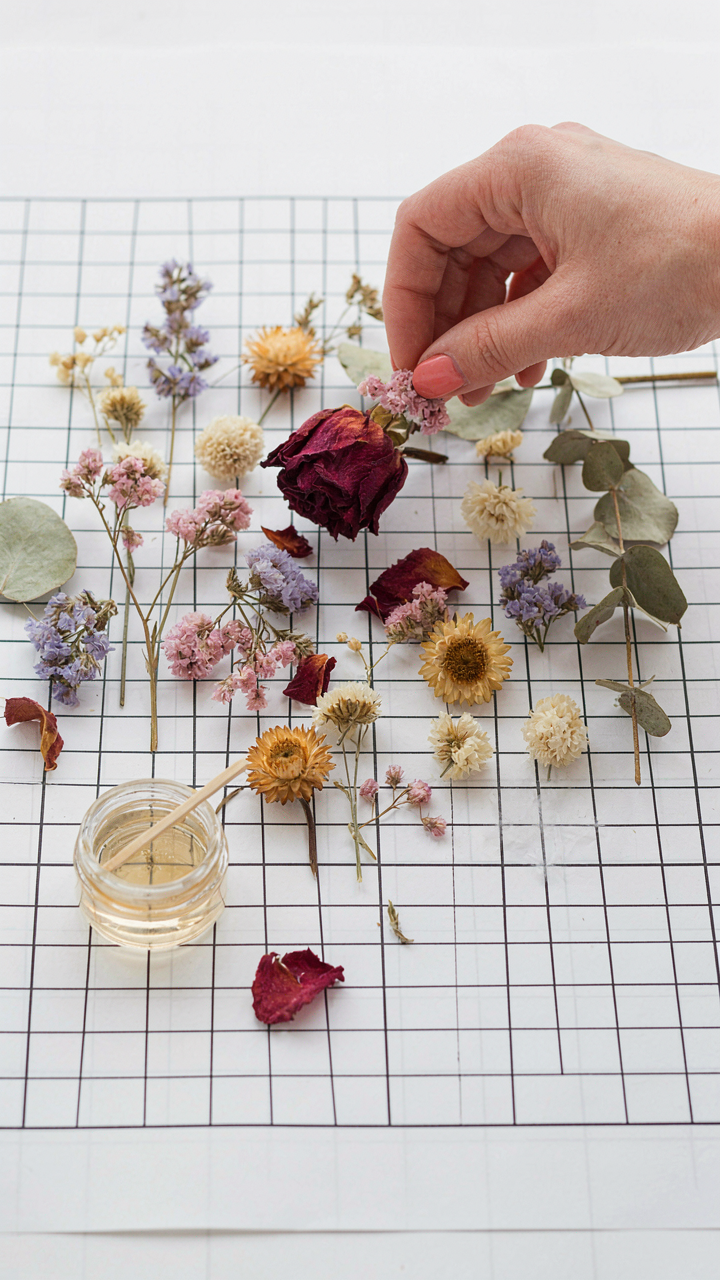
You want your piece to look intentional, not like you dumped flowers into resin and hoped. That’s the real fear here. Physics has a concept called center of gravity, and in resin flower art, compositional gravity works the same way: every element pulls the viewer’s eye toward a visual anchor point, and that point determines whether your piece feels balanced or chaotic.
Most layouts fail because people treat flowers as decoration instead of mass. A single large bloom positioned center-left doesn’t float there by accident. It anchors the entire composition. The resin itself becomes the field where weight distributes. Place a dense cluster of petals on one side without counterbalance on the other, and the piece reads as unfinished even if every flower is perfectly preserved. Your brain detects the imbalance before you consciously recognize it.
The Ratio That Isn’t Mystical
Everyone quotes the golden ratio like it’s a magic formula. It’s not. The 1.618 proportion emerged from natural growth patterns, but forcing it into resin work is lazy thinking. What matters in epoxy flower art is the relationship between focal depth and negative space, not a mathematical ratio applied like a template.
The real mechanism: dominant flowers occupy roughly 60 percent of visual real estate. Secondary blooms take 30 percent. The remaining 10 percent stays open, letting resin and background show through. This isn’t the golden ratio. It’s a working proportion that prevents visual clutter while maintaining compositional tension. Arrange your layout first in dry form before pouring resin, measure the space each flower occupies, then adjust until secondary elements actually frame the focal flower instead of competing with it.
The Entrapment Protocol: Securing Flowers In Resin
Build Your Foundation First
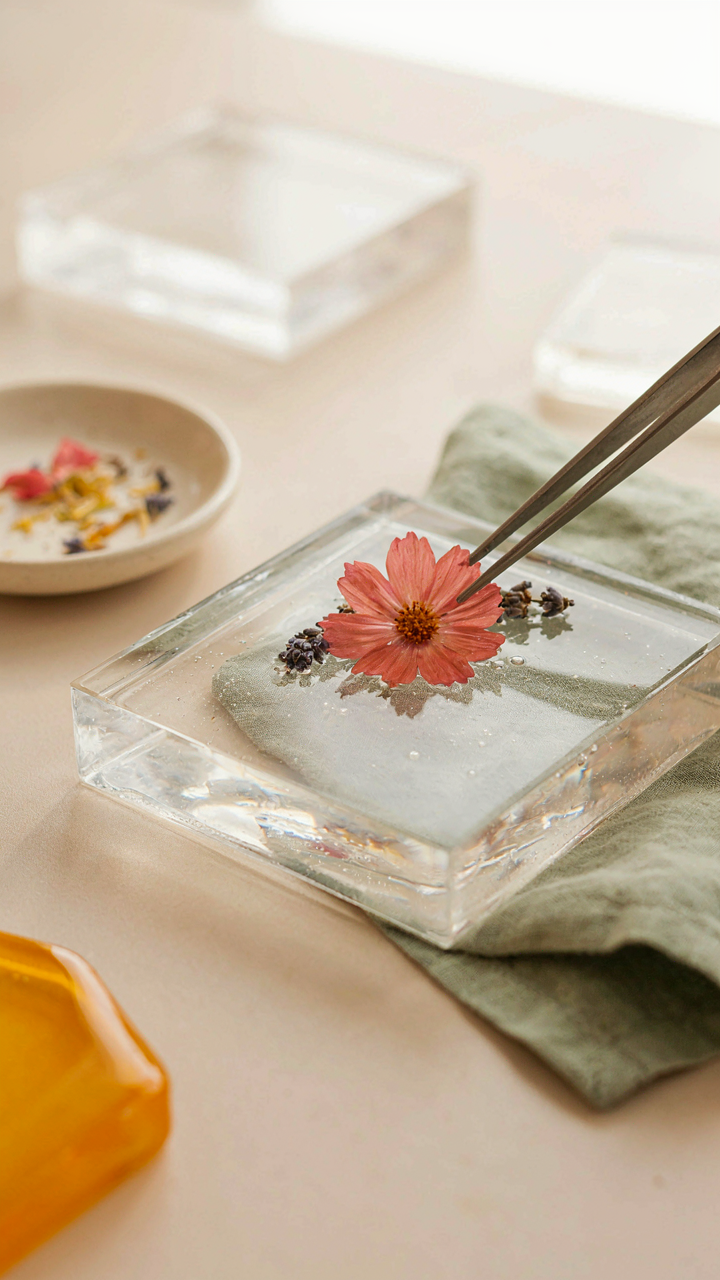
You want flowers to stay suspended and centered because a sunken or tilted piece signals amateur work. The mechanism borrowed from construction is load distribution: resin has weight and pressure, so you anchor flowers at specific depths using a base layer. Pour your first coat thin—one quarter inch—and let it cure fully before placing anything. This hardened floor prevents flowers from sinking into liquid resin and keeps them locked in position once the final pour happens.
The second layer is where precision matters. Place flowers directly on the cured base, spacing them so they don’t touch the mold walls or each other. If flowers sit too close to edges, resin seeps behind them and creates air pockets that look like defects. Position stems downward and blooms upward at the angle you want permanently, because once you pour the second layer, movement stops. Your cured base now acts as scaffolding, not as the final resting place.
Vacuum Chamber Extraction Over Heat
Most advice says use a heat gun to pop bubbles, which is incomplete and backwards. Heat actually accelerates the cure, trapping bubbles faster by reducing the resin’s fluidity window. The real mechanism comes from physics: reduced atmospheric pressure lowers the boiling point of trapped air, forcing bubbles to release without temperature. A vacuum chamber does this work at room temperature in five to ten minutes.
For pieces without chamber access, accept that some bubbles stay. Pour slowly in a spiral pattern from the center outward to minimize air entrapment at entry. Bubbles form because resin moves too fast or flowers disrupt flow. Tap the mold’s sides gently after pouring to consolidate remaining bubbles at the surface, then cover with a dome or seal to prevent dust contamination during cure. The surface bubbles disappear into the resin’s top layer naturally as the cure hardens.
The Curing Commandment: Patience And Post Processing For Resin Crafts Tutorial

Where Temperature And Time Actually Matter
You want your piece done fast. That’s the real reason you’re reading this. But rushing cure time doesn’t save you hours, it costs you the whole project. Epoxy resin curing follows chemistry, not your schedule. Two-part epoxy undergoes an exothermic reaction, meaning it generates heat as the resin hardens. This heat accelerates the process but also creates internal stress if uncontrolled.
Most people cure resin at room temperature between 65 and 75 degrees Fahrenheit over 24 to 72 hours depending on the specific epoxy formulation. Lower temperatures slow the reaction dramatically. Higher temperatures accelerate it but risk cracking, yellowing, and trapped air pockets that ruin flower detail. The mechanism is straightforward: warmer molecules move faster, speeding polymerization, but too fast means incomplete cross-linking and structural weakness. Follow your epoxy’s manufacturer specs. They tested it. You didn’t. Place your piece in a dust-free, vibration-free space during cure. Movement disrupts the hardening process and creates micro-cracks nobody sees until the piece shatters.
Sanding, Sealing, And Surface Reality
Everyone says “sand it smooth.” That’s incomplete advice. You sand to remove surface imperfections, dust specks, and the cloudy layer that forms on epoxy as it cures. Use 220 grit sandpaper first to level the surface without aggressive scratching. Move to 400 grit for refinement. Then 600 grit for gloss preparation. The direction matters: always sand in one consistent direction to avoid creating crossed scratch patterns that catch light unevenly.
Polishing comes next, not sanding again. Use a resin polishing compound or automotive rubbing compound applied with a soft cloth in circular motions. This fills micro-scratches and restores clarity. Sealing depends on your piece’s purpose. If it’s purely decorative and stays indoors, sealing is optional. If it contacts skin or sits in direct sunlight, apply a UV-protective topcoat to prevent yellowing. Sand between coats with 1000 grit or higher. The final step is a matte or gloss topcoat depending on your aesthetic choice. Apply thin, even layers rather than one thick coat.
Beyond The Hobbyist: Scaling Your Natural Floral Resin Art

When Quality Becomes Non Negotiable
You want to believe scaling means just making more of what you already make. It doesn’t. Economics calls this the “production possibility frontier”—the hard trade-off between output volume and consistency. In epoxy resin flower art, you hit this wall fast. The same variables that made your first piece work—humidity, resin batch chemistry, flower moisture content, cure temperature—become enemies when you’re producing ten pieces instead of one. Most people skip this reality and wonder why their tenth piece looks nothing like their first. The actual mechanism is material degradation and process drift. You need documented procedures, not muscle memory. Track your resin mix ratios to the gram, record ambient conditions before pouring, photograph each stage, and note which flower batches produce the clearest embeddings. This removes guesswork from repetition.
Your dried flowers change seasonally and by source. A batch of pampas from late summer behaves differently than spring sourcing—water retention varies, color stability shifts. Buy flowers from the same supplier consistently and store them in climate-controlled space at 40-50% humidity. Resin itself has batch variation; different production runs of the same brand shift cure speed and clarity. Buy in bulk from one source and number each container by purchase date. The pieces that fail aren’t accidents—they’re signals you ignored a variable.
Positioning Before You Scale Production
Stop treating your work as a product category. It’s not “resin art”—that market is flooded and compressed to commodity pricing. Your real asset is the specific aesthetic choice you’ve made: dried flower selection, resin color, embedding depth, finish quality. That specificity is what commands price. Define this clearly before you scale. A clear positioning statement sounds like: “hand-selected botanicals embedded in crystal-clear epoxy, cured without yellowing, shipped flat to prevent fracture.” That’s not flowery—it’s mechanical. It tells buyers and yourself exactly what you’re protecting. Your margin depends on whether customers see you as a commodity producer or a specialist maintaining a standard. Scale the wrong thing and you compress your own pricing power before you start.
Production volume should follow demand, not precede it. Make pieces to order when possible. This eliminates inventory risk and forces you to maintain quality—a customer waiting for their piece spots flaws you’d ignore in a stockpile. Build a pre-order system using a simple form that captures flower preferences, resin color, size, and ship date. This gives you production windows instead of constant urgency. You control the pace and protect your process. Most scalable creative work fails because makers try to build inventory first, thinking volume creates demand. It doesn’t. Demand creates the only volume worth scaling.
The Unseen Craftsmanship Of Resin Art
Mastering The Basics First
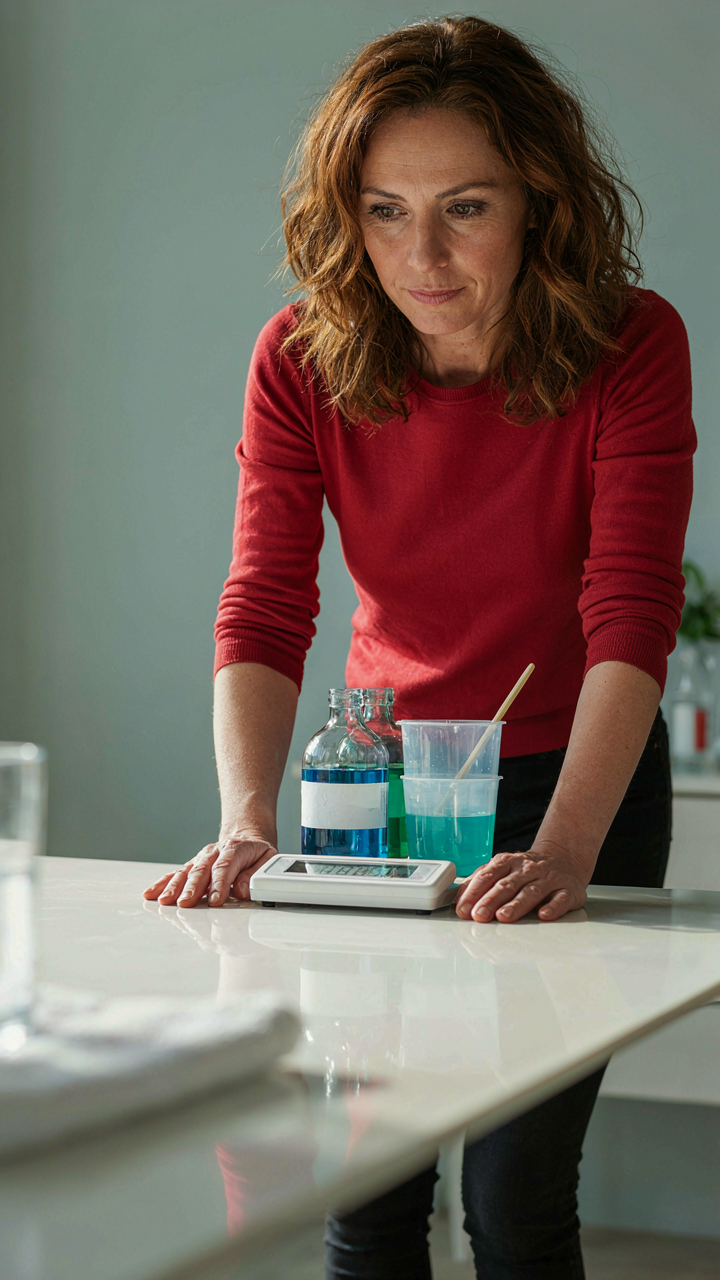
You want to skip ahead because you think the basics are beneath you. They’re not. The real mechanism here comes from systems thinking, where a chain’s strength equals its weakest link. In epoxy resin flower art, your weakest link is always resin-to-hardener ratio. Get this wrong and everything downstream fails. Most people memorize the ratio once and never verify it again. They eyeball, they guess, they assume the bottle markings are accurate. Your first move is obsessive precision with measurement. Use a digital scale to 0.1 gram accuracy. Do this for every pour for thirty days straight until you stop thinking about it. This removes the variable that ruins ninety percent of beginner batches.
The second fundamental nobody emphasizes is temperature control during cure. Resin cures through exothermic reaction, meaning it generates heat. Too much heat too fast creates bubbles and yellowing. Too little heat and cure times stretch to uselessness. You don’t need expensive equipment. You need a room between 70-75 degrees Fahrenheit and the discipline to check it hourly for the first six hours after pouring. This single protocol determines whether your flowers look transparent or cloudy. Master this before you touch pigments, before you experiment with additives, before you buy the premium supplies.
Where Most People Self Destruct
People quit because they conflate difficulty with impossibility. They pour a batch, it comes out imperfect, and they decide resin art isn’t for them. What actually happened is they skipped the fundamentals and hit a learning curve wall instead of a skill ceiling. The mistake is treating each batch as a fresh start rather than a controlled test. Write down your exact process every single time. Record room temperature, humidity, resin brand, hardener batch number, cure time, and results. After ten batches of data, patterns emerge. You stop blaming bad luck and start seeing cause and effect.
Most people also quit because they’re waiting for permission to call themselves an artist. They pour five acceptable pieces and still describe themselves as “just trying” or “just messing around.” Mastery doesn’t care about your internal narrative. Mastery cares about repetition, documentation, and incremental improvement. After fifty batches, you’ll have moved past the point where quit is an option because you’ve already invested the hours. Stop waiting to feel ready. Pour the next batch today and document exactly what happens.
The Real Obstacle Isn’t The Resin; It’s Your Refusal To Master The Invisible Variables

Most people fail at epoxy resin flower art because they obsess over technique when they should obsess over conditions. Temperature, humidity, cure time, resin ratio, mold release—these invisible variables determine your result more than your hands ever will. You can follow every tutorial perfectly and still create garbage because you ignored the environment. Stop blaming the craft. Start documenting your conditions like a scientist. Record what works. Repeat it. Master one piece before chasing the next. The artists winning at this game aren’t more talented; they’re more systematic. Your first move today: measure your workspace temperature and humidity right now, then adjust before your next pour.



