

The Minimalist’s Manifesto: Why Less Effort Means More Impact
Simple Is Not Easy To Execute
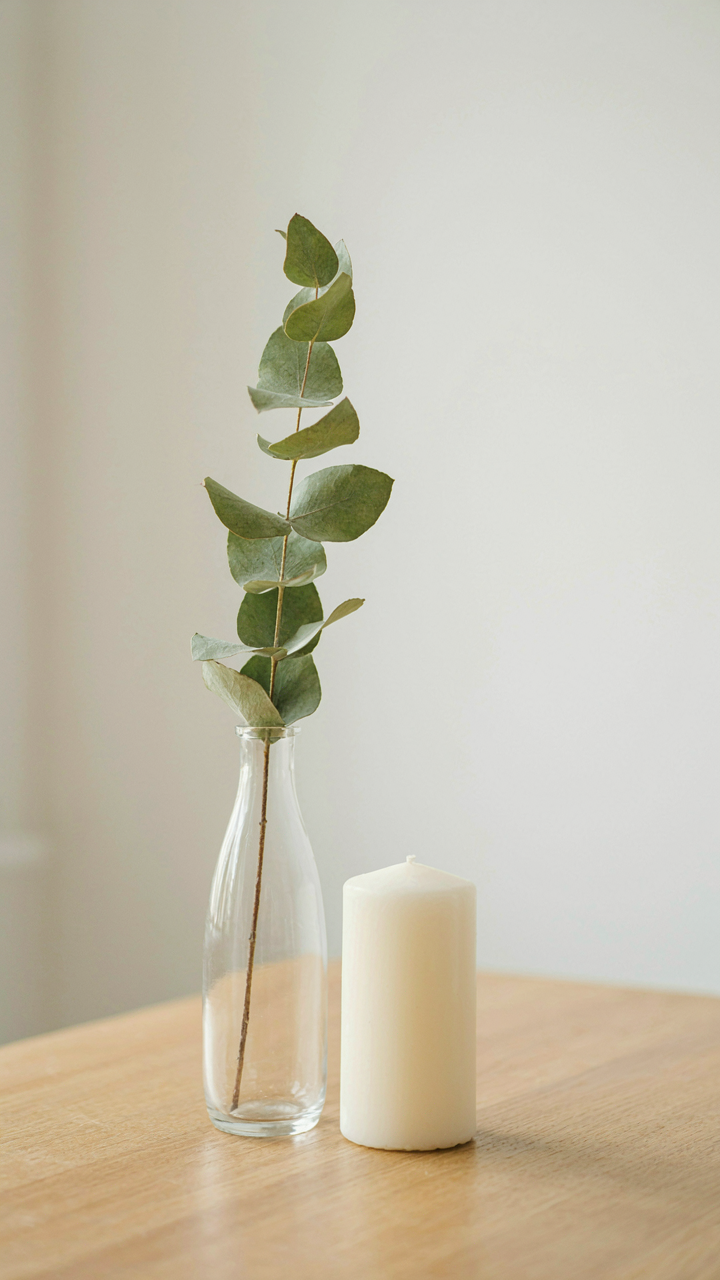
You want this to feel effortless because effort signals you’re trying too hard, and trying hard reads as low status. Here’s what actually happens: most people mistake simplicity for laziness when it’s the opposite. In design systems, simplicity requires constraint. You remove options until only the essential remains. With dried flower candle decor, this means fighting the urge to overstuff arrangements. The mechanism is friction reduction. Fewer elements mean fewer visual conflicts, which means your eye lands exactly where you positioned it.
The common advice says “start minimal and add.” That’s backwards. You start with a single dried flower stem, one candle, bare surface. You observe what works. Then you add only what creates visual tension or fills genuine negative space. This is harder than dumping six dried hydrangea heads into a vessel. Most people quit before they find the actual composition because adding feels productive while subtracting feels like failure. The real skill is knowing when an arrangement is finished, not when it looks full.
Restraint Compounds In Perception
Good design uses negative space as aggressively as it uses elements. When you leave room around your candle and dried flowers, that emptiness becomes part of the composition. The eye interprets emptiness as intentionality. It signals control. A crowded arrangement signals panic, like you’re covering up a mistake with more stuff. Curated restraint in decor works like this: three thoughtfully placed dried stems beat twelve scattered ones because the viewer’s brain does less work to process the image, which frees cognitive load for appreciating the actual form.
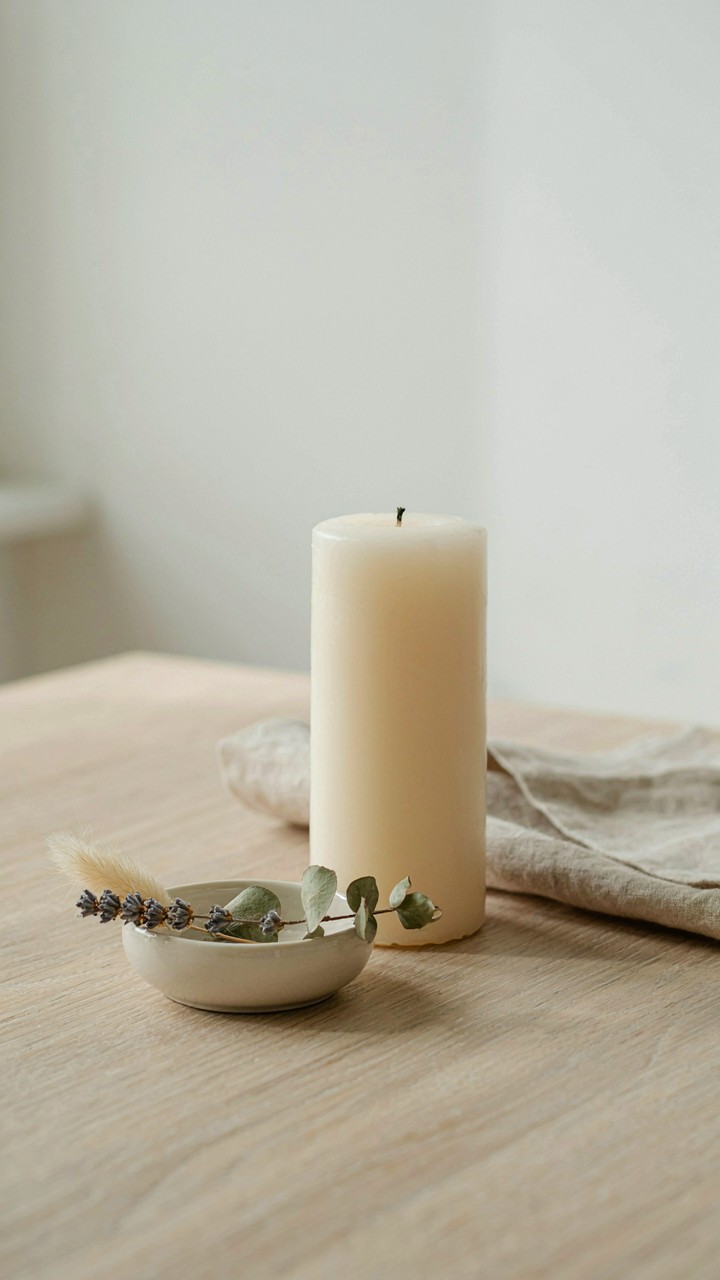
The disproportionate value comes from contrast. Sparse arrangements command attention precisely because they’re rare in domestic spaces. Most home decor is visual noise. When someone enters a room with one candle, two preserved eucalyptus stems, and white space, that arrangement becomes a focal point through subtraction alone. You don’t need expensive flowers or rare candles. You need the discipline to stop before it looks “done” by conventional standards. Start with one vessel containing one dried element and one candle. Keep that setup for three days. Only then decide what actually needs addition.
Beyond Blooms: Sourcing Superior Dried Floral Candle Elements

The Grade You Actually Need
You want to believe dried flowers are dried flowers. They’re not. You’re afraid of wasting money on material that looks dead in your candle instead of intentional. Here’s the mechanism: moisture content determines whether a bloom holds color and structure or turns into dust. Florists grade dried stock by how they were processed, not just how long they’ve been sitting. Commercial bulk dried flowers often retain residual moisture or were kiln-dried too fast, which causes brittleness and color fade.
The flowers used in high-end dried flower candle decor come from controlled-dry environments with specific humidity ranges. Glycerin-treated stems stay pliable. Air-dried flowers from low-humidity regions hold pigment longer. When you source, you’re buying the drying method hidden inside the product, not just the flower itself. This determines how your candles look in month three versus week two.
What Most Suppliers Won’t Tell You
The common advice says to buy from craft stores or bulk wholesalers for cost. That’s incomplete. You’re paying for speed of turnover and storage conditions you can’t verify. Real sourcing means knowing whether the supplier stores dried flowers in sealed, climate-controlled bins or open warehouses. Humidity destroys dried flowers faster than time does. A batch sitting in a humid facility for six months is lower quality than flowers dried last month in a desert region.
Ask suppliers directly: Where do you dry? How long in storage? What’s your humidity control? Most won’t have a clear answer, which tells you everything. Work with regional flower wholesalers or specialty dried flower distributors who can trace their stock to specific drying locations. You need stems with no brittleness, petals with color saturation still intact, and zero mold or discoloration before assembly. The sourcing step determines the final product’s shelf life and visual impact.
The Deconstruction Method: Preparing Flowers For Candles With Pressed Flowers
Precision Pressing Techniques For Flawless Preservation
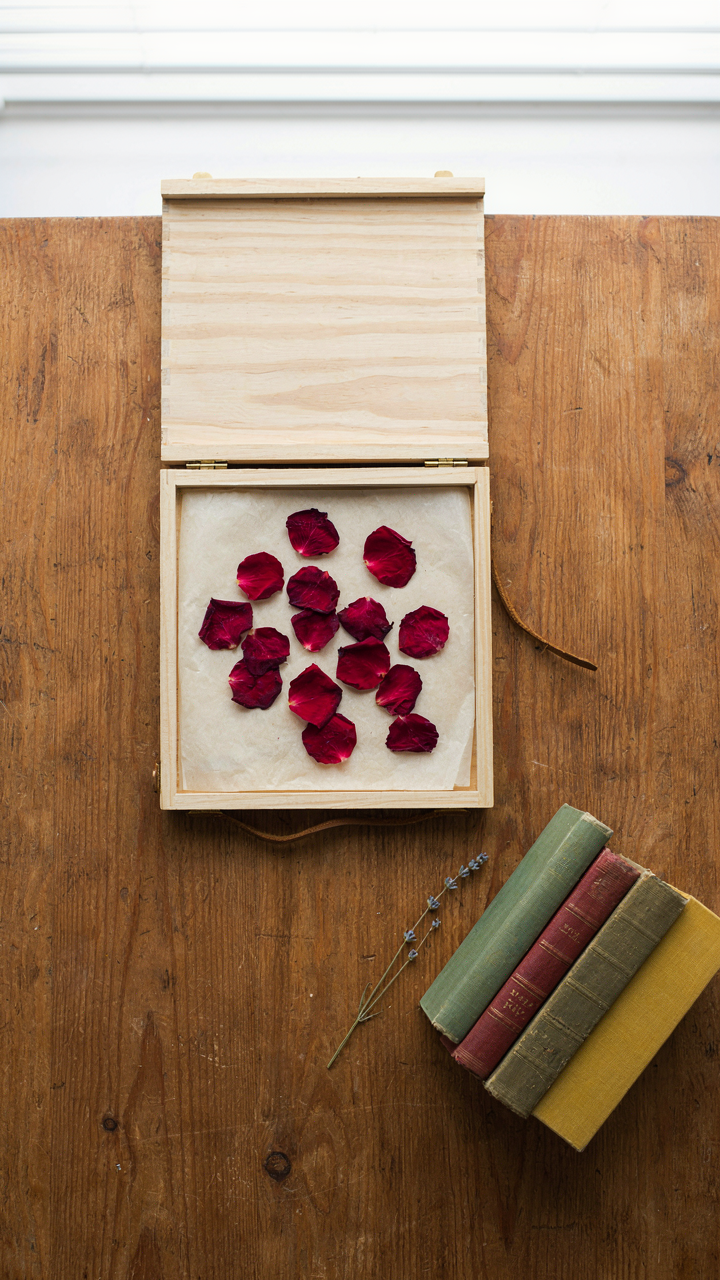
You want this to look intentional, not like you grabbed whatever was lying around. Here’s what actually matters: pressing works because it removes moisture while applying consistent, even pressure. Think of it like material science applied to botanicals. You’re controlling the rate of water loss so the flower maintains structural integrity instead of warping or browning. Most people skip proper technique and wonder why their flowers look crushed.
Use a flower press or heavy books stacked flat on a wooden surface. Place parchment paper on the base, arrange flowers face down with space between each one, add another parchment layer, then stack weight evenly. Leave flowers untouched for ten to fourteen days. The paper absorbs moisture gradually. When you remove them, they’ll be paper-thin, flat, and stable enough to embed in candle wax without crumbling during the pour.
Optimal Drying Ensures Longevity And Structural Integrity
Most advice tells you to hang-dry everything, but that’s incomplete guidance for pressed flowers destined for candles. Pressed flowers need a dark, low-humidity environment after the initial press phase to stabilize completely. Humidity causes them to reabsorb moisture and lose their flat shape. Store pressed flowers in airtight containers with silica gel packets in a cool closet for at least one week after pressing.
Before embedding flowers into candles, test one by placing it against warm (not hot) wax to see if it holds shape or curls. Flowers that warp during this test weren’t dried long enough. Keep backup pressed flowers stored in those containers. When you’re ready to embed, work quickly and use flowers that feel papery and brittle, not supple. Brittle flowers maintain geometry through the entire candle-setting process.
Vessel As Vanguard: The Unspoken Power Of Your Dried Flower Candle Holder

Shape Determines Visual Weight
You care about this because the wrong vessel kills the whole setup and you know it—you just don’t know why. This is architecture. In structural design, load-bearing capacity depends on form. A dried flower candle arrangement works the same way. The vessel’s silhouette either anchors or destabilizes everything sitting on it. Narrow containers feel top-heavy with dense flower clusters. Wide bases ground the composition. The relationship between rim diameter and height determines whether your arrangement looks intentional or accidental.
Glass, ceramic, or metal vessels behave differently visually. Clear glass reads as weightless, pushing visual focus to the flowers and flame. Opaque ceramic grounds the piece through mass. Metal vessels add industrial weight without bulk. Choose based on what you want the eye to land on first. Matte surfaces recede. Reflective surfaces compete. Your vessel choice isn’t decoration—it’s the structural system supporting the entire visual hierarchy.
Proportion And Placement Logic
Most people treat candle placement like it’s random, and then wonder why their arrangement feels off-balance. It’s not. Dried flower candle holders operate on sight line logic. The flame should sit at or slightly above the densest flower cluster to create a unified focal point. If the candle sits too low, the flowers block the light and create visual confusion. Too high, and the arrangement fragments into separate elements.
The vessel’s opening diameter dictates how much dried material you can anchor without crowding. A three-inch opening accommodates a tight, structured arrangement. A five-inch opening allows looser placement and better heat circulation. Taller vessels need denser flower placement at the top to prevent the arrangement from reading as sparse. Measure the height from rim to candle top, then proportion your dried material to fill two-thirds of that space. This leaves breathing room and prevents the piece from appearing cluttered or overworked.
The “Scarcity” Principle: Adding Dried Flowers To Candles Strategically
Why Rarity Changes How People See Your Candle
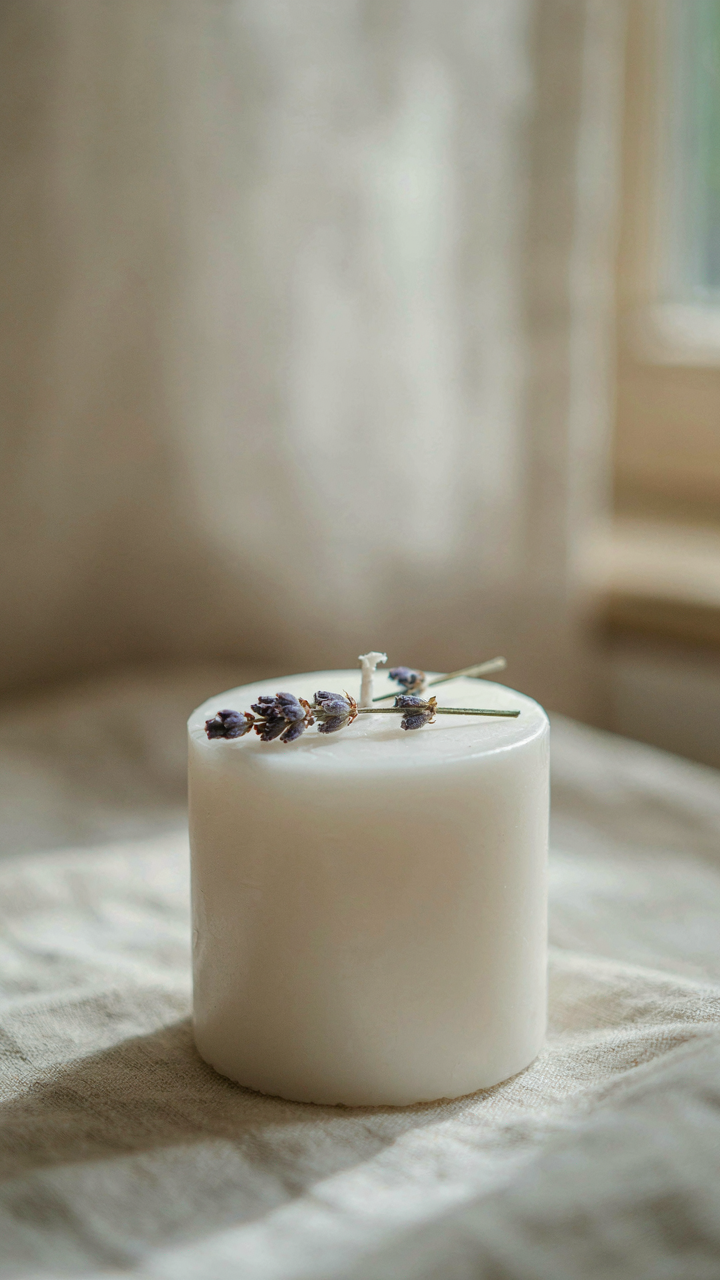
You want your dried flower candle to feel intentional, not like you threw decorations at a problem. Economics calls this scarcity principle: when supply drops, perceived value rises. Apply it to dried flower candle decor by treating each flower stem as a limited asset. Most people overdress their candles. They pack dried flowers so densely the candle becomes visual noise. That’s the wrong move. Restraint signals intention.
The mechanism works because human attention defaults to scarcity. A candle with two or three strategically placed stems reads as curated. The same candle buried under ten stems reads as amateur. Your brain instantly registers the difference. This isn’t psychology—it’s pattern recognition. When you see less, you assume more thought went into placement. That assumption becomes the product’s actual value in the buyer’s mind.
Place Fewer Flowers, Increase Their Impact
Stop believing that covering every visible surface makes candles look better. It doesn’t. One premium dried flower positioned at the candle’s edge creates more tension and draws more attention than a crown of mediocre stems. Placement dictates whether flowers enhance or distract from the wax itself. The candle is the base product. Dried flowers are the signal of care.
Establish a placement rule: no more than three to five dried flower elements per standard candle. Position them asymmetrically, not centered. Off-center placement forces the eye to move, which increases engagement time. The human visual system lingers longer on imbalanced compositions because it’s actively searching for resolution. That moment of visual searching is where perceived value lives. Your dried flower candle decor succeeds or fails in that split second.
Assembly Line Alchemy: Efficiently Creating Homemade Candles With Dried Flowers

Batch Production Scales Elegance
You want to make this feel effortless so people think you have time to waste on hobbies. The real mechanism is simple: batching removes decision fatigue and setup friction. When you make one candle, you burn mental energy on every micro-choice. When you make ten, you decide once and repeat the action. Economics calls this the “fixed cost problem.” You pay the setup cost upfront, then the marginal cost per unit drops. With dried flower candles, your fixed cost is prep work: flower selection, wax melting, fragrance measuring. Do that once for a batch.
- Prep Station Setup: Organize all materials in one workspace. Lay out flowers by type, melt wax in bulk, measure fragrance in a single batch. This eliminates the friction of gathering tools between each candle.
- Template Ratios: Use identical measurements for every candle in the batch. One ratio for wax weight, one for fragrance oil, one for flower placement. Consistency is what speeds production, not improvisation.
- Container Grouping: Prepare all containers at once. Clean them, place wicks, measure pour height. Batch the boring work so your attention stays on flower placement and aesthetics.
- Cooling Timeline: Line candles up in sequence so they cool on the same schedule. Stagger your pours by five to ten minutes. One batch finishes while the next one starts setting, creating a pipeline.
- Quality Checkpoints: Inspect finished candles in groups of five, not individually. Batch QA catches systematic issues faster than checking one candle at a time.
Batch production doesn’t sacrifice quality. It guarantees it. When you repeat the same pour technique ten times, your hand develops muscle memory. The tenth candle pours cleaner than the first because your technique tightens through repetition. The key is freezing your process before you start, not adjusting mid-batch.
Process Optimization Cuts Waste
Most people waste materials and time on invisible steps. They pour wax in small amounts, let it cool, reheat, pour again. They place flowers randomly, step back, adjust, place again. They test scent strength on every candle instead of once. This is friction disguised as care. The mechanism is throughput: optimize for volume per hour, not perfection per candle.
Start by identifying where you touch each candle most. That’s your bottleneck. If flower placement takes longest, solve that first. Use tweezers consistently. Establish a visual grid so you place flowers in the same pattern every time. Three on top, two on sides. Once the pattern is automatic, your hands move faster and placement stays uniform. Measure fragrance oil once per batch at the optimal temperature, not per candle. Heat wax to the exact temperature once and hold it there with a thermometer. Pour all candles at that temperature in sequence. Don’t wait between pours. The moment one candle sets enough to hold flowers, move to the next pour. Stack your processes so nothing sits idle.
The “Framing” Effect: Mastering Pressed Flowers On Candles Placement
Where The Eye Actually Stops
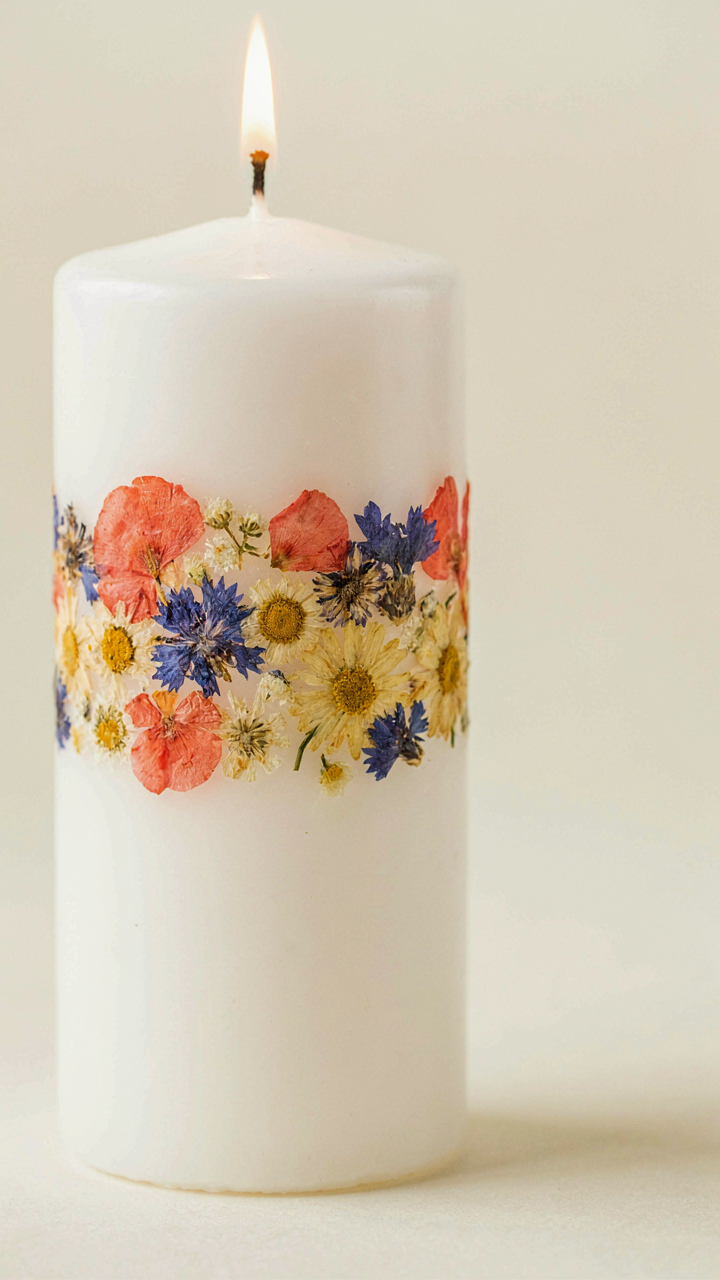
You want people to notice your candle and assume you have taste. The mechanism is simple: your eye doesn’t scan randomly across a surface. It follows a predictable path based on contrast, weight, and interruption. Borrowing from visual hierarchy in graphic design, the “focal point” is the element that stops the eye first and holds it longest. On a candle, pressed flowers act as focal points. Their placement determines whether someone sees intentional design or accident.
Most people scatter flowers around the candle surface hoping density creates impact. This fails. The eye needs a reason to land somewhere specific. Place your pressed flower cluster on the upper third of the candle’s visible face, slightly off-center toward the dominant hand side of your viewer. This works because the eye enters from the left, climbs upward naturally, and rests where visual weight concentrates. The flowers interrupt the plain wax surface and signal control.
The Power Of Empty Space
Silence in design works the same way it works in conversation. The unspoken moments carry weight. Most candle makers fill every gap with flowers, leaves, or filler because they fear blank wax looks incomplete. This is backwards. The empty space around your pressed flowers is what makes them register as chosen, not thrown together. Empty wax becomes the frame. The flowers become the content.
A single stem or small cluster surrounded by clear wax reads as deliberate. Dense coverage reads as overcorrection. The proportion works like this: if flowers occupy 15 to 25 percent of the visible candle surface, the remaining 75 to 85 percent of space amplifies their presence. Leave the sides bare. Leave the bottom clear. Let the back of the candle be plain. This isn’t laziness. This is strategic restraint. Apply this rule during assembly by placing your flowers only on the front-facing third of the candle’s circumference.
Longevity Protocol: Ensuring Your Dried Flower Candles Endure
Sealing Against Decay And Dust
You want your arrangement to look expensive six months from now instead of like something left in a garage. The real threat isn’t time itself but oxidation and particulate accumulation. Dried flowers degrade through exposure to oxygen and light, and dust settles into the arrangement’s gaps, making it look neglected faster than anything else. A clear, UV-protective sealant spray creates a barrier that slows both processes. Apply it in thin, even coats after your candle cools from the final assembly. The spray hardens into an invisible shell that repels dust while filtering harmful light wavelengths.
Most people either skip this step or use the wrong product. Matte acrylic spray won’t protect UV; glossy spray looks plasticky and cheap. Use a clear matte polyurethane or UV-protective craft sealant designed for florals. Test on a sample arrangement first to ensure the finish matches your aesthetic. Spray outdoors or in ventilated space, two light coats minimum with fifteen minutes between applications. This single protocol extends visible lifespan by months and makes the difference between a prop and a kept object.
Where And How To Store Them
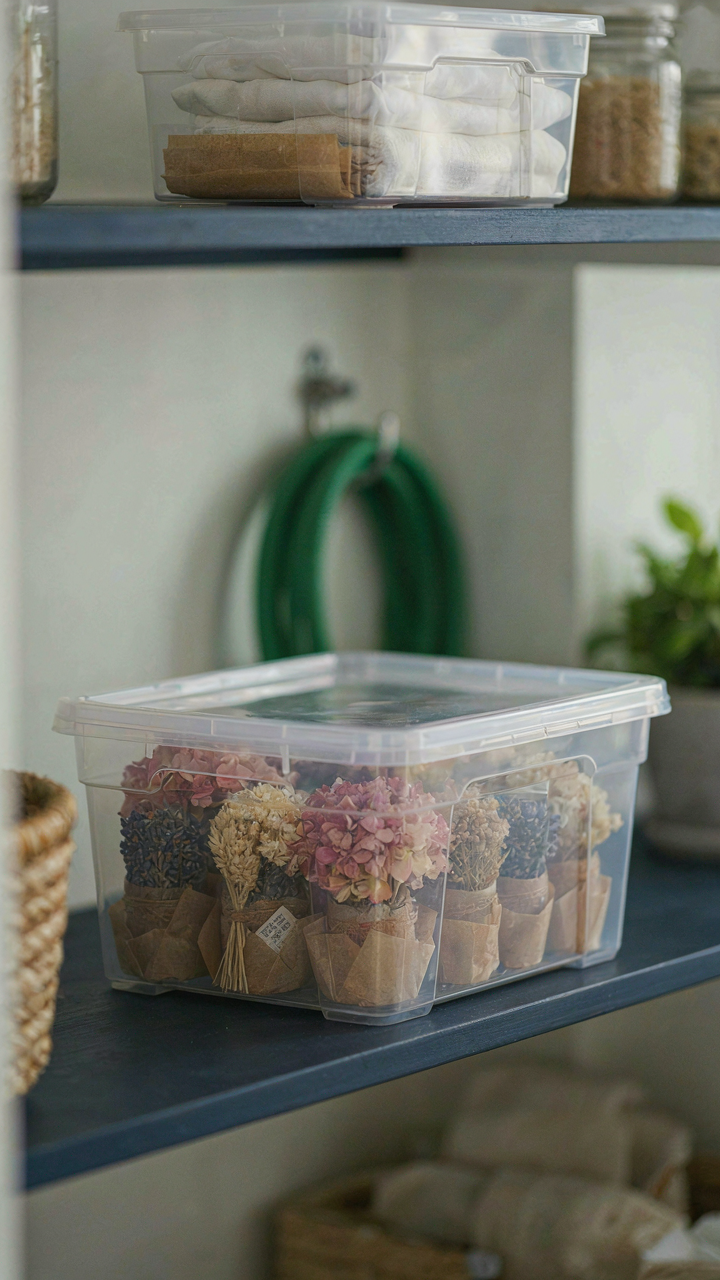
Storage location determines degradation speed more than anything else. Treat this like museum conservation, not just shoving things in a closet. Heat accelerates drying to brittleness, moisture invites mold, direct sunlight bleaches color, and humidity causes dust adhesion. A cool, dark, dry space between fifty and sixty-five degrees with thirty to fifty percent humidity is optimal. Most basements work. A climate-controlled closet on an interior wall works. A shelf above a radiator does not.
Container choice matters as much as location. Cardboard boxes absorb moisture and invite insects. Use airtight plastic storage bins with moisture-absorbing packets inside, the kind photographers use for camera equipment. Place the bin away from exterior walls and windows. Check every three months for dust accumulation or discoloration, but resist opening containers unnecessarily. Stable conditions prevent problems more effectively than constant monitoring and adjustment ever will.
The “Antifragile” Aesthetic: Designing Dried Floral Candle Displays That Last
Build What Survives Neglect
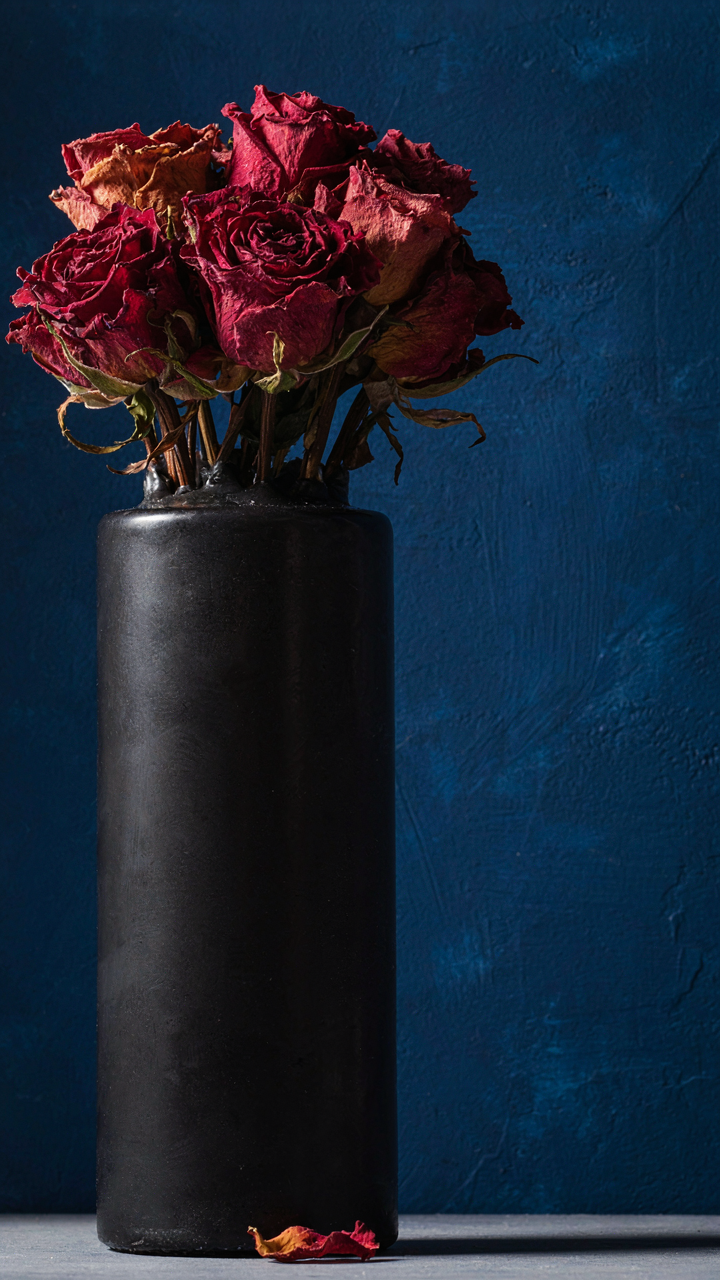
You want this to work without constant maintenance. That’s not laziness—it’s recognizing that most decorative systems fail because they demand attention you won’t give them. In Nassim Taleb’s framework of antifragility, systems either break under stress, stay the same, or improve from it. Dried flower candle decor improves from neglect. Unlike fresh arrangements that wilt without water, dried flowers strengthen their structural integrity as moisture leaves the air around them. The mechanism is simple: brittle materials become more stable over time because there’s nothing left to degrade. Your display doesn’t require weekly watering, repositioning, or pruning.
Candle wax creates a secondary preservation layer that most people miss entirely. As wax cures around dried stems and petals, it seals them against humidity fluctuations that cause brittleness in the first place. The common advice is to just “let it look natural,” but that’s incomplete. You’re actually building redundancy into your system. If one stem fractures, the wax holds the arrangement intact. If dust settles, it bonds to the wax rather than causing degradation. The system gets more resilient the longer it exists.
The Aging Advantage
Conventional decorating assumes newness equals value. This is wrong for dried materials. Patina on candle wax, gradual color shifts in petals, and the slight settling of stems all signal intentionality rather than decay. Museums preserve dried botanical specimens for centuries because the conditions stop changing once moisture is gone. Your display does the same thing. A two-year-old arrangement looks more curated than a fresh one because the elements have stabilized into their final form.
Design for this intentionally rather than fighting it. Choose flower varieties that darken predictably—roses, peonies, and eucalyptus don’t crumble; they deepen. Select candle colors that complement aged tones rather than contrast with them. Arrange stems at angles that stay locked once set, not designs that shift with seasonal humidity. The mechanism is straightforward: you’re not maintaining a system, you’re sealing one. Once the arrangement reaches equilibrium, nothing changes. That’s the goal.
The Real Obstacle Isn’t Craft Skill; It’s Your Addiction To Unnecessary Complexity
You don’t need a Pinterest board, a supply list, or the perfect dried flowers. You need to stop waiting for permission to start. Buy one candle, grab flowers from your yard or a cheap grocery store bundle, and glue them on today. The shift happens when you realize done beats perfect. Stop designing the thing and start making it. Your finished candle matters infinitely more than your theoretical one.



