
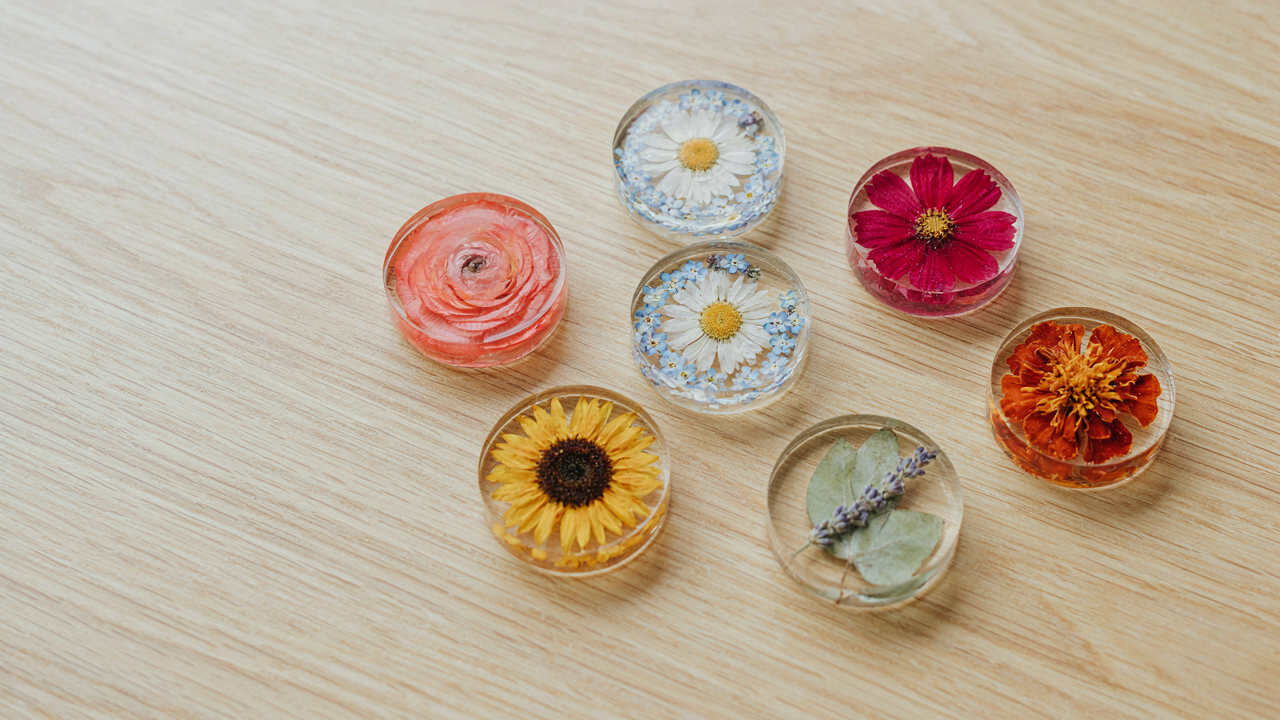
Beyond The Bloom: Why Your Dried Flowers Keep Failing

The Drying Process Determines Everything
You want your coasters to look pristine six months from now because you’re selling them or displaying them, and failure feels like wasted material and time. The real mechanism is moisture control, borrowed directly from food preservation biology. Flowers contain cellular water that, when removed improperly, causes structural collapse. Most people hang flowers upside down in a dark room and assume the process works the same way for every species. It doesn’t. Temperature, humidity, and airflow each operate as independent variables that either accelerate decay or preserve cell integrity.
The standard advice to “dry flowers slowly” misses the actual problem. Slow drying in high humidity causes mold growth before moisture escapes the stem. Fast drying in low humidity with airflow prevents microbial colonization while preserving color and petal structure. Your drying environment needs active air circulation, humidity below 60 percent, and temperatures between 65 and 75 degrees Fahrenheit. Bundle flowers loosely, never tightly, so air reaches every petal. Hang them stem-side up in this controlled environment for two to three weeks, not one. Check for brittleness by gently bending a stem. If it snaps clean, you’ve extracted the moisture without degrading the plant tissue.
Flower Species Dictate Coaster Lifespan
Not all flowers survive the drying and pressing process that coaster-making demands. Roses, statice, and baby’s breath dry well because their petal structure resists moisture loss without collapsing. Tulips and peonies have thin, delicate cells that crack and brown during drying, making them unsuitable for functional coasters that endure moisture and handling. Your flower selection isn’t aesthetic preference. It’s a durability calculation. Flowers with naturally lower water content and thicker cell walls become coasters that last years instead of months.
Gypsophila, also called baby’s breath, dries so reliably that it’s become the industry standard. Roses maintain color and shape consistency across varieties. Statice holds vibrant hues and doesn’t become brittle like delicate blooms do. Lavender offers both durability and scent retention. When you’re selecting flowers for coasters, ignore what looks good fresh. Choose species that maintain structural integrity after complete moisture removal and after three months of resin encapsulation or epoxy coating. This filter removes 70 percent of ornamental flowers from consideration, but the ones that remain produce coasters that actually function.
The Resin Truth: What They Don’t Tell You About DIY Resin Art

Choosing The Right Resin Type
You want your coasters to look professional so people notice the work you put in. Here’s what matters: the resin itself determines whether your flowers stay visible or yellow into oblivion. Epoxy resin and polyester resin are the two options. Epoxy stays clear longer, handles UV exposure better, and cures without odor. Polyester resin cures faster and costs less, but it yellows within months under sunlight. Most dried flower coaster makers use epoxy because the flowers are the product. If they disappear, the product fails.
Longevity depends on resin thickness and your curing environment. Thin pours cure faster but crack easier under stress. Thick pours take longer and generate heat during the exothermic reaction, which actually speeds yellowing if you don’t manage temperature. The real mechanism is this: buy food-grade or UV-resistant epoxy resin specifically formulated for casting, not general-purpose epoxy. Mix the A and B components at the exact ratio on the bottle. Temperature matters more than time. Cure at 70-75 degrees Fahrenheit.
Managing Bubbles Without Wasting Time
The advice to vacuum degass your resin is incomplete and wastes money on equipment you don’t need. Bubbles form because trapped air rises through liquid resin during the pour. You eliminate them through controlled heat and gravity, not equipment. Use a heat gun on low setting, hovering it six inches above the poured resin for thirty seconds. This lowers surface tension, lets small bubbles escape, and doesn’t damage the flowers underneath.
Work fast and pour thin layers instead of one thick pour. A single thick layer traps air and creates bubble highways as the resin cures. Two thin pours with a four-hour cure between them give you better clarity and fewer defects. Pour the first layer around the flowers, let it gel, then pour the second layer. Degassing happens naturally during this process because you’re extending cure time and giving air multiple opportunities to escape the resin column.
The Unspoken Rules Of Arrangement: From Fleurs Séchées To Form

Composition Principles For Visual Impact
You want people to notice your coaster. That’s the real reason you’re reading this section. The mechanism is contrast, borrowed straight from visual design theory: your eye moves toward difference, not sameness. A dried flower coaster needs one dominant visual weight, one secondary element, and negative space. Without this hierarchy, you get visual noise that reads as cheap.
The arrangement itself follows the rule of thirds. Place your largest dried specimen off-center, not dead middle. This creates tension that feels intentional rather than accidental. Smaller flowers and filler elements fill the gaps, but they don’t compete. The coaster works because your eye lands on one thing first, then explores. That’s the protocol: establish dominance, then add support elements.
Layering Flowers And Elements
You’ve heard to layer flowers front to back. That’s incomplete advice. The real issue is density versus depth. You’re working in two dimensions trapped under resin, so “back” doesn’t mean what it means in a vase. What matters is opacity and scale variation. A semi-transparent petal placed over a solid bloom creates perceived depth without actual distance.
The layering order matters tactically. Densest, darkest elements go down first. This anchors the composition and prevents lighter flowers from appearing to float. Medium tones layer next, then delicate filler. The final pass catches any gaps with baby’s breath or small leaf fragments. Resin coverage happens only after every element sits exactly where it needs to. Any shift after pouring ruins the composition and wastes your materials.
The Cure Protocol: Mastering Resin DIY Setting Times
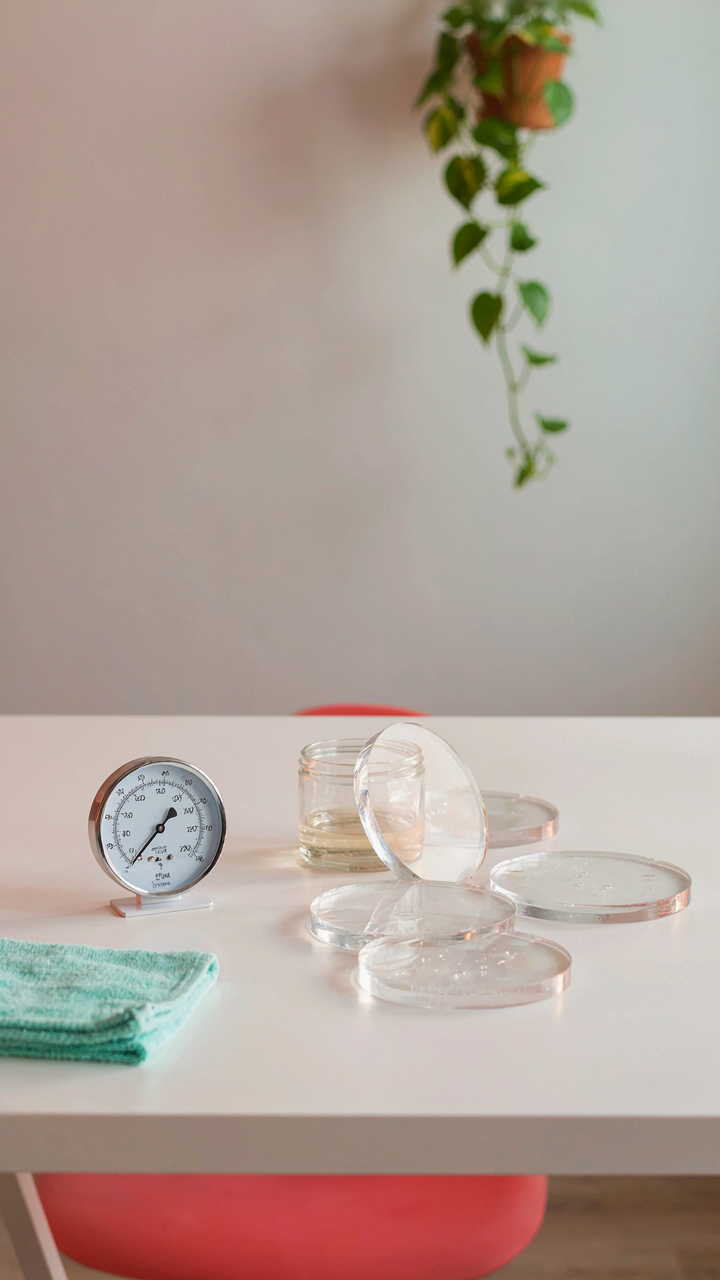
Environment Is Your Constraint, Not Your Enemy
You want predictable results without babysitting your coasters for days. Here’s what nobody tells you: resin curing is a chemistry problem, and like all chemistry, the environment is your control variable. Temperature and humidity don’t just affect speed—they determine whether your flowers stay positioned correctly, whether the resin hardens clear or cloudy, and whether you waste materials. Most people treat environment as background noise. It’s the foreground.
Epoxy resin cures through an exothermic reaction between resin and hardener. That reaction rate accelerates with warmth and slows with cold. Humidity introduces another layer: moisture in the air can cause the resin surface to cure faster than the interior, trapping air bubbles or creating a sticky surface. The mechanism is straightforward: keep temperature between 70-75°F and relative humidity between 40-50%. Below 65°F, cure times double or triple. Above 80°F, the reaction happens too fast, leaving you no time to position flowers. Humidity above 60% invites amine blush, a waxy film that ruins clarity. This isn’t preference. This is physics.
Defects And What Causes Them
The common advice here is garbage: “just pour and wait.” That approach generates cloudy coasters, sticky edges, separated layers, and wasted resin. The real culprit behind most defects isn’t user error—it’s rushing the environment. People want results in four hours instead of the eight to twelve their setup actually allows.
Sticky or tacky surfaces mean incomplete cure, usually from cold conditions or contaminated resin. Cloudiness comes from moisture in the air or using old hardener. Bubbles under flowers happen when you pour too fast or don’t account for the flower displacing resin as it settles. The fix: slow your pour, wait thirty seconds before placing flowers, and let gravity work. If your top coat stays tacky after the full cure window, your temperature was below 68°F or your mixing ratio was wrong. Measure your resin and hardener by weight, not volume. Volume guessing kills batches.
The Mold Paradox: Releasing Your Handmade Coasters Flawlessly
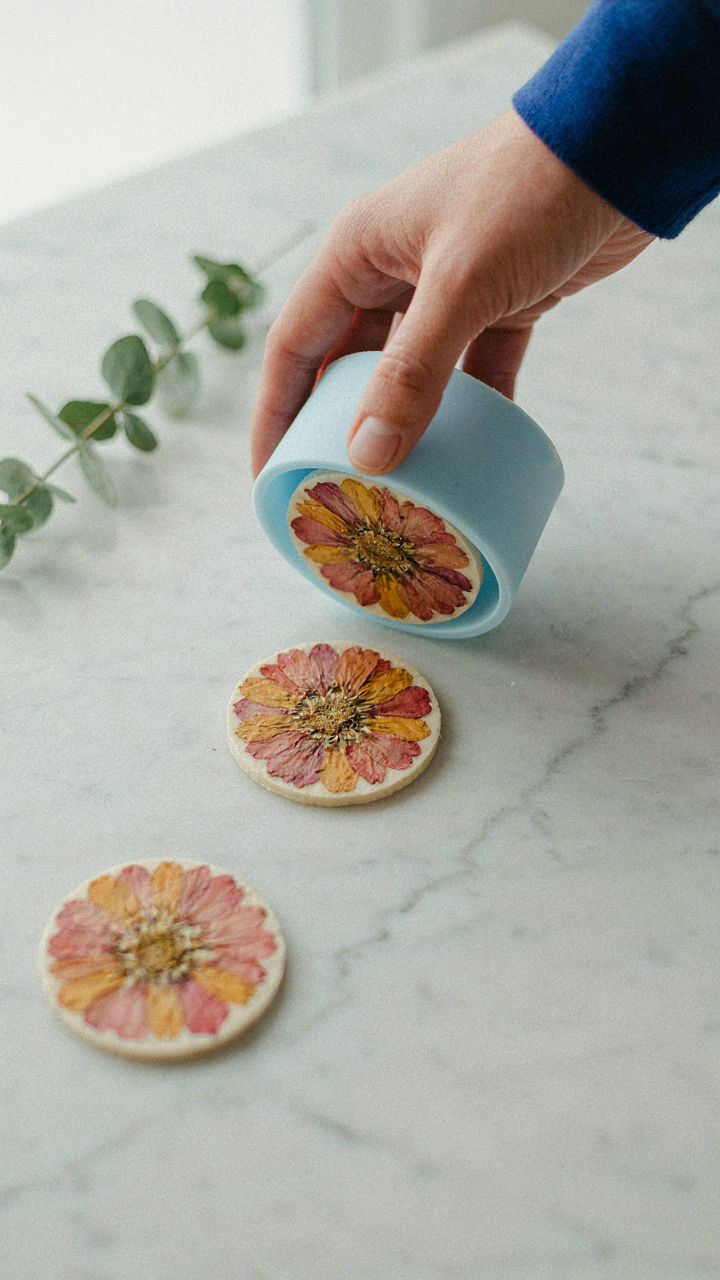
Silicone Vs Resin Molds
You care about this because a ruined batch means wasted flowers, wasted resin, and wasted time you can’t get back. The real mechanism is material compatibility. In materials science, we call this the coefficient of adhesion, which measures how strongly two surfaces bond. Your coaster’s resin literally wants to stick to the wrong mold material, and you need to fight that physics.
Silicone molds release coasters cleanly because resin doesn’t chemically bond to silicone. The material’s low surface energy creates separation without force. Plastic and ceramic molds? They trap resin at the microscopic level. Most makers grab whatever mold sits cheapest, then wonder why their edges crack. Silicone costs more upfront but eliminates the release problem entirely. That’s not an opinion, that’s material behavior.
Timing And Temperature Control
The common advice says “wait until fully cured, then pop it out.” That’s incomplete and causes damage. The real protocol involves demolding at what’s called the leather-hard stage in ceramics, adapted here to mean when resin has gelled but hasn’t fully hardened.
When resin reaches 50-60% cure, it still has enough flex to release without cracking the edges. Wait for full cure and the coaster becomes rigid, shrinking slightly and locking into micro-imperfections on the mold surface. Release too early and you get warping. Temperature matters because cooler resin stays slightly more flexible during early demold. Demolding at room temperature instead of a heated environment buys you a 2-3 hour window where edges release without chipping. Time it right and your flowers stay pristine in their resin matrix.
Beyond Petals: Incorporating Gold Flakes & Other Accents
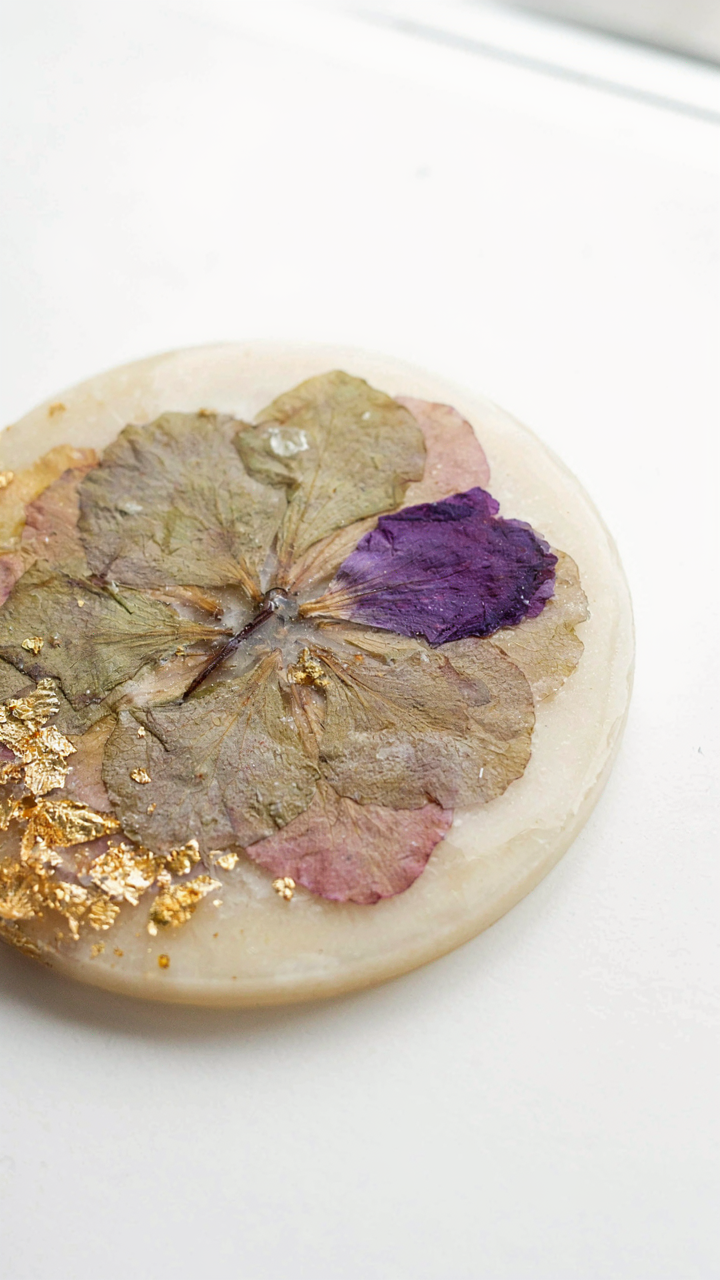
Where Gold Actually Goes
You want the accent to signal quality without screaming it. That’s the real reason you’re reading this section. The mechanism is contrast and scarcity: metallic elements work because they interrupt the eye’s expectation. Gold flakes catch light differently than flowers do. Place them at the perimeter or clustered in one quadrant, never distributed evenly across the surface. Even distribution reads as decoration. Strategic clustering reads as intentional.
The resin itself becomes the multiplier here. A few gold flakes suspended in clear epoxy reflect light from multiple angles as the coaster sits on a table or moves under hand. The flower material absorbs light. Resin transmits it. Metallics redirect it. This contrast is what creates perceived value, not the quantity of gold. One gram of flakes placed deliberately outperforms five grams scattered without pattern.
Making Objects Stay Put
Embedding requires understanding adhesion mechanics from materials science. The bond between object and resin depends on surface area contact and chemical compatibility. Most people assume resin alone holds things down. It doesn’t, not reliably. The object will shift during the pour, sink, or float depending on density and cure temperature.
Use a two-stage process: adhere the accent to the flower material first using a thin layer of UV resin or cyanoacrylate, then pour the final epoxy layer over both. This creates a locked assembly before mass pours anything. The flower becomes the anchor point. Gold flakes embed into the flower’s surface texture naturally. Larger objects like mica pieces or small stones need a physical stop. Apply resin to the underside, press firmly into the flower layer while it’s still tacky, then pour around it.
The Finishing Edge: Polishing Your DIY Pressed Flower Coasters
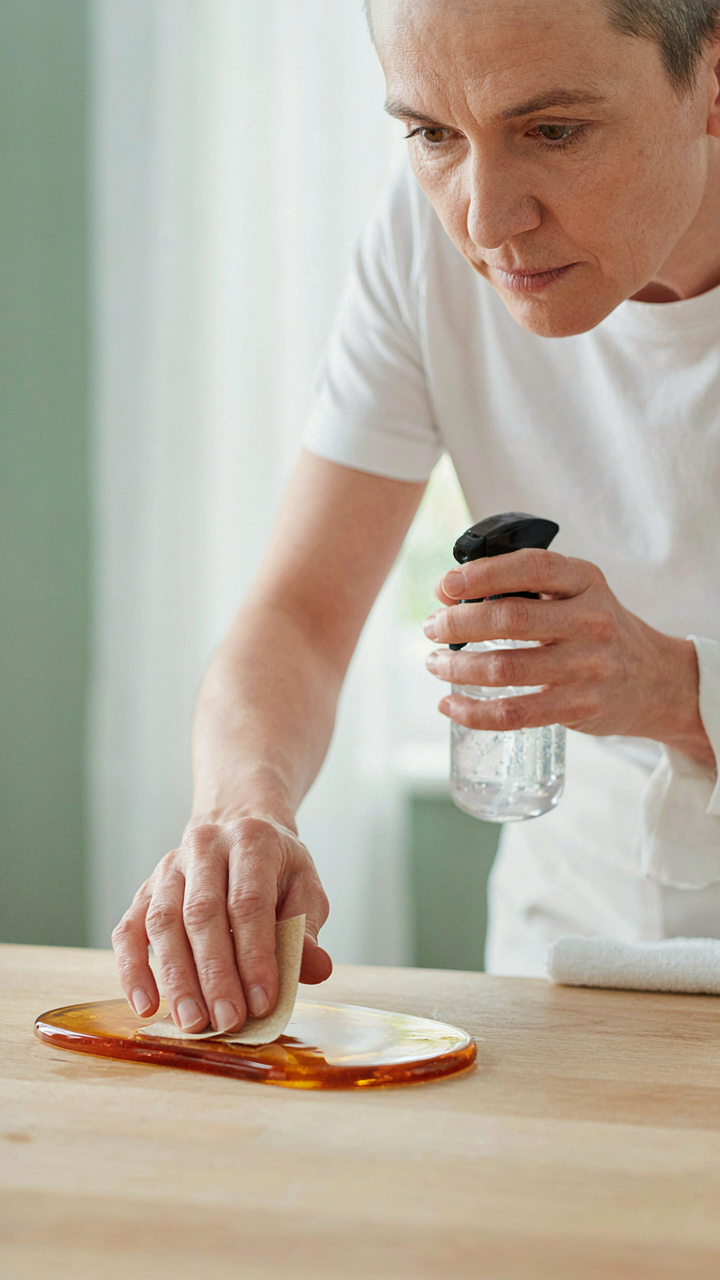
Sanding Methods For Glass Smooth Surfaces
You want your coasters to look like you paid someone to make them. The mechanism is simple: sanding removes the micro-ridges that resin or epoxy creates during the curing process. Those ridges scatter light and make your work look amateur. You’re not actually smoothing the material—you’re eliminating the texture that gives away the DIY label.
Start with 220-grit sandpaper on the top surface using circular motions. Move to 400-grit, then 600-grit in sequence. Each step removes the scratches from the previous one. Work wet when possible—water reduces dust and lets you see the surface clearly. Sand the edges last. They take more pressure and wear faster. Stop when the entire surface reflects light uniformly instead of scattering it in random directions.
Buffing For A Professional Sheen
Buffing is not the same as polishing, and most guides get this wrong. Buffing removes the final layer of micro-scratches that sanding leaves behind. Polishing adds shine to something already smooth. You sand first. You buff second. The order matters because buffing on an unsanded surface just spreads debris around and wastes time.
Use a buffing pad attached to a rotary tool or by hand with microfiber cloth and fine compound. Move in small circles, applying light pressure. Let the tool do the work. A high-speed rotary tool with the right pad takes three to five minutes per coaster. Finish by wiping with a clean, dry microfiber cloth. The surface should now catch light uniformly across the entire face without any dull spots or visible scratches.
The Durability Doctrine: Ensuring Your Pressed Flower Coasters DIY Last
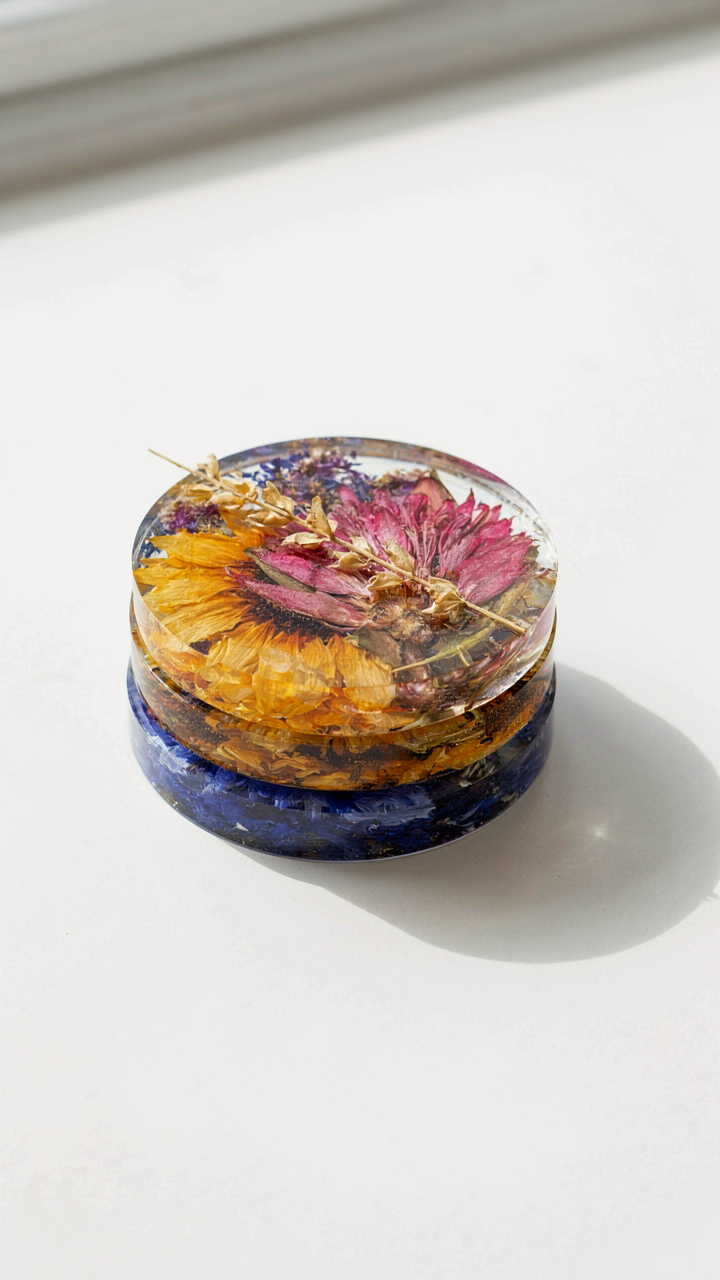
Wear Resistance: Applying Military Grade Coating Principles
You want your coasters to look like you didn’t waste three hours making them. Here’s what actually matters: coating science uses the concept of “hardness layers” to prevent surface degradation, and dried flower coasters need the same architecture. The flowers themselves are fragile. The resin or sealant you apply becomes your armor.
Most people slap one coat of polyurethane on and call it done. Wrong. Military-grade finishes use multiple thin layers because each layer bonds differently to the substrate and distributes impact stress. Your coasters face constant friction from wet glasses, condensation, and abrasive coaster bottoms.
- Two Part Epoxy Resin: Creates a harder shell than single-component polyurethane. Bonds to dried flowers at the molecular level, not just surface adhesion. Requires precise mixing ratios to avoid bubbles that weaken the structure.
- Polyurethane Topcoat (Matte or Gloss): Apply minimum three thin coats rather than one thick coat. Each layer cures independently and creates microscopically interlocked surfaces that resist scratching and water penetration from repeated use.
- Polycrylic Water Based Option: Lower VOC alternative that still provides wear resistance. Dries faster between coats, allowing you to build protective layers in one session without day long waits between applications.
- Sanding Between Coats: Use 220 grit sandpaper to scuff the previous layer slightly. Creates mechanical adhesion points so the next coat bonds stronger, not just sits on top where it peels under pressure.
- Edges and Underside Coverage: Apply coating to all surfaces including edges and the bottom face. Water wicks along uncoated edges and penetrates from underneath, causing delamination where the flower material separates from the base.
The real mechanism: stress distributes unevenly across a single thick layer. Multiple thin layers spread that stress across the entire coating depth. Sand between applications so each new layer has something to grip. This is why aircraft use this method, not because they’re paranoid, but because failure is expensive. Your coasters won’t kill anyone, but they also won’t survive a year of actual use without this protocol.
UV Protection And Yellowing Prevention
Yellowing happens because UV light breaks the bonds in both the resin and the flower pigments. It’s not a coating problem you solve with one product. It’s a material problem you manage by choosing coatings that absorb UV rather than transmit it.
Clear epoxy and polyurethane don’t block UV by default. They’re transparent, which means light passes straight through and damages everything underneath. You need either UV absorbers mixed into the resin itself or a UV blocking topcoat applied last. Most dried flower coasters yellow within six months if stored where sunlight hits them because people skip this step thinking “it’s clear, it’s fine.”
The flowers fade faster than the resin. Certain colors like reds and purples oxidize under UV exposure, turning brown or muddy within weeks on a sunny windowsill. Your protective coating buys time, not immunity. Choose epoxy resins labeled “UV resistant” or “UV stabilized,” which contain additives that absorb wavelengths before they reach the flowers. Apply a UV filtering topcoat like polycrylic mixed with UV blockers as your final layer. Store finished coasters in low light environments when not in use. This isn’t optional if you want them to look intentional after three months.
Selling Your Resin Flowers: Craft To Commerce
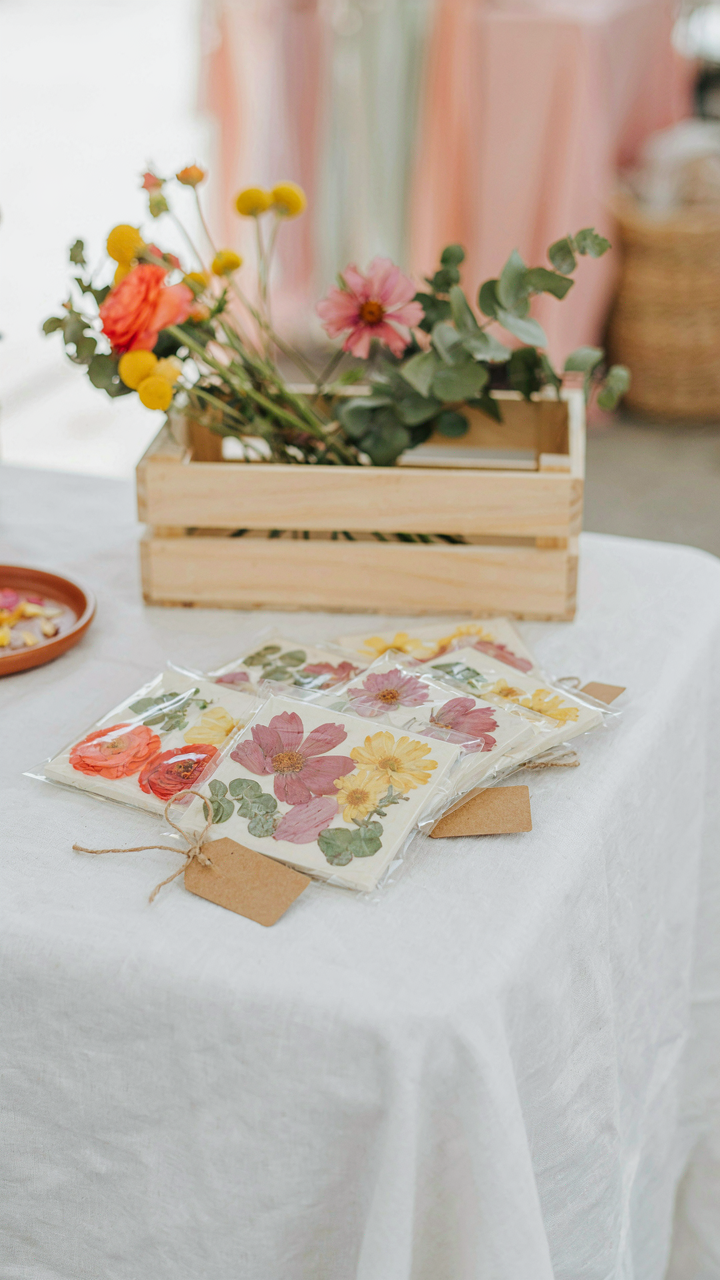
The Real Cost Of Underpricing
You want validation that people will buy what you make, so you price low to remove friction. Here’s the mechanism: underpricing doesn’t prove demand—it proves desperation. Economics calls this price elasticity. With dried flower coasters, the material cost is fixed, but your labor absorbs compression when you cut price. A coaster takes 20 to 40 minutes to assemble depending on complexity. At $8 retail, you’re working for less than minimum wage. At $24 retail, you’re compensated for skilled craft.
Most makers price based on what they see others charging online. They don’t account for their own overhead, failed batches, packaging, shipping supplies, or the time spent on customer service. The mechanism is simple: charge what your time is worth per hour, add material costs, add 20 percent for waste, then double it for retail markup. Test that number in your market. If nothing sells at that price, your market is too small or your positioning is wrong—not your pricing.
Building A Position That Lasts
The advice to “find your niche” is lazy. You need to build a position that survives trend cycles. Dried flower coasters sit at the intersection of three movements: the wellness and slow living aesthetic that peaked in earnest around the 2010s, the maker economy shift toward handcrafted goods, and the home decor personalization trend. None of these are fading. Your position isn’t “I make cute coasters.” Your position is the problem you solve for a specific person.
Define who needs your coasters and why they need them now. Are they corporate buyers looking for sustainable gifts? Young homeowners establishing taste? People who reject mass production? Each answer changes your brand story, your pricing, your distribution channel, and your marketing entirely. Once you lock this in, consistency matters more than constant innovation. Post the same themes repeatedly. Let customers associate you with a specific solution, not just a product. That’s what turns coasters into a recognizable brand instead of seasonal inventory.
Maintenance, Not Miracles: Preserving Your Coasters

How To Actually Clean Them
You want your coasters to look untouched forever. That’s the fear driving this section. The mechanism is simple: resin traps moisture, flowers degrade under humidity, and resin yellows under UV. Nothing stops these processes. You only slow them down with deliberate intervention.
Dust weekly with a soft, dry microfiber cloth. Never use water directly on the surface. If sticky residue builds up, dampen the cloth slightly and wipe the coaster edges only, keeping moisture away from the flower face. Let it air dry completely. Resin’s enemy is sustained moisture trapped against the dried material. You’re not cleaning the flowers. You’re preventing the environment from rotting them.
Damage Control And Real Repairs
Most advice tells you coasters are disposable. That’s wrong. Resin coasters can be salvaged if you act before fractures spread. Hairline cracks start at stress points where resin meets the edge. Small cracks don’t require full replacement if caught early.
For surface cracks, stop the spread by applying a thin coat of clear epoxy into the fissure with a toothpick. Sand smooth once cured. For lifting or peeling edges where resin separated from the mold, you’ve crossed into territory requiring professional resin work or replacement. Moisture entering delaminated layers accelerates deterioration. Don’t ignore edge damage. Seal it or retire the coaster before it fails.
The Real Obstacle Isn’t The Craft; It’s Your Impatience With Mastery
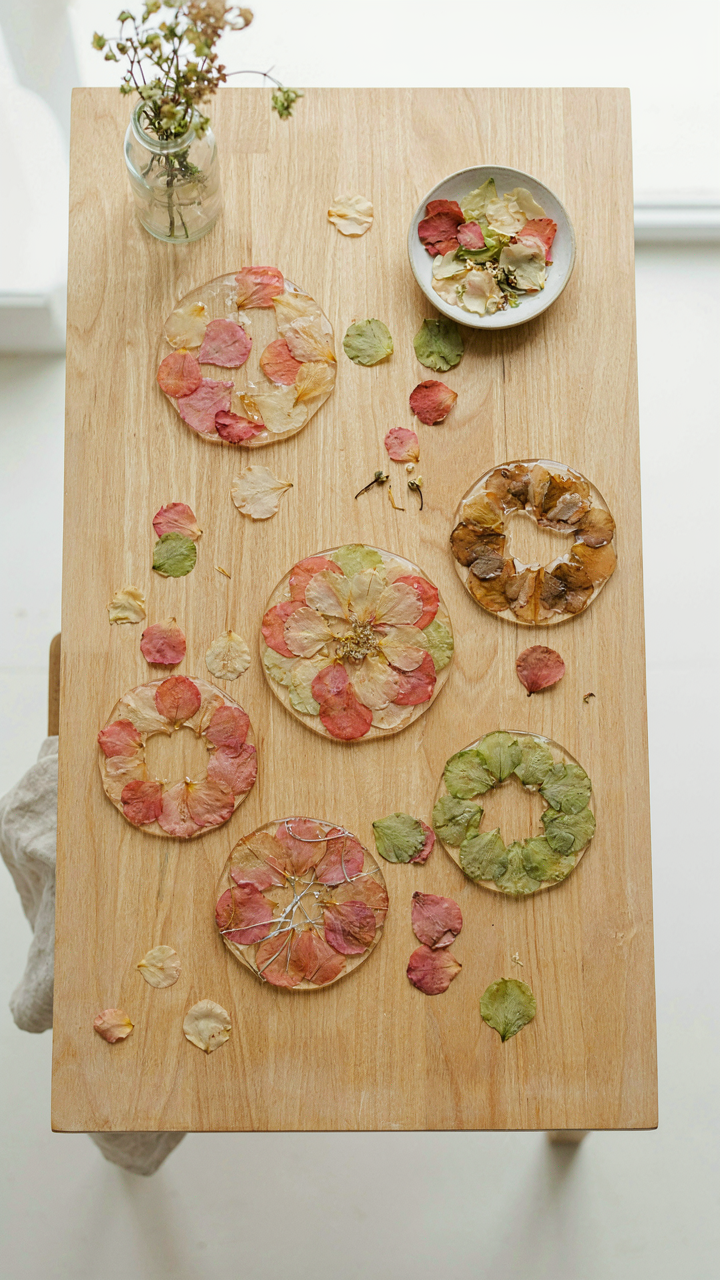
Most people quit dried flower coasters because they expect perfection on attempt three. The craft doesn’t reward speed. It rewards the willingness to fail fifty times and actually learn from it. Your first batch will look rough. Your tenth will look decent. Your fiftieth will sell. Stop waiting for the skill to appear overnight and start pressing flowers today. The only difference between people who build a coaster business and people who buy coasters is who refused to accept mediocrity as a stopping point.



