

The Silica Sand Deception: What Most Guides Get Wrong
The Moisture Myth That Wastes Your Flowers
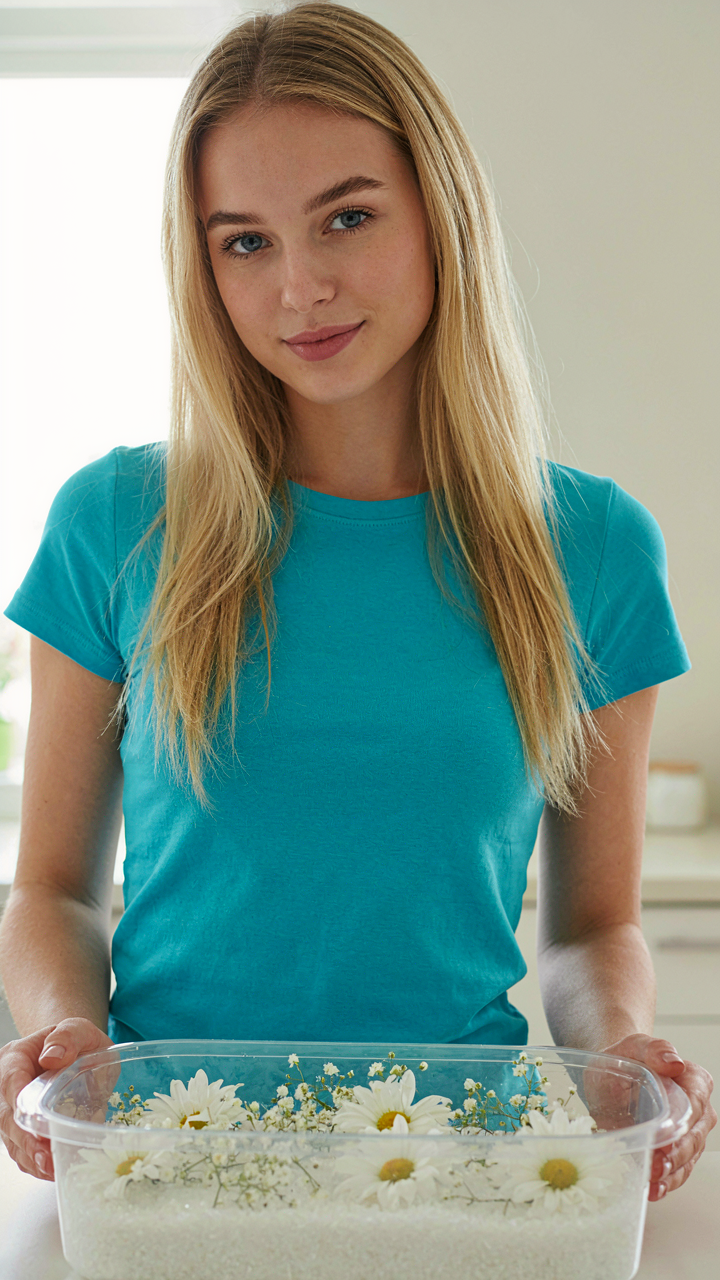
You want to believe silica works because it sounds scientific and you’re terrified of ruining expensive blooms. Here’s the mechanism: silica gel absorbs moisture through physical adsorption, not magic. The granules pull water vapor directly from flower cells. But most guides skip the critical detail—saturation speed varies wildly depending on initial flower moisture content, ambient humidity, and granule size. Smaller granules reach saturation faster but create dust that sticks to petals. Larger granules take longer but leave cleaner results. The problem isn’t silica itself. It’s that guides treat all flowers the same when hydration levels differ by species and harvest time.
The real damage happens when people assume “more silica equals faster drying.” That’s backwards. Overpacking the container traps heat and humidity instead of releasing it. You need airflow around each flower, which means spacing matters more than volume. Most commercial kits cram too many granules into too small a space, creating a moisture-saturated microclimate that degrades petal color instead of preserving it. The flowers still dry, but they brown and become brittle. You end up with botanical corpses that look like they aged five years overnight.
Why Kit Instructions Miss The Real Variables
Generic silica gel flower drying kit advice fails because it reduces a multi-variable process to a single timeline. Most kits recommend burying flowers for 3 to 7 days. That number works for exactly one scenario: room temperature around 70 degrees Fahrenheit, 40 to 50 percent humidity, medium-sized roses in peak condition. Change any variable and the timeline collapses. Temperature accelerates drying exponentially. Every 10 degrees Fahrenheit increase cuts drying time by 30 to 40 percent. Humidity does the opposite. High moisture in the air fights silica’s absorption capacity. Cold temperatures slow the entire process to a crawl.
The kits don’t account for flower type differences either. Roses and carnations have dense centers that trap moisture. Daisies and baby’s breath dry in half the time. Hydrangeas absorb so much water that standard silica procedures fail. The instructions assume uniform flower structure, which doesn’t exist. Real protocol requires you to monitor individually, checking flowers every two days and adjusting burial depth based on how petals feel. When the outermost petals turn papery but the center still has slight give, extraction happens—not on day five, but whenever that state arrives for that specific flower.
Beyond Air Drying: The Superiority Of Drying Flowers With Silica Gel

Silica’s Osmotic Power For Vibrant Dried Flowers
You want flowers that look fresh months later because throwing money at wilted arrangements feels like failure. Silica gel operates on osmosis, the same biological principle that moves water through plant roots. Silica’s porous structure creates a moisture gradient that pulls water directly from flower tissue without the slow oxidation that destroys pigment. The gel absorbs up to 40% of its own weight in water, maintaining constant suction until the flower reaches equilibrium with zero ambient humidity inside the container.
This mechanism preserves color because it eliminates the timeline problem. Air drying takes weeks, during which chlorophyll breaks down, anthocyanins fade, and carotenoids oxidize under any light exposure. Silica does the job in days, cutting the degradation window to almost nothing. Bury a red rose in silica gel for four days and it stays red because the moisture leaves before the chemistry fails.
What Air Drying Actually Does To Your Flowers
The common advice that air drying is “free” and “simple” is incomplete. It’s cheaper upfront but destructive by design. Air drying works through slow evaporation, which means water leaves gradually while oxygen attacks the cell structure and pigment molecules simultaneously. Your flowers don’t just lose moisture, they lose the compounds that made them colorful.
Humidity in the air also matters more than most people admit. In environments above 50% relative humidity, air-dried flowers develop mold or mildew before they fully desiccate. Silica eliminates this failure mode entirely because the sealed container creates a microclimate independent of room conditions. You control the rate of water removal and prevent microbial growth at the same time. The process ends when the gel stops pulling moisture, not when you guess the flowers are done.
The Desiccation Protocol: Mastering Silica Gel Application
The Mechanics Of Silica Gel Flower Drying
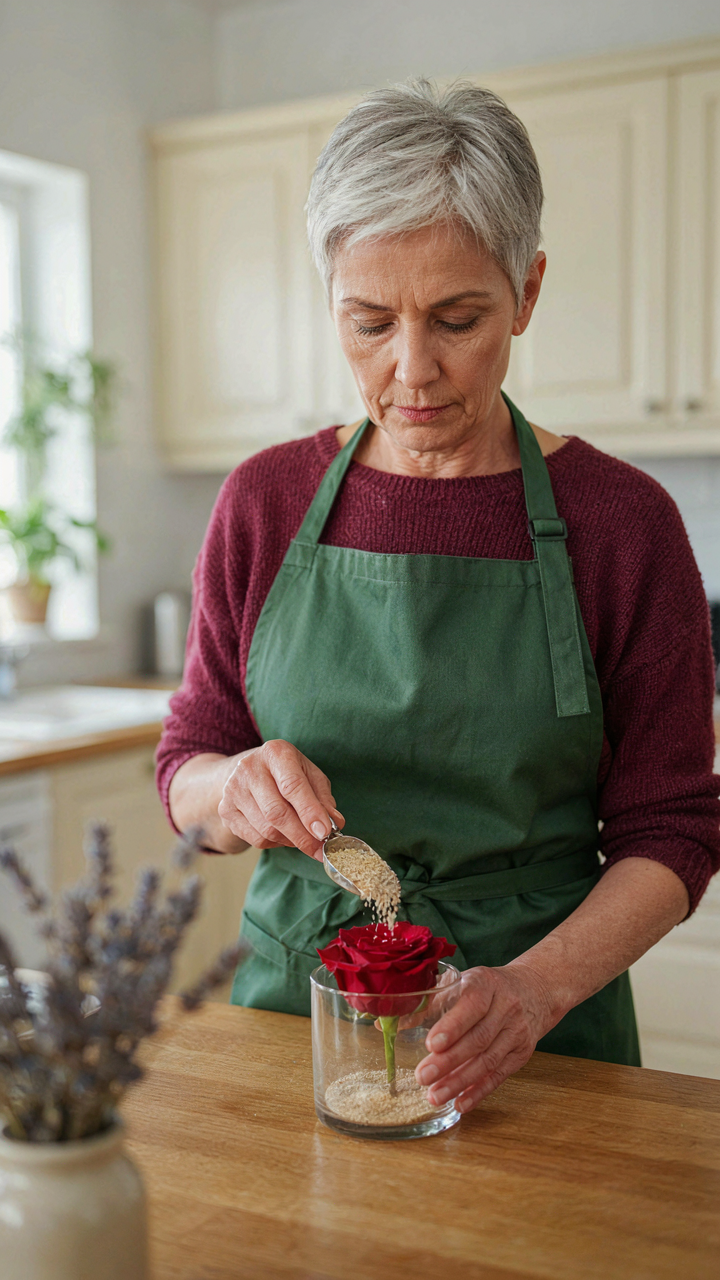
You want perfect preservation because imperfect results feel like wasted flowers and wasted time. Here’s what actually happens: silica gel works through absorption, not evaporation. The granules pull moisture directly from plant cell walls into their porous structure. This is the same principle used in industrial drying chambers, except you control it manually. The speed matters because slower drying breeds mold and color loss. Fast extraction preserves pigment and structure intact.
The process demands precision because silica gel doesn’t discriminate between extracting moisture and extracting life. You bury flowers in granules, seal the container, and let capillary action do the work over days. Temperature stability matters more than people admit. Room temperature between 65-75 degrees Fahrenheit keeps the gel’s absorption rate consistent. Higher heat accelerates drying but risks brittleness. The goal is reaching zero moisture content without destroying the flower’s physical integrity.
Positioning Blooms For Even Moisture Extraction
Placement determines whether you get uniform results or a patchwork of dried and half-dried petals. Bury delicate flowers face-up in a half-inch silica bed, then cover with another half-inch layer. This creates a moisture gradient that pulls evenly from all surfaces. Dense flowers like roses need deeper burial and longer drying time because their centers hold more water. Spacing matters too: flowers should never touch each other or the container walls. Contact points create slow zones where moisture gets trapped.
The silica gel granule size affects extraction speed. Finer granules conform better to petal surfaces and extract faster. Coarser granules create air pockets that slow the process. Layer your flowers horizontally rather than stacking them vertically. Horizontal placement exposes more surface area to the drying medium. Leave a one-inch gap between the container lid and the topmost silica layer. This prevents condensation from dripping back onto your flowers once drying completes.
Not All Silica Is Equal: Choosing Your Drying Medium
Fine Grain Versus Coarse: What Actually Matters
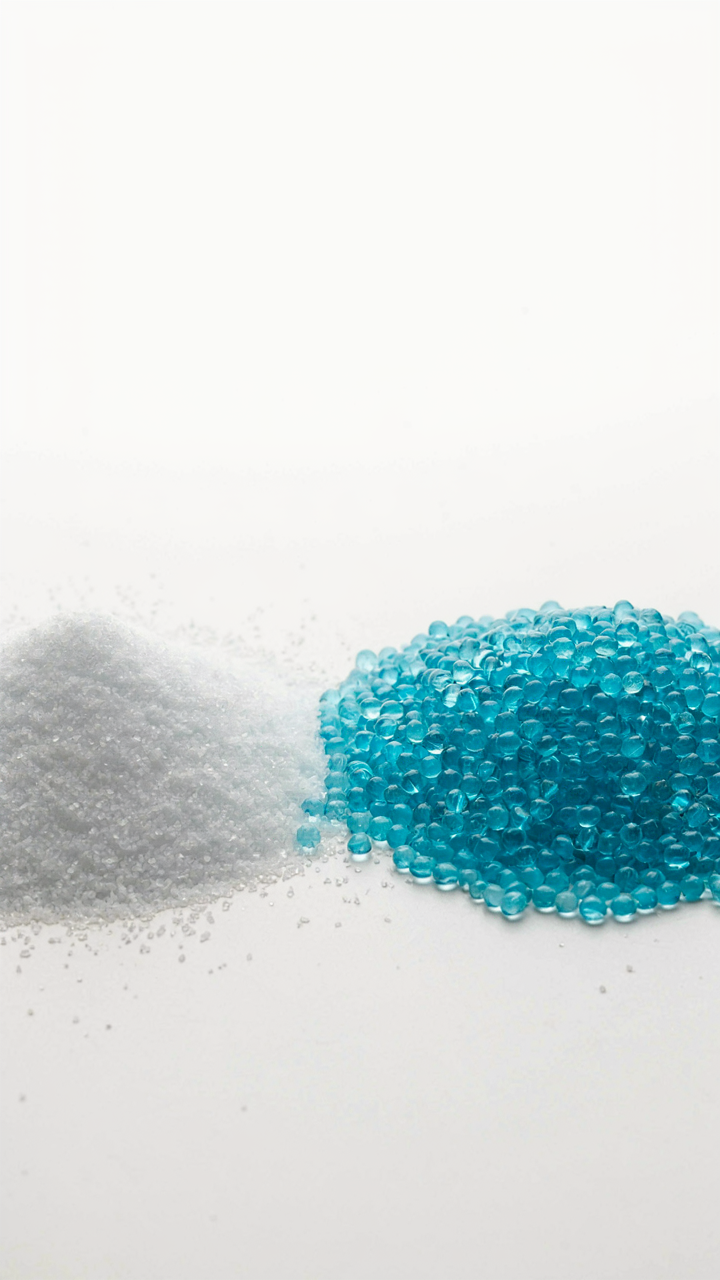
You want to believe grain size doesn’t matter much because buying the wrong stuff feels wasteful. The mechanism is surface area. Fine grain silica has exponentially more surface contact with flower petals, meaning faster moisture absorption and more even drying. Coarse grain dries slower and creates uneven color retention because it contacts fewer petal surfaces simultaneously.
Fine grain silica works for delicate flowers like roses and peonies where speed and uniformity prevent browning. Coarse grain belongs with sturdy blooms like sunflowers and statice where slower drying actually reduces brittleness. The grain size you choose determines both drying speed and final texture. Pick wrong and you’re fighting the material instead of working with it.
Reactivating Silica Gel For Repeated Use
Silica gel behaves like a rechargeable battery: when it absorbs moisture, its capacity degrades until you restore it. Heat reactivation drives trapped water out, restoring the gel’s drying power. Most people waste money replacing silica after one use because they don’t know reactivation exists or assume it’s complicated.
Spread used silica in a shallow pan and heat it at 300 degrees Fahrenheit for 30 to 45 minutes until it reaches room temperature again. You’ll see the color shift from dark to light if you’re using color-indicator silica. One batch reactivates 20 to 30 times before performance drops noticeably. Cool it completely before storing or using it again on flowers to prevent heat damage to petals.
The “Preservation Apex” Method: Timing Is Everything
Harvest Window Before Silica Sand Contact
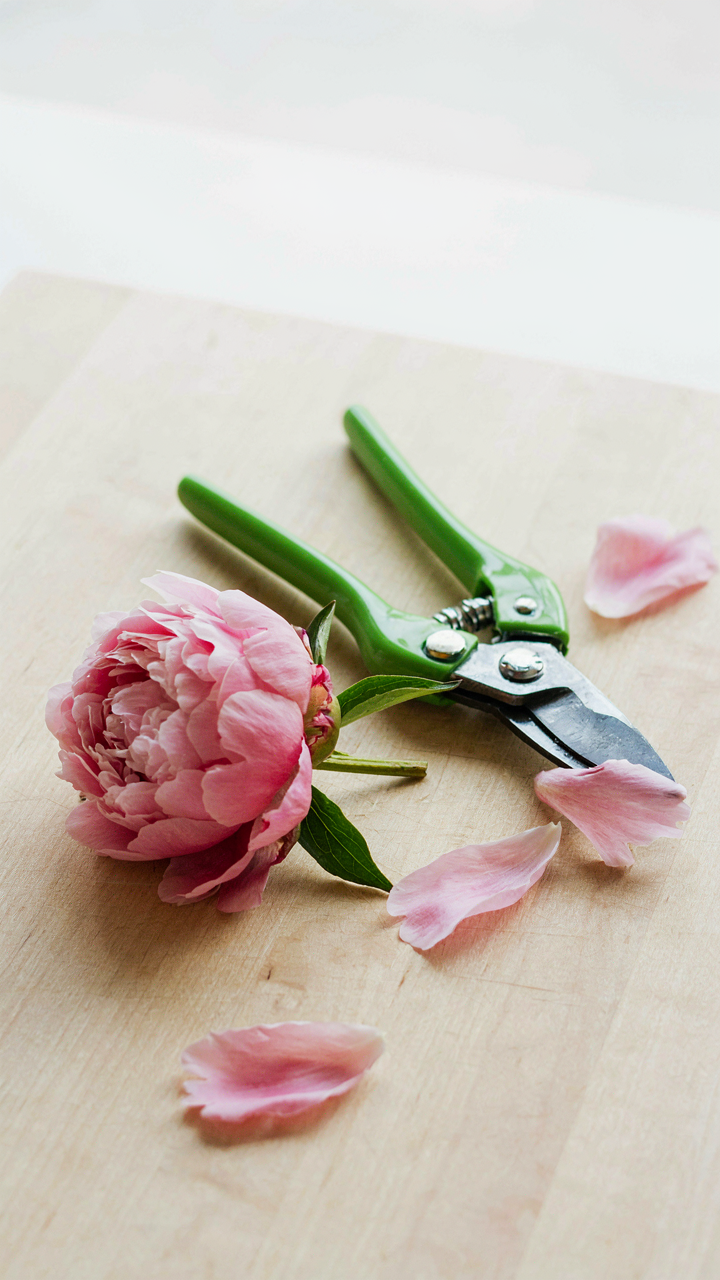
You want the perfect dried arrangement because imperfection feels like failure. Here’s what actually matters: flowers lose moisture the moment they’re cut, and silica sand can only slow that process, not reverse it. The window between peak bloom and initial petal breakdown is your only real advantage. Most people harvest too late, when petals have already begun their collapse sequence. Cut flowers at the stage where they look slightly younger than you want the final result to be. The silica accelerates nothing. It simply arrests deterioration at whatever state the flower enters the container. Your timing determines the outcome before the sand even touches the bloom.
Temperature and humidity in your cutting location matter more than technique does. Cool morning harvests, after dew dries but before heat spikes, give you flowers with maximum internal moisture still locked in their cells. Cut with sharp pruners, not torn stems. Transport immediately to your drying setup without letting flowers sit in room temperature air. The longer a cut flower sits exposed before silica contact, the more cellular water escapes irreversibly. You cannot rehydrate or restore what’s already gone.
The Premature Wilting Problem Nobody Names
Flowers wilt before drying because they’re still alive and still transpiring. This isn’t a flaw in silica sand flower drying, it’s physics: a cut flower continues losing water through its surface until the silica gradually reduces the surrounding humidity enough to slow evaporation. The common advice is to “work quickly,” which is incomplete. Speed helps but addresses the symptom, not the mechanism. What actually stops premature wilting is reducing the air’s moisture content around the flower immediately after burial in sand. If your room air is 60% humidity or higher, flowers will wilt visibly before silica can establish its dehydrating gradient. You need drier ambient conditions the moment flowers enter sand. Place your drying containers in a location with controlled humidity below 50%, ideally 30 to 40%. This creates immediate pressure for water to move from the flower into the silica rather than evaporating into thick air. Check your setup with an inexpensive hygrometer. Don’t guess at humidity levels.
Beyond The Obvious: Creative Applications For Dried Flowers
Crafting Unique Arrangements With Dried Flowers
You want people to think you have taste. The real mechanism is texture contrast. Most dried flower arrangements fail because they treat all materials the same—massed, uniform, dead. The actual move is borrowing from graphic design’s principle of hierarchy: create focal points through density variation, then use silica-dried specimens as high-definition anchors because their preserved color and form hold detail that air-dried flowers lose.
Silica gel preserves flower structure so precisely that you can build layered depth other methods can’t touch. Small, dense blooms like statice or button chrysanthemums stay crisp for months when silica-dried, making them reliable grid points in large installations. Position these at different heights and densities, then let looser materials (raffia, branches, moss) fill around them. The silica specimens don’t degrade visually during the arrangement’s display life, which matters for pieces meant to last beyond a week.
Incorporating Into Resin Art Or Display Pieces
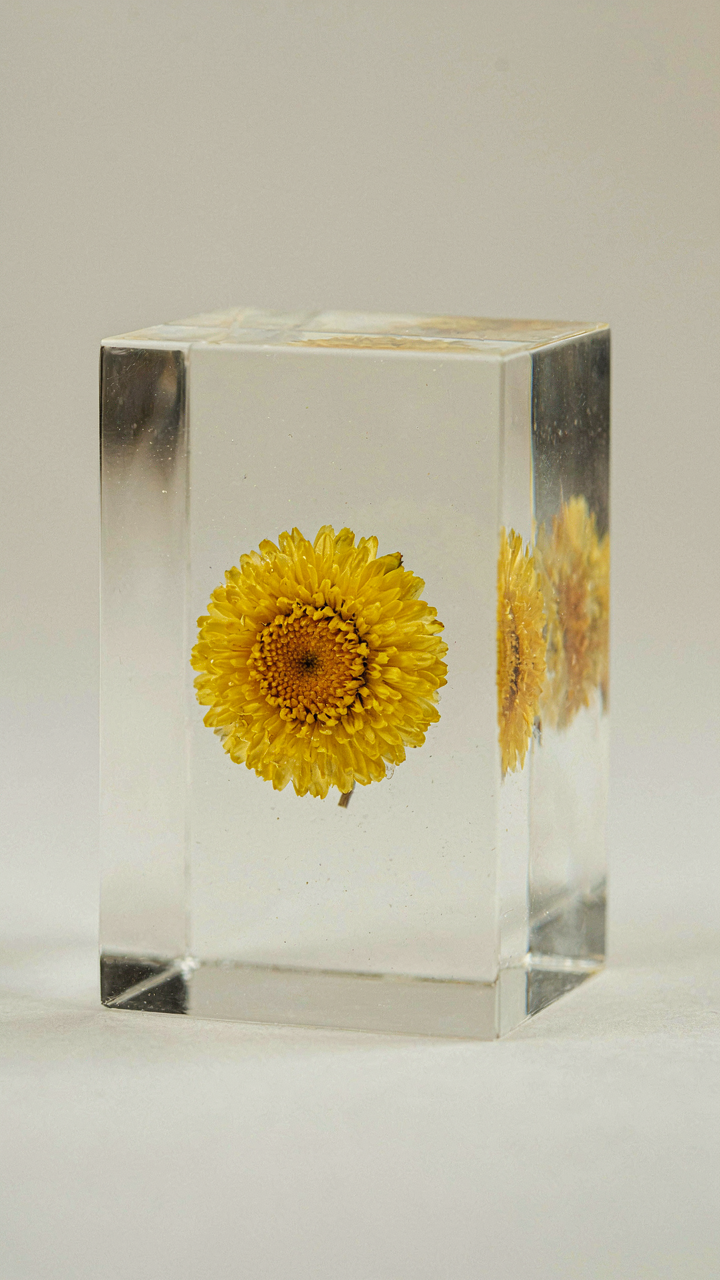
Resin artists treat flowers like inclusions, but that’s incomplete. The actual system here comes from archival preservation: you’re not just embedding a flower, you’re controlling oxygen exposure and UV penetration to lock the specimen’s current state permanently. Silica-dried flowers work because their moisture content is already reduced to 3-5%, meaning resin cures around them without pockets, bubbles, or decomposition.
The protocol: dry your flowers completely with silica gel, cure them for two additional days after removal to stabilize residual moisture, then embed them in two-part epoxy or UV resin. Silica-preserved specimens hold color saturation better than air-dried alternatives when suspended in clear casting medium. The resin essentially becomes a time capsule, and the flower’s pre-preserved state determines the final visual outcome. Work fast once resin is mixed—silica flowers are stable, but air exposure during casting creates the variables that ruin clarity.
The Humidity Hazard: Protecting Your Silica Gel Investment
Where Your Silica Lives Between Projects
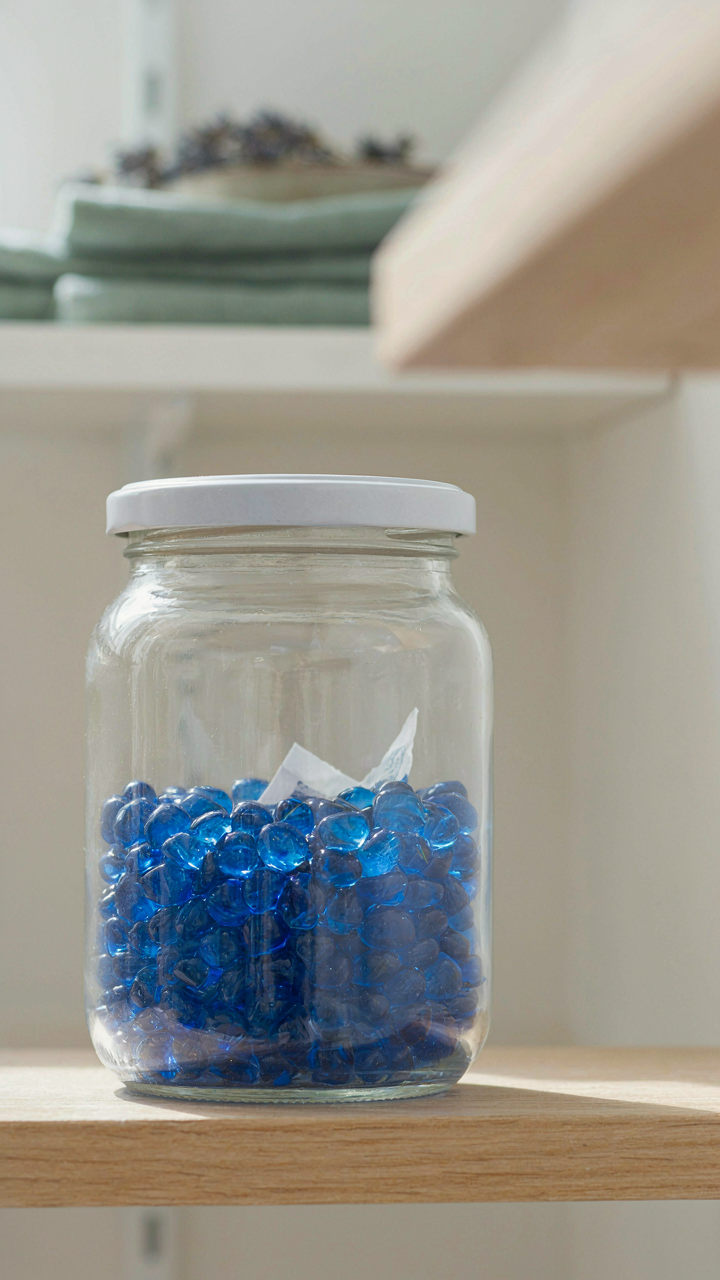
You’re afraid you’re wasting money on silica gel that dies before you use it. That’s the real problem here. Silica gel absorbs moisture from air, and moisture in air is what kills it when stored. Store unused gel in airtight containers—glass jars with tight lids work best. Add a desiccant pack inside the storage container itself. Keep containers in cool, dry spaces away from bathrooms and kitchens where humidity spikes.
Used silica gel needs different handling. Once you’ve pulled it from a drying project, it’s already saturated. Don’t mix used and unused gel in the same container. Store used gel in its own sealed container until you’re ready to reactivate it. This prevents the moisture in used gel from migrating to unused supply and shortening your overall stockpile lifespan.
Reading The Gel Before It Fails You
Silica gel changes color as it absorbs moisture—this is indicator dye doing its job. Blue or orange gel turns pink or green when saturated. If your gel shows color change before your flowers finish drying, it’s compromised and pulling moisture back into your arrangement instead of removing it. Reactivate by heating in a low oven at 250 degrees Fahrenheit for two to three hours until color returns to original state. Let it cool completely in a sealed container before using again or storing.
The reactivation cycle works because heat drives out absorbed water. You can reactivate the same silica gel dozens of times before it loses effectiveness. Check color every few hours during the heating process—don’t leave it unattended. Once cooled, use it immediately or seal it away. Each reactivation cycle extends the life of your supply, but repeated heating eventually breaks down the gel structure itself, so plan for eventual replacement.
The “Ephemeral Taxonomy” System: Categorizing Flowers By Drying Response
How Cellular Structure Determines Drying Outcome
You want this section because you’re afraid of wasting flowers on a method that won’t work. That fear is justified. Biology gives us the mechanism: water moves through flower tissue via osmotic pressure gradients. Silica gel exploits this by creating a steep moisture differential. Flowers with thin, delicate petals dry faster because water has shorter distances to travel before the gel absorbs it. Thick, fleshy petals resist drying because their cellular density slows moisture migration. Understanding this isn’t trivia. It’s the difference between preserved blooms and brown paper.
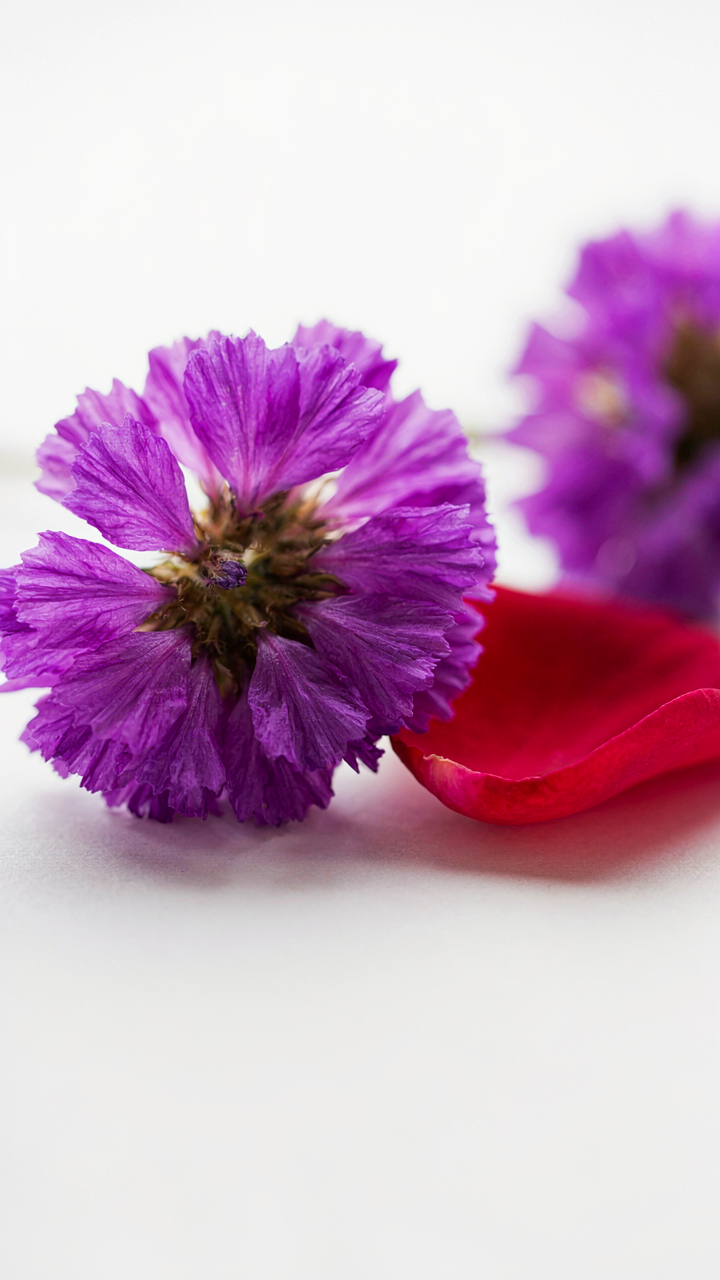
The cell wall composition and petal thickness directly predict drying speed. Roses and peonies have multiple petal layers and waxy cuticles that slow water loss. Statice and baby’s breath have thin, papery petals that surrender moisture in 24 to 48 hours. Carnations occupy the middle ground: moderate thickness, moderate drying time of 5 to 7 days. This isn’t about flower type preference. It’s about matching drying duration to petal structure so you don’t over-desiccate delicate species or under-dry thick ones.
Predicting Success Before You Start
Forget the generic advice about drying “any flower” in silica. That’s incomplete. The real predictor is petal-to-stem ratio and internal moisture load. Flowers with high water content relative to structural mass struggle. Zinnias and dahlias hold significant moisture in their tissues and require longer burial times and sometimes staged gel changes. Daisies and sunflowers have sturdier, woodier stems and drier petals, so they dry reliably in standard timelines. Hydrangeas deceive you because they look dry before they actually are. Their papery texture masks internal moisture that ruins them if you pull them too soon.
Test any unfamiliar species on a single stem first. Bury it in fresh silica gel and check daily starting at day three. Watch for color shift and petal texture change, not appearance alone. Most species fail because handlers remove them based on looks, not actual moisture loss. The margin is often just 12 to 24 hours between perfect preservation and brittle failure. When you find the exact day that works for a species, write it down and use that number every time.
Troubleshooting: When Your Dried Flowers Fall Short
The Real Reasons Your Flowers Shatter
You’re worried you wasted money and time on flowers that now look like garbage instead of the Instagram-ready specimens you imagined. Here’s what’s actually happening: silica gel dries flowers through moisture absorption, but the speed of that extraction determines whether petals remain intact or fracture. Fast drying creates internal stress. The outer layers lose water rapidly while inner tissue stays moist, causing uneven shrinkage and brittle failure. This is a material science problem, not a skill problem.
Most people blame the flowers themselves. Wrong. The silica gel quality matters, but the real culprit is burial depth and heat application. If you bury stems too deep in fresh silica, the gel contacts the flower base before the bloom itself, pulling moisture unevenly. Shallow burial with moderate room temperature prevents this cascade failure. The gel should surround petals loosely, not compress them.
Salvaging Specimens That Didn’t Fully Cure
Partially dried flowers aren’t failures yet, they’re incomplete processes. If petals still feel papery rather than crisp, the silica hasn’t extracted all moisture from the flower’s interior. Reburying them works, but only if you replace the saturated gel with fresh silica and extend the cycle by half. Don’t guess at timing. Test by touching the flower base, the thickest part. When it bends slightly but doesn’t crease, extraction is complete.
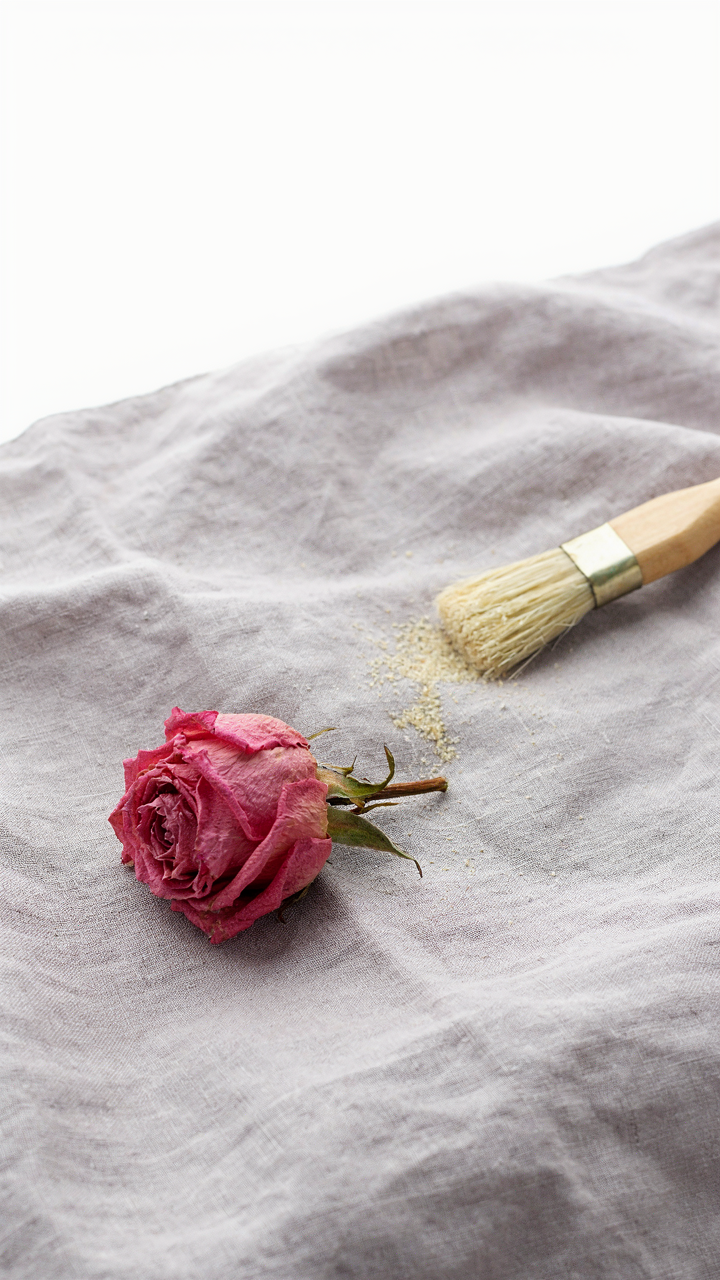
Damaged specimens need selective repair, not full rebirth. Petals that cracked or separated during initial drying won’t mend by running them through again. Instead, remove the specimen, gently clean off old silica with a soft brush, and apply fresh gel only to the undamaged areas. For truly fractured blooms, accept the loss and use the pieces in mixed arrangements where partial damage becomes intentional texture. This turns waste into design choice.
Beyond Silica Gel: When To Consider Other Methods

Where Silica Sand Truly Wins
You’re reading this section because you want permission to skip silica gel without feeling like you’re settling. Here’s the mechanism: silica gel works because it pulls moisture faster than competing methods, but that speed creates a secondary problem—brittleness. Sand drying operates on a different timeline. It dehydrates more slowly, which preserves cell structure and prevents the papery collapse you get with aggressive desiccants.
Silica sand flower drying dominates when you need pliability in the final product. Roses, peonies, and dahlias retain workable texture that doesn’t shatter under handling. The sand particles distribute pressure evenly across petals instead of concentrating force like gel crystals do. This matters if your flowers need to survive arrangement, transport, or repeated repositioning after drying. Sand also costs less per batch and reuses indefinitely without reconditioning.
When Alternative Methods Actually Deliver
The conventional wisdom says silica gel beats everything else. That’s incomplete. Air drying, pressing, and glycerin methods aren’t inferior—they’re purpose-built for different outcomes. Air drying works for statice, larkspur, and grasses because these flowers retain structure naturally. It demands nothing, fails rarely, and produces authentic color if you hang bundles in low humidity and darkness.
Pressing suits flowers you’ll laminate, frame, or embed in epoxy or wax. It flattens specimens two-dimensionally and preserves a paper-thin profile impossible with sand or gel. Glycerin immersion swaps moisture for a preservation compound that keeps stems pliable and adds subtle color shifts. Pick the method that matches your end use, not the one marketing departments push hardest. If your flowers need to stay three-dimensional and handle repeated handling, sand works. If they’re destined for flat display, skip sand entirely.
The Only Real Obstacle To Mastery Is Your Unwillingness To Discard Sentimental But Ineffective Methods
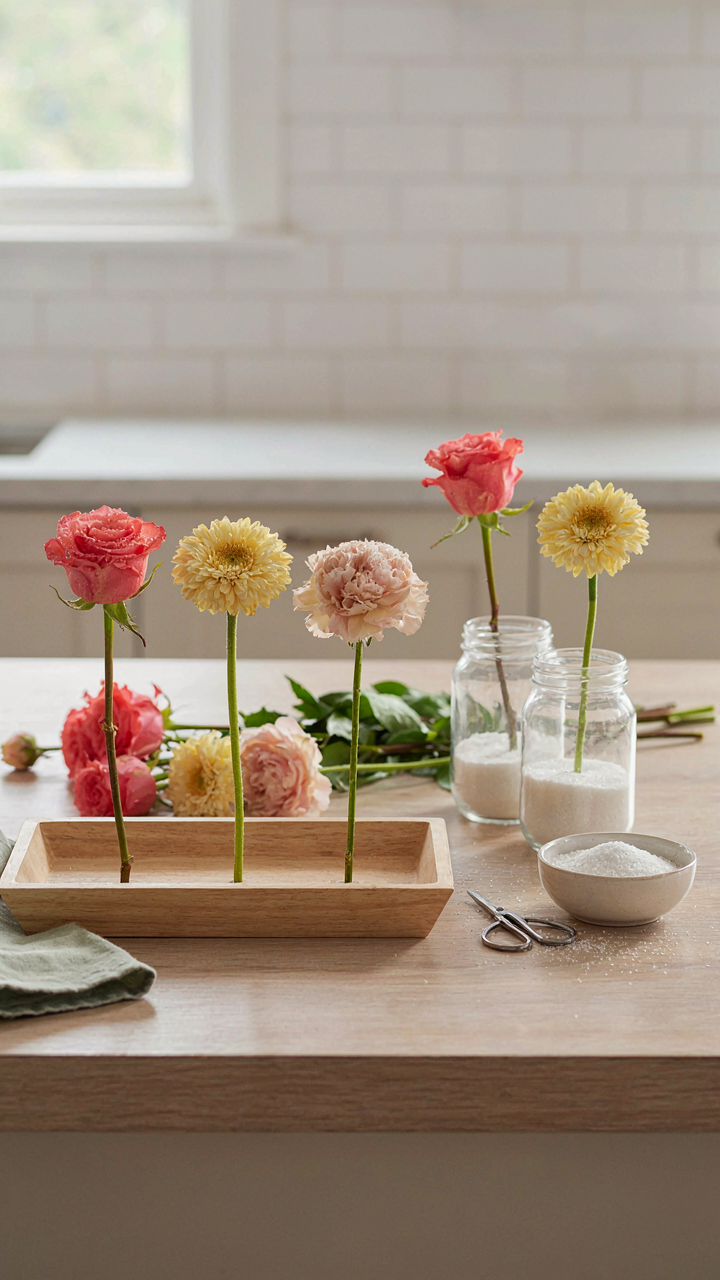
You already know silica sand works better than the dried flowers your grandmother kept in a jar for thirty years. The real question is whether you’ll actually switch. Most people won’t. They’ll keep using inferior methods because they feel traditional, comfortable, familiar. Discomfort is the price of better results. Buy a container of silica sand today and dry one bouquet with it. Your resistance to that single action reveals everything about your commitment to quality. Stop honoring what doesn’t work just because it’s what you’ve always done.



