
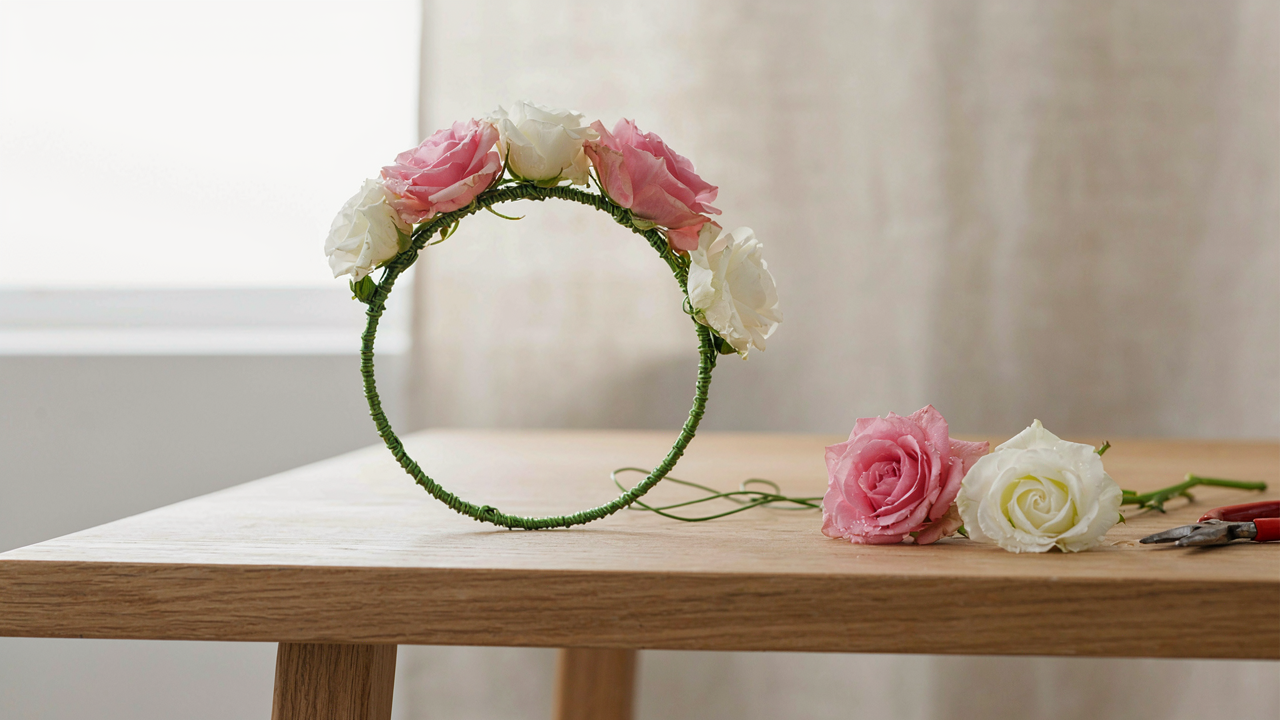
The Illusion Of “Easy”: Why Generic Wire Fairy Crown Guides Fail You

Basic Twisting Breaks Under Load
You want a shortcut because you think a flower crown should be simple, and admitting it requires actual structural knowledge feels like overkill. Here’s the mechanism: basic twisting treats wire like rope. Rope works through friction and bulk. Wire works through tension and anchor points. When you twist two wires together without calculating where stress concentrates, you create a weak joint that fails the moment weight distributes unevenly across the crown.
Most guides tell you to “twist tightly.” This is incomplete. Tension in wire compounds at the twist point itself. A tight twist without a secondary anchor means the joint becomes the failure zone. You need the twist to distribute load across a longer section of wire, not compress force into one spot. The difference between a crown that holds and one that collapses sits in how you position the twist relative to where flowers actually attach.
Why Amateur Crowns Look Amateurish
The real reason your crown looks homemade isn’t technique inconsistency or material choice. It’s proportion blindness. Professional florists and crown makers work within a structural ratio: the gauge of your base wire must support the total flower weight without visible sag, and the spacing between attachment points must create visual rhythm that reads as intentional, not random.
When you copy a guide that shows one person’s specific wire gauge and flower density, you’re copying their proportions without their reasoning. Their base might be 16-gauge because they use silk flowers under 2 ounces total. If you use fresh flowers at 4 ounces with 20-gauge wire, the structure fails visually long before it fails structurally. The framework collapses into itself. You must reverse-calculate: measure your flower weight, then select wire gauge, then determine spacing. That order matters.
Deconstructing “Simple”: The Unseen Foundation Of A Durable Flower Crown Wire
Wire Gauge And Temper: The Load Bearing Reality
You want the crown to hold without collapsing by hour three of wear. That fear drives most people to overthink this, when the real issue is mechanical: wire gauge determines load capacity the same way beam thickness determines a bridge’s span.
Gauge measures diameter. A 20-gauge wire (0.032 inches) handles light flower clusters. Drop to 18-gauge (0.040 inches) and you’ve doubled your structural capacity. Most florists work 18 to 16-gauge for crowns because the math is simple: thicker wire resists deformation under weight. Temper matters equally. Half-hard wire bends without snapping but holds shape after bending. Full-hard wire springs back—useless for forming a crown. Dead-soft wire collapses under flower weight. Half-hard is the only rational choice.
The Right Tool Stack Eliminates Frustration
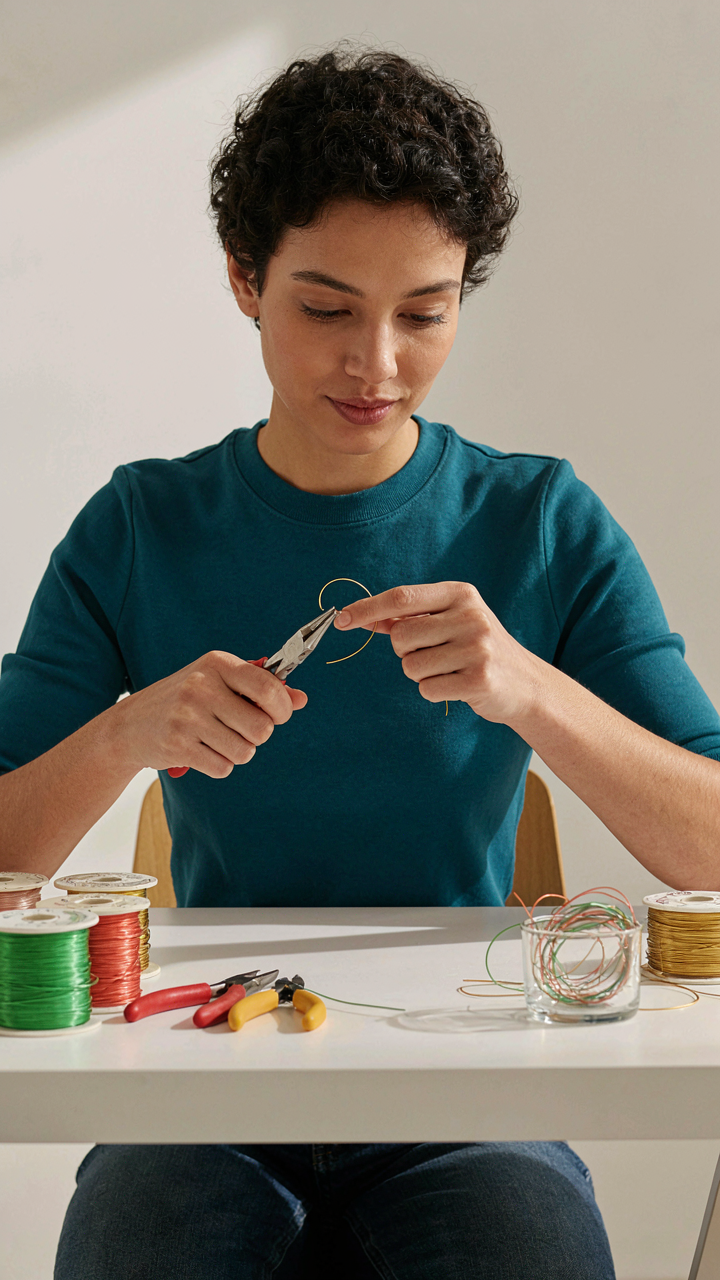
Most people buy pliers because they own pliers, not because pliers solve the actual problem. You need round-nose pliers for loops, chain-nose pliers for bends, and wire cutters that cut cleanly without crushing the wire end.
- Round-Nose Pliers: Form consistent loops and curves without flattening the wire. The tapered jaw lets you adjust loop size by changing where you grip.
- Chain-Nose Pliers: Grip and bend without deforming the wire surface. Flat inner jaws prevent the marks that round-nose leaves behind.
- Flush Wire Cutters: Cut perpendicular to the wire with zero burr. Diagonal cutters create sharp points that catch hands and fabric.
- Wire Straightener or Block: Remove coil memory from spooled wire before you start. A simple hardwood block and two nails works if you can’t justify the cost.
- Measuring Tape or Ruler: Head circumference determines base length. Guessing creates crowns that slip or press too tight against the scalp.
Precision isn’t about perfectionism. It’s about reducing rework. A clean cut saves time restacking flowers later. A properly straightened wire bends predictably, eliminating the frustration loop where you reshape the same section five times.
The Structural Integrity Protocol: Building A Headpiece Jewelry That Lasts

Where The Crown Actually Holds
You want your flower crown to stay put because a slipping headpiece destroys the entire effect and makes you look careless. The real mechanism is anchoring, borrowed from civil engineering: load-bearing points distribute weight instead of concentrating it in one spot. Your head isn’t a flat surface. It has a ridge at the back, temples on the sides, and a natural curve at the crown. Wire must attach to these anatomical landmarks, not just sit on top of hair.
Most people wrap wire once around the head and call it done. That fails because hair compresses and shifts. The structure needs three fixed points minimum: one at each temple and one at the nape. Use 18-gauge floral wire bent into small loops at these zones. Thread the loops directly into the hair base near the scalp, not the hair shaft. This keeps the crown stable through movement. Test by gently pulling down on the structure from the front. It should resist without sliding backward.
Tension And Compression In The Frame
Physics teaches that structures fail when forces concentrate unevenly. Your flower crown uses tension in the wire itself and compression from flowers pushing outward against it. The wire frame must curve slightly upward before flowers attach, not sit flat or sag downward. This pre-curve creates stored tension that counteracts the weight of blooms pulling downward.
Wrap your base wire around the head form or your own head, then carefully bend it into a gentle dome shape before securing anchors. The dome maintains tension even when flowers add dead weight. Flowers compress against this curved frame and their stems press outward, which paradoxically reinforces the structure. If your frame stays flat, flowers will drag it down. If it curves too tight, the tension snaps the wire or creates pressure points that damage hair.
Beyond The Bend: Mastering The Wire Tiara Frame
Building A Base That Actually Holds
You want this to look effortless, which means you’re terrified it’ll collapse the moment someone puts it on. The real mechanism is compression, not decoration. Think of structural engineering: load distribution determines whether a frame fails or survives contact. Your wire base must spread pressure evenly across the wearer’s head instead of concentrating it at one point.
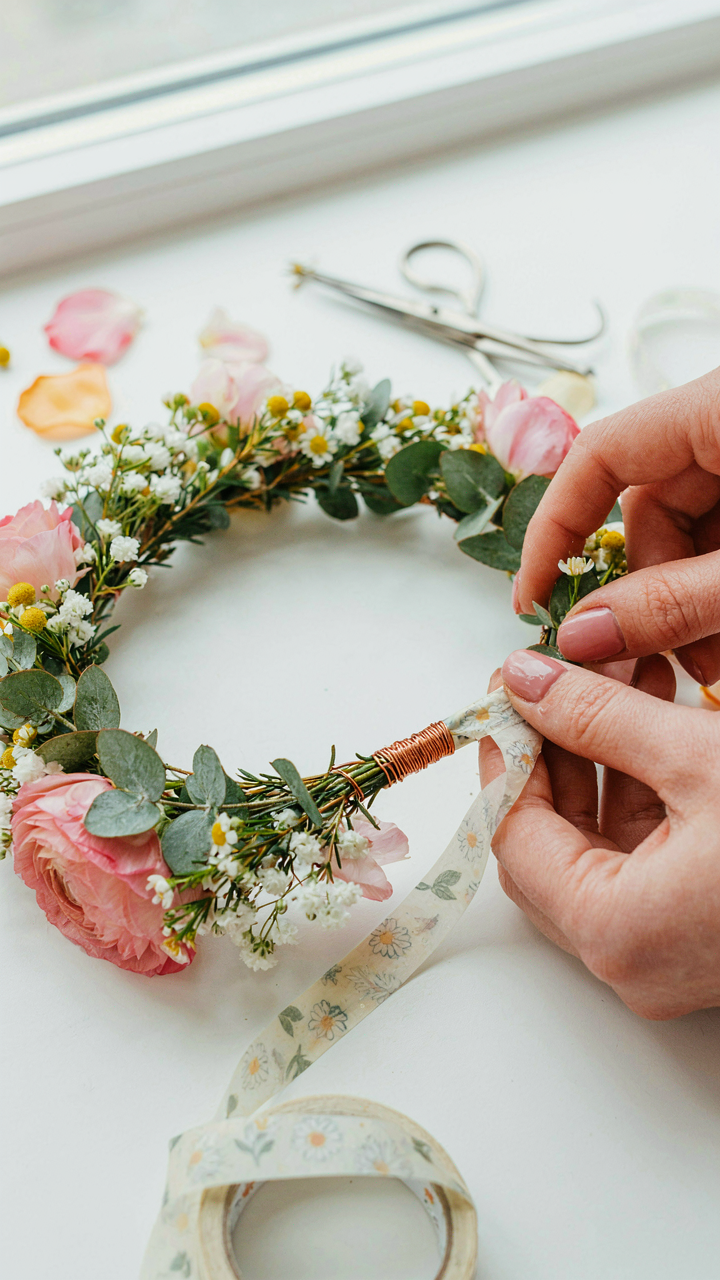
Start with 18 to 20 gauge floral wire, depending on flower weight. Measure the wearer’s head circumference. Bend the wire into a circle, overlapping the ends by two inches minimum. This overlap zone is where the frame either holds or snaps. Wrap the overlap tightly with floral tape, then reinforce it with a secondary wire wrap using the same gauge. The doubled joint transfers load laterally instead of creating a stress point at the seam.
Creating Joints That Don’t Betray You
Everyone says to wrap and move on. That’s how crowns fail at the worst moment. Seamless joinery requires a three-step protocol, not a one-pass tape job. Each connection point where support wires branch from the base circle needs mechanical strength before aesthetic finishing.
Twist secondary support wires around the base circle using a full rotation minimum, not just a single wrap. This mechanical lock distributes tension across multiple wire diameters. After twisting, wrap the joint with floral tape, overlapping each layer by half the tape width. Overlap three full rotations around the joint. Test the connection by pulling sideways with moderate force. If it flexes independently from the base, you haven’t twisted enough. The joint should move only with the base frame itself.
The Reinforcement Fallacy: What Makes A Ren Faire Headpiece DIY Truly Strong

Hide Support Behind Aesthetics
You want your crown to look delicate while actually surviving six hours of wear without collapsing. That’s the real problem nobody names. Structural engineering teaches us about load distribution—applying it to flower crowns means placing wire where it does work, not where it looks impressive. Most DIYers waste material by wrapping visible surface area instead of building an internal skeleton that carries tension.
The mechanic is simple: use thinner gauge wire for visible elements, thicker gauge for hidden anchor points. Thread a 16 or 18-gauge wire around your head circumference as your load-bearing band. Attach flowers and greens to this core using 24 or 26-gauge wire for wrapping and detail work. The thick wire stays hidden under foliage. The thin wire becomes invisible because it’s buried in flower stems and leaves. Your crown looks ethereal because the brutish engineering lives underneath.
Wrap Where Movement Happens
Everyone wraps tightly everywhere, then wonders why their crown snaps at the temple or where the band curves hardest. Wrong wrapping pattern kills longevity fast. Identify stress points: anywhere the wire bends, anywhere weight concentrates, anywhere the wearer’s head shape creates tension against the frame. Wrap aggressively at these zones. Wrap loosely where the band runs straight.
At your stress points, use a double-wrap technique with 22-gauge wire, crossing your wraps in an X pattern instead of spiraling. This locks the joint and absorbs micro-movements before they become breaks. Behind the ears and at the crown’s apex are your highest-stress zones on any headpiece—wrap those first and tightest. Away from these points, single-wrap with looser tension lets the crown flex instead of snap under movement.
Precision Placement: Integrating Beaded Flower Crown Elements With Purpose

Why Beads Fall Off And How To Stop It
You care about this because a crown that sheds beads mid-event looks broken, and you need it to hold. Beads fail because the wire underneath moves. The mechanism is simple: every time the crown shifts on your head, the bead socket flexes. If the bead sits loose in that socket, friction alone won’t hold it. You need mechanical lock, not faith.
Use a stop bead system. Thread a small bead, then your main bead, then lock both with a crimp or twist. The stop bead sits inside the socket of the larger bead, preventing backward slip. The crimp creates a hard edge that the main bead can’t pass. This is not optional. Test by pulling the bead sideways with real force before the crown touches your head.
Visual Weight Requires Strategic Anchor Points
Physics governs flower crown balance the same way it governs cantilever beams. Heavy elements create a load that wants to tip forward or pull down. A bead-heavy crown fails when all the mass clusters on one side or when too many beads hang from thin wire without counterweight on the back.
Map your heaviest beads to areas where the crown sits against your skull or where it ties off at the back of your head. The back occipital area and the temple regions can support more weight than the crown’s peak. Distribute medium beads across the top, small accent beads at the front. Test balance by holding the finished crown on one finger at its back center point, then adjust until it doesn’t tip. This is where the crown actually lives when you wear it.
Diadem Diy: Elevating Your Craft Beyond Basic Loops
Wire Scrollwork That Actually Holds Structure
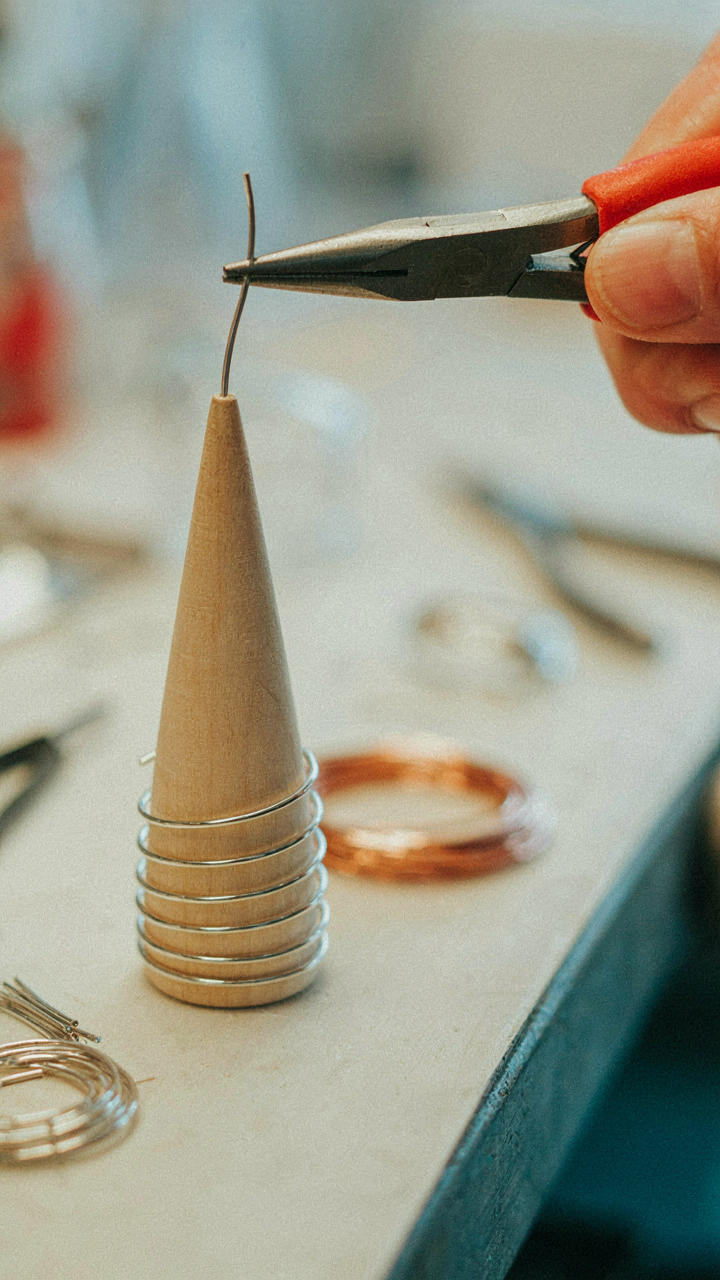
You want this skill because it signals mastery. Everyone can twist wire into a circle. Scrollwork separates amateurs from people who understand tension. The mechanism is simple: a scroll is controlled deformation. You bend wire around a mandrel or your hand, but you stop before completing the circle. This partial loop, when anchored properly to your base frame, creates visual complexity that reads as intentional design rather than accident.
The technique requires two tools working in opposition. One hand holds tension on the base wire while the other forms the scroll around a tapered object like a cone mandrel or even a marker. The scroll’s tightness depends on how much resistance you create during the bend. Loose scrolls photograph better from distance. Tight scrolls sit closer to the crown and hold their shape under movement. Anchor each scroll’s tail to your base frame with a tight wrap before moving to the next one. This prevents unraveling when the crown is worn.
Layering Texture Through Varied Wire Gauges
Dimension in wire work comes from borrowing a principle from architecture: load bearing. Different gauges carry different visual weight. Think of gauge 20 as your structural support, gauge 24 as your decorative overlay. Most tutorials ignore this distinction, treating all wire the same. That’s the lazy approach. Your crown needs a hierarchy of materials.
Start with thicker gauge as your frame. Layer thinner gauge around it in spirals, waves, or loose coils. The visual effect compounds because thin wire catches light differently than thick wire. Vary your wrap patterns too: some sections tight, some loose, some figure-eight. This variation in tension and pattern creates the texture your eye reads as sophisticated. End each section with a secure twist around your frame wire, not a loose wrap that might shift.
The Art Of The “Invisible” Fastener: Securing Your DIY Circlet

Where Wire Ends Actually Disappear
You want people to see the flowers, not your work. That’s the real reason this matters. The mechanism is simple: wire ends create visual breaks and catch light differently than wrapped sections. You eliminate them by routing them into the structure itself, not by hiding them after the fact. Bury the tail before you finish wrapping.
Start your base circle with a 6-inch tail extending inward. As you wrap florist tape or additional wire around the frame, fold that tail into each wrap layer. By the time you’ve completed two full rotations, the tail integrates into the body. The wrapped wire now has uniform thickness and light reflection. No seam. No glint. The end simply becomes part of the structure.
Where Closures Hold Without Showing
Most advice tells you to just twist the ends together and cover with tape. That’s visible and fragile. The real mechanism comes from tension, not connection. Think of this like a tension joint in architecture: the load distributes across overlapping surfaces, not concentrated at a single point. Overlap your wire ends across a 3-inch span, wrapping them together as you would wrap florist tape around stems.
This overlap distributes stress and looks seamless when you cover it with your final layer of wrapping material. The closure stays hidden beneath the back of the circlet where it rests against the wearer’s head. Wrap the overlap zone at least four times with tape or fine wire, then run your tape over it one more time as a final pass. The fastener becomes structural, not visible, and the crown stays intact through eight hours of wear.
Handmade Crown Ideas: From Concept To Unyielding Reality

Translating Vision Into Wire Structure
You want to skip the messy middle part where your idea hits reality and falls apart. That gap between vision and execution costs most makers weeks of wasted wire. The mechanism is simple: your design must account for load distribution before you bend a single piece. Think of this like structural engineering in miniature. In engineering, load paths determine where material goes. In crowns, flower weight paths determine where your wire backbone must thicken or branch. Without mapping this first, you build weak points that fail under the actual weight of hydrangea heads or garden roses.
Start by sketching your crown as a series of weight zones, not aesthetic zones. Mark where heavy flowers will sit, then trace invisible lines down to the base. Each line is a load path. Your wire must follow those paths with enough gauge and support structure to handle the weight without bending. Use 18 or 16 gauge wire for main structural supports on crowns holding more than five large blooms. Smaller accent flowers can hang from 20 gauge secondary wires wrapped around the main structure. The base circle takes the most stress, so reinforce it by doubling or tripling your wire gauge at the foundation points.
Diagnosing Failure Before You Build
Everyone says to test your design first. That advice is incomplete because it ignores which failures matter. You need to identify the specific failure modes your design will produce, then eliminate them before assembly. Most crowns fail at three points: the base connection where wires meet the band, the junction where vertical supports meet the circle, and the flower stem insertion points where repeated adjustments weaken the wire. A crown that sags under weight will sag there, not somewhere random. The mechanism is fatigue concentration. Wire fails fastest where stress concentrates, which is always at a transition or joint, never in flat span.
Test load distribution by hanging actual flowers on a mockup before finalizing your wire structure. Use the exact species and bloom size you plan to use. Hang them gradually, one at a time, and watch where the wire bends first. That bend point is your weak zone. Reinforce it by adding a secondary support wire running parallel to the main structure, creating a shared load path. If the base rocks or shifts, your foundation circle is undersized or your anchor points are too far apart. Reduce spacing between base connection points to every two inches instead of three, creating more stability nodes around the perimeter.
The Unspoken Rule: Why Your “Simple” Crown Will Always Fail Without This

The Gap Between Wanting And Building
You want to skip to the finished product. You want a crown that looks like someone else’s without doing what they did. That’s not a character flaw—it’s just how the mind works. But here’s the mechanism: flower crown wire techniques operate on the same principle as skill acquisition in any discipline. You don’t gain competence through osmosis. You gain it through repetition under resistance.
Most advice tells you to “practice more.” That’s incomplete. The real move is understanding that each crown you build teaches your hands something your eyes can’t see. Tension control, wire memory, spiral consistency, frame geometry—these don’t transfer through watching. They transfer through doing the same motion wrong, then slightly less wrong, then correctly. That’s the only path.
Building The Crown You’ll Actually Wear
Iteration isn’t motivational fluff. It’s the actual mechanism of mastery in any craft involving your hands. Your first crown will have loose spots. Your second will have one side tighter than the other. Your fifth will have consistent tension but weak connection points. This isn’t failure. This is data.
The mistake everyone makes is treating each attempt as a separate project instead of a single, extended experiment. Save every crown you make. Photograph the weak points. Map where the wire failed under tension or where flowers fell out after one day of wear. Then modify one variable in the next build. Change your grip pressure. Adjust your spiral spacing. Tighten your base loop. Change happens through isolated iteration, not wholesale reinvention. The crown that survives eight hours at a wedding is built from five practice crowns that didn’t.
The Real Obstacle Isn’t Complex Techniques, But Your Refusal To Master The Fundamentals Of Structural Integrity
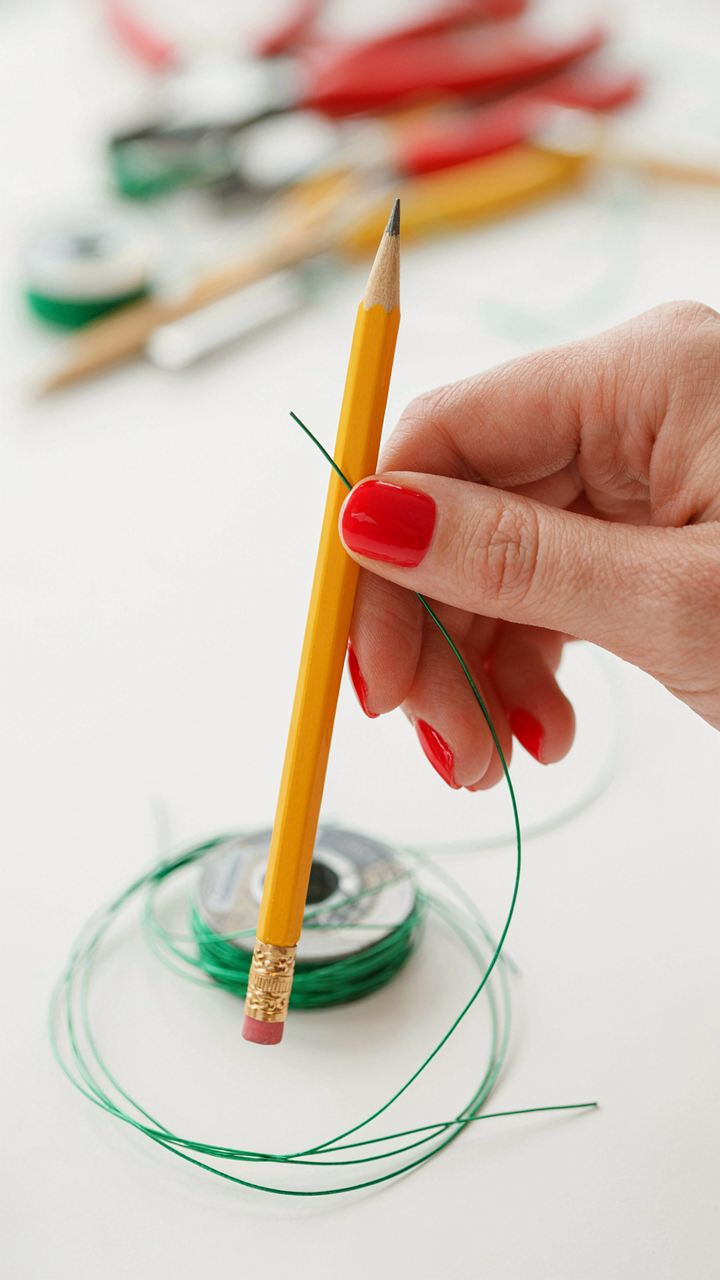
Most people skip the boring part. They want the fancy spiral wrap before they understand why wire gauge matters or how tension actually works. You won’t succeed at flower crown wire techniques because you’re too impatient to get the foundation right. Spend today bending practice wire around a pencil until your hands remember the angle. Master one anchor point. That single shift from rushing to respecting the basics separates people who make crowns from people who make garbage.



