

The Illusion Of The All Purpose Shed
When One Size Fits Nobody
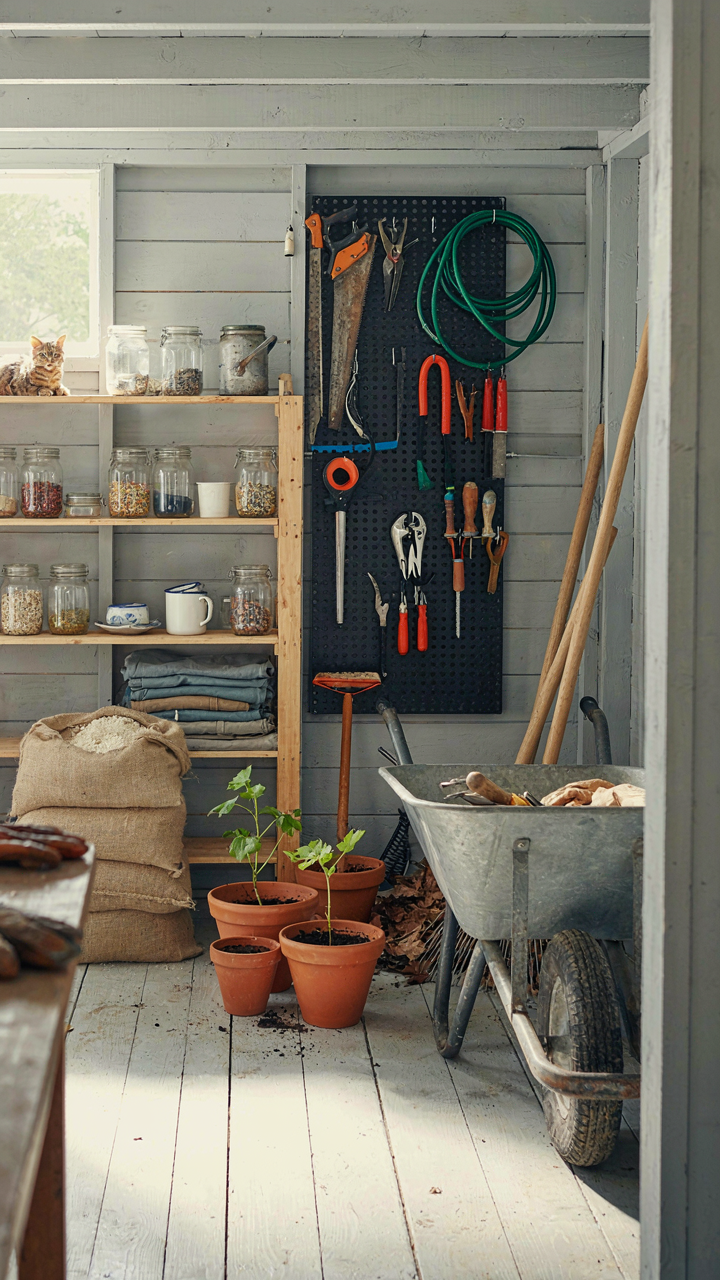
You want a shed that handles everything because you believe efficiency means consolidation. The mechanism is simpler: a generic shed optimizes for nothing, which means it fails at everything that matters. Storage density, climate control, tool accessibility, and seasonal rotation all demand different spatial configurations. A box designed to hold rakes, fertilizer, and delicate equipment simultaneously creates dead space for each category. The real cost isn’t the square footage. It’s the friction you lose every time you search for what you actually need.
A standard rectangular shed with uniform shelving treats a hedge trimmer and hand trowel as equivalent storage problems. They aren’t. One needs wall mounting and drying space. The other fits in a drawer. Generic advice says “organize better.” That’s wrong. You need structural decisions that match actual tool lifecycles. Doors positioned for equipment rollout, workbenches sized for maintenance tasks, humidity zones for seasonal storage. The shed that tries to do everything becomes the shed where nothing lives where your hand expects it.
Separating Needs From Wants
Equipment storage operates like industrial supply chain logistics. Demand clustering matters. Tools used together should be stored together. Tools used rarely should be accessible without dismantling your primary workflow. A storage shed designed for entertaining guests, for example, requires different zoning than one built for weekly maintenance. One prioritizes visual aesthetics and quick retrieval of display items. The other prioritizes density and functional efficiency. Most people build the generic shed, then wonder why they can’t find the pruners when guests arrive, or why the seed stock occupies premium wall space.
Special occasion preparation demands separate zones from daily operation. Your shed needs cold storage for cut flowers or beverages in one corner, tool-free space for stacking chairs or tables in another, and climate-controlled areas for delicate equipment. This isn’t luxury. It’s the difference between a shed that serves one purpose well and a storage box that serves nine purposes poorly. The protocol is mechanical: audit what you actually store, cluster by use frequency and environment, then design zones instead of assuming uniform shelving handles all demands.
Deconstructing “Special Occasion” Storage
What Tools Actually Get Used
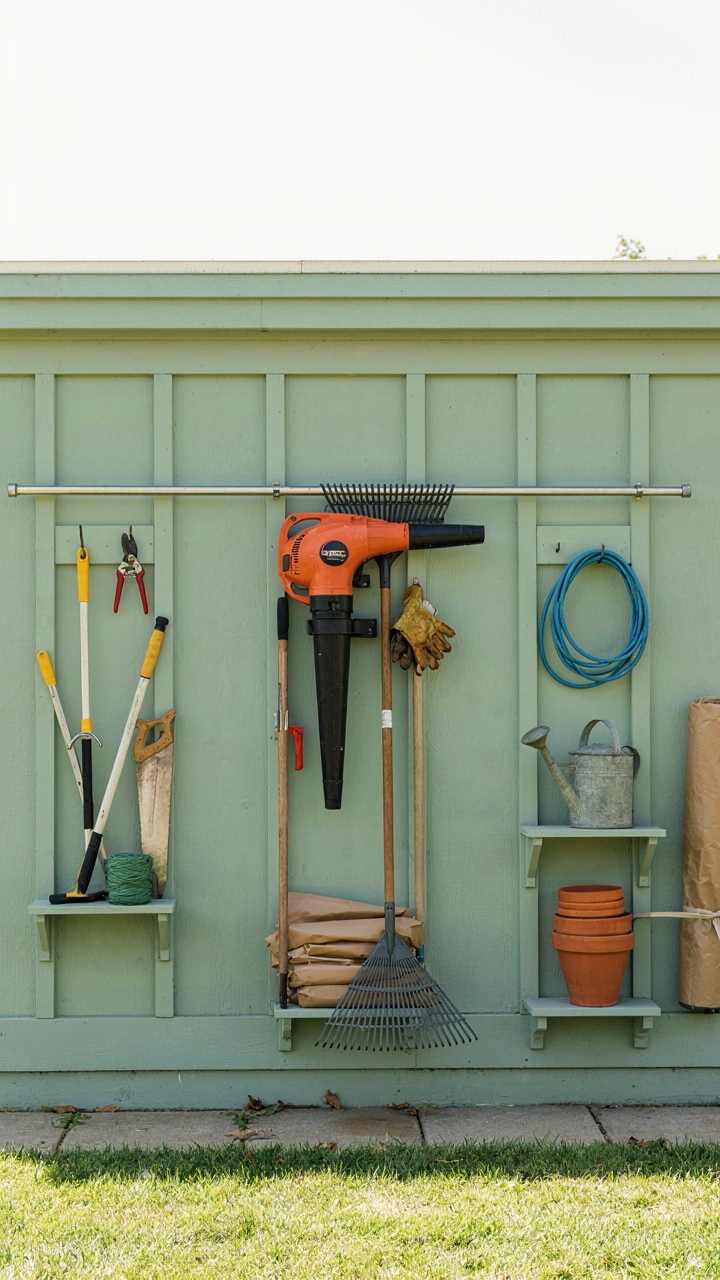
You want to believe your shed design will make you more prepared, but what you’re really after is permission to buy more. The mechanism is simple: special occasions demand tools you don’t use regularly, so they need different storage logic than your everyday equipment. A wedding in the backyard needs landscape edging and string lights. A holiday party needs extension cords and temporary platforms. A garden competition needs pruning tools sharpened to tournament spec. These aren’t everyday shovels.
The mistake most people make is treating occasional-use tools the same as daily rotation equipment. You don’t organize by tool type alone. You organize by activation frequency and seasonal window. A hedge trimmer you use twice yearly occupies different real estate than the pruners you grab weekly. The shed layout should reflect this: high-access zones for routine tools, secondary zones for seasonal pulls, deep storage for the rare-occasion category you’ll need in six months.
Seasonal Rotation Against Permanent Fixtures
Think of your shed like supply chain management: fast-moving inventory versus reserve stock. Permanent fixtures are your year-round anchors: potting benches, hose reels, soil bins. Seasonal tools rotate in and out based on growing cycles and climate. Spring cleanup tools dominate March through May. Summer entertainment equipment peaks June through August. Fall preparation tools peak September through November. Winter storage for half your inventory happens December through February.
The real efficiency gain comes from dedicated zones that swap contents, not the entire shed redesign every quarter. Install wall-mounted systems that hold different tools per season without structural change. Use vertical stacking for off-season items. Keep permanent fixtures in the center, unchanging. Seasonal zones around the perimeter let you clear and refill without moving the core infrastructure. This keeps setup time under an hour when the season shifts.
The 3 Tiered Tool Storage Protocol

Immediate Access Daily Tools
You want to feel organized without actually changing your behavior. The real mechanism here is friction. Lower friction to the tools you touch most means you’ll actually use them instead of buying duplicates. This tier mirrors inventory management from retail: fast-moving stock sits closest to the checkout. Your everyday tools need the same logic.
Pruners, hand rakes, and digging forks live within arm’s reach of the shed entrance or on wall-mounted pegboard at chest height. These tools move weekly, sometimes daily. You reach for them without thinking. The moment reaching for a tool requires moving three other things, you’ve created enough friction to change behavior. Install hooks at 54 to 60 inches high where your hand naturally lands.
Seasonal Project Rotation
This tier isn’t about occasional use. It’s about tools that serve specific tasks during specific months. Spring mulching requires different access patterns than fall leaf management. Store these on middle shelves or secondary wall space where they’re visible but not in your primary workflow. You’ll grab them when the season calls, not when you trip over them reaching for daily essentials.
Seasonal tools stay dormant for months, then get heavy use for 3-4 weeks straight. They need stable storage that protects them from humidity without constant maintenance. Middle-height shelving at 30 to 42 inches keeps them accessible without dominating prime real estate. Vertical slot storage works here because you’ll know exactly what season demands which tool.
Minimalist Garden Shed Ideas: Optimize, Don’t Accumulate

The Cost Of Empty Space
You want your shed to look organized because a full shed feels productive. The real problem is that every tool you don’t use becomes friction. Like inventory in economics, unused tools represent capital sitting idle, consuming space and forcing you to work around them. This creates hidden inefficiency: you spend seconds locating the one tool you actually need while stepping over five others.
Most people treat sheds as storage vaults instead of functional workspaces. They buy tools for hypothetical projects, keep duplicates “just in case,” and never remove anything that might someday matter. The shed becomes a graveyard of intentions. The mechanism is simple: more objects demand more navigation time, and navigation time compounds across every season you use the space. Strip this down.
Professional Curation Over Sentiment
A professional chef doesn’t keep knives she doesn’t use. She owns the exact blade for the work she does. Apply the same logic here: own only tools for jobs you actually perform or plan to perform in the next twelve months. Everything else creates decision fatigue and physical clutter. The kept tool must earn its shelf space through regular use or clear, specific upcoming need.
This isn’t about minimalism as ideology. It’s about economics: storage costs money through rent, materials, or opportunity cost of unused shed space. Every tool you keep forces you to organize around it, maintain it, and navigate past it. Audit your shed by use frequency. Remove tools unused for two years. Replace duplicates with one quality version. When your shed contains only what you deploy, you’ve optimized the system, not just hidden the waste.
Ergonomics Of The Small Tool Shed: Design For Flow

Mapping Movement Paths Inside Constraint
You want to feel efficient, not like you’re wasting time hunting for a shovel. The real mechanism here comes from human factors engineering, which borrowed its core concept from manufacturing: the idea of “flow state” applied to physical space. Your shed has fixed dimensions. Tools have fixed weights. The question isn’t how many tools fit, but how few steps you take between entry and the tool you need.
Most people arrange sheds by tool type, which feels logical until you actually use it. Rakes end up across from spades. Pruners hide behind the fertilizer. Instead, map your actual movement: seasonal work patterns, frequency of use, and the route your body takes from the door. Tools you grab weekly belong in the first three feet. Specialized equipment goes deeper. This isn’t about organizing neatly, it’s about eliminating wasted motion.
Reducing Fatigue Through Vertical Staging
The standard advice to “organize vertically to save space” misses the real problem: your back and knees pay the cost. Reach zones in ergonomics define where your arms work best without strain, typically between knee and shoulder height. Your garden tool shed should follow this rule strictly.
Store your most-used hand tools at elbow height on wall mounts or pegboards. Heavy items like bags of soil or mulch go at waist level where you can grip and lift safely. Low storage becomes a last resort for items you access rarely or items that belong on the ground anyway. Keep frequently bent-and-stretched movements to a minimum during the season when you’re most active. That single decision cuts fatigue work by half, which means you actually maintain the shed consistently instead of abandoning it.
Beyond The Box: Integrated Garden Wood Storage Solutions

When Your Shed Becomes The Yard
You want people to see you have taste. That’s the real reason you’re reading this section. The mechanism is simple: a garden tool storage shed stops being invisible the moment it serves two purposes instead of one. Most advice treats sheds as purely functional boxes hidden behind the garage. That’s wrong. A structure that stores and performs—that hosts, displays, or frames—becomes architecture instead of clutter.
Design integration means the shed’s materials, proportions, and placement solve a visual problem your yard already has. Cedar siding matches fence lines. A pitched roof echoes the house. Placement near seating areas turns the structure into a backdrop instead of an eyesore. The shed doesn’t hide anymore. It anchors the space.
Structures That Earn Their Square Footage
This borrows from systems thinking in engineering: a multi-functional structure reduces total load by stacking purposes. Your garden tool storage shed becomes a potting station in spring, a bar counter in summer, and a backdrop for gatherings year-round. The storage racks stay along one wall. The other side opens to a workbench or seating area.
Real integration means the tool storage and the secondary use don’t compete for the same space. Side walls store rakes, hoes, and shovels vertically on pegboard or rail systems. The front opens. The interior depth accommodates both rows of tools and knee room for someone to actually work or sit. Building this requires planning the footprint for dual access before construction starts, not retrofitting after.
The Scarcity Mindset For Your Mini Tool Shed

Every Square Foot Has A Price Tag
You want to feel prepared. That’s why you’re reading this. The real mechanic at work is opportunity cost, an economic principle that states every use of space prevents another use of that same space. Your mini tool shed operates on this exact constraint. A shovel hanging unused takes real estate from a potting station or workbench. Most people ignore this trade-off entirely and fill sheds to capacity with good intentions.
The math is simple: if your shed holds 100 square feet and you dedicate 30 square feet to tools you touch twice annually, you’ve surrendered 30 percent of your capacity to a 2 percent utility rate. Special occasions demand efficiency, not sprawl. Calculate what you actually deploy during your peak season, then size your storage to that number. Everything else is waste.
The Gravity Well Of Just In Case
“Just in case” is a lie you tell yourself to avoid admitting you won’t use something. Every tool you store for a hypothetical future event compounds the problem: it occupies space, requires maintenance to prevent rust or degradation, and psychologically clutters your decision-making when you need to find what you actually use. This is the hidden tax nobody names.
Real mini sheds designed for special occasions hold only what you’ve deployed in the past two years and what you’re staging for the next specific event. Keep a pruner because you pruned last spring and will prune next spring. Discard the hedge trimmer you bought once in 2019. The filtering mechanism is simple: if you can’t name the last date you used it and the next date you’ll need it, remove it today.
The Unconventional Wooden Garden House: Smart Garden Shed Design

Why Your Shed Rots Before You Use It
You want your garden tool storage shed to last because you hate throwing money away on something that should work for decades. Here’s the mechanism: wood dies from trapped moisture, not from rain exposure. Rain sheds water off surfaces. Stagnant air traps it inside. Ventilation isn’t decoration—it’s a physics problem. Moving air removes vapor before it penetrates wood fiber. Most sheds fail because builders prioritize enclosed space over air movement.
Wood naturally absorbs and releases moisture based on surrounding humidity. Without active air exchange, interior humidity climbs during cool nights and wet seasons, creating conditions where wood swells, rots, and fungus colonizes from the inside out. Cross-ventilation through opposing walls or ridge vents with soffit intake forces this exchange mechanically. The goal is continuous, unrestricted airflow that prevents any pocket of stagnant air where moisture accumulates.
Locking Down What Actually Costs Money
People think security means a padlock. Wrong. A padlock stops casual theft. It doesn’t stop someone with ten minutes and a pry bar. Real security uses layering and friction. A garden tool storage shed holds equipment worth targeting only if you stock premium power tools or specialized landscaping gear. The actual mechanism is making your shed harder to access than the neighbor’s unlocked garage.
Install hinges on the interior of doors so removing them requires entry first. Add a hasp with a lockable bolt rather than relying on padlock holes cut into cheap metal. Store high-value items at the rear, behind less valuable stock. Use motion-activated lighting on the exterior—most theft happens unobserved. Thieves avoid attention. Security works because it shifts risk elsewhere, not because it’s impenetrable.
Automating Your Tool Storage Shed: Smart Tech & DIY Hacks

Know What You Have Without Looking
You want to feel like you have your life organized without actually doing the work. That’s the real appeal of sensor-based tracking, and it doesn’t work that way. The mechanism is simple: friction prevents adoption. Most gardeners abandon inventory systems because they demand constant manual input or expensive hardware integration that breaks after one season.
RFID tags and motion sensors exist for tool sheds, but they solve a problem most people don’t have. You don’t need to know your shovel’s location in real time. What you need is a single friction point—a labeled zone system where tools return to the same spot every time. This eliminates the decision fatigue that kills organization faster than neglect. Write categories on your shed wall with tape or chalk, assign tools to zones, and take a phone photo of the labeled layout. That’s your inventory system. It costs five dollars and actually works because you access it once instead of constantly.
Build Your Own Organization System
DIY solutions work because you design them for your actual workflow instead of forcing yourself into someone else’s system. Here’s what moves the needle:
- Wall-mounted pegboard with foam cutouts: Cut foam padding around tool silhouettes so missing tools are immediately visible. Pegboards cost under thirty dollars and accept any hook configuration you need. No tools, no outlines—you see the gap instantly.
- Gravity-fed bin dowels: Thread wooden dowels through PVC pipe mounted at an angle. Tools roll toward the exit opening by gravity. Build one for six to eight dollars using scrap materials and spare PVC segments from a hardware store.
- Magnetic strips for metal handles: Mount metal strips horizontally across walls at arm height. Every tool with a metal ferrule or handle sticks instantly. Industrial-grade magnetic strips run twenty dollars and last indefinitely without batteries or failure points.
- Labeled cardboard box dividers: Cut cardboard boxes into sections using a utility knife, label each section by tool type, and stack them on shelves. Free material if you save packaging. Replace sections when cardboard degrades rather than replacing the entire system.
- Rope and hook filing system: Hang tools from loops of rope attached to fixed hooks. Rope is cheap, tools hang securely, and you can move the system instantly by untying knots. Works for rakes, hoes, and shovels without drilling new holes.
The reason most people fail at shed organization is they buy a pre-built system and expect it to fix their behavior. It won’t. You need a system you built yourself because building it forces you to understand your actual tool usage patterns. Every time you hang a tool or return it to its zone, the friction drops. After three weeks, replacing tools becomes automatic instead of optional. Track this: count how many days pass before you stop thinking about where a tool goes. That’s when the system works.
Your Garden Shed Isn’t A Storage Problem; It’s A Reflection Of Your Diluted Focus

Most people blame their shed. They blame the space, the shelves, the lack of organization systems. What they’re really admitting is that they can’t decide what matters. A garden tool storage shed forces you to choose. Either you use these tools or you don’t. Either you’re a gardener or you’re someone who bought the fantasy. Stop reorganizing chaos. Pick three tools you actually use and build your system around those. Everything else gets donated today. Your shed isn’t cluttered because you need better storage. It’s cluttered because you’re afraid to commit to who you actually are.



