
The Minimalist’s First Law: Less Is More Than Enough

Know What You Actually Use
You want to feel organized without admitting you’ve been buying tools you never touch. The real mechanism is this: most people organize what they own instead of owning what they organize. You need to audit first, then build the system around actual behavior, not theoretical use cases.
Spend one season tracking which tools you reach for. Don’t guess. Watch yourself work. You’ll find that you use maybe four or five core tools regularly and grab the rest maybe twice a year. The chainsaws, the specialty pruners, the ergonomic diggers you bought on promise stay in the shed. Your hands know the truth even when your buying habits don’t.
Consolidate Before You Containerize
Common advice says buy storage solutions that “fit your collection.” That’s backward. It keeps you trapped with clutter dressed up as organization. Instead, eliminate redundant tools and embrace multi-functional design from the start.
A quality bypass pruner handles 90 percent of cutting jobs beginners face. A spade does the work of three specialty shovels if you know how to angle it. A single sturdy rake moves leaves, breaks soil clumps, and spreads mulch. Stop buying tools for edge cases. The real win is owning fewer, better tools that do multiple jobs well. Once you’ve cut your actual arsenal in half, organization becomes almost automatic because you have fewer items competing for space.
The Zone Defense Strategy: Tools Where They’re Used

Distribute Tools By Work Area
You want to feel organized without actually changing how you work. The real mechanism here is friction. Every step between you and a tool is a step you won’t take when you should. Military logistics calls this positioning: place ammunition near the gun, not in a central depot. In gardening, this means tools live where you use them, not where they look neat in a shed.
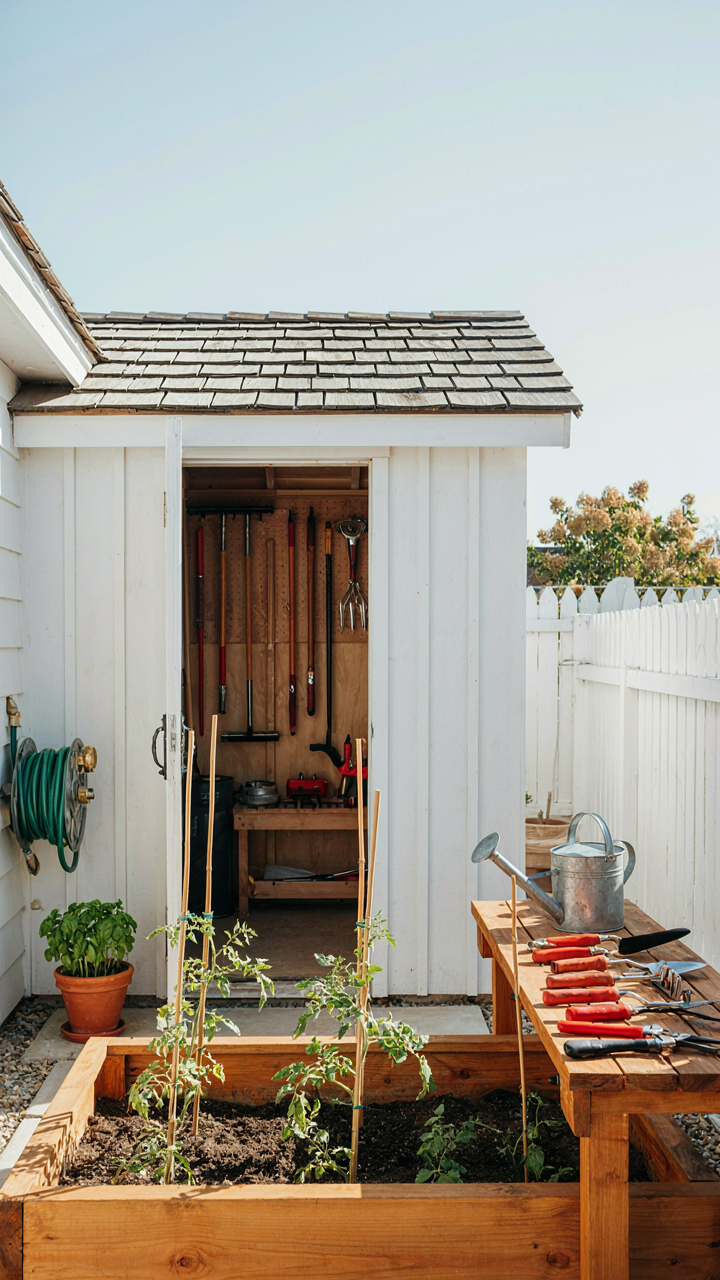
Create storage points at the edges of your actual work zones. A raised bed gets its own small tool station. The perimeter gets pruners and shears mounted nearby. The potting area holds soil, pots, and hand tools within arm’s reach. This isn’t decoration. It’s the difference between starting a task and postponing it because retrieving tools feels like overhead.
Keep Tools Close To The Job, Not The House
Common advice says build one beautiful tool shed and organize everything centrally. That fails because it assumes you’ll accept friction as the price of tidiness. You won’t. You’ll leave tools scattered instead.
The mechanism is access speed. A shovel stored thirty feet away stays stored. A shovel leaning against the fence where you dig gets used and returned. Position your most-used tools within ten feet of where you actually deploy them. This includes pruners at the shrub line, watering cans near beds, and hand tools at ground level near perennials. The organizing system that survives is the one that costs the least effort to maintain.
The “Grab And Go” Protocol: Your Portable Yard Tool Caddy

Tools You Actually Use In Motion
You want this because carrying tools one at a time wastes your afternoon and makes you feel incompetent. The mechanism is simple: your brain treats friction as failure. A caddy solves this by collapsing decision-making into one motion. You grab one object instead of five separate trips. This borrowed concept from logistics calls it “batch processing” but your yard calls it sanity.
The tools that live in your caddy are the ones you deploy repeatedly without planning. These aren’t your heirloom pruners or seasonal equipment. These are the implements your hands reach for when you step outside with no agenda.
- Hand pruners: Cut deadwood, shape growth, trim dead flowers. Used in almost every yard session regardless of season.
- Digging trowel: Planting, weeding, edging, soil adjustment. The most versatile single tool for small-scale work.
- Garden knife: Precision cutting, dividing perennials, removing weeds from cracks. Sharper and more control than pruners.
- Weeding fork: Three or four prongs. Extracts tap roots without uprooting surrounding plants. Much faster than hand pulling.
- Pruning saw: Cuts branches too thick for pruners but thinner than what demands a chainsaw. Fits most caddies.
These five tools cover ninety percent of casual yard maintenance. Your caddy becomes the first thing you check before stepping outside. Everything else stays in its designated wall space or shed location. This reduces mental load and eliminates “where did I put that” moments that kill momentum.
Caddy Design For Movement And Speed
A caddy means nothing if you dread carrying it. Weight distribution determines whether you actually use the system or revert to old patterns. The container itself should weigh less than three pounds empty. Handle placement matters more than people admit. A centered handle distributes load evenly across your hand and prevents wrist strain during extended carrying.
The interior must organize tools so nothing jabs your leg or hand during transport. Pockets, slots, or a tool belt layout prevents handles from bouncing loose. Most caddies use canvas or heavy-duty plastic. Canvas breathes and looks intentional. Plastic resists moisture and lasts longer in direct sun. Choose based on your climate and how often you’ll leave it sitting outdoors. The caddy sits by your exit door. You walk past it. You see it. You grab it before you step into the yard. No friction between intention and action.
Gravity’s Advantage: The Garden Tool Wall Storage Principle

The Vertical Dimension Nobody Uses
You want your tools visible because losing them wastes time and money. But most people organize horizontally on shelves and benches, which kills accessibility and burns through floor space. Vertical storage borrows from warehouse logistics: maximize cubic footage per square foot of ground area. A wall stores three times the tool volume a flat surface does. Your garage wall is real estate you’re not using.
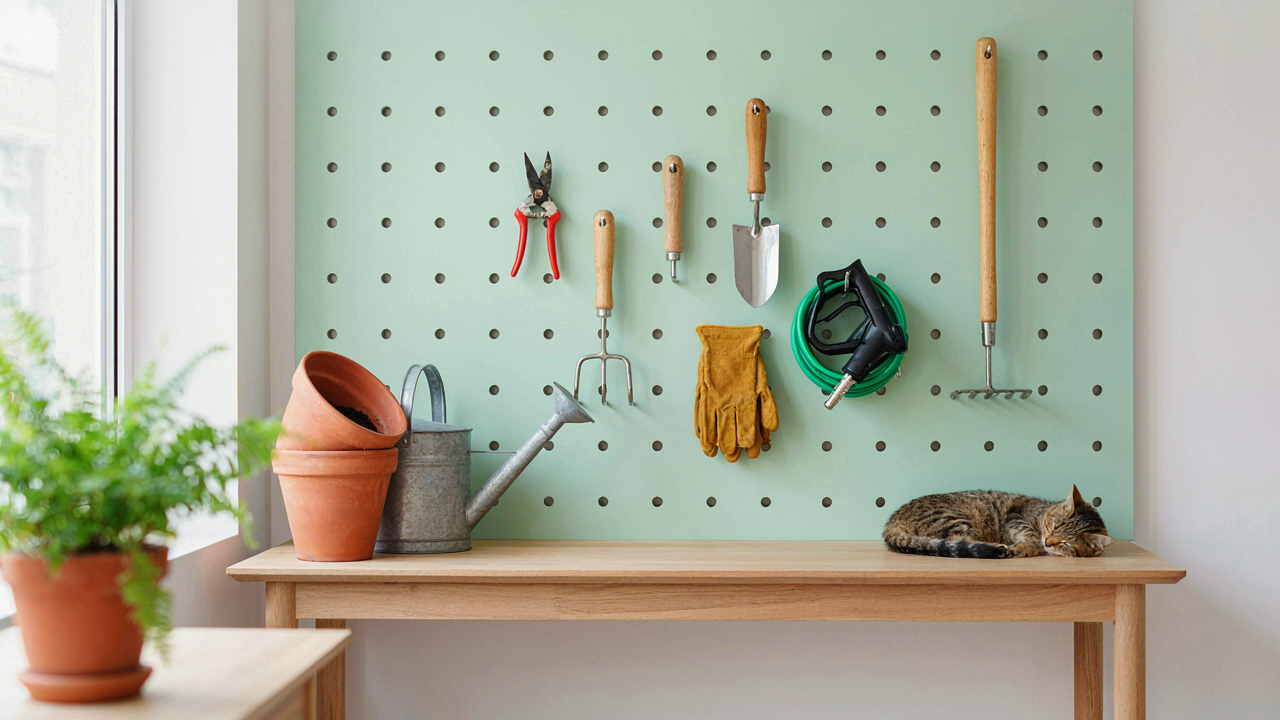
Wall storage forces a hard choice: keep what you use, remove what you don’t. This constraint is the feature, not a bug. When tools live at eye level on hooks, you see exactly what you own. You stop buying duplicates. You use what you have because friction drops to zero. The mechanic’s wall isn’t aesthetic. It’s ruthlessly functional.
Heavy Duty Hooks Transform Visibility Into Habit
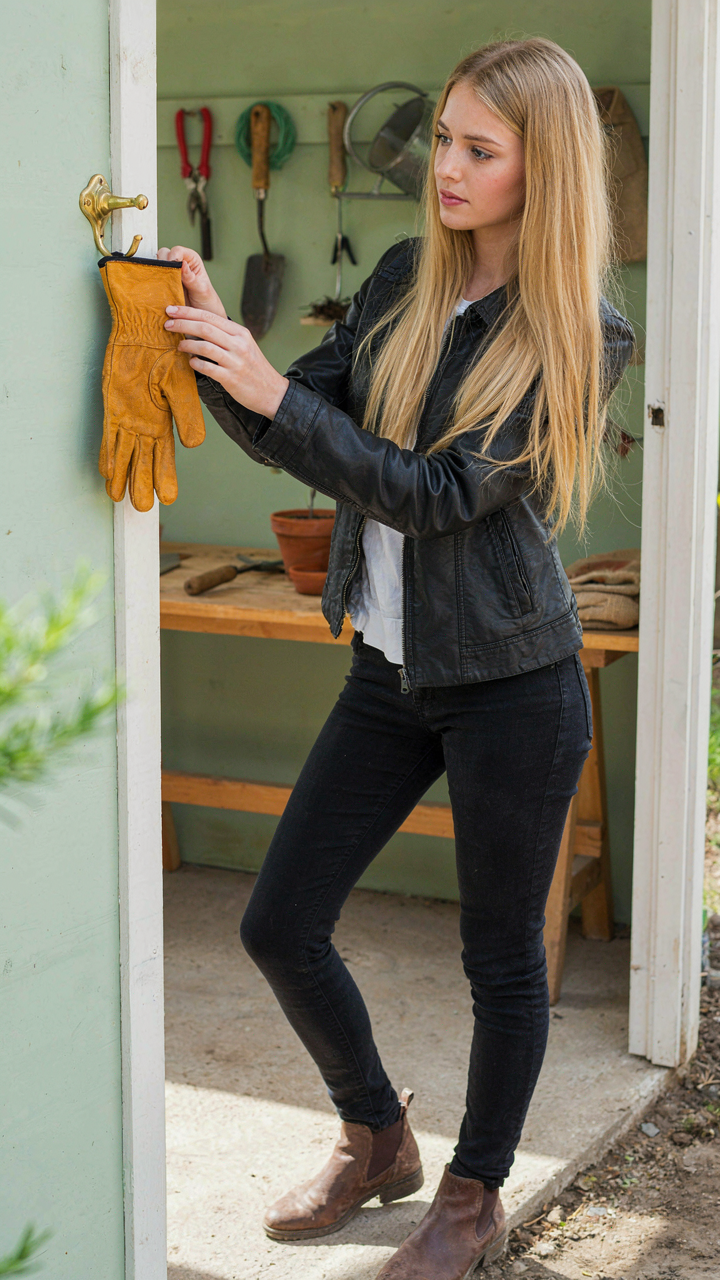
Install hooks rated for double the weight you’ll hang on them. Steel hooks rated 25 to 50 pounds work for most garden tool collections. Placement matters more than aesthetics. Mount hooks at shoulder height for frequent tools, waist height for occasional ones. This isn’t decoration. This is removing the barrier between intention and action.
Visibility beats organization systems. When a shovel hangs where you see it every time you walk past, you use it. When it lives in a shed corner, it doesn’t. Heavy-duty hooks make this happen because they hold weight without sagging, keeping tools at consistent eye level. Hook placement becomes your storage protocol. Each tool gets one spot. No exceptions.
The “Outdoor Tool Storage Ideas” Fallacy: It’s Not About The Shed

Distance Kills Your System Before Design Does
You want a shed because you think it solves the problem. It doesn’t. The real issue is that every step between you and a tool is a step you won’t take, so you’ll leave it on the ground instead. This is pure physics applied to human behavior: friction increases abandonment. The best storage system means nothing if the tool lives fifty feet away.
Place your most-used tools where you use them. Hand tools for weeding go near the garden beds. Pruning shears stay at the entrance to the hedge. Hose connections live by the faucet. This isn’t about aesthetics or “designated spaces.” It’s about reducing the decision cost and physical effort required to put something back. Fewer steps equals fewer tools scattered across your yard.
Weather Protection Without Creating Isolation
Weatherproofing tools is mandatory, but isolation kills utility. A sealed shed in the back corner protects your tools perfectly and ensures you never use them because the barrier is too high. Better approach: weatherproofing at the point of use. Wall-mounted pegboards under an eave, tool racks on covered porches, or simple roof overhangs over ground-level storage keep gear dry without burying it behind a closed door.
Rust happens from moisture, not from air exposure alone. Galvanized metal, wood sealant, or basic canvas covers handle rain without requiring a separate building. The mechanism is simple: accessible plus protected equals actually maintained. Tools stored in dark isolation get forgotten. Tools you see daily get grabbed and returned because they’re already in your mental workflow. Your storage system succeeds when the tool is visible and reachable before you decide you need it.
The “Lawn Tool Storage Ideas” Myth: Separate, Not Equal

Dedicated Zones Stop The Rust Cycle
You want one organized shed where everything lives together because it feels efficient. The real reason: you’re avoiding the work of thinking about tool separation. Here’s the mechanism: lawn tools and garden hand tools corrode at different rates when stored near each other. Moisture from grass clippings on mowers accelerates rust on nearby pruners and shears. Fertilizer dust settles on metal surfaces. Cross-contamination isn’t metaphorical—it’s chemistry. Separate zones create physical barriers that interrupt this process.
Store powered lawn equipment (mowers, trimmers, leaf blowers) in one zone. Store hand tools and precision instruments in another zone at least eight feet away. This distance matters because air circulation breaks down moisture pockets before they settle on everything. A zone isn’t a fancy cabinet. It’s a corner, a wall section, or even different shelves if your space is tight. The key: tools in the same zone share the same microclimate and soil exposure patterns.
Seasonal Storage Doesn’t Mean Hidden Away
The advice says rotate tools to save space. That’s incomplete. Seasonal rotation exists to preserve tool lifespan and function. In spring and summer, pruning shears and cultivators sit in active use zones—accessible, getting air exposure. In fall and winter, they move to dry storage away from temperature swings that happen near doors and windows. Temperature fluctuation causes metal expansion and contraction, which loosens bolts and cracks wooden handles over time.
Establish a pre-storage protocol: clean tools, dry them completely, apply light machine oil to metal joints, and store handles horizontally or vertically based on material. Wooden handles stay vertical to prevent warping. Metal tools with grease can stack. Mark your calendar for seasonal transitions. Before moving tools into dormant storage, inspect for damage. This single action catches problems before months of sitting in cold or humidity cause permanent rust spread.
The Ergonomics Of Access: Your Body, Your System

Distance And Decision Speed
You want a system that makes you look competent without thinking about it. The real mechanism is borrowed from human-computer interaction: Fitts’s Law, which states that the time to reach a target depends on distance and target size. Apply this to garden tools. Tools you use weekly belong within arm’s reach from your primary work zone. Tools you use monthly can sit farther back. Tools you use once a year get archived or discarded.
This isn’t about aesthetics. It’s about friction. Every centimeter of extra reach adds cognitive load and physical delay. Your pruners should never require a search. Mount them at eye level, within one step of where you stand most. Measure the actual distance from your shed door to your vegetable beds. That distance determines whether a tool lives on the wall or in a mobile cart. The closer the tool to decision point, the faster you act.
Reach And Grip Without The Cost
Common advice says “keep everything at waist height.” That’s incomplete. Waist height works only if you’re the exact height of the person who designed the storage. Instead, map your own reach zone. Stand in your work position and hold your arms at rest. Everything between your shoulders and knees should hold your daily tools. Anything above shoulders or below knees adds strain and hesitation.
Your grip matters more than most people admit. Tools with thick handles demand less hand tension but tire your wrist faster on repetitive tasks. Store heavy tools like shovels vertically in a corner or on a low wall mount so you grab them by the handle, not by the shaft. Never store tools horizontally on high shelves where you grab from below. Your shoulder rotator cuff is not designed for that angle. Hang loppers and pruners on a pegboard at chest height where your hand naturally closes around them during reach.
Beyond The Garden Tool Hanger: Custom Solutions, Not Generic

Build Systems Around Your Actual Tools
You want to feel like you’ve solved the problem without actually changing how you work. The real mechanism here is constraint matching: in industrial design, engineers call it “form follows function,” but most people reverse it. They buy the organizer first, then force tools into slots designed for an imaginary garden. Stop. Measure what you own. A long-handled cultivator isn’t a rake. A Japanese hori-hori knife needs different mounting than a western spade.
Start by auditing tool dimensions and weight. Hori-hori handles run 10 to 12 inches. Standard American shovel handles hit 48 inches. Wall-mounted pegboard works for light, short-handled tools. For anything over five pounds or longer than 36 inches, you need either floor storage or reinforced wall anchors rated for the load. Build the system to your actual inventory, not the other way around.
Repurpose Existing Structures Into Storage
The advice to “get creative with what you have” is vague and useless. Here’s what works: identify existing vertical or horizontal surfaces already in your space that bear weight and withstand weather. Your garden shed wall, a fence line with decent sun exposure, the underside of a porch overhang, or even a sturdy tree trunk. These aren’t alternatives to new purchases. They’re free load-bearing infrastructure you’ve already built.
A weathered wooden fence can hold tools via simple L-brackets and hooks spaced 12 to 18 inches apart. A shed wall framed in 2x4s can support heavy-duty French cleats that hold mounted tool racks. The underneath of an overhang protects tools from rain while keeping them accessible. The mechanism is constraint elimination: use what’s there, skip what isn’t, cut the friction between deciding to store something and actually storing it.
The Maintenance Mandate: Clean Tools, Clear Mind

Routine Cleaning Integrated Into Workflow
You’re skipping this because you think maintenance happens later, in a separate ritual. It doesn’t. The mechanism here is friction reduction: tools accumulate dirt and rust the moment you stop using them, and every day of delay makes the next cleaning session harder. The real move is building cleaning into the act of putting tools away, not treating it as optional work.
Wipe tools down before storage. Soil, moisture, and plant residue corrode metal and degrade handles. A dry cloth takes thirty seconds per tool. Do it as the final step of your gardening session, before you walk inside. This prevents oxidation from starting and keeps your storage space from becoming a rust factory. Tools stay functional longer with zero extra time investment.
Sharpening And Oiling Extends Working Life
Economics calls this preventive maintenance, and garden tools follow the same logic: small inputs now prevent large replacement costs later. A dull blade requires more force, causes repetitive strain, and produces ragged cuts that invite disease into plants. Oiling prevents corrosion at joints and on metal surfaces. Both extend tool life by years.
Sharpen blades twice yearly using a whetstone or file, matching the original angle. Oil moving parts and metal surfaces monthly with light machine oil or specialized tool oil. Store tools in a dry location after oiling to prevent dust accumulation. This protocol keeps tools sharp, prevents rust, and eliminates the hidden cost of replacing tools that could have lasted decades.
The Perpetual Motion System: Constant Optimization
Seasonal Audits Keep Systems Honest
You want to believe your system works forever without touching it. It doesn’t. Every three months, your tool organization breaks down because usage patterns shift, tools wear out, and storage spaces accumulate dead weight. Treat your system like a machine that needs inspection, not a set-it-and-forget-it installation.
Pull everything out quarterly. Check for rust, broken handles, and tools you never actually use. Move frequently-grabbed items closer to your work zone. Remove duplicates that snuck back in. This isn’t busywork. You’re collecting data on what your system got wrong, then fixing it before friction compounds into abandonment.
Small Friction Points Compound Fast
Most advice says “make small tweaks.” That’s incomplete. Ergonomics teaches us about cumulative strain, and tool organization works the same way. One extra step to access your pruners doesn’t matter once. Repeated five hundred times a season, it becomes reason enough to leave tools scattered.
Identify the single friction point that frustrates you most. Is it reaching for hedge shears? Move them lower. Searching for extension cords? Coil them visibly on one hook instead of tangled in a bin. Fix that one thing, then observe for two weeks. One micro-adjustment beats ten generic improvements because you’ll actually maintain it.
Your Real Problem Isn’t Disorganization; It’s A Lack Of Strategy
Most people organize tools to feel productive. They buy bins, label them, snap a photo for Instagram. Then they stop using the system because it doesn’t match how they actually work. Your real problem: you’ve never designed a tool system around your actual gardening habits. Stop organizing for perfection. Today, spend ten minutes watching yourself garden. Notice which tools you grab first, which ones stay buried, which ones cause friction. Build your system around that truth, not around Pinterest. Organization without strategy is just expensive procrastination.



