
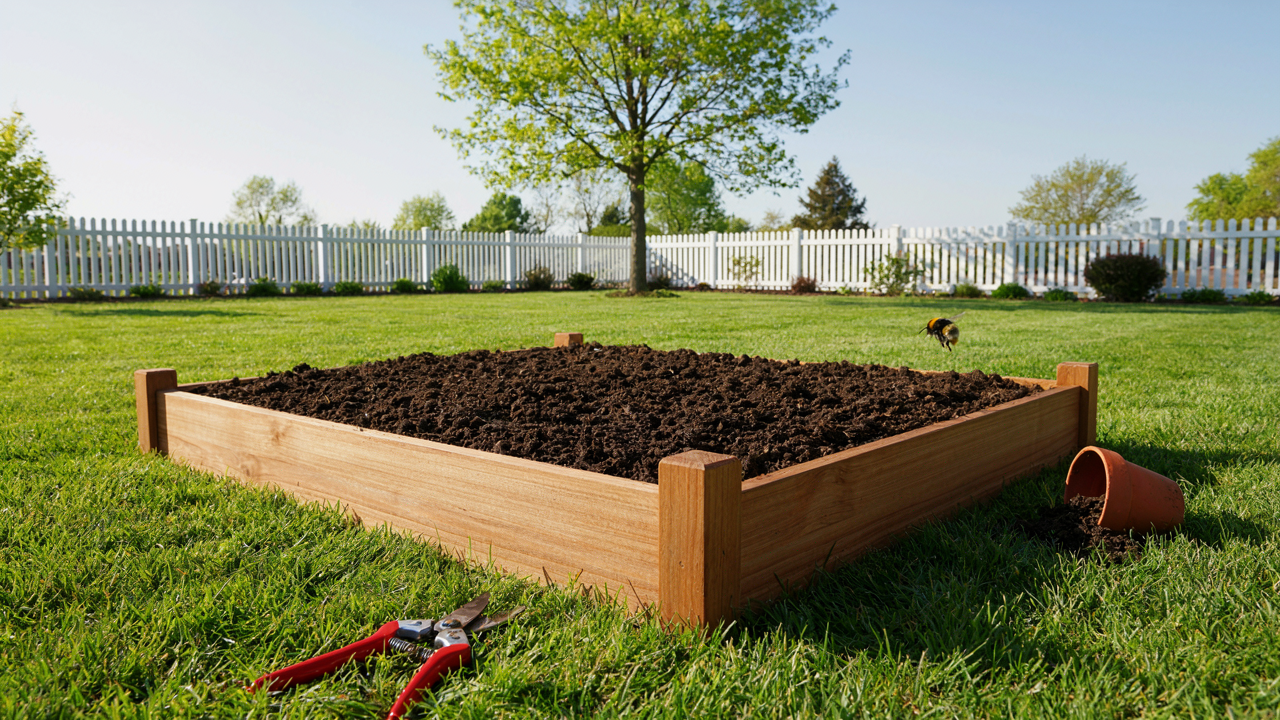
The Illusion Of “Simple”: Why Basic Plans Fail You

Plans Without Your Site Context Are Useless
You want a plan you can copy because copying feels safer than thinking. Here’s what nobody states plainly: a raised bed plan without your specific conditions is just a photo. Borrowed from civil engineering, we’d call this the load-bearing problem. A structure that works in one context fails in another because the foundation conditions differ. Your raised bed sits on soil with its own drainage rate, sun exposure, wind patterns, and existing microbiology. A plan pulled from the internet ignores all of it.
Most “simple” plans show dimensions and materials but skip the site analysis that determines whether those dimensions even matter. You might follow a 4×8 plan when your actual sunlight only covers a 3×6 zone. Or you build to standard depth when your subsoil is clay that won’t drain regardless of how deep you dig. The mechanism is this: plans are generic because they’re written for scale, not for you. You need to reverse-engineer the plan from your constraints, not force your constraints into someone else’s plan.
The Soil Life Nobody Measures Before Building
Ignoring soil biology isn’t just inefficient, it’s the primary reason raised beds produce weak yields while looking correct on paper. Agricultural biology teaches us about the mycorrhizal network, fungal colonies that trade nutrients from soil to plant roots in exchange for sugars. A raised bed plan that never addresses what lives in the soil beneath your bed is building on a corpse. You can’t see this network. Most people don’t even know it exists. So they build, fill with imported soil, and wonder why plants underperform.
Here’s the actual mechanism: the existing soil underneath your raised bed either supports or sabotages the ecosystem you’re trying to create above it. If that subsoil is compacted clay or depleted, it becomes a dead floor. Water pools. Roots can’t penetrate. Your carefully planned bed becomes a planter box instead of an integrated growing system. Before you build, you need to know your soil composition, drainage rate, and pH. Dig a hole 12 inches deep, fill it with water, time how fast it drains. That one data point reshapes every dimension of your plan.
The Scarcity Principle Of Material Selection For DIY Raised Garden Bed
Cost Per Growing Season, Not Cost Per Purchase
You want to feel smart about saving money upfront. That’s the real reason this section matters to you. But economics doesn’t work on purchase price alone. It works on what economists call “opportunity cost”—what you give up to get something. Apply that here: cheap wood rots in three years, forcing you to rebuild and repurchase. Expensive materials last a decade. The real cost is price divided by lifespan, then multiplied by your time to rebuild.
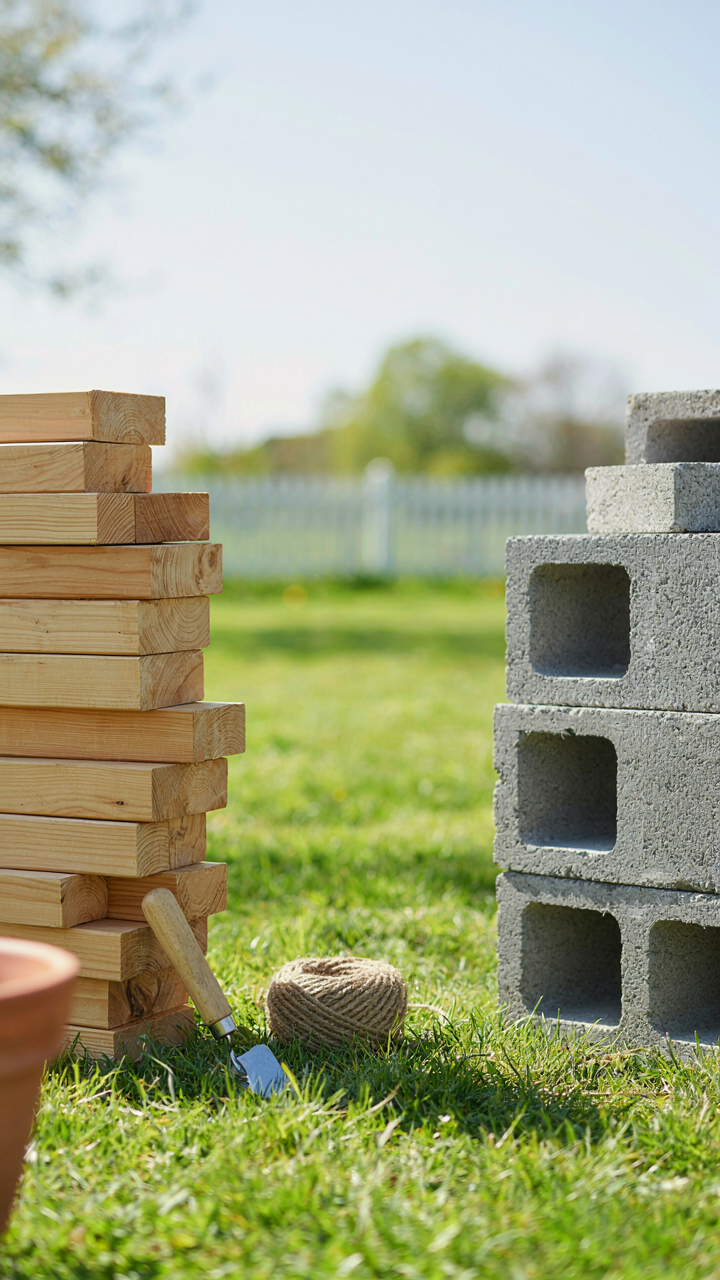
Cedar two-by-eights cost three times more than pine. Cedar lasts eight to ten years before needing replacement. Pine lasts two to three years. If you rebuild a pine bed three times in a decade, you’ve spent more money and wasted fifty-plus hours of labor. That’s not frugality. That’s economic illiteracy disguised as savings.
Materials That Actually Last
The advice you hear is always the same: use untreated wood, don’t use pressure-treated. That’s incomplete. Some materials don’t rot at all, and they cost less per season than either option.
- Composite boards: Made from recycled plastic and wood fibers. Last fifteen-plus years without rotting, splinters, or leaching chemicals. Heavier and harder to cut, but zero maintenance.
- Galvanized steel troughs or livestock panels: Food-grade metal won’t degrade. Cost effective at scale if you’re building multiple beds. Conducts heat faster in spring, which helps or hurts depending on your climate.
- Corrugated metal: Agricultural-grade panels last twenty years. Install with care around edges to prevent rust at cut points. Wider initial investment than wood but mathematically superior over time.
- Recycled plastic lumber: Sourced from repurposed milk jugs or shopping bags. Resists rot, insects, and moisture indefinitely. Won’t splinter or require staining. Slightly more expensive than cedar initially.
- Concrete block or cinder block: Zero decay. Cheap per unit. Stacks without fasteners. Allows airflow through gaps, which changes drainage dynamics compared to solid materials.
Most people stick with wood because it’s familiar, not because it’s optimal. The mechanism that keeps them trapped is inertia, not logic. Calculate the true cost per season. Then choose the material that wins the math, not the material that wins the feel-good story about going natural.
Building Raised Garden Beds: The Structural Integrity Blueprint

How Weight Actually Distributes Across Your Frame
You want this to work without collapsing because you’ve already spent money and time on it. Physics gives us the real mechanism: load bearing capacity depends on how force spreads across your support structure. A raised bed isn’t decorative—it’s a containment vessel holding hundreds of pounds of wet soil, and that weight concentrates at specific points.
The soil inside creates downward force. Wood frame dimensions determine whether that force gets distributed evenly or crushes weak points. A four by eight foot bed six inches deep holds roughly 1,200 pounds when saturated. That weight doesn’t spread equally across all sides. Corners and the frame perimeter take the hit. Cedar and composite materials hold up longer than untreated pine because they resist compression and don’t degrade from constant moisture exposure.
Ground Preparation Stops Collapse Before It Starts
Most people skip this step and wonder why their beds tilt within two seasons. You need a stable foundation because shifting soil underneath creates uneven settling, which bends and warps the frame. Level ground isn’t optional—it’s the difference between a functional bed and firewood.
Remove grass and weeds first, then compact the soil by walking over it firmly. Add a half inch of sand or paver base and level it with a straight edge. This creates a flat, firm surface that resists settling. Use a long level across the entire footprint to catch high spots. Irregular foundations cause frames to rack and separate at joints. If your ground stays uneven, the bed will follow it, and joints fail within one season. Compact and level before assembly.
Diy Raised Planter Boxes: Strategic Placement For Maximum Yield

Track The Sun’s Arc, Not Just “Full Sun”
You want to place your bed where it gets the most light because you believe more sun equals more food. That’s incomplete thinking. The real mechanism is this: sunlight intensity and duration change seasonally, and your bed’s position today won’t deliver the same results in three months.
Map your site’s sun exposure across all four seasons. Winter sun travels lower and shorter across the sky. A spot that gets eight hours in July might get four in December. Observe your yard at 9 AM, noon, and 3 PM on both a summer and winter day. Mark where shadows fall from trees, structures, and terrain. This isn’t theory. It’s the only data that matters for your specific location.
Exploit Microclimates Within Your Own Yard
Microclimate is a term from climatology, the study of localized atmospheric conditions. Apply it directly to raised beds: your yard contains multiple distinct growing zones based on heat retention, wind exposure, and water drainage. Most people ignore this and place beds anywhere flat.
South-facing slopes warm faster in spring. North-facing areas stay cooler longer. Low-lying spots collect cold air and frost lingers there. Areas near walls or fences reflect heat and create warmer pockets. Wind exposure matters too—beds in open areas dry faster and experience temperature swings. Identify where your property naturally holds or sheds heat and moisture, then position cold-season crops in warm microclimates and heat-sensitive plants in cooler ones. Your yield compounds when you work with existing conditions instead of fighting them.
The “Perpetual Growth” Method: Soil Building, Not Just Filling

Compost Cycles: Continuous Nutrient Regeneration
You want your raised bed to work harder so you work less. That’s the real driver here, and it’s honest. Most plans treat soil as a static thing you fill once and hope survives. That’s backward. Soil is a system. You feed it decomposing matter on a schedule, and it feeds your plants in return. The mechanism is simple: organic material breaks down into available nutrients through microbial action. You don’t need to replace the soil bed every season if you’re cycling compost back in strategically.
The standard advice says layer compost on top annually and call it done. That works, but it’s incomplete. What actually moves the needle is treating your raised bed as a closed-loop kitchen waste processor. Kitchen scraps, yard trimmings, and aged manure decompose in the bed itself or in a separate bin staged nearby. You add finished compost to the top 2 to 3 inches each spring, which replenishes depleted nutrients without excavation. This cycles calcium, potassium, nitrogen, and phosphorus back into the root zone where plants access them immediately.
Mycorrhizal Fungi: Unseen Underground Networks
Mycology is the study of fungi, and raised beds operate like fungal colonies with or without your knowledge. Most gardeners ignore the underground network entirely, which means they’re bypassing a nutrient delivery system that predates agriculture. Mycorrhizal fungi form symbiotic relationships with plant roots, extending the root system’s reach into pore spaces and breaking down minerals that roots alone cannot access. You don’t build these networks; you preserve them by avoiding tillage and chemical disturbance.
This is where raised bed design intersects with biological reality. Keep the soil undisturbed as much as possible after the initial fill. Avoid tilling, compacting, or applying synthetic fertilizers that kill fungal colonies. Instead, add organic matter on the surface and let fungal networks colonize it naturally over time. The fungi extract phosphorus and micronutrients from decomposing material and transport them directly to plant roots in exchange for sugars the plant produces. This happens invisibly, which is why most plans ignore it. You don’t see results on a spreadsheet, but your plants will show productivity gains within one season.
Cheap Raised Garden Beds: The True Cost Of Free

Time Investment Vs Monetary Savings Analysis
You want cheap because you think it proves you’re resourceful. That’s the real reason you’re reading this. Here’s what actually happens: economics calls this opportunity cost, and it destroys most “free” raised bed projects. When you source reclaimed materials, haul them yourself, and spend weekends assembling substandard wood, you’re not saving money. You’re converting hours into a lower hourly rate than you’d earn doing anything else.
A typical scrap-sourced bed takes fifteen to twenty hours of searching, hauling, and assembly work. A pre-built kit or straightforward purchase takes two hours. That gap matters. You can buy a quality cedar bed for two hundred dollars and have it installed in an afternoon, or you can spend forty hours chasing pallet wood that’ll rot in three years. The math isn’t even close. Your time has value whether you admit it or not.
Hidden Costs Of Unsustainable Materials
Cheap materials don’t fail once. They fail repeatedly, and each failure extracts a hidden cost you don’t budget for upfront. Untreated pine beds last two to three years before the wood soft-rots at the soil line, forcing you to rebuild. Pallets often contain chemical residue or treat lumber that contaminates soil over multiple seasons. Reclaimed railroad ties contain creosote, a known toxin that leaches into beds for years.
When you factor replacement cycles, soil remediation, and the time to disassemble a failed structure, the cost per year of ownership shoots past what you’d spend buying cedar or composite materials once. Cedar lasts eight to twelve years. Composite materials last fifteen to twenty. You reset the clock by switching to rot-resistant wood or recycled plastic composite. One build cycle with quality materials beats three cycles with bargain materials every time.
Garden Bed Layout: Beyond Rows The Guild System
Stacking Plants For Output Density
You want this section to feel like a shortcut to looking like you know what you’re doing. The real mechanism is borrowed from biology: symbiosis. In a raised bed, symbiosis means plants that feed each other’s needs occupy the same cubic space without competing. Tomatoes fix nitrogen poorly. Legumes fix it well. Stack them vertically, and the tomato pulls from soil enriched by the bean’s root activity happening simultaneously below.
Most gardeners treat rows like they’re sacred. They’re not. Rows exist because tractors need room to turn. You don’t own a tractor. A guild spreads roots at different depths and times, meaning more root access per square foot and staggered nutrient draw. Three plants guild together better than one plant in three separate rows. The mechanism: root depth variance eliminates competition. Measure root depth for each plant before layout, then plant deep-rooted species with shallow-rooted ones in the same four-foot section.
Growing Up Instead Of Out
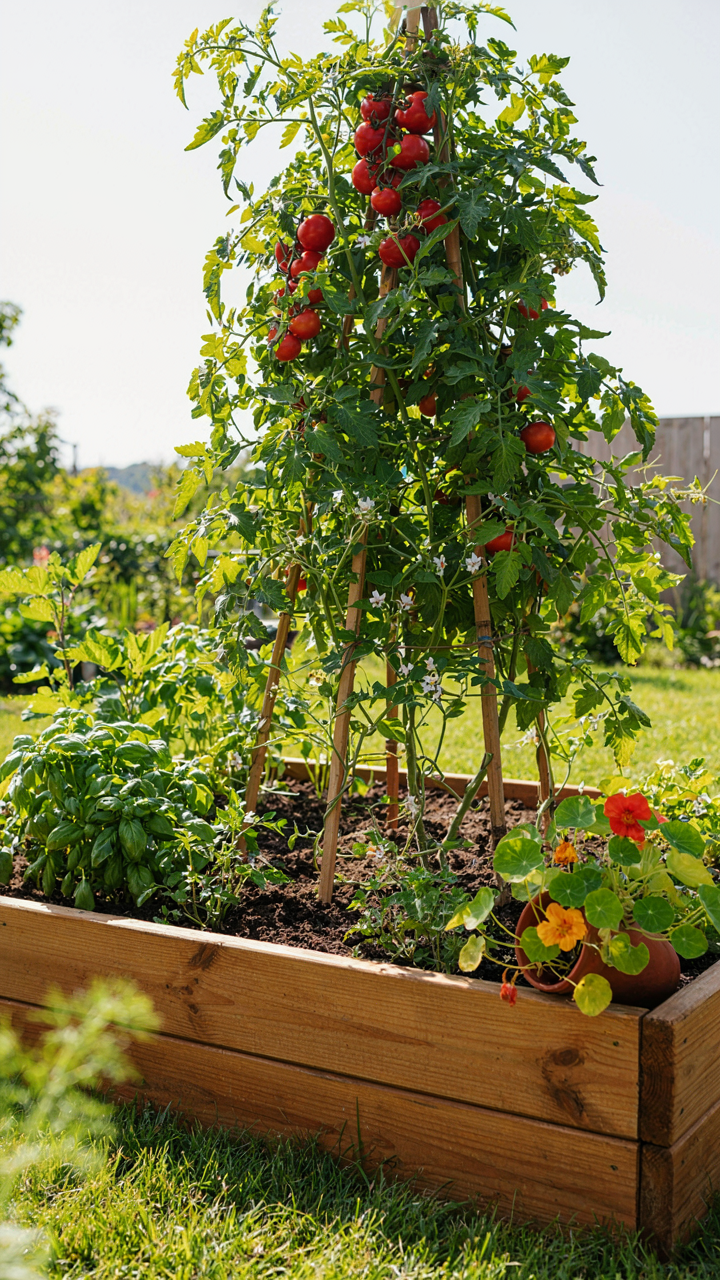
The physics principle here is leverage. In mechanics, leverage multiplies force through distance. In a raised bed, vertical leverage multiplies yield through height. A trellis doesn’t just hold a vine—it converts a plant from a horizontal footprint problem into a three-dimensional asset that produces more fruit per square foot of soil.
Vining plants (peas, cucumbers, beans, pole varieties) produce more per plant when supported. Determinate plants don’t need this. Indeterminate ones do. Install trellises at planting time, not after vines sprawl. Angle them north to south so they shade your afternoon side without blocking morning light to shorter plants below. Two-foot or taller structures work. Anything less wastes the mechanical advantage. Measure shade patterns in your specific microclimate before building structures.
How To Make Garden Boxes: The Tools And Efficiency Protocol

Why You Actually Need Fewer Tools Than You Think
You want to feel prepared. That’s the real reason you’re reading this. The mechanism is simple: most people conflate tool count with competence. Physics teaches leverage, and leverage in raised bed construction means extracting maximum output from minimal input. A power drill, a circular saw, a level, and a tape measure do 95 percent of the work. Everything else is noise that slows you down and costs money you don’t need to spend.
The boxes themselves don’t care how many tools live in your garage. They care about straight cuts, square corners, and fasteners that hold. A corded drill costs sixty dollars and outlasts three expensive cordless models. A seven-inch circular saw handles four-by-eight boards without strain. A two-foot level catches mistakes before they become structural problems. Buy these three items and stop. You already own a tape measure or you can borrow one. This constraint forces efficiency instead of paralysis by options.
Assembly Line Thinking Changes Everything
Manufacturing adopted workflow optimization to eliminate wasted motion, and you apply the same logic by cutting all boards before touching a single fastener. Lay out every piece on sawhorses or the ground. Mark cut lines with a carpenter’s pencil. Run through all cuts in one session. This batching reduces mental switching costs and keeps your saw blade hot and your rhythm intact. You finish in half the time of piecing together one box from start to finish.
After cutting comes drilling pilot holes into every screw location across all boards, then assembly. Move the assembled frame to its final location before adding soil and plants. This sequence prevents moving heavy, awkward boxes twice. One person handles this alone in three hours for a four-by-eight frame, eight inches deep. Skip the fancy jigs. Skip the power screwdrivers. A hand drill and a Phillips head bit work fine. Workflow beats tools every single time.
Diy Elevated Garden Bed: The Ergonomics Of Effortless Gardening

Stop Bending Your Back Into Debt
You want this because you’re aging and you know it. Bending, kneeling, and reaching destroy joints over time. Raised beds solve this using basic biomechanics: leverage beats force. The higher your bed, the less spinal flexion required. A bed set at waist height eliminates the compressive load that makes gardening punishing by year three. Height becomes the variable that determines whether gardening stays sustainable or becomes something you quit.
The math is elementary. A standard in-ground bed forces your spine into 60 to 80 degrees of forward flexion for planting and weeding. An elevated bed at 24 to 30 inches cuts that demand by half. Material choice matters too: wood frames absorb repetitive impact better than metal. Cedar or composite materials provide slight give, reducing joint stress on knees and hips during long sessions. This isn’t luxury. This is the difference between a 20-year gardening practice and one that ends after five.
Designing For The Long Game
Accessibility means building for your future self, not your current one. Most people skip this thinking they’re too young or too able. They’re wrong. The goal is a bed structure that works whether you’re 30 or 75, standing or seated, using two hands or one. This demands thinking about approach angles, seating height, and reach zones as core design parameters, not afterthoughts.
Build your frame wide enough to sit on the edge without falling. Set the height between 24 and 36 inches so standing tasks don’t demand spinal flexion and seated work remains ergonomic. Install a ledge or border wide enough to support a knee or provide stability. Consider pathways around the bed that fit a standard 2-foot-wide walker. Raised beds aren’t just about plants. They’re about creating a system that keeps you gardening for decades instead of seasons.
Your Real Obstacle Isn’t The Plans; It’s Believing ‘simple’ Equals ‘effortless’

The raised garden bed plans you found online won’t fail because the instructions are bad. They’ll fail because you expect them to work without friction. Simple means you can execute it without a degree in engineering. It doesn’t mean dirt plants itself. Pick one bed design today. Buy the materials this week. Stop waiting for the perfect plan to magically appear. The only garden that grows is the one you actually build.



