

The Illusion Of Easy: Why Most Window Box Advice Fails
Your Microclimate Isn’t Someone Else’s
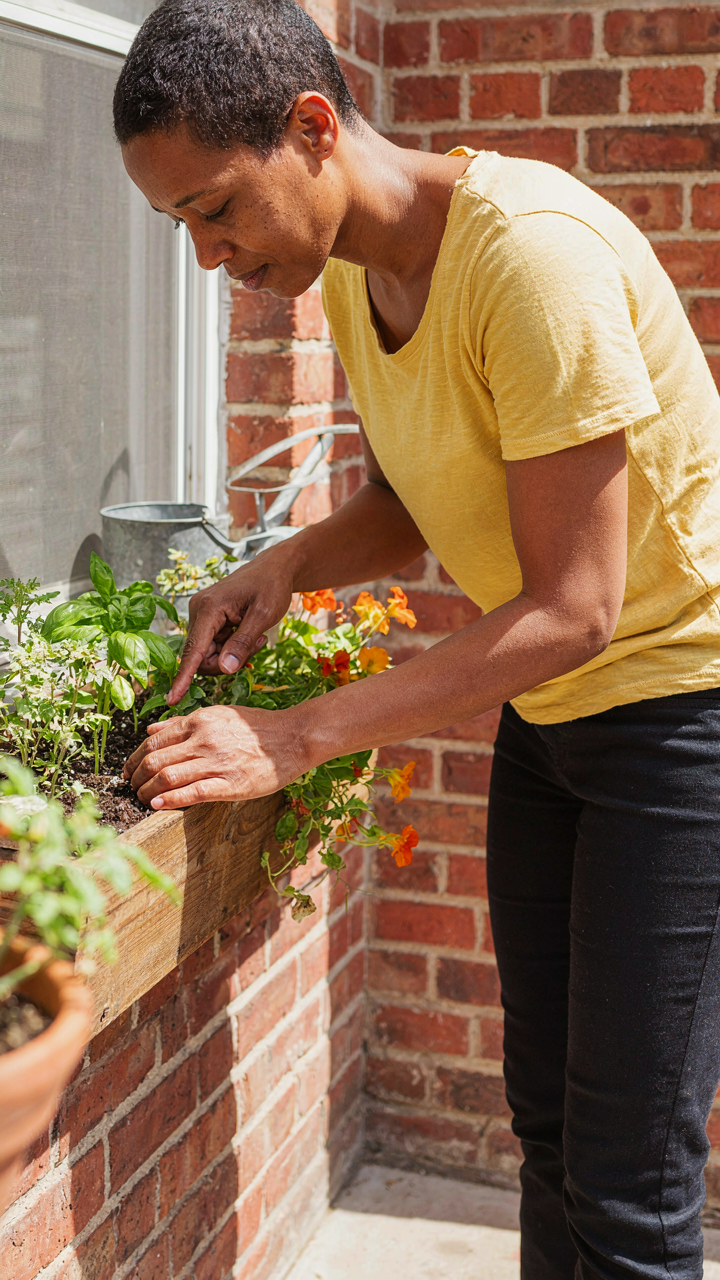
You want a simple formula because formulas feel safe. Here’s the mechanism: every window box exists in a specific microclimate determined by sun exposure, wind direction, wall material, and surrounding structures. That south-facing box on brick absorbs and radiates heat differently than a north-facing box on vinyl. Most advice ignores this entirely, treating all window boxes as identical units.
The real cost of generic guidance is dead plants and wasted money. Your box’s actual conditions—not the ones in a blog post written for imaginary average conditions—determine what thrives and what fails. Measure your box’s direct sun hours daily over a full week. Note wind patterns. Touch the soil at different times. Map the microclimate before buying a single plant.
Planting Rules Break In The Real World
The standard advice says “full sun plants need six hours, shade plants need three.” This is incomplete. Borrowed from horticulture, the concept of “photosynthetically active radiation” describes light quality, not just duration. A window box on a reflective surface gets different light intensity than the same box on a dark wall. Afternoon western sun scorches differently than morning eastern sun at identical hour counts.
Stop following plant labels as absolutes. Instead, observe what actually happens in your specific box over two growing seasons. A plant marked for full sun might burn out in your western exposure. Another marked for partial shade might flourish in your northern box with reflected light from a neighboring building. The data you collect beats any published recommendation for your exact location.
The Site Selection Protocol: Mastering Your Window Box Microclimate

Sun Exposure Mapping And Plant Choice
You want your window box to look effortless. That’s the trap. Most people pick plants first, then wonder why they die. This is inverted logic. In horticultural science, we call this phenology: the timing of plant behavior in response to environmental triggers. Your window’s sun exposure is the phenological trigger that controls whether your plants survive or wither. Map it first.
Measure direct sunlight hours at your window across three days: morning, midday, evening. Most plants labeled “full sun” need six to eight hours minimum. Plants claiming “partial shade” tolerance often mean dappled afternoon light, not morning burn. Choose plants to match your window’s actual light profile, not the aesthetic you imagined. A north-facing window gets morning diffuse light only. South-facing gets afternoon intensity. East gets gentle morning sun. West gets brutal afternoon heat. Pick species that align with what your window actually delivers, not what you wish it delivered.
Wind Rain And Thermal Mass Considerations
Common advice says “put your box where it looks good.” This ignores physics. Thermal mass is the property that causes materials to absorb and release heat. Your window box sits against a wall that radiates stored heat in summer and draws warmth away in winter. This thermal gradient stresses plants faster than you realize. Exposed corners and windy edges amplify this effect.
Position your box on the lee side of structural elements when possible. A wall or building corner blocks the worst wind gusts that desiccate soil and snap stems. Avoid locations where rain runs off roof edges or gutters concentrate water toward your box. Waterlogging kills roots as surely as drought does. If your box catches runoff, drill drainage holes deeper and use grittier soil. Vertical exposure matters more than horizontal placement. A box at eye level experiences different wind patterns than one mounted lower. Test your location through one full season before committing to permanent plantings.
Beyond Aesthetics: Window Box Design For Longevity

Drainage Systems And Root Health
You want your window box to look good for years without constantly replacing dead plants. That fear drives most people to ignore the actual mechanism: roots drown before they starve. Drainage isn’t decoration. It’s the hydraulic system that determines whether your soil stays alive or becomes a bog. Water moves through soil via gravity and capillary action. The moment you block either force, roots suffocate. Most beginners install boxes with zero drainage holes or holes that clog with soil particles within weeks, turning the container into a water trap.
The fix is blunt: drainage holes must be larger than you think and positioned at the lowest point of the box. Quarter-inch holes fail because soil particles jam them. Half-inch holes work. Better still, elevate the box bottom using feet or risers so water drains completely instead of pooling underneath. Inside, layer coarse material like broken pottery shards or perlite in the bottom three inches before adding soil. This prevents the soil from settling into drainage holes and sealing them shut. Check drainage after heavy rain by tipping the box slightly. Water should exit within seconds, not minutes.
Material Science Of Window Boxes: Durability Versus Aesthetics
Ceramic and terracotta look best and fail fastest outdoors. This isn’t an opinion. Clay absorbs water, freezes when wet in cold climates, and cracks from the inside out. You pay for beauty and replace it every two seasons. The common advice says seal terracotta. That extends life marginally but doesn’t solve the core problem: the material itself is porous and weak against freeze-thaw cycles.
Fiberglass and resin-based composites last longer but yellow and become brittle under UV exposure over five to seven years. Wood requires annual treatment with sealant or paint, and the labor cost exceeds the material cost quickly. Metal boxes corrode unless they’re treated aluminum or stainless steel, which cost more upfront but survive outdoor conditions without intervention. The mechanism is material science: choose the box based on your climate’s freeze-thaw severity and UV intensity, not Instagram aesthetics. If you live in a freeze zone, fiberglass beats terracotta every time.
The “Plant As System” Approach: Optimized Window Box Plants

Mix Species To Build Redundancy
You want your window box to look full and effortless. That’s not how systems work. Ecology teaches us the concept of redundancy: the idea that overlapping functions create stability when one component fails. In your window box, this means planting three to four species with similar growing needs but different root depths, bloom times, and pest vulnerabilities. A trailing petunia, upright marigold, and creeping ivy don’t compete for the same resources. One species dies or underperforms? The box doesn’t collapse. You still have coverage and visual interest.
The mechanism is simple: shallow-rooted plants occupy top soil layers, deep-rooted plants anchor below, and trailing plants exploit vertical space nobody else uses. Petunia roots stay in the top two inches. Calibrachoa goes deeper. Ivy spreads horizontally and fills gaps. Water pressure distributes evenly because roots aren’t fighting for the same zones. Fertilizer doesn’t get depleted by a single dominant plant. This is why monoculture window boxes fail by July but mixed plantings hold steady through fall. You’re not arranging plants for aesthetics. You’re stacking survival mechanisms.
Stagger Plantings For Continuous Color
Most people plant everything at once, then wonder why their box dies in a wave by August. That’s not a watering problem. That’s a design problem. Succession planting means introducing new plants at three to four week intervals starting in late spring. Your first planting anchors the box in May. Your second planting, inserted in late June, adds fresh plants just as the first wave peaks and begins to fade. Your third planting, added in mid-July, carries momentum into fall when cool nights revive tired specimens.
This works because plants have predictable performance curves: peak bloom, then decline. Staggering plantings creates overlapping curves so decline in one group coincides with establishment in another. The visual result is continuous fullness. The maintenance result is consistent deadheading pressure instead of crisis management. You’re not replacing dead boxes. You’re rotating through small interventions. Insert new plants directly into soil gaps. Water them separately for the first week. Let the established root system support them after establishment. This is the only way to maintain a box for six months without replanting the whole thing mid-season.
Watering: The Precision Irrigation Method For Window Box Flowers

Read The Soil, Not The Calendar
You want a simple rule so you stop thinking about watering. That’s the real reason this matters. The truth is soil dries on its own schedule, not yours. Window boxes drain fast because they’re shallow and exposed to wind and sun. Calendar watering kills more plants than neglect does. The only metric that matters is soil moisture at the root level.
Push your finger two inches into the soil. If it feels dry, water. If it holds moisture, wait. This sounds obvious until you realize most people ignore it entirely and water on Tuesday because that’s their routine. Soil in a window box can swing from saturated to bone dry in 48 hours depending on heat, humidity, and exposure. Stop guessing. Touch the soil every two days and adjust based on what you find, not what a app tells you.
Self Watering Systems Versus Direct Irrigation
Wicking beds and drip irrigation are borrowed from agricultural hydrology. Both solve the same core problem differently: how to deliver water to roots without human intervention. A wicking bed uses capillary action, the physics principle that moves water against gravity through soil fibers. Soil stays consistently moist because the reservoir feeds water up as the top layer dries. Drip irrigation skips capillary action and delivers water directly to soil through emitters or tubes on a timer or manual schedule.
Wicking wins for beginners because it requires zero timing decisions. You fill the reservoir once a week and the system self regulates. Drip systems need calibration: you must set frequency and volume correctly or you’ll either drown roots or underwater them. The tradeoff is complexity versus control. If you travel or forget to check soil, wicking beds work. If you want precision and your schedule varies, direct watering by hand outperforms both. The mechanism is simple: consistent moisture without peaks and valleys prevents root rot and wilting stress simultaneously.
Nutrient Cycling: The Closed Loop Window Box System
Build Your Own Compost Tea System
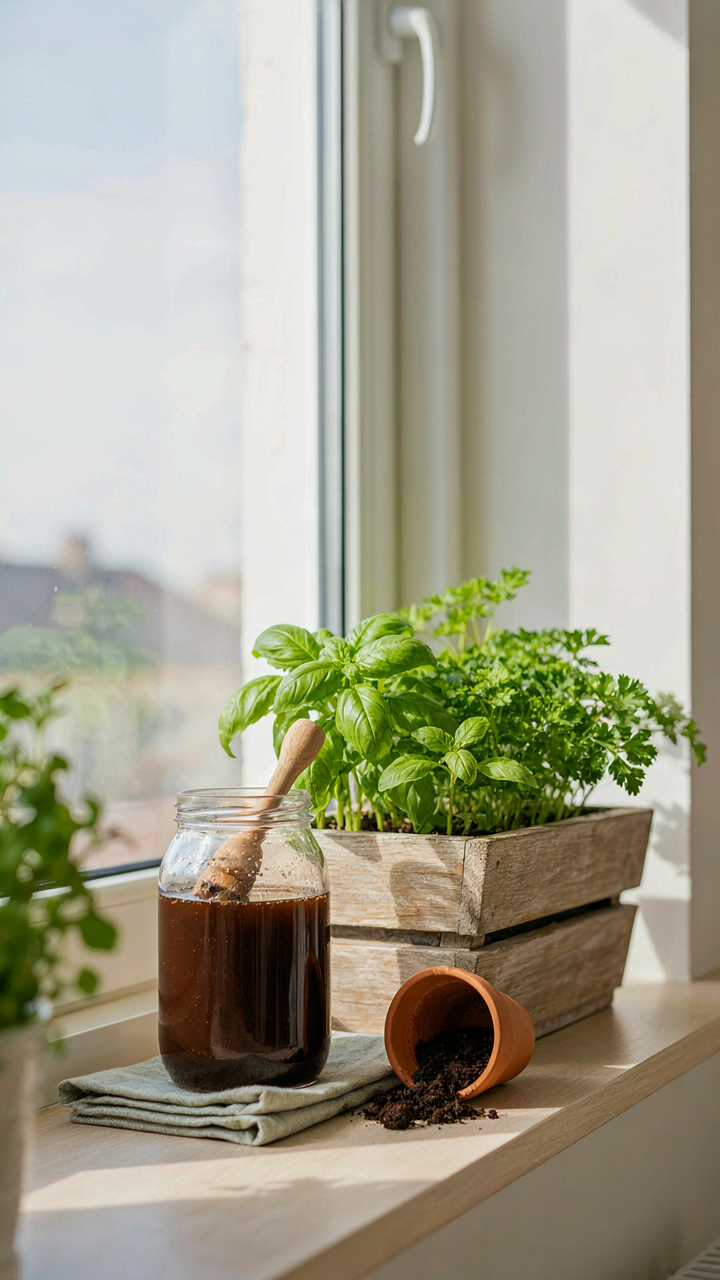
You want to feel like you’re doing something sophisticated with biology. Here’s the mechanism: compost tea extracts soluble nutrients and beneficial microbes from decomposed organic matter, then delivers them directly to plant roots in a form they can absorb immediately. This bypasses the slow breakdown that happens in soil.
Brew compost tea by steeping finished compost in water for 24 to 48 hours, then strain and apply it to your window box soil. The microorganisms in the tea colonize your soil and break down organic matter faster than passive decomposition alone. This cuts your feeding schedule and reduces nutrient lockup. Apply every two weeks during the growing season for consistent nutrient availability without synthetic fertilizers.
Mirror The Forest Floor Exchange
Biology calls this nutrient cycling, and your window box operates on the exact same principle as a forest floor: dead material becomes food for the living system. Most people miss this because they think window boxes are separate from natural systems. They’re not. They just operate at a smaller scale and faster pace.
Layer your window box with organic matter in stages. Start with coarse compost at the bottom, add finished compost in the middle, and top with fresh mulch. As mulch breaks down, it feeds the soil below. The fungi and bacteria working through these layers extract minerals, make them bioavailable to roots, and prevent nutrient depletion. This cycle repeats continuously if you refresh the top mulch layer every six weeks.
Pruning And Deadheading: Sculpting Your Window Box Flower Arrangement
How To Control Plant Shape And Density
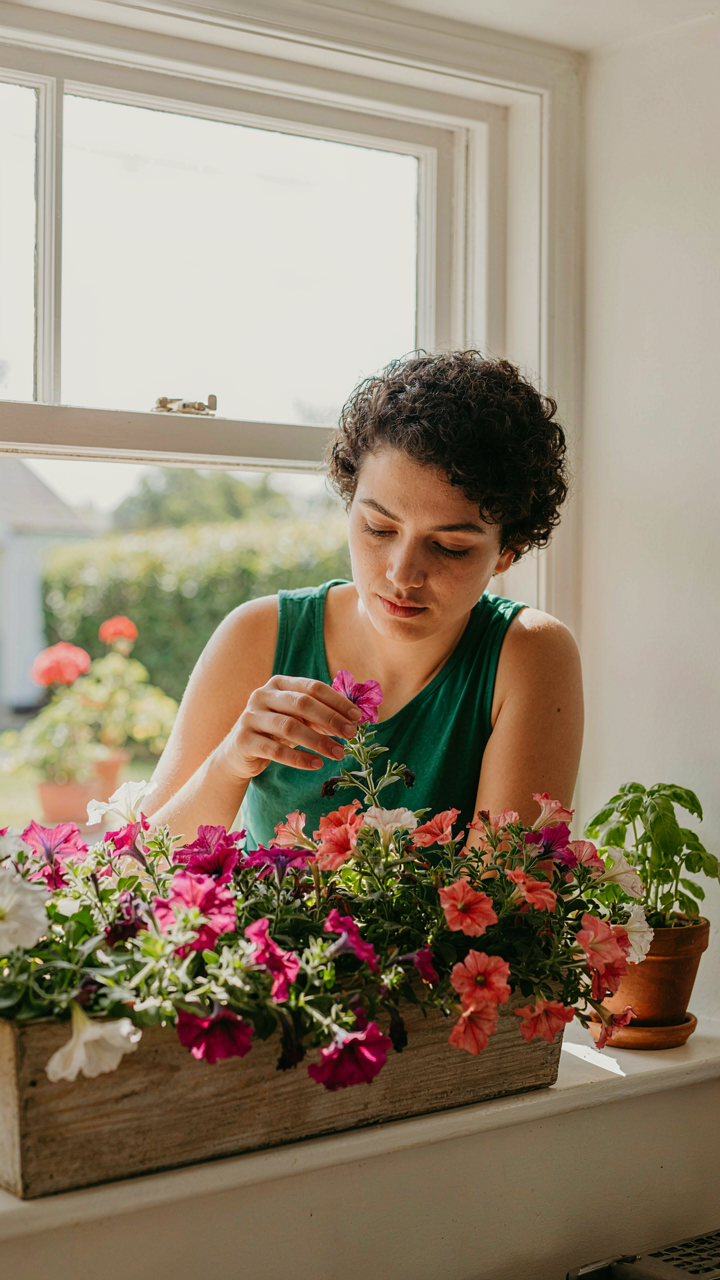
You want your window box to look full and intentional, not sparse and neglected. That’s the real reason this matters. The mechanism is simple: pruning removes the apical meristem, the growth point at the tip of each stem. Cut it off, and the plant redirects energy to lateral buds lower down. You get branching instead of one vertical shoot. More branches equal more flowers and denser foliage in a confined space.
Most people wait too long to prune. Start early in the season when plants are small. Remove the top quarter inch of new growth every seven to ten days. This trains the plant to bush outward rather than climb. Pinching back new stems repeatedly before flowering begins prevents leggy growth entirely. Dense plants flower more reliably because they have more branch tips available for blooms.
Removing Spent Flowers To Maintain Bloom Production
Biology gives us the mechanism here: plants flower to set seed. Once a flower produces viable seeds, the plant’s reproductive goal is complete, so it stops flowering. Deadheading interrupts this cycle by removing seed pods before they form. The plant thinks it failed to reproduce and keeps producing new flowers to try again. This is energy redirection at work.
Remove spent blooms every two to three days during peak season. Pinch the entire flower head off where the stem connects to the calyx. Don’t just pull petals. Leave the stem intact only if new flower buds are already forming directly behind it. On perennials like calibrachoa and petunias, aggressive deadheading extends bloom time by weeks. This single habit separates maintained boxes from abandoned ones.
Pest & Disease: The Proactive Defense Strategy For Window Box Flowers

Stop Waiting For Visible Damage
You want to avoid the embarrassment of a thriving pest colony visible from the street. Here’s what actually works: integrated pest management borrowed from agriculture means you stack multiple small barriers instead of gambling on one solution. The mechanism is prevention layers, not reaction. Monitor your boxes twice weekly by inspecting leaf undersides and soil surface. Catch aphids, spider mites, and whiteflies before populations explode. Most beginners skip this step entirely and wonder why their petunias collapse in July.
- Inspect leaf undersides weekly: Pests hide on the underside. Use a handheld magnifier if needed. This is where mites and aphids establish colonies before you see visible damage.
- Check soil moisture and drainage: Soggy soil attracts fungus gnats and root rot fungi. Proper drainage is your first defense against disease spread in confined spaces.
- Remove dead leaves immediately: Decaying plant material is a breeding ground for mold and fungal spores. Pull dead matter before it becomes a disease vector in your box.
- Monitor for powdery mildew: White coating on leaves means fungal infection. Catch it early by inspecting the top and bottom of foliage every few days.
- Scout for webbing and discoloration: Spider mites create fine webbing. Yellowed or stippled leaves indicate active infestation requiring immediate mechanical removal.
Once you spot a problem at this stage, you have options. Spray with neem oil or horticultural soap. Both disrupt insect reproduction cycles without persistence. The goal is containment, not elimination, because window boxes are too exposed to justify heavy pesticides.
Hands Are Your Best Tool
Early detection means nothing if you don’t act. Most people read about pests but never actually touch their plants. The real work is mechanical removal: knock aphids off with water spray, pinch off infested stems, or remove entire plants if disease spreads through roots. This takes five minutes per box and costs nothing.
Hand removal works because you break the pest life cycle before it completes. Aphids reproduce every seven to ten days in warm conditions. Stop them on day three, you’ve eliminated two generations. Wait until you see leaf curling, you’re fighting exponential growth. Clip infested growth back to healthy tissue. Dispose of clippings in sealed bags, not your compost pile, to prevent disease spread to other garden areas.
Winterizing: Preserving Your Window Box Investment

Know Your Zone Before Winter Hits
You want your plants to survive winter so you don’t feel like you failed. Here’s what actually matters: hardiness zones determine which plants live through freezing temperatures in your region, and that’s non-negotiable. The USDA divides North America into zones based on average annual minimum temperatures. Your zone tells you the coldest your area typically gets. Plants rated for your zone survive outdoor winter. Plants below your zone die, regardless of care.
Check your hardiness zone on the USDA map using your zip code. Match it against the zone rating on plant tags before you buy anything for your box. A plant rated zone 5 survives zone 5 winters but fails in zone 3. Don’t assume perennials in your box will make it through just because they’re in the ground elsewhere. Window boxes expose roots to harsher conditions than in-ground plantings because cold penetrates from all sides, not just the top.
Protect Materials Before Frost Arrives
People tell you to “drain your boxes” but that’s incomplete advice. Biology teaches us about osmotic pressure, and your window box materials experience the same force: water expands when frozen, and it destroys wood, ceramic, and concrete from the inside. Drainage prevents standing water, but material protection stops the damage that drainage alone can’t solve.
Wooden boxes need a protective sealant before winter arrives. Use exterior polyurethane or marine varnish in fall, before temperatures drop. Ceramic and terracotta boxes crack easily in freeze-thaw cycles. Either move them indoors or wrap them with burlap. Metal boxes rust during wet winter months. Drain completely, dry thoroughly, and apply a thin coat of rust-preventative oil to exposed metal. Start this process before the first frost warning, not after.
The Real Obstacle Isn’t Your Skill; It’s Your Expectation Of Instant, Passive Beauty

Most people fail at window boxes because they expect them to thrive on neglect. You planted flowers, so they should just grow, right? Wrong. The shift you need is simple: stop viewing maintenance as a chore and start viewing it as the actual gardening. Water your boxes every two days this week. That single action reveals what actually kills window gardens—not incompetence, but the fantasy that beauty compounds without work.



