
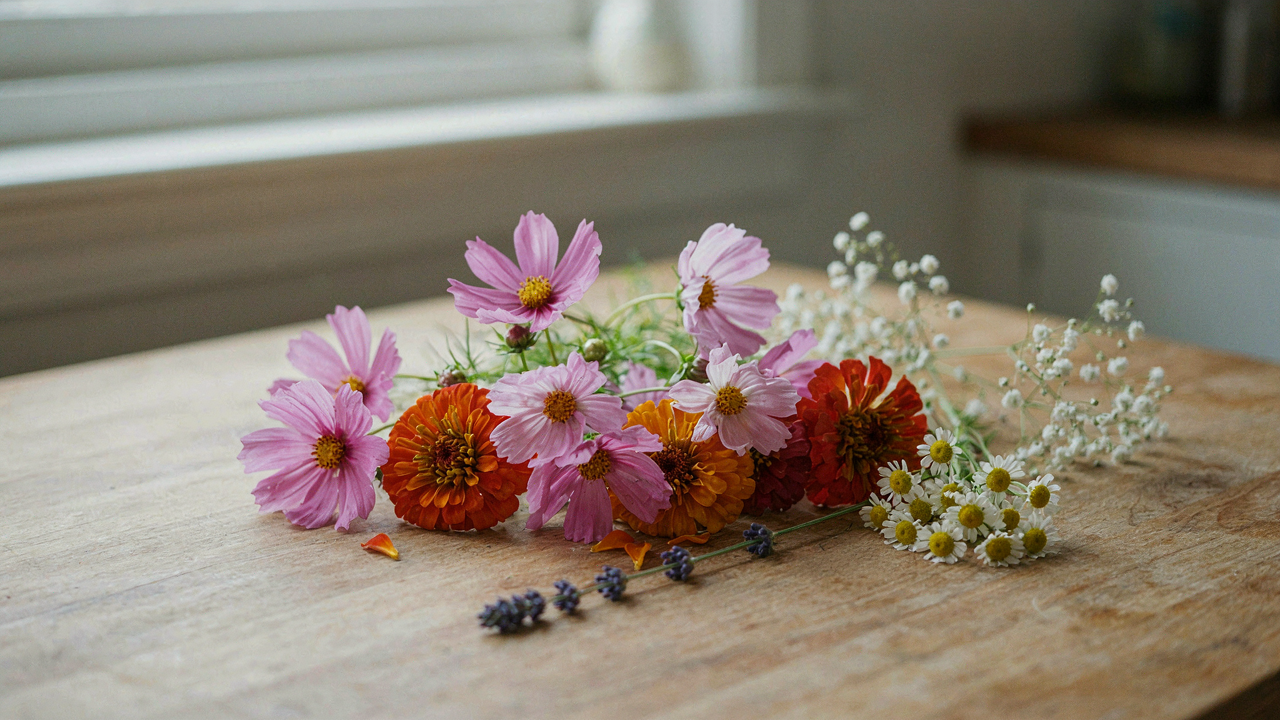
The Preservation Paradox: Why “Delicate” Destroys Wildflowers

Treating Them Like Museum Pieces
You want wildflowers to last forever because impermanence feels like failure. Here’s the mechanism: the standard preservation advice treats wildflowers as fragile artifacts requiring sterile conditions and maximum protection. This approach contradicts the biology. Wildflowers evolved in variable light, humidity, and temperature. Locking them in controlled perfection actually accelerates degradation because you’re fighting their material nature instead of working with it.
The common guidance says handle minimally, keep in darkness, maintain exact humidity. This is incomplete. Wildflowers degrade from three vectors: enzymatic breakdown, moisture imbalance, and oxidation. The sealed, dark approach stops moisture exchange but concentrates ethylene gas that wildflowers themselves produce as they age. You’ve created an accelerant chamber. The real mechanism is managing which degradation happens slowest, not eliminating degradation entirely.
The Mess Works Better Than The Plan
Wildflowers survive centuries in herbarium collections not because of perfect conditions but because of active, imperfect handling. Botanists press specimens between paper, move them, handle them, expose them to light and air. The friction itself removes excess moisture and prevents the stagnant decay that sealed preservation creates. Your instinct to leave them untouched is the mistake.
The preservation that actually works treats wildflowers as porous materials requiring friction and air exchange, not sealed objects. You dust them. You rotate their position. You let ambient light reach them in phases. Movement and mild exposure trump perfect stasis. Start by pressing your bouquet between newsprint for three weeks, changing the paper every three days, rather than sealing it in a dark box on day one.
The Rapid Reaction Protocol: Time Is The True Solvent
Minutes Matter More Than Method
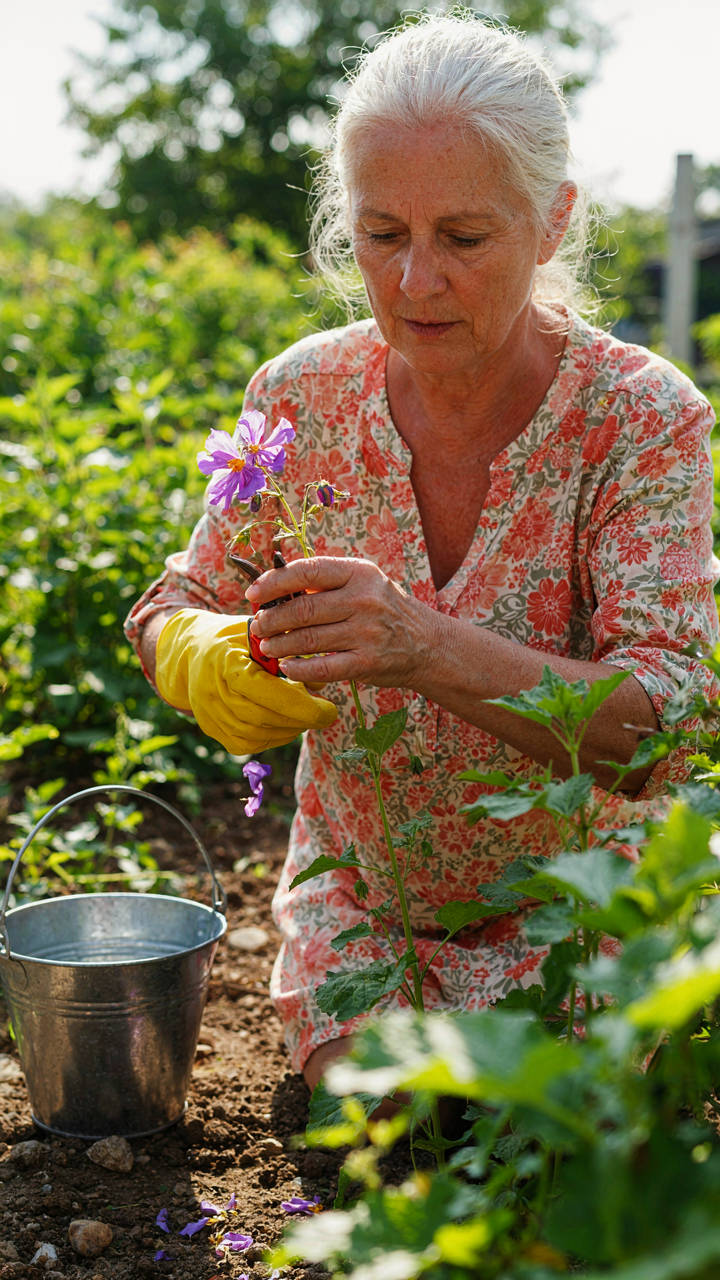
You want the bouquet to last because throwing money at flowers that die feels like personal failure. Here’s the mechanism: flowers begin cellular breakdown the moment they’re cut. The longer they sit without water, the more air enters the stem vessels and blocks water uptake downstream. This isn’t metaphorical damage you can fix later with better technique. The first 30 minutes after cutting determine whether your preservation method even has material to work with. Most people waste this window by arranging first and hydrating second.
Cut stems the moment you remove flowers from the ground. Bring a small container with water and submerge the cut end within two minutes. Don’t let stems dry in air while you’re deciding which flowers look best together. Transport them in water, not wrapped in paper. The difference between bouquets that last three weeks and bouquets that wilt in five days often comes down to whether someone understood this 30-minute window.
Harvest Before The Heat Peaks
Early morning is the standard recommendation, and it’s correct for a specific reason rooted in plant physiology, not folklore. Flowers harvested before 10 AM still carry maximum internal water pressure. Their cells are turgid, their vascular tissue hasn’t begun the daily stress response to heat, and they haven’t yet deployed energy reserves defending against temperature swings. Cut at peak heat or late afternoon and you’re harvesting a flower already in mild shock, primed to decline faster.
Select fully open blooms or those in the exact moment before full bloom opens. Tight buds won’t develop properly once cut because they lack the internal resources. Cut at the base of the stem at a 45-degree angle using sharp pruning shears, never scissors or dull blades. The clean cut closes fewer vessels and allows faster water absorption than a crushed stem. Get the cut flowers into cool water within 120 seconds of cutting.
Beyond Silica Gel: Unorthodox Drying For Untamed Blooms

Hang Them Upside Down First
You want the method that looks deliberate, like you know what you’re doing. The real reason hanging works comes straight from physics: gravity pulls water downward, and capillary action in flower stems naturally moves moisture upward toward the bloom. Reverse the stem’s orientation, and you fight that upward flow. The water that would pool in petals instead drains toward the cut end. Tie stems with twine in bundles of five to seven stems max. Space bundles two inches apart. Hang in a dark corner at room temperature, not direct sunlight.
The common advice stops there. Nobody explains that stem thickness matters. Thin stems like baby’s breath dry in three to five days. Thick stems on zinnias or sunflowers need ten to fourteen days. If you flip your bouquet too early, the petals collapse as moisture leaves the bloom before the stem fully dries. Wait until stems snap cleanly when you bend them. Only then move to secondary drying methods or storage.
Air Movement Wins Over Static Rooms
Stagnant air doesn’t dry flowers faster, it just creates pockets where moisture condenses and causes mold. Borrow the concept from HVAC design: differential pressure. Moving air removes the moisture-saturated layer directly around each petal and replaces it with drier air. Position a standing fan two to three feet away. Set it to low speed pointed at the hanging bouquets, not directly against them. The goal is gentle circulation, not wind force that batters petals.
Test airflow by lighting a match near your setup. The flame should bend slightly, not flicker wildly. A room with one open window and a fan running beats a sealed closet with no movement. Humidity matters too. Anything above 60 percent slows drying by half. If your space stays humid, run the fan for eight to twelve hours daily. Don’t guess when drying finishes. Check stems weekly by attempting to snap one. Brittle, not bendable, means the process is complete.
Pressed Wedding Flowers: The Paper Press Method (No Fancy Tools)

How Books Become Your Pressing Tool
You want the pressed flower result without buying another tool you’ll forget about in six months. The mechanism is simple: pressure plus time plus moisture removal equals preservation. Think of this like load-bearing in architecture—you’re distributing weight evenly across surface area so no single point gets crushed. A heavy book does exactly that. The paper absorbs moisture while the book’s weight flattens the flower without concentrating force on fragile petals or stems.
Start with any hardcover book thicker than two inches. Lay a paper towel inside, place the flower face-down on it, then close the book. Stack additional books on top to increase pressure. This setup takes thirty seconds. Check the flower after three days to confirm moisture is leaving the petals. If they still feel waxy or thick, rotate the paper towel and wait another week.
Getting Pressure Right Without Crushing Petals
Most advice says “use a heavy book.” That’s incomplete. Weight matters, but contact surface matters more. A single point of pressure will bruise petals black. Even distribution prevents damage. Lay paper towels on both sides of the flower—this creates a barrier that spreads force across the entire bloom instead of targeting weak spots.
The paper towel is the critical component, not the book weight. It wicks moisture from stems and petals while creating micro-gaps that allow air circulation. Replace towels every two days for the first week. This speeds drying and prevents mold. Once petals feel papery to touch, you can reduce checking frequency to weekly. The flowers are preserved when they no longer release moisture into fresh paper towels.
The Wax Dip Method: Sealing Impermanence Into A Keepsake
Paraffin Versus Beeswax: Which Actually Works
You want the dipped bouquet to look intentional, not like it survived a craft store accident. Here’s the mechanism: paraffin and beeswax both create a moisture barrier, but they do it differently. Paraffin is a petroleum byproduct that hardens fast and costs nothing. Beeswax is slower to set, remains slightly flexible, and costs more. The choice depends on your end goal, not sentiment.
Paraffin wins for speed and uniform coating. It hardens in minutes and produces a clean, glossy finish that doesn’t yellow for months. Beeswax wins if you need flexibility—it won’t crack when bouquets shift during storage, and it develops a natural patina that reads as intentional aging. Neither preserves flowers longer than they already last. Both simply delay moisture loss. Use paraffin for visual preservation. Use beeswax for structural resilience over time.
Temperature Control For A Perfect Protective Layer
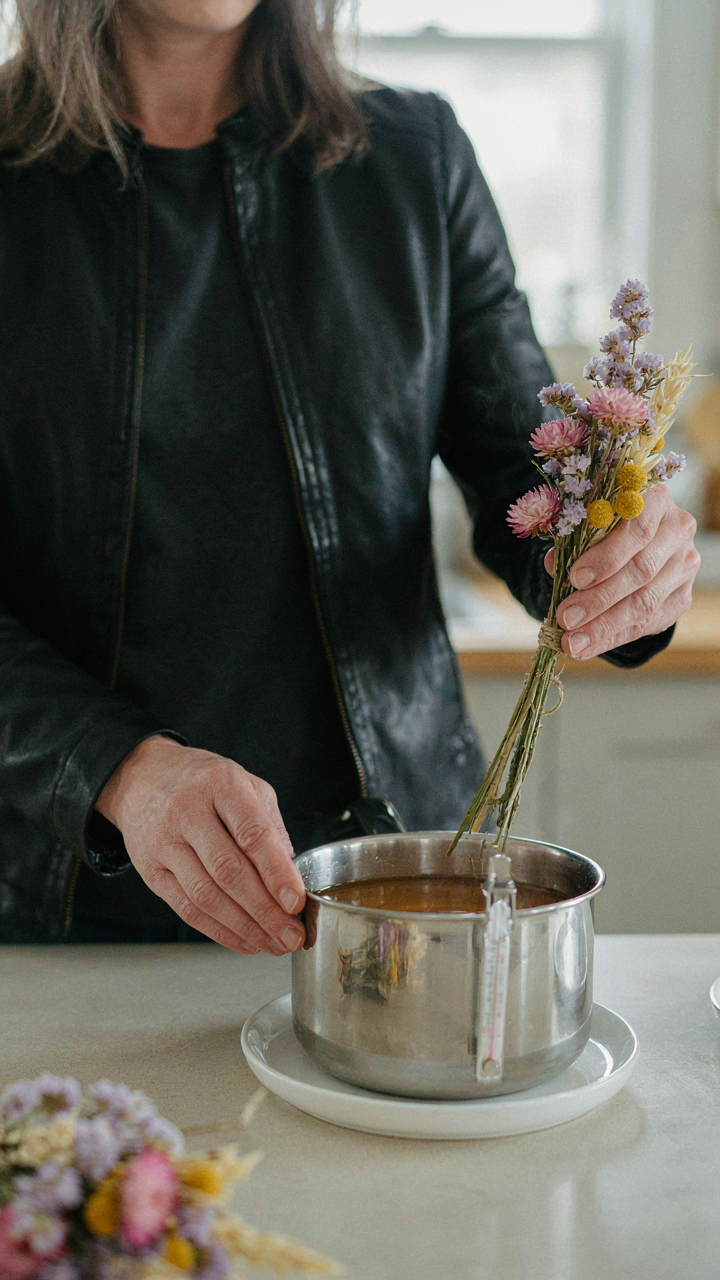
Wax dipping is applied thermodynamics: you’re suspending flowers in a liquid medium that must stay warm enough to coat but cool enough not to cook your specimen. The standard mistake is keeping wax too hot, which causes rapid moisture evaporation inside the flower tissue before the wax seal completes. That kills the preservation instantly and leaves you with brittle, discolored petals trapped inside a flawless shell.
The optimal range is 160 to 180 degrees Fahrenheit for paraffin, and 140 to 160 for beeswax. Use a thermometer. A double boiler keeps temperature stable without hotspots. Dip for two to four seconds maximum on the first pass. Let the wax coat cure for 30 seconds, then repeat for full coverage. Multiple thin layers outperform one thick dip. Check temperature between batches because it drifts.
Pressed Wedding Bouquet: Crafting With Dried Wildness
The Minimalist Arrangement Method
You want proof the moment mattered. That’s what drives people to frame dried flowers—not nostalgia, but evidence. The real mechanism here is constraint forcing clarity. When you work with pressed wildflowers, you have limited material and zero second chances. This forces deliberate placement instead of the dense, forgiving arrangements fresh flowers allow.
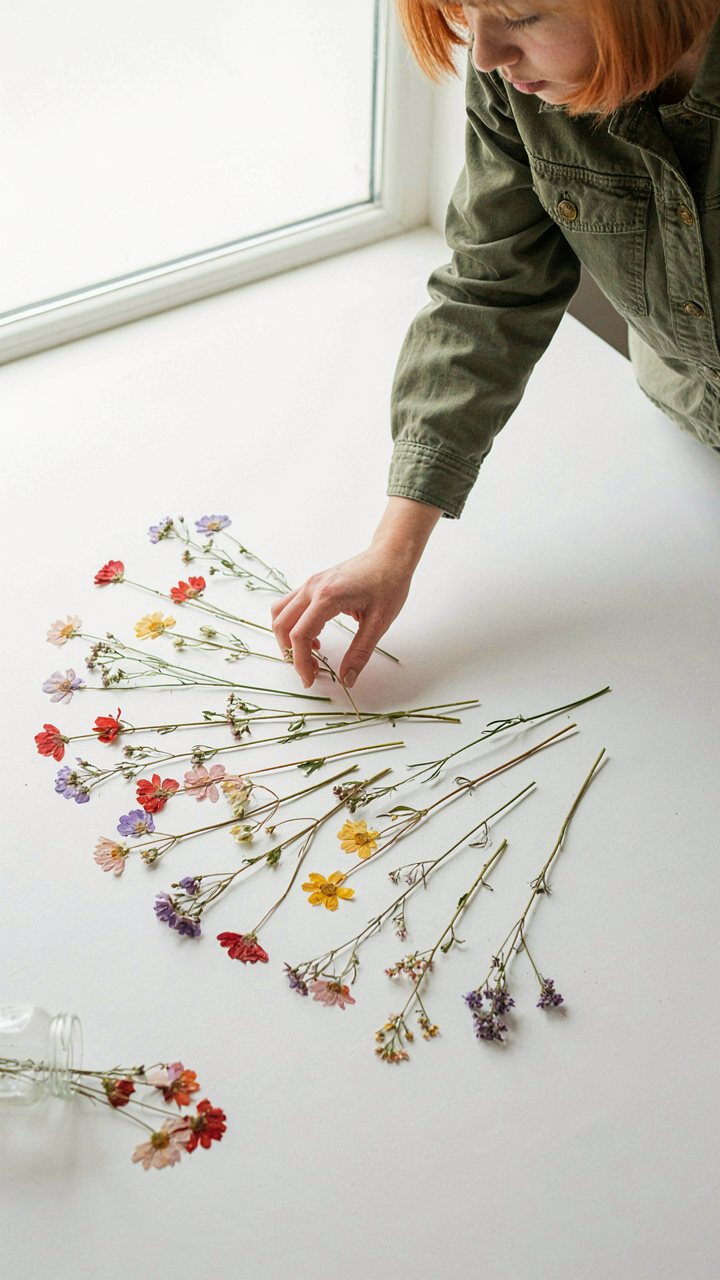
Start by grouping stems by height after pressing. Lay them flat on your work surface in the exact configuration you want before adhering anything. Vary the visual weight by clustering similar blooms in one area while spacing delicate stems across open zones. This creates rhythm without requiring perfect symmetry. Avoid the trap of filling every gap.
Framing, Mounting, And Long Term Stability
The conservation field uses a principle called reversibility: every treatment should be undoable without damaging the original material. Apply this to your mounting. Irreversible adhesives lock you into one design forever while reversible methods let you adapt. Most people skip this thinking they’ll never change anything. They’re wrong.
- Acid-free mat board: Prevents chemical degradation by isolating pressed flowers from paper pulp breakdown that yellows and brittles material over decades.
- Wheat paste or archival gel medium: Creates reversible bonds strong enough for display without permanent adhesion that destroys flower tissue if removed.
- UV-filtering glass: Blocks wavelengths that fade pigment fastest. Standard glass transmits full spectrum and reduces flower color by 40-60 percent annually in direct light.
- Silica capsules in frame: Maintains 35-45 percent humidity inside sealed frames, the sweet spot that prevents brittleness and mold simultaneously.
- Backing paper overlap method: Mount flowers on mat board, then overlay backing paper without sealing edges, allowing air circulation while protecting reverse side from dust.
Mount your arrangement at least one-eighth inch away from glass to prevent condensation damage and mold growth. Seal the frame back with acid-free tape only at corners and edges, leaving a small gap at the bottom for passive air exchange. This prevents the trapped moisture that kills pressed wildflowers faster than anything else. Check the frame quarterly for humidity shifts and adjust silica capsules accordingly.
Flower Bouquet Preservation: Beyond The Bouquet, Into The Art

Resin Casting Small Flowers: Clarity And Curing
You want to preserve wildflowers in a way that looks intentional, not desperate. The mechanism is borrowed from materials science: polymerization is the controlled transformation of liquid into solid. Epoxy resin doesn’t just dry like water. It chemically bonds across its molecular structure, trapping your flowers in a stable matrix that won’t yellow or degrade for decades. Most people skip the prep work and wonder why their flowers turn brown inside the resin. The real issue isn’t the resin. It’s moisture. Flowers contain water. Water and epoxy don’t mix chemically, so trapped moisture creates pockets of degradation around each petal.
Dry your wildflowers completely before casting. Two to three weeks in a dark, low-humidity space with air circulation works. Once dry, dust them clean and arrange them in your mold. Mix epoxy at the exact ratio the manufacturer states. Pour slowly in thin layers rather than one thick pour. This prevents air bubbles from forming around the flowers and reduces the chance of moisture pockets. Cure in a warm environment between 70 and 75 degrees Fahrenheit. Temperature controls the speed of polymerization. Too cold and the cure takes weeks. Too hot and the resin sets unevenly. Check the manufacturer’s cure time before demolding. Demolding too early fractures the piece.
Botanical Art Pieces From Preserved Flowers
Casting flowers in resin isn’t the only way. The Arts and Crafts movement rejected mass production by celebrating handmade objects with visible natural materials. Your wildflower preservation can follow that same logic: the point is to showcase the flower itself, not hide it behind marketing language. Frame designs, shadow boxes, and pressed flower arrangements let the botanical form dominate. These methods work because they accept what flowers are: delicate, temporary, valuable precisely because they’re finite.
Layer your preserved wildflowers with complementary materials. Pair dried blooms with handmade paper, fabric scraps, or watercolor washes. Mount them in frames that let light pass through. Backlighting reveals the flower’s cellular structure and creates depth without making the piece feel contrived. The frame is the container for the specimen, nothing more. Label the flowers with their common and Latin names if you collected them yourself. This transforms the piece from decoration into documentation. What you’re building is a record of what existed in a specific place at a specific time.
The Longevity Lie: When Preservation Becomes Obsession
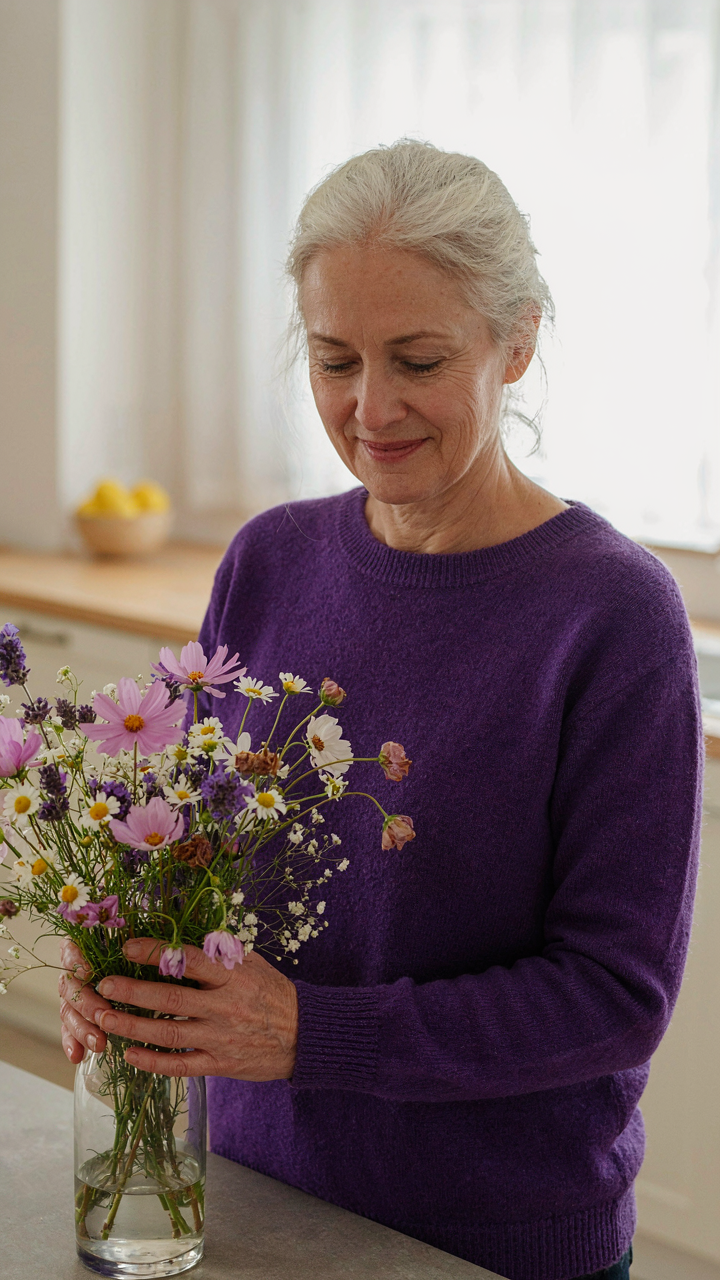
Beauty Exists In Decay
You want the bouquet to last forever because you’re afraid of loss. That’s the real issue. But here’s what actually happens: wildflowers are built on entropy. Their petals contain water and cellular structure that degrades on a fixed timeline. Fighting this timeline doesn’t preserve beauty—it just delays the inevitable while making the arrangement stiff and unnatural. The real mechanism is acceptance. A wildflower bouquet that fades over two weeks teaches something a perfectly preserved specimen never will.
The common advice tells you to chase perfection through preservation techniques. Wrong approach. What matters is the transformation itself. Watch a cosmos lose its color gradient. Notice how a black-eyed Susan darkens at the edges. These changes aren’t failures—they’re the bouquet doing exactly what it was designed to do. The shift from peak freshness to gentle decline takes two to three weeks with basic care like water changes and cool placement. That timeline is the feature, not the bug.
When Preservation Stops Serving You
Redefine what preservation actually means. Most people think it’s about freezing things in time. That’s the wrong frame. Real preservation is about maintaining the connection between you and the object for as long as that connection matters. It’s an economic concept: you’re spending attention and resources on diminishing returns. At some point, the effort to keep a bouquet alive exceeds the value you get from it.
Stop when the flowers become brittle stems in brown water. That’s not preservation—that’s denial. The actual protocol: keep the bouquet until two thirds of the petals have dropped or turned papery. Document it with a photo. Compost it. Start fresh. This completes the cycle instead of stretching a dead thing past its purpose. The real skill is knowing when to let go.
The Real Obstacle Isn’t The Flower; It’s Your Resistance To Its Natural Cycle
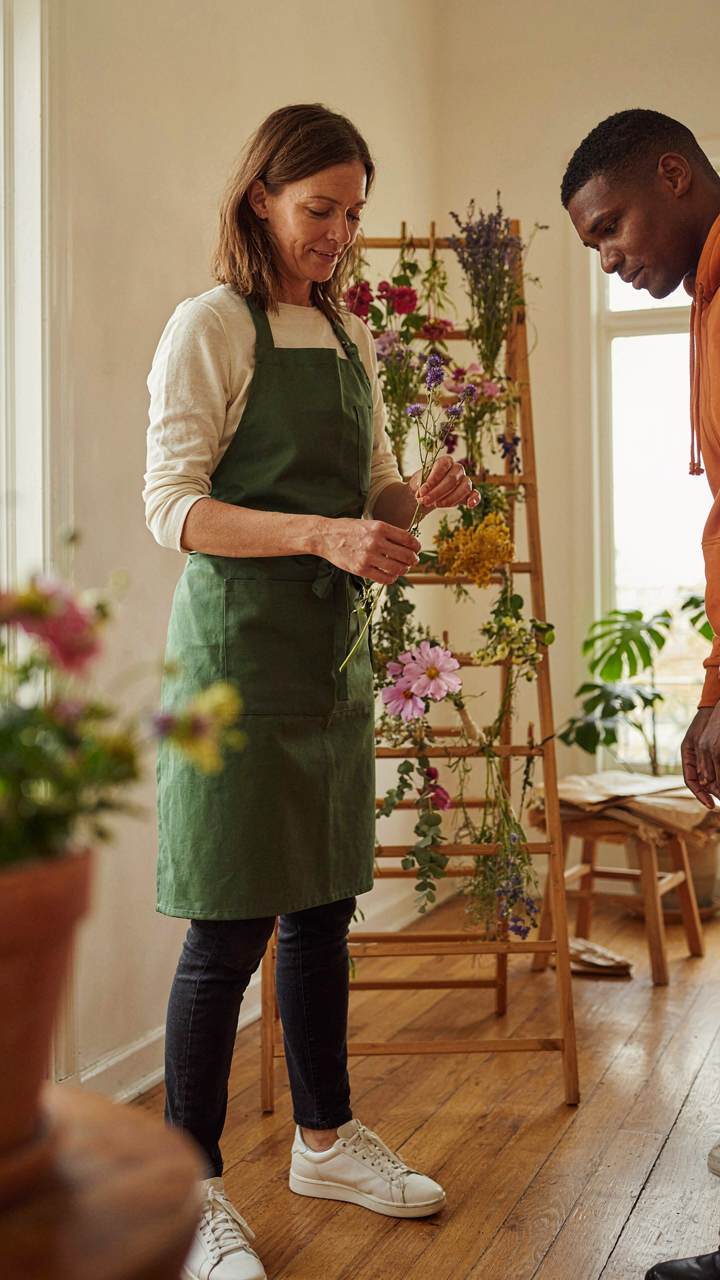
You’re fighting nature when you should be directing it. Wildflower bouquet preservation works because you stop pretending flowers last forever and start making them last longer on purpose. The shift is this: acceptance plus action beats denial every time. Pick one method today. Hang dry a stem. Press a petal. Do it now, not when you find the “perfect” technique. Preserved flowers only exist because someone chose to act before the moment vanished.



