
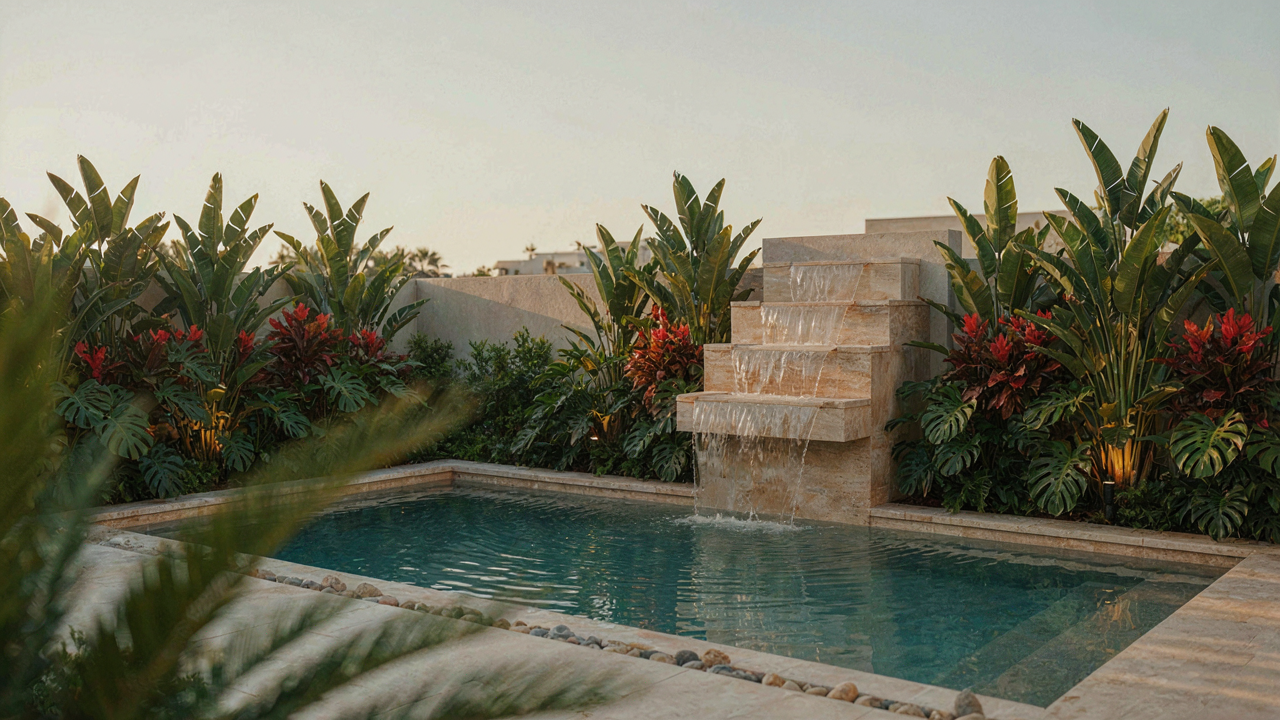
The Illusion Of “Beautiful” And The Truth Of Intentional Design
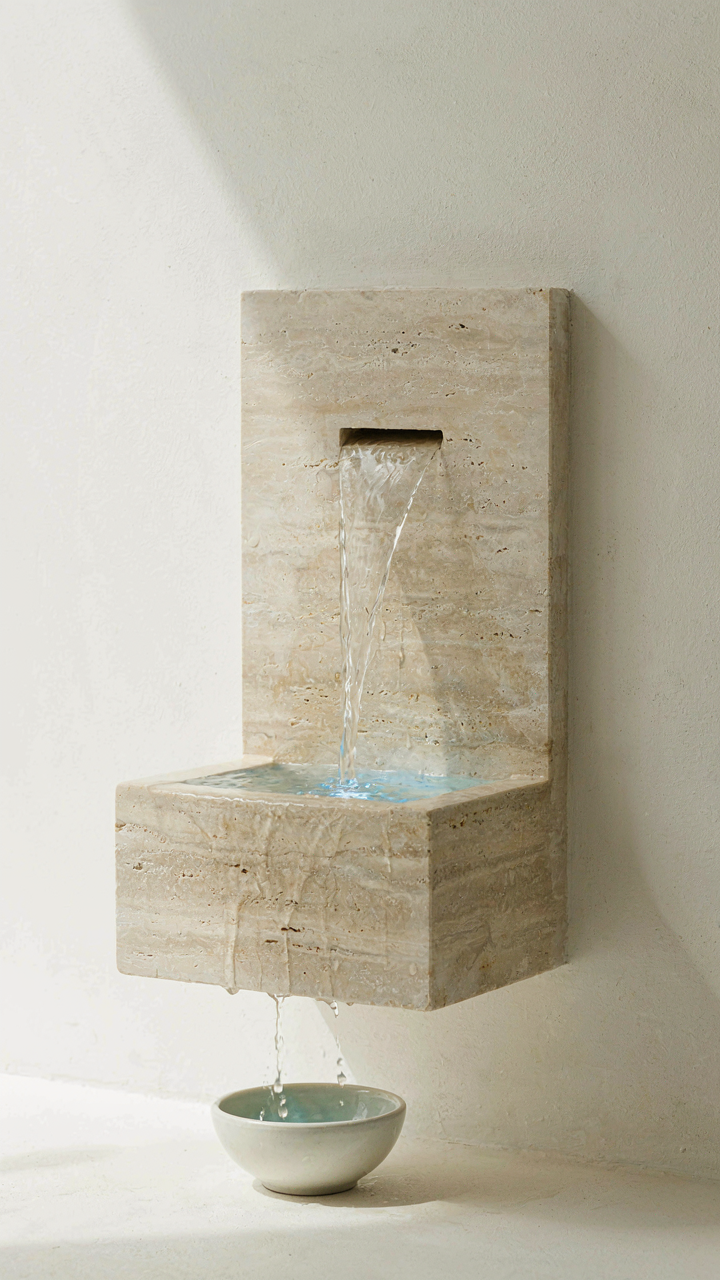
Where Generic Advice Breaks Down
You want your water feature to look like it belongs in a magazine spread. That’s the real reason you’re reading this. But most lighting advice floats somewhere between vague and useless because it skips the actual mechanism: light solves a problem before it creates an aesthetic. Generic guidance talks about “accent lighting” or “ambient mood” without naming what those terms actually do. The mechanism is contrast. Light doesn’t make things beautiful. Light creates depth by separating what you want seen from what you want hidden.
Most advice tells you to “layer your lighting” or “use warm tones for ambiance.” This is incomplete. It treats water feature lighting like decoration instead of a functional system. The real constraint isn’t aesthetics. It’s physics. Light travels through water differently than through air. It refracts, reflects, and loses intensity based on depth, water clarity, and angle of entry. You can’t apply the same logic you’d use for landscape lighting to a fountain or pond without accounting for these variables. Water feature lighting requires you to design backwards from the water’s optical properties, not from what you think looks nice.
Purposeful Design Starts With Constraint, Not Feeling
Lighting design borrows from architecture: form follows function. With water features, function means revealing the water’s movement and surface without creating glare or losing the effect in ambient light. You choose a light source and position based on what the water does, not what you imagine it should look like. A submersed light in still water creates a glow. The same light in moving water creates scatter and shimmer because the surface breaks the beam. Position matters more than wattage. Angle matters more than color temperature.
The decision tree is simple and mechanical. First, identify what you want lit: the water surface, falling water, the basin, or the surrounding landscape. Second, determine the water’s state: still, flowing, or cascading. Third, choose the light type that accounts for refraction and submersion. Finally, test the angle and distance before permanent installation. Most people reverse this order and start with aesthetics. They buy lights that look trendy, then adjust their water feature to fit the lighting instead of the other way around. The mechanism that separates intentional design from guesswork is accountability: you must measure the result and adjust the input.
The 3 Tiered Illumination Protocol For Modern Pond & Waterfall Fountain

Three Light Types That Actually Do Different Jobs
You want your water feature to look intentional, not like you forgot to turn off the porch light. The real reason this matters: most people light water features wrong because they don’t understand that light serves three separate functions, and mixing them up destroys both visibility and aesthetics. Borrowed from architectural lighting design, the three-tier system uses layering as its core mechanic—just like how military strategy deploys troops at different distances to control terrain.
Ambient light provides base visibility without glare. It fills the space around your water feature so you don’t trip walking past it at night. Accent light targets the water itself, creating visual interest and directing the eye where you want it. Task light illuminates specific elements—a spillway, fountain pump, or landscape detail—making them readable and functional. Each serves a distinct role. Run all three at the same brightness and you get visual noise. Assign them different intensities and positions, and the feature reads clearly.
Depth And Drama Through Strategic Placement
Everyone says “layer your lights.” That’s incomplete advice. What matters is the distance and angle between each light source—these control whether water reads as flat or dimensional. Place ambient light at ground level facing upward to create a wash. Position accent lights below the water surface or behind it to illuminate water movement from within or behind. Put task lights at forty-five degrees to create shadow and texture. The gaps between these light sources are where depth happens, not the lights themselves.
Light color temperature compounds this effect. Warm light (2700K-3000K) makes water appear calmer and more intimate. Cool light (4000K-5000K) reads clinical and reveals structure. Most water features need mixed temperatures—warm ambient base with cool accent on the moving water—to prevent the feature from feeling either washed out or overly theatrical. Test placement before permanent installation. Move lights in one-foot increments and observe how the feature reads from your primary viewing angle. When the water looks three-dimensional rather than flat, you’ve found the protocol.
Unseen Engineering: Integrating Light Into A Modern Water Feature Wall

Where The Fixture Disappears
You want your lighting invisible because visible fixtures kill the illusion you’re paying for. The mechanism is simple: your eye follows the light source, not the lit object. Conceal the fixture and attention locks onto the water itself. This means positioning lights below the waterline, inside cavities, or behind structural elements so the beam travels unobstructed but its origin stays hidden. Recessed spotlights work here because they sit flush within the wall cavity. Submersible lights work because water masks the housing. The goal is directional light with no visible housing.
Mount fixtures at angles that bounce light off water surfaces without creating a direct line of sight from typical viewing positions. Most people place lights too shallow or too visible, defeating the entire purpose. Angle your fixtures so the path of light bends off the water feature rather than straight to the viewer’s eye. Test sight lines from where people actually stand, not from abstract angles. The fixture should feel like a ghost that only left evidence behind.
Power Runs And Load Calculation
Here’s what installers skip: calculating your total wattage before running conduit. You cannot add capacity after wiring is buried. If you plan expansion, you need that capacity factored into your initial circuit design. Most residential circuits run 15 to 20 amps. LED submersible lights draw minimal power, typically 5 to 15 watts per fixture. Halogen spotlights demand more, around 50 to 150 watts. Your total load determines whether you need a dedicated circuit or can share existing infrastructure.
Run conduit before water is added to the feature. Conduit protects wire from UV degradation and moisture intrusion over years. Bury it underground if your feature is outdoor, keeping it at least 18 inches deep in freeze zones to prevent heave damage. Use low-voltage systems when possible because they reduce shock risk and simplify installation. GFI protection is mandatory for any water feature circuit to prevent electrocution. Install your GFI breaker at the main panel, not as an outlet adapter, because it protects the entire circuit from the source.
The Psychological Impact: How Backyard Water Feature Lighting Manipulates Perception

Light Controls Dopamine Release
You care about this because you want your space to feel expensive without admitting you’re chasing status through a backyard upgrade. Here’s what actually happens: cognitive psychology has mapped how light wavelengths trigger specific neural responses. Warmer light (2700K-3000K) activates the parasympathetic nervous system, lowering cortisol and signaling safety. Cool light (5000K+) triggers alertness and mild stress. Your water feature lighting doesn’t just look good—it chemically alters how your brain evaluates the space.
Blue and amber wavelengths hitting water surfaces create a feedback loop. The brain registers moving light on moving water as dynamic complexity, which registers as “designed” rather than “random.” This is why a lit fountain feels intentional while an unlit one feels like yard clutter. The dopamine spike isn’t from the beauty—it’s from perceiving control and order in your environment. That’s the actual currency you’re buying.
Where Your Attention Goes, Value Follows
Most lighting advice tells you to “highlight focal points,” which is vague enough to be useless. What actually matters is this: light is a constraint on human vision. Your eyes physically cannot process the entire yard equally. Bright spots consume your visual bandwidth first, making everything else fade into background noise. Strategic illumination isn’t decoration—it’s attention architecture.
When you light only the water feature and leave the surrounding landscaping dim, you’ve created a visual hierarchy that makes the feature consume 60-70 percent of your perceived yard value, even if it occupies 15 percent of the actual space. This is why uplighting the fountain from below works better than overhead light—it contradicts natural light patterns, making the brain flag it as intentional rather than accidental. Position your light source so the illuminated water reflects into sightlines from your main seating area, not from obscure angles.
Dynamic Vs. Static: The Evolutionary Edge Of Adaptive Garden Water Feature Lighting

Mirror Natural Rhythms For Deeper Impact
You want your water feature to feel alive because static light feels dead, and dead doesn’t move the needle on your property’s perceived value. Biomimicry in lighting design borrows from chronobiology—the study of biological time—and maps it onto water feature lighting by matching light intensity and color temperature to actual daylight cycles. Most people throw up a spotlight and call it done. That’s not lighting design, that’s laziness.
Natural water systems don’t stay the same color or intensity all day. Dawn light is warm and dim. Midday is bright and cool. Dusk shifts warm again. Sunset fades to darkness. When your water feature mirrors this progression, the human brain recognizes the pattern as alive, which triggers deeper emotional engagement than constant static illumination. The mechanism is perceptual—your eye and brain evolved to trust environments that follow predictable natural cycles. Replicate that cycle and your water feature stops being a thing you installed and becomes a thing you notice.
Adaptive Lighting That Evolves With Use
Programmable systems give you the operational advantage: you control when, how, and why light changes, decoupling your water feature’s visual performance from the sun’s actual schedule. This matters because your backyard is lit differently in summer versus winter, and manually adjusting fixtures is friction you’ll skip after the first week.
- Sunrise simulation: Begin illumination at low warm tones 30-60 minutes before dawn to establish presence without shock to the visual field.
- Daytime dimming: Reduce intensity during bright hours so fixtures don’t compete with natural light and appear washed out or ineffective.
- Color temperature shift: Move from 3000K warm (morning) through 5000K neutral (midday) back to 2700K warm (evening) for psychological alignment.
- Dusk acceleration: Increase intensity rapidly in final 2-3 hours before dark so water features gain visual dominance as natural light drops.
- Seasonal adjustment: Modify start and end times monthly to track solstice shifts without manual recalibration of equipment.
Controllers using basic astronomy algorithms (sunrise/sunset data matched to your GPS coordinates) handle timing automatically. You set the rules once. The system executes them every day, which eliminates decision fatigue and ensures consistent visual impact. The protocol is: install controller, input location, select color temperature curve, set intensity thresholds, then test one full cycle before leaving it running.
Beyond The Bulb: Advanced Optics For Outdoor Wall Waterfall & Water Fall Decoration Ideas

Beam Angles, Lumens, And Color Temperature Selection
You want to know the “right” settings because you think it proves you understand lighting. The real mechanism is simpler: beam angle determines coverage, lumens determine visibility distance, and color temperature determines whether your water looks like a luxury asset or a municipal project. Optics borrows directly from physics—specifically the inverse square law, which states that light intensity drops proportionally to the square of distance. Apply this to water features: a narrow beam angle concentrates light on a small surface area, creating dramatic depth; a wide angle spreads light across the entire feature but sacrifices punch.
Beam angles range from 15 degrees (tight spotlight effect) to 60 degrees (broad wash). For a wall waterfall, 24 to 38 degrees works best because it holds the water column visible without bleeding light onto surrounding surfaces. Lumens matter less than most people think. You need 300 to 800 lumens depending on surrounding ambient light and feature size, not the 2000-lumen overkill Instagram demands. Color temperature below 3000K (warm white) makes water look golden and inviting; above 4000K it reads clinical. For residential installations, stay between 2700K and 3500K. Measure your feature’s width, calculate required throw distance, then select beam angle accordingly.
Specialized Fixtures For Unique Water Effects
Most water feature lighting advice skips this: standard downlights fail because water movement deflects and scatters light unpredictably. You need fixtures designed for water’s optical properties, not borrowed from landscape lighting catalogs. Submersible fixtures sit below the waterline and project upward, creating internal glow effects that define the water’s texture. Cross-stream fixtures mount opposite each other to create layered illumination that reveals depth and movement simultaneously. Both work because they account for refraction—light bending through moving water—rather than fighting against it.
Fiber optic systems offer precision control without heat damage to delicate water features or plants nearby. Programmable RGB fixtures enable color shifts that follow time of day or seasonal mood, though restraint beats novelty here. For wall-mounted waterfalls specifically, use asymmetrical beam patterns that favor the flowing water plane while minimizing reflection on the structure itself. Install fixtures on adjustable mounts so you can dial in angle after the feature’s complete; water behavior changes with pump settings and seasonal flow rates. Mount the fixture first, run water, observe the pattern, then lock position.
The Durability Doctrine: Materials That Resist Decay For Your Water Wall Feature

What Actually Stops Rust Dead
You want this to last because replacing a corroded light fixture mid-summer is expensive and embarrassing. The real mechanism: corrosion happens when metal meets electrolytes, and water features create the perfect storm for that. Think of it like military strategy—your fixture is terrain that either defends itself or surrenders to invasion. The difference is material selection and submersible rating alignment.
Most people buy fixtures rated “weather-resistant” and call it done. That’s incomplete. Water features demand fixtures rated IP68 or higher—meaning they survive continuous submersion, not just rain spray. Stainless steel (316 grade, not 304) resists saltwater better. Brass corrodes quickly unless coated. Powder-coated aluminum works if the coating stays intact, but once it cracks, oxidation accelerates underneath where you can’t see it.
- 316 Stainless Steel: Superior corrosion resistance in freshwater and saltwater environments. More expensive than 304 but lasts twice as long in wet conditions.
- IP68 Rating: Fixture survives permanent submersion at specified depth. Check manufacturer specs—not all IP68 ratings are equal past 1 meter depth.
- Marine-Grade Brass: Acceptable only with sacrificial zinc anodes or professional protective coatings. Without them, expect green patina and structural weakening within two seasons.
- Sealed LED Modules: Encapsulation prevents water intrusion into electrical components. Epoxy or silicone sealing differs—epoxy cracks under thermal stress; silicone flexes longer.
- Copper Alloys with Nickel Plating: Resists oxidation better than bare copper. Plating thickness matters—anything under 25 microns fails by year three in fountains.
The submersible rating doesn’t mean “it won’t break if submerged.” It means the fixture passed a pressure tank test at specific depths for specific durations. Match your water feature’s depth and circulation pattern to the actual IP rating, not the marketing claim.
Installation Gaps Kill Everything Else
Installation incompetence destroys durable fixtures faster than material failure does. Your contractor might position lights where water pooling creates pressure pockets around sealed connectors. Sediment accumulation in fixture housings traps minerals and accelerates corrosion from the inside. The maintenance protocol starts on day one, not year three when you notice problems.
Run submersible cables through protective conduit where they exit water lines. Seal all connection points with marine-grade silicone before the fixture ever touches water—don’t trust factory seals alone. Clean debris traps quarterly, drain fixtures in winter if you’re in freeze-thaw climates, and inspect gasket integrity annually. Replace gaskets before they visibly crack, not after. This isn’t optional maintenance. It’s the only thing between a ten-year fixture and a two-year replacement.
Your Water Feature Isn’t Underlit; Your Understanding Of Its Purpose Is
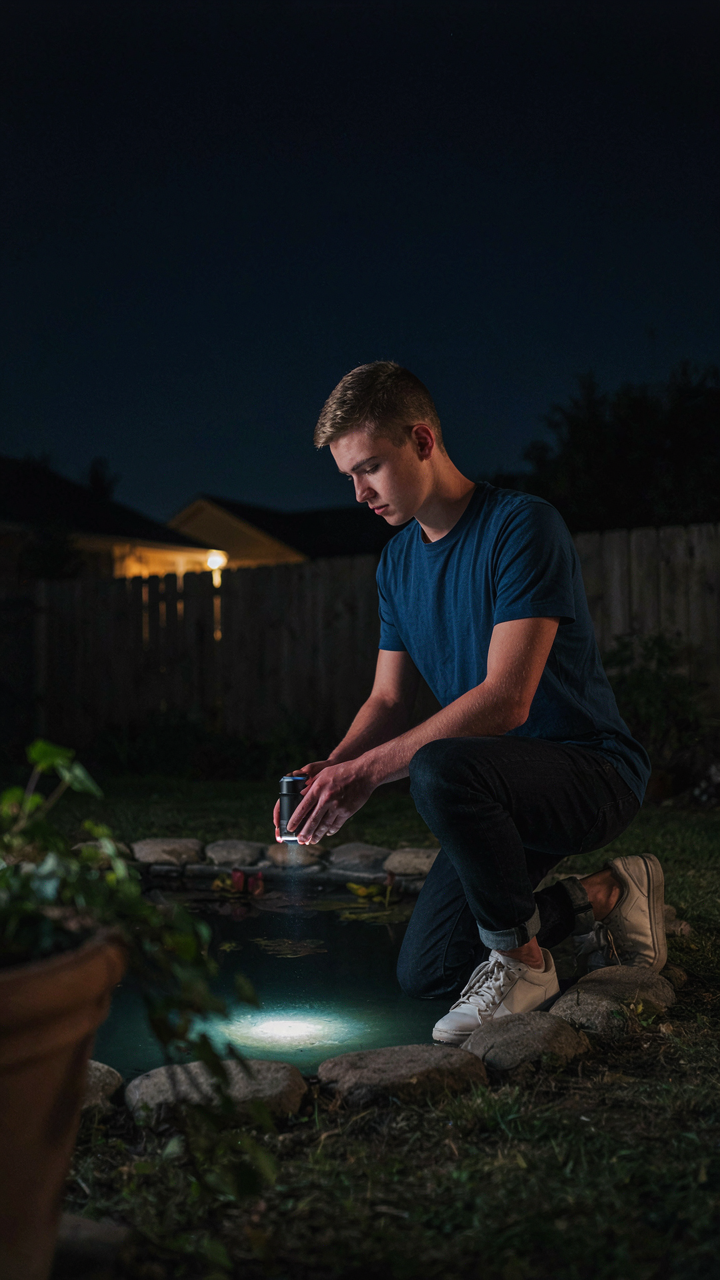
Ideas Are Actually Engineered Outcomes
You want your water feature to look impressive because you believe it signals taste. Here’s the mechanism: lighting doesn’t create ambiance—it directs attention to specific surfaces and depths based on physics. Think of it through engineering systems: input (light source) plus placement produces output (visual effect). Most people scatter lights around water and hope. Strategic placement means choosing whether you illuminate the water column, the feature’s structure, the surrounding landscape, or the water’s surface reflection. Each choice serves a distinct visual function. The reflection of light off water travels at a predictable angle determined by the light source’s position relative to the viewer’s eye. You either control this angle intentionally or you waste electricity creating glare. Identify what you want people to actually see first, then position lights to make that outcome inevitable, not accidental.
The common advice is backward. People say “add more lights” when the real problem is they’ve chosen the wrong light positions for their feature’s geometry. A poorly positioned 100-watt fixture creates worse results than a 20-watt fixture placed correctly. Start by determining your viewing angle—where will people actually stand?—then work backward to light positions that make the feature visible from that vantage point without creating harsh shadows or blown-out reflections. This is not decoration; it’s optical design applied to water.
The Real Price Of Defaulting To Generic
Thoughtless lighting costs money twice: first in hardware, second in replacement when it fails to deliver the intended effect. Generic advice sounds like “use warm LEDs” or “light from below,” which ignores your specific water feature’s material, depth, and surrounding environment. A fibreglass fountain demands different light placement than a natural stone pond. A shallow basin reflects light differently than a deep basin. When you skip the analysis and buy a standard light kit, you pay full price upfront and get mediocre results that make you think about upgrading within two years. Strategic investment means spending the same money differently: fewer fixtures, better positioned, with controls that let you adjust intensity based on time of day and season. This approach costs less over a decade because you’re not replacing failed systems or adding lights to compensate for poor initial placement. The mechanism is straightforward: correct placement eliminates the need for excess hardware to mask design failures.
Start with a site survey. Photograph your feature at the times you’ll actually use it. Identify where shadows fall and where light naturally travels. Buy one quality fixture and test it in multiple positions before committing to the full installation. Document the angle, distance, and wattage that produces your target effect. Then replicate that configuration across the feature if needed. This prevents the expensive cycle of guessing, installing, hating, and replacing.
Your Water Feature Isn’t Underlit; Your Understanding Of Its Purpose Is
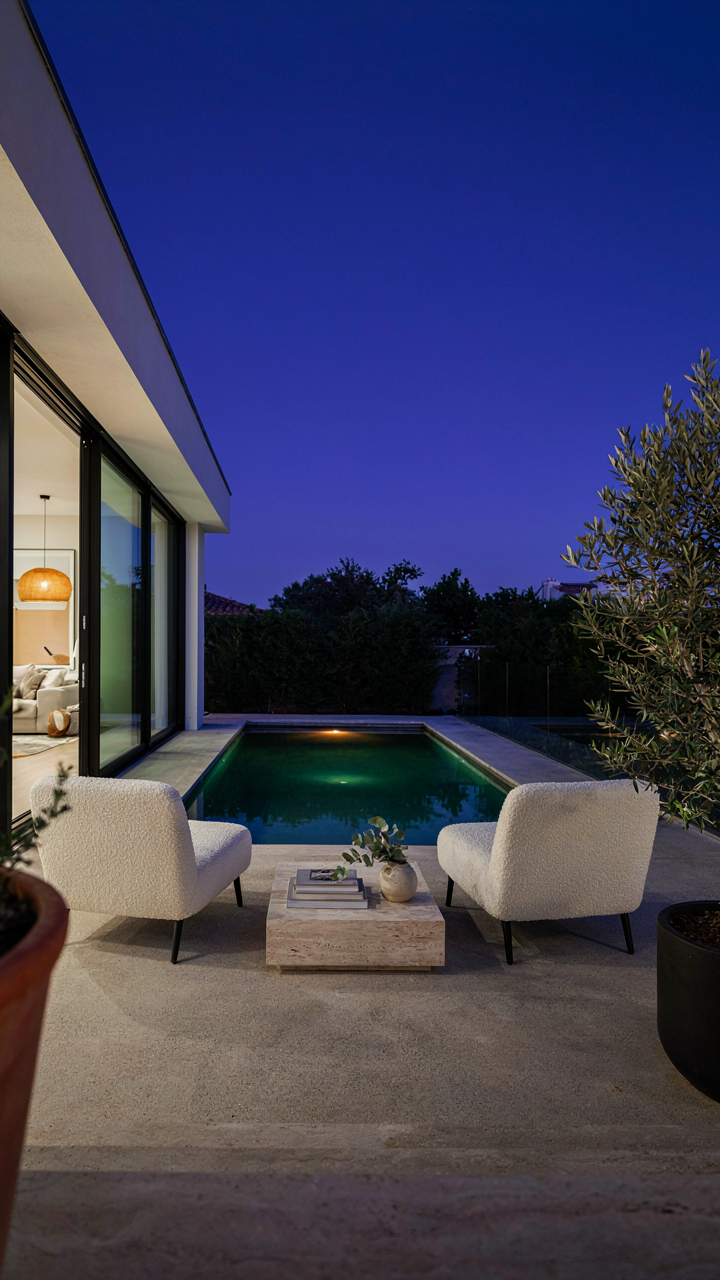
Most people light water features to make them visible at night. Wrong move. You light them to create an emotional anchor in your outdoor space. The shift: stop treating lighting as a utility and start treating it as a psychological tool. Pick one water feature in your home right now. Install a single underwater light today, not next month. Watch how it changes the entire mood of your evening. Light doesn’t just reveal what’s there; it shapes how you feel standing next to it.



