

The Thermal Regulation Fallacy: Terracotta Pots Are Not One Size Fits All

How Heat Moves Through Terracotta Walls
You want terracotta pots to solve your plant problems so you don’t have to learn plant biology. They won’t. Terracotta acts as a thermal buffer, but the mechanism depends entirely on pot diameter and wall thickness. Physics calls this thermal mass: the ability of a material to absorb and release heat energy. In terracotta pots, thermal mass scales with volume. A 6-inch pot has roughly one-third the thermal mass of a 12-inch pot, meaning it heats and cools three times faster. The porous ceramic structure accelerates this by allowing evaporative cooling through the walls, which amplifies temperature swings instead of stabilizing them.
Wall thickness compounds the effect. Handthrown terracotta (typically 0.25 to 0.375 inches thick) dissipates heat faster than industrial cast pots (0.5 to 0.75 inches). Small pots with thin walls reach ambient temperature in hours. Large pots buffer for days. This is not opinion. The soil temperature inside tracks directly with the terracotta’s ability to store thermal energy. You cannot treat a 4-inch pot the same as an 8-inch pot in the same environment and expect identical results.
Matching Pot Size To Root System Survival
Roots need temperature consistency more than they need warmth or cold itself. Rapid fluctuations trigger stress responses that interrupt nutrient uptake and kill fine root hairs. A pot too small creates a thermal death trap: the soil inside swings 20-30 degrees Fahrenheit in a single day during spring or fall transitions. A pot too large keeps soil cool for so long that microbial activity stalls and roots rot from inactivity. The root protection mechanism is simple: match pot volume to the root ball’s mature size, then use pot diameter as your primary variable, not surface decoration or brand reputation.
If roots occupy less than 60 percent of the soil volume when mature, you’ve sized wrong. That excess soil becomes a thermal liability and a moisture trap. For most houseplants, a pot diameter 1-2 inches larger than the root ball’s width maintains workable thermal regulation without creating dead zones. Seasonal moves matter: shift plants into larger pots before temperature swings peak, not after roots have already been shocked by a month of fluctuations. The protocol is size first, water second, light third.
Moisture Dynamics: How Terracotta Pot Sizes Dictate Watering Frequency

Evaporation Rates And Surface Area
You want to believe pot size doesn’t matter that much. It does. The mechanism is physics: surface area directly controls evaporation speed, and smaller pots lose water faster relative to soil volume. A 4-inch terracotta pot has roughly 50 square inches of exposed surface. A 12-inch pot has 450 square inches. The smaller pot’s surface-to-volume ratio means water vanishes quicker, forcing you to water more often.
Terracotta accelerates this because it’s porous. The material breathes water out through its walls, not just the soil top. A 6-inch terracotta pot can dry completely in 3 to 5 days depending on heat and humidity. A 10-inch pot in the same conditions takes 7 to 10 days. The soil inside doesn’t change its water-holding capacity much, but the container’s permeability acts as a timer you can’t ignore. Match pot size to your watering schedule, not your aesthetic preference.
Drainage Performance At Different Scales
Everyone says drainage holes matter. They’re right, but incomplete. The real problem is drainage velocity through soil depth. In a shallow 4-inch pot, water drains to the bottom in minutes. In a 14-inch pot, water takes 20 to 30 minutes to fully percolate, creating a stagnation window where roots sit in saturation. Larger pots demand better soil structure to prevent this lag.
Terracotta’s porous walls help here by wicking moisture from the sides, but only if the pot stays exposed to air. Pot size determines how much soil mass you’re managing. A 6-inch pot holds about 1 liter of soil. A 10-inch pot holds about 4 liters. The drainage hole diameter stays roughly the same, so larger pots need amended soil—more perlite, coarser mix—to maintain water movement. Without this adjustment, you trade a watering problem for a root rot problem.
The “Root Bound” Myth: When Tight Spaces Are Actually Optimal

How Plants Signal Confinement
You’re worried you’re damaging your plant by keeping it in a small pot. You’re not. Plant biology has a stress-response mechanism called root sensing, and terracotta pot sizing activates it strategically. When roots hit the container wall repeatedly, the plant detects physical pressure and chemical signals. This isn’t damage. This is information.
The plant reads confinement as a survival cue: resources are finite, so allocate energy accordingly. Roots stop elongating horizontally and instead branch densely. The plant shifts its growth priority upward to foliage and flowering rather than root expansion. This mechanism exists because in nature, dense root systems signal competitive pressure—grow up or lose light. Terracotta amplifies this signal through its porous texture, which lets roots sense the boundary faster than plastic.
Triggering Bloom Over Vegetative Growth
The common advice is wrong: tight pots don’t stunt plants into stunted versions of themselves. They trigger reproductive cycles. This is basic plant strategy. Vegetative growth eats energy. Flowering and fruiting signals scarcity, so the plant hedges its bet and reproduces before resources collapse. Many ornamental and fruiting plants flower more prolifically in smaller pots because the root constraint forces the metabolic shift.
Terracotta pot sizing becomes a tool here, not a limitation. A tomato plant in an 8-inch pot produces more fruit clusters than one in a 14-inch pot, because the smaller container sustains just enough root development to feed the plant while triggering reproductive urgency. The mechanism is straightforward: measure your plant’s mature root ball, then select a terracotta pot one to two inches larger in diameter. This creates enough soil volume for water and nutrient retention without padding unnecessary space that delays the flowering threshold.
The Dan Koe Growth Protocol: Sizing Terracotta Pots For Aggressive Expansion
Start Small, Scale Faster
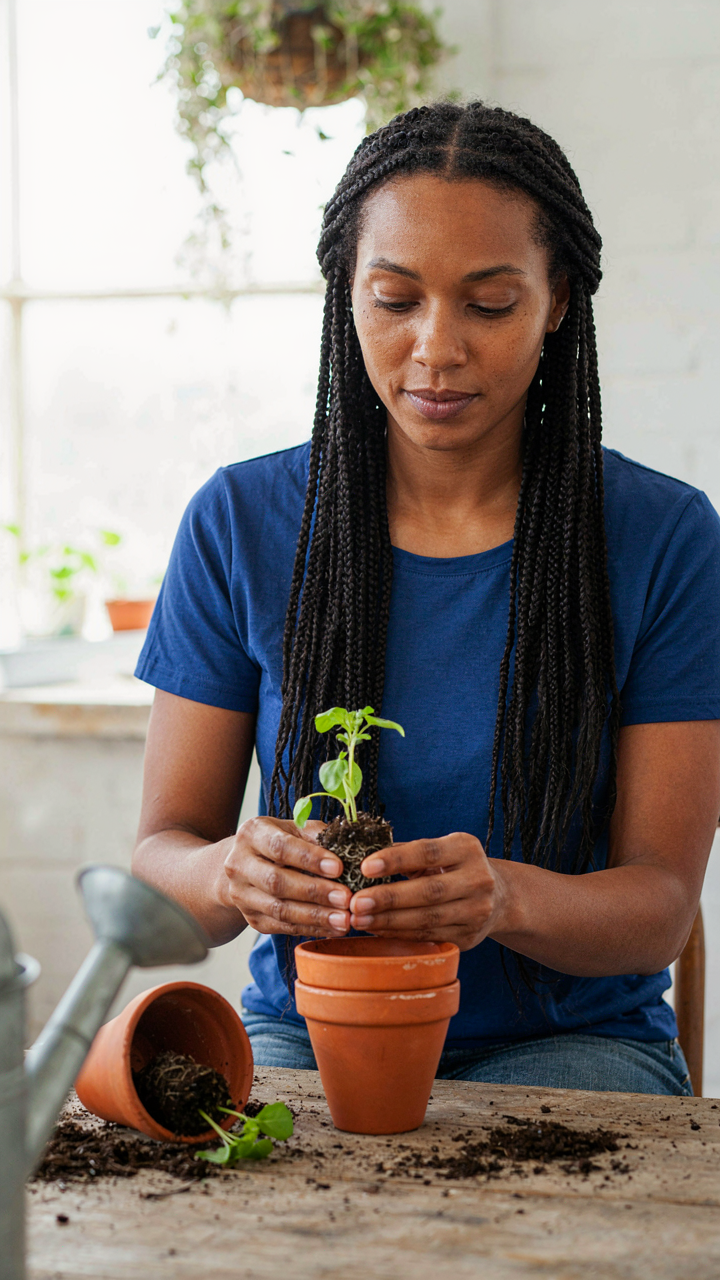
You want to know the optimal starting size because you’re afraid of wasting money on a pot your plant will outgrow in six weeks. The real mechanism is root-to-soil ratio. In biology, this is called the surface area problem. Terracotta pot sizing works the same way: too much soil relative to root mass means trapped moisture, dead roots, and stalled growth. A 4 to 6-inch pot forces the plant to develop a dense, functional root system before it wastes energy on foliage. This is non-negotiable for aggressive vegetative expansion.
The mistake most people make is starting in their final pot size. They think they’re being efficient. They’re actually creating a hostile environment. A seedling in a 12-inch pot sits in dead soil for weeks while roots search for moisture. Start at 4 inches for herbs and small plants, 6 inches for larger species. The plant fills the pot, roots hit the walls, and then you move up. The timing matters more than the size.
Upsizing Without The Growth Plateau
Strategic upsizing isn’t about moving to the next size up randomly. It’s about triggering the growth response at the exact moment the plant runs out of root space. When roots circle the soil mass and hit terracotta, they signal the plant to either stall or establish new territory. You interrupt this stall point by moving to a pot that’s 2 to 3 inches larger in diameter. This gives roots fresh soil to colonize without introducing excess moisture that kills them.
The sequence is 4 to 6, then 6 to 8 or 9, then 10 to 12 if the plant demands it. Most home growers stop here. Commercial operations know that one more upsizing to 14 or 16 inches yields disproportionate biomass gains if the plant’s root system is strong enough to handle it. Check for root-bound conditions every 3 to 4 weeks. When you see roots circling the base, move within 5 to 7 days. Delay and you lose momentum.
Microclimates & Terra Cotta Pots: A Systems Thinking Approach

How Container Size Controls Temperature Dynamics
You want to know pot sizes because you’re afraid of killing something expensive, and that fear stops you from experimenting. Here’s what actually matters: physics calls this thermal mass, and terracotta operates like a thermal battery. Larger pots absorb heat slower and release it slower. A 14-inch pot creates a lag between outside temperature swings and root zone temperature. A 6-inch pot responds in hours. The soil inside doesn’t change temperature at the same rate as air.
Terracotta’s porous structure accelerates this effect compared to plastic or glazed ceramics. Water evaporates from the clay walls constantly, which cools the root zone through evaporative loss. In hot climates, this cooling is free insurance. In cold climates, it’s a liability. The pot size determines how much surface area drives this evaporation relative to soil volume. A 10-inch pot has proportionally more exposed clay per cubic inch of soil than a 20-inch pot does.
Leveraging Porous Material For Growing Conditions
The common advice is that terracotta breathes and that’s why it’s better. That’s incomplete. Terracotta doesn’t just breathe. It creates a salinity buffer that plastic can’t replicate. Mineral deposits accumulate on the clay surface as water evaporates. This visible white crust signals that dissolved salts are being pulled outward, away from roots. Smaller pots concentrate this effect faster because the salt-to-volume ratio favors outward migration.
Pot diameter determines how quickly you can recover from watering errors. A 12-inch pot takes three to four days to dry after overwatering. A 6-inch pot dries in 24 to 36 hours. Choose pot size based on your watering discipline, not plant size alone. Match the drying timeline to how often you can actually intervene. Terracotta forces accountability into your system because the material itself refuses to hide mistakes for long.
Beyond Aesthetics: Functional Pot Sizes For Plants In Food Garden Design

Yield Determines Your Pot Size First
You want proof that your garden effort matters. That’s why pot size feels like an aesthetic choice when it’s actually a production variable. The real mechanism here is simple: root volume directly constrains nutrient uptake, water retention, and plant biomass. Bigger pots don’t guarantee bigger harvests, but undersized pots guarantee constrained ones. A tomato in a 5-gallon container produces differently than one in a 2-gallon pot, and the difference isn’t cosmetic.
Start by defining your harvest goal in concrete terms. How many tomatoes do you need? How much basil per week? Once you know the output target, work backward to the root system required. A single basil plant producing daily harvests needs 6 to 8 inches of depth minimum. A determinate tomato producing 10 to 15 fruits needs 5 gallons absolute floor. Peppers producing 20 to 30 peppers need similar volume. The pot size isn’t chosen for looks—it’s calculated from the biomass the plant must support.
Stacking Volume Against Square Footage
The constraint you face in a home garden is floor space, not pot budget. Think like a logistics operation managing warehouse density. Terracotta pot sizes function as your space efficiency metric. You can’t scale vertically indefinitely without creating shade and airflow problems, so horizontal arrangement dominates. The real trade is between pot depth and pot width given fixed square footage.
A 12-inch pot takes up 113 square inches of footprint. A 14-inch pot takes 153 square inches. The volume gain from 12 to 14 inches is roughly 25 percent, but the footprint cost is 35 percent. On a 4×8 growing table, this math matters. Choose 10-inch pots over 12-inch if your plants tolerate slightly reduced volume, and reclaim growing space for an extra 3 to 4 containers. The calculation compounds faster than most gardeners realize. Measure your available space first, define your plant list second, then select pot sizes that maximize total harvest per square foot, not individual plant size.
The Overpotting Trap: Why Bigger Isn’t Always Better For Plant Care

Waterlogging Kills Plants Faster Than Neglect
You want the safety net of extra soil. You think more room means more margin for error. Here’s what actually happens: excess soil holds water your roots never touch, and stagnant water suffocates them before thirst ever becomes the problem. This is basic hydrology applied to containers. In fluid dynamics, residence time is how long a substance stays in a system. In terracotta, residence time is how long water sits in soil before roots absorb it or it evaporates. Oversized pots stretch that time until anaerobic conditions kill root tissue.
A 6-inch pot dries predictably. A 10-inch pot for the same plant creates dead zones of wet soil where oxygen disappears. Roots rot not from water itself but from the absence of oxygen in waterlogged substrate. The mechanism is bacterial proliferation in anaerobic pockets. You can’t see it happening. By the time symptoms show, the damage is already weeks old. Match pot diameter to the root ball’s current size, not your plant’s potential future size. Repot only when roots circle the soil surface.
Nutrients Concentrate In Wrong Ratios
Oversize the pot and you dilute nutrient availability relative to soil volume. A plant in a 4-inch pot with fertilizer gets a certain concentration per watering. Move that same plant to an 8-inch pot with the same fertilizer amount and the ratio drops by half. The plant doesn’t suddenly need more nutrients. It needs the same amount in a denser package. Standard potting soil formulas assume a certain root density for nutrient uptake. Scatter those roots across excessive volume and nutrient transport becomes inefficient.
Additionally, unused soil in oversized pots accumulates salts and mineral deposits over time. When you finally water deeply enough to flush the entire pot, you’re leaching away nutrients the plant actually needs. The strategy becomes counterproductive. Size the pot so roots occupy roughly 75 percent of the soil volume. This maintains nutrient concentration within the plant’s feeding zone and prevents salt accumulation in inactive soil areas.
Seasonal Strategies: Adjusting Pot Sizes For Plants Through The Year
Winter Dormancy And Smaller Pots
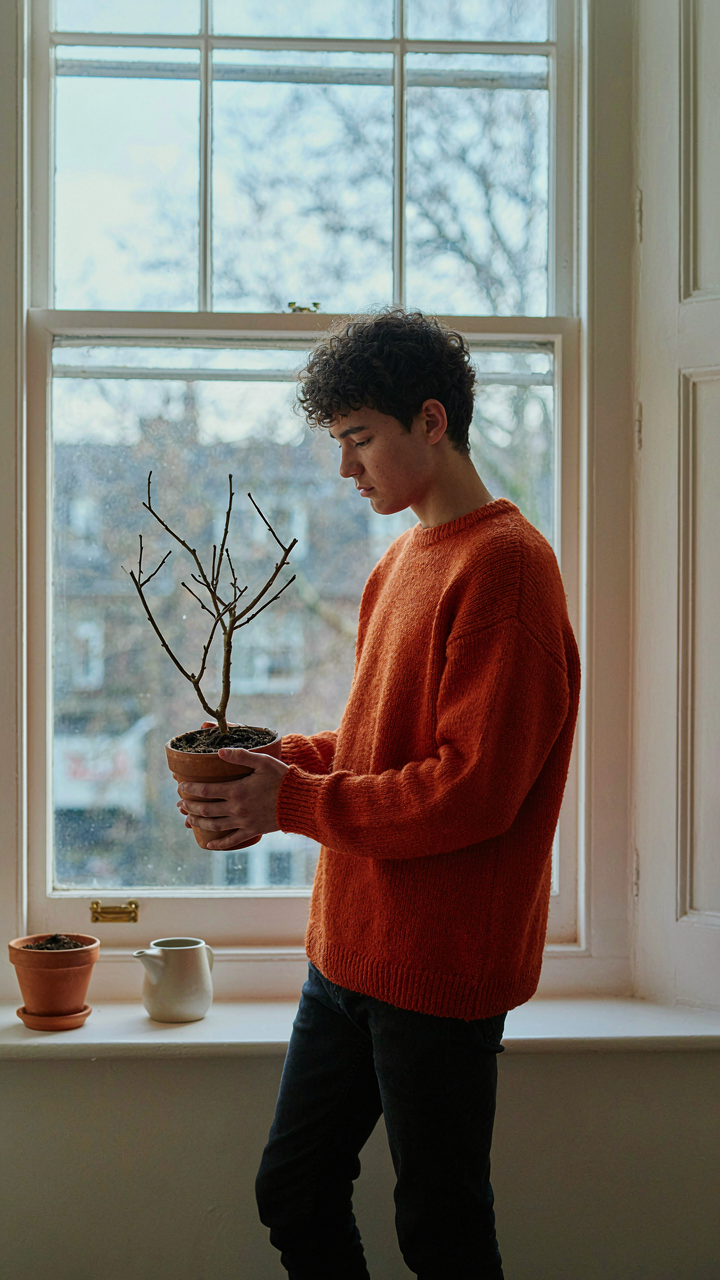
You want to believe pot size doesn’t matter in winter because you’re hoping your neglect won’t kill anything. The real mechanism is metabolic: dormant plants consume almost no water, so excess soil in a large pot stays wet and rots roots faster than any other single factor. This is basic biology applied to containers.
Move plants into smaller pots before winter arrives, not after rot starts. A plant that occupied a 10-inch pot in summer needs a 6 or 8-inch pot by November in cold climates. Terracotta dries faster than plastic, which works in your favor here, but only if the pot matches the reduced water demand. Check soil moisture once every two weeks instead of twice weekly. When spring growth returns, you’ll upsized again.
Summer Growth And Larger Pots
Summer heat accelerates both growth and water evaporation, which means your plant demands more root space and more frequent watering simultaneously. Skip the advice that says “wait until roots circle the pot.” That’s a passive signal that costs you two months of growth velocity. Upsize proactively in late spring before the growth surge hits.
A plant in a 6-inch pot during spring moves to an 8-inch pot by early June in most climates. Terracotta’s porous walls speed evaporation, so water management becomes more active during summer. You’ll water every 3-5 days instead of weekly. The larger pot volume buffers against daily temperature swings and gives roots the oxygen they need under peak photosynthesis. Establish this upsizing rhythm before June heat peaks, not after your plant stalls.
The Longevity Equation: Pot Size For Plants And Repotting Frequency
When A Plant Outgrows Its Container
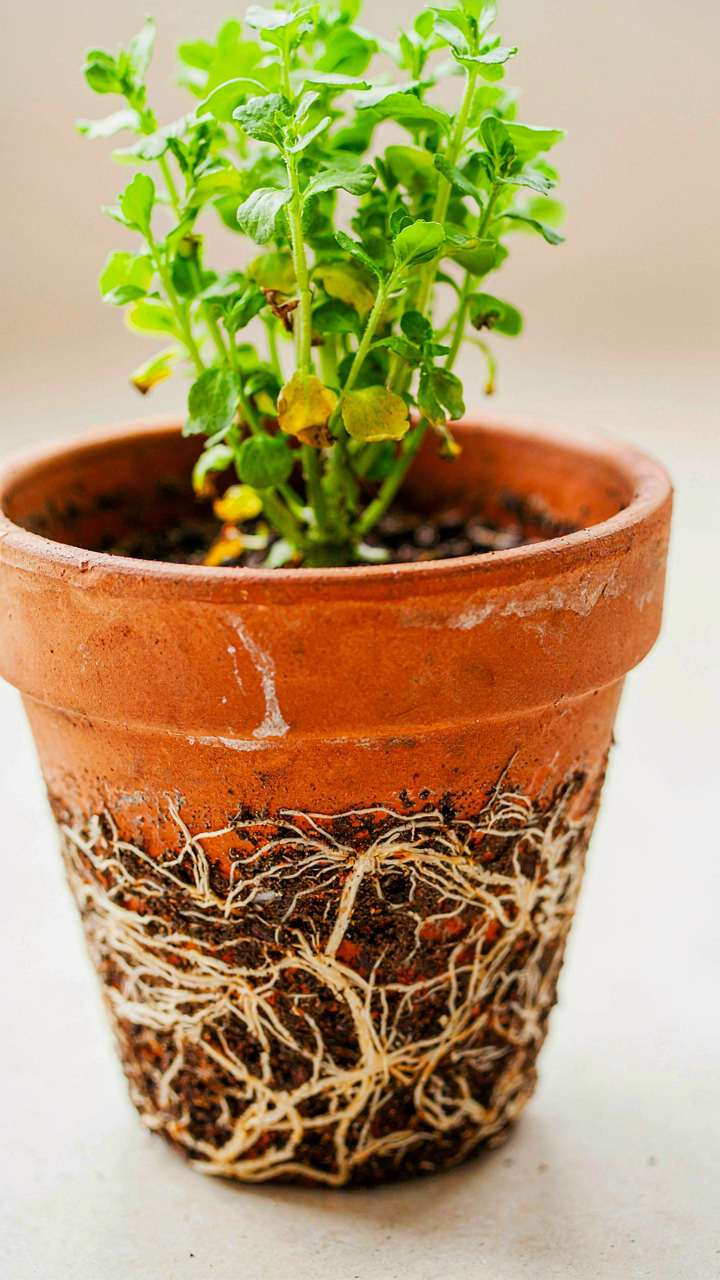
You want to time this perfectly because you’re afraid of killing something you’ve invested in. Here’s what actually happens: roots hit the pot wall, water retention changes, nutrient availability drops, and the plant signals distress through stunted growth or wilting. This is biology, not mystery. The mechanism is simple root constraint triggering metabolic stress.
- Roots circling the soil surface: Visible roots wrap around the topsoil in a spiral pattern, indicating they’ve exhausted available space and begun compacting against the drainage holes.
- Water runs straight through: Soil becomes hydrophobic and water flows out drainage holes without absorbing, meaning roots packed too densely prevent moisture penetration into the center mass.
- Stunted growth despite adequate light: The plant stops putting on new leaves or stems even under proper conditions because root volume limits nutrient uptake capacity regardless of what’s in the soil.
- Frequent wilting between waterings: Soil dries faster because less soil volume means less water storage capacity, forcing you into a cycle of constant watering that stresses the plant.
- White salt crusts on soil surface: Mineral buildup appears because the plant cannot uptake nutrients efficiently and salts concentrate in the remaining available soil space.
Most people repot too early and destroy plants unnecessarily. Wait until you observe these signals together, not one in isolation. The window opens when roots need space but the plant still has reserve energy to survive transplant shock.
Transplanting Without Breaking What You Built
Transplant shock happens because you’re severing root networks and changing soil environment simultaneously. The real lever isn’t the pot size jump or the soil type alone. It’s matching the disturbance level to the plant’s current metabolic capacity. Here’s the protocol that works: water the plant heavily 24 hours before repotting, use soil as similar as possible to what it grew in, and move up one standard pot size only, never two.
Don’t repot during dormancy, flowering, or active stress periods. Repot when the plant enters active growth phase, typically spring for most species. Gentle root teasing matters less than people claim. What matters: minimize air exposure of roots to under five minutes, don’t pack soil around the root ball, and water immediately after planting to settle soil without creating air pockets. The plant recovers when roots reestablish contact with consistent moisture and familiar soil chemistry within 48 hours.
Debunking Terracotta Pot Sizes Myths For A Thriving Veggie Garden
Why Watering Frequency Isn’t The Real Problem
You think watering more often solves stunted growth. It doesn’t. The real issue is soil surface area to volume ratio, which determines evaporation speed and oxygen availability in the root zone. Terracotta’s porosity accelerates this ratio’s effect. A 6-inch pot dries three times faster than a 12-inch pot holding the same plant, not because it’s smaller, but because evaporation happens across all interior walls. Most gardeners blame their watering schedule when they should blame their pot selection.
The mechanism is simple: terracotta breathes through its walls. Water moves outward through the clay constantly. A shallow, wide pot exposes more surface area to air, killing roots faster through osmotic stress than underwatering ever could. Switch a struggling plant from a 5-gallon terracotta to a 10-gallon one, don’t increase watering frequency, and watch recovery happen in two weeks. The pot size changes the evaporation curve. Your watering schedule was never the leverage point.
Matching Pot Dimensions To Root Architecture
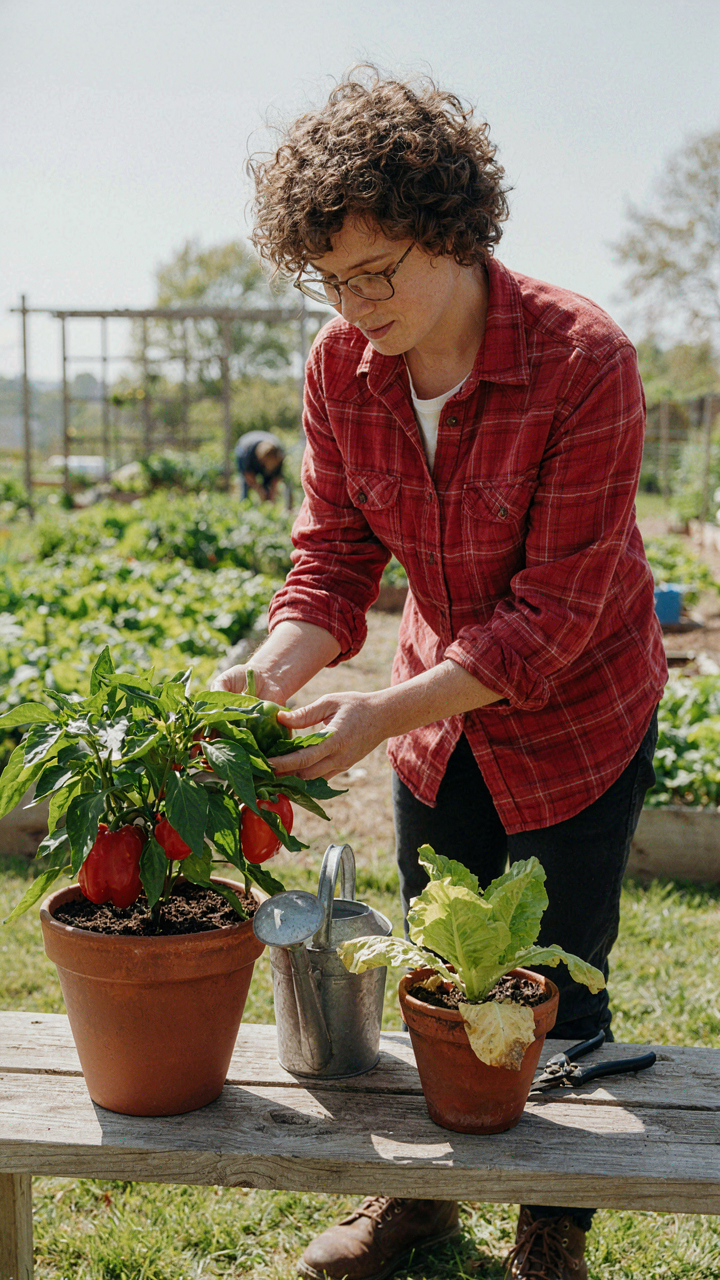
Crop size and pot depth follow different rules than you’ve been told. Common advice says use a 6-inch pot for lettuce and an 18-inch for tomatoes. Incomplete. What matters is root depth, not plant height. Lettuce has fibrous roots spreading 8-10 inches laterally but only 6 inches deep. Tomatoes push taproots 18-24 inches down. You need vertical depth first, horizontal volume second. A deep, narrow pot works for tomatoes. A shallow, wide pot works for lettuce.
Bell peppers demand 10-12 inches of depth minimum, carrots need 12 inches for short varieties and 16 inches for long ones, and eggplant thrives in 14-16 inches. Matching pot dimensions to root architecture prevents nutrient lockup and disease. When roots hit the pot bottom too early, they circle and strangle themselves, reducing water uptake efficiency by 40 percent. Before you plant anything, know the crop’s root depth, then select a pot 2 inches deeper than that requirement.
The Pot Size Delusion: Stop Blaming Your Thumb, Blame Your Choices

You kill plants because you guess at pot sizes instead of matching them to your plant’s actual root system. Stop shopping by vibes. Measure your plant’s root ball before you buy anything, then pick the pot one size up. That’s it. Today, dig up one plant you own and see what size it actually needs. You’ve been playing gardener when you could have been growing things. Your plants don’t need a bigger pot. They need you to stop making excuses for lazy decisions.



