
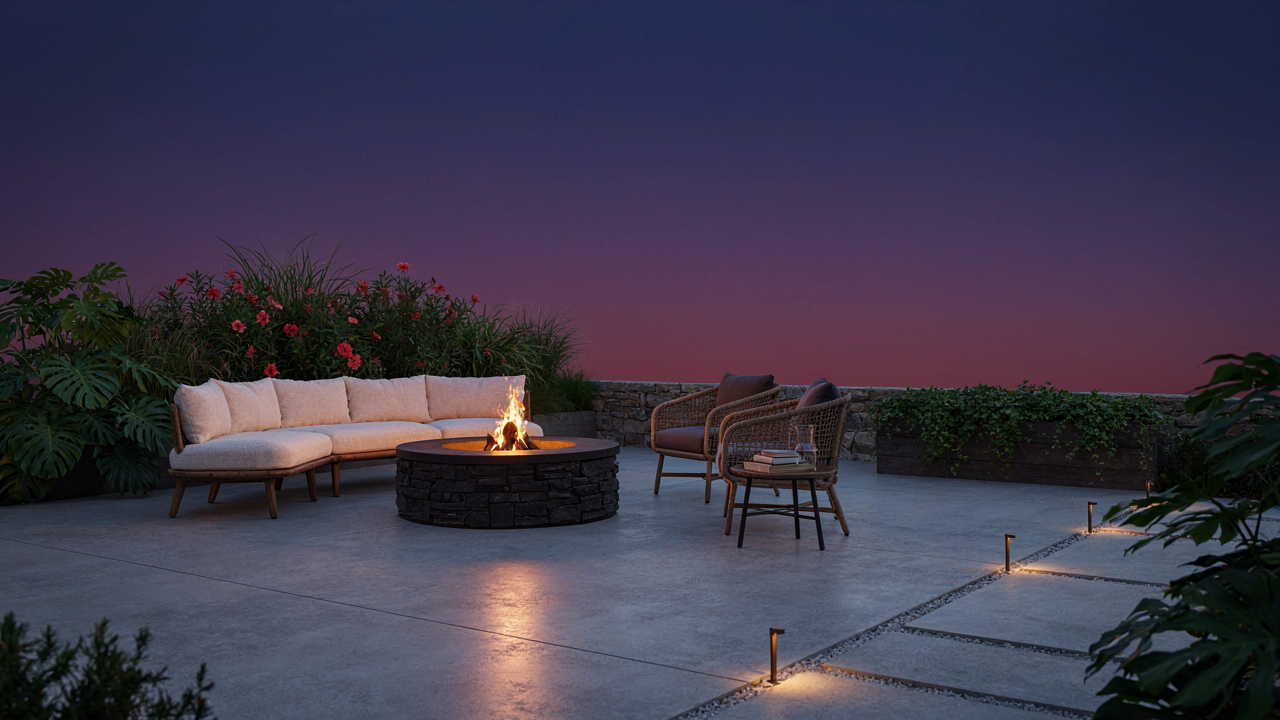
The Illusion Of The DIY Backyard Fire Pit: Why Most Fail

Cheap Materials Create Expensive Replacements
You want to believe that building a fire pit yourself saves money. It doesn’t. The real mechanism here mirrors sunk cost economics: you spend $300 on materials that fail within two seasons, then you rationalize throwing good money after bad instead of starting over with proper construction.
Most DIY patio fire pits use concrete blocks or untreated stone. These materials absorb moisture. When water freezes inside them during winter cycles, it expands and cracks the structure. You see the damage by spring. A proper fire pit uses fire-rated brick, steel reinforcement, or engineered stone designed for thermal cycling. The material cost runs higher upfront, but the lifespan extends to a decade or beyond. Cutting material costs by half guarantees you’ll rebuild the pit before it becomes a centerpiece worth gathering around.
Fire Safety Standards Nobody Checks Until It’s Too Late
Building codes for outdoor fire structures exist for a reason: people have burned down their houses ignoring them. Most DIY builders skip clearance requirements, soil composition checks, and drainage planning because these steps feel invisible until something goes wrong.
A proper patio fire pit maintains 10 to 15 feet of clearance from structures, overhanging branches, and property lines. The base requires a layer of gravel or sand to prevent ground heat transfer. The pit itself needs a metal grate to contain embers. Skip these steps and you’re managing liability, not entertaining. Insurance won’t cover fire damage from a non-code-compliant pit. When you build to standard, you build once.
Beyond Flames: The Fire Pit Landscaping Integration Protocol
Seamless Flow Into Your Existing Outdoor Decor
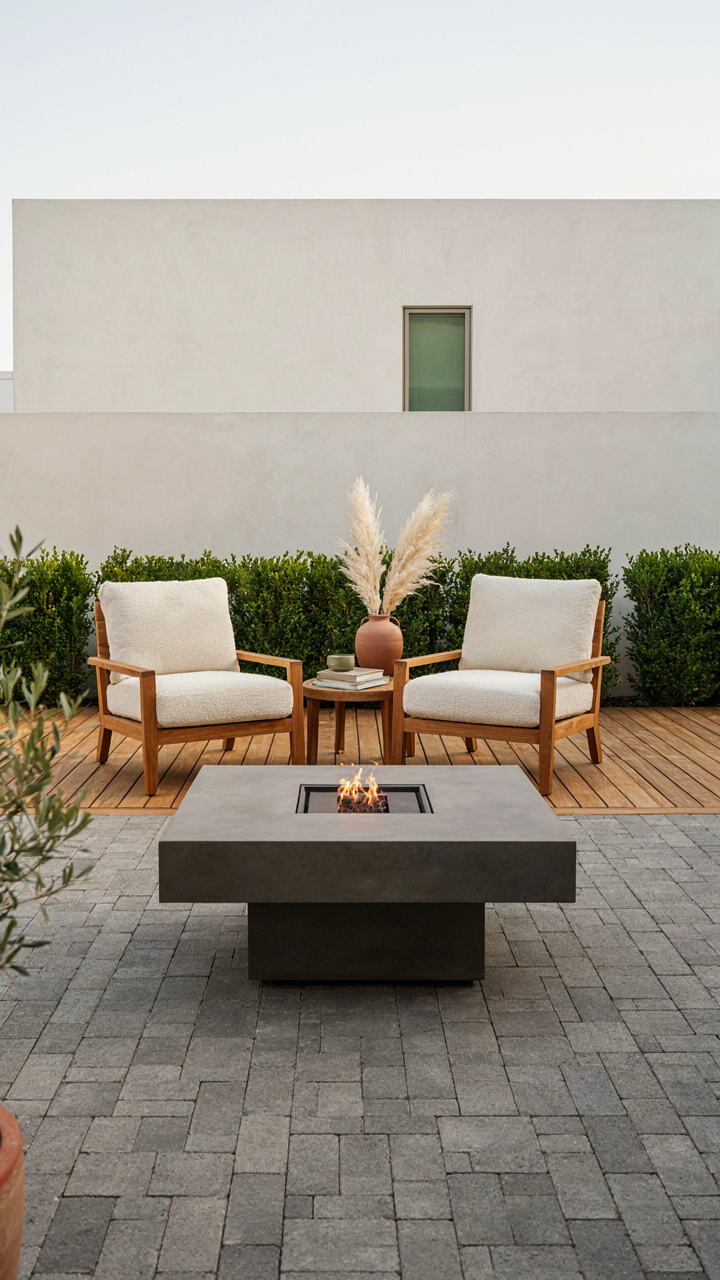
You want the fire pit to look intentional, not like you dropped a metal bowl on the lawn. The mechanism is visual continuity: your pit must echo the materials, lines, and scale already present in your space. This isn’t about matching everything. It’s about making the eye travel naturally from your deck or patio to the fire pit without hitting a visual cliff.
Start by auditing what exists. If your backyard uses rectangular pavers, repeat that geometry around the pit. If your deck is composite, use similar earth tones in your pit surround. If your existing furniture leans toward low-slung modern pieces, a squat fire pit with clean edges works. A tall ornate model kills the coherence. Your patio fire pit garden works when it feels like the next logical step, not an afterthought.
Zoning For Purpose And Movement
Garden design borrows from architecture’s concept of “programmed zones,” where each area has a single clear function. Your fire pit zone must declare its purpose through placement and boundary. Don’t float it randomly. Position it where sightlines from your house and seating areas naturally converge, and mark its perimeter with a 3-to-4-foot radius of hardscape or gravel to signal “this is different from lawn.”
The most common mistake is making the fire pit zone too small. People think a tight 6-foot diameter looks tidy. It doesn’t. It creates tension and crowds guests. A proper fire pit zone needs 12 to 15 feet of clear space minimum for seating, movement, and safety buffer. Within that zone, establish one entrance point if possible. This controls foot traffic, prevents people from wandering behind the pit, and makes the space feel intentional rather than chaotic.
The 3 Principles Of Elevated Fire Pit Seating Area Design
Comfort As Currency
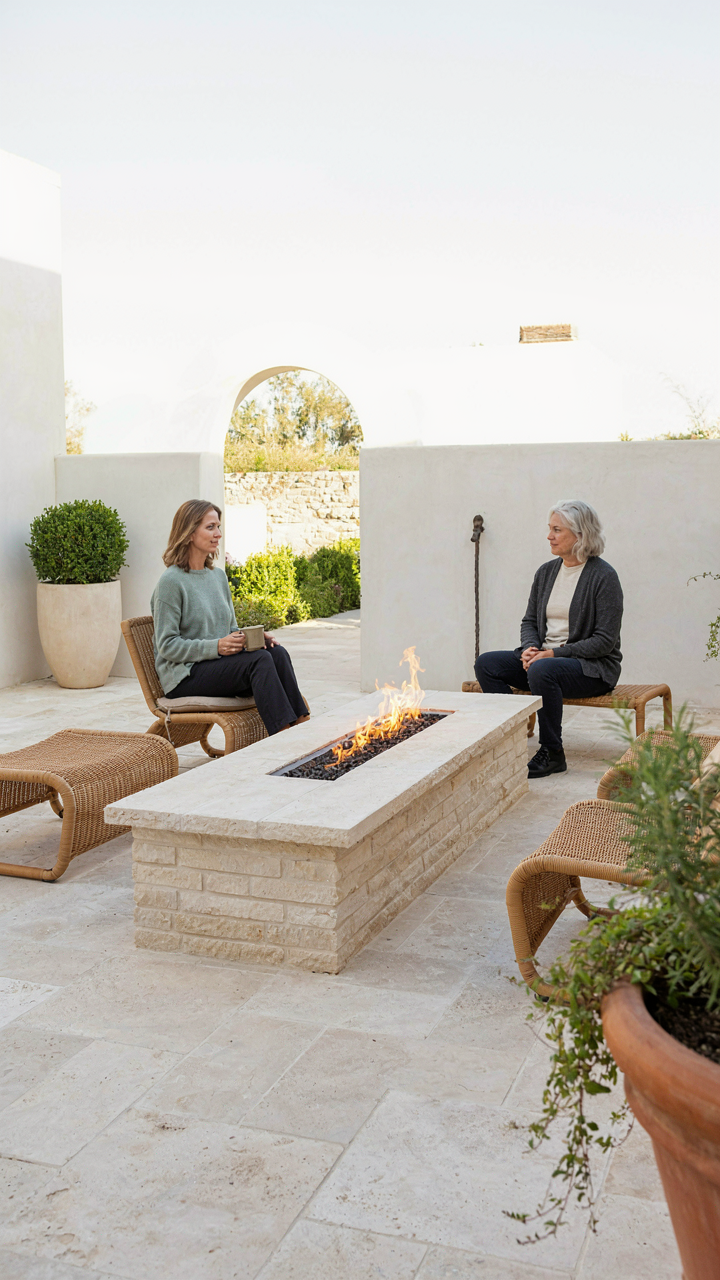
You want people to stay longer because longer means they’re more engaged with you and your space. That’s the real game. But comfort isn’t about softness or luxury—it’s about removing friction from the body. Ergonomics is the field that maps this: it measures how efficiently a human works within a physical space. In a patio fire pit garden, seating ergonomics determines whether guests abandon their chairs after thirty minutes or settle in for hours.
Most advice tells you to buy expensive outdoor furniture and call it done. That’s incomplete. The actual mechanism is about lumbar support, seat depth, and armrest height working together to reduce postural load. A seat too deep forces your legs to dangle and strains your lower back. A seat too shallow puts pressure on your hamstrings and thighs. Standard outdoor lounge chairs at 15 to 18 inches deep with 30 to 32-inch seat heights work for most people. Add a properly angled backrest at 110 to 120 degrees and you’ve eliminated the primary reason guests shift positions constantly.
Proximity Paradox In Gathering Spaces
Fire creates a natural focal point, but proximity alone doesn’t build conversation. The spacing between seats determines whether people feel crowded or connected. Arrange seating in a semi-circle facing the fire with 24 to 36 inches between seat edges. This distance allows guests to see faces without turning their heads unnaturally and lets heat distribute evenly across the group.
The mistake is clustering seats too tightly around the flames or spreading them too far apart. You lose either intimacy or line-of-sight connection. Position your fire pit offset from true center so no seat gets front-row heat overload. Stagger seating heights slightly using a mix of chairs and low benches. This creates visual rhythm and ensures the person in the tallest chair doesn’t block sightlines for others. The final test: from any seat, each person should see at least three other faces without moving.
Optimizing Your Backyard Fire For Social Alchemy

The Conversational Orbit Seating Arrangements For Interaction
You want people to think you’ve mastered the art of hosting, but what you’re really after is proof that you can hold attention without talking. The mechanism here is geometry. Fire pits work because they create what theater designers call a thrust stage, where the audience faces both the focal point and each other simultaneously. This isn’t accidental. The circular arrangement forces eye contact and eliminates hierarchy. Everyone occupies equivalent sightlines to the fire and to the group.
Most people default to random furniture placement and call it done. That fails because it breaks the circuit. Distance matters too. Seating between eight and twelve feet from the flame center keeps conversations audible without requiring people to shout. Closer invites physical discomfort and heat management problems. Farther kills the intimacy that makes fire gathering work. Arrange seats so people face the fire at a roughly forty-five-degree angle rather than head-on. This angle lets them engage with the flame while naturally pivoting to address the person beside them.
Sensory Layering Sight Sound Smell For Engagement
Engagement in environments follows principles from environmental psychology, where the brain processes multiple sensory channels and ranks their priority. Your patio fire pit garden operates as a sensory hierarchy. Sight dominates first, then sound, then smell. Control each layer intentionally or your gathering collapses into passive observation of flames.
Sight requires visual contrast. Flickering firelight creates natural drama, but add task lighting around seating areas so people can see faces clearly. Warm white LEDs embedded in the garden or mounted low on nearby structures preserve the fire’s visual dominance while eliminating dark zones where conversation stalls. Sound matters next. Ambient noise kills connection. A small recirculating water feature positioned twenty feet away provides white noise that masks neighborhood sounds without competing with conversation. It also introduces movement that complements the fire’s visual rhythm. Smell anchors everything. Hardwoods like oak or hickory release wood smoke that reads as intentional and pleasurable, unlike pine or treated lumber, which produces acrid smoke that drives people indoors. Layer in scent through nearby plantings. Lavender or jasmine positioned upwind carries without overwhelming. Place aromatic plants far enough that their scent arrives as suggestion, not assault.
The Stone Fire Pit Fallacy: Material Myths Debunked

Durability Vs Aesthetics: Choosing The Right Stone
You want the stone to look timeless so you feel like you made a smart investment. But here’s the mechanism: thermal cycling—the repeated expansion and contraction from heat and cooling—treats all stone differently, and most people pick based on Instagram appearance alone. Granite handles temperature swings better than limestone because of its density and mineral composition. Slate looks refined but fractures under intense, direct heat. Fieldstone appears rustic but absorbs moisture, which freezes and breaks it apart in winter.
The real trade-off isn’t between pretty and ugly. It’s between stones that expand and contract uniformly versus those that don’t. Granite and basalt move predictably. Soft stones like sandstone and limestone move erratically, creating stress points. If you’re building a fire pit that will actually burn regularly, prioritize stone with low porosity and tight grain structure over whatever aesthetic wins the moment. Your pit survives five years or fifteen depending on this single choice.
Regular Upkeep Determines Everything
People think stone fire pits require almost no maintenance because stone sounds permanent. That’s false. Stone fire pits demand more consistent care than metal ones because damage compounds invisibly. Moss and algae colonize porous surfaces, trapping moisture that accelerates deterioration. Creosote and ash buildup on interior walls can create weak points where water pools and refreezes. Mortar joints—if your pit uses them—deteriorate faster than the stone itself and fail silently.
The protocol is straightforward: inspect mortar joints twice yearly and repoint them before gaps widen. Scrub interior surfaces quarterly to remove ash and creosote deposits. Seal porous stones annually with a stone-appropriate sealant that repels water without trapping it. Never use pressure washers on soft stone. The maintenance schedule determines lifespan more than material selection does. Skip it, and a five-year-old pit looks like it’s forty.
The Unseen Value Of A Curated Fire Pit Backyard
Property Value Amplifier Beyond Mere Amenity
You want this section because you’re hoping a fire pit justifies itself financially. Here’s the truth: most homeowners treat outdoor spaces as decoration. That’s the mechanism that kills resale premium. Real estate economics calls this “capitalization of amenity value” – the fire pit becomes your land’s interest rate multiplier. A designed fire pit garden doesn’t add value because it exists. It adds value because it signals the property owner solved a problem most people ignore: how to make outdoor space functional and intentional year-round.
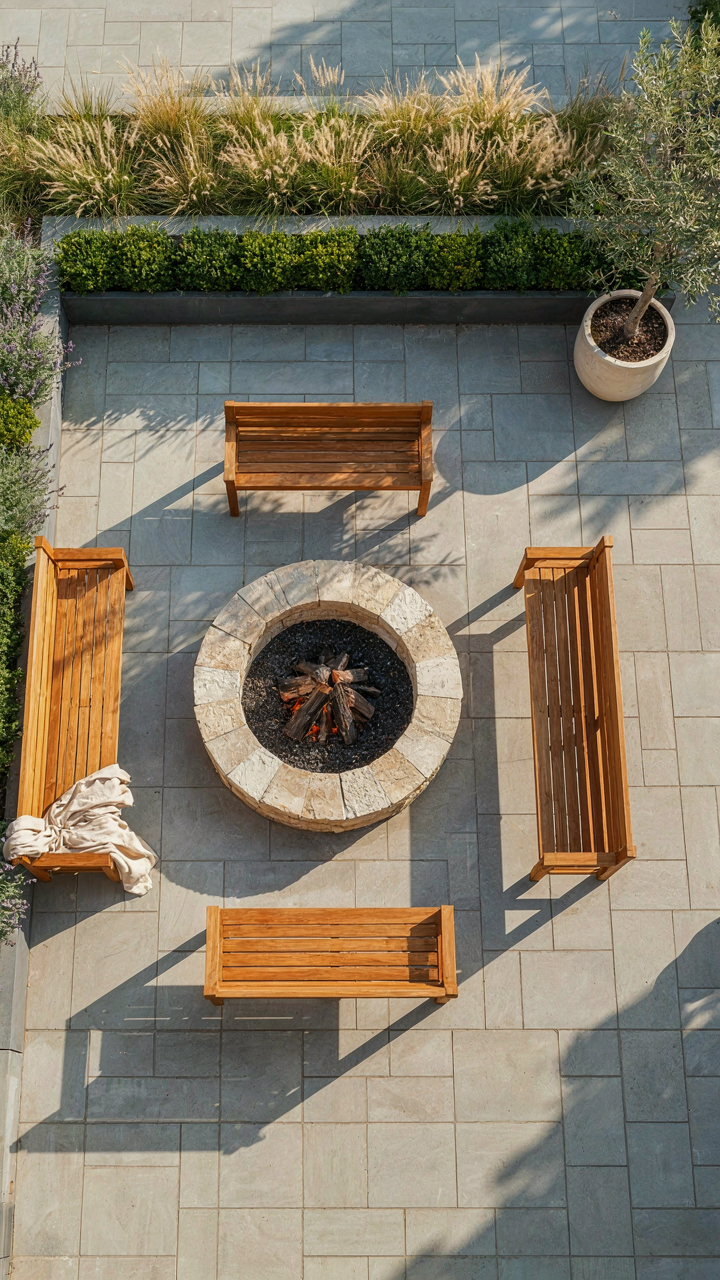
Appraisers notice this. A fire pit that’s randomly placed in dirt registers as clutter. A curated fire pit garden with defined edges, integrated seating, sight lines, and material consistency reads as a completed outdoor room. This distinction shifts buyer psychology from “nice to have” to “move-in ready.” The mechanism is simple: buyers pay for eliminated friction. They pay to avoid the work you already completed. Plan your fire pit placement to anchor sightlines from the main living area. Build permanent seating. Use consistent hardscape materials. This transforms perception from accessory to infrastructure.
Psychological Anchor Creating Sustained Return Visits
A designed fire pit garden becomes a psychological anchor because it’s a bounded, purposeful space. Behavioral psychology terms this “environmental affordance” – the space literally invites specific actions and mental states. Without curation, a backyard fire pit is just a hole with flames. With curation, it becomes a destination your mind recognizes as separate from routine stress. Your brain needs this separation to genuinely decompress.
The real mechanism is location dependency for memory formation. Humans encode experiences more deeply when they occur in distinct environments with clear boundaries. A curated fire pit garden creates that boundary through layout, materials, and sight barriers. This means people return to use it consistently, not as a one-time event feature. Design it so the fire pit area requires intentional movement from the house, has its own microclimate feel, and offers distinct zones for different activities. This protocol ensures the space functions as a psychological reset, not just another backyard corner.
Beyond Instagram: Cultivating Authentic Backyard Inspiration
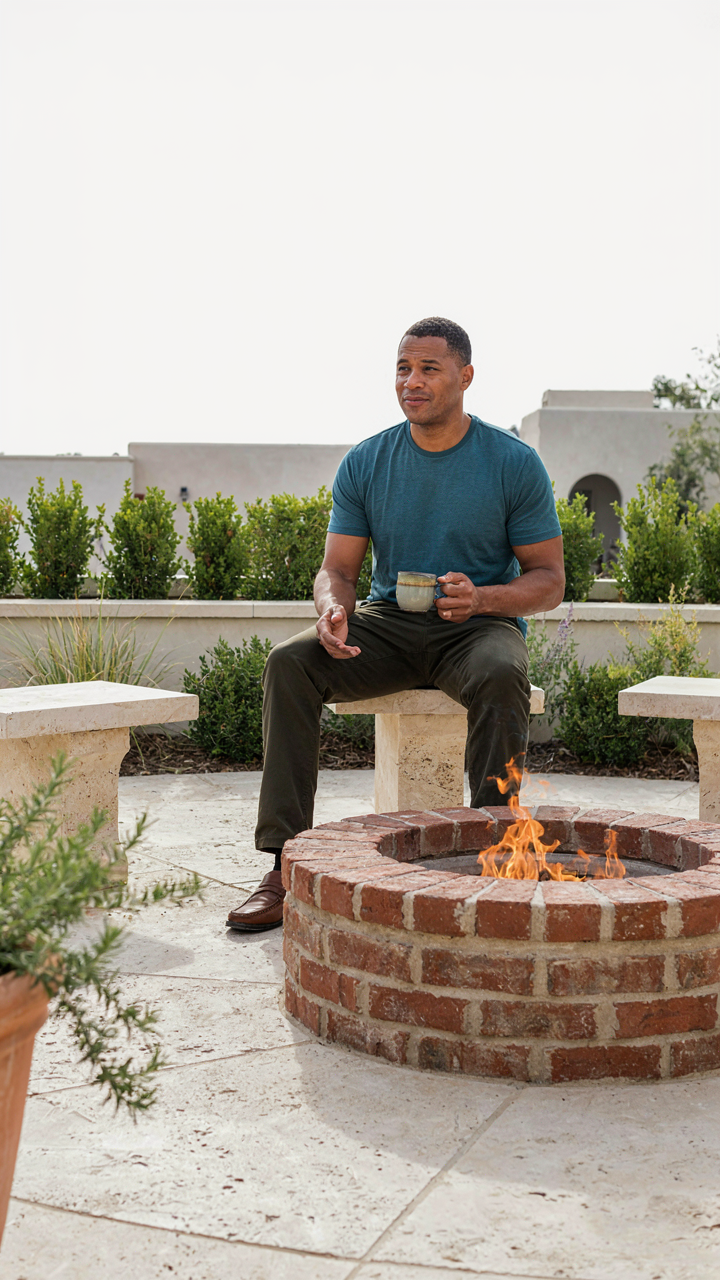
Define Your Actual Use Case First
You want people to think your patio fire pit garden is effortless. The real mechanism is simpler: you’re designing for a function you haven’t named yet. Before aesthetics, answer what actually happens here. Are you hosting eight people monthly for conversation? Running a family dinner ritual? Throwing one elaborate summer party? The answer changes everything about layout, seating, materials, and focal points. Most designs fail because they chase visual approval instead of solving for how bodies move through the space.
A patio fire pit garden that serves no stated purpose becomes a showpiece that exhausts you. The moment you lock in your primary use, constraints disappear and decisions accelerate. You stop debating between a stone bench or a sectional because your use case eliminates one option. You know whether the pit needs to be the visual anchor or background. You stop second-guessing materials because you understand the traffic pattern and durability demands. This isn’t philosophy. It’s the difference between a space that functions and one you eventually resent.
Durability Over Visual Novelty
Everyone reads about the latest hardscape trends and assumes that’s what makes a space work. Wrong. Longevity is the actual design principle. A patio fire pit garden built on temporary materials or borrowed aesthetics degrades faster than your attention span. Consider materials that age predictably: stone, brick, and untreated wood actually improve with time and weather. Composite materials, stained concrete, and fashion-forward finishes require constant maintenance and look dated within five years.
The pit itself should be built from fire brick or natural stone rated for thermal cycling, not decorative pavers you saw on a design site. Seating materials matter more than color. Cedar and pressure-treated lumber will fail faster than stone or metal that handles seasonal expansion and contraction. Your fire pit garden either solves for real conditions or becomes a renovation project disguised as a design choice. Build once with materials that outlast your interest in the space.
The Strategic Placement Of Your Outdoor Fire Pit Garden
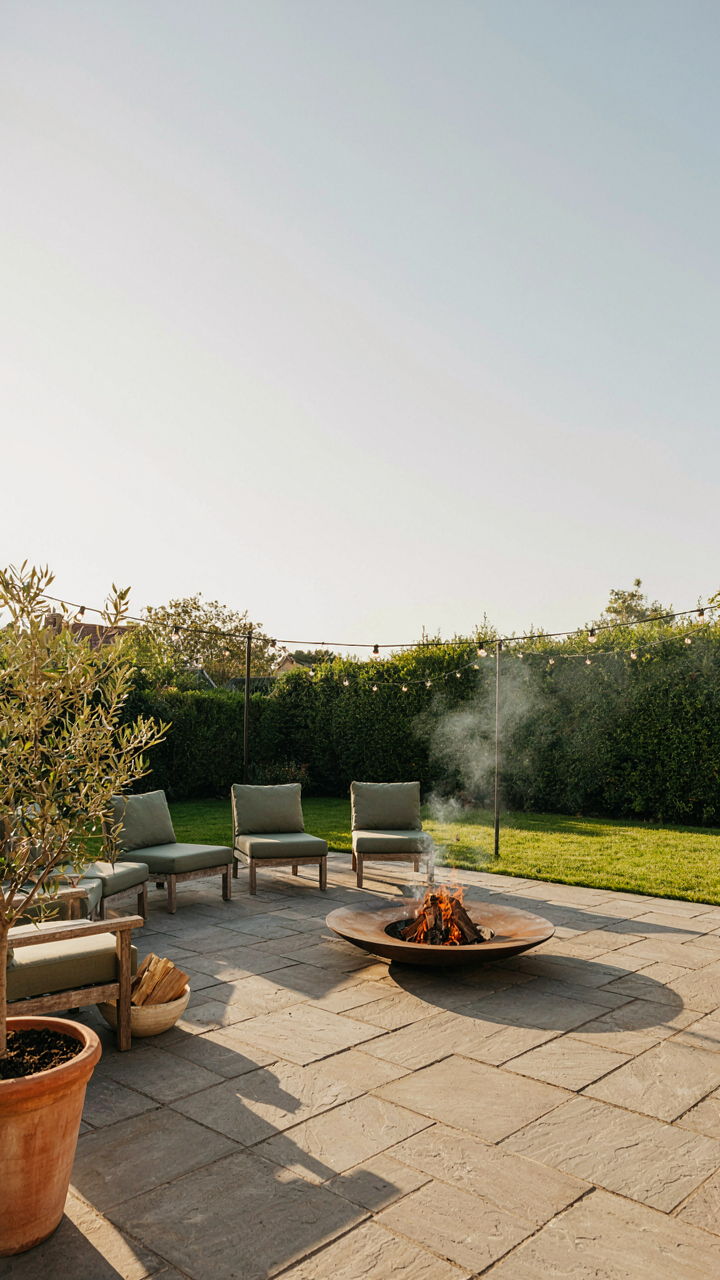
Wind Direction Shapes Your Fire Pit Experience
You want people to think you’ve got this figured out, but you haven’t calculated wind patterns yet. Wind control is the mechanism that separates a usable fire pit from a smoke trap. Borrow from aerodynamics: you need to create a pressure differential that pulls smoke away from gathering areas. This means reading your yard’s natural wind corridors before you pour concrete or set stone.
Most people place fire pits in the center of their yard and call it done. That’s lazy. Observe wind behavior across seasons. Morning wind moves differently than evening wind. Summer thermals create updrafts your winter setup won’t handle. Position your pit so prevailing winds push smoke toward your property line, not toward your seating zone. Use natural barriers like hedges or fencing on the upwind side to redirect air flow without blocking the pit completely.
Layered Light Creates Function And Mood
Light serves two jobs simultaneously: it marks the fire pit as a destination and prevents tripping hazards. This dual responsibility means your lighting strategy needs both task lighting and ambient lighting working together. Task lighting around the pit perimeter should be low voltage, ground level, or recessed into patio edges. This handles safety without competing with firelight.
Ambient lighting comes from the fire itself, but you can enhance it with string lights or solar path lights positioned 8-12 feet back from the pit. This creates depth and defines the gathering space without washing out the fire’s visual impact. Space lights 6-8 feet apart for even coverage. The goal isn’t brightness. It’s clarity. People should see the ground beneath them and the faces across the fire without the space feeling like a parking lot.
The Dream Backyard Equation: More Than Just A Fire Pit
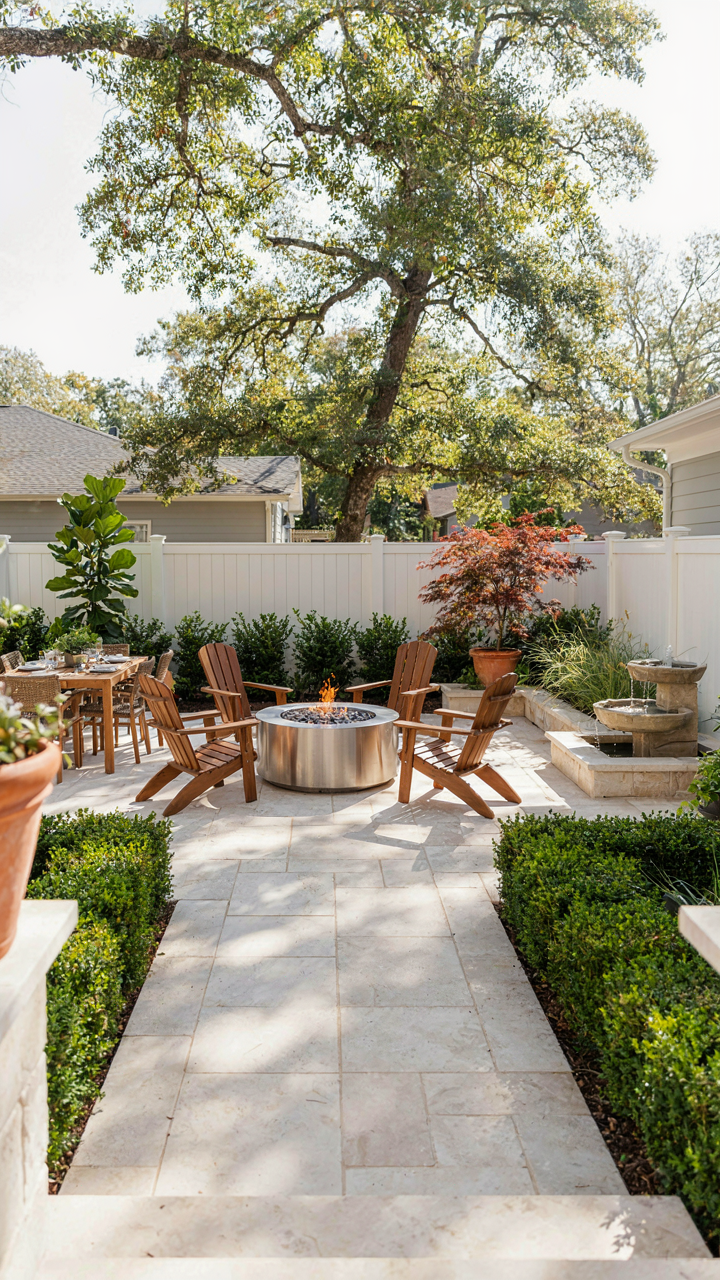
When Every Element Talks To Every Other Element
You want people to remember your space. That’s the real reason you’re reading this. The mechanism most people miss is that a fire pit isn’t a standalone feature—it’s a node in a system. Systems design borrows from architecture: load-bearing walls don’t work in isolation, they distribute force across the entire structure. Your patio fire pit functions the same way. It anchors sightlines, creates gathering zones, and dictates traffic flow. Every plant, seating area, and hardscape either reinforces or undermines that central function.
The common mistake is treating the fire pit as the finish line instead of the starting point. You bolt it into an existing yard and hope the rest arranges itself. Instead, work backward. Ask what activities happen around the fire. Who sits where. Where do people stand while talking. Does the wind carry smoke toward the house or away. Once you know these mechanics, you place everything else to support them. The result feels intentional because it is.
Build It In Phases, Not All At Once
Most advice tells you to plan the whole thing first. That’s incomplete. Iteration is how you actually learn what works. You can’t know if seating placement feels right until people use it. You can’t judge sight lines until you watch a sunset from that angle. You can’t feel the heat distribution without a full season of fires. Start with the fire pit and immediate seating. Live with it for two or three months. Then add the next layer.
This approach also lets you spread costs across time instead of taking one massive hit. You spot problems early when they’re cheap to fix. A planter placed wrong in phase one tells you something about flow before you’ve committed to the whole garden. Phase two adds ambient lighting or wind breaks. Phase three brings in secondary seating or dining surfaces. Each iteration compounds because you’re building on what actually works, not what looked good on a sketch.
Mastering The Backyard Fire Ritual: From Setup To S’mores

Choosing Fuel For Maximum Burn And Smell
You want people to remember this night, which means you’re really worried they’ll forget it the moment they leave. The mechanism here is thermodynamics: burn time correlates directly to wood density and moisture content, while aroma depends on what volatile compounds the wood releases when heated. Hardwoods like oak and maple burn longer than softwoods because their cellular structure is tighter. They produce consistent heat and minimal spark. Avoid treated lumber, wet wood, and anything with bark still attached, which traps moisture and creates creosote buildup in your fire pit.
For aroma without toxicity, add fruitwood like apple or cherry in small amounts after your base fire stabilizes. These woods contain natural sugars that release pleasant compounds when burned. Cedar and hickory work too, though their smoke is stronger and polarizing. The real move is establishing a hot coal bed first with quality hardwood, then introducing aroma wood strategically. This prevents smoldering, maintains temperature for cooking, and gives you control over smell intensity rather than hoping the wind carries something pleasant.
Restoring Your Space After The Event
The common advice is to let the pit cool overnight and clean tomorrow. That’s wrong. Ash hardens, debris embeds, and stains set. You lose leverage immediately after the fire dies. Chemistry and physics demand swift action: warm surfaces still hold residual heat, which keeps ash loose and prevents oxidation stains on surrounding surfaces. Cool ash becomes concrete. Grab a metal shovel and remove coals and ash while the pit is still warm but safe to touch.
Separate reusable metal grates and fire tools, then wipe them with a damp cloth before storing. Sweep the surrounding patio area to remove fallen ash before dew or morning moisture sets it. Check your fire pit base for cracks or damage that the heat may have exposed. If you used a metal bowl or insert, inspect it for corrosion spots and apply a high-heat rust preventative to affected areas. This 15-minute protocol preserves your pit’s structural integrity and keeps your patio looking intentional, not neglected.
Your Fear Of Inadequacy, Not Your Lack Of Space, Limits Your Outdoor Domain
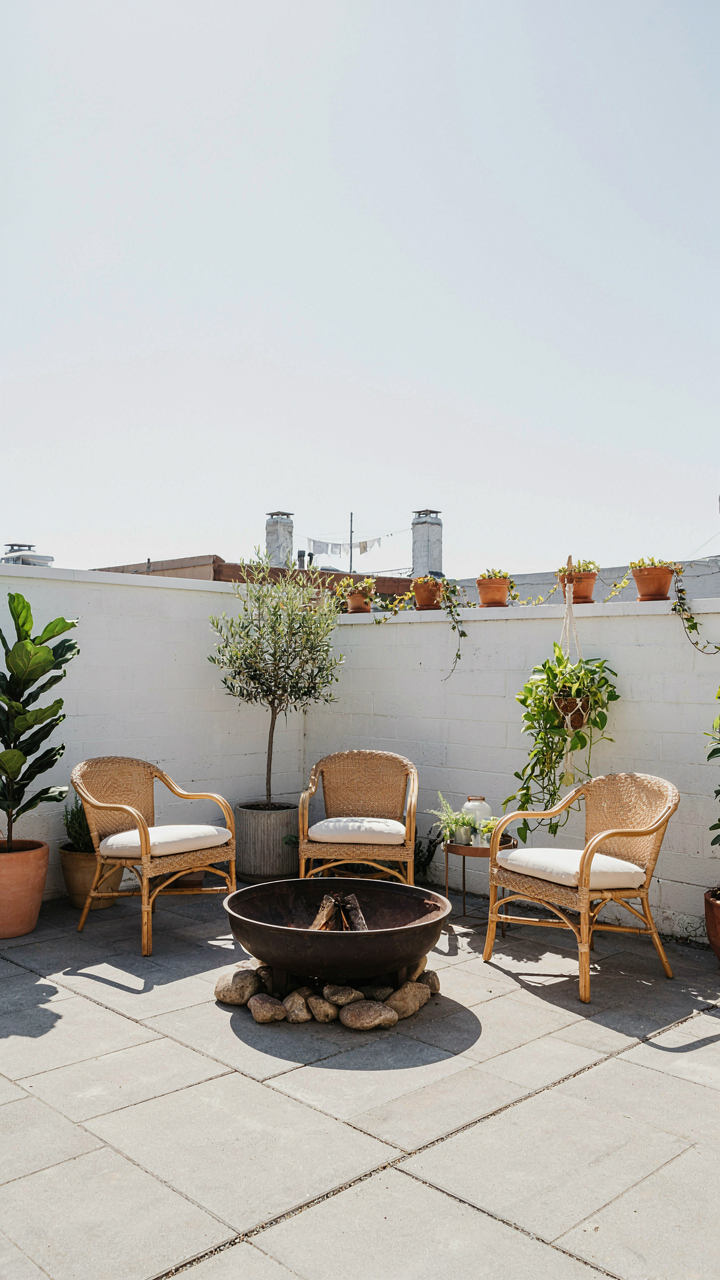
You don’t need a sprawling backyard to build a patio fire pit garden worth hosting. You need permission to stop waiting for the perfect setup. Most people sabotage their outdoor space before they even start it, paralyzed by comparing their corner to someone else’s acreage. Start with what you have today. Buy one fire pit, arrange three chairs around it, light it this weekend. The inadequacy you feel isn’t about square footage. It’s about taking action before you feel ready.



