

Why Your Current Garden Path Lighting Fails
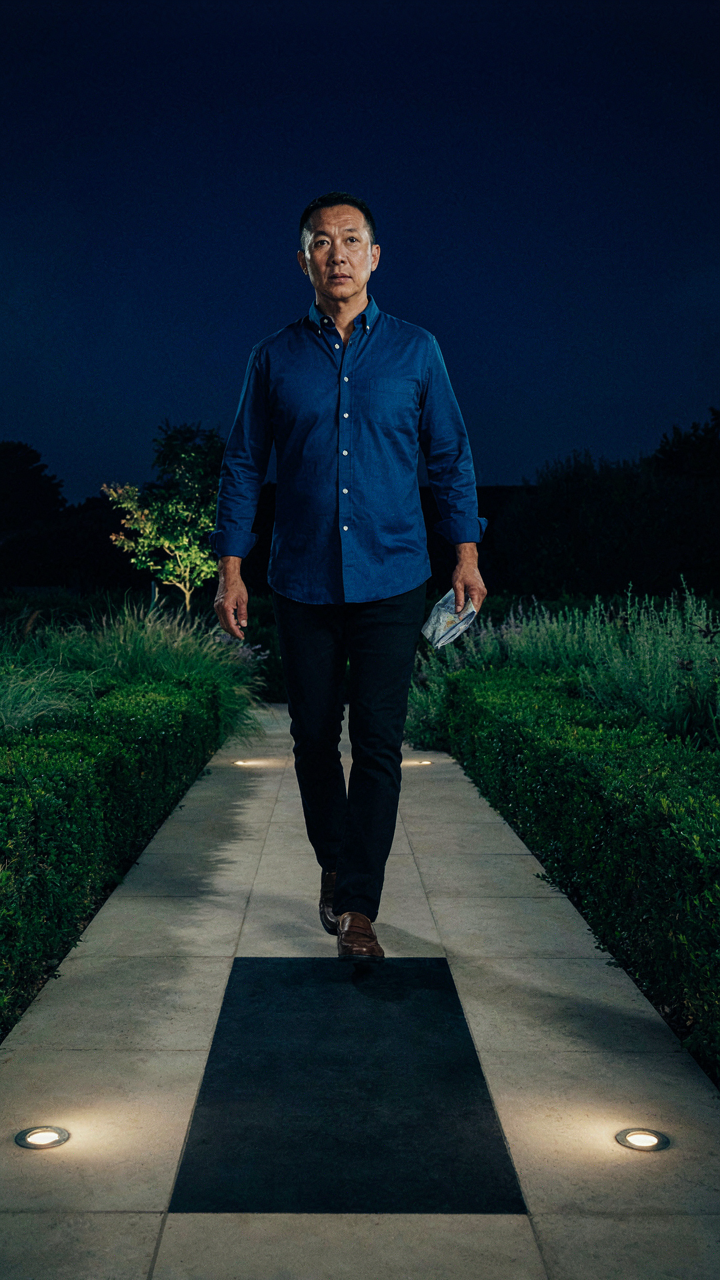
You’re Placing Fixtures Where They Look Good, Not Where Light Works
You want your garden to photograph well at night. That’s the real reason you care about this section, and it’s blinding you to how light actually travels. Most people install pathway fixtures based on symmetry and spacing aesthetics rather than the physics of illumination. They bury lights in the ground at regular intervals, treating them like decorative anchors instead of functional tools.
The mechanism is simple: ground-level uplighting creates uneven pools of brightness with dark gaps between them. Your eye registers the fixtures before it registers continuous light. A 12-inch spacing looks balanced to your brain, but it creates a strobe effect when you walk the path. The light spreads outward and upward from each fixture, leaving the ground between them in shadow. You’ve optimized for the photograph, not the foot traffic.
The Gap Between Brightness And Useful Visibility
Light distribution isn’t binary. It’s a gradient, and you’re probably treating it like an on-off switch. The common advice says “space your fixtures evenly” and calls it done. That’s incomplete. Even spacing at eye-level distance apart doesn’t guarantee you can actually see the path surface clearly. Illuminance falls off exponentially with distance from the source, following the inverse square law from physics. What appears bright at the fixture position drops dramatically two feet away.
Your pathway probably has dark zones you’ve learned to memorize rather than notice. Test this tonight: walk your path at actual walking speed without anticipating where the dark spots are. You’ll feel your pupils dilate. That sensation means the light distribution is failing. Fix this by measuring illuminance at three feet from each fixture. If it drops below 0.5 foot-candles, you need closer spacing or higher wattage, not better-looking fixtures.
The Inverse Square Law Of Illumination Protocol

How Light Actually Dies With Distance
You want pathway lighting that looks effortless, like it simply belongs there. But you’re really after control—the ability to predict exactly how bright any spot will be without trial and error. Physics gives us this control through the inverse square law: light intensity decreases proportionally to the square of the distance from the source. Double your distance from a fixture, and you cut illumination to one quarter. This isn’t theory. It’s the mechanism that determines whether your pathway disappears into shadow or stays readable at night.
Most designers skip this calculation entirely and rely on fixture wattage as a proxy for brightness. Wrong move. A 12-watt LED at three feet outperforms a 20-watt halogen at eight feet. The distance multiplier dominates the math. Fixture placement determines your actual illumination far more than power consumption does. You need to calculate backwards: decide what foot-candles you need at walking level, then position fixtures to deliver that output. This reverses the typical install sequence and eliminates the guesswork that creates over-lit or under-lit pathways.
Spillover Prevention And Glare Control
The standard advice says “use shielding to reduce glare.” Incomplete. Glare isn’t just bright light in your eyes—it’s contrast. Your eyes adjust to the surrounding light level, so an unshielded fixture creates a painful brightness spike relative to the pathway it illuminates. The real mechanism is beam control: narrowing the light’s spread pattern forces photons to concentrate where you need them and away from where they cause problems.
Shield designs matter, but positioning matters more. A fixture mounted too high spreads light across larger areas at lower intensity, which sounds efficient but creates light trespass into adjacent yards and causes driver glare on streets nearby. Low-mounted fixtures with horizontal shields keep light aimed downward and on-target. Most pathway installations fail because designers place fixtures at eye level or higher, then add shields as an afterthought. Reverse this: mount low, aim down, shield sides. This protocol eliminates spillover before it happens rather than trying to contain it afterward.
Strategic Pathway Lighting Ideas For Impact

Guiding Movement Without Obstruction
You want people to feel safe on your property without realizing they’re being controlled. That’s the real mechanism at work here. Pathway lighting removes decision-making from foot traffic. When illumination creates a clear line of sight, people follow it automatically. They don’t think. They walk where the light tells them to walk. This is directional design, borrowed from wayfinding in architecture. The pathway itself becomes navigation without signs.
Spacing and intensity determine whether movement feels natural or forced. Lights placed 8 to 10 feet apart with 3 to 5 watts of power create continuous visibility without overexposure. Uneven spacing breaks the visual thread and makes people hesitate or deviate. Bollard lights at ground level work better than overhead fixtures for this purpose because they define the edge of safe ground. The fixture height stays between 12 to 18 inches, low enough to feel like floor-level guidance but high enough to avoid trip hazards.
Creating Layered Visual Interest
Depth in landscape design uses the same principle as photography: objects at different distances create the illusion of dimension and draw the eye forward. Pathway lighting achieves this by positioning fixtures at varied distances from the viewer’s starting point. Front fixtures illuminate near ground level. Mid-range fixtures sit slightly higher or deeper into the landscape. Background fixtures suggest territory beyond the immediate path. This layering makes a 30-foot pathway feel longer and more intentional.
The real work happens in the choice between warm and cool color temperatures across distances. Warm light (2700K to 3000K) on near fixtures feels intimate and safe. Neutral or slightly cooler light (4000K) on distant fixtures creates separation without coldness. This temperature gradient pulls attention deeper into the space and prevents the jarring visual stop that single-temperature lighting creates. Start with warm light placement on all primary fixtures, then add one accent fixture at mid-distance with 500 to 1000 lumens to anchor visual depth.
Beyond Solar Lights For Plants: Real Power Sources
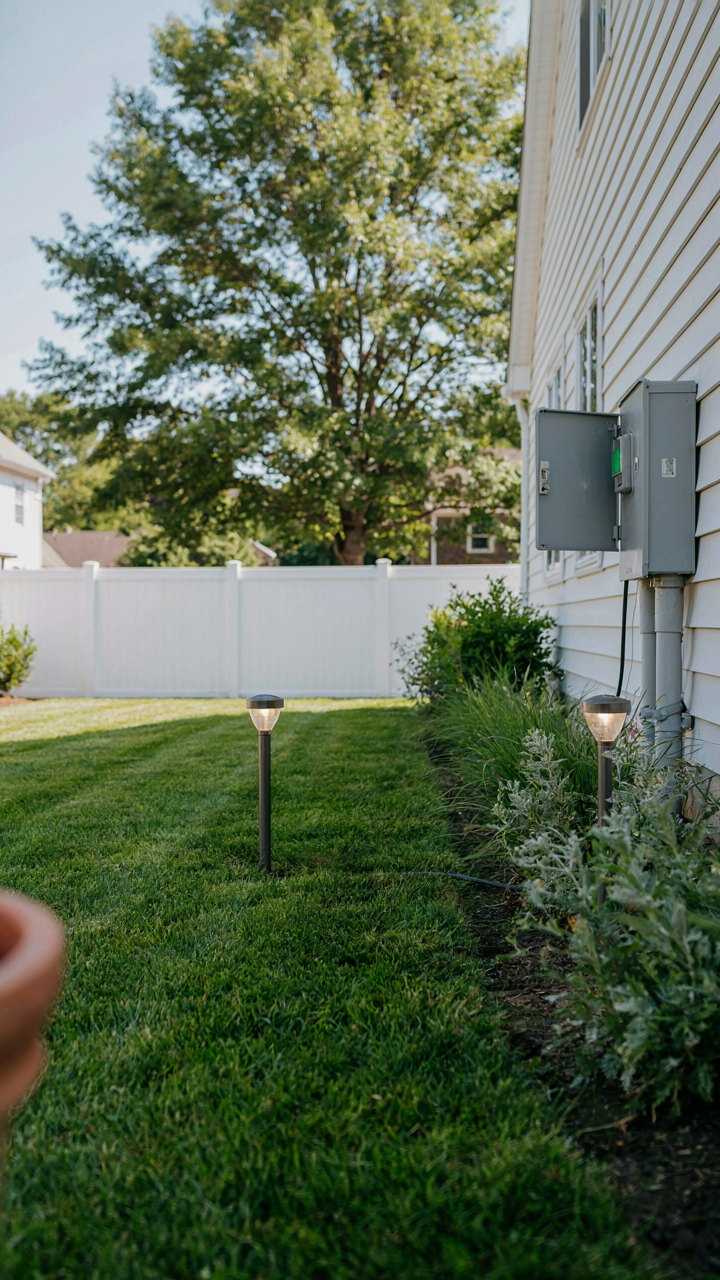
Why Low Voltage Systems Actually Work
You want solar because it sounds free, but you’re really avoiding the hassle of running wire. Here’s the mechanism: low-voltage systems (12V or 24V) use transformer technology borrowed from electrical engineering to step down standard household current into safe, manageable power that won’t electrocute you or damage delicate pathway fixtures. The transformer does the heavy lifting, not magic.
A 12V or 24V hardwired system delivers consistent brightness regardless of season, cloud cover, or battery degradation. You run buried landscape wire from a transformer mounted near your house to each fixture along the pathway. The system maintains voltage stability because it’s pulling directly from your home’s circuit rather than storing and releasing stored energy. This reliability compounds over years, not months.
Where Solar Cuts Corners
The common advice says solar is maintenance-free. That’s incomplete. Cheap solar pathway lights fail for three specific reasons nobody mentions: battery chemistry degrades faster than the marketing claims, panel efficiency drops in humidity and dust, and the charge controller can’t handle temperature swings between seasons.
- Battery chemistry degradation: Budget solar fixtures use NiMH or Li-ion cells that lose 10-15% capacity annually, turning your year-two lights into dimmer versions whether you want them or not.
- Panel dirt accumulation: Pathway lights sit low to the ground where dust, pollen, and moisture settle faster than rooftop panels, reducing output without obvious visual cues.
- Charge controller limitations: Inexpensive controllers can’t regulate voltage during extreme temperature swings, causing undercharging in cold months and overcharging damage in summer.
- Inconsistent brightness: Without battery backup standardization, two identical fixtures from the same batch may perform differently after one season due to manufacturing variance in cells.
- Hidden replacement costs: A solar fixture that dims to 40% brightness after two years costs more to replace than a hardwired system costs to install upfront.
The economic math flips once you calculate total cost of ownership over five years. Solar wins on installation labor. Hardwired wins on everything after month eighteen.
Viabizzuno Outdoor Lighting: When To Invest More

Understanding Premium Fixture Durability
You want permission to spend more without feeling like a sucker. Here’s the mechanism: most pathway fixtures fail not from a single storm but from thermal cycling. Viabizzuno fixtures use pressure die-cast aluminum and marine-grade seals designed to handle repeated expansion and contraction. Cheap fixtures use thinner castings that crack after 3-5 years of freeze-thaw cycles. The durability gap isn’t marketing. It’s material science.
Viabizzuno fixtures also employ modular design. You replace the LED module or lens without scrapping the entire housing. Standard fixtures lock you into replacement cycles tied to whatever fails first. After seven years, a premium fixture costs less per year of operation than budget alternatives that need full replacement by year four. The math compounds fast in climates with seasonal temperature swings.
Long Term Value Of Quality Components
Most people calculate fixture cost wrong. They divide price by years and stop there. Electronics degradation works like compound interest in reverse. A quality driver inside a Viabizzuno fixture maintains 90 percent light output after ten years. Budget drivers drop to 70 percent by year five, forcing you to buy additional fixtures to maintain coverage. The real cost lives in accumulated replacements, not the sticker price.
Viabizzuno’s copper wiring and potted electronics resist corrosion in ways that matter. When saltwater or fertilizer runoff touches cheap circuitry, oxidation begins immediately. You don’t notice until the fixture dims or flickers. Premium fixtures contain components that survive this exposure for decades. The protocol is simple: calculate total ownership cost over ten years, not purchase price alone. Then buy accordingly.
The Psychology Of Garden Lights: Mood & Perception

Color Temperature Controls Emotional Response
You want people to think your garden is expensive. That’s the real reason you care about this section. The mechanism is color temperature, borrowed from lighting physics: correlated color temperature (CCT) measured in Kelvin dictates whether your brain perceives a space as energizing or calming. Warm light (2700K-3000K) triggers relaxation by mimicking sunset. Cool light (5000K+) activates alertness. Most people waste money installing mismatched temperatures across one garden, which reads as chaotic instead of intentional.
Warm pathway lights near seating areas and entryways create psychological safety through familiarity. Your nervous system recognizes warm light as “fire,” which means “civilization and rest.” Cool lights on elevated or distant features recede visually and read as formal. The mistake everyone makes is assuming more brightness equals better mood. Wrong. A 2700K light at lower wattage creates better atmosphere than a 5000K flood at high output. Install warm lights where people pause and spend time. Use cooler tones only for accent features or security zones where you actually want visual clarity.
Perceived Safety Builds Luxury Status
The gap between “well-lit” and “luxurious” isn’t brightness. It’s predictability. Your brain equates consistent, planned lighting with control and wealth. When pathway lights appear randomly or inadequately spaced, your primitive brain triggers low-level threat detection. That kills the luxury sensation instantly. Wealthy gardens light pathways with intent: subtle illumination every 4-6 feet, graduated brightness from public to private zones, and no dead spots where shadows pool unexpectedly.
The physical mechanism is contrast ratio. Too much variation between lit and dark areas forces your eyes to constantly readjust, creating visual fatigue and unease. Strategic pathway lighting maintains a consistent luminance level (around 5-10 lux for ambient paths) with gradual transitions. This eliminates the cognitive load your brain burns processing threat assessment. Install lights at consistent intervals along high-traffic routes, align their brightness output, and test the path at night before finalizing placement. Low, distributed light reads as intentional luxury. Bright spotlights read as security theater.
Landscape Pathway Lighting: Design For Function
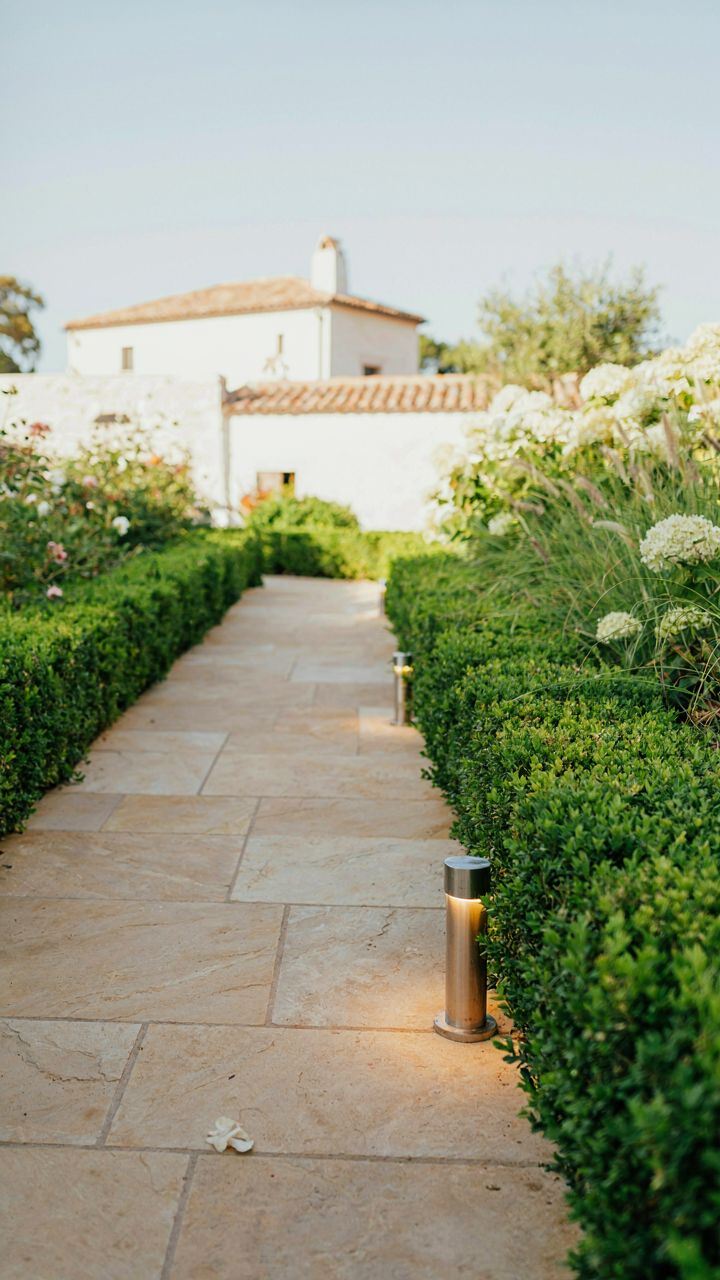
When Lighting Meets Hardscape
You want your pathway to look intentional. That’s the real reason you’re reading this. The mechanism is simple: hardscape materials change how light behaves, and you must design for the material, not against it. Concrete absorbs and diffuses light differently than stone or gravel. Pavers reflect at different angles than asphalt. Your fixture choice becomes secondary to substrate strategy.
Hardscape integration means positioning lights to work with material properties, not fight them. Concrete driveways need lower lumen output than gravel paths because concrete reflects 30 to 40 percent of light back, while loose aggregate scatters it. Stone edging acts as a natural light barrier, allowing you to hide fixtures behind or within it. Bollards placed along paver edges become part of the structural line rather than afterthoughts. The fixture disappears when it aligns with the path’s existing geometry.
The Over Illumination Problem
Everyone installs too much light. They believe more lumens equal more safety, when the actual result is glare, washed out colors, and paths that look like parking lots. This is consensus backward thinking. Safety comes from consistent, lower-level illumination that matches how human eyes actually process pathways at night.
Pathway lighting should target 10 to 20 foot-candles at ground level for residential applications. That number sounds technical, but it means you need less light than you think. High-output fixtures create hot spots and shadows that make navigation worse, not better. Space fixtures 8 to 12 feet apart with 3 to 5 watt LED lights instead of bunching 15 watt fixtures every 4 feet. The path guides itself through subtle illumination, not aggressive flooding.
Courtyard Landscape Lighting: Small Space Mastery
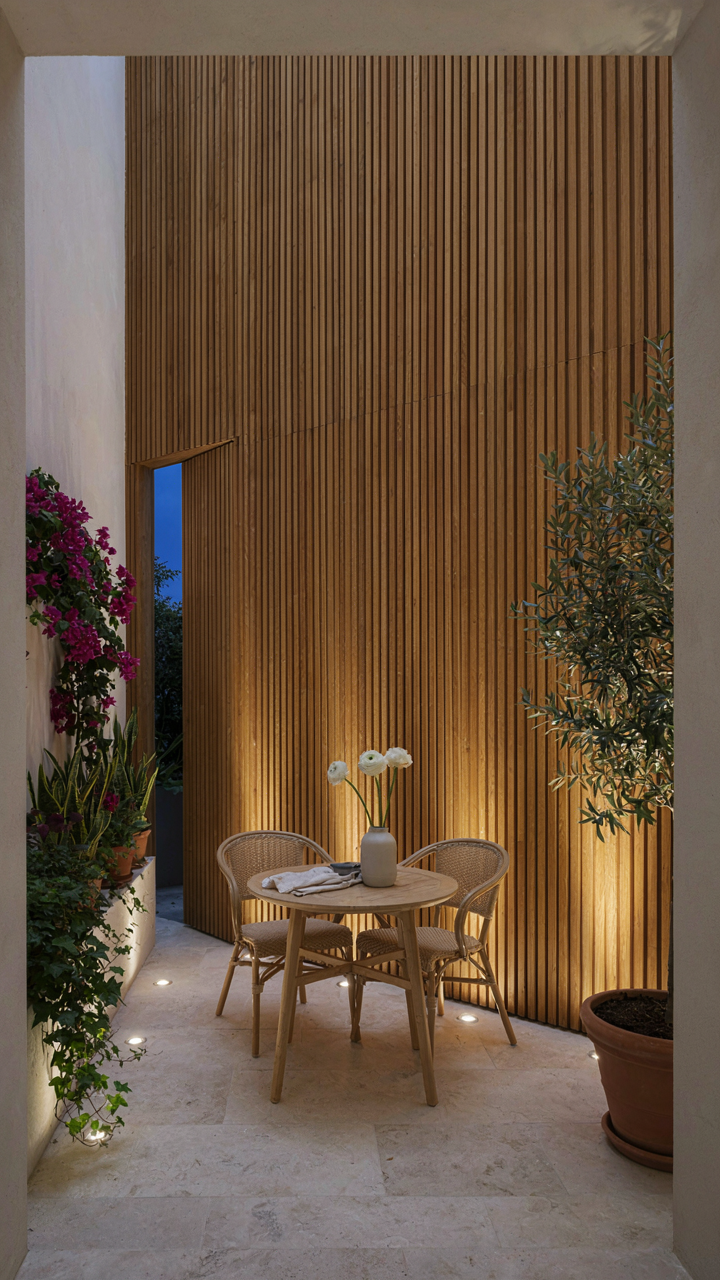
Maximize Effect In Confined Areas
You want your tiny courtyard to feel intentional and expensive instead of cramped. The mechanism is borrowed from theater lighting: layering intensity zones creates perceived depth. Instead of spreading weak light everywhere, you concentrate it strategically to make the space feel larger than it is.
Pathway lights in small courtyards function as visual anchors, not mere illumination. Place them to guide movement along perimeter edges, which tricks the eye into perceiving extended boundary lines. This contracts the viewer’s focus inward while simultaneously stretching the perceived dimensions. Low-level spacing of 4 to 6 feet between fixtures prevents pooling while maintaining continuous visual flow. The confined area becomes a purposeful journey rather than dead space.
Multi Functional Lighting Solutions
The common advice says to use dimmers for flexibility. That’s incomplete. You need fixtures that serve dual purpose by design, or you’re wasting wire runs and transformer capacity in tight quarters.
Pathway lights with adjustable beam angles accomplish both accent and navigation in one placement. A narrow beam highlights a focal point, plants, or architectural detail. Widen the same fixture and it becomes ambient ground-level visibility for foot traffic. This eliminates redundant installations that clutter small courtyards. You eliminate one fixture type, not sacrifice functionality. Install fixtures on 15-amp circuits with dimmer control so you shift between modes without rewiring. Anchor the pathway system with warm color temperature (2700K to 3000K) to maintain coziness in constrained spaces. One effective lighting circuit creates multiple experiences without additional equipment.
The Real Obstacle Isn’t The Fixture; It’s Your Inability To See Light As An Invisible Architect

Most people treat pathway lighting like a checkbox. Install it. Done. But light shapes how humans move through space. It controls mood, safety, and whether guests linger or rush. Stop buying fixtures and start buying intention. Walk your garden tonight without any lights on. Notice where you naturally move. Where do you stumble? Where do you slow down? Place your first light there tomorrow. Light doesn’t decorate space; it designs human behavior.



