
The Botanical Specimen Fallacy: Why Your “Guide” Is Wrong
Preservation Accuracy Isn’t What You Think It Is
You want to know how to keep your specimens looking perfect forever because you’re afraid they’ll degrade and your investment will look cheap. That’s not the real problem. The real mechanism is this: most framed botanical specimens fail because people confuse visual preservation with archival preservation. These are opposite goals. Visual preservation means the specimen looks fresh. Archival preservation means the specimen survives chemically intact for decades. You can’t do both simultaneously with standard framing materials.
Standard glass, paper backing, and adhesives work against long-term survival. Acid from wood pulp in backing boards migrates into plant tissue over years, causing browning and brittleness. UV-filtered glass prevents fading but doesn’t stop internal chemical decay. The pressed plant material itself continues to release volatile compounds that degrade fibers. What looks preserved in year one is actively decomposing in year five if the framing wasn’t designed for actual archival standards, not retail aesthetics.
The Herbarium Intent Nobody Mentions
Herbarium science treats specimens as data, not decoration. In taxonomy and plant identification, a dried specimen serves a single function: it documents a plant’s morphological characteristics at a specific moment in time. Herbarium collections—housed in institutions like the Smithsonian or Kew Gardens—use standardized mounting protocols, specific paper types, and controlled storage because the specimen must remain scientifically readable for 200 years. Framing a botanical specimen for your wall inverts this entirely. You’re treating data as aesthetic, which means you’re already compromising the specimen’s original purpose.
True herbariums mount specimens on acid-free paper using reversible adhesives, store them in controlled humidity, and keep them flat in archival boxes away from light. Framed specimens hang in variable humidity, inconsistent temperature, direct or indirect light, and sit behind glass that creates micro-climates. If your specimen came from a living collection or propagation, it has no herbarium history anyway. The frame you buy isn’t preserving anything—it’s displaying a plant material that’s already begun molecular breakdown the moment it dried.
The “Memento Mori” Method: Capturing Fleeting Beauty, Not Perfection
Decay As Design Language
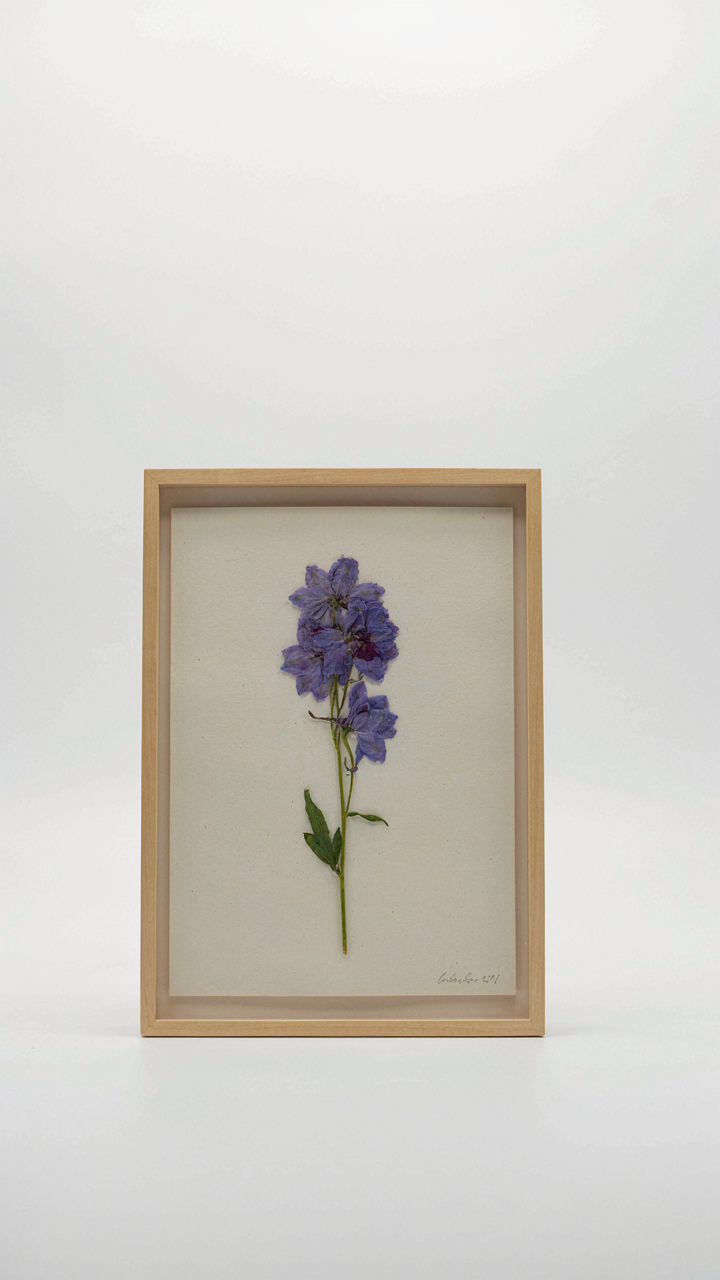
You want permission to display something that looks expensive but isn’t perfect. The mechanism is simple: biology gives us the concept of “entropy”—the inevitable decline of organized systems over time. In framed botanicals, entropy becomes the actual aesthetic. Pressed flowers fade. Leaves curl and brown at edges. Stems desiccate. Most framers fight this. You stop fighting and frame specimens mid-decline instead.
The Wabi-sabi movement in Japanese design already solved this problem centuries ago. Imperfection signals authenticity. A specimen with visible color loss, structural fragility, and surface degradation reads as honest rather than flawed. You’re not hiding the specimen’s age. You’re featuring it. The frame becomes a display case for time itself, not a monument to arrested perfection.
Specimens With Story, Not Just Shape
Forget the advice that says botanical frames need symmetry and intact form. That’s generic interior decoration. Real frames document a plant’s life: damage from insects, uneven growth, environmental stress marks, reproductive structures still visible. A leaf with a hole from a caterpillar tells you something. A faded pressing shows you when it was collected. A specimen with visible vein damage from drought becomes evidence, not decoration.
The selection process flips. You’re hunting for specimens that carry narrative friction. A scarred fern frond. A seedpod with partial deterioration. A pressed flower with one bruised petal. These specimens demanded inclusion because they contain information about survival and change. Frame three pieces from the same plant collected across different seasons. The visual variation becomes the point. Your frame now documents transformation rather than displaying a perfect moment frozen in time.
Beyond Basic Pressing: Advanced Dehydration Protocols
Silica Gel Vs. Traditional Pressing
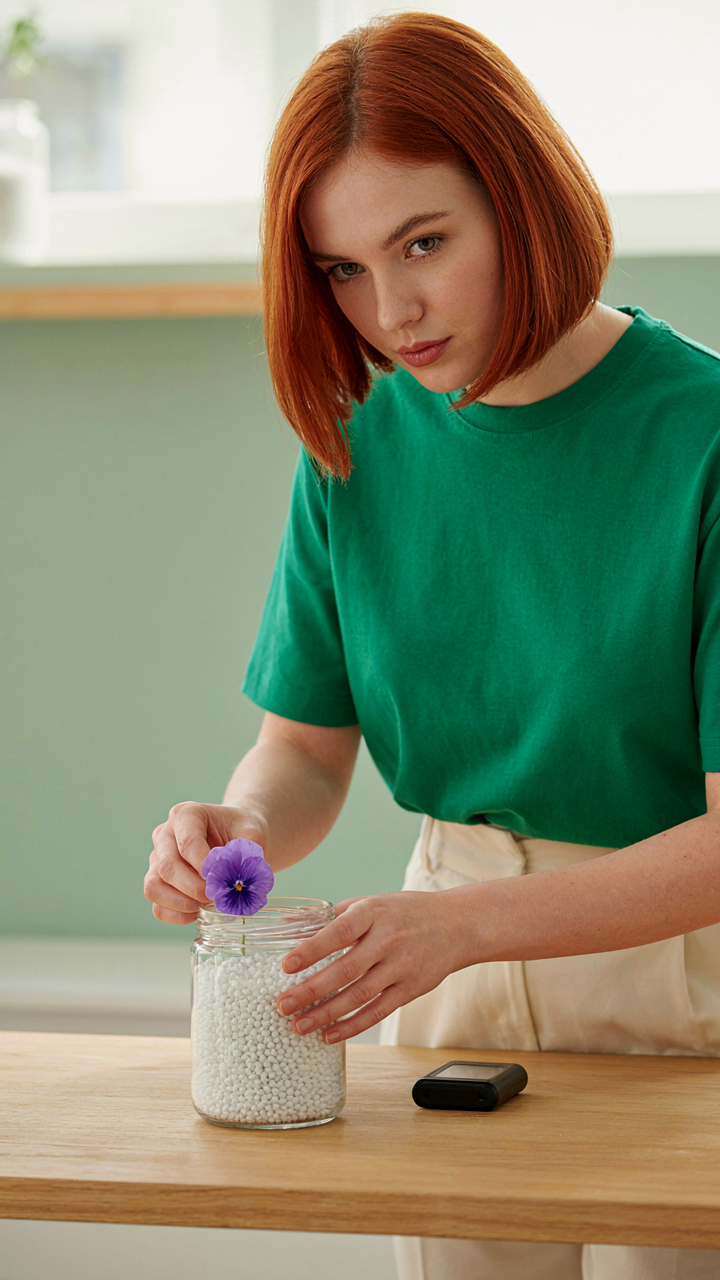
You want to preserve color because faded specimens feel like you wasted money. Here’s what actually matters: silica gel works through physics—it removes moisture faster than air alone, which halts oxidation before pigment breaks down. Traditional pressing relies on time and hope.
Silica gel absorbs water molecules directly from plant tissue, creating a low-moisture environment that stops enzymatic degradation cold. Specimens dry in days instead of weeks. The trade-off is cost and the need to replace saturated gel regularly. Traditional pressing works for hardy specimens but leaves delicate petals and thin leaves vulnerable to color shift during the extended drying window.
Controlling Temperature And Humidity During Drying
Moisture moves according to vapor pressure gradients—think of it as directional water migration. High temperature speeds drying but risks scorching delicate tissue and locking in chlorophyll breakdown. Low humidity pulls moisture out, but erratic swings cause uneven drying that warps specimens.
Maintain 35 to 50 percent relative humidity in your drying space and hold temperature between 60 and 75 degrees Fahrenheit. Use a basic hygrometer and dehumidifier to stabilize these parameters. Specimens dry slowly at these settings, but the even moisture loss prevents curling, browning, and color degradation that fast drying causes. Your drying environment matters more than your drying method—control both, and the specimen holds its appearance.
The Curator’s Conscience: Ethical Sourcing For Natural Botanical Specimen Display
Wildcrafting Versus Cultivation
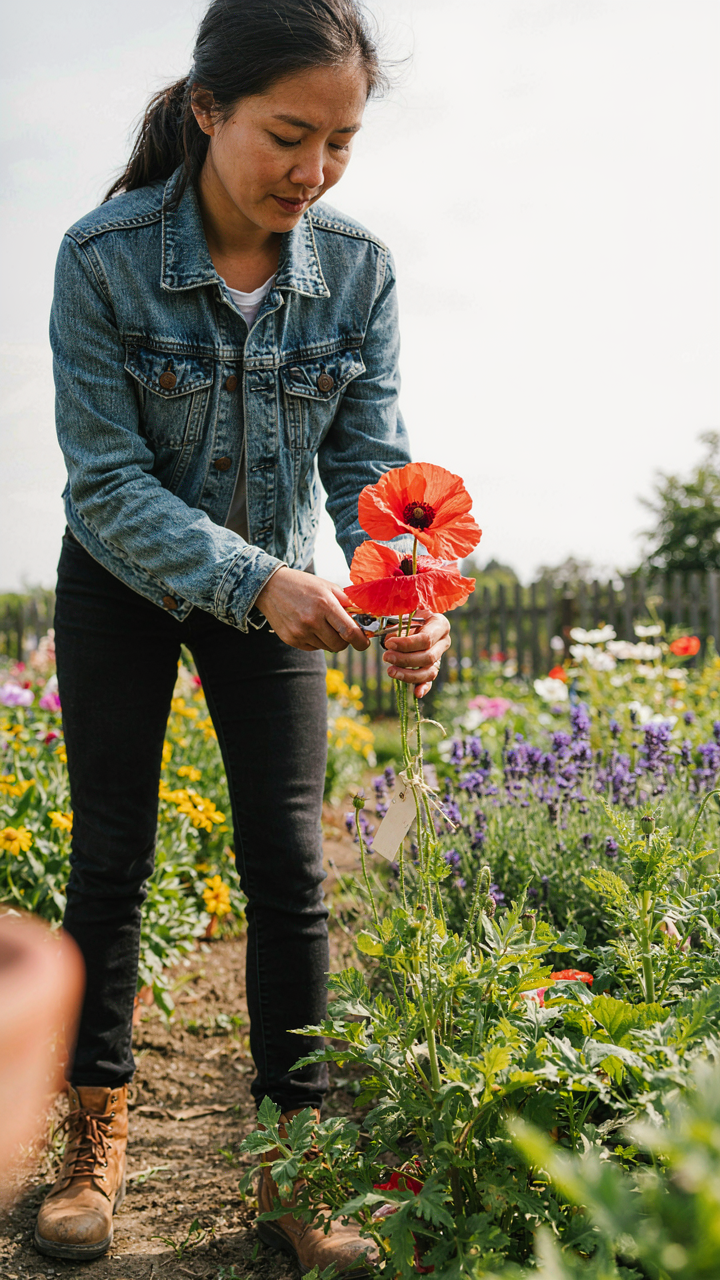
You want ethical credentials without the price tag of nursery-grown material. Here’s what actually matters: the mechanism is scarcity. Wildcrafting depletes populations; cultivation regenerates them. Ecology operates like resource extraction—finite supply, infinite demand. Pick the wrong source and your frame becomes a trophy from a collapsed ecosystem.
Cultivation produces specimens at scale without harvest pressure. Nurseries breed plants specifically for pressing and preservation, selecting for color stability and structural integrity. Wildcrafted material comes from wild populations and carries real ecological cost. The distinction isn’t moral posturing—it’s supply chain logic. Cultivated sources guarantee consistent availability and remove the justification for stripping rare species from their habitat.
Sustainable Harvesting Practices For Longevity
Most advice here is incomplete: “harvest responsibly” doesn’t tell you when or how to actually do it without killing the plant. Timing determines both specimen quality and plant survival. Harvest during dormancy or after seed dispersal, never during active growth. This is basic botany, but curators skip it and wonder why their specimens fade in three years.
The preservation window closes fast. Harvest specimens at peak condition—full color development, maximum cellular moisture, mature tissue structure. Process them within 48 hours. Pressing removes moisture gradually over weeks; rushing this step creates brittleness and color loss. Document harvest location and date on every frame. This metadata separates a curated collection from inventory.
The Unseen Enemy: Pests, Fungi, And The Botanical Specimen
Stopping Infestations Before They Start
You’re worried about this section because you’ve already invested money in specimens and the thought of them rotting inside their frames terrifies you. Integrated pest management borrows from agricultural defense strategy: you don’t wait for the invasion to mount a counterattack. You establish perimeter control first.
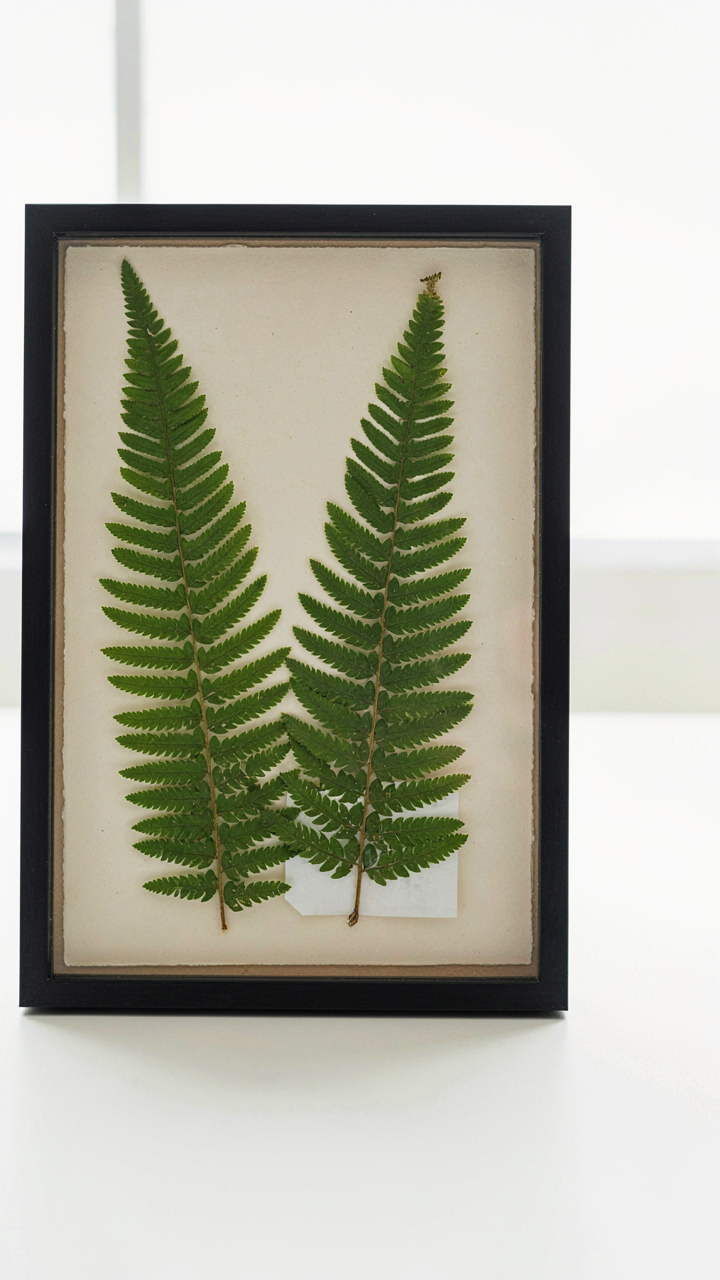
Dried botanicals attract insects because they’re food. Spider mites, thrips, and psocids consume plant tissue and leave damage that spreads. The mechanism is simple: specimens stored in unfiltered environments absorb insect eggs already present in air or packaging. IPM for framed specimens means blocking entry points before anything colonizes. Use sealed frames, inspect materials before framing, and maintain stable low humidity below 50 percent where pest reproduction slows dramatically.
The Humidity Equation That Actually Matters
Most advice says “keep it dry” and stops there. That’s incomplete. Mold doesn’t grow because specimens are damp. Mold grows because humidity swings create condensation inside sealed frames where air can’t circulate. The real enemy is the delta between inside and outside humidity, not humidity itself.
Stable humidity below 55 percent prevents both mold germination and discoloration from chemical breakdown in the plant material. Fluctuations cause the frame’s interior air to condense on the glass and specimen surface. Mount botanicals on acid-free paper with silica gel packets refreshed annually, and keep frames away from exterior walls, bathrooms, and direct sunlight where temperature swings are largest. Seal frame backing completely to stop moisture infiltration at the source.
Framing As Fortification: Displaying Your Herbarium Art
UV Protection Glass: The Real Cost Of Skipping It
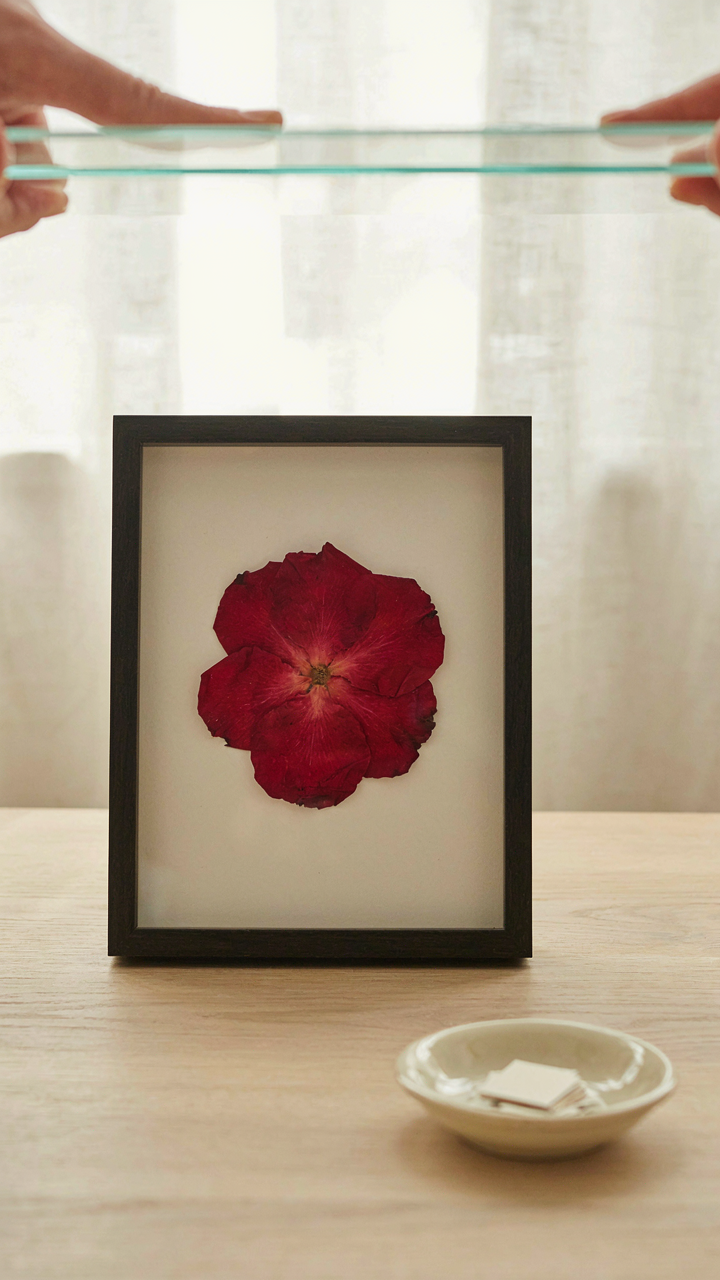
You want your specimens to look museum-quality forever without thinking about maintenance. That’s the trap. Here’s the mechanism: light degrades plant material through photochemical oxidation. UV rays accelerate this across all wavelengths, turning greens to browns and reds to ghosts within years. Standard glass stops almost nothing. UV-protective glass (typically laminated or coated with UV absorbers) blocks 99% of ultraviolet radiation, extending specimen viability from decades to centuries. This isn’t aesthetic. It’s physics applied to preservation.
The cost difference between standard and UV glass runs 15-40% higher, which most framers won’t mention until you’re already committed to the job. Installation matters equally. Framers must position UV glass as the innermost layer, touching or near the specimen. Air gap between glass and specimen accelerates moisture and temperature fluctuation, which degrades plant tissue regardless of UV protection. Specify conservation-grade, museum-quality UV glass during the framing order. Demand it in writing.
Archival Mounting: Stop The Material From Eating Itself
Everything touching your specimen will degrade it unless specifically formulated not to. Museums learned this the hard way by losing specimens to acid-laden mounting materials that chemically attacked plant matter over decades. Acid-free mounting boards, pH-neutral adhesives, and non-lignin mats are non-negotiable. Standard cardboard and glue are cheap precisely because they contain acids that migrate into specimens and cause permanent staining and brittleness.
Use only acid-free museum board for backing and mounting. Apply adhesives sparingly—spray adhesive rated for archival use or acid-free mounting corners that secure without permanent bonding. Never use tape, rubber cement, or standard glue. Never mount specimens directly to cardboard. The specimen sits in a window cut from the board, held by archival corners or suspended with reversible threads. Inspect mounting materials for certification stamps from archival standards organizations. Poor mounting choices create irreversible damage within 5-10 years.
The “Botanical Collage” Paradox: More Than Just Arranging Flowers
Weight Distribution Without The Lecture
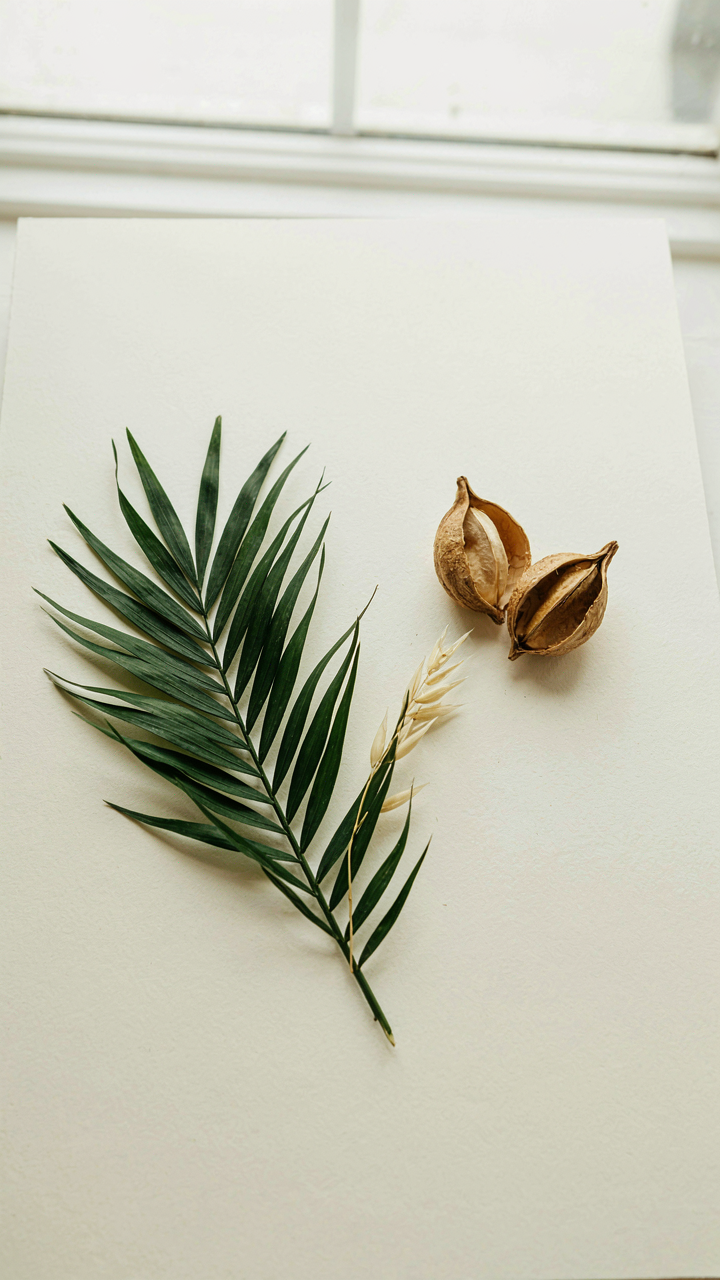
You want people to think you understand design, which means you need to stop treating a framed botanical specimen like a poster you’re taping to a wall. The real mechanism comes from graphic design’s principle of compositional gravity: the eye has weight, and where you place elements determines where that weight lands. Think of it like mass in physics. A dense cluster of specimens on the left pulls visual attention there unless you counter-balance with negative space or a single high-contrast element on the right.
Most framers place specimens symmetrically because it looks safe. That’s the lazy move. Asymmetrical arrangements hold attention longer because they create tension that the eye wants to resolve. The tension comes from breaking the expectation of mirror-image placement. Move a larger specimen toward one corner, then balance it with multiple smaller pieces or open space elsewhere. The frame itself becomes a container where gravity operates, not just a border.
The Purpose Of Empty Space
Negative space isn’t wasted real estate you fill because you’re nervous about blank areas. It’s an active design tool that forces the viewer’s eye to work, which means the composition registers as intentional rather than sparse. The Bauhaus movement understood this: stripping away excess revealed structure. In botanical framing, empty space around specimens creates visual rest and emphasizes what remains.
When you crowd specimens edge-to-edge, each one competes for attention and none dominates. When you space them deliberately, the eye moves through a sequence you control. The background color, mounting board tone, and frame interior all interact with negative space to create rhythm. Measure the actual distance between specimens during layout before mounting anything. Consistent spacing creates order. Deliberate inconsistency creates purpose. The difference determines whether viewers see a collection or a composition.
Herbarium Ideas Beyond The Wall: 3D Botanical Decor
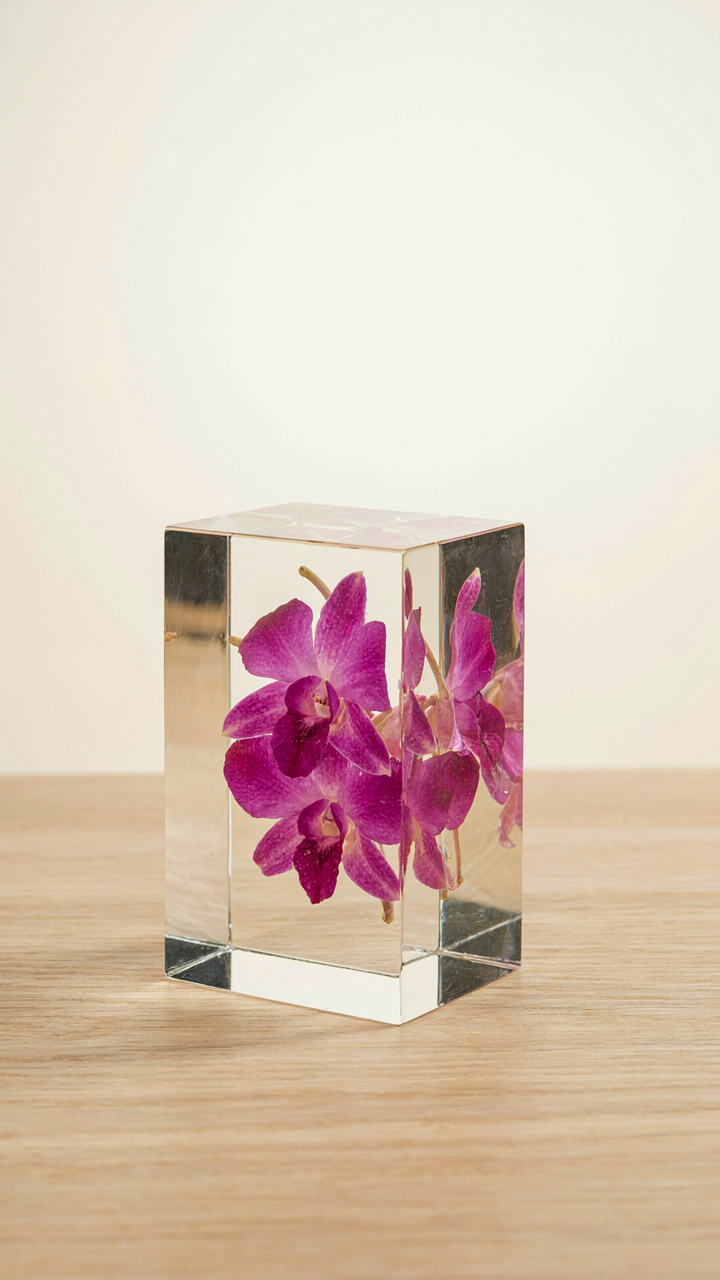
Resin Casting For Permanent Preservation
You want permanence without the maintenance burden—that’s the real driver here. Resin casting works because it’s borrowed from industrial preservation: encapsulation. In materials science, encapsulation means suspending an object in a protective medium that blocks oxygen and moisture. Do that with botanicals, and you stop decay at the cellular level.
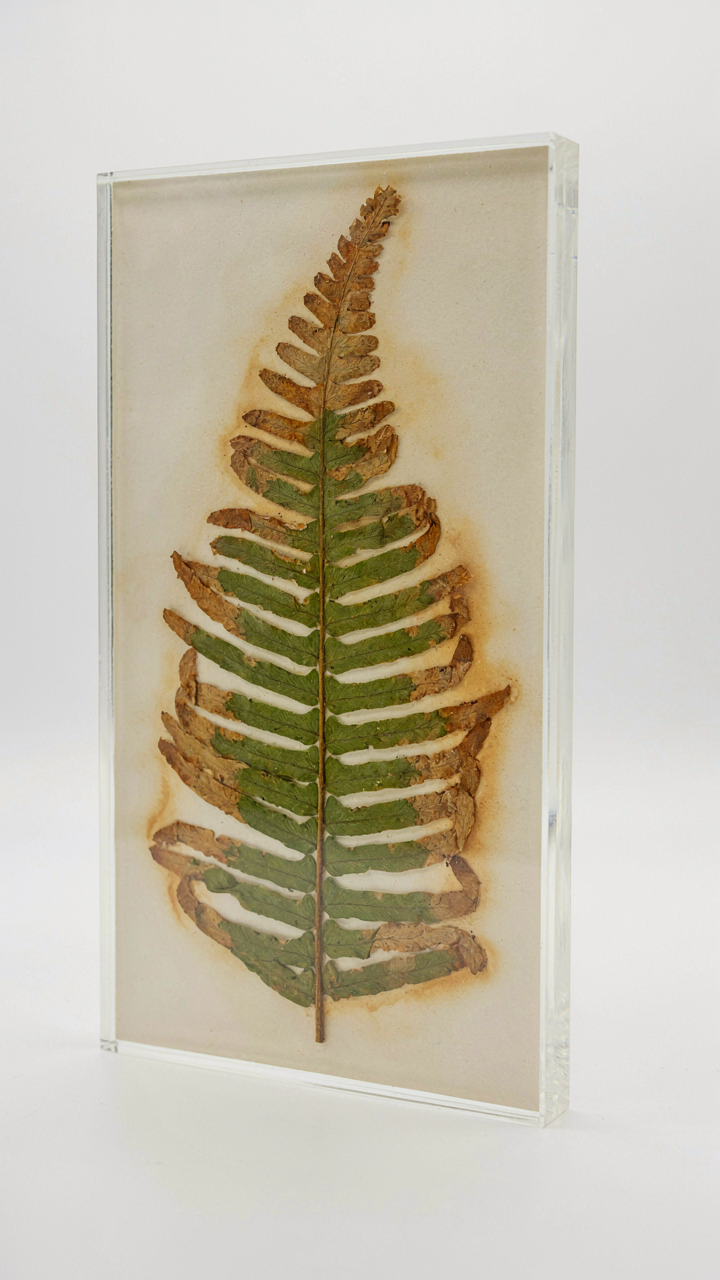
The mechanism is straightforward. You embed dried specimens in two-part epoxy resin, which cures to a clear, hard shell. Unlike pressed flowers under glass, resin creates a sealed environment where nothing deteriorates. The specimen sits locked in time, protected from humidity shifts, insects, and UV exposure. This matters because framed specimens still require climate control. Resin doesn’t.
- Two-part epoxy formulations: Craft-grade epoxies cure slower, reducing bubble formation. Longer working time means better specimen positioning and air release before hardening.
- Silicone molds: Pour resin into molds shaped as blocks, domes, or geometric forms. Demolding after cure gives you finished pieces ready for shelf display without framing.
- Specimen preparation: Botanicals must be completely dry before casting. Moisture trapped inside will bubble during cure and cloud the final piece.
- Degassing techniques: Use a vacuum chamber or heat gun to remove air bubbles after pouring. This step determines clarity and professional appearance of the finished cast.
- Pigment and colorant options: Add alcohol-based dyes or mica powders to resin before cure. This lets you create contrast or tint the medium without obscuring the botanical structure.
Resin casting eliminates the main liability of traditional framing: glass maintenance and seal failure. Once cured, you cannot damage the specimen or change the display. That’s the trade-off. You commit to the design permanently, but you eliminate ongoing risk.
Display Vessels Beyond Standard Frames
The wall frame monopolizes thinking about botanical display, but it’s the wrong constraint. Domes, shadow boxes, and specialty enclosures offer better protection and different design language. Glass domes originated in Victorian naturalism—they’re not decorative accessories, they’re containment systems. That distinction matters because it changes how you evaluate them.
A dome works differently than a frame. It creates a contained microclimate with dead air space that buffers humidity swings. The sealed base prevents insects from entering. Shadow boxes use similar principles but add wall-mounting flexibility. Acrylic or resin boxes offer the same protection with modern aesthetics. The choice depends on where the specimen lives and what environment it faces. Humid rooms favor sealed domes. Stable, climate-controlled spaces allow shallower boxes.
The real mechanism isn’t aesthetic—it’s environmental control. Choose your enclosure based on the room’s humidity range and light exposure, not on style preference. That determines longevity.
The “Lego Decorations” Principle: Building Your Botanical Narrative
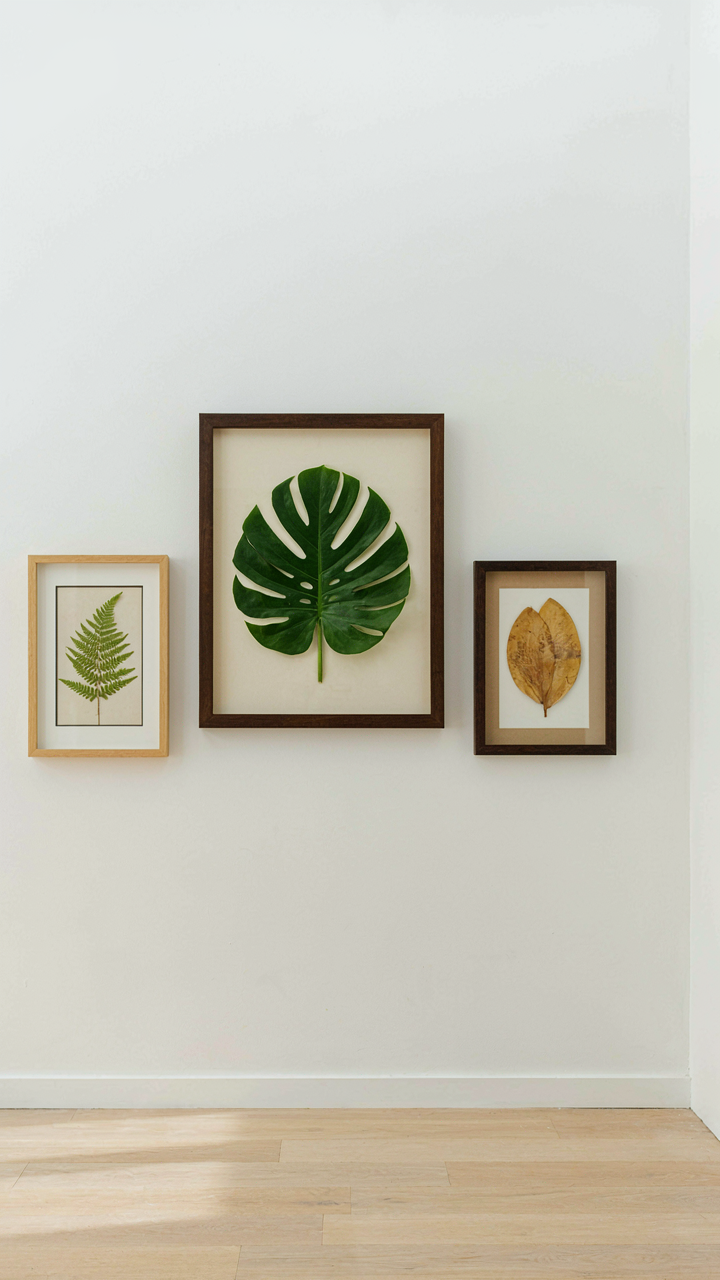
Frames As System, Not One Shot Purchases
You want permission to buy more frames without feeling like you’re decorating randomly. Here’s the mechanism: framed botanicals work best as a modular system where individual pieces stack into a larger visual argument rather than existing as isolated objects.
Think of architecture’s concept of modularity applied to display design. Each frame becomes a building block. You start with one specimen, add a second in a complementary frame size or wood tone, then a third. The wall reads as intentional composition instead of accumulation. The constraint forces discipline.
Start with a 16×20 frame as your anchor piece. Once that lives on your wall for a month, you’ll see the visual weight it commands and the wall space it leaves. Then add a 12×16 frame adjacent to it. The two frames establish rhythm. A third piece either reinforces the pattern or deliberately breaks it. This isn’t decoration advice. It’s how you build a system you can keep adding to without it looking chaotic or planned-by-committee.
Themes Organize Collections Into Narrative
Most people curate by what looks nice together. Wrong move. Curation by theme transforms scattered frames into a story that rewires how someone reads your space.
A coherent collection needs internal logic. That could mean grouping by geographic origin (Mediterranean species, East Asian ferns, South American orchids), by botanical family (Rosaceae specimens across five frames), by historical period (Victorian-era pressed specimen presentation), or by visual characteristic (specimens with geometric leaf patterns). The theme creates constraint. Constraint creates coherence. Coherence reads as intentionality, not impulse buying.
Once you lock a theme, sourcing becomes mechanical. You’re not asking “is this beautiful.” You’re asking “does this specimen fit the narrative I’m building.” Frame selection, mat color, and spacing follow the theme instead of fighting it. Pick one theme and commit to five frames within it before considering a second collection. This prevents the visual noise that kills most botanical displays.
Monetizing Your Mediocrity: Selling Imperfect Pressed Flower Art
The Niche That Rewards Flaws
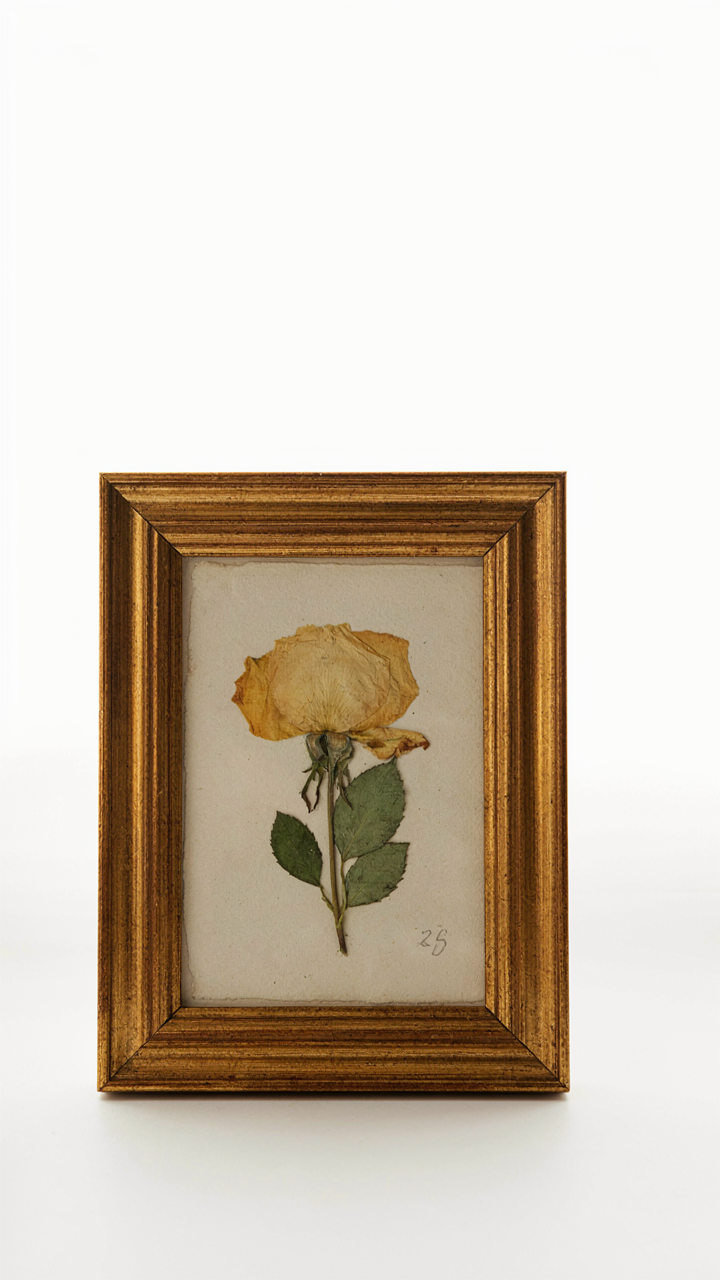
You want permission to sell something that isn’t perfect because perfection feels impossible to achieve. Here’s the mechanism: the “artisanal decay” market in framed botanicals operates on scarcity of authenticity, not flawlessness. Collectors buy imperfect pressed flowers specifically because they signal handmade labor and time invested. Browning edges, uneven pressing, asymmetrical arrangements, faded colors from age or sunlight exposure—these become proof of realness in a market drowning in mass-produced uniformity.
The real niche isn’t selling damaged goods. It’s selling the botanical specimen market segment where imperfection becomes the credential. Target buyers who collect Victorian-era pressed flower arrangements or modern sustainability-minded creators who explicitly want vintage, weathered pieces. Position specimens with visible flaws as historical artifacts or as intentional aesthetic choices aligned with wabi-sabi design principles, where impermanence and decay hold cultural value. This repositioning transforms liability into differentiation.
Pricing Without The Comparison Trap
Everyone tells you to research competitor prices and undercut them. That’s how you compete on desperation instead of positioning. Frame your pricing around the input cost model: materials cost nothing, but labor time is what you’re actually selling. Calculate your pressing time, framing time, photography time, and customer service time, then assign an hourly rate that reflects skilled work, not hobby money.
Imperfect specimens often require more curation time because you’re selecting which flaws photograph as intentional versus which ones read as neglect. That selection labor justifies a higher price, not a lower one. Sell three imperfect specimens at $85 each instead of eight perfect ones at $25 each, and you reduce production volume while raising profit and signaling exclusivity. Price signals quality to buyers who equate cost with craftsmanship.
The Real Obstacle Isn’t Your Technique; It’s Your Expectation Of Perfection
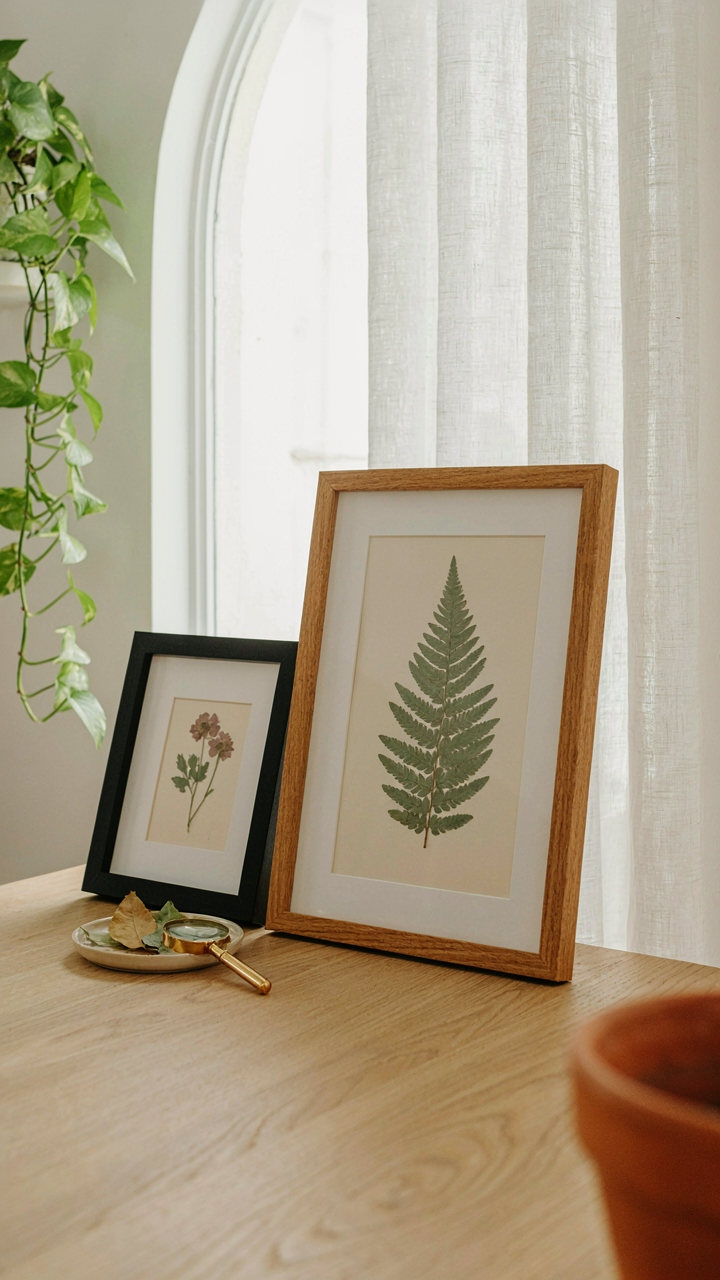
You already know how to frame botanical specimens. You’re stalling because you’re waiting for your skills to match some imaginary standard that doesn’t exist. Every collector you admire started with ugly arrangements. Pick one plant today. Press it. Frame it. Post it. The gap between your current work and professional work closes through volume, not overthinking. Done beats perfect every single time.



