
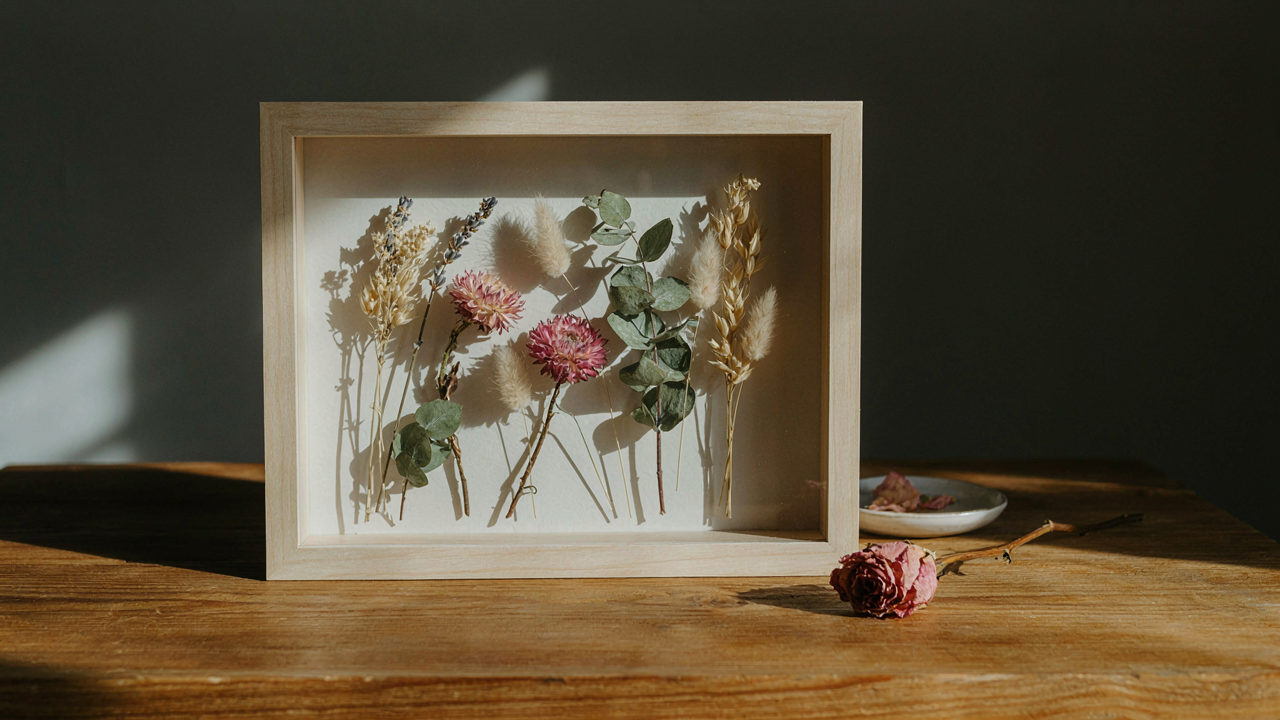
The Preservation Paradox: Why DIY Fails Most
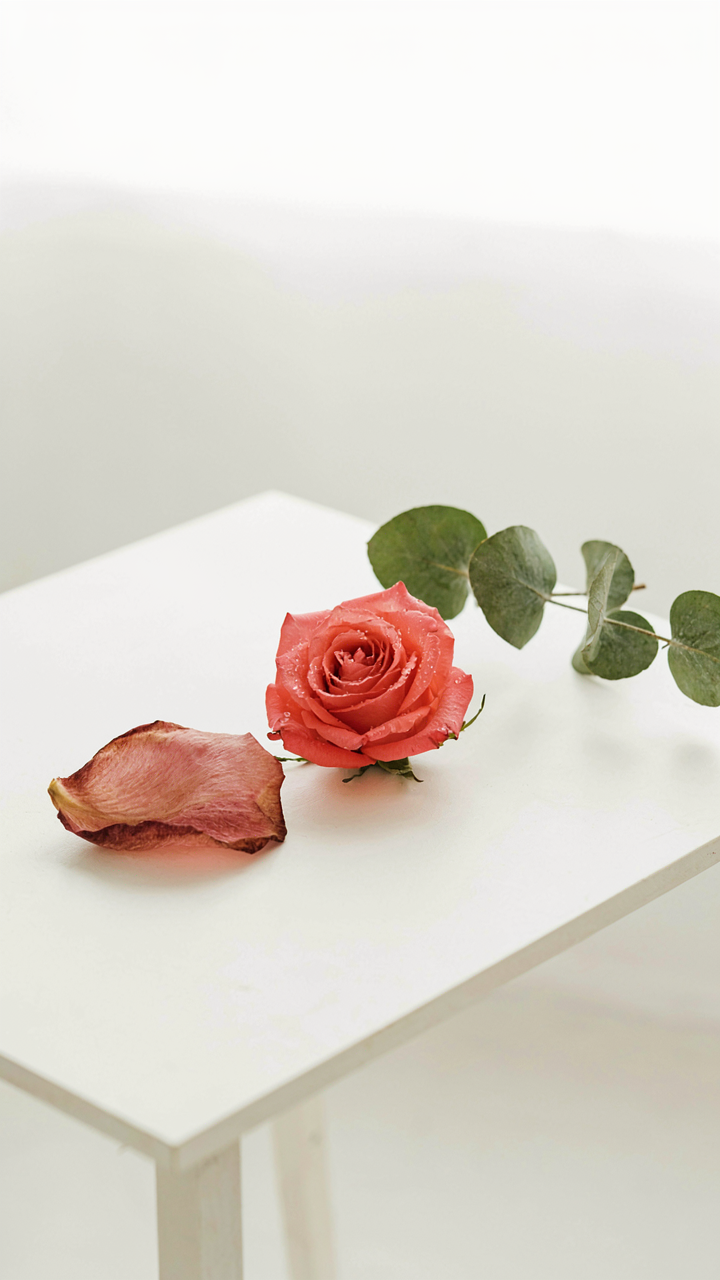
The Three Variables You’re Getting Wrong
You want your shadow box to look intentional in five years, not like you forgot about it in a garage. Here’s what actually happens: most DIY attempts fail because people treat drying like a single event instead of managing three independent variables that fight each other constantly.
Heat accelerates moisture loss but scorches petals and bleaches color. Light fades pigment while you’re trying to preserve it. Humidity creeps back in and undoes everything. The standard advice says “use high heat, dark space, low humidity” as if these exist in harmony. They don’t. Exceed 90 degrees Fahrenheit and delicate specimens like peonies brown at the edges. Keep the space completely dark and you trap stagnant air that prevents even moisture evaporation. This is why commercial operations use controlled chambers with active air circulation, not just passive conditions.
The real mechanism: flowers dry from the outside in, but uneven heat distribution means outer petals lose water before inner structures finish releasing theirs. That pressure differential causes curling, splitting, and color shift. You need moderate temperature around 70 to 75 degrees, consistent air movement, and darkness that doesn’t suffocate ventilation. Most people choose one factor and neglect the others, then blame the flowers.
Beyond Silica Gel: The Overlooked Methods
Silica gel works but it’s not the only tool, and treating it as the universal solution blinds you to faster, less labor-intensive alternatives that actually suit shadow box design better. The problem with silica gel is practical: it requires active management, moisture monitoring, and replacement cycles that most people abandon after week two.
Air drying reversed through hang-dry and press-dry methods takes longer but demands almost zero intervention once started. Hang-dry works for sturdy stems like lavender and eucalyptus because gravity pulls water downward naturally. Press-dry, using weight and paper, works for flat specimens like Queen Anne’s lace and baby’s breath because it removes moisture while controlling curl. Glycerin treatment, borrowed from floristry, actually replaces water molecules in stems and foliage with a preservative compound, extending life to months instead of weeks. The mechanism is osmotic pressure: glycerin solution moves into plant tissue as water leaves, creating a preservation effect that silica gel cannot match for certain species. For shadow boxes specifically, glycerin-treated elements hold their structure longer under framing pressure and resist the brittleness that makes silica-dried flowers crumble when mounted.
The decision framework is simple: use silica gel only for flowers that need color preservation above all else, like roses. Use air drying for structural specimens. Use glycerin for foliage and stems that frame your design. Combine methods for the same box if you’re treating different plant types, not everything with one approach.
Deconstructing The ‘Flower Shadow Box’ Myth: More Than Glue
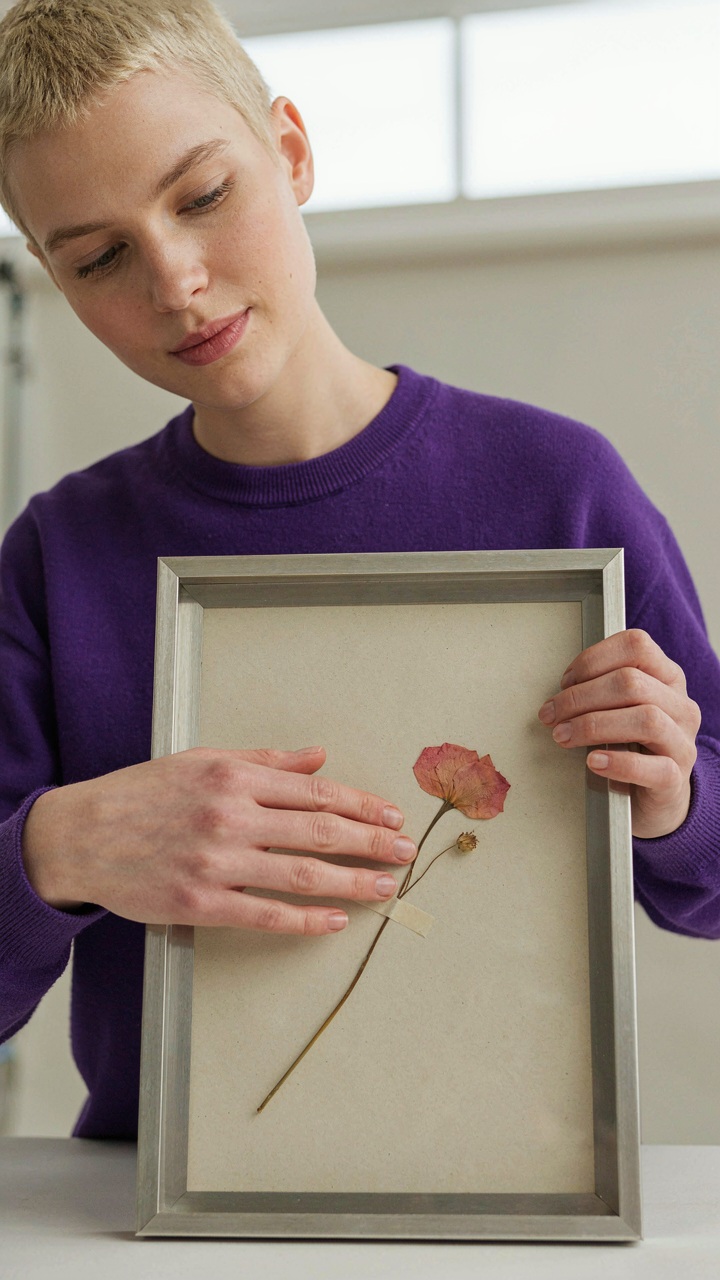
The Box Materials That Actually Survive
You want this thing to last because throwing money at something that falls apart in two years feels like failure. Here’s what people miss: a shadow box’s longevity isn’t determined by the flowers inside. It’s determined by the frame material’s ability to resist humidity, temperature swing, and UV exposure without warping or off-gassing. Wood frames absorb moisture and expand unevenly. Metal frames (aluminum, steel) stay stable. The backing board matters more than the frame. Acid-free museum board costs slightly more than standard cardboard but won’t yellow or deteriorate the flowers through chemical reaction.
The glass front is where most builds fail silently. Standard glass transmits UV light directly onto dried material, fading pigment within months. UV-filtering glass costs 30-50% more but extends the display life by years. The seal between the frame and backing determines whether humidity penetrates. A rabbet joint (where frame pieces overlap at corners) with a gasket material stops moisture entry. Cheap shadow boxes skip the gasket entirely, which is why your grandmother’s pressed flowers turned brown.
How To Mount Without Destroying What You Paid For
Adhesive is the trap everyone falls into because it seems permanent and fast. Most mounting advice suggests hot glue or craft adhesive, which is exactly wrong for preservation. These products off-gas and degrade flowers over time. The real mechanism here is mechanical anchoring, borrowed from museum conservation practice: you’re aiming for reversible attachment, not permanent bond. This means the flowers should be removable without damage if needed. Use archival-grade rice paper tape or acid-free linen tape placed strategically at the stem base, never across the delicate petals.
Position the flowers against the backing board before securing anything. Spacing matters tactically. Crowded arrangements trap moisture in pockets. Leave air gaps between blooms. Secure flowers at contact points only, typically where the stem meets the backing. A single small piece of tape at that junction holds better than smearing adhesive across the flower face. For heavier stems or larger arrangements, use fishing line attached to the frame’s interior rather than direct contact with backing. This keeps dried material suspended and reduces humidity contact entirely.
The Opto Aesthetic Protocol: Engineering Visual Impact
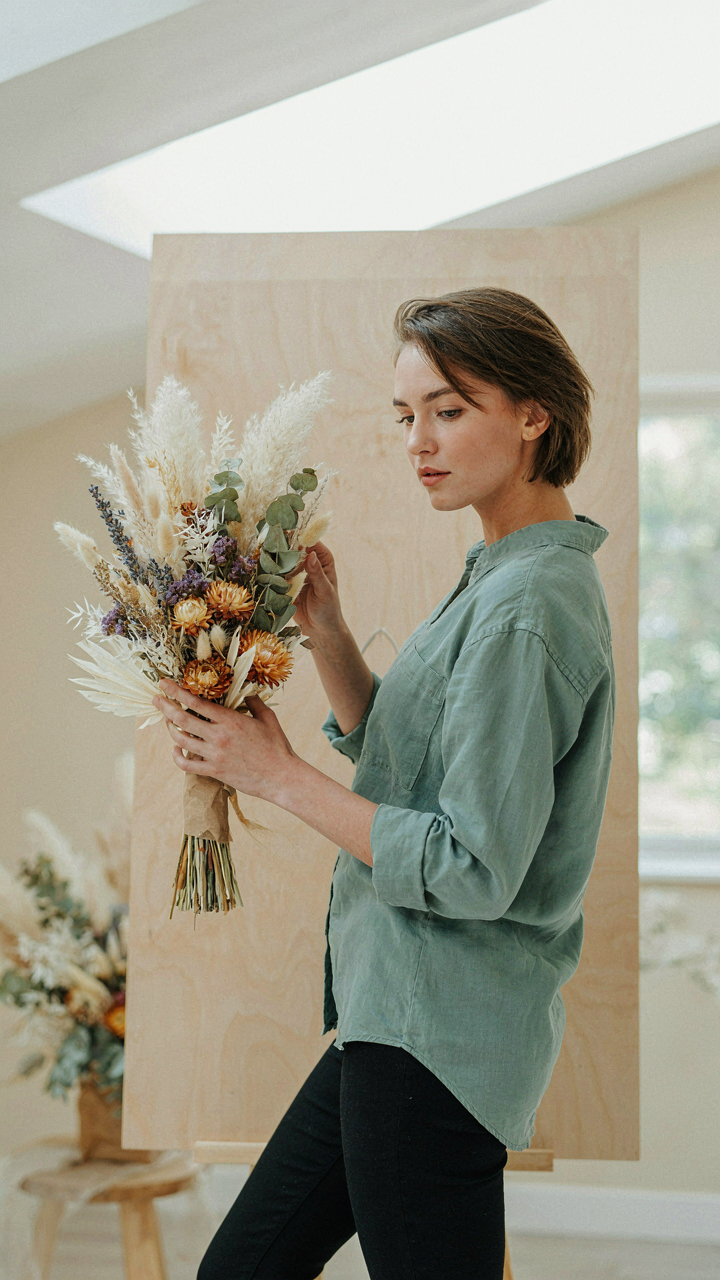
Composition As Narrative Architecture
You want this to look effortless. That’s the real problem here. Most people see a dried flower shadow box and think arrangement is just placing stems where they fit. It’s not. Cinematography borrowed the concept of framing from painting, and shadow boxes work the same way: every element occupies a plane of depth that either advances or recedes. The frame edge becomes a boundary. Everything inside it is a statement.
The mistake everyone makes is treating the box like a canvas. You’re not painting on glass. You’re constructing a three-dimensional narrative that reads differently depending on viewing angle and distance. Start by anchoring one focal point—a cluster of larger blooms or a textured stem—at the optical center or slightly offset. This creates tension. Build secondary elements around it using the rule of thirds. Depth comes from layering flowers at different distances from the glass, not from cramming more material into the same plane.
Light Behavior Within The Frame
Shadow boxes live and die by how light moves through them. Physics treats light as both particle and wave, but inside a sealed box, you’re managing light as pure directional tool. Side lighting creates dimensional relief by casting flower silhouettes onto the backing. Front lighting flattens everything. Backlighting reveals petal structure and transparency in ways frontal arrangement can’t achieve. The backing material absorbs or reflects light depending on color and texture, and this choice determines whether flowers read as solid or translucent.
Install your backing first, then position flowers relative to your light source during assembly, not after. If you’re using a light-colored backing, flowers closer to it will glow. Darker backings create contrast and make pale blooms pop. Preserved flowers naturally lose some translucency compared to fresh ones, so backlighting compensates. Angle your work surface during construction so you can see the effect of ambient light from multiple directions before sealing the box. This single protocol step prevents dead boxes that disappear in certain rooms.
Beyond Big White Flowers: Curating Authenticity
Texture And Forgotten Flora
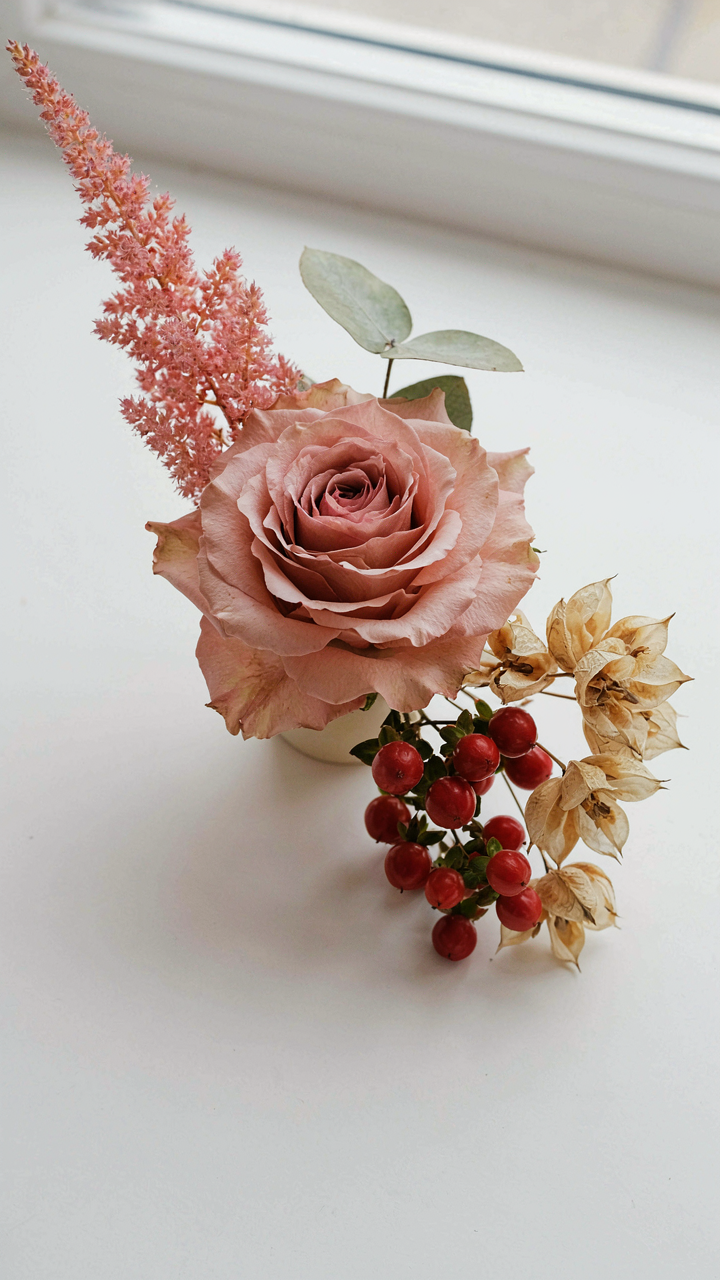
You want people to think you have taste. The mechanism that signals actual taste isn’t scale or showiness. It’s contrast. Borrowing from material science, we’d call it the principle of heterogeneity. A shadow box works the same way: varied texture creates visual weight without redundancy. Most people load boxes with peonies and baby’s breath because those photograph well. That’s the trap. The real move is pairing delicate material with dense, unexpected forms that make each other legible.
Seed pods, grasses, and woody stems create skeleton and rhythm. Astilbe fades to brown but holds structure. Hypericum berries shrivel but add color variance. Statice and solidago age into muted tones that read as intentional, not abandoned. These materials don’t compete for attention. They work as connective tissue between focal flowers, which means you need fewer focal flowers to achieve presence. The box becomes compositionally efficient instead of crowded.
Avoiding The Generic Aesthetic
The common advice says to “follow your personal style.” That’s incomplete. Personal style without constraint is just random spending. The real variable is restriction. Build your arrangement around a material limitation first, then let that constraint generate originality.
- Color Temperature Ceiling: Choose warm or cool tones exclusively. Mixing both temperatures reads as indecisive. Stick to one spectrum, then vary saturation and depth within it.
- Single Accent Element: One unusual material becomes the story. Pampas, bleached eucalyptus, or preserved magnolia. Everything else supports it, not competes with it.
- Negative Space as Design: Leave gaps. Don’t fill every inch. Shadow boxes benefit from breathing room more than centerpieces do because they’re viewed from one angle only.
- Monochromatic With Texture Play: Work in one color family. Vary material density, dried state, and size instead. This reads as sophisticated, not limited.
- Seasonal Sourcing: Use what’s available in one season. Wildflowers in summer, seed heads in fall, branches in winter. Seasonal coherence beats year-round forced florals.
Originality isn’t aesthetic freedom. It’s a system of deliberate constraints that eliminate the noise everyone else produces. When you have five hundred color options, you make a generic choice. When you have five materials and must make them work together, you make an honest one. Start by eliminating options, not adding them. The arrangement reveals itself through what you remove, not what you include.
The Bouquet Shadow Box As A Micro Ecosystem
Humidity And The Invisible Threat
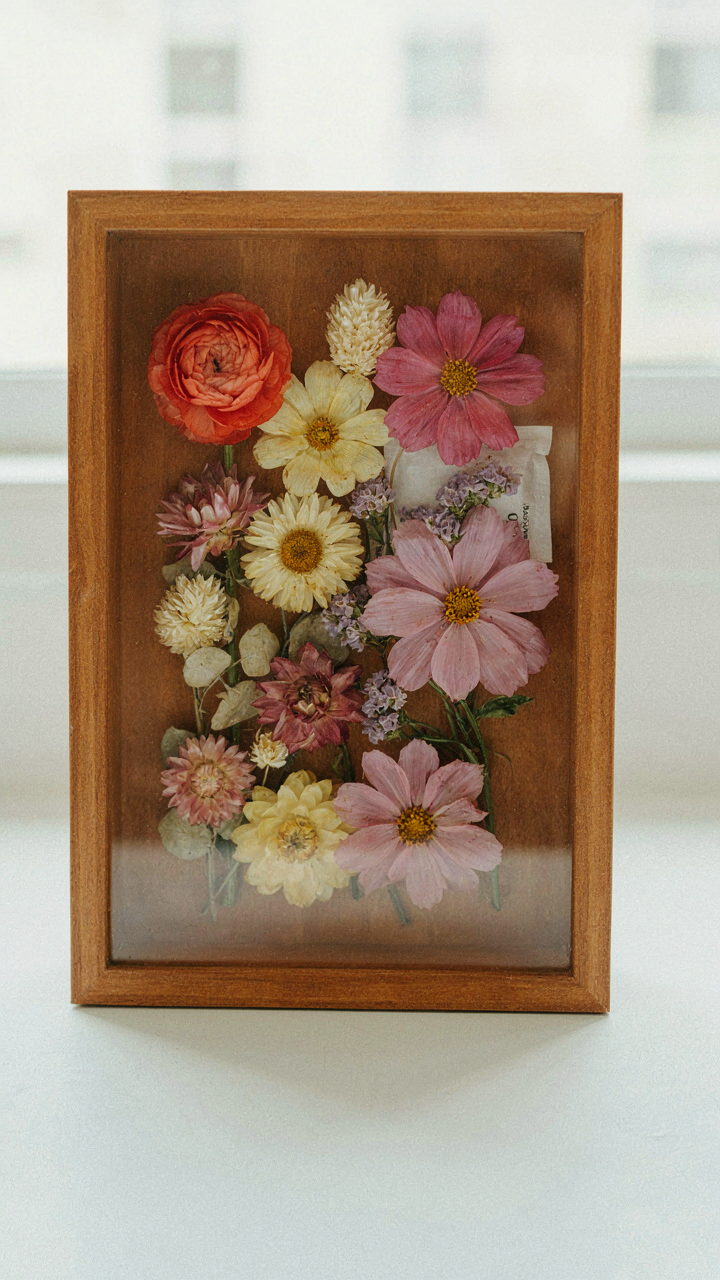
You want your shadow box to last forever because you paid for it and don’t want to be reminded you wasted money. Here’s what actually matters: a dried flower shadow box is a closed system where humidity and pests wage constant war, and you control the outcome. High humidity resurrects dormant mold spores trapped in the flowers. Low humidity attracts insects that feed on brittle plant matter. The mechanism is simple: moisture activates biological threats you can’t see until they’ve destroyed the work.
Silica gel packets or desiccant beads solve this by absorbing ambient moisture before it reaches the flowers. Place them along the frame’s edge, hidden from view. Replace them every six to twelve months depending on your climate. In humid regions, use thicker packets. In dry climates, minimal intervention works. The goal is maintaining relative humidity between 30 and 40 percent inside the box, which stops both mold germination and pest breeding cycles simultaneously.
Light Degradation As Wavelength Predation
Ecology teaches predation through energy transfer. UV radiation is the predator here, and flowers are the prey. UV light breaks molecular bonds in the pigments and cellulose that give dried flowers their color and structure. This isn’t slow fading you notice over years. It’s active cellular destruction happening every day the box hangs in sunlight. Most people blame time. The culprit is light wavelength.
UV filtering glass or acrylic stops this mechanism cold. Standard glass blocks roughly 60 percent of UV radiation. UV filtering glass blocks 90 to 99 percent, depending on the product grade. Position the shadow box away from direct sunlight, particularly south and west facing walls where afternoon rays concentrate energy. If placement options are limited, use UV filtering film on the back of the glass. Check the flowers every three months by tilting the frame and observing color intensity directly.
DIY Shadow Box Assembly: The Minimalist’s Approach
The Tools That Actually Matter
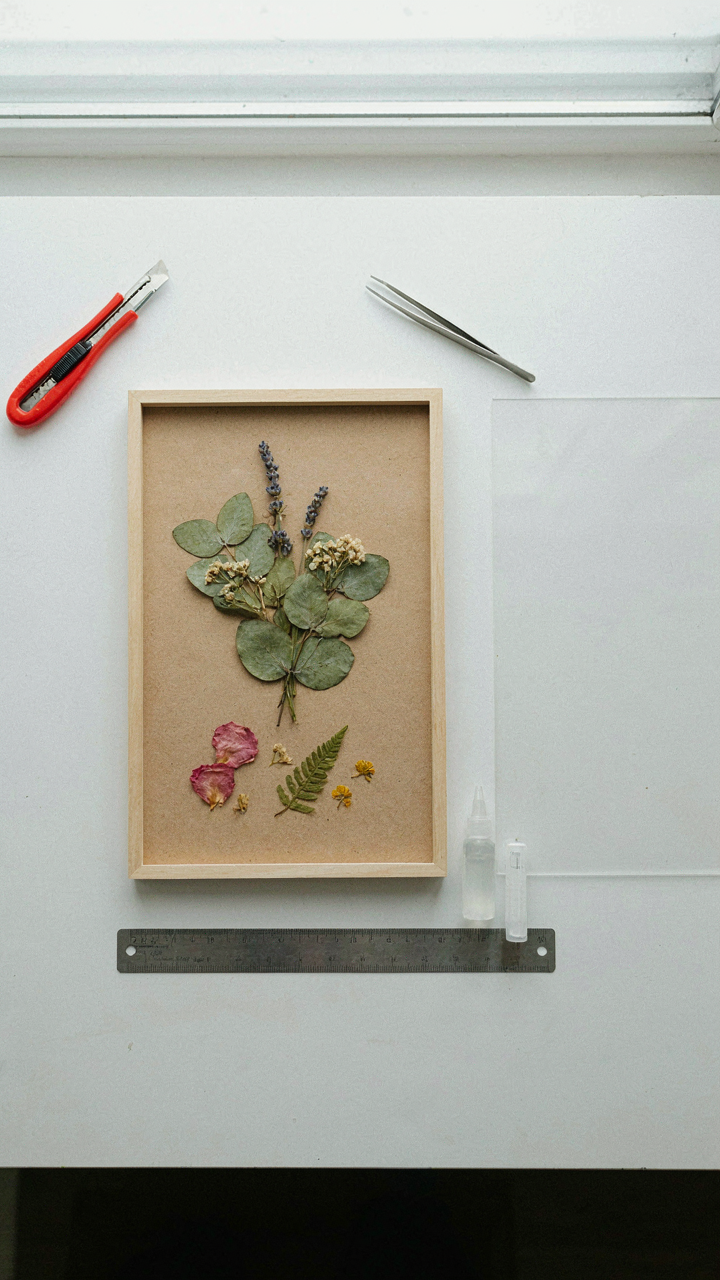
You want to feel like you’re doing real work without spending three hours on a task that should take thirty minutes. That’s the real reason you’re reading this. The mechanism is simple: precision comes from constraint, not accumulation. You need a utility knife, a metal ruler, craft glue, tweezers, and backing board. That’s it. Most people buy a “shadow box kit” loaded with junk they’ll never use. A sharp blade beats a dull one with ten attachments. The metal ruler prevents your knife from wandering. Tweezers let you position delicate stems without crushing them with your fingers.
Everything else is theater. Expensive foam cutters, specialized adhesives, frame clamps—they solve problems you don’t have yet. Start with precision tools that do one thing correctly. Add specialized equipment only when you hit a repeatable friction point. Your workspace matters more than your toolkit. A clean, flat surface with good light exposure eliminates seventy percent of assembly errors. Work on the same table every time so you develop muscle memory for placement and pressure.
The Sequence That Prevents Mistakes
Assembly order determines whether your flowers stay locked in place or shift inside the box over months. This is a systems design problem: the wrong sequence means rework. Lay your backing board first and map out flower placement without adhesive. This is your proof of concept. Once you’ve confirmed the arrangement works visually and spatially, anchor the heaviest stems first using small dots of craft glue at connection points only, never on the full stem. Light stems go last because they’re forgiving and hide minor glue spots.
Close the box frame only after the glue has fully cured, which takes longer than you think. Twenty-four hours minimum. A common mistake is rushing this step because you want to see the finished piece. Premature framing traps uncured adhesive fumes and can cause stems to shift as glue continues to set. Seal the backing and frame together in one motion once everything is locked. This prevents air exposure that degrades dried flowers over years. The final step is securing the hanging hardware to the back of the frame with the same deliberate pressure you used on the stems.
The Candle Bouquet Conundrum: Integration Or Distraction?
Heat And Proximity Management
You want candles in your shadow box because it sounds sophisticated and makes you feel like you’ve solved the design problem when you haven’t. The mechanism is simple: dried flowers are organic material with low ignition temperature. Heat rises and concentrates in enclosed spaces. A shadow box is a shallow, often sealed cavity. This is a thermal dynamics problem, and proximity is your only real variable.
Never place a lit candle within six inches of dried material. Even unlit candles release heat through ambient room temperature changes, which causes moisture fluctuations that warp flowers and accelerate degradation. If you want candles, use battery-operated LED versions designed for enclosed displays, or position them outside the shadow box frame entirely. The frame itself must have ventilation holes if you’re introducing any heat source nearby.
Visual Weight And Focal Hierarchy
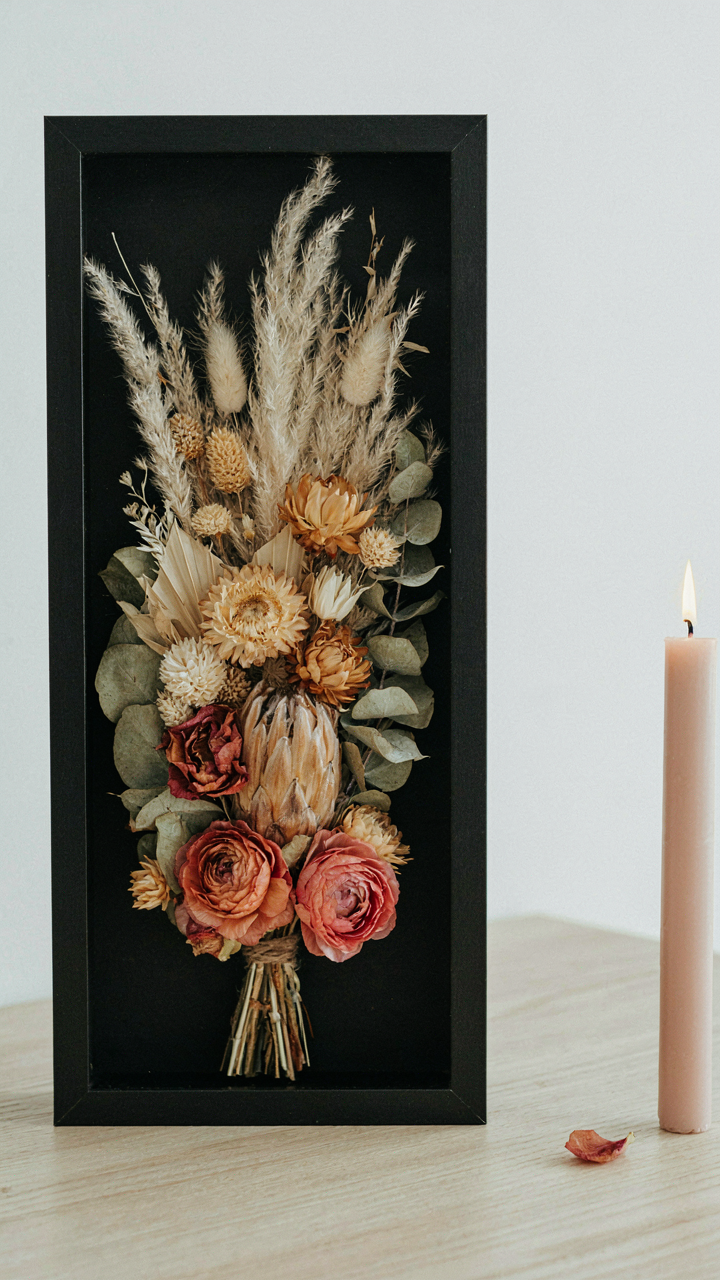
The common advice is to match candle style to flower aesthetic. That’s incomplete. What matters is whether the candle steals the eye from the flowers or supports them. In graphic design, we call this contrast and hierarchy. A bright white pillar candle next to pale dried roses creates competition, not cohesion. Your brain processes the brightest, warmest object first.
Use candles as secondary elements only. Taper candles placed horizontally behind flowers, unlit votives in muted tones at the frame’s edge, or cream-colored pillars no taller than your flower arrangement all work because they recede visually. Light always dominates in a shadow box because the brain interprets it as a threat before it processes aesthetics. Dim the candle or reduce its presence entirely if flowers disappear when you look at the composition.
DIY Wall Art Decor: Beyond The Shadow Box Frame
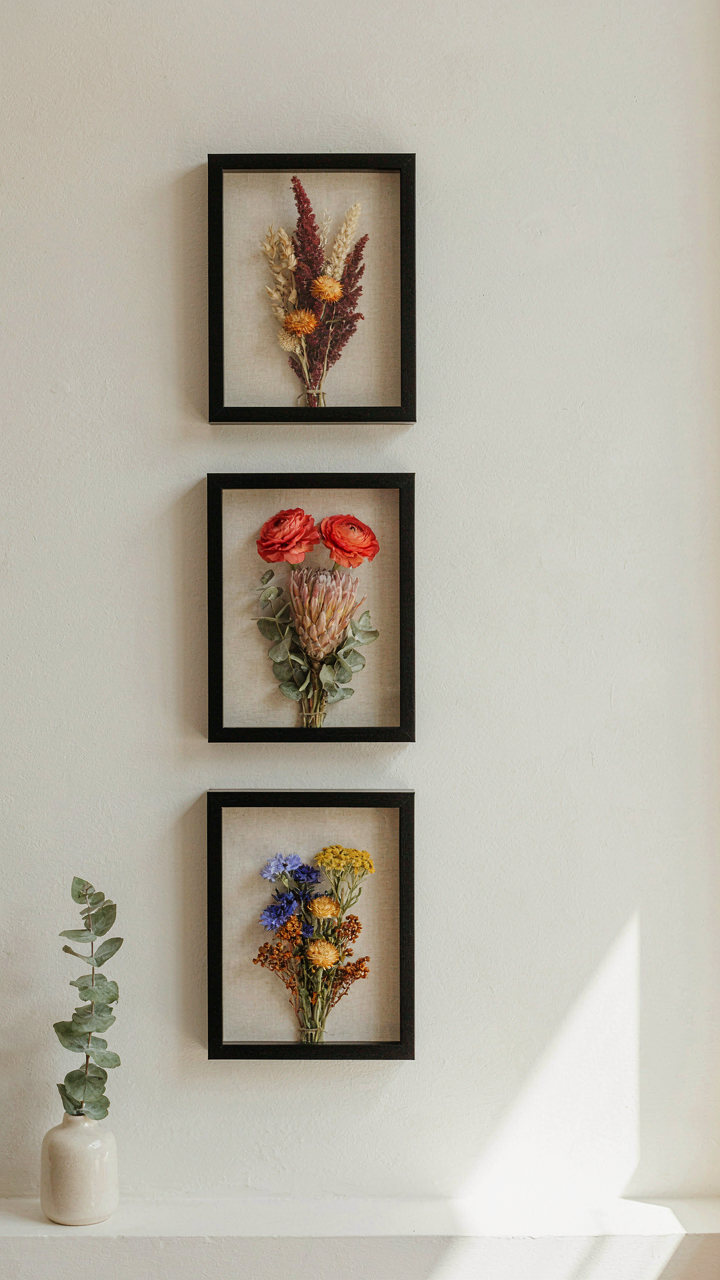
When The Frame Becomes The Limitation
You want to know what comes after the shadow box because you’re afraid the format is already played out. Here’s the mechanism: shadow boxes work because they compress three-dimensional space into a flat plane. Once you understand that compression is the actual value, not the wooden perimeter, you can apply it anywhere. The frame was never the point. The containment was.
Dried flowers in unconventional vessels still rely on the same principle that makes shadow boxes effective: controlled depth and visual hierarchy. A glass dome, a clear acrylic case, even a suspended frame with no backing all compress the viewer’s eye into a specific focal point. The common advice says “just try different containers.” That’s lazy. What actually matters is understanding which surfaces control light, which angles reveal texture, and how negative space either strengthens or weakens the dried material’s visual weight.
Installing Dried Flowers As Spatial Sequences
Think in architectural terms: an installation is a series of shadow boxes functioning as a gallery wall’s skeleton. You’re not hanging individual art pieces. You’re creating rhythm through repetition and spacing. Cluster three to five shadow boxes at varying heights on a single wall, each with a different botanical composition. The gaps between them matter more than the boxes themselves because negative space forces the viewer’s eye to move through the wall in a pattern you’ve designed.
Scaling up means treating the installation as one object instead of many. Mount boxes on a 12 to 18-inch grid, measure precisely before drilling, and maintain consistent sight lines. Use dried flowers with similar color palettes across boxes to create visual continuity. Dried botanicals fade and shift over months, so photograph your installation before installation and every quarter to track changes. This becomes your reference when replicating the arrangement or refreshing materials. Install boxes with a level at every mounting point, not by eye.
Your Real Obstacle Isn’t The Craft; It’s The Need For External Validation Disguised As Creation
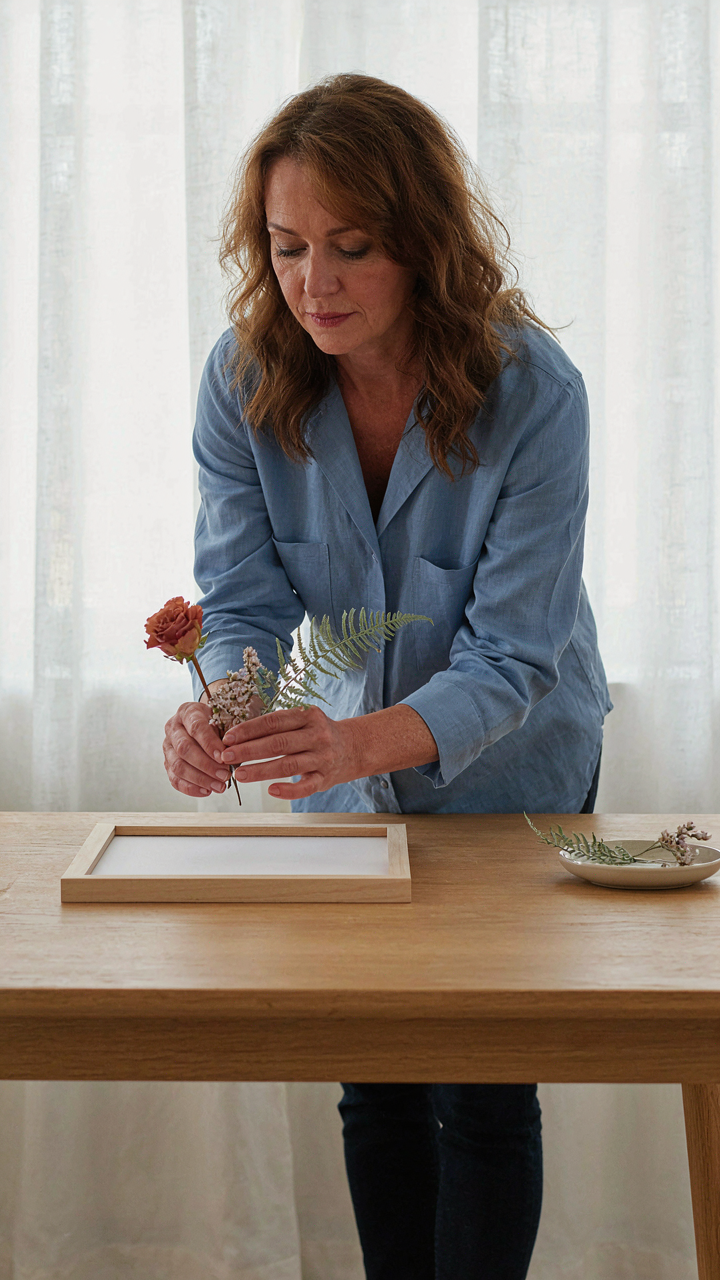
You don’t need permission to make dried flower shadow boxes. You need to stop waiting for the perfect moment, the perfect flowers, the perfect feedback. Most people abandon the craft because they’re really abandoning their own judgment. Pick three flowers today. Arrange them. Call it done. The only validation that matters is the one you give yourself when you step back and decide it’s real.



