

The Leverage Fallacy: Why “Simple” DIY Greenhouse Plans Waste Your Time
Most Plans Ignore The Real Bottleneck
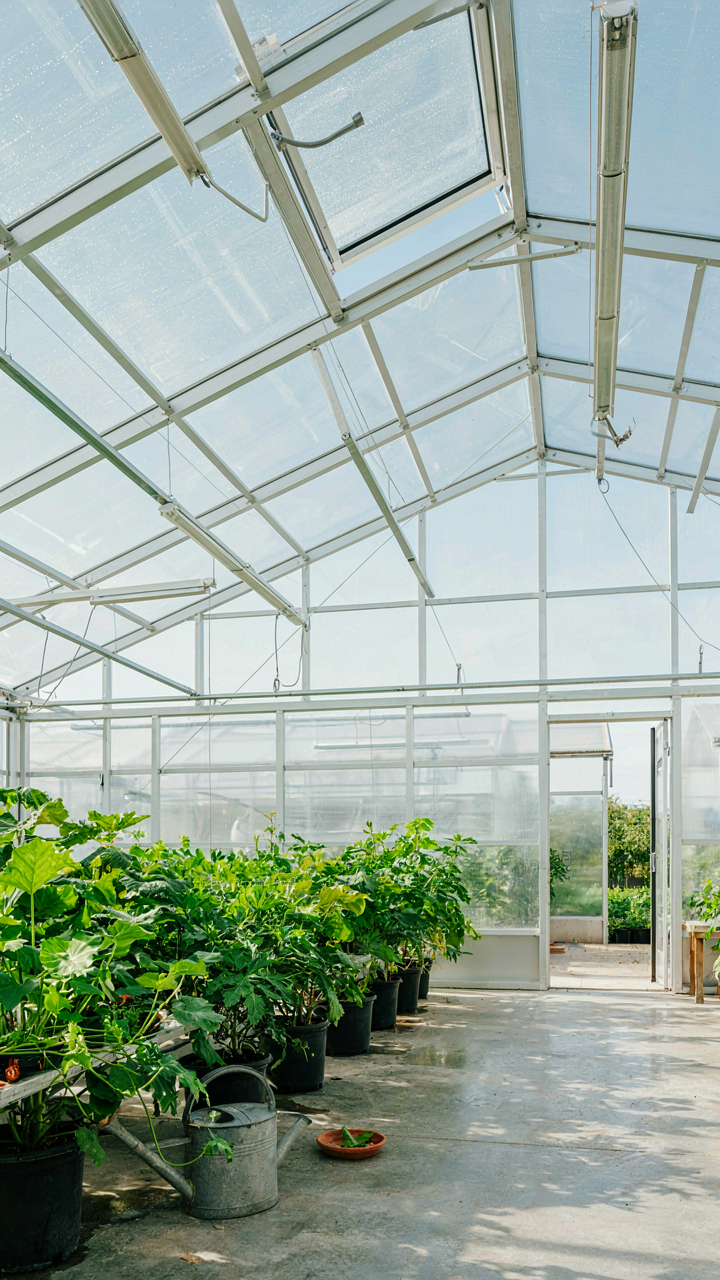
You want to believe a plan labeled “simple” will actually save you time and money. The mechanism that kills most DIY greenhouse projects isn’t complexity—it’s thermal mass. Most basic plans treat a greenhouse as a box with glass and frame. They ignore that without adequate thermal mass, your structure bleeds heat at night and overheats during the day, forcing you to babysit ventilation or lose crops to temperature swings.
The cost of fixing this later—retrofitting mass, adding ventilation systems, replacing poorly oriented glass—exceeds what you’d spend designing it right initially. Standard plans optimize for construction ease, not operational efficiency. You end up with a structure that works three months a year while requiring constant adjustment. That’s not simple. That’s expensive denial dressed up as pragmatism.
Where Basic Designs Leak Performance
The consensus advice says build your greenhouse on the south-facing side of your house or structure. That’s incomplete. Orientation matters, but what matters more is wind exposure and shade patterns at different seasons. A plan that ignores winter sun angle in your latitude will put your structure in shadow when you need heat most. Plans that don’t account for prevailing winds force you to add windbreaks later, eating square footage and budget.
Most DIY plans also undersize doors and ventilation. They calculate airflow for peak summer heat but ignore spring and fall, when manual venting becomes the only option. Small doors mean you waste time fussing with partial openings instead of creating proper convection. Inadequate ventilation ductwork forces you to choose between crop loss and constant manual labor. Start with a plan that specifies roof vents sized to your floor area and doors wide enough for a wheelbarrow plus your body. Everything else is optimization.
Beyond Blueprints: Applying First Principles To DIY Greenhouse Design
What A Greenhouse Actually Does
You want permission to skip the rigid plans and build something that works anyway. Here’s the mechanism: a greenhouse serves exactly three functions, and everything else is decoration. It traps solar radiation, moderates temperature swings, and protects plants from wind and pests. Strip away the aesthetic language and you’re managing thermal mass, air exchange, and barrier materials. Most DIY plans obscure this by leading with shape or size instead of these core outputs. The moment you understand what a greenhouse physically accomplishes, you stop copying plans and start modifying them.
Thermal retention happens because shortwave radiation passes through transparent material, converts to longwave heat, and that heat cannot escape back through the same material. Temperature moderation requires either thermal mass (water, stone, soil) or ventilation (fans, vents, louvers). Wind protection and pest barriers are simply geometric enclosure. Once you name these three mechanisms, you can evaluate any greenhouse plan by asking: does this design address all three, or does it sacrifice one for another? That question eliminates 80 percent of generic advice.
Reframing What Simple Means
The word “simple” in most DIY greenhouse plans means cheap materials and fast assembly, not necessarily effective design. Those are different problems. A simple plan can trap heat poorly and waste your season. True simplicity means choosing one constraint and optimizing everything else around it. If your constraint is speed, you accept less thermal control. If your constraint is budget, you accept more manual ventilation work. If your constraint is space, you accept lower yield per square foot. The common advice skips this step entirely.
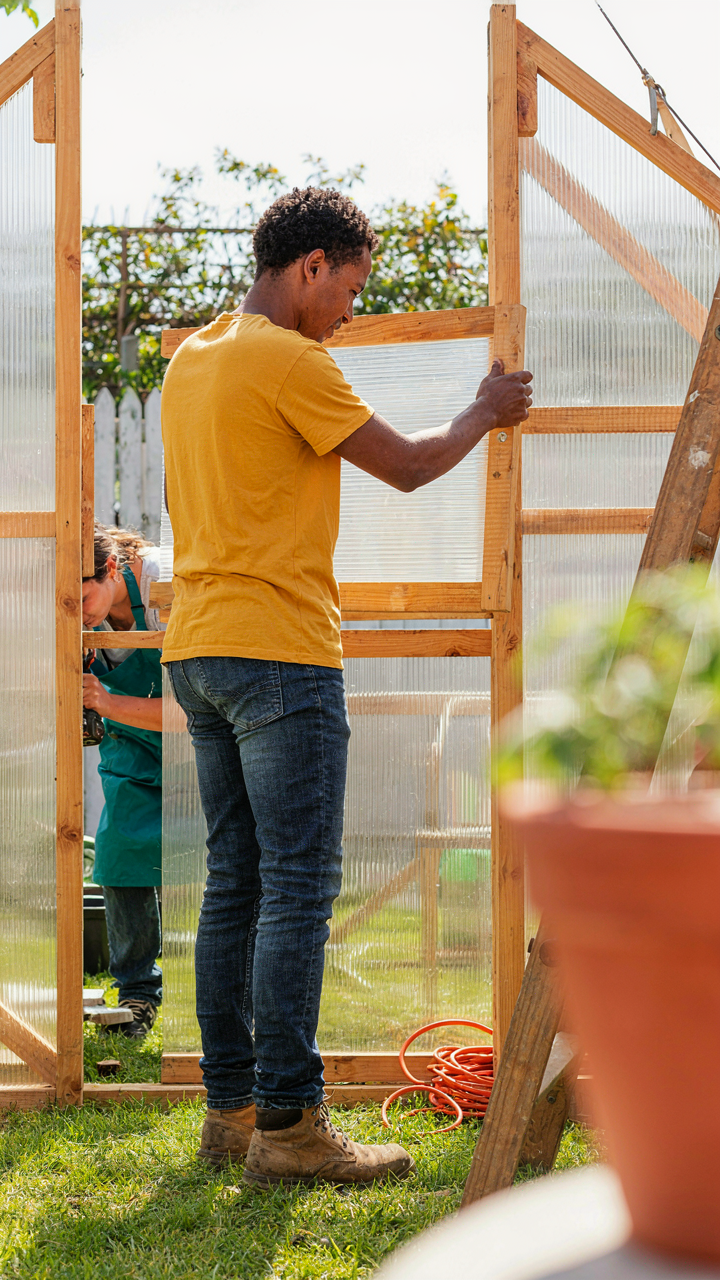
Pick your actual constraint before sourcing materials. Write it down. This decision determines whether you use PVC hoops with plastic sheeting (fast, poor insulation), a wood frame with polycarbonate (moderate cost, moderate control), or a recycled window frame design (slow to source, excellent insulation). Each trades labor, money, thermal performance, and durability against each other. Your constraint reveals which trade-off you can afford. Build the plan that matches your constraint, not the plan that matches someone else’s definition of simple.
The 3 Tiered Resilience Protocol For Greenhouse DIY Plans

Where Your Structure Fails First
You want to build something that lasts because failure means wasted money and ego damage. Here’s the mechanism: most DIY greenhouse failures happen not from freak weather but from overlooked load paths. Borrowed from civil engineering, load path analysis tracks how forces move through a structure to the ground. In greenhouse plans, wind and snow don’t just push on panels—they compress the frame, bend joints, and exploit whatever connection you underestimated.
The common advice stops at “use PVC” or “get aluminum.” That’s incomplete. You need to identify your frame’s three critical failure points: the base connection to ground, the panel-to-frame joints, and the roof load concentration where snow accumulates. Ground anchors matter more than material choice. A greenhouse frame sitting on concrete piers will outlast one bolted to a wooden deck. Snow load follows the same route every winter to the corner joints closest to prevailing wind direction. Reinforce those points first, not last.
Active Climate As A System, Not A Feature
Amateurs treat ventilation and heating as afterthoughts bolted onto a finished structure. That’s backwards. Microclimate control is a feedback loop that demands integration into your build from day one, not retrofit later. Early airflow planning means placing vents where they actually draw stale air out, not where looks convenient. Thermal mass placement, insulation thickness, and vent size must align before you frame walls.
The real mechanism: temperature gradients create pressure differentials that drive air movement passively. Position roof vents high, intake vents low, and place thermal mass (water barrels, stone) where afternoon sun hits it directly. This turns your greenhouse into a convection engine that manages itself without electricity most days. If you add heating, it amplifies an existing system instead of fighting one designed poorly. Install your vent framing hardware during initial construction. Drilling holes and retrofitting exhaust fans after sealing the frame costs twice as much and works half as well.
Free DIY Greenhouse Plans: The Hidden Costs Of “Free”

Time Cost Beats Material Cost
You want free because you think you’re broke, but you’re actually just counting the wrong expenses. Economics calls this the substitution effect: when price drops on one input, you consume more of another. Here, “free” doesn’t mean cheap. It means you trade cash for hours. A free plan from a forum takes research time, failed cuts, trial-and-error assembly, and frustration troubleshooting. That’s not free. That’s deferred payment in labor.
A paid plan from someone who built five greenhouses before lists exact cuts, avoids dead ends, and flags weak points. You spend money upfront but reclaim 15 to 20 hours of fumbling. Most people never do the math on that swap. They see zero dollars and assume zero cost. The mechanism is simple: when something costs nothing in currency, people stop evaluating whether it costs them in time. Build the ROI backward. If your time is worth anything, a solid paid plan often pays for itself in the first build.
When “Free” Sacrifices Long Term Performance
The common advice is that free plans are just as good if you’re careful. That’s incomplete. Free plans get shared because they work once, not because they work for years. Durability requires iteration nobody bothers with in free content. Someone’s first greenhouse design might keep plants alive for one season but fail under snow load, develop rot in the frame joints, or create dead zones where heat doesn’t circulate.
Paid plans get stress-tested and revised because the creator’s reputation depends on it. You’re paying for design decisions made after watching dozens of builds fail in specific ways. A free plan skips that data. The difference shows up in year two when your frame warps, condensation pools in corners, or structural weak points fracture under weather. Build for three-season minimum durability. Specify materials that resist rot: pressure-treated wood versus untreated, polycarbonate panels versus plastic film, proper ventilation paths. Document your material choices and inspect joints quarterly to catch degradation before it compounds.
The “Green House Diy Greenhouse Plans” That Actually Scale

Build For Modularity From Day One
You want to feel like you’re ahead of the curve without actually committing resources upfront. Here’s the mechanism: most people design a greenhouse as a fixed box, then panic when they need more space. Modularity isn’t complexity—it’s a constraint that forces clarity. Build your frame in sections that connect, not fuse. Use bolted connections instead of welded ones. Design beds, benches, and irrigation as plug-and-play systems you add without rebuilding the skeleton. This means your first greenhouse stays functional while you expand laterally, not tearing it apart.
The economics shift the moment you accept this principle. A modular 8-by-10 frame with removable panels costs the same as a fixed one but gains a 16-by-10 potential without waste. Dimension everything in predictable increments: frame bays of four feet, bed widths of three feet. This creates a rhythm. When you add a section next season, you’re replicating, not improvising. The cost per square foot drops on expansion because you’ve already solved the connection problem.
Anticipate Constraints Before They Tighten
Systems thinking borrowed from engineering reveals this: design your greenhouse as an organism with inputs and outputs, not a static structure. Sketch water flow first. Does your drainage system handle double the volume? Map sun angle and shade patterns for seasonal change. Airflow matters more than most builders admit. A greenhouse that worked fine in spring stagnates in summer without ventilation designed for future density. Your current plan should bore holes for vents you’ll add later. Run conduit for electricity and water lines you haven’t installed yet.
This isn’t overthinking. It’s removing friction from the moment growth demands it. Test your worst-case scenario: if you double your bed count, can your watering system keep pace without daily intervention? Can you access every plant without moving benches? Build transition points where infrastructure upgrades without disrupting production. The mechanism is this: every constraint you solve now costs 10% of what it costs to retrofit later. Document your infrastructure placement before you cover it with soil.
Simple Diy Greenhouse Plans: The “Minimum Viable Product” Approach

Strip Away The Noise First
You want a greenhouse that looks finished because you think that’s what separates serious growers from hobbyists. It’s not. The mechanism that kills most DIY greenhouse projects is scope creep disguised as preparation. You add features you haven’t tested, materials you’ve never worked with, and aesthetic choices that delay the actual build. The real move is to identify what keeps plants alive, then build only that. Temperature regulation, light access, and moisture control. Everything else is decoration until your system proves it works.
A functional greenhouse solves one problem at a time. Start with a frame that blocks wind and a covering that diffuses light. Shelving comes later. Ventilation fans come after you understand your microclimate. Automated watering systems come when you’ve failed enough times to know what you actually need. This isn’t laziness. It’s the only way to learn what your specific site demands before you’ve spent money and time on irrelevant features.
Build, Learn, Then Expand
Every greenhouse design assumes conditions that don’t match your property. Your soil drainage differs. Your sun exposure shifts by season. Your wind patterns come from specific directions. You can’t predict these variables from research. You predict them by building small, observing for a full season, then scaling up with real data. This is how farmers have always operated, except modern advice skips this step and sells you the final version.
Start with a frame footprint of eight by ten feet or smaller. Use the cheapest viable covering material for your climate. PVC film works in most zones. Let it sit through spring and summer. Watch where water pools. Track temperature swings at different times. Document which plants struggle and why. After one cycle, you own the information that transforms your second build from guesswork into strategy. Your next greenhouse will be twice as efficient because you spent the first season learning instead of perfecting.
DIY Greenhouse Plans And Projects: Importing Military Logistics

Material Flow Beats Random Assembly
You want this section because you’re tired of wasting weekends on a greenhouse that falls apart mid-build. Here’s the mechanism: military logistics uses sequential material flow—getting the right component to the right station at the right time—to eliminate bottlenecks. Your greenhouse build has the same bottleneck problem. Most people buy materials, dump them on-site, then realize mid-project they need something else or built the wrong section first.
Map your build in reverse. Identify the foundation work first, then frame components, then glazing, then ventilation. Order materials to arrive in phases that match your assembly sequence. If your frame requires bolts before the walls go up, those bolts arrive before the frame lumber. This isn’t scheduling theory—it’s the difference between a coherent build day and three trips to the hardware store.
Budget Deployment, Not Budget Allocation
Everyone says “make a budget.” That’s incomplete advice. Military strategy distinguishes between allocation and deployment. Allocation is how much you spend per category. Deployment is when you spend it to create momentum. A greenhouse build needs both, but deployment matters more because timing controls waste.
Spend 40 percent of your budget on frame materials first. These become your skeleton. Delay spending on glazing until the frame is weather-tight and plumb. Delay ventilation purchases until you’ve measured actual interior dimensions post-frame. This staggers expense and prevents buying wrong-sized components. You reduce waste by deciding each next purchase only after the prior phase is complete and measured.
The Unspoken Truth About Your Greenhouse Diy Shed

When Your Shed Becomes A Greenhouse
You want permission to build something that looks intentional instead of like you’re hoarding supplies. Here’s the mechanism: a shed and greenhouse aren’t separate projects. They’re one structure with two functions, and the shed component funds the greenhouse component through legitimacy. Traditional greenhouse designs fail because they sit isolated on property, drawing skepticism from neighbors and building inspectors. A hybrid structure reads as storage first, production second. The shed’s utility justifies the footprint. The greenhouse section justifies the expense.
Combine them and you eliminate the main friction point in DIY greenhouse construction: the appearance of frivolous building. A 12×16 structure with a 10×12 enclosed lean-to greenhouse and a 2×16 storage section works because both functions are real and necessary. The shed houses tools, soil, amendments, and equipment. The greenhouse produces. Neither dominates. This dual-purpose framing simplifies permitting conversations because you’re not building a recreational structure. You’re building infrastructure that serves multiple legitimate needs on working property.
The Structural Advantage Nobody Names
Economics borrowed a term from manufacturing called “economies of scope”—doing multiple things efficiently in one system costs less than doing them separately. Your foundation becomes load-bearing for both functions. Your roof line protects both sections. Your frame carries both weights. One electrical run powers both spaces. One water line feeds both zones. You don’t dig two foundation trenches or frame two separate structures.
Build the foundation eight inches thick, reinforced concrete with adequate drainage slope toward a single perimeter drain line. Run utilities—water, power, ventilation—through the center wall as shared infrastructure serving both sides. The shed half uses heavier framing for shelving load. The greenhouse half uses lighter framing but keeps the same foundation depth and material grade. Single materials order. Single build timeline. This isn’t optimization theory. It’s basic cost reduction through structural consolidation.
Optimizing For Output: How Real DIY Greenhouse Plans Generate Results

The Thermal Mass Rule
You want to believe a greenhouse works by magic. It doesn’t. The mechanism is thermodynamics, and the leverage point is thermal mass: your ability to capture heat during the day and release it at night. Without it, your greenhouse temperature swings wildly and kills plants.
Water holds heat longer than air or glass. A 55-gallon drum filled with water placed inside your greenhouse absorbs solar radiation during daylight hours, then radiates that warmth back when outside temperatures drop. Dark-colored drums absorb faster than light ones. Position them on the north side to avoid shading growing areas while maximizing their heat retention function across the full day-night cycle.
Controlling The Two Variables That Matter
The common advice treats ventilation and humidity as separate problems. They aren’t. Humidity control happens through air exchange, and air exchange happens through ventilation strategy. You manage one lever to regulate both.
- Roof vents: Place them high on both sides to create cross-ventilation. Hot air rises and exits through the roof, drawing cooler air in from lower intake points.
- Side louvers: Install adjustable vents on opposing walls at mid-height. These work best in moderate temperatures when you need gentle air movement without drastic cooling.
- Ground-level intakes: Position intake vents near soil level to pull air across root zones before it rises and exits the roof, maximizing humidity modulation.
- Automated vent openers: Temperature-sensitive hydraulic openers trigger vent opening at set degrees without electricity. They’re cheap mechanical insurance against dead plants on hot days.
- Humidity monitoring: Install a basic hygrometer to track moisture levels. Most plants need 50-70% humidity. Above 80% invites mold; below 40% stresses growth.
Ventilation is not optional decoration. Poor air exchange traps humidity, breeds fungal disease, and locks in temperature extremes. Install vent capacity equal to at least one-third of your greenhouse floor area. Test your system in spring before peak growing season and adjust opening sizes until daytime temperatures stay within 10 degrees of outside ambient temperature.
The “One Percent Better” Rule: Iterative Improvement For Your DIY Greenhouse

Start Small And Compound The Gains
You want permission to build something imperfect. That’s the real reason you’re reading this section. Here’s what actually works: in systems thinking, engineers call this “marginal gains”—small incremental changes that stack into major performance shifts. Your greenhouse operates the same way. A single upgrade to ventilation doesn’t transform your yield. But ventilation plus soil depth plus watering consistency plus pest screening compounds into a system that produces three times what it did before.
Most growers obsess over one perfect feature instead of stacking ten mediocre improvements. Add a 2-inch layer of mulch. Install a simple thermostat. Upgrade your shade cloth material. Each change costs under 50 dollars and takes a weekend. After six months, your environment control becomes unrecognizable. This is not motivation—it’s mechanics. Compound returns apply to greenhouse design exactly as they apply to interest rates.
Build First, Optimize Later
The consensus approach wastes nine months in planning for one month of use. Stop planning and start building. Your first greenhouse version will be wrong. You’ll discover that your ventilation strategy doesn’t match your local wind patterns. Your watering schedule won’t align with your soil’s actual drainage rate. Your shade cloth thickness will prove inadequate or excessive. None of this matters because you can’t learn these gaps from drawings.
Build a functional structure in two weeks using basic materials. Run it through a full growing season. Document what fails. Then upgrade only what actually breaks or limits your results. This approach costs less because you avoid over-engineering solutions to problems that don’t exist. Your second version, refined from real data, outperforms any theoretical design. The mechanism is simple: iteration beats prediction.
The Real Obstacle Isn’t The Plan; It’s Your Unwillingness To Embrace Strategic Inconvenience

Most people want the greenhouse. Few want to build it. You’ll find a hundred excuses before you find a shovel. The real metric isn’t having perfect DIY greenhouse plans. It’s whether you move dirt today. Stop researching. Stop optimizing. Pick the simplest plan, buy three materials this week, and start. The difference between people with greenhouses and people with greenhouse plans is one afternoon of deliberate discomfort.



