

The Un Trend: Why Generic Pond Ideas Fail

Over Designed Ponds Miss The Point
You want your pond to look intentional, like you know what you’re doing. That fear of appearing amateur drives most people straight into complexity they don’t need. The mechanism is simple: more features mean more failure points, and every added element requires maintenance you won’t do.
Most over-designed ponds copy magazine spreads without understanding why those designs worked in their specific contexts. A multi-tier waterfall, koi filtration system, and aquatic plant zones all sound impressive until you’re troubleshooting algae blooms in July and the pump fails mid-season. The real problem isn’t ambition—it’s building systems that demand expertise you haven’t earned yet.
Trendy Features Hide Their True Cost
The hidden cost framework comes from economics: what you see upfront never matches what you pay long-term. Bubbler fountains, LED underwater lights, and Japanese-style stone arrangements look clean in photos but create maintenance debt you discover later.
A bubbler fountain requires consistent water level management because they evaporate faster than traditional ponds. LED systems need weatherproof wiring and replacement parts that disappear from retail channels. Pre-formed rigid liners—marketed as “easy installation”—crack under freeze-thaw cycles in cold climates and cost more to replace than flexible liners. Start with a functional baseline that holds water and sustains basic life, then add one feature only after you’ve maintained the system for a full season.
The Minimum Viable Pond: Essential Principles
Build The Nitrogen Cycle First
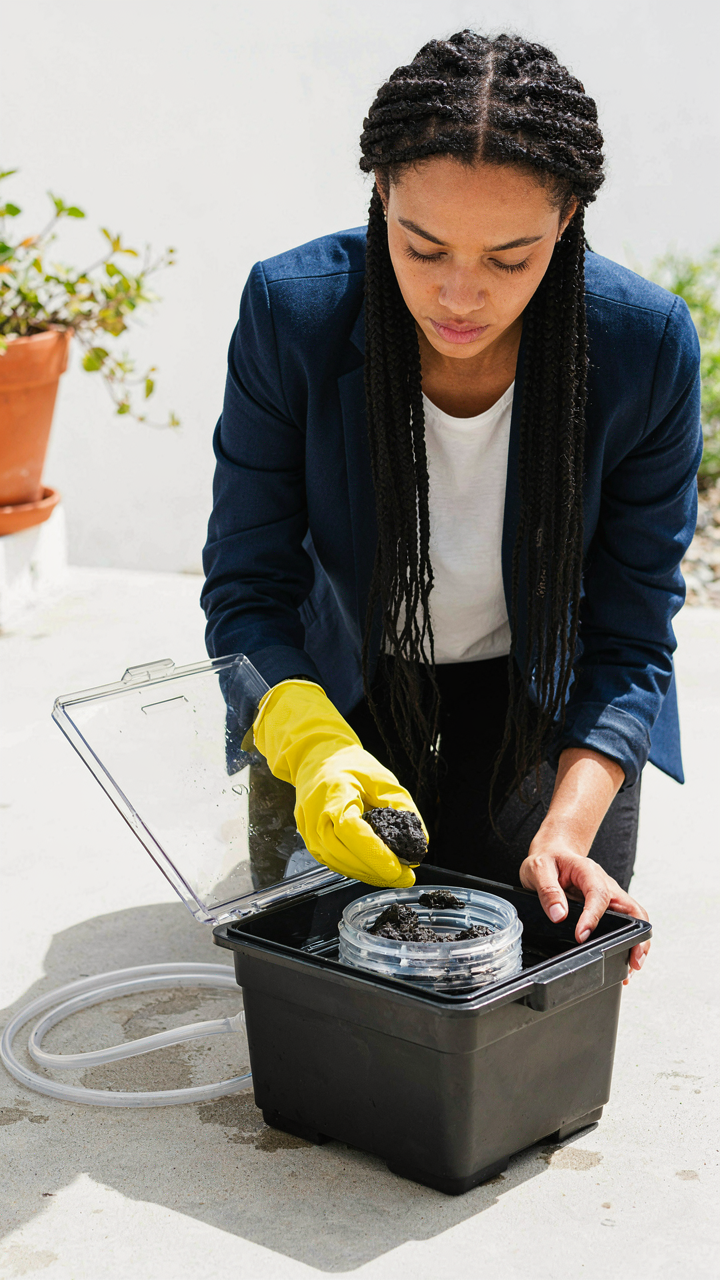
You want a pond that looks effortless. That’s the real reason you’re reading this. Here’s what actually matters: biology, not decoration. A pond is a nitrogen cycle in a hole. That’s the mechanism. Bacteria colonize your filter media, convert ammonia from fish waste into nitrite, then nitrite into nitrate. Plants consume nitrate. No cycle, no stable water. No stable water, dead fish and green soup within weeks.
Most DIY builders skip this and wonder why their pond crashes. The biofilter doesn’t need to be complex. You need surface area for bacteria to colonize. Lava rock, biomedia, or even gravel works. The volume of your biofilter should be roughly ten to fifteen percent of your total pond volume. Pump water through that media every day. That’s the protocol. Run it before you add anything else.
Performance Over Pretty
Forget the Instagram version of pond building. A functional pond that looks plain beats a beautiful pond that turns brown in July. You choose one or the other because they require different design decisions. Shallow shelves for plants look nice but reduce water volume and temperature stability. Deep zones cost more to maintain but hold stable conditions and keep fish alive.
Most advice tells you to “balance aesthetics and function.” That’s weak. Pick function first, then add aesthetics around what actually works. A black liner shows algae growth immediately, which is useful data. Visible filtration equipment lets you catch problems before they become crises. Accessible pump intake points save you hours of troubleshooting. Build the machine that runs itself, then landscape around it.
Homemade Garden Pond: The ‘Container Pond’ Blueprint
Choosing The Right Container And Site
You want the illusion of control without the actual work. That’s the real reason container ponds appeal to you. The mechanism is simple: smaller volume means faster temperature swings and chemical imbalance, so your vessel choice determines whether you’re maintaining an ecosystem or just watching water die. A container pond works because it’s bounded, not because it’s easier.
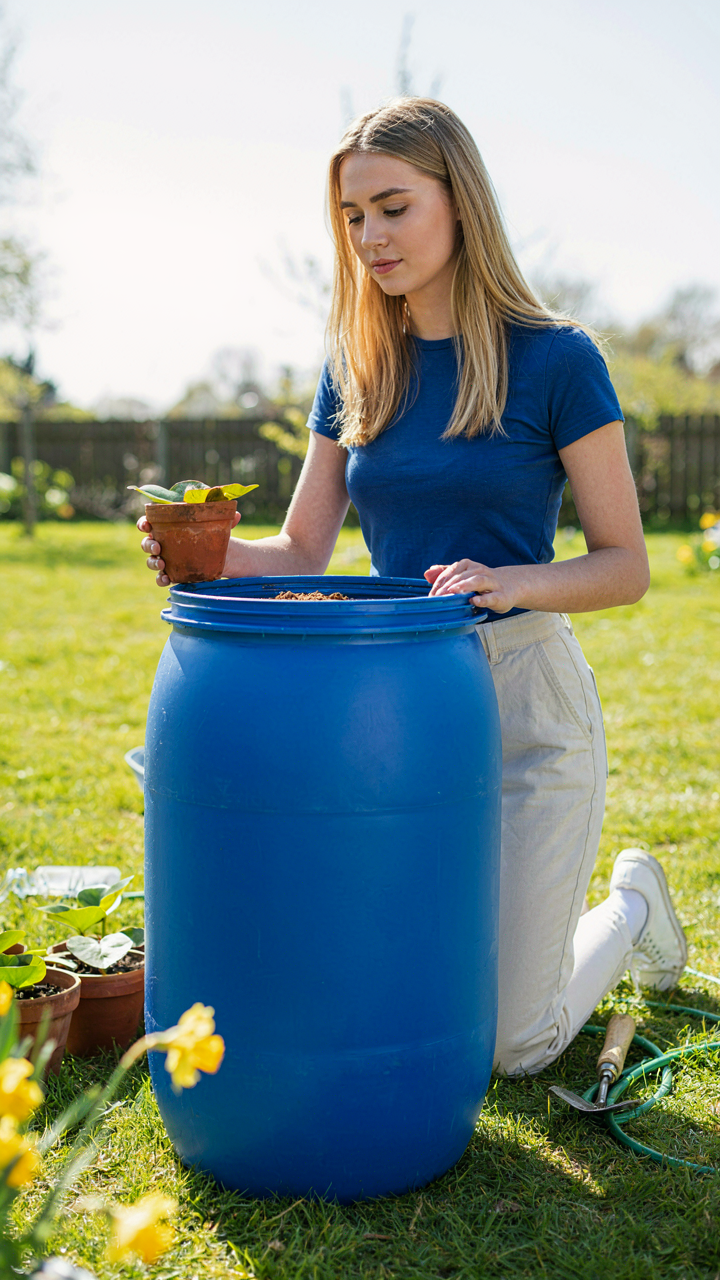
Material matters more than size. Food-grade plastic, fiberglass, or sealed concrete hold water without leaching toxins into your system. Never use untreated wood or metal that corrodes. Depth beats surface area for stability. A 2-foot-deep container with 20 gallons outperforms a shallow 40-gallon trough because temperature fluctuations and ammonia spikes hit shallower water harder. Site it where it gets 4 to 6 hours of sun, away from tree debris and wind exposure that accelerates evaporation.
Layering For A Self Sustaining Ecosystem
Think like a water engineer designing a filtration sequence, not a gardener arranging decorations. Each layer performs a specific function in the nitrogen cycle: substrate colonizes bacteria, plants absorb excess nutrients, and gravel creates surface area for microbial populations. Skip any layer and you’re not building an ecosystem, you’re building maintenance work.
The stack from bottom up is gravel, then soil or aquatic planting media, then sand as a final barrier before water. Beneficial bacteria colonize the gravel within two weeks if you inoculate with established pond water or plant roots from a mature system. Add rooted aquatics first (water lilies, marginals), then floating plants (water sprite, duckweed), then let it cycle for three weeks before adding any animals. The filtration mechanism is biological, not mechanical. No filter pump needed if you respect the layering sequence.
Diy Ponds Backyard: The Gravity Flow Method
Eliminating Pumps, Embracing Natural Current
You want this because pumps fail, cost money to run, and force you into maintenance cycles that kill the appeal of a garden pond. The real mechanism is hydraulic head: elevation difference creates water movement without electricity. Physics does the work. In pond design, you apply the same principle civil engineers use for aqueducts. Water flows downhill. The steeper the grade between your pond’s highest and lowest points, the faster circulation happens on its own. No pump, no filter dependence, no power bill.
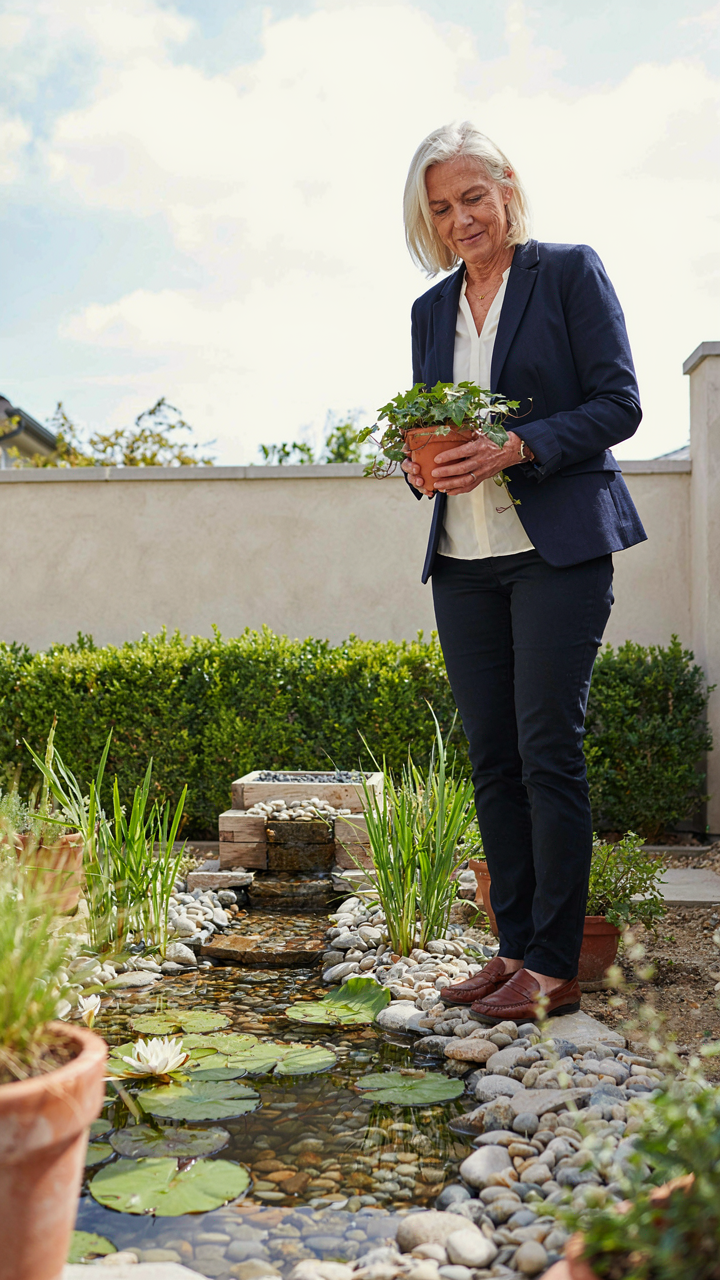
Most people assume ponds need active circulation. Wrong. A gravity-fed system moves water through a biofilter or stream simply because height difference exists. You build a raised bog or stream bed above your main pond, feed water uphill during initial fill, then let gravity recirculate it back down through gravel and plants. The water cools, oxygenates, and filters itself as it drops. Your only job is digging the pond deeper than the overflow point so the cycle never stops.
Designing For Passive Water Movement
Elevation difference is non-negotiable for gravity flow to work at scale. Standard advice says “make a waterfall,” which is vague and misses the hydraulic reality. You need minimum three to five feet of vertical drop for reliable passive circulation in a backyard setting. Less than that and the water movement becomes sluggish. Map your terrain first. If your yard is flat, you build the height artificially with soil mounding or raised filter boxes. Calculate the flow rate you want, then work backward to the elevation needed.
The shape of your pond basin matters more than its depth alone. Position your intake point low on one side where debris settles, run water uphill through a filter, then direct it back into the pond from a higher inlet. This creates a circuit without mechanical force. Stones, gravel, and aquatic plants slow the descending water and let sediment drop out before recirculating. Start your gravity system by filling the upper basin first, checking that water reaches the return point, then adjusting intake height if flow stalls. Once balanced, the pond moves itself.
Small Backyard Ponds: The ‘Micro Ecosystem’ Protocol
Niche Resilience Over Pretty Surfaces
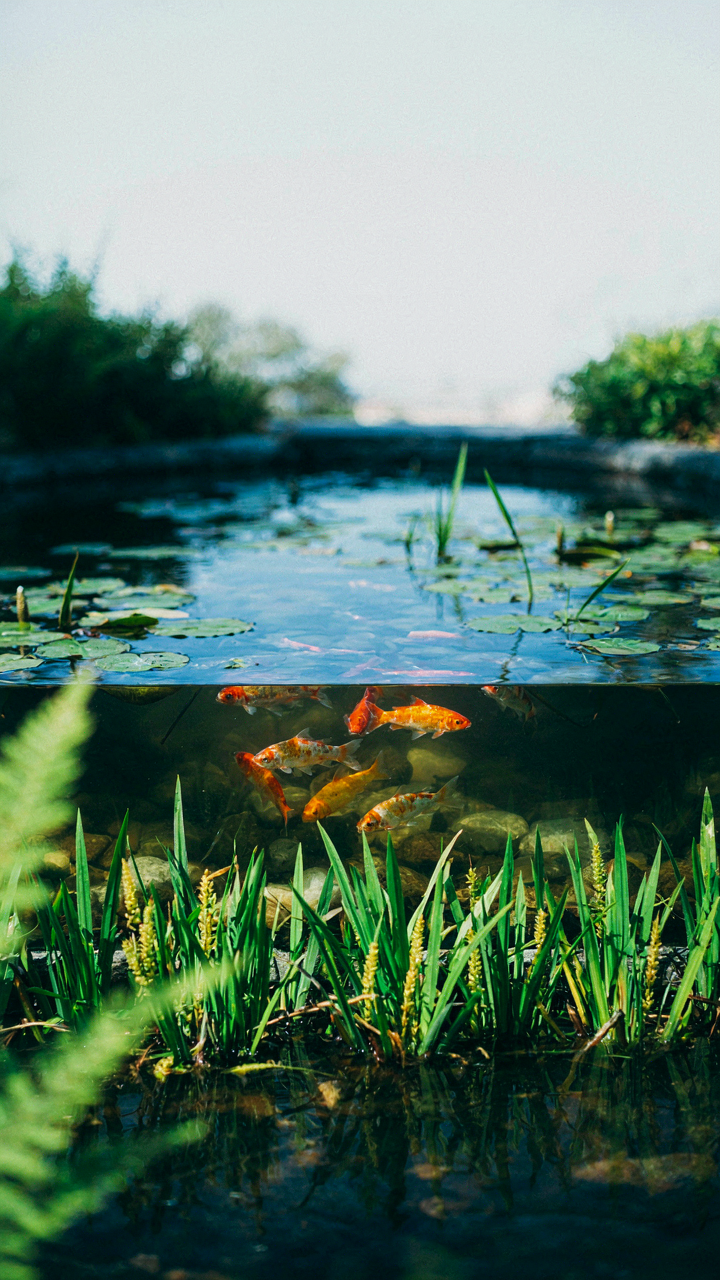
You want a pond that won’t collapse the moment you stop babying it. That’s the real reason you’re reading this. Evolutionary biology teaches that systems survive through niche diversity, not monoculture. Apply this to your pond: instead of one open water column, you need layered zones where different organisms occupy different roles. A shallow marginal shelf, a mid-depth transition zone, and a deep basin aren’t design flourishes. They’re structural redundancy. Each zone buffers the others when one fails.
This matters because small ponds swing between extremes faster than large ones. A single algae bloom in a 200-gallon pond kills fish within days. A 5,000-gallon pond handles the same bloom because more volume means more bacterial habitat, more plant surface area, more time for correction. You can’t engineer a small pond out of physics, but you can distribute stress across multiple working zones so no single failure point crashes the system. Position marginal plants two to four inches deep, transition species at twelve to eighteen inches, and depth enough at the center to reach below seasonal temperature swings.
Predator Prey Balance Beats Aesthetics
The common advice says stock fish for color and plants for oxygen. That’s backwards thinking that ignores what actually keeps water clear. The real lever is the predator-prey cycle. Small fish eat mosquito larvae and algae spores. Snails graze biofilm. Damselfly nymphs hunt mosquito larvae. Plants consume nitrates that algae would otherwise consume. Install this hierarchy deliberately, not randomly. A pond without predatory insects becomes a mosquito nursery regardless of plant count or filtration.
Stock your small pond with small fish that won’t outgrow the space or produce excess waste. Goldfish and koi wreck small systems because they’re waste machines. Japanese rice fish, mosquitofish, or native sunfish hold the balance. Add a dozen Malaysian trumpet snails or similar species to work the substrate. Add marginal plants like pickerel rush or water iris, not for show but because their root systems house the bacteria that consume ammonia. The mechanism that keeps water clear isn’t technology. It’s ecological pressure from organisms doing what they evolved to do.
Ponds For Small Gardens: Space Saving Innovations
Going Vertical Instead Of Horizontal
You want a pond but think you don’t have room. That’s denial masking a real constraint. The mechanism is simple: most people default to the horizontal plane because ponds have always been dug into ground. But vertical structures flip the problem entirely by using height instead of footprint.
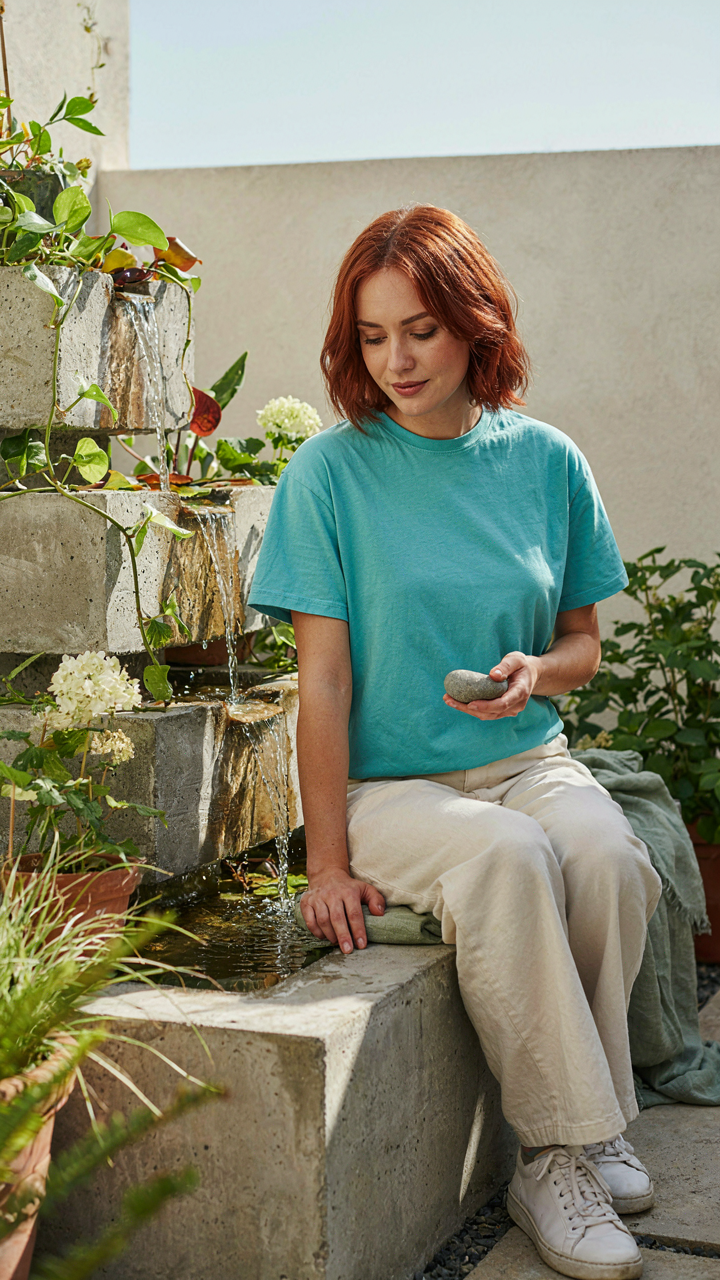
Shelving and tiered designs borrowed from architecture reduce the land footprint while maintaining water volume. A two or three-tier pond system stacks growing zones and creates visual depth without requiring a sprawling base. Stack shallow shelves at different heights, use rigid plastic or concrete-lined tiers, and you compress what would need eight feet of width into three. Water circulation between tiers happens through gravity and basic piping. The real cost is initial setup, not ongoing maintenance.
Seating Built Into The Pond Edge
Most people treat seating and water features as separate decisions. That’s incomplete thinking. Integrated designs use the pond edge as a functional boundary that serves dual purpose: containment and furniture.
Build a reinforced ledge or bench into the pond perimeter during construction. This works with concrete poured ponds or rigid liner systems where you frame in a seat-height shelf around the interior edge. The seat stays dry because it sits above the waterline by four to six inches. You get usable outdoor seating that compresses your total garden footprint while keeping viewers immediately adjacent to the water. Size the bench to your actual sitting habits, then build the rest of the pond around it.
DIY Pond: Substrate & Plant Selection For Clarity
Plants That Starve Algae, Not Feed It
You want crystal water because you think it looks better. That’s not the real reason you care. You want proof your pond works—that you didn’t waste money and time on a failed system. Here’s the mechanism: algae blooms when excess nutrients (nitrogen and phosphorus) have no competing consumer. Most people plant whatever looks good. The real move is selecting plants that consume those exact nutrients faster than algae can.
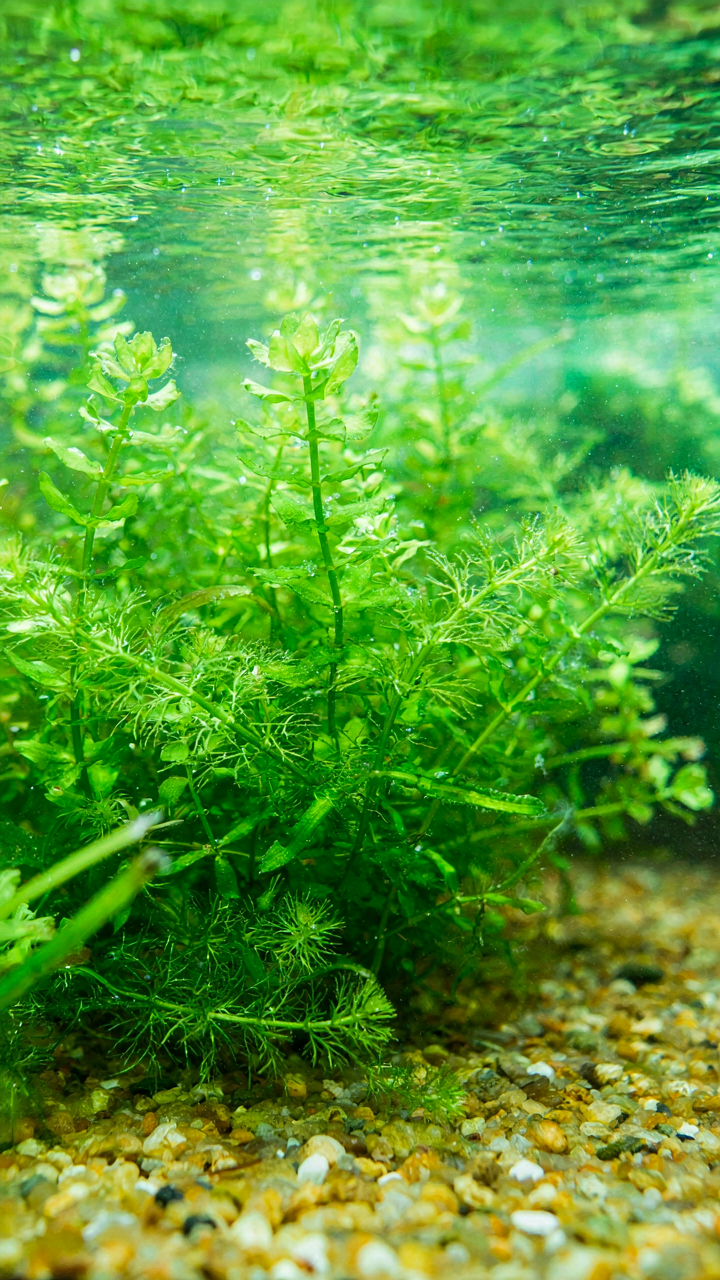
Submerged plants like waterweed and hornwort are the heavy lifters. They pull nitrogen and phosphorus directly from the water column where algae floats. Marginal plants around the edges matter less for clarity because they pull from substrate, not water. The distinction matters. One starves algae. One doesn’t.
Substrate Choices For Beneficial Bacteria
Substrate works like a manufacturing floor in biological systems—the surface area determines output capacity. More surface area means more colony space for beneficial bacteria that process fish waste and dead organic matter before it becomes algae fuel.
- Lava rock: Porous volcanic stone with extreme surface area. Bacteria colonize the pits and channels. More expensive upfront but lasts decades without degradation.
- Pea gravel: Smooth, small stones that pack easily. Lower surface area than lava rock. Budget option that works but requires more frequent cleaning to prevent silt traps.
- Aquatic soil: Nutrient-rich clay base topped with gravel cap. Feeds root systems of marginal plants. Risk: releases tannins and excess nutrients into water if not capped properly.
- Crushed granite: Angular pieces create pockets for bacterial colonization. Inert and won’t leach nutrients. Mid-range cost with solid performance for most DIY setups.
- Bio-media rings or matrices: Engineered plastic with high surface density. Best bacterial colonization per volume. Premium option suited for ponds expecting heavy bioload from fish populations.
The substrate depth matters as much as material choice. Two to four inches gives bacteria enough real estate without creating anaerobic dead zones on the bottom. Deeper substrate traps decaying matter that becomes fuel for algae. Shallower substrate means bacteria can’t establish the colony density needed to process waste. The goal is substrate that holds bacteria colonies while staying thin enough to let debris settle where you can remove it.
Backyard Pond Ideas Diy: Winterizing Simplicity

Let Water Move Itself
You want winterizing to feel effortless because you’re afraid of losing your pond to a frozen crack or dead fish. Here’s the mechanism: ice expands. Water is the only substance that expands when it freezes, pushing outward with force. A pond without pressure relief splits. The real protection isn’t about heating or draining everything. It’s about allowing expansion room and preventing the formation of a sealed ice cap that traps toxic gases below.
Install a pond de-icer or aerator in the deepest zone of your pond. These devices don’t heat the entire water column. They create a small opening in the ice and promote circulation, which prevents a solid seal from forming. Shallow ponds under two feet freeze solid regardless. Deep ponds naturally stratify, with warmer water settling at the bottom where koi or goldfish survive dormancy. The water column does the work. You just keep one hole open.
Stop Fighting What Dormancy Requires
Most winterizing advice treats dormancy like a problem to solve instead of a state to support. It’s not. Fish enter torpor in cold water, a metabolic slowdown where they barely move and barely eat. Feeding them in winter kills them faster than starvation because their digestive systems shut down. Uneaten food rots, bacteria spike, water quality crashes.
Remove the pump and filter system entirely once water temperature drops below fifty degrees. Beneficial bacteria in the biofilter colony die in frozen temperatures anyway. Suspend all feeding immediately. Let the pond sit static and cold. The only intervention needed is maintaining that single ice hole for gas exchange. Monitor weekly to ensure the hole stays open. This is the entire protocol for minimal intervention: stop feeding, stop filtration, keep one hole clear.
Long Term Pond Health: The Maintenance Myth
Design For Self Cleaning Systems
You want a pond that runs itself so you can tell people you built something that works without constant fiddling. That’s the real draw, and it’s valid, but most DIY guides miss the actual mechanism: biological filtration works like an ecosystem’s nitrogen cycle, where bacteria convert toxic ammonia into less harmful nitrates that plants consume. You’re not fighting nature—you’re architecting it.
The foundation is surface area and depth stratification. Shallow zones colonize with beneficial bacteria and plants that consume nutrients. Deep zones keep anaerobic bacteria separate from aerobic processes. A proper bog filter—not an aesthetic afterthought but a functional component—cycles water through gravel beds where nitrifying bacteria do the real work. Without this layering, you’re just holding dirty water and pretending filtration happens.
When To Intervene When To Let Be
Most people intervene too early and then abandon their ponds entirely when things still look off. The mechanism here is succession: your pond is establishing a baseline ecosystem state, which takes one full seasonal cycle minimum. During that first summer and fall, algae blooms are normal. Murky water is normal. This isn’t failure—it’s the system establishing itself.
Intervene only when you see specific failure states: fish gasping at the surface, persistent thick algae choking the water surface, or rotting debris accumulating on the bottom. These signal either inadequate aeration, excess nutrients, or poor circulation. Everything else—slight cloudiness, minor algae, temperature swings—let it settle. Check water parameters quarterly, not weekly. Remove dead leaves and debris by hand in fall. The rule is mechanical: if the ecosystem isn’t producing visible harm to your fish or complete oxygen depletion, your job is observation, not correction.
Small Garden Ponds Ideas: Maximizing Impact, Minimizing Effort
The Illusion Of Depth Without The Digging
You want a pond that looks established without spending a weekend with a shovel. Here’s the mechanism: depth perception operates on layering, not absolute measurement. Borrowed from landscape architecture, think of this like atmospheric perspective in painting. Objects recede visually when you stack visual elements. A two-foot pond looks substantially deeper when you layer it strategically with substrate colors, plant positioning, and edge treatment.
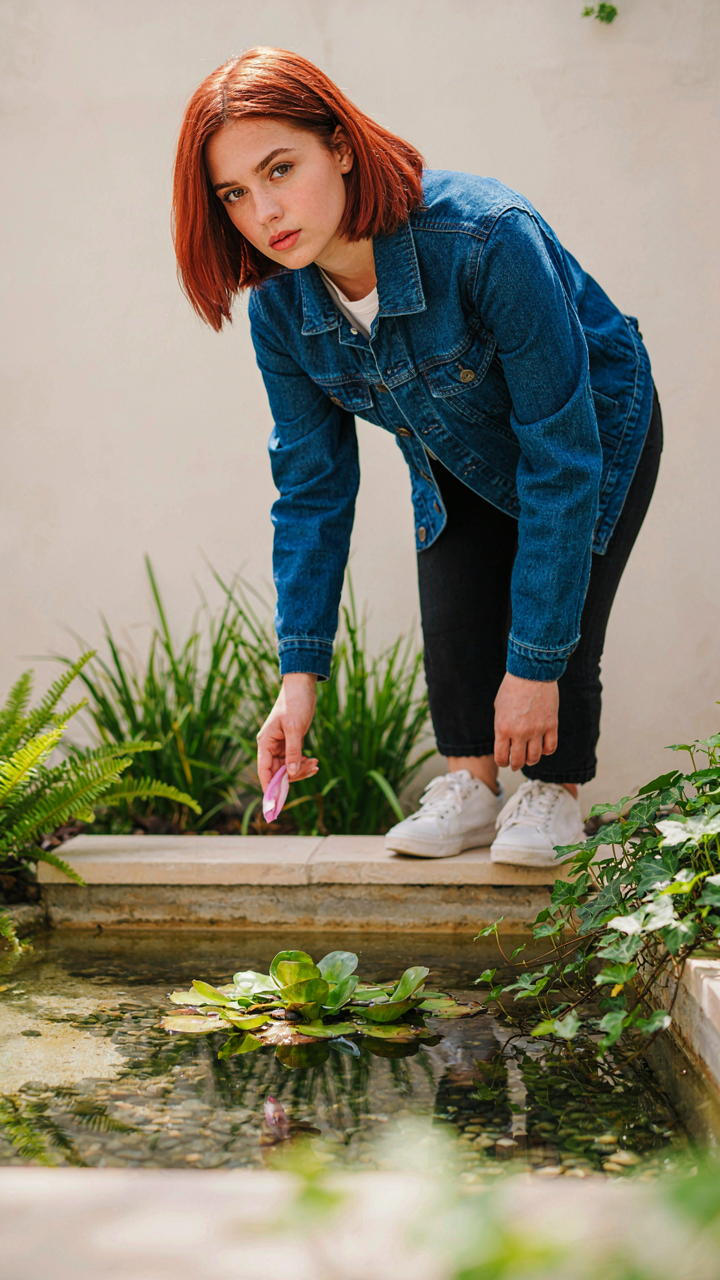
The common mistake is assuming depth requires excavation. Wrong. You create perceived depth through contrast and composition. Place darker substrate (slate, dark gravel) at the perceived back, lighter materials at the front. Add marginal plants at varying heights along the perimeter. Submerged plants like anubias create shadow zones that read as deeper water. This costs almost nothing and takes an afternoon, not a weekend.
Reflective Surfaces That Multiply Space
Water mirrors sky and surroundings, which is basic physics everyone knows but nobody applies deliberately. The real move is positioning: angle your pond to capture sight lines that extend your garden visually. A small pond positioned to reflect the tallest tree or fence backdrop doesn’t just look bigger—it functionally becomes bigger in how your eye processes the space.
Create multiple reflection zones by breaking the surface. Float low plants like water lettuce or salvinia in clusters. These interrupt the reflection strategically, creating pockets of depth and complexity without adding actual volume. Position the pond where afternoon light hits it at a low angle. This maximizes reflective shine and makes the surface read as a boundary between two spaces rather than a contained object.
Your True Obstacle Isn’t The Pond, It’s The Illusion Of Effortlessness

Everyone scrolls Instagram pond videos and thinks the work happens invisibly. It doesn’t. The people who actually build ponds accept one thing: they’ll get dirty, fail twice, and learn by doing. Stop researching the perfect design. Pick a corner of your yard today and dig a hole. Your mistakes teach you more than ten articles ever will. The pond doesn’t reveal itself until your hands are in the dirt.



