Introduction
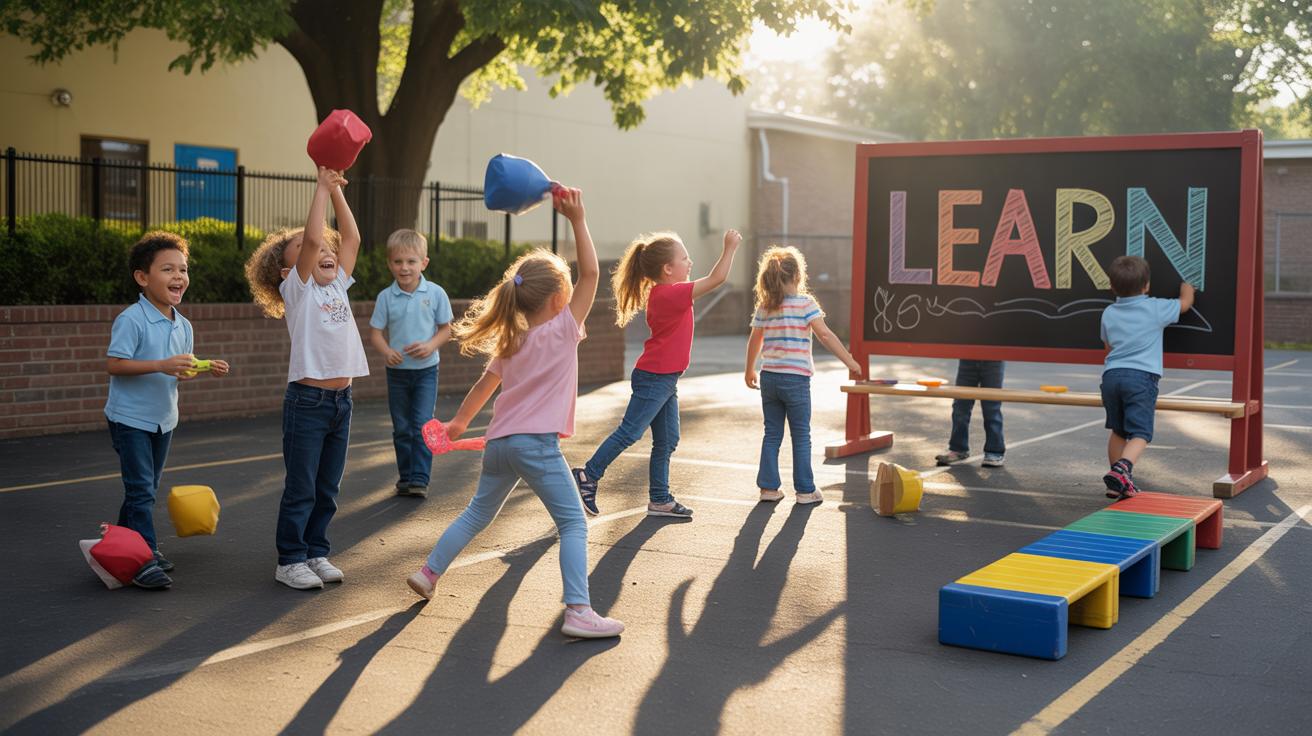
Creating your own carnival games at home can be a fun project for kids. Diy carnival games kids can build and play bring excitement and learning together. They allow children to use their creativity and practice skills like counting, aiming, and problem-solving. Building these games also offers a chance to spend quality time with family and friends.
In this article, you will discover easy and enjoyable carnival game ideas to build with simple materials. Plus, you will get helpful advice on how to set up the games and make playing them more fun. Whether it’s for a party, a school event, or just a weekend activity, diy carnival games offer something for every young maker and player.
Choosing The Best Materials For Diy Carnival Games
Picking the right materials for your DIY carnival games can be surprisingly simple, especially if you focus on what’s easy to find at home and safe for kids to handle. Common household items often turn out to be the best options—lightweight, manageable, and familiar. Think about paper cups, plastic bowls, and cardboard boxes. These things don’t just cost nothing; they’re perfect for little hands and easy to modify without fancy tools.
Recyclables like empty cans, bottles, and scraps of cardboard also work well. Using these can help kids learn about reuse and the environment while keeping materials affordable. Plus, they have enough sturdiness to last several rounds of tossing or rolling, though you’ll want to check sharp edges or loose parts first.
Safe crafting supplies such as non-toxic glue, masking tape, and washable markers are must-haves. You want to avoid anything hazardous or too brittle for kids. Durability matters—but not more than safety. Games built from these materials strike a balance: They’re strong enough for fun but gentle enough for kids to build and play with confidence.
Household Items That Make Great Game Materials
There’s a surprising amount of game-building stuff hiding around your house right now:
- Plastic cups: Great for stacking or ring toss bases. They’re lightweight and pretty safe.
- Cardboard boxes: Use for targets, tunnels, or even custom game boards. Easy to cut and decorate.
- Paper plates: Excellent for frisbee-type toss games or target practice. They’re flimsy but perfect for gentle play.
- Old socks: Can be filled with rice or beans to make soft balls for tossing games.
- Plastic bottles: Useful as bowling pins or knockdown targets. Just remember to remove caps and smooth any edges if cut.
These items are all pretty safe for kids to use, and most parents usually have plenty of them lying around. They encourage creativity without needing special tools or materials.
Using Recyclables For Fun And Eco-Friendly Games
Recyclables bring an eco-friendly angle to game building that can’t be ignored. Using cans, bottles, and cardboard not only reduces waste but adds a learning opportunity about reuse and creativity. For example, tin cans can become knockdown targets, painted brightly to look like carnival prizes. Plastic bottles make fun ring toss stands, and big cardboard pieces transform easily into game backdrops or maze walls.
Kids often enjoy turning ‘trash’ into something fun — it’s satisfying in a way that factory-made toys don’t quite capture. It also keeps your crafting budget low, which is usually a relief. Plus, involving the kids in gathering and preparing recyclables can help reinforce environmental lessons, even if just subtly. Just keep an eye on sharp edges or dents, and make sure everything stays safe to handle during play.
Setting Up Your Diy Carnival Game Space
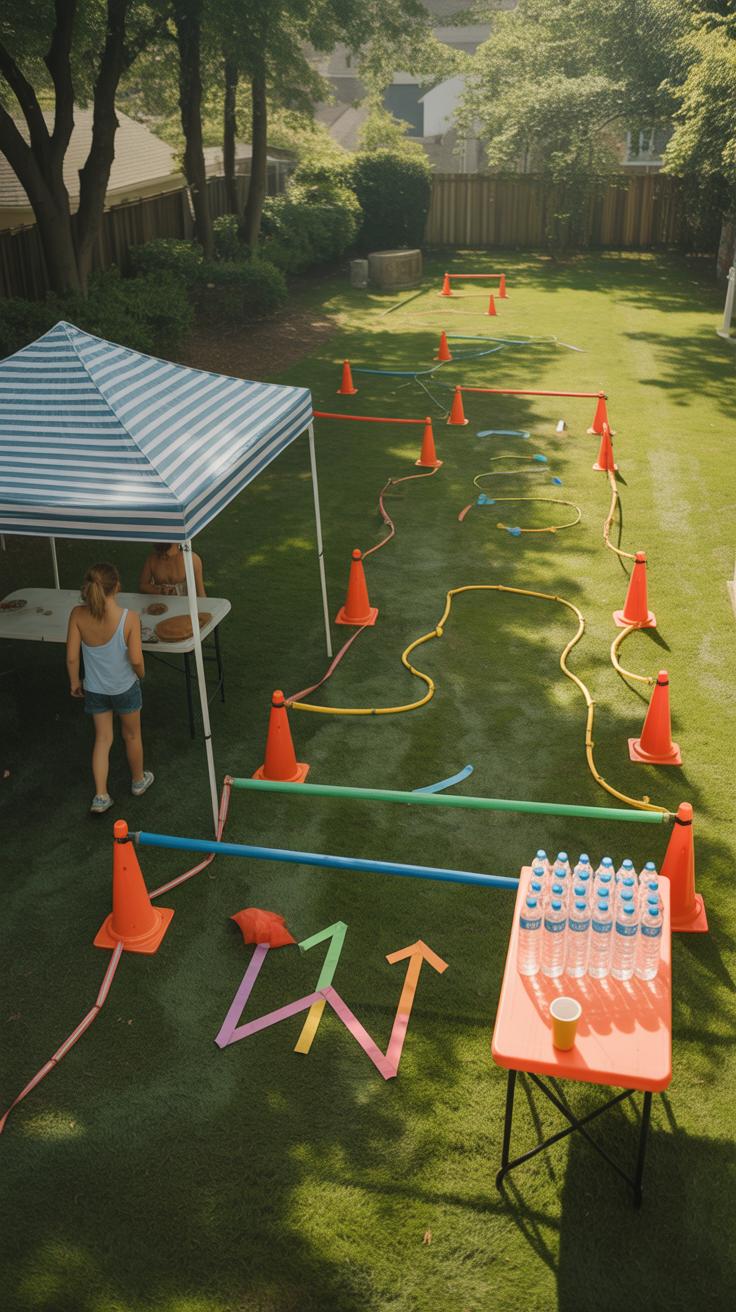
Creating A Safe Play Area For Kids
When setting up your game area, start by choosing a spot with enough room for kids to move freely without bumping into furniture or sharp corners. I’ve found that a clear space in the backyard or a spacious corner in a living room works well. Make sure any game stations are stable—wobbly tables or loose parts can quickly turn into hazards.
Keep an eye out for trip risks, like cords or uneven rugs. Sometimes, you might forget that the simplest detail, like a stray twig or a low-hanging branch, could cause a fall. Securing all equipment is key—tape down wires, weigh down lighter items, and avoid anything with splinters or sharp edges. It’s tempting to rush this step, but safety sets the tone for fun that doesn’t turn into worry.
Decorating To Make The Space Festive
Bright colors are your best friends here. Whether you hang paper lanterns, string up homemade banners, or scatter colorful balloons, these small touches help the space feel special. I like to use red, yellow, and blue—classic carnival shades that instantly brighten the mood.
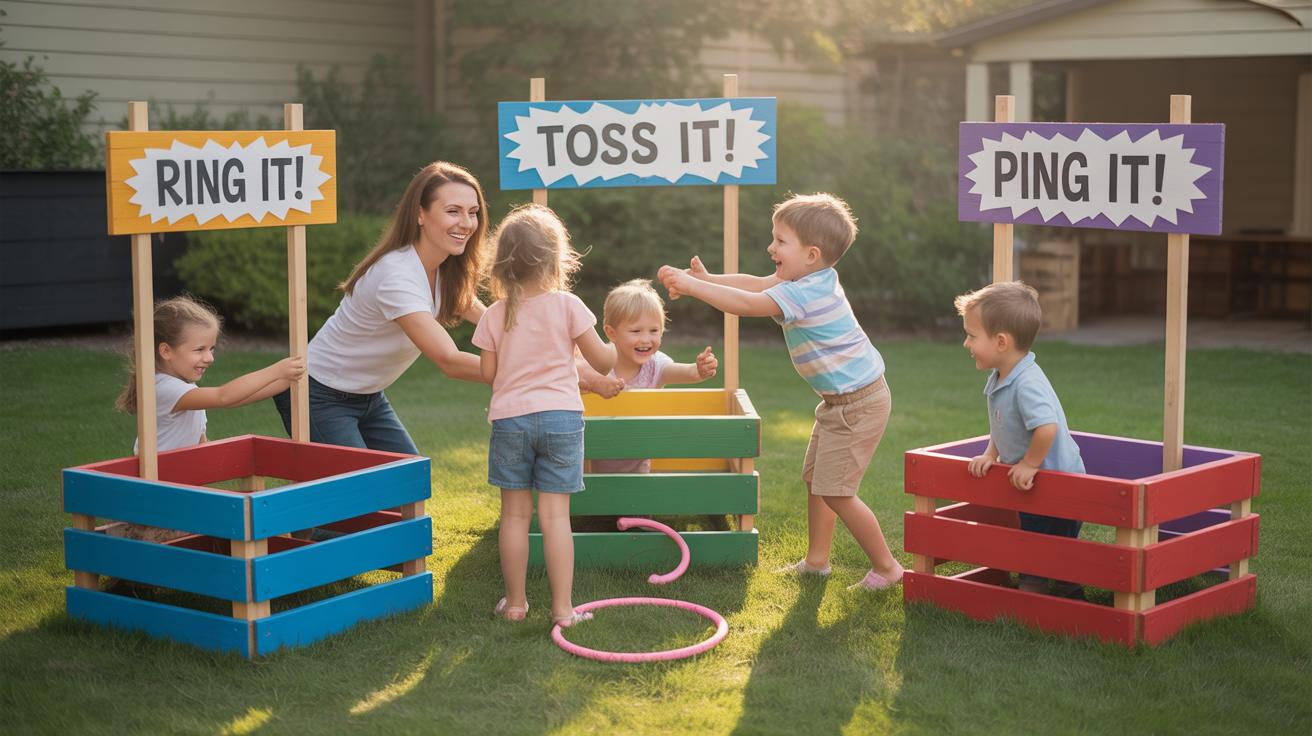
Don’t overthink it. Even simple decorations, like colored streamers or painted signs labeling each game, add to the excitement. Try mixing in handmade posters with playful fonts or images to give your carnival a personal touch. If you have the time, create a small “ticket booth” or a prize table—it makes the game area feel like a real carnival without much hassle.
Think about the little details too. Maybe sound effects or carnival tunes in the background? Sometimes these extras make all the difference in setting the scene. It doesn’t have to be perfect, just enough to spark curiosity and boost enthusiasm for the games ahead.
Easy Diy Ring Toss Game For Beginners

Building The Ring Toss Stand
Creating a ring toss stand doesn’t require fancy tools or materials. You can use a simple cardboard box or even a wooden crate as your base. The key is to make sure the stand stays upright and stable. One easy method is to gather a few empty toilet paper rolls or paper towel tubes, attach them vertically to a sturdy board or piece of cardboard, and secure them with tape or glue. You might want to space the tubes evenly, maybe 4 or 5 apart, so players have multiple targets. For extra stability, weight down the bottom with some books or a small bag of rice—it’s those small details that will keep your stand from tipping over mid-game.
Once your tubes are firmly attached and the base feels steady, test it by giving it a gentle shake. If it’s wobbly, adding more weight or reinforcing with tape usually helps. You can even decorate the stand with bright colors or stickers to make it more inviting. Sometimes, simple really works best—for kids, a lightweight stand they can move around might be more fun than something too rigid.
Game Rules And Playing Tips
The rules in ring toss are pretty straightforward. Players take turns tossing rings, aiming to throw them over the tubes on the stand. Each tube can hold a different point value depending on difficulty—closer tubes might be worth fewer points, while the farther ones earn more. You decide the score system or simply play just for fun, counting how many rings land successfully. It’s flexible.
When playing, your stance makes a difference. Stand close enough so you feel comfortable but not too close, or it stops being challenging. Try to release the ring with a gentle flick of your wrist rather than a strong toss; it’s surprising how much control that gives. Watching others can also offer clues about angles or force to use—sometimes an unexpected technique works best. Most importantly, keep trying different approaches and don’t worry about perfect scores. There’s something about aiming for those rings, missing, then adjusting your throw that makes this game oddly satisfying.
Making A Bean Bag Toss Game
Building a bean bag toss game from scratch is surprisingly simple and a great way to get everyone involved. Start with a sturdy board as your base—old wood or cardboard works fine. Cut out several holes as targets. They can be different shapes or sizes to mix things up, making some harder to hit than others. Painting numbers around each hole can help keep track of scores, giving the game an easy-to-understand system that kids pick up quickly.
Crafting Your Own Bean Bags
Making bean bags yourself is quite fun—and it lets you control the size and weight for different challenge levels. Use fabric scraps, like leftover cotton or even old T-shirts. Cut them into small squares or rectangles, roughly 4 inches by 4 inches is a good start. Sew three sides, fill with stuffing—rice, dried beans, or even sand work well—and then sew the last side closed. Smaller bean bags fly faster but are trickier to catch, while bigger, heavier ones drop more predictably. I once tried mixing a few types and learned quickly which weight worked best for little hands.
Setting Up Toss Targets
Placing the target board at varying distances can change the game entirely. Start close for beginners, then move it back to make things tougher. Organize the holes with clear scoring: maybe the smallest hole is worth the most points, and larger ones, fewer. You could even label scores with bright, easy-to-see numbers. Adding a simple scoreboard nearby helps players stay focused on their goals. If you’re creative, set up multiple boards side by side for competitive rounds—it gets surprisingly lively.
Creating A Balloon Dart Game Safely

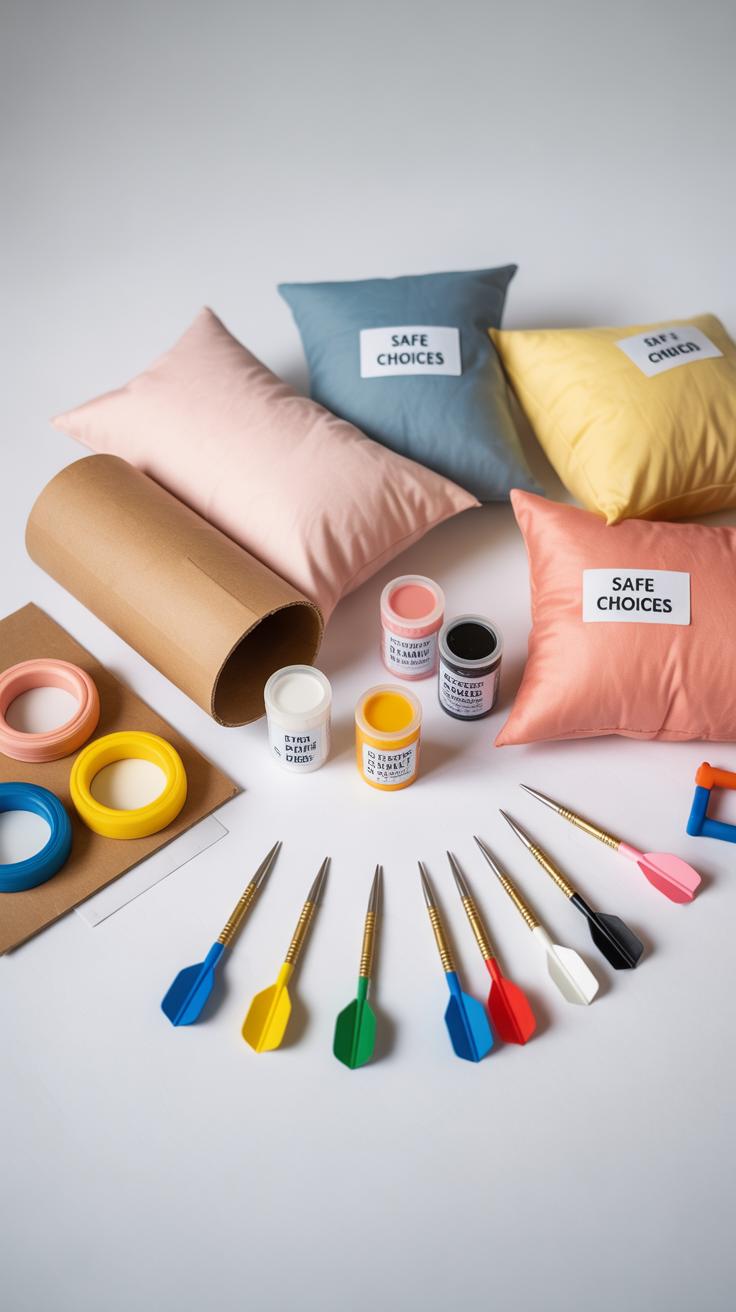
Choosing Safe Darts Or Alternatives
A traditional balloon dart game uses sharp darts, but those aren’t the best choice when kids are playing. You really want to avoid any risk of injury. Instead, try soft-tipped darts or ones with suction cups—they stick to the balloon without popping dangerously or causing harm. Foam darts are another option; they can pop balloons on contact but won’t hurt anyone.
There’s also the possibility of just using velcro balls or bean bags thrown at balloons stuck on a board. This totally removes any landing hazards. Swapping out sharp darts for soft or suction types doesn’t feel like cheating. Actually, I found kids enjoy the challenge of making a soft dart “stick” just as much—it’s part skill, part luck.
Arranging Balloons For The Game
Setting up balloons well can create a game that’s fun and relatively safe. Try inflating balloons to different sizes—some large, some small—to add variety. Attach them with tape or push pins on a corkboard, but make sure pins face away from players.
Arrange balloons at varying heights and distances. This gives players options and makes the game less predictable. Closer balloons might be easier to hit, while smaller or higher ones are real challenges. If you want to keep it gentle, tape the balloons on a thick poster or cardboard rather than directly on walls—this way, any backlash is softer.
And it’s probably smart to keep a decent distance for throwing, especially with younger kids. Watching them try to aim softly but accurately is kind of fun—and safer for everyone.
DIY Ping Pong Ball Toss Game
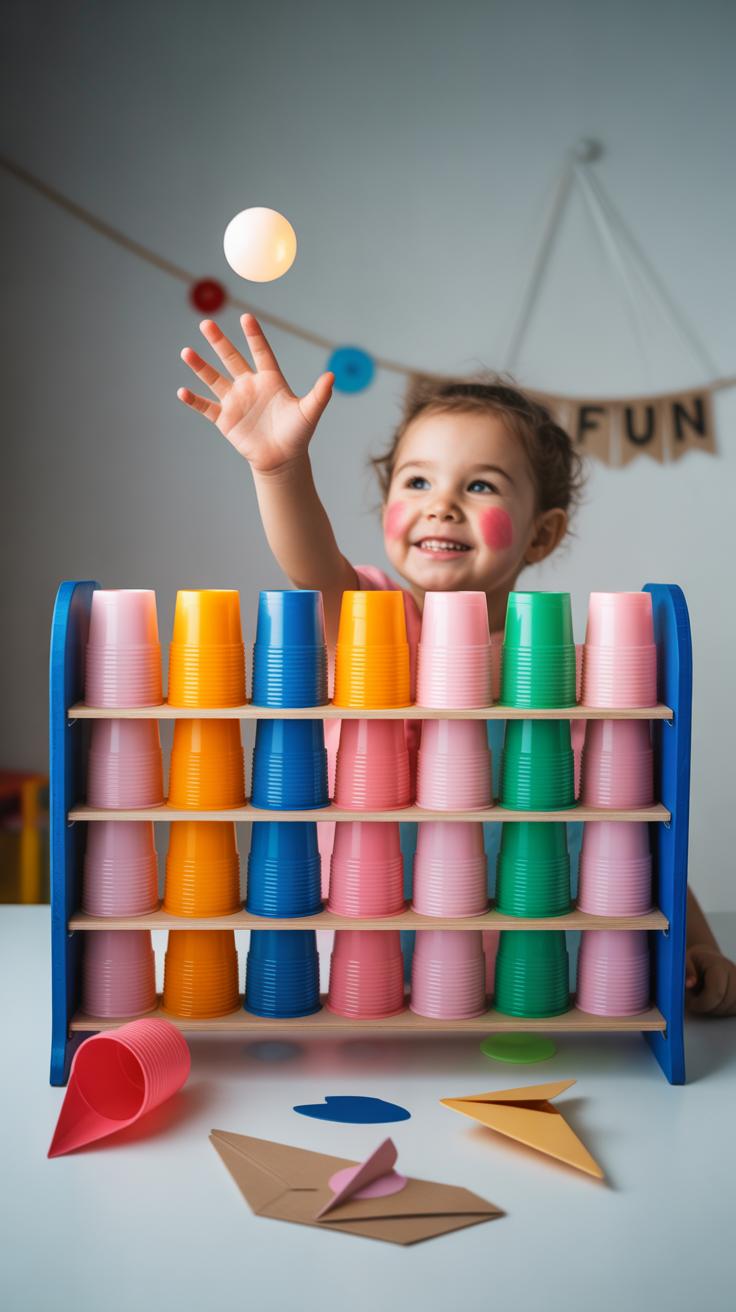
Building Targets For Tossing Balls
The basic idea is simple: toss ping pong balls into targets. But making those targets can be a bit tricky at first. You want containers or holes with different sizes or heights to add challenge. Cardboard boxes, cups, or even empty plastic bottles work well—just cut openings of various diameters. You might tape cups in a pyramid shape or line bottles on a board to keep them steady.

Material choice matters too. Lightweight boxes are easy to move but can topple if hit hard. Something sturdier like small buckets can hold the balls better but might take up more space. One time, I used paper towel tubes on a tray as narrow tunnels, which was fun but a bit frustrating for younger kids who missed often. So keep the size balanced—you want it tricky, but not discouraging.
Rules To Keep The Game Fun And Fair
Clear rules help keep things smooth—and fair—for everyone playing. For example:
- Each player gets the same number of balls per round. Five works well.
- Assign points to each target based on difficulty—smaller holes mean higher points.
- Players stand behind a marked line; no stepping closer during turns.
- Take turns instead of rushing throws.
- Count and record scores after every round to track progress.
Friendly competition is key. You can encourage that by reminding players it’s about having fun and trying their best, not just winning. Sometimes adding small rewards or silly titles for high scores can boost excitement. But just as often, the laughter from missed throws or unexpected rebounds is what makes the game memorable.
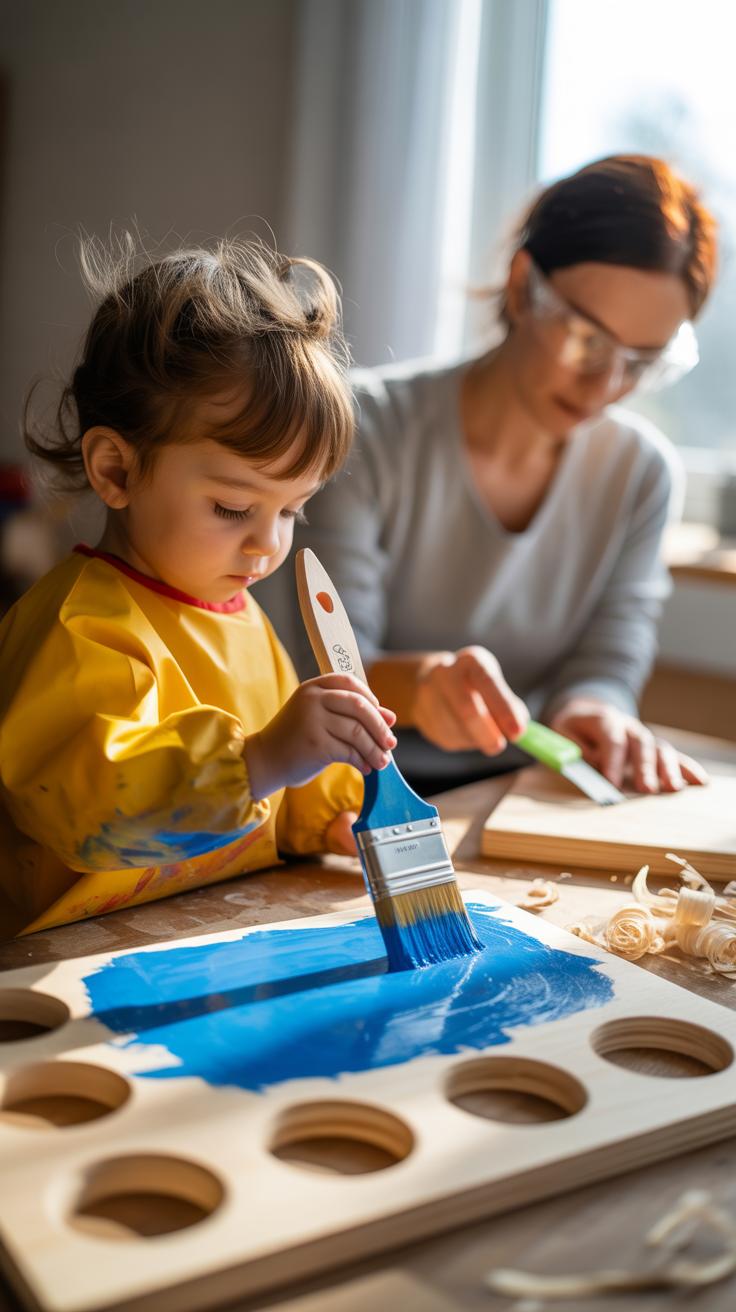
Involving Kids In Game Creation
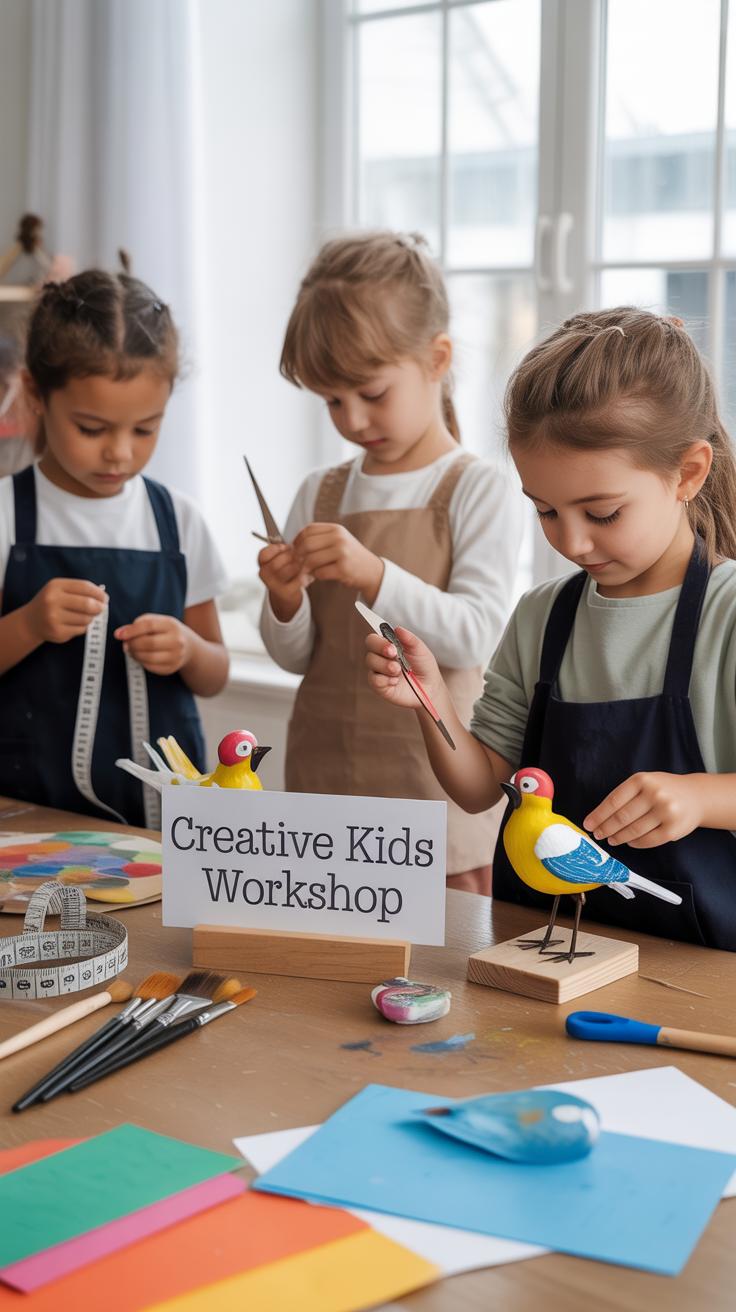
Getting kids involved in creating carnival games does more than just keep them busy. When children help design and build games, they gain a sense of ownership and pride that makes playing even more fun. You might find their ideas surprising, maybe a bit out there, but that’s part of the charm—kids often think in fresh ways that adults don’t.
To engage them, start by asking open-ended questions like:
- What kind of game do you think would be fun to play?
- How could we make this game challenging but fair?
- What materials should we use? What could we repurpose?
These questions encourage them to reflect and come up with solutions. It’s a back-and-forth process where their input matters, not just your instructions.
Working together on a carnival game also teaches kids about teamwork. Assign simple roles like gathering supplies, measuring pieces, or decorating parts of the game. Let them test ideas or even disagree sometimes. That’s part of working as a group—sharing responsibilities and figuring things out collectively. Sometimes, a quick argument turns into a better plan.
Doing this, they don’t just build games; they learn how to create, communicate, and collaborate. It’s not always smooth—kids might lose focus or get frustrated—but the process offers lessons beyond the game itself. And somehow, when they finally play what they’ve built, the joy feels bigger. Maybe it’s because they helped bring it alive.
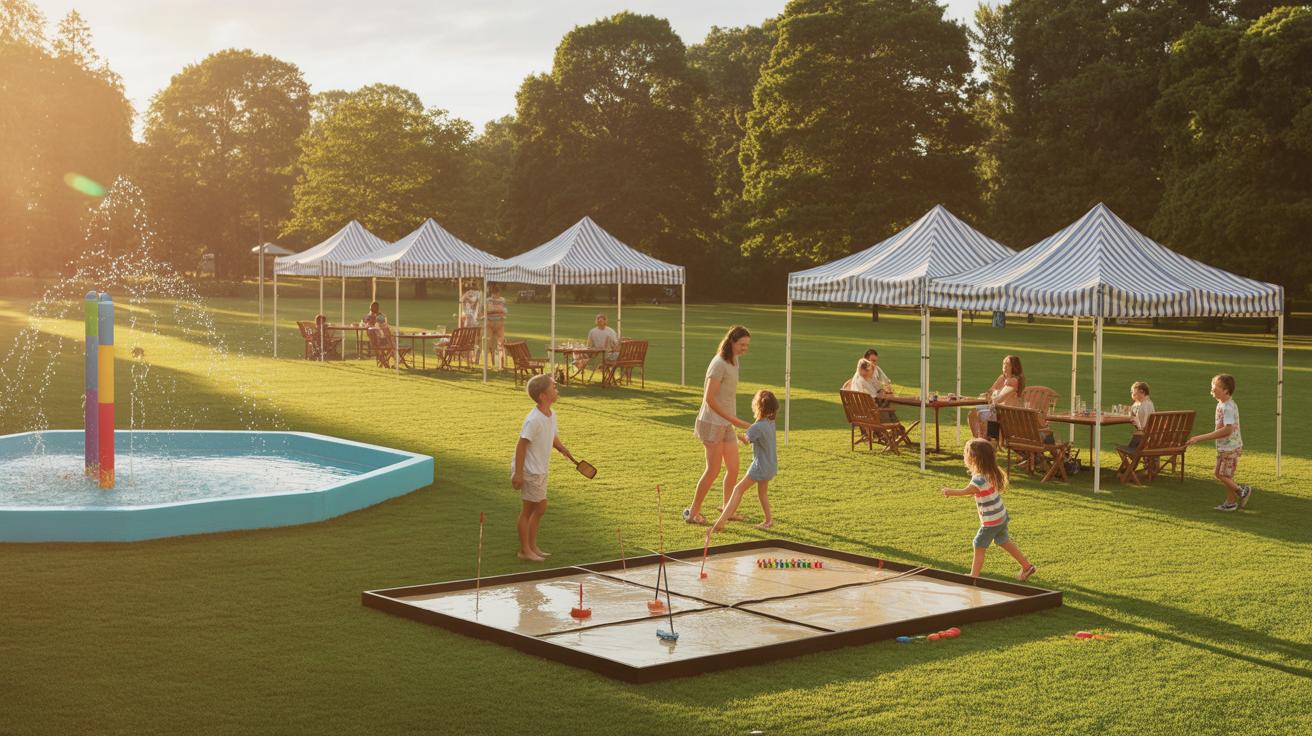
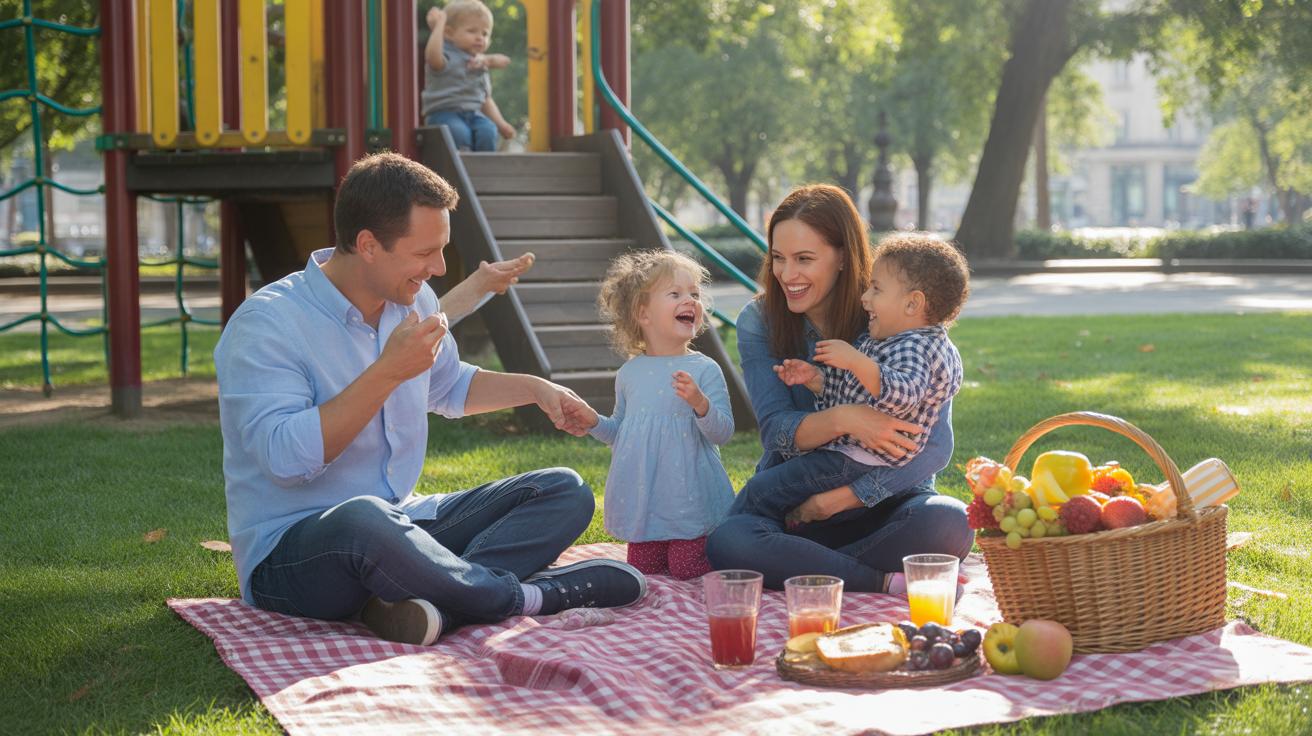
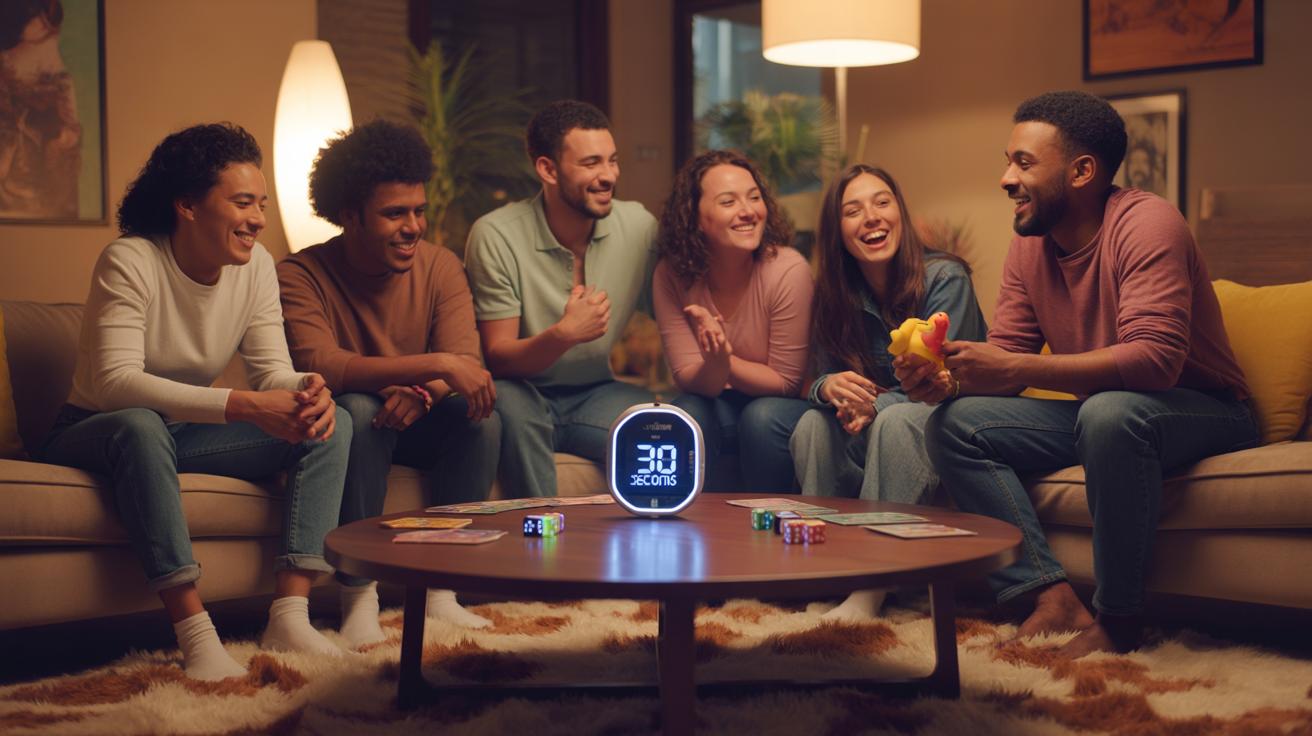
Organizing A Carnival Day Event With Diy Games
Planning a carnival day with DIY games takes some thought, but it can be really rewarding. First, think about the schedule. You don’t want all games crammed into one rush hour or kids getting worn out too soon. Try breaking the event into rounds—games for about 15 to 20 minutes, followed by short breaks. These pauses help keep energy levels up and give kids a chance to chat or grab a snack.
Before the fun starts, set up the games with a quick test run. Trust me, this saves some chaos later. You might discover a ring toss that’s too tricky or a bean bag toss that needs a closer mark.
When inviting friends, keep it simple—send a fun note or message that highlights the homemade nature of the games. Kids and parents usually appreciate the hands-on vibe more than something too formal. Also, inviting people who know each other, or siblings, helps create a friendly, relaxed crowd.
Prizes don’t have to be elaborate. Stick to small toys, stickers, or homemade certificates—things kids can look forward to without making it a big competition. Sometimes, even just a “most creative player” award or a “best cheer” prize motivates participation. It’s about keeping the spirit light and encouraging rather than turning the day into a contest.
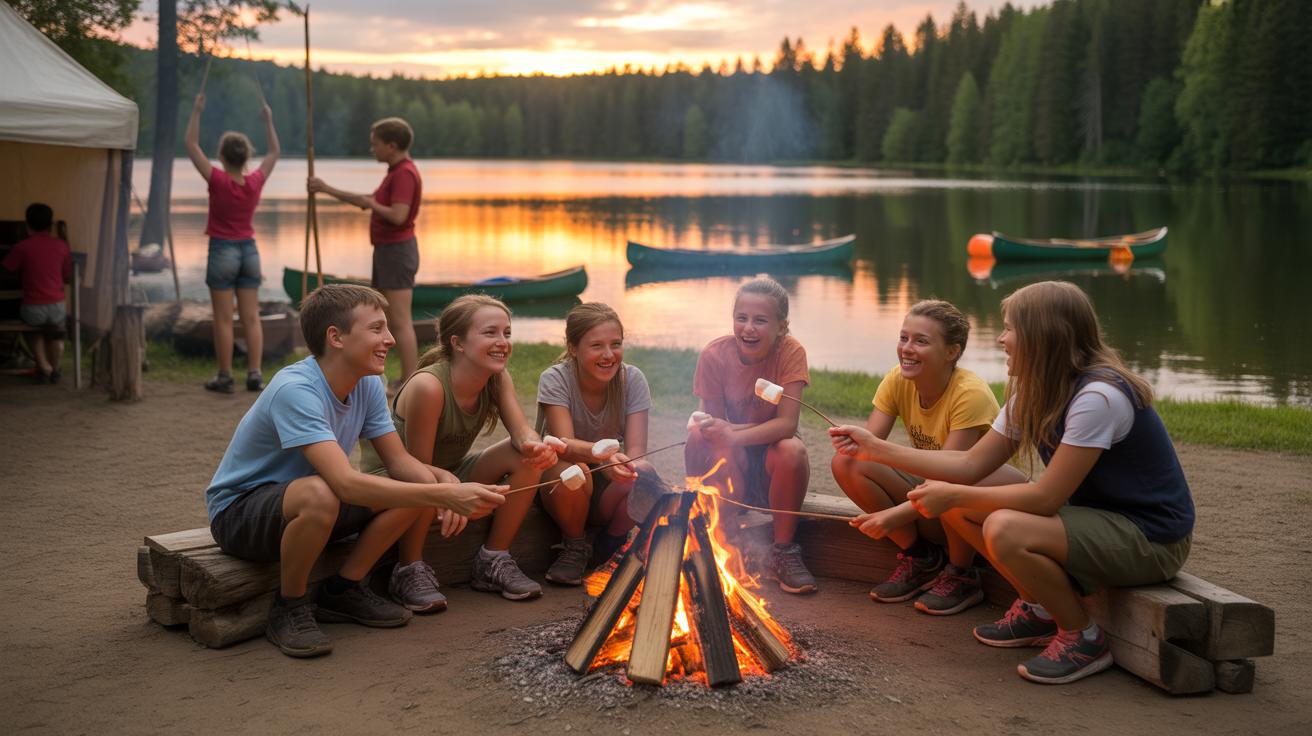
Keeping The Fun Going After The Carnival
Once the carnival day winds down, it’s easy for the excitement to fade. But your DIY games don’t have to retire to a dusty corner. You can keep things fresh by tweaking the games—sometimes just small changes make a noticeable difference. For example, a ring toss might become trickier if you move the pegs farther apart, or you could time the game to add urgency. Kids often respond well when there’s a twist, maybe switching from throwing rings to tossing beanbags.
Think about turning old challenges into new ones. Adding levels or different point systems can make players rethink their strategies. You might even experiment with team play or paired rounds to mix up the usual solo attempts. Maybe toss in a “mystery round” where rules flip unexpectedly. From what I’ve seen, kids actually appreciate the surprise—sometimes more than a perfectly fair game.
Don’t shy away from revisiting game rules regularly. Slight adjustments, like increasing prize thresholds or changing the throwing style, can be enough to re-spark interest. Have you tried playing with fewer or more chances? What about setting a new goal, like hitting a peg three times in a row?
When it comes to materials, your leftover parts can become the building blocks for all sorts of fresh creations. Combine pieces from a beanbag toss and a ring toss to craft a new scoring system. Sometimes odd parts fit together perfectly in unexpected ways—like turning old cardboard tubes into targets for a ball knockdown game. Help kids explore and invent by encouraging them to test out how things fit and work together. This hands-on play often leads to their own favorite versions of carnival fun.
Conclusions
Making and playing diy carnival games is a way to enjoy hands-on learning and entertainment. Kids can benefit by practicing different skills and having fun with friends. Each game can be made using everyday items, making it easy and affordable to organize a small carnival at home.
These games encourage creativity and teamwork, creating lasting memories. Try building some of these games with your kids and watch them enjoy their very own carnival experience. With a little effort and imagination, diy carnival games will bring smiles and fun moments to everyone involved.


