
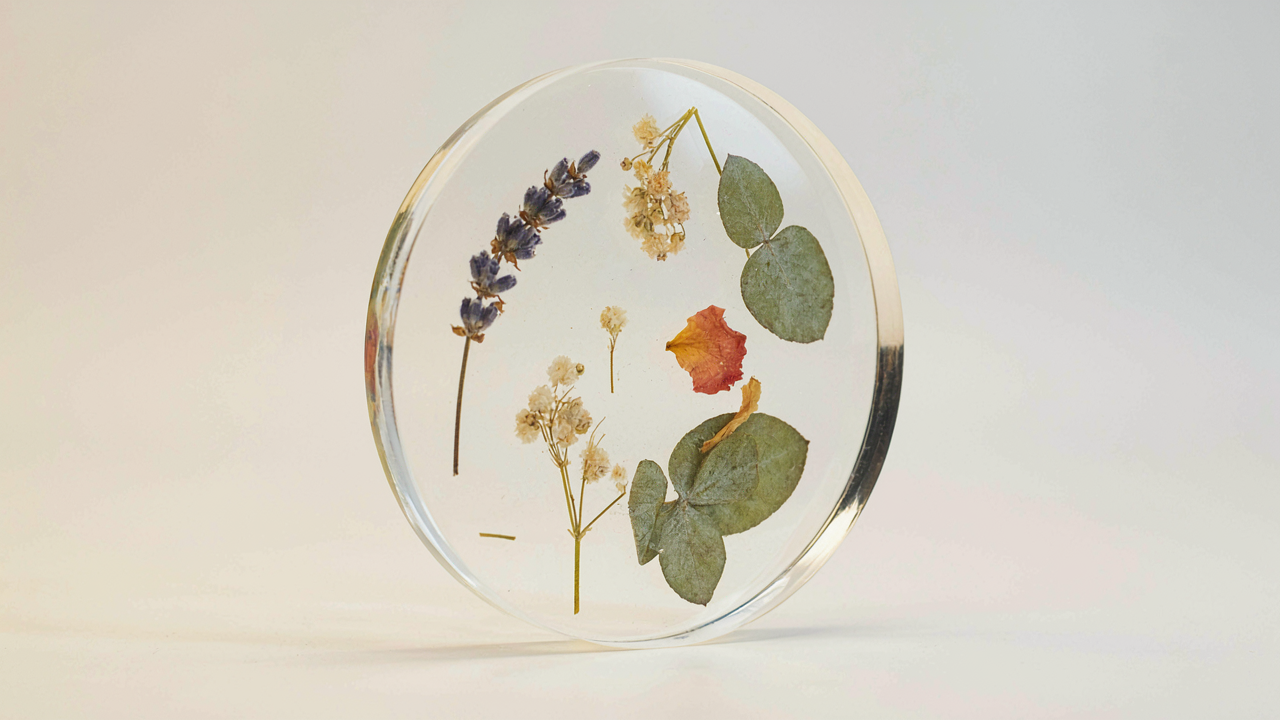
The Illusion Of “Fast Curing”: Why Patience Isn’t A Virtue, It’s A Requirement
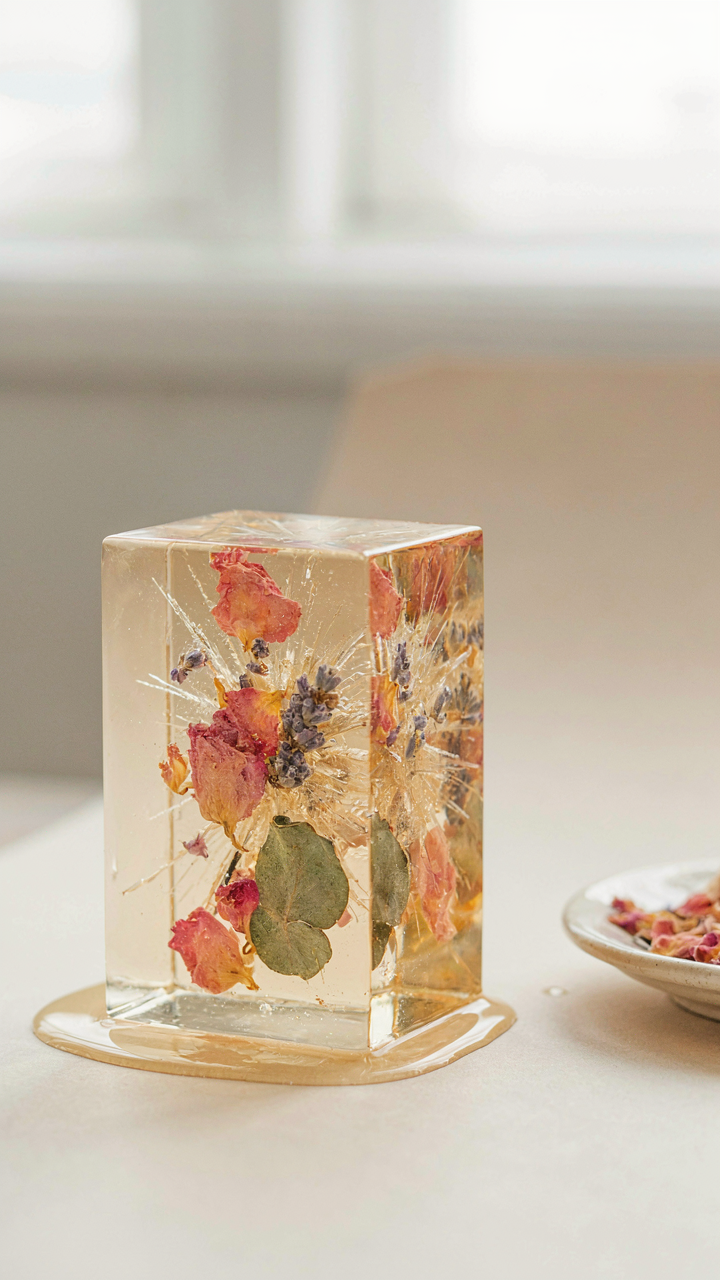
What The Resin Industry Won’t Tell You
You want fast results because you’re running a business and time is inventory. Here’s what matters: the resin industry sells “quick-set” formulas as a feature when they’re actually a liability. Standard epoxy resin requires a full cure window—typically 24 hours at minimum—because polymerization isn’t finished when it feels hard. Touching it early, moving it, or exposing it to vibration interrupts cross-linking. The resin still cures underneath, but weak points form. You get surface hardness masking internal brittleness.
The mechanism is straightforward. Epoxy molecules chain together in stages. The exothermic reaction releases heat, which accelerates the process, but also creates internal stress if it happens too fast. Fast-cure resins compress this timeline artificially. They work for some applications—industrial coatings, structural repairs—but for flower encapsulation, they introduce micro-fractures around delicate botanicals. Your flowers look perfect at day two. By week four, the resin around stems crazes and clouds. The speed killed the result.
Temperature Is Not Your Accelerant
Chemistry textbooks call this the Arrhenius equation—temperature exponentially increases reaction rate. In resin curing, one degree of heat difference changes polymerization speed, not just incrementally but measurably. But here’s what nobody states plainly: raising temperature to speed cure trades longevity for convenience. A resin that cures fully in 18 hours at 75 degrees will develop internal stress if forced to 85 degrees to hit 12 hours. The flower may yellow faster. Clarity degrades. The resin becomes less impact-resistant.
Temperature’s real role is stabilization, not acceleration. Keeping your workspace at a consistent 70 to 75 degrees Fahrenheit ensures predictable cross-linking without thermal shock. Fluctuations—heating the resin to speed cure, then letting it cool—create expansion gaps between resin layers and around inclusions. The flowers shift microscopically. Micro-bubbles form at the botanical surface. Control temperature for consistency, not for speed. Let the full 24-hour cure happen at room temperature without intervention, and you eliminate the variables that wreck embedded botanicals.
Beyond Bubbles: The De Gassing Protocols For Crystal Clear Epoxy Resin Art
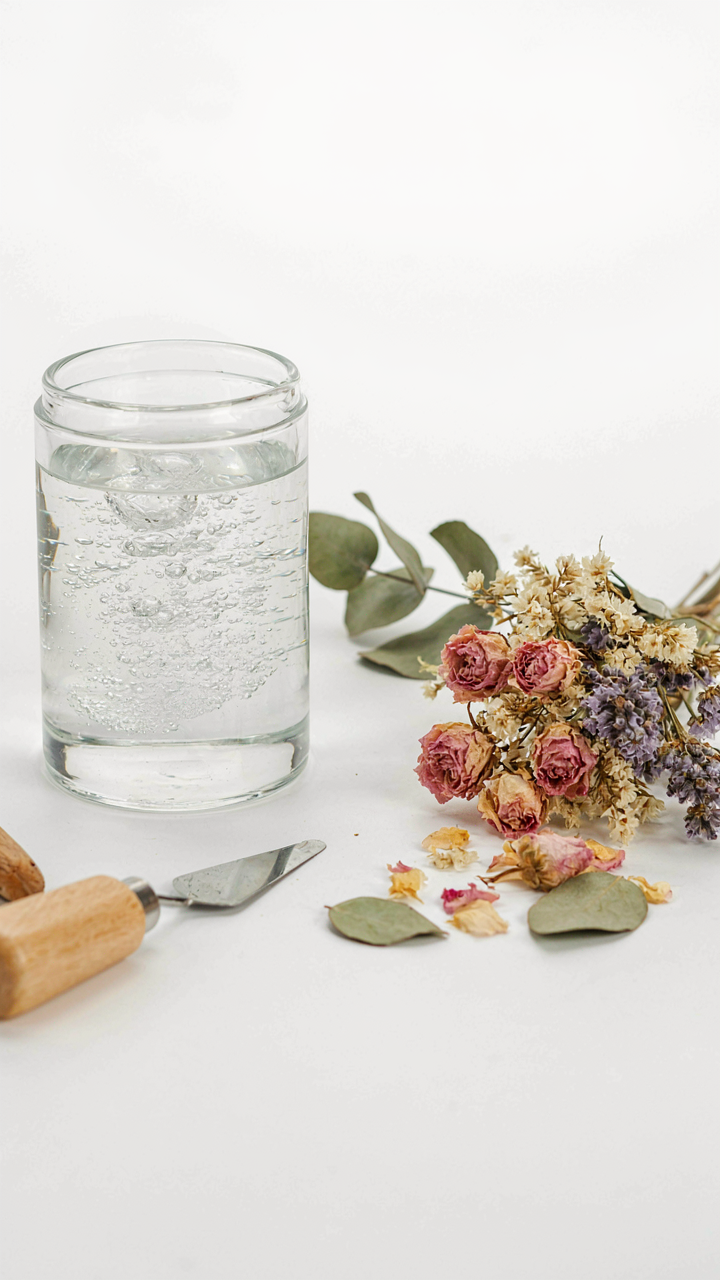
Vacuum Chambers: Necessity, Not Luxury
You want bubble-free resin because cloudiness kills the sell. But here’s what nobody tells you: bubbles aren’t a surface problem. They’re a pressure problem. When you mix epoxy, you introduce air. That air wants to escape, but it can’t without help. A vacuum chamber creates a pressure differential that forces dissolved and trapped air out of the resin before it sets. This isn’t optional if you’re embedding flowers and expecting transparency.
The mechanism is simple physics. Lower pressure in the chamber allows volatiles and trapped air to boil out of the resin at room temperature. You pull vacuum, the resin off-gases visibly (it foams), then you break vacuum and let atmospheric pressure push everything back down. One cycle isn’t enough. Two to three cycles with 15-minute intervals catches the stubborn pockets. Skip this step and you’re betting on luck.
Pressure Pot Mechanics For Density Control
Pressure pots work on the inverse principle of vacuum chambers, and this is where most makers miss the real leverage. Once your resin is de-gassed in a vacuum chamber, a pressure pot forces atmospheric pressure onto the surface as it cures. This compresses residual micro-bubbles and prevents new ones from forming during the exothermic reaction. You’re not just removing air before the pour—you’re preventing air from forming during cure.
Set pressure pots to 30 to 50 PSI depending on your resin’s viscosity and working time. Higher pressure accelerates cure slightly but increases the risk of incomplete flower saturation if you’re not careful with placement. The real win is density: pressure-cured resin feels heavier, looks more glass-like, and holds flowers in perfect suspension. Leave the piece in the pot for the full cure cycle. Releasing pressure too early lets micro-bubbles re-emerge as the resin transitions from liquid to solid.
The Desiccant Deception: True Flower Preservation For Real Flower Resin

Silica Gel Vs. Air Drying Efficacy
You want silica gel to work because it promises control. It doesn’t. Borrowing from chemistry: humidity isn’t just a number—it’s equilibrium. Your flower reaches moisture parity with its environment regardless of the drying method. Silica gel accelerates water removal but creates a false sense of preservation. The flower dries faster, not better. Air drying at controlled humidity (below 40%) produces the same final moisture content over a longer period without the brittleness silica gel induces.
The mechanism most people miss: silica gel pulls water so aggressively that cellular structure collapses unevenly. This creates stress fractures invisible to the eye but visible once resin cures and shrinks around the flower. Air drying allows gradual water loss, letting the cell walls compress uniformly. For real flower longevity in resin, slow and steady drying beats speed every time.
Pre Treatment Chemistry For Moisture Removal
Forget soaking flowers in glycerin or other “pre-treatment” solutions floating around resin communities. These add variables you can’t control. The only pre-treatment that matters is controlling the drying environment before the flower enters the resin. This means setting up your workspace at 30-40% relative humidity for 5-7 days before casting. A simple dehumidifier and hygrometer cost less than failed batches.
The real work happens through vapor pressure gradient, not chemistry. Your flower must shed water to the air around it. If that air is already humid, water stays trapped inside the petals. Once inside the resin, this residual moisture becomes nucleation points for bubbles and discoloration. Pre-cure your flowers in low humidity first. Only then does the flower structure remain stable enough to survive resin’s exothermic heat cycle without degradation.
UV Light: The Overhyped Shortcut Vs. The Strategic Cure For Resin Jewelry DIY

Matching Wavelength To Resin Chemistry
You want UV curing to work because it feels faster than waiting. Here’s the mechanism nobody states plainly: resin polymerization is a photochemical reaction that depends on matching the light wavelength to your resin’s photoinitiator absorption spectrum. Think of physics here. In optics, resonance determines whether energy transfers efficiently or gets wasted. Your UV lamp either matches your resin’s needs or it doesn’t.
Most epoxy resin flowers cure under UVA light at 365 nanometers. UVB and UVC wavelengths won’t activate the same photoinitiators effectively. The common advice to “just buy any UV lamp” is lazy and incomplete. Your lamp’s actual output matters more than its wattage. A 9-watt lamp at the correct wavelength outperforms a 36-watt lamp at the wrong one. Check your resin’s technical sheet for the specified wavelength range before buying anything.
Building Layers Without Dead Zones
Uneven exposure creates partially cured sections that never fully harden. The real problem is that resin blocks UV light as it cures. Thicker pours trap uncured material underneath because UV doesn’t penetrate dense resin uniformly. The strategic answer is building in layers instead of one thick pour.
Apply resin in 2-3mm sections per UV exposure cycle. Cure each layer fully before adding the next. This ensures bottom layers get full exposure before being covered. Rotate your piece during curing if your lamp allows directional positioning. Position the UV source at consistent distances from each layer. Inconsistent distance from lamp to resin surface causes hotspots and dead zones. Follow this protocol exactly: pour thin, cure fully, check for hardness, add next layer.
The “Perfect Mix” Fallacy: How Ratio Inaccuracy Kills Your Resin Crafts Tutorial
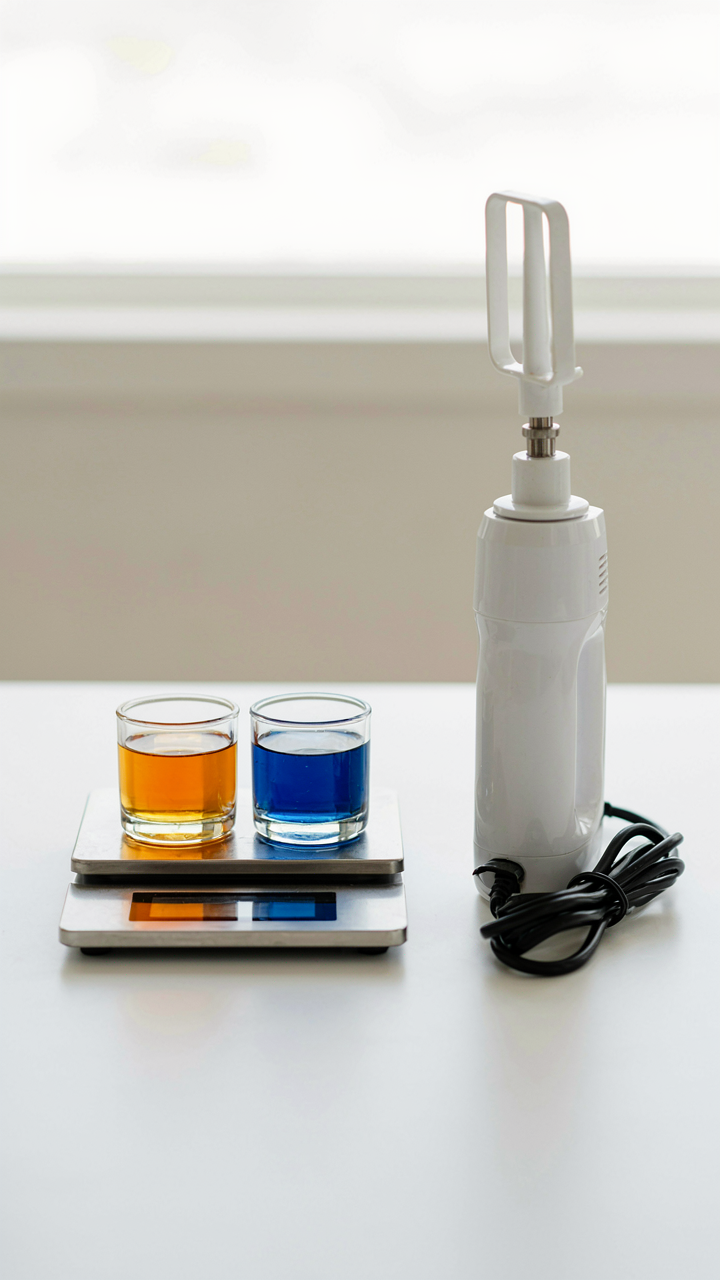
Weight Vs. Volume Measurements For Precision
You think you’re failing because you’re not patient enough or don’t have the right technique. The actual problem sits in your measuring cup. Most resin tutorials tell you to mix by volume, which is lazy advice that works until it doesn’t. Volume measurements shift based on how tightly you pack the resin or hardener, air bubbles trapped inside, and temperature changes that expand or contract liquids. Weight eliminates all three variables. A gram is a gram regardless of how you pour it.
The mechanic is simple: density varies between resin brands, and hardeners have different viscosities at different temperatures. Two milliliters of one resin brand weighs slightly different than two milliliters of another. Two milliliters measured cold versus warm creates measurable deviation. A 2 to 1 ratio by volume can drift to 2.1 to 1 or 1.9 to 1 depending on conditions. That fractional error compounds during cure, causing soft spots, tackiness, or incomplete hardening in your flower pieces. Invest in a cheap digital scale that reads to 0.1 grams and measure every component by weight before stirring.
Mechanical Mixing Vs. Hand Stirring Physics
Hand stirring introduces a predictable problem that mechanics explains directly: shear stress and air incorporation happen unevenly. When you stir by hand, you create vortices and dead zones where resin and hardener don’t mix thoroughly. The outer edge of your cup moves faster than the center, meaning molecules at the edge get exposed to different mixing forces than molecules at the core. This is directional flow breakdown, the same principle engineers use to optimize fluid distribution in industrial systems. Uneven shear means uneven chemical bonding.
A low-speed mechanical mixer with a spiral or twisted paddle attachment generates consistent shear across the entire volume simultaneously. You eliminate the stagnant zones. The resin and hardener achieve homogenous integration in half the time hand stirring demands. Run the mixer for 60 to 90 seconds at 300 to 500 RPM, then let the mixture rest for 10 minutes before pouring into your flower molds. This rest period allows trapped air bubbles to rise and escape, which hand stirring never fully accomplishes regardless of how long you work at it.
Atmospheric Control: Engineering Your Curing Environment Like A Bio Dome
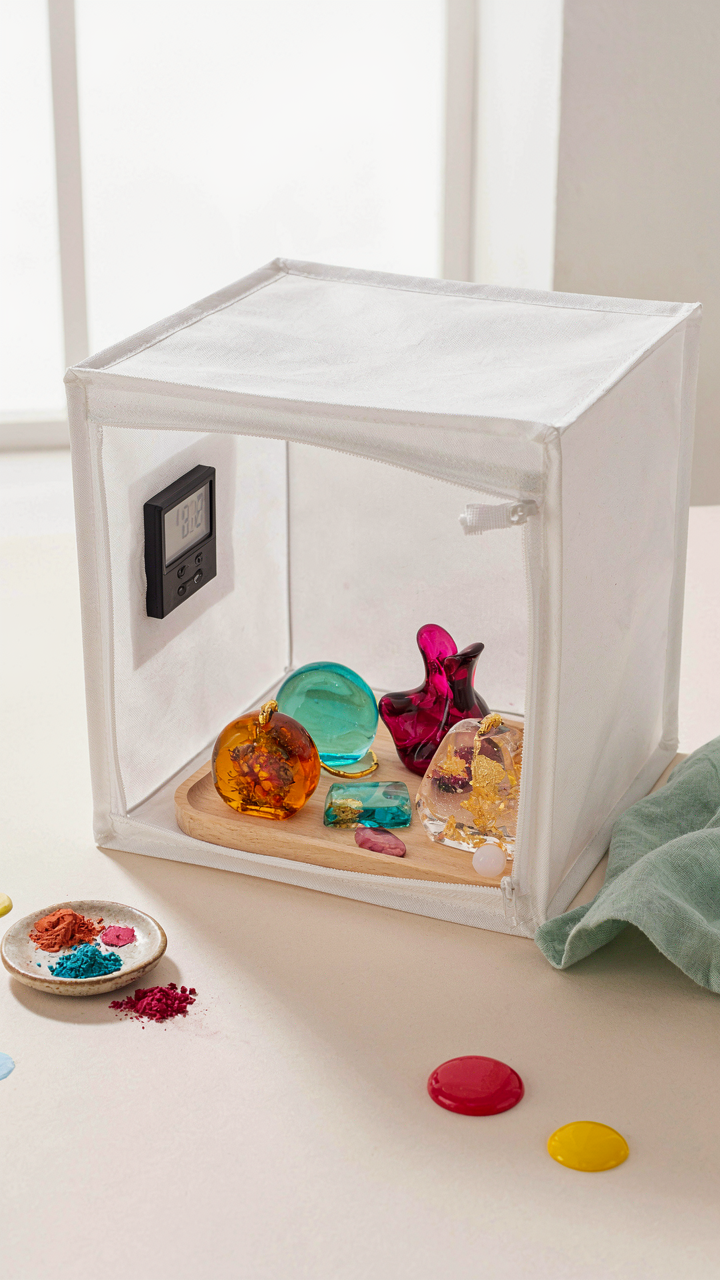
Temperature And Humidity As A System
You want this section to work because you’re tired of ruined batches and you need permission to stop guessing. Here’s the mechanism: temperature and humidity don’t operate independently—they’re a coupled system in thermodynamics. Think of it like osmotic pressure in biology. When you raise temperature, the resin’s molecular activity accelerates, but humidity pulls moisture into the uncured layers. Both forces fight each other. High heat alone causes surface cure while interiors remain tacky. High humidity alone traps volatiles and creates crystallization.
The real move is controlling the dew point, not chasing individual numbers. If your workspace sits at 75°F and 60% humidity, that’s a specific dew point that either works or doesn’t. Moving to 75°F and 45% humidity changes the entire cure profile because the dew point dropped. Most people tweak temperature or humidity in isolation and wonder why consistency never arrives. You need both readings simultaneously, and they need to stay locked in their range for the full cure cycle.
Microclimate Engineering For Precision
Stop talking about “proper ventilation” like it’s advice. You need active environmental partitioning. Create a contained zone within your workspace—a cabinet, enclosure, or sealed room section—where you control every variable independently from the surrounding air. This isn’t luxury; it’s the only way to replicate results.
Inside this microclimate, install a hygrometer and thermometer at the exact height where resin pieces sit. Position a dehumidifier and space heater or AC unit so air circulates without creating hot or cold spots. Run both devices on timers during curing phases. The goal is stability, not perfection—fluctuations kill curing more than imperfect numbers do. Measure conditions before you pour, log them during cure, adjust equipment settings before the next batch. This data becomes your protocol.
Post Cure Processing: The Unsung Hero Of How To Put Flowers In Resin

Sanding Grit Progression For Clarity
You want the piece to look like glass because you’re selling the idea that you did something skilled. Here’s what actually matters: resin cures hard, but the surface remains microscopically rough. This is friction in materials science terms. You reduce friction—and haze—by methodically stepping through abrasive grits. Start at 400, move to 800, then 1200. Each grit removes the scratches from the previous one. Skip steps and you trap imperfections that no polish fixes later.
The progression exists because each grit size is roughly half the previous one. Jumping from 400 to 1200 leaves scratches still visible under light. Wet sand instead of dry to reduce dust and prevent resin particles from clogging the paper. Use light pressure and let the grit do the work. The resin surface should feel uniformly textured before moving to the next grit, with no visible scratches from the prior stage under direct light.
Polishing Compounds And Technique For Finish
Most people apply polish wrong because they think the compound does the work. It doesn’t. Your technique—consistent pressure and directional movement—determines the final clarity. Use a foam buffing pad on a rotary tool at low speed, never high. Apply the compound in thin layers, not thick globs. Work in circular motions across the entire surface. Let the pad do multiple passes rather than bearing down hard once.
Cerium oxide and tin oxide compounds both work. Cerium oxide cuts faster but requires more passes. Tin oxide produces a clearer final result with fewer strokes. Switch to a clean pad before applying fresh compound. After polishing, rinse the resin thoroughly under running water and dry completely with a microfiber cloth. The clarity appears immediately, and any remaining haze indicates either incomplete sanding beforehand or insufficiently wet-sanded grits. Verify your 1200-grit stage left zero visible scratches before moving to polish.
Avoiding The Yellowing Trap: Long Term Stability For Preserving Flowers In Resin Diy

UV Inhibitors Chemistry And Selection
You want your piece to look pristine in five years because yellowing reads as cheap, and cheap work kills your credibility. The mechanism is simple: UV light breaks polymer chains in epoxy resin through a process called photodegradation. Without protection, those chains degrade, and the resin shifts from clear to amber. UV inhibitors work by absorbing UV wavelengths before they hit the polymer, converting that energy into harmless heat instead of molecular damage.
Most resin makers treat UV inhibitors like optional seasoning. They’re not. The chemistry matters more than the brand name. Hindered amine light stabilizers (HALS) are the gold standard because they regenerate after absorbing UV and don’t deplete over time. Benzotriazole and benzophenone absorbers work too but burn out faster. Buy inhibitors formulated specifically for epoxy systems, not general plastics. Too much inhibitor clouds the resin; too little leaves you with yellowing in year two. Mix at the manufacturer’s recommended ratio, typically 1 to 3 percent by weight.
Storage Conditions For Archival Quality
Stop storing finished resin pieces wherever you store everything else. Environment controls yellowing velocity more than most people admit. Temperature fluctuations trigger expansion and contraction in the resin matrix, creating micro-fractures that accelerate UV damage. Humidity creates condensation cycles on the surface, and moisture accelerates yellowing through hydrolysis within the polymer network.
Store finished pieces in a cool, dark space at constant temperature between 60 and 75 degrees Fahrenheit. Use UV filtering glass display cases or opaque storage boxes. Keep pieces away from direct sunlight, fluorescent tubes, and LED lights with high color temperature ratings above 4000K. Sealed, airtight containers with desiccant packs prevent humidity fluctuation. Check stored pieces quarterly and rotate display pieces seasonally to prevent one-sided UV exposure that creates visible color gradients.
When “Tacky” Isn’t A Problem: Understanding Resin Cure Stages For Epoxy Resin Crafts
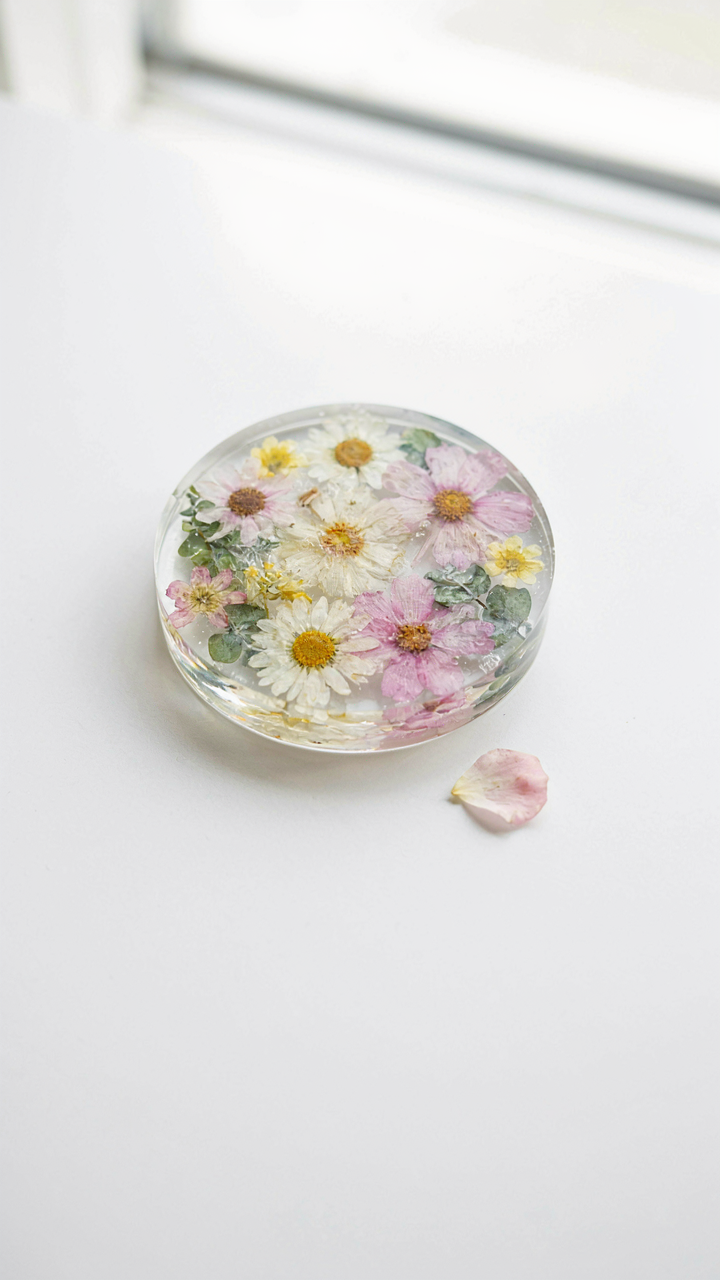
The Gel Stage Vs Full Hardness Gap
You want to know the exact moment your resin is done so you stop second-guessing yourself and look competent to people watching. Here’s what actually matters: gel time and full cure are not the same event. Gel time is when the resin transitions from liquid to solid, usually 24-48 hours for epoxy. Full cure—where the molecular cross-linking completes and hardness maximizes—takes 5-7 days or longer depending on resin type and ambient temperature.
The confusion costs you directly. Many makers pull their pieces at gel stage and assume they’re finished. The resin feels hard to the touch but lacks structural integrity. Temperature accelerates gel time but doesn’t proportionally accelerate full cure. A piece that gels in 24 hours at 75°F still needs the full 7 days for optimal hardness.
- Gel Time: The resin transitions from liquid to solid, typically marked by loss of flow and tackiness, occurring at 24-48 hours for standard epoxy formulations.
- Full Cure Window: Complete molecular cross-linking and maximum hardness develop over 5-7 days, extending beyond initial gel phase regardless of ambient conditions.
- Temperature Impact: Heat speeds gel time substantially but provides diminishing returns on full cure acceleration, creating a false sense of completion.
- Flower Embedment Timing: Embedded botanicals require the piece to reach gel stage before handling but must remain undisturbed through full cure for optimal clarity around the material.
- Post-Cure Hardness Gain: Resin continues hardening measurably for days after gelling, affecting polish quality, UV resistance, and long-term durability of finished pieces.
Tacky resin at 48 hours isn’t a failure—it’s predictable physics. The piece has gelled but hasn’t reached full cross-link density. This is exactly when you can handle it without causing permanent surface damage, but still before you sand, polish, or stack it with other pieces.
Undercured Resin Feels Hard But Breaks Soft
Most makers don’t distinguish between these states because nobody states it plainly: undercured resin develops surface hardness while remaining structurally weak internally. You press it and it feels solid, so you move forward. Three weeks later, the piece cracks or develops stress marks under minimal pressure because the polymer chains haven’t fully bonded.
Overcured resin is rare with epoxy but possible with UV resins or extended heat exposure. The material becomes brittle instead of flexible, making it prone to cracking from thermal cycling or impact. Undercured resin stays the real problem. It traps air pockets, yellows faster, and bonds poorly to any secondary applications like embedment or additional resin layers. The fix isn’t complicated: respect the full cure timeline before moving the piece, applying pressure, or exposing it to temperature changes. Don’t speed the process through artificial heat if you’re using standard epoxy unless you understand your specific resin’s technical datasheet completely.
Your Fear Of Imperfection Isn’t The Problem; It’s Your Blind Faith In Surface-level Tips

You don’t need another tip. You need to stop treating resin flower curing like a checklist and start treating it like a system. Most people fail because they follow random advice without understanding why temperature, humidity, and timing work together. Today, pull out one batch and actually observe what happened. Document it. The craftsmen who win aren’t the ones who follow the most tips. They’re the ones who understand their specific environment well enough to break the rules.



