
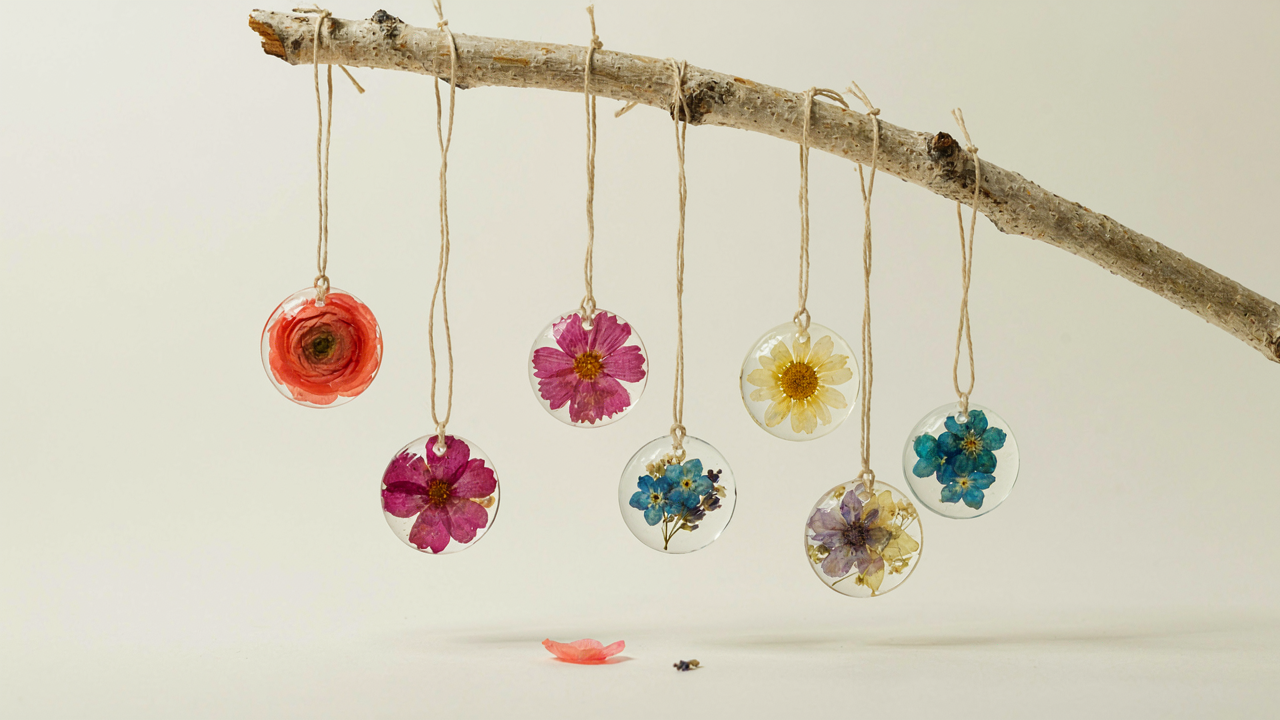
The Material Deception: Why “Easy” Resin Lies
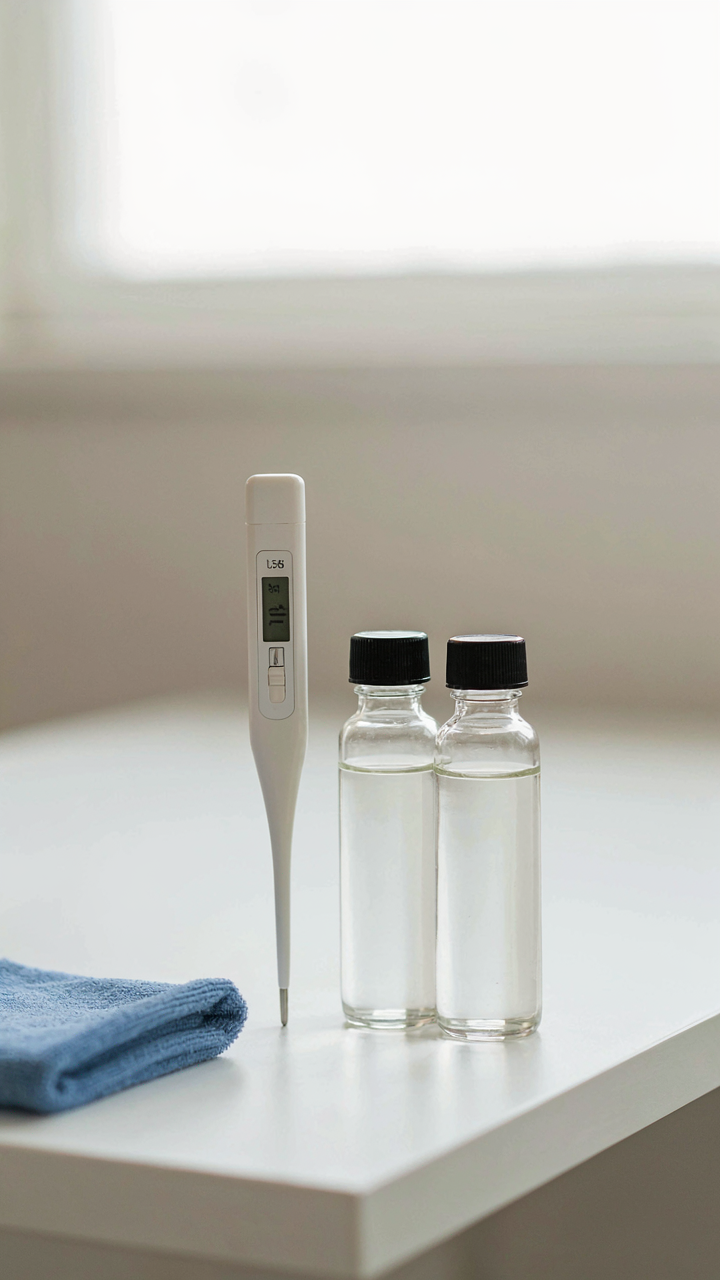
Epoxy And Polyester Aren’t Interchangeable
You want to believe beginner resin work is just mixing and pouring, but the resin type you choose determines whether your ornament survives or yellows into garbage in six months. Epoxy and polyester resins behave like different materials wearing the same label. Epoxy cures through a chemical reaction between resin and hardener. Polyester uses a catalyst that initiates a chain reaction. The difference matters because epoxy releases less heat, shrinks less, and tolerates moisture better than polyester, which means ornaments don’t crack as easily during cure.
Most beginner guides skip this because it complicates the narrative. Epoxy costs more upfront but fails less often. Polyester cures faster and is cheaper, but demands environmental control you probably don’t have in a basement or apartment. The trap is choosing polyester because tutorials make it look simpler, then watching your first batch turn cloudy or develop cracks. Start with epoxy. The slower cure time gives you working room to remove bubbles and position flowers before the resin sets.
Ratio Precision Stops At Your Thermometer
The bottle says mix at a specific ratio, and you follow it exactly, then your resin turns into taffy or won’t cure at all. The stated ratio assumes room temperature around 70 degrees Fahrenheit. Drop to 60 degrees and the hardener reacts slower. Hit 80 degrees and the exothermic reaction accelerates unpredictably. Temperature controls the viscosity and cure speed, which means the same ratio produces different results depending on your environment.
Most beginners ignore this because thermometers feel like overkill for “easy” ornaments. They aren’t. A two-degree swing changes how long you have before the resin thickens too much to pour into molds or around flowers. Buy a digital thermometer and don’t mix resin unless your workspace sits between 68 and 75 degrees Fahrenheit. If your room is cooler, use a heat mat under your work surface. If it’s warmer, delay mixing until evening. The ratio is just a number without environmental control.
The Botanical Preparation Protocol: Preserving Peak Form
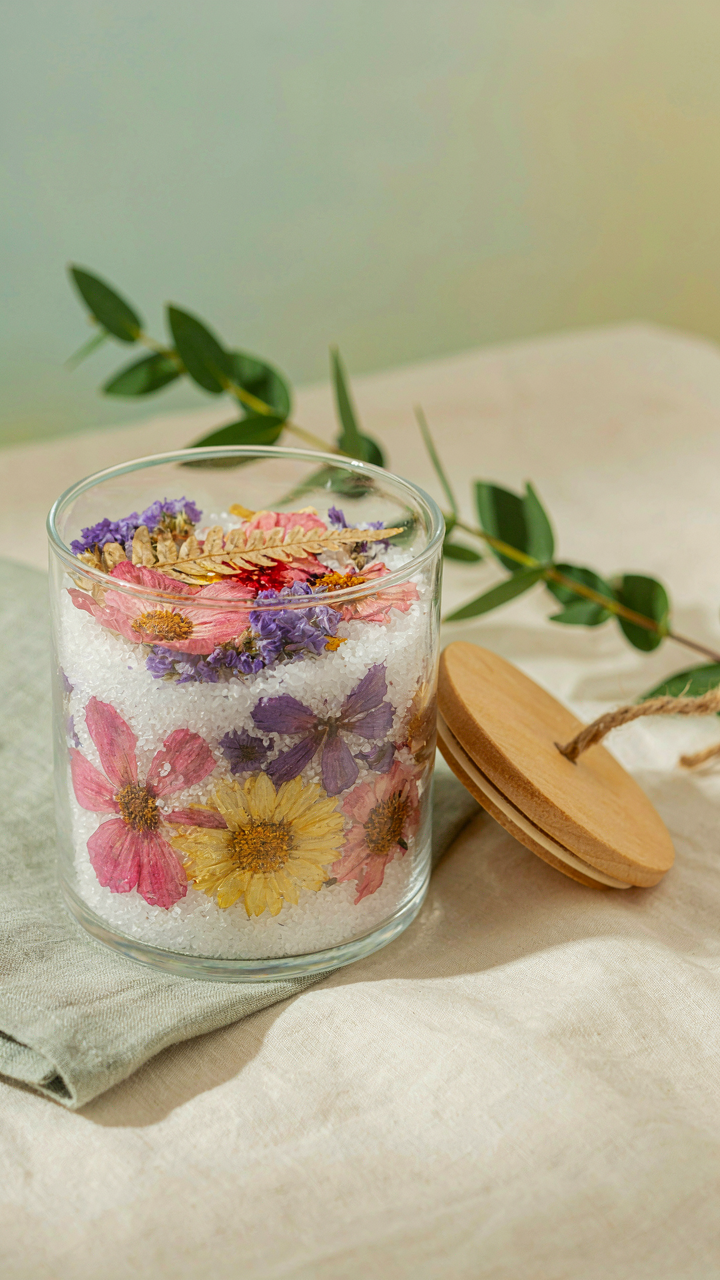
How Flowers Actually Dry Without Rotting
You care about this section because you’re afraid of wasting money on flowers that turn to mush inside your resin. The mechanism is simple: water must leave the plant tissue before resin traps it. Pressing removes surface moisture and flattens flowers to speed evaporation. Air circulation matters more than time. A flower pressed for three days in moving air beats one left loose for two weeks in a drawer.
Think of drying like a supply line in military strategy. Your flowers are territory you’re defending against moisture invasion. Press flowers between uncoated paper, not wax paper or plastic. Stack weighted books on top. Place the stack near a heat source or in a room with low humidity. Check daily. Most flowers reach ornament-ready dryness within five to seven days, not weeks.
When Moisture Ruins Your Pour
Residual water inside resin doesn’t mix, and it clouds your work. This is basic chemistry: resin is hydrophobic. Any trapped moisture becomes visible as milky swirls or white spots after curing. The common advice is to “just make sure flowers are dry.” That’s incomplete. Dry to the touch is not the same as moisture-free. You need to verify the interior state.
Use a desiccant chamber after initial pressing to extract the final trace moisture. Silica gel absorbs water vapor from inside flower petals and stamens. Place pressed flowers in an airtight container with fresh silica gel for 24 to 48 hours before casting. This step eliminates the cloudiness problem most beginners blame on bad resin. The flowers must be moisture-neutral when they touch wet resin.
The Clarity Conundrum: Transparent Resin Without The Haze
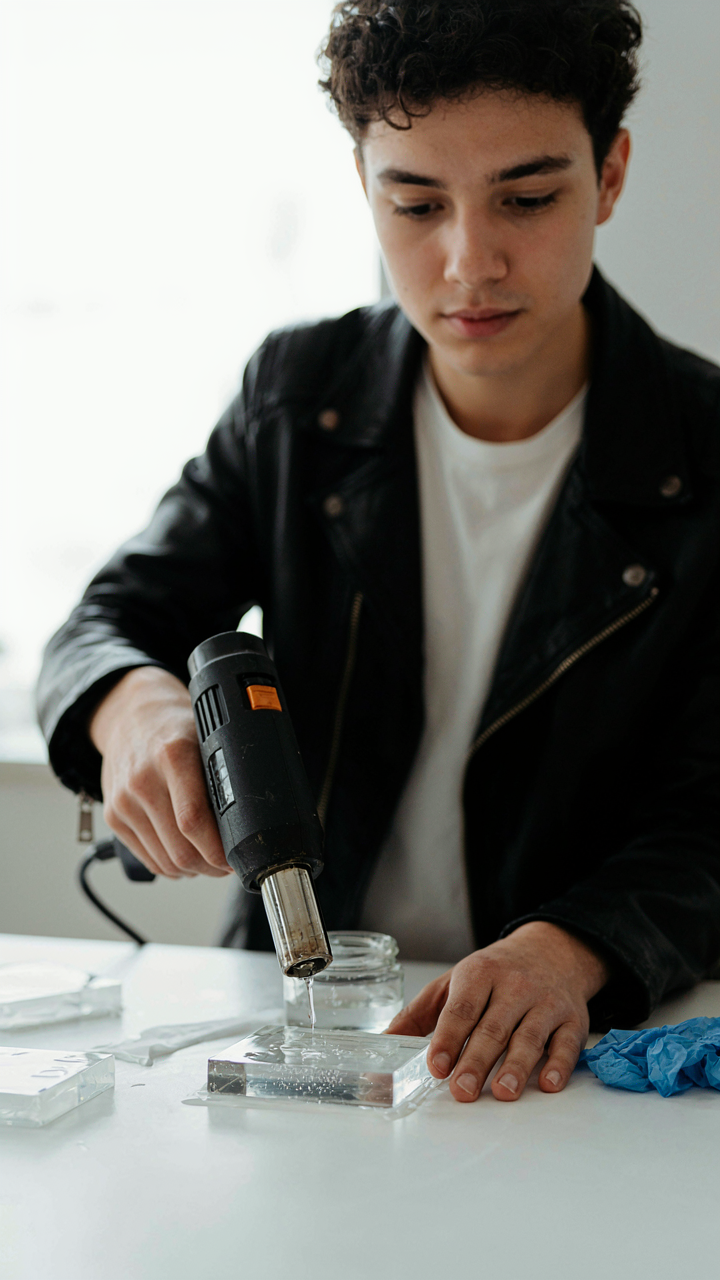
Degassing Techniques For Bubble Free Results
You want crystal-clear ornaments because cloudy ones scream amateur. The real problem: air trapped in resin cures inside the material itself, and no amount of sanding fixes embedded bubbles. Degassing is a physics term meaning the removal of dissolved gases. In resin work, degassing removes the air pockets that form when you mix resin and hardener, turning your transparent ornament into a frosted one.
Two methods work. Vacuum degassing pulls air out before pouring using a vacuum chamber, but most beginners skip this because the equipment costs money. The practical alternative: pour your mixed resin slowly into the mold, wait two to three minutes, then use a heat source like a heat gun on low setting held six inches away to pop surface bubbles. The heat reduces resin viscosity temporarily, letting trapped air rise and escape before the material sets.
Curing Environment Impact On Transparency
Temperature controls how resin polymerizes, and poor conditions lock in haze you can’t undo. Resin needs stable warmth to cure clear. Cold temperatures below 65 degrees slow the chemical reaction, trapping micro bubbles in the material as it hardens. If your workspace is cold, your ornaments will cloud regardless of your degassing effort.
Set your curing space to 70-75 degrees and keep it stable for the full cure time your resin requires, typically 24 hours minimum. Humidity also matters: moisture in the air can interact with uncured resin and create a cloudy film on the surface. Cure your ornaments in a dry environment away from direct sunlight during the hardening phase. Check your specific resin’s technical sheet for exact temperature ranges, then match those conditions exactly.
The Layering Logic: Building Depth In Dried Flower Ornaments
Where To Place Each Element For Dimension
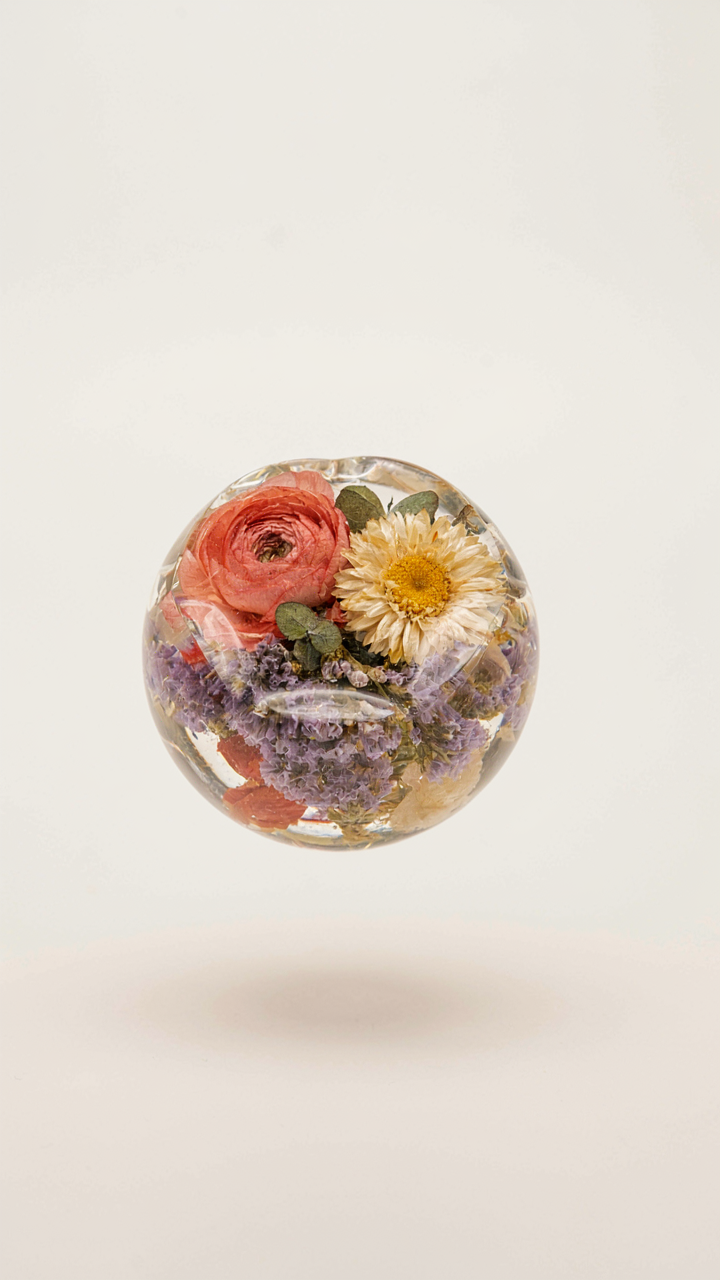
You want your ornament to look expensive so people know you didn’t buy it at a gas station. The real mechanism here is borrowed from staging in theater: depth comes from separation along the Z-axis, not from cramming more flowers into the same plane. Resin doesn’t create dimension by itself. Your flowers do, but only if you position them at different heights inside the mold.
Place largest flowers or focal pieces at the back of the mold first. Medium florals go in the middle layer. Smallest elements, seeds, or filler botanicals occupy the front. This creates visual separation that catches light differently at each depth. The resin then locks this arrangement in place, and the viewing angle changes how the eye moves through the ornament. You’re building a path for attention, not just stacking botanicals randomly.
Keeping Elements From Drifting During The Pour
Most beginners think they can just pour resin and hope flowers stay put. That’s why their ornaments look like a botanical crime scene. Use a two-stage pour method instead: pour a thin base layer of resin first, let it partially cure until tacky (check your resin’s working time), then position your flowers on that sticky surface. They won’t float or shift when you pour the final layer because they’re already anchored.
For smaller pieces, tweezers give you precision placement. For delicate petals, let your base layer get closer to full cure before adding the second pour. Flowers placed in thin resin move. Flowers placed in resin that’s already becoming a solid don’t. That’s the entire protocol.
The Finishing Equation: Beyond Just Popping It Out

Surface Refinement Without The Guesswork
You want this to look intentional, not like you rushed through the final step. Here’s what nobody tells you: sanding resin is about removing the mold’s texture, not chasing perfection. The mechanism is simple. Resin cures with a sticky or textured surface where it contacted air. You’re not improving the resin itself—you’re erasing the artifact of the curing process.
Start with 400-grit sandpaper wet. Wet sanding prevents resin dust from becoming airborne and gives you visual feedback on what you’re actually removing. Move to 600-grit, then 1000-grit if you want gloss. Stop there. Chasing higher grits wastes time because the resin won’t get dramatically shinier. Polish with a microfiber cloth and water. That’s the entire protocol.
Sealing Against The Environment
Protective coatings exist for one reason: resin absorbs moisture and UV light over time. This isn’t about making it look better. This is materials science. Uncoated resin yellows, becomes brittle, and can develop micro-cracks as humidity cycles through expansion and contraction. You’re fighting entropy, not aesthetics.
Use a UV-blocking polyurethane or epoxy topcoat rated for ornaments. Apply thin, even layers. Two coats beat one thick coat because thick layers cure unevenly and trap bubbles. The coating hardens the surface against scratching and seals the porous microscopic texture of cured resin. Let each coat cure fully before adding the next. Check manufacturer specs—most need 24 hours between coats. This is the difference between an ornament that looks good for one season versus one that holds for years.
The Economic Leverage Of Time: Mastering Resin Cycle Flow

Stealing From Manufacturing Systems
You want to feel productive without actually producing more ornaments. That’s the real problem here. Manufacturing borrowed the concept of “throughput”—the volume of finished units moving through a system per unit time—and resin crafters ignore it entirely. Your cycle time determines your actual output, not your effort level.
Most beginners treat each ornament as a standalone project. They pour resin, wait, demold, cure, repeat. This creates dead time where nothing productive happens. Manufacturing solved this by running multiple production stages simultaneously. You should too. Start batch one while batch two cures. Prep flowers for batch three while batch one sets. The resin does its work regardless of your presence.
Batching Architecture For Pressed Flower Work
The common advice is “make multiple at once.” That’s incomplete. Real batching means organizing every resin stage—not just pouring—so you move between tasks without idle periods.
- Flower Prep Stage: Clean, press, and arrange all flowers for your entire batch before mixing any resin. This takes thirty minutes once, not fifteen minutes five times.
- Mold Setup: Position every mold, seal every seam, and verify every placement before the first pour. Prevents panic mid-pour when you realize molds aren’t level.
- Resin Mixing Batches: Mix enough resin for all ornaments in your batch at once, then portion into working amounts. Reduces oxidation time and mixing waste significantly.
- Pouring Sequence: Pour from most to least detailed ornaments. This uses resin at optimal viscosity while it’s fresh and before micro-bubbles accumulate in the batch.
- Demolding Rotation: Set a fixed demolding schedule—twelve hours, twenty-four hours—then demold everything simultaneously rather than checking ornaments randomly throughout the week.
Batching works because you eliminate context switching. Your hands stay in one mode. Your attention stays focused. You go from “I made one ornament today” to “I completed four ornaments in the same window.” The mechanism is simple: resin cures on its own timeline. Your job is filling that timeline with productive work on the next batch.
Beyond Flowers: Expanding Your Resin Ornament Repertoire

Layering Natural Elements Into Resin
You want to feel like you’ve mastered something before moving on. The real mechanic here is material compatibility, not artistic freedom. Resin cures through an exothermic reaction, and different natural materials absorb heat differently. Porous elements like moss or bark trap moisture and create micro-bubbles. Dense materials like wood or stone conduct heat away from the resin surface, causing uneven curing. You need to pre-dry everything aggressively and test embedding one material type at a time until you know its behavior.
The common mistake is throwing mixed botanicals into resin and hoping the ratio works. It doesn’t. Work with single-element combinations first: resin plus dried grasses, resin plus lichen, resin plus small pebbles. Each pairing has a different bubble release rate and moisture profile. Once you’ve embedded that combination five times without defects, add a second element. This isn’t overthinking. This is the difference between ornaments that clear and ornaments that cloud after two weeks of shelf life.
Designing Pieces With Intentional Contrast
You’ve seen those nature-inspired ornaments that just look like stuff floating in plastic. The reason they fail is poor visual hierarchy, borrowed from graphic design. Foreground elements need weight and saturation. Background elements need lightness and transparency. Most makers reverse this by centering their specimen and filling dead space with filler material. Resin is transparent, so your composition happens in layers, not on a flat plane.
Place your primary specimen one-third deep into the mold, not at the center. Fill the remaining depth with clear resin or resin tinted a single neutral tone. This creates depth and makes the specimen read as deliberate rather than accidental. The ornament becomes a three-dimensional piece with intentional spacing, not a paperweight with decoration trapped inside. Your cure time stays the same, but the final result commands attention instead of blending into background clutter.
Troubleshooting The Inevitable: When Your Resin Rebels
What Actually Went Wrong
You’re worried you wasted money and time on a failed piece—that’s why this matters. The mechanism is simple: resin fails because you violated one of three conditions during the cure window. Temperature, moisture, or mixing ratio controls the outcome. Most beginners blame the resin. The resin wasn’t the problem.
Cloudy ornaments happen when moisture enters the epoxy during cure. This occurs because air temperature dropped below the resin’s minimum threshold or humidity spiked above 50 percent. Epoxy resin is hygroscopic—it pulls water from the air like a sponge pulls from a bucket. Cure time extends in cold conditions, leaving more window for moisture infiltration. You can’t see this happening in real time.
Build Your Prevention System Now
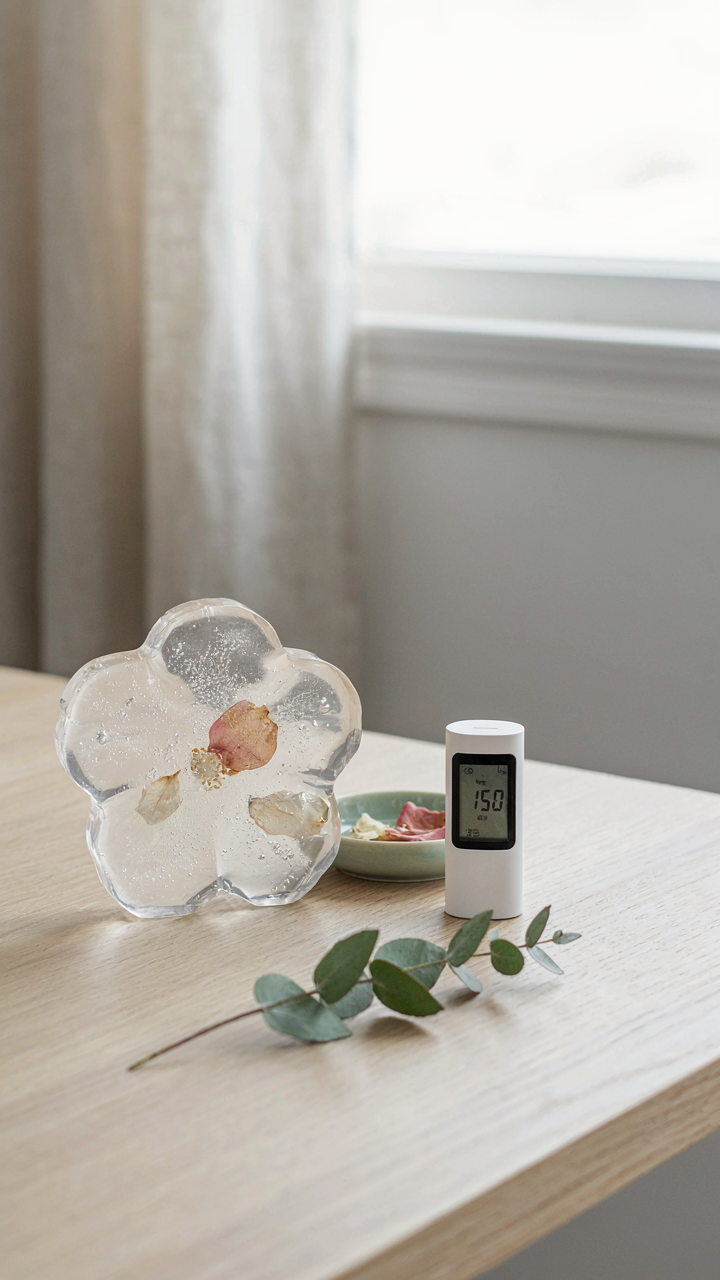
Resin doesn’t reward guessing. Create a fixed protocol and execute it identically every time. Purchase a digital thermometer and hygrometer for your workspace. Don’t assume room conditions. Measure them before pouring. Log the temperature and humidity alongside each pour, then note the outcome. After five batches, you’ll see which conditions produce flawless results and which produce failures.
Most beginners skip this because tracking feels tedious. That’s the exact thinking that generates wasted batches. Set your workspace to 72-75 degrees Fahrenheit and keep humidity below 50 percent before you touch resin. If you can’t control your environment, don’t pour in that environment. Wait for conditions to align or relocate your setup. Resin cures on your timeline only if you control the variables.
The Real Obstacle Isn’t The Resin; It’s Your Impatience With Precision
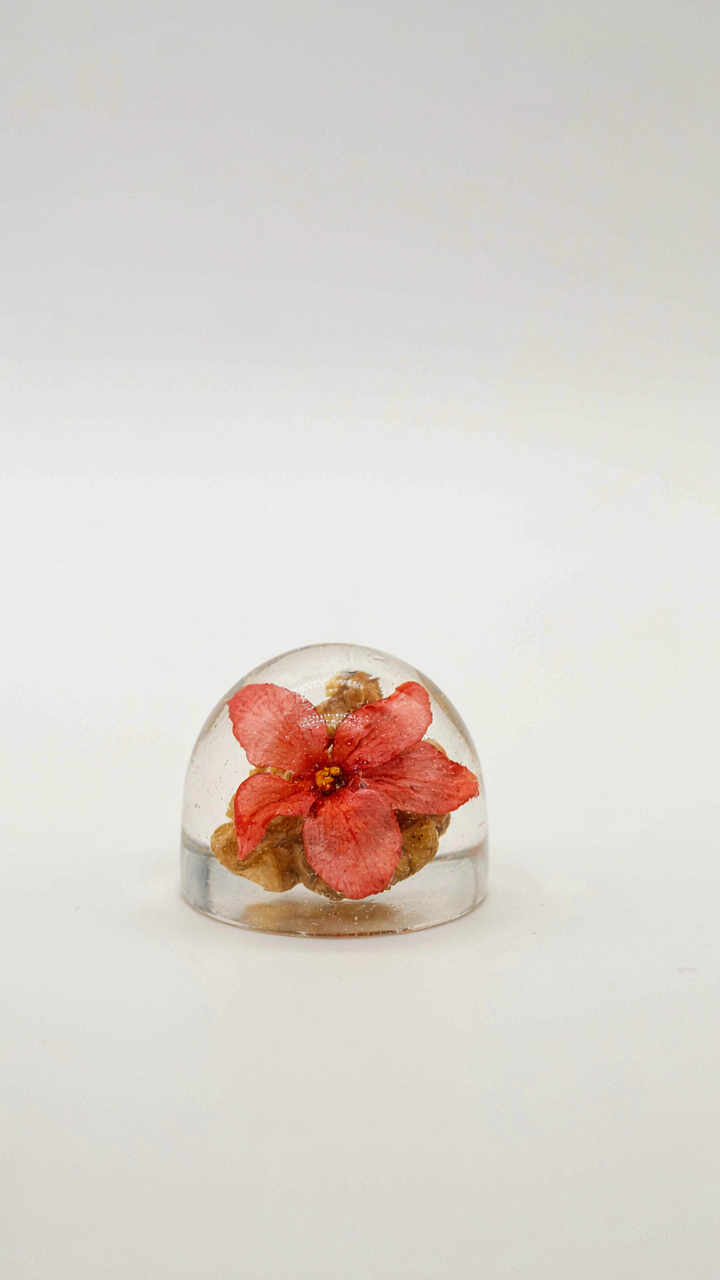
You’ll fail at resin flower ornaments not because the technique is hard but because you’ll rush the cure time and pour too much at once. Beginners treat resin like paint. It’s not. It rewards deliberate slowness. Your one job today is to grab a small silicone mold, one bottle of resin, and commit to waiting the full recommended cure time without touching it. The gap between mediocre ornaments and gallery-worthy ones isn’t talent. It’s discipline.



