
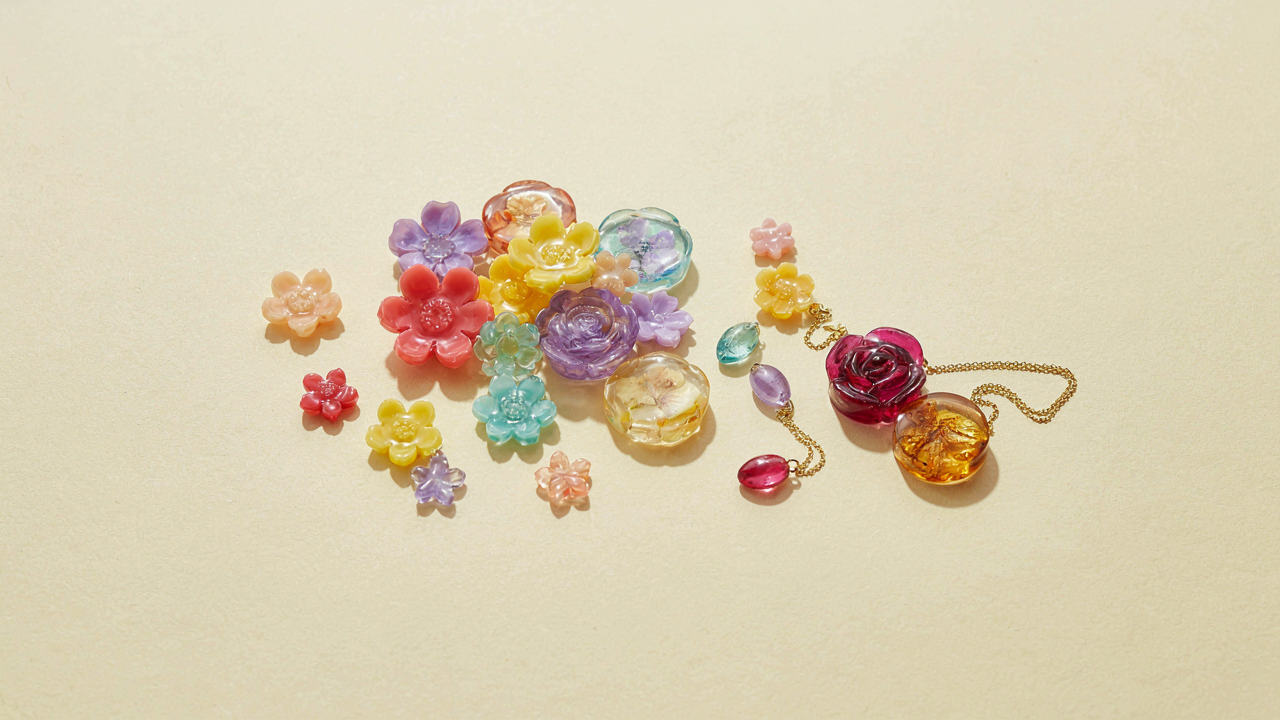
Beyond The Hype: Why Most Resin Flower Pendants Fail (And Yours Will Too)
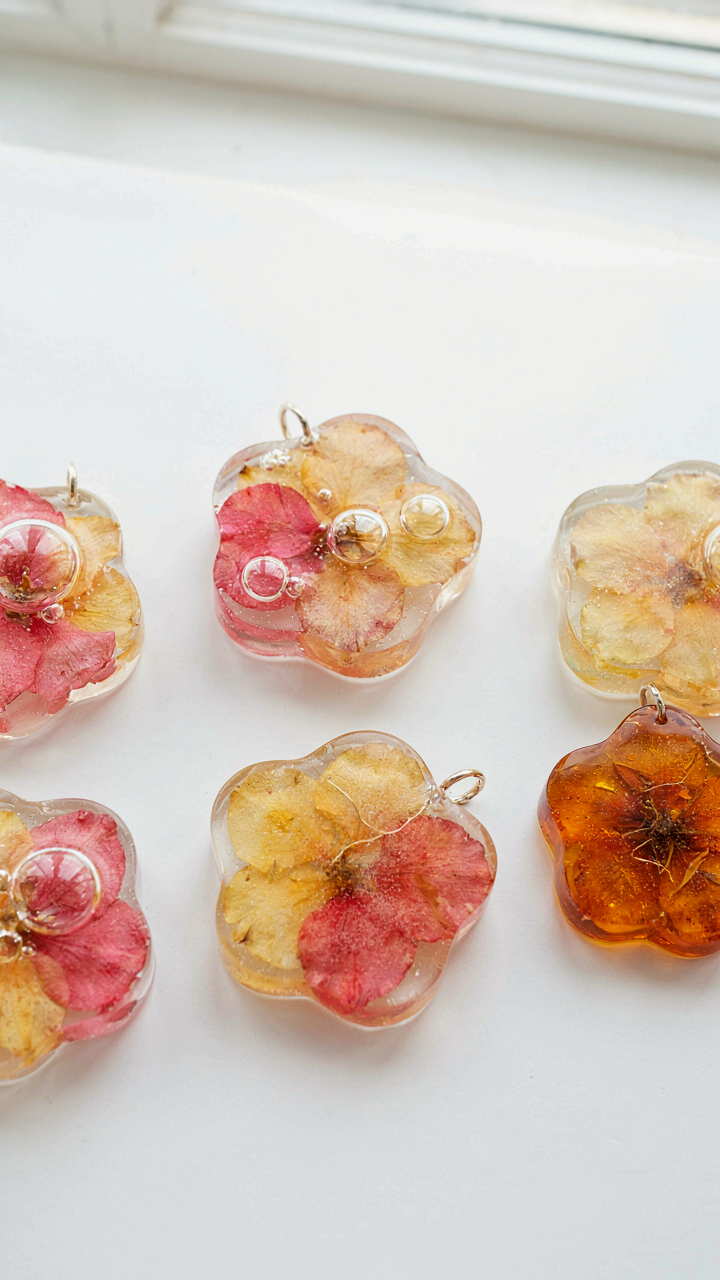
Shrinkage, Bubbles, And Discoloration
You want to know what goes wrong because you’re afraid of wasting money and time on a failed batch. Here’s the mechanism: epoxy resin undergoes polymerization, a chemical reaction that binds molecules together and releases heat. This process is irreversible and happens whether you’re paying attention or not. Shrinkage occurs because the resin’s molecular structure compacts as it cures, pulling inward by 1 to 3 percent depending on the resin type and cure conditions. Your pendant emerges smaller than the mold suggested.
Bubbles trap air during mixing and pouring. They expand under heat, then get locked in place as the resin hardens. Discoloration happens when UV light hits uncured or partially cured resin, degrading the polymer chains and turning clear resin yellow or cloudy. Temperature fluctuations accelerate all three problems simultaneously. Most people blame their technique. The real culprit is treating resin like a forgiving material when it’s actually unforgiving to ignorance.
The True Price Of Cutting Corners On Materials
Cheap resin isn’t cheaper over time. It’s just slow-motion waste dressed as economy. Budget epoxy contains more fillers and lower quality hardeners, which means faster cure times you can’t control, higher shrinkage rates, and yellowing that starts within weeks of sunlight exposure. You save three dollars per batch and lose every pendant to amber tint by month two.
Low-grade molds release poorly, forcing you to pry pendants out with tools that crack the edges. Bargain-bin embedding supplies contain moisture that catalyzes bubbling during cure. The real cost isn’t what you spend upfront. It’s the pendants that fail after three hours of work, the customer refunds, and the time spent redoing batches instead of scaling production. Use professional-grade resin formulated for jewelry, UV-resistant hardeners, and silicone molds from established manufacturers. This is where the math actually works.
The Resin Alchemy: Understanding Your Medium
Epoxy Versus UV Resin
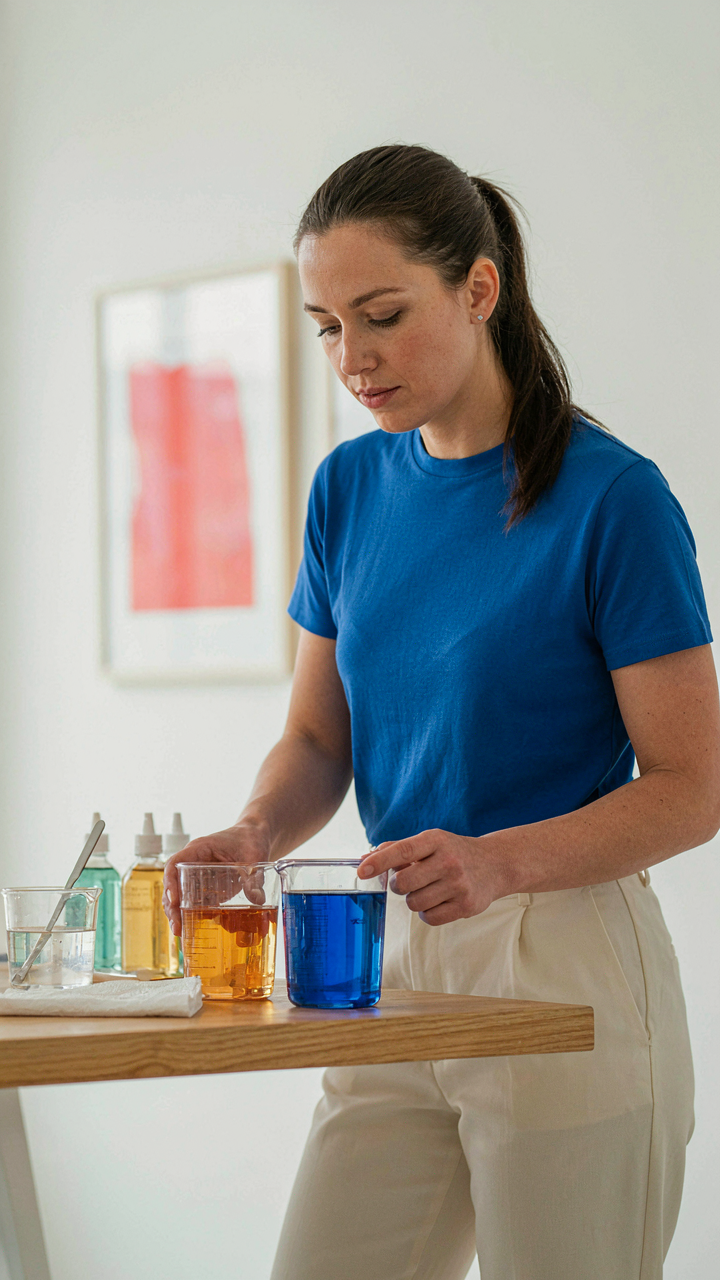
You want to pick the right resin so you don’t waste money on the wrong material and look incompetent to people who actually know the difference. Here’s what matters: epoxy and UV resin are fundamentally different chemicals with opposite cure mechanisms. Epoxy requires a hardener mixed in precise ratios and cures through an exothermic chemical reaction over hours or days. UV resin cures only when exposed to ultraviolet light and needs no hardener, making it faster but more limited in application.
Epoxy bonds stronger to most materials and tolerates imperfect conditions better than UV resin. It’s also cheaper per unit volume. UV resin cures in minutes under a lamp, which sounds convenient until you realize it hardens only where light reaches it, creating shadows and incomplete cures in deeper pendant designs. For flower pendants with embedded botanicals, epoxy gives you working time to position flowers correctly. UV resin demands speed and precision because it locks the moment light hits it.
Mixing Ratios And Cure Times
Most people treat mixing ratios like a suggestion, which explains why their pendants remain tacky or crack. Chemistry doesn’t negotiate. Epoxy resins typically require exact ratios like 1:1 or 2:1 by volume or weight, depending on the brand. Deviate by 10 percent and the chemical reaction stalls, leaving you with uncured resin that never hardens properly. Check your manufacturer’s spec sheet, measure with a scale or graduated containers, and mix for the time specified, not until it looks mixed.
Cure time varies dramatically between brands and environmental conditions. Fast-set epoxy might cure in 24 hours at room temperature while standard epoxy takes 72 hours or longer. Temperature below 70 degrees Fahrenheit slows cure time significantly. Don’t assume a pendant is cured just because the surface feels hard. Full cure strength takes the full time stated. Rush demolding or wearing a pendant before complete cure guarantees either deformation or clouding from the moisture your skin introduces to the uncured resin.
The Botanical Blueprint: Preparing Flowers For Eternal Encapsulation

Three Drying Methods That Actually Work
You want flowers that look fresh forever because stagnant, brown petals destroy the entire visual payoff. Here’s the mechanical reality: moisture trapped inside resin yellows and decays the specimen. Remove water first, or your pendant becomes a biology experiment. The method you choose determines both the timeline and the final aesthetic.
- Silica Gel: Absorbs moisture in 3-7 days. Flowers retain color and shape better than other methods. Cost is minimal, process is fast, and results are consistent. Best for delicate petals that air-drying would flatten or shrivel.
- Pressing: Takes 2-4 weeks between paper under weight. Flattens the flower entirely, creating a 2D effect inside the pendant. Works well for ferns, grasses, and thin-petaled species. Requires patience and proper paper to prevent mold.
- Air-Drying: Hangs flowers upside down for 1-3 weeks in low humidity. Slowest method but requires zero equipment. Petals curl and shrink unpredictably, limiting which flowers work. Best for hardy species like baby’s breath and statice.
- Oven Drying: Applies low heat (150-200°F) for 30-60 minutes. Fastest option for impatient makers. Risks color loss and brittleness. Reserve for test batches before committing premium flowers.
- Microwave: Accelerates moisture removal to minutes. High risk of scorching petals. Only viable for thick, fleshy flowers like roses. One mistake ruins the specimen entirely.
Silica gel dominates pendant work because speed and color preservation matter more than cost. Check flowers daily during the drying window. Once completely dry, they’re fragile—store them flat in an airtight container away from humidity until casting day.
Selecting Flowers That Survive The Resin Transition
Flower longevity in resin depends on cellular structure, not on how pretty the bloom looks fresh. Dense petals outlast thin ones because they contain less water and fewer air pockets that trap oxidizing gas inside the pendant. Delicate flowers like peonies will brown or gray regardless of drying method once encapsulated.
Roses, lavender, baby’s breath, statice, and dried grasses perform reliably in resin because their petal density and natural toughness resist the chemical environment inside the cured pour. Avoid flowers with high moisture content like tulips, dahlias, and gardenias unless you’re testing with expendable specimens. The aesthetic impact compounds when the flower survives the process intact rather than degrading over months. Choose your botanical material based on survival first, visual preference second.
The “Perfection Protocol” For Bubble Free Resin (Resin Jewelry Tutorial)
Remove Air Before It Becomes Your Problem
You want bubble-free pendants because flaws kill perceived value, and buyers equate clarity with craftsmanship. Here’s the mechanism: resin traps air in two phases—during mixing and during the cure. Degassing solves the first phase. A vacuum chamber pulls air out of mixed resin by lowering atmospheric pressure around it. As pressure drops, dissolved air and tiny bubbles expand and escape. Heat guns don’t degass resin effectively because they only warm the surface. They can actually trap more air deeper inside. Use vacuum only on freshly mixed resin for thirty to sixty seconds. Let it sit after degassing. More time in vacuum doesn’t improve results—just creates a tipping point where air leaves, then stops.
The second tool people mention, the heat gun, works differently and serves a separate purpose. Apply heat to resin after pouring into molds to help surface bubbles rise and pop before the resin hardens. This happens because heat reduces viscosity, making resin thinner and easier for trapped air to escape through. Use low heat and keep the gun moving so you don’t burn the resin or mold. The order matters: vacuum the mixed resin, then pour, then apply heat to the poured batch. Skip any of these steps and you’re gambling on clarity.
Pour With Intention, Not Speed
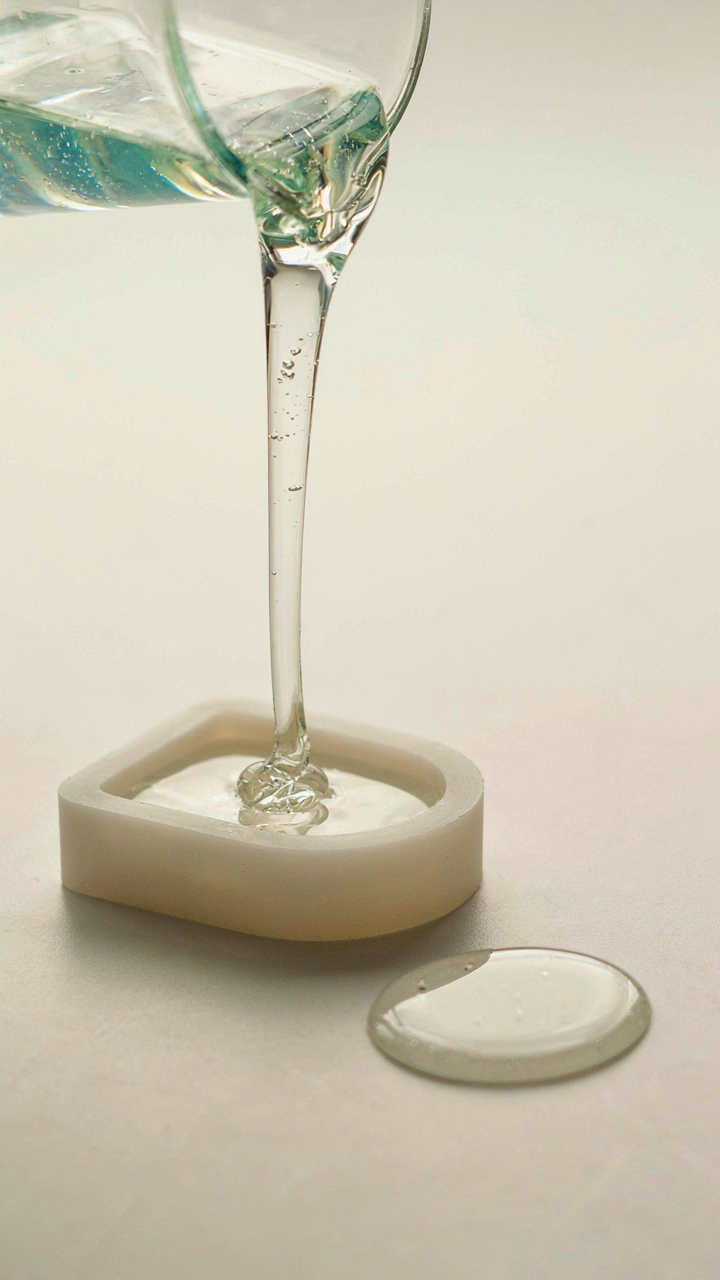
Slow pouring isn’t advice—it’s physics. Think of pouring resin like fluid dynamics: turbulence creates vortexes that trap air. Fast pours whip the liquid and force bubbles into the material. Slow pours minimize turbulence and let gravity do the work. Pour from a low height, directly into the mold cavity, in one steady stream. Don’t pause mid-pour and restart. Each interruption introduces new air pockets.
Most people rush because they fear the resin will gel before they finish. That’s not how resin works. Epoxy resin stays workable for ten to twenty minutes depending on the brand. You have time. The real risk is impatience introducing bubbles that no amount of post-pour fixing removes. Pour at the speed of honey, not water. When the mold is full, stop pouring and let air bubbles rise naturally to the surface over the next few minutes before applying heat.
The Aesthetic Algorithm: Designing Impactful Resin Jewelry Diy Ideas
Spatial Tension And Visual Weight
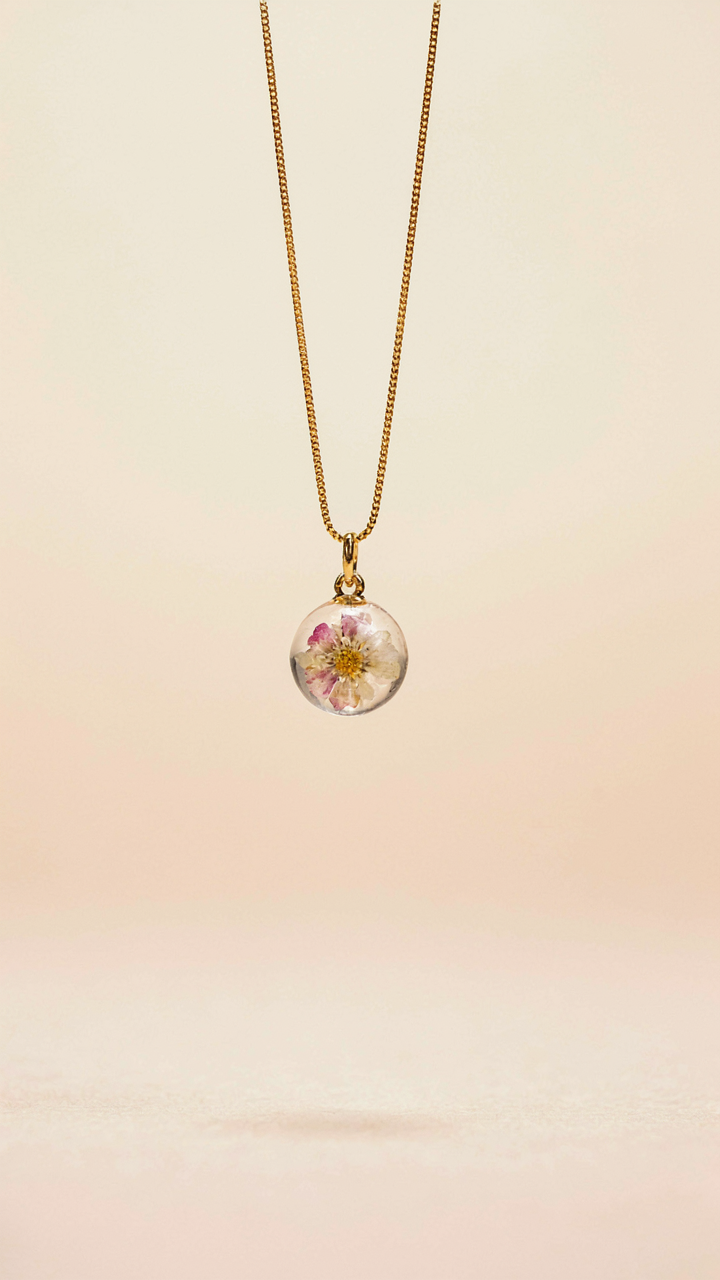
You want your pendant to stop scrolling. That’s what this section is really about. Photography borrowed the rule of thirds from Renaissance painters, and resin pendants need the same spatial discipline. Divide your composition into a 3×3 grid. Place your flower off-center, not floating in dead middle. The eye lands harder on asymmetry because it signals intent, not accident.
Leading lines work the same way in a pendant as they do in landscape photography. Orient petals or leaves to guide the viewer’s gaze toward a focal point. Use the resin’s depth as a tool here. A flower positioned at different vertical planes within the pendant creates visual movement that flat arrangements cannot match. The mechanism is simple: tension between elements makes the piece memorable.
Color Separation And Focal Dominance
Contrast doesn’t mean loud. It means distinct. Color theory separates into warm and cool wavelengths, and your resin pendant must choose its temperature. If your flower is warm pink, cool the background with pale blue or gray resin tint. If you muddy the difference, you lose the focal point entirely. The eye cannot anchor anywhere.
Harmony comes from repetition, not similarity. Pick one dominant color that takes up 60 percent of the visual space. Secondary colors fill 30 percent. Accent colors occupy the remaining 10 percent. This ratio trains the viewer’s eye to land where you want it. Test this before pouring by laying physical flowers and background materials under your workspace lighting. Resin yellows slightly as it cures, so account for that shift. Don’t guess on color. Verify it.
The Finishing Forge: Polishing And Protecting Your Resin Flowers
Sanding Sequence: Grit Progression For Clarity
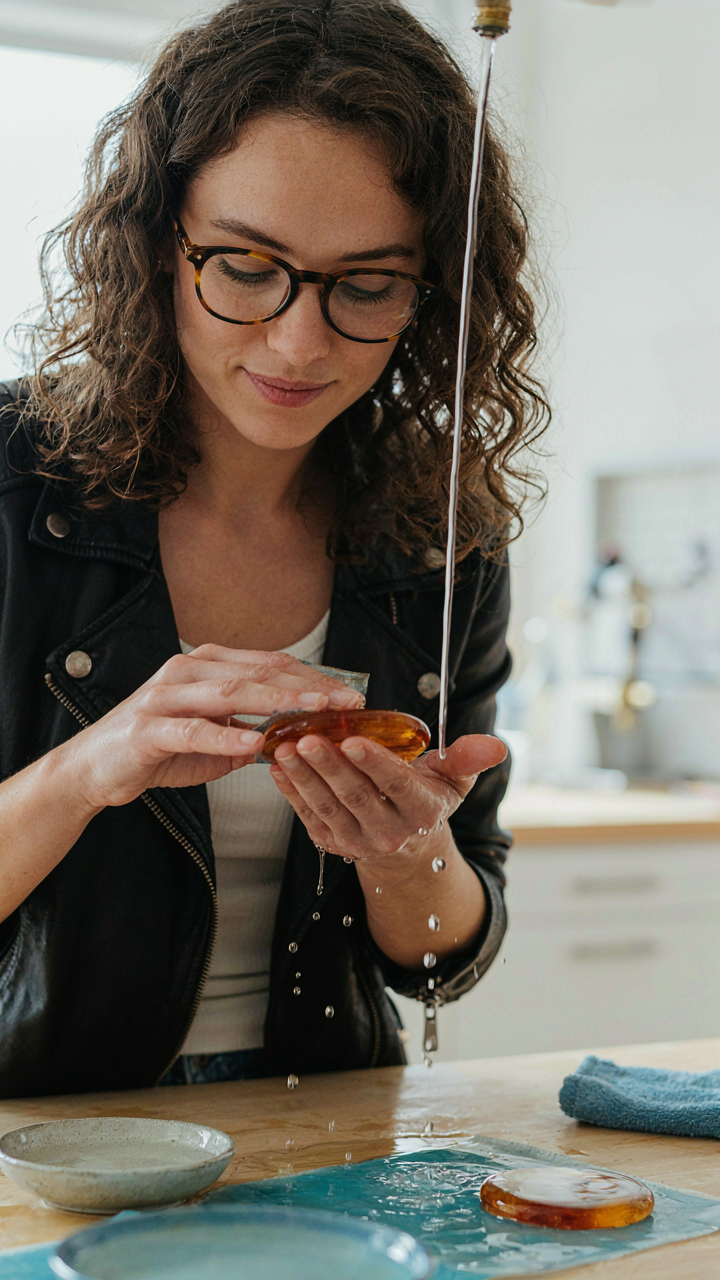
You want your pendant to look like glass, not like you pulled it from a craft bin. The real mechanism is surface tension. Resin cures with a tacky layer on top that traps air bubbles and kills light transmission. You sand through grits to flatten that layer and expose clean polymer beneath. Start at 400 grit wet, then 600, then 1000. Each step removes scratches from the previous one. This is not optional if you want optical clarity.
The progression matters more than the tool. 400 grit cuts fast but leaves visible scratches. 600 smooths those marks but leaves its own. 1000 grit erases 600’s damage and preps for polish. Skip steps and you’ll see the artifact at every stage. Use light pressure and let the grit do the work. Rushing this phase wastes everything you built upstream.
Buffing And Sealing: Achieving Lasting Brilliance
Most people think resin is done when sanding stops. It isn’t. Buffing removes the haze that wet sanding creates, but it also charges the surface with static that attracts dust before sealer dries. Use a rotary tool on low speed with white polishing compound. Work in straight lines, not circles, for even results. This step separates pendants that look wet from pendants that look solid.
Sealing locks the clarity in place and adds UV resistance so your flowers don’t yellow in sunlight. Apply a thin coat of UV-resistant epoxy or resin-specific gloss sealer with a brush or spray. Let it cure fully before handling. The seal prevents oxidation and protects against minor scratches. Without it, your work degrades in months. With it, the pendant stays clear for years.
The Structural Integrity System: Bezels, Molds, And Hardware (How To Make Resin Flower Jewelry)
Choosing The Right Mold Foundation
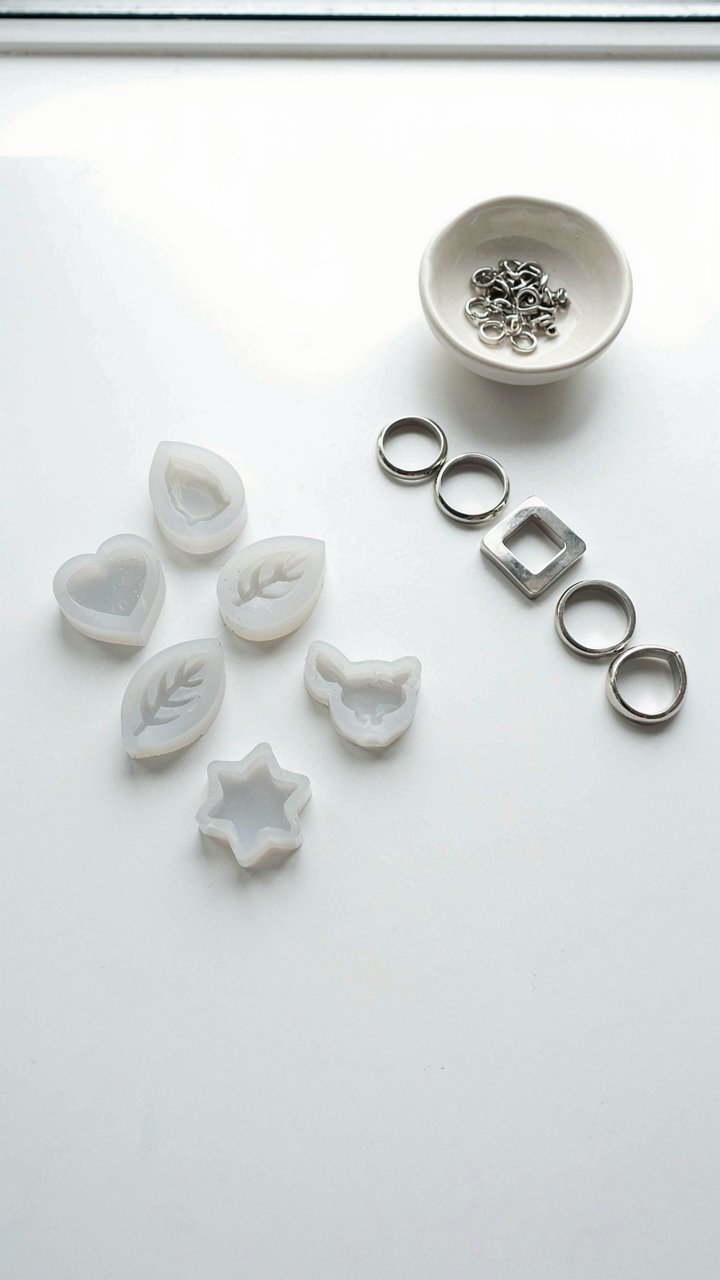
You want your pendant to look intentional, not like something that failed quality control at the factory. The mold is your structural skeleton. Silicone molds offer flexibility and reusability, which explains why they dominate the market. Open-back bezels bypass the mold entirely—you pour resin into a metal frame, which handles the shape for you. Custom resin molds work when you’ve engineered a specific geometry that commercial options can’t match. Each choice trades cost, precision, and production speed against each other.
The silicone versus bezel decision determines your workflow ceiling. Silicone molds demand demolding patience and can degrade after fifty to one hundred pours depending on material quality and heat exposure. Bezels lock your dimensions immediately and never wear out, but they limit you to their catalog of shapes. Custom molds require a prototype stage but pay dividends if you’re running production batches. Pick the method that matches your repeat-pour volume, not the one that sounds easier in theory.
Attaching Hardware Without Failure Points
Most people drill after the resin cures and call it a day. That’s incomplete thinking. The drill hole becomes a stress concentrator—tension loads funnel directly into that weak point. Bails glued or cast into the resin during pour handle load distribution better because the adhesive bond spreads force across a wider footprint. Jump rings attached after drilling work fine for lightweight pendants but introduce another failure node if your glue joint fails. The mechanism here mirrors structural engineering: concentrated force breaks; distributed force holds.
Precision matters more than method. If you drill, use a slow speed and a bit size matched to your jump ring or bail shaft. Epoxy applied to bail components before casting locks them permanently into the resin mass. Jump rings sized to your bail diameter prevent wobbling, which weakens the connection through repetitive micro-movements. The hardware sits at the interface between resin and wear—get this wrong and your pendant fails in someone’s jewelry box within weeks.
The Durability Doctrine: Preventing Yellowing And Degradation
Blocking UV Light Before It Destroys Your Work
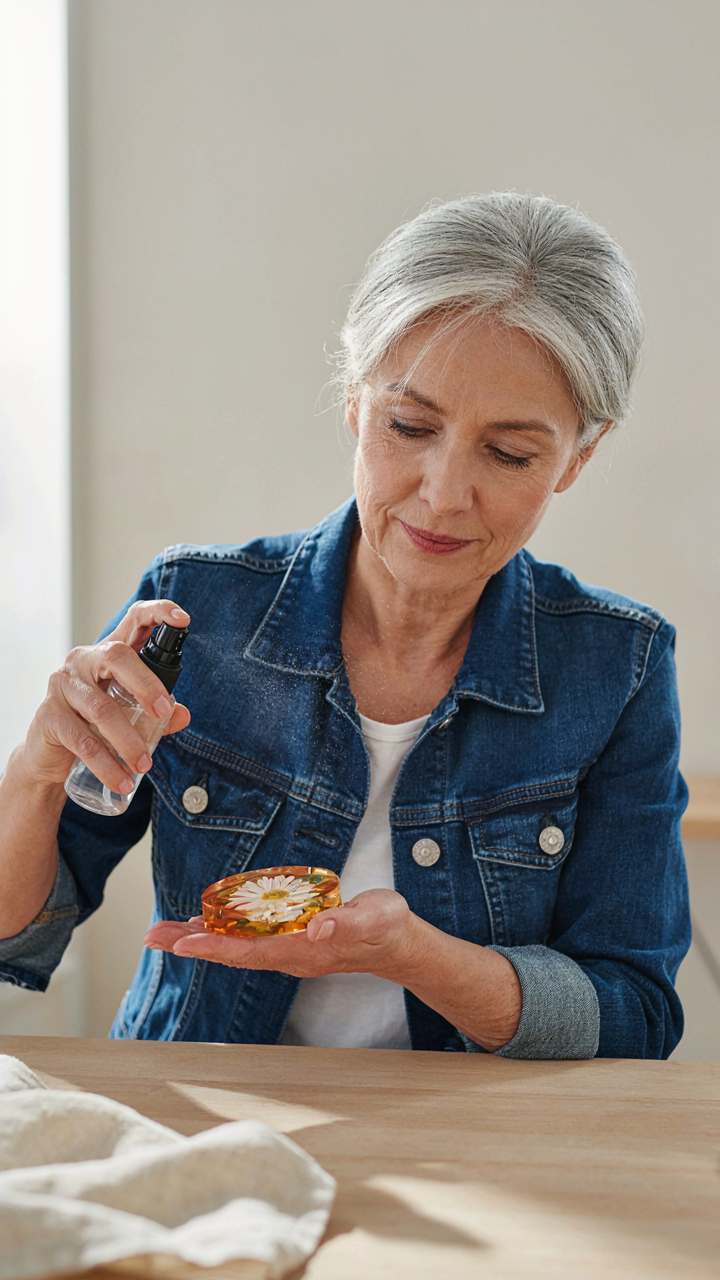
You’re worried about your pendant looking cheap in six months. That fear is justified, but here’s what actually matters: UV degradation is a chemistry problem, not a mystery. Epoxy resin yellows because UV photons break polymer chains. Two strategies stop this. First, add UV absorbers during the pour, typically benzophenone derivatives that intercept light before it reaches the resin matrix. Second, apply a UV-blocking topcoat after curing. Most makers skip this step because it feels redundant. It’s not.
UV stabilizers work best when mixed into the resin before pouring, hitting concentration targets between 2-5% by weight depending on the product. A clear topcoat with UV filters creates a second barrier. This dual-layer approach isn’t overengineering, it’s how commercial jewelry manufacturers protect their inventory. Without it, even quality epoxy turns amber within 18 months under normal indoor light exposure. The mechanism is simple: prevent photons from reaching the polymer chains, and yellowing stops.
Storing Pendants Away From Heat And Humidity
Storage conditions determine longevity more than most makers admit. Resin absorbs moisture from humid air, which causes micro-cracks and cloudiness over time. Heat accelerates this degradation by expanding the polymer and opening pathways for water penetration. Store finished pendants in airtight containers with silica gel packets, kept in a cool, dark space below 70 degrees Fahrenheit. Avoid direct sunlight, even indoors, which compounds UV damage during storage.
Humidity control is the overlooked factor. A sealed container with fresh silica gel maintains the pendant’s optical clarity for years. Replace gel packets every 3-6 months if stored in humid climates. Temperature stability matters more than cold, so a climate-controlled closet works better than a garage where seasonal swings happen. This isn’t optional maintenance for high-end pieces, it’s the basic protocol that separates professional work from hobbies that fade.
Monetization Mechanics: Turning Resin Crafts Into Profit
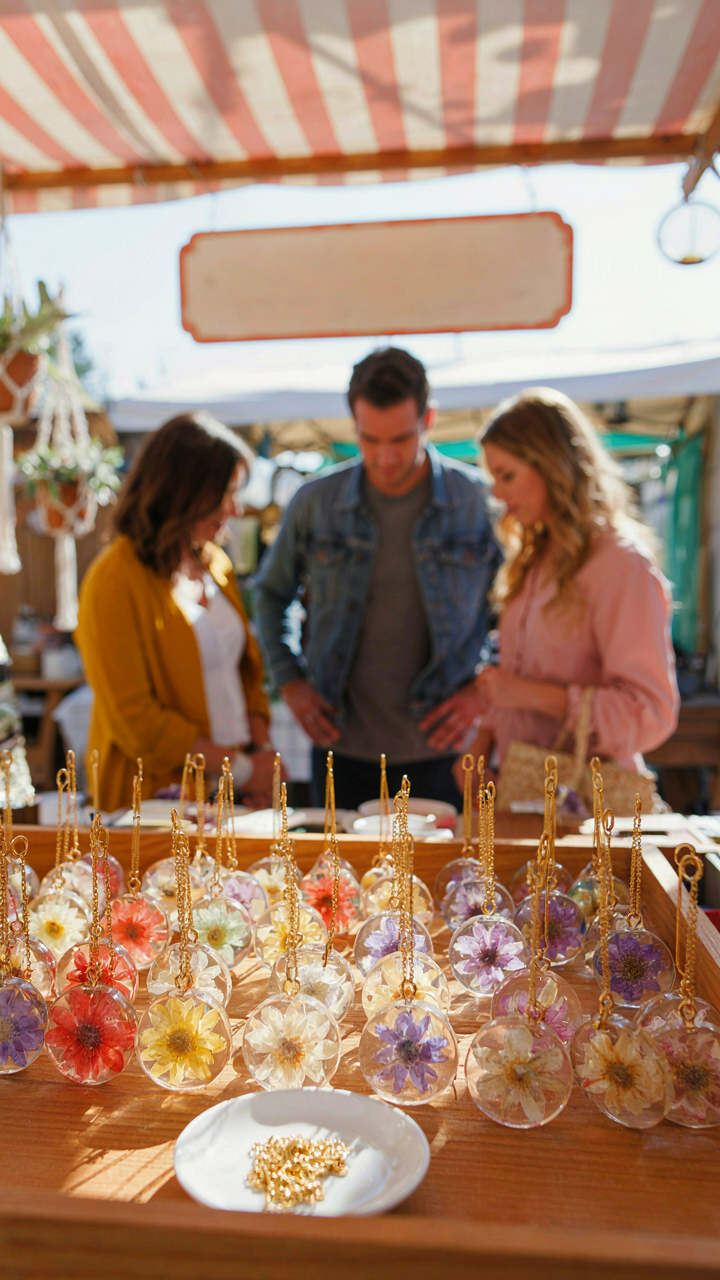
Price Is Not What You Think It Is
You want to know the real number you should charge. That’s the fear underneath this entire section. Here’s the mechanism borrowed from economics: supply and demand sets a floor and ceiling, but your actual price lives in the gap between material cost and perceived value. Most makers price resin flower pendants by adding a markup to materials. That’s backwards. You price based on what your buyer believes the finished piece is worth, then work backward to see if the margin survives.
Cost matters only as a survival check. If your epoxy, flowers, molds, and time cost fifteen dollars per pendant, you cannot price at twelve dollars no matter what. But pricing at eighteen dollars because your costs are twelve is a ceiling-level mistake. The real question is whether a buyer sees your pendant as a handmade craft object or mass-produced jewelry. That perception determines whether they’ll pay thirty-five dollars or fifty dollars. Market positioning shapes price more than hourly labor ever will.
Own Your Specific Angle
Every resin flower pendant maker talks about uniqueness. Almost all of them mean nothing by it. Your actual competitive edge is who you’re talking to and what specific problem you solve for them. Someone buying a pendant as wedding favors has different needs than someone buying one as sustainable jewelry or Gothic aesthetic pieces. You must name your exact buyer and the exact reason they choose you over alternatives, including mass-produced options and other makers.
The second part is your production constraint turned into a feature. If you only make ten pendants per month, that’s not a limitation to hide. That’s exclusivity. If you source rare pressed flowers from a specific region, that’s not effort to downplay. That’s traceability. Your unique selling proposition is the specific combination of your material choices, aesthetic direction, and the audience you refuse to sell to as much as the one you target. Build messaging around this combination, not around generic craft language.
The Only Real Barrier To Masterful Resin Flower Pendants Isn’t Technique, It’s Your Mindset
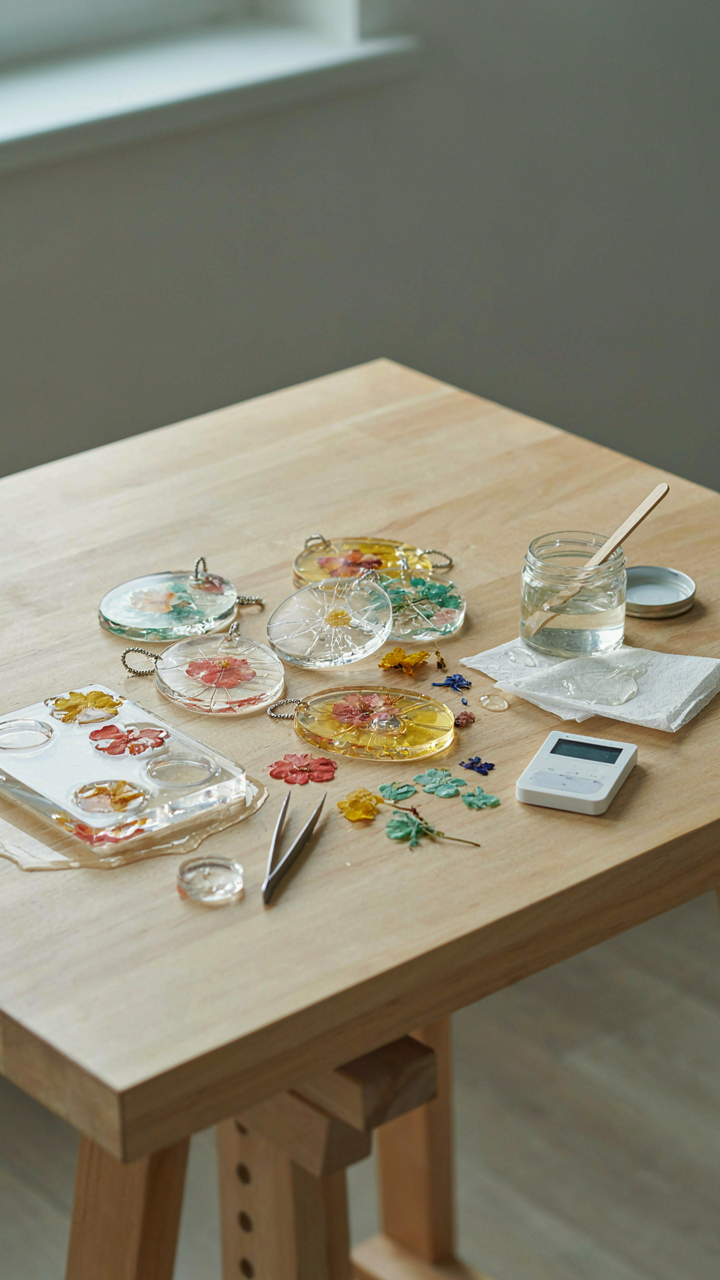
Most people quit resin pendants because they expect perfection on attempt three. They don’t. You’ll pour bad batches. You’ll crack flowers. You’ll waste resin. This isn’t failure, it’s data. The shift that matters: stop treating each pour like a test you can fail. Treat it like a prototype you’re learning from. Make one pendant today that you know will be imperfect. Pour it anyway. The only thing stopping you from mastery is your refusal to make garbage first.



