

The Illusion Of “Easy”: Why Your First Resin Coasters Fail
What Instagram Doesn’t Show You
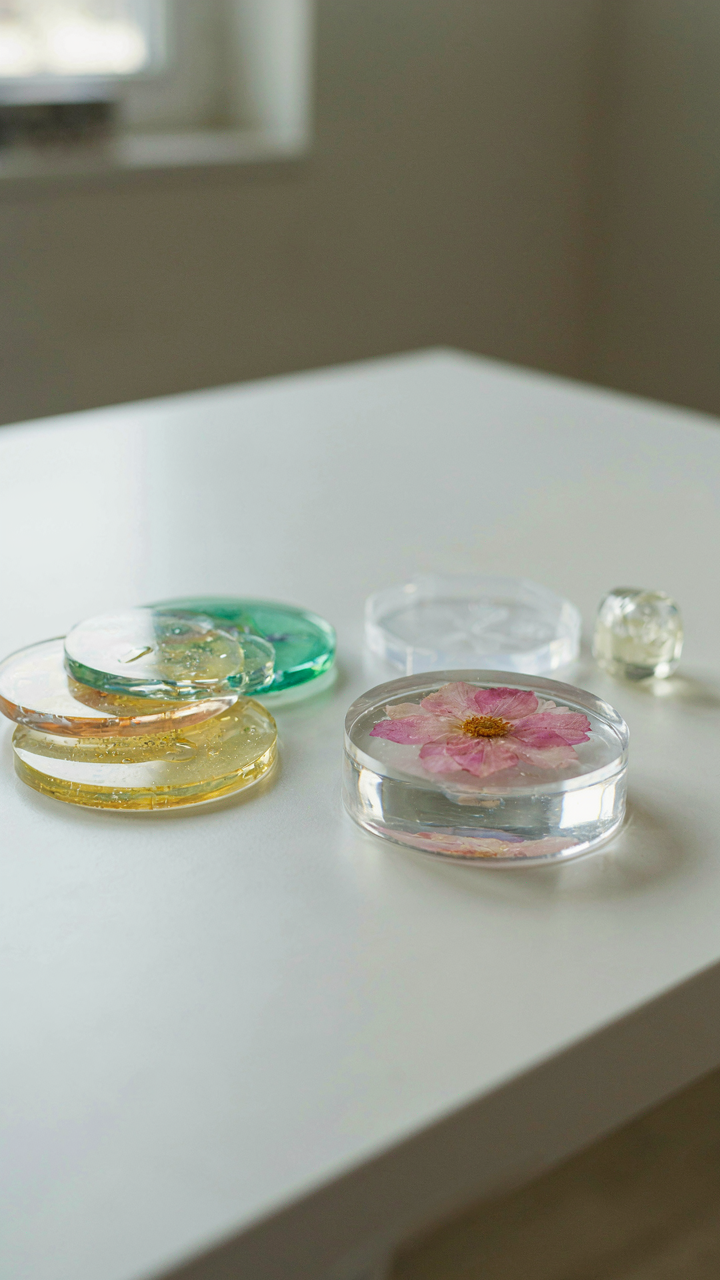
You want to believe resin coasters are easy because you’re looking for a skill that generates fast wins without friction. The mechanism that kills most beginners isn’t complexity—it’s the gap between what social media displays and what actually happens in a garage or kitchen. Those perfect coasters with flower petals suspended mid-air represent one successful pour out of five that cracked, yellowed, or cured unevenly. Nobody posts the failures.
The real beginner pitfall is mistaking aesthetic simplicity for process simplicity. A resin coaster looks straightforward: pour liquid, add flower, wait for it to harden. But resin responds to temperature, humidity, mixing ratio, pour speed, and material quality with zero forgiveness. You can follow a tutorial frame-for-frame and still produce a cloudy, brittle coaster because you missed one invisible variable—usually something about your environment or your resin’s chemistry that the video creator never mentioned because they didn’t know it mattered.
The Actual Cost Of Cutting Corners
Shortcuts in resin work like compound interest in reverse: each small mistake multiplies into larger failures. Skipping the degassing step saves three minutes but traps bubbles that compromise structural integrity. Buying cheap resin saves five dollars but yellows faster or cures inconsistently. Using random flowers instead of properly dried specimens adds moisture that causes tackiness and cure failure.
Most beginners don’t account for material waste. A single bad pour wastes resin, hardener, a flower specimen, and a mold. At typical beginner failure rates of 40 to 60 percent, your learning curve costs real money. The hidden cost isn’t failure—it’s the compounding effect of not knowing why you failed. You repeat the same mistake three times, burn through materials, and never isolate the actual variable that broke the process. Start by documenting your environment: room temperature, humidity level, exact mixing time, and pour temperature before you touch anything else.
The Resin Chemistry Protocol: Mastering Your Medium, Not Your Mood
Epoxy Versus UV Resin
You want the shortcut that makes you look competent without actually learning the material. Here’s what matters: epoxy and UV resin operate on different chemical timelines, which changes everything about your coaster workflow. Epoxy is a two-part system where resin and hardener trigger a chemical reaction that cures over hours. UV resin sits inert until ultraviolet light initiates polymerization, which takes minutes. The choice isn’t about which sounds easier. It’s about which matches your process tolerance.
Epoxy dominates resin flower coasters because it gives you a working window to position flowers, remove air bubbles, and correct mistakes. That window typically runs four to eight hours depending on the hardener you select. UV resin cures fast, which sounds efficient until a flower shifts mid-cure or a bubble traps itself permanently. Fast curing also means UV resin hardens before surface tension settles, leaving textured finishes beginners mistake for defects. For flower coasters, epoxy is the only realistic starting point because it lets you work instead of panic.
Mixing Ratios Are Not A Suggestion
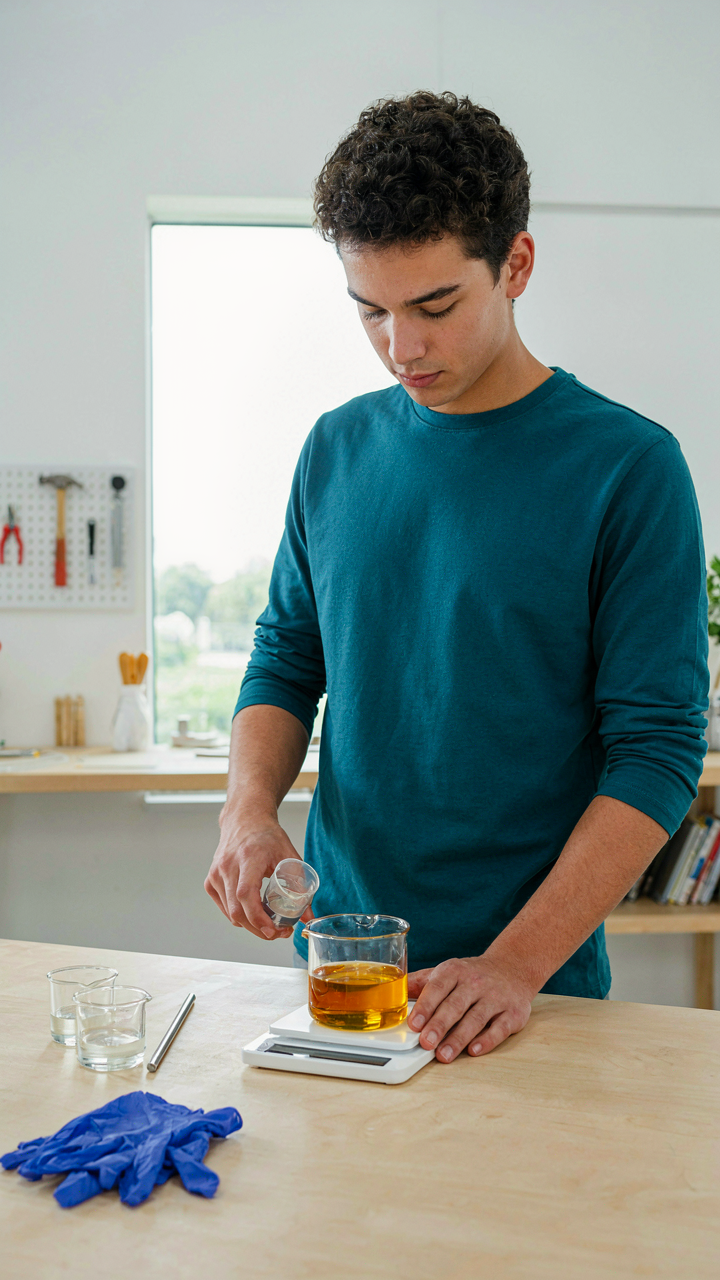
The industry standard for two-part epoxy is a 1:1 or 2:1 ratio by volume or weight, depending on the brand. You’ll see advice telling you “ratios matter but don’t stress about precision.” This is wrong. Wrong enough that it explains why your coasters stay tacky or cure brittle. The resin and hardener molecules link together in specific proportions. Skip that precision and you get incomplete polymerization, which means soft spots, chemical smell, and coasters that never fully harden.
Weight is more accurate than volume because volume measurement introduces air bubbles and compression variables. A basic digital scale under ten dollars removes guesswork. Mix the exact ratio your resin manufacturer specifies, stir for two minutes minimum to fully combine the components, and wait three minutes before pouring to let trapped air rise and escape. This protocol takes five minutes total. Skipping it costs you entire batches.
Beyond Blooms: Curating The Perfect Dried Resin Flowers

Which Flowers Actually Work
You want your coasters to look expensive. The mechanism is simple: clarity dies when water content stays trapped inside the flower. Resin doesn’t preserve flowers the way people think it does. It suspends them, which means you’re fighting against cellular degradation and color loss from day one. Your real constraint isn’t the resin. It’s the flower’s ability to shed moisture before it sets.
Thin-petaled flowers fail because water hides in the layers. Think botanically: dense, low-moisture blooms work. Baby’s breath, statice, and small rose buds survive the process because their cell structure allows complete drying. Avoid anything fleshy or heavily textured. You’re not choosing flowers for beauty in the traditional sense. You’re choosing them for their capacity to become stable, translucent objects suspended in polymer.
Drying Methods That Actually Preserve Clarity
The common advice stops at “dry your flowers.” That’s incomplete. The drying method directly determines whether your finished coaster looks professional or cloudy. Moisture trapped during the wrong drying technique shows up as discoloration or haziness once the resin cures.
- Silica gel: Extracts moisture fastest, typically 3-7 days. Flowers stay rigid and hold shape. Most reliable for small blooms and commercial results. Requires airtight containers to prevent moisture reabsorption.
- Air drying: Takes 1-2 weeks in low-humidity spaces. Works for already-delicate botanicals. Risk of color fading increases with prolonged exposure. Best in dark, ventilated areas away from direct sunlight.
- Pressing: Flattens flowers between paper or cloth under weight. Useful for coasters where dimension isn’t the goal. Reduces moisture evenly but loses three-dimensional structure permanently.
- Hanging: Suspending flowers upside down for 7-14 days. Gravity assists water drainage. Works well for stems and larger arrangements but slower than silica gel alternatives.
- Oven drying: Low temperature, 150-200 degrees Fahrenheit for 1-3 hours. Speeds the process significantly. Risk of browning or brittleness if temperature exceeds safe thresholds.
Silica gel produces the most consistent results because it controls the drying speed. Fast drying locks in color and prevents mold. Store dried flowers in airtight containers with silica packets until you’re ready to embed them in resin. Any moisture reabsorbed between drying and casting will show up as cloudiness in your final coaster.
The Environmental Control System For Crystal Clear Resin
Temperature And Humidity Control
You want crystal clear coasters because you’re afraid a cloudy one will signal amateur work. That fear is justified, but here’s what actually happens: resin cures through an exothermic chemical reaction, and moisture in the air becomes trapped in the polymer matrix during that window. This is basic chemistry, not mystique.
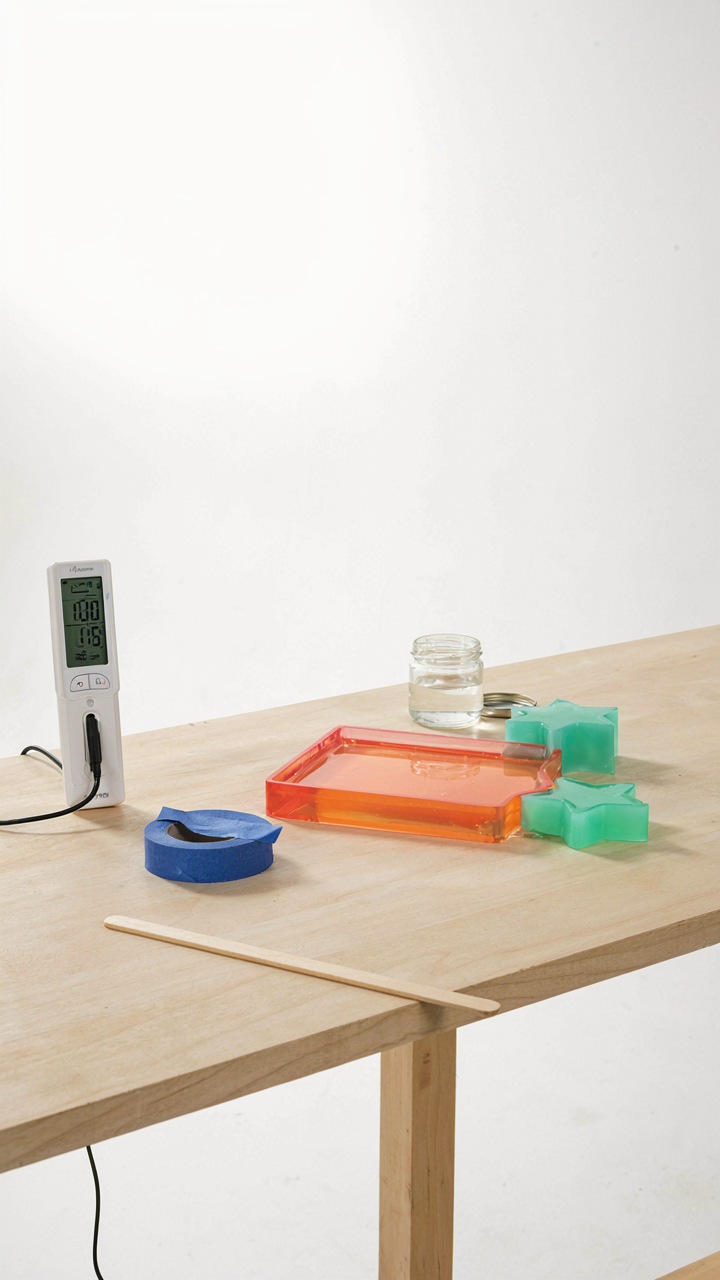
Resin works best between 70 and 75 degrees Fahrenheit. Below 65 degrees, the cure slows and moisture absorption accelerates. Above 80 degrees, the resin exotherms too fast, creating bubbles and yellowing. Humidity above 50 percent introduces water vapor directly into your work. Control temperature first, humidity second. Both matter equally, but temperature changes happen faster and wreck more batches.
Clean Space Dust Prevention
Most beginners miss this because they think “clean” means swept floors. It doesn’t. Dust particles suspended in air land on wet resin for hours during the cure cycle. Each particle becomes a visible defect trapped permanently in the final coaster. You can’t sand it out without destroying the finish.
Create a dedicated pour zone away from foot traffic. Wipe down your work surface with a damp cloth 10 minutes before pouring. Close windows and doors during the entire cure window, which runs 24 hours minimum. Set up a small shelf or enclosed space if possible. Run no fans. Move nothing in the room once resin hits the mold.
Bubble Annihilation: The Thermodynamics Of Flawless Clear Resin Coasters

Heat Application Changes Bubble Behavior
You care about this because a single bubble ruins the entire piece, and you want to avoid the shame of a failed coaster. Here’s the mechanism: thermodynamics governs how bubbles behave in resin, and heat is your leverage point. When you apply targeted heat, you lower surface tension and increase molecular movement, causing trapped air to escape faster than it would sitting idle. A heat gun or torch doesn’t magic away bubbles—it forces them to the surface where they can break and release.
Most people blowtorch their coasters like they’re searing meat, which creates new problems: uneven heating, micro-cracks, and yellowing from excessive temperature. The real play is precision. Hold a heat gun six inches away and move it slowly across the surface for three to five seconds per section. A torch works too, but only if you keep it moving and maintain distance. The goal isn’t aggressive heat—it’s consistent, gentle application that destabilizes the bubble membrane without destabilizing the resin itself.
Prevent Bubbles Before They Form
Slow pouring beats emergency degassing every time. When you rush the pour, you whip air into the mix mechanically, embedding bubbles deep in the resin where heat can’t reach them efficiently. Pour from low height directly into the mold, letting gravity do the work without turbulence. This takes thirty seconds longer than fast pouring and eliminates seventy percent of bubble issues before they start.
Thin layers work the same way: they reduce the distance bubbles must travel to escape the surface. If your coasters are thick, pour in two stages with a five-minute gap between pours. The first layer sets slightly, creating a stable floor. The second layer sits thinner and allows trapped air to vent naturally as the resin cures. You still apply heat after the second pour, but now you’re managing residual bubbles instead of fighting an embedded air pocket that heat can’t reach.
Mold Selection And Preparation: The Unsung Hero Of DIY Coasters
Silicone Mold Quality: Durable Vs. Disposable
You want the shortcut that works every time without replacing molds constantly. That’s not how this works. The actual mechanism is simple: mold durability tracks directly with material thickness and silicone compound quality, and cheap molds fail not because they’re new but because they’re made from thin silicone that degrades under heat cycling and resin exotherm. A proper reusable mold handles fifty pours minimum. Disposable molds cut corners on material density to hit a price point, which means they warp, tear, and leach contaminants into your coasters on the first pull.
Silicone molds function like industrial tooling, not single-use supplies. When you buy a quality mold from established resin suppliers, you get silicone rated for temperature resistance between 200 to 400 degrees Fahrenheit depending on the formulation. That tolerance matters because epoxy resin generates heat during cure, and thin molds can’t dissipate it evenly. The result: inconsistent coaster surfaces, bubbles, and premature mold breakdown. Invest once in a durable mold, and your cost per coaster drops within ten pours.
Release Agents And Proper Cleaning Protocols
Most people get this wrong from the start. Release agent isn’t optional lubrication you apply casually. It’s a barrier layer that controls how resin bonds to silicone, and applying it wrong destroys surface detail on your coasters and makes demolding a destructive process. Soap residue, dust, or uneven application all sabotage the result you’re after.
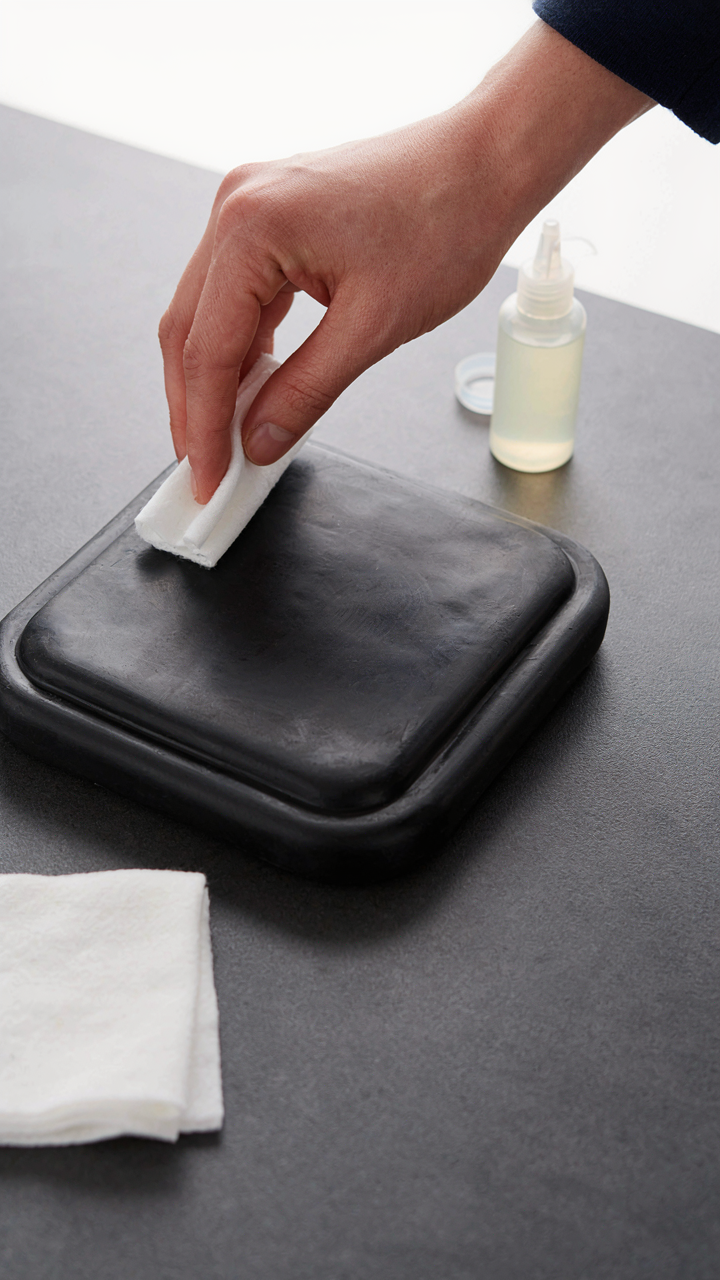
Use a dedicated silicone mold release agent, not cooking spray or generic oils. Apply it with a lint-free cloth in one thin, even coat across the entire mold surface, then buff off excess until no visible residue remains. Clean molds between pours with lukewarm water and mild dish soap, dry completely with a lint-free cloth, and inspect for resin debris before applying fresh release agent. This protocol takes three minutes and prevents ninety percent of demolding failures and surface defects.
Layering Logic: Engineering Depth In Your Resin Flower Coaster

Build Suspension Through Sequential Pours
You want visible depth without the work of complex molds because depth reads as skill. Here’s what actually matters: suspension in resin works like stratification in geology—each layer sets before the next one lands, so your flowers don’t sink or float randomly to the bottom. Most beginners pour everything at once and wonder why their flowers cluster at the base.
The mechanism is simple. Pour your base layer of resin about a quarter-inch thick and let it cure to a tacky state, not fully hard. This takes roughly two to four hours depending on your resin type. Then position your flowers on that tacky surface. They’ll grip without sinking. Pour your second layer around them, filling the space. The flowers stay suspended exactly where you placed them because they’re already anchored.
Cure Schedules Determine Your Timeline
Everyone says patience, but they won’t say why skipping steps destroys your coasters. Rushing cures creates internal stress. The top layer hardens while the bottom is still flexible, and that mechanical mismatch causes crazing, cloudiness, and failure months later. You’re not waiting for fun. You’re waiting because chemistry has a schedule.
Follow your specific resin’s datasheet, not some generic internet timeline. Two-part epoxy resins typically require four to six hours between pours at room temperature, then twelve to twenty-four hours for full cure before demolding. Cold conditions slow this dramatically. Heat accelerates it but introduces air bubbles. Once you demold, wait another forty-eight hours before using the coasters. Temperature and humidity matter. This is not negotiable.
Finishing The Resin DIY: The Polish And Perfection Protocol

Sanding And Polishing For Surface Control
You want people to think you didn’t rush this. That’s the real motive here, and it drives everything that happens next. Resin coasters need sanding because the surface cures with a tacky layer and micro-imperfections. Using sandpaper is industrial finishing applied to polymers: you’re removing the weakest outer layer to expose the stable structure beneath, exactly like how metallurgy works on steel. Start with 220-grit to flatten the top, then progress to 400, 600, and finally 1000-grit for a matte finish that catches light evenly without showing dust marks.
The common advice says “sand until smooth.” That’s incomplete. You’re not chasing smoothness for vanity. You’re leveling the surface so water beads instead of pooling in micro-valleys where bacteria grows. After 1000-grit, wipe with a damp microfiber cloth to remove all dust particles before applying any topcoat. Dust trapped under a sealant becomes permanent. Sand the edges gently since they’re thinner and can round over if you apply pressure. The goal is a consistent matte plane that feels substantial, not plastic.
Topcoats And Sealants For Longevity
Resin alone is not waterproof enough for functional coasters. The epoxy or polyester resin cures into a stable state, but its surface remains slightly porous at the microscopic level. A topcoat fills those microscopic gaps and creates a true moisture barrier. UV-resistant polycrylic or polyurethane topcoats work best because they add a sacrificial layer that yellows before the resin underneath does. Apply thin coats, not thick ones, since thick coats pool in the center and create uneven curing that leaves soft spots.
Two to three thin coats beats one heavy coat every time. Let each coat cure fully between applications according to the product instructions, typically four to six hours. The final coat should dry to a hard finish that resists moisture penetration for years of actual use. Once the final coat cures completely, your coasters can handle condensation, spills, and regular cleaning without degradation. This is where the build either functions as intended or fails silently within months.
Beyond The Bloom: Real Resin Flower Coasters
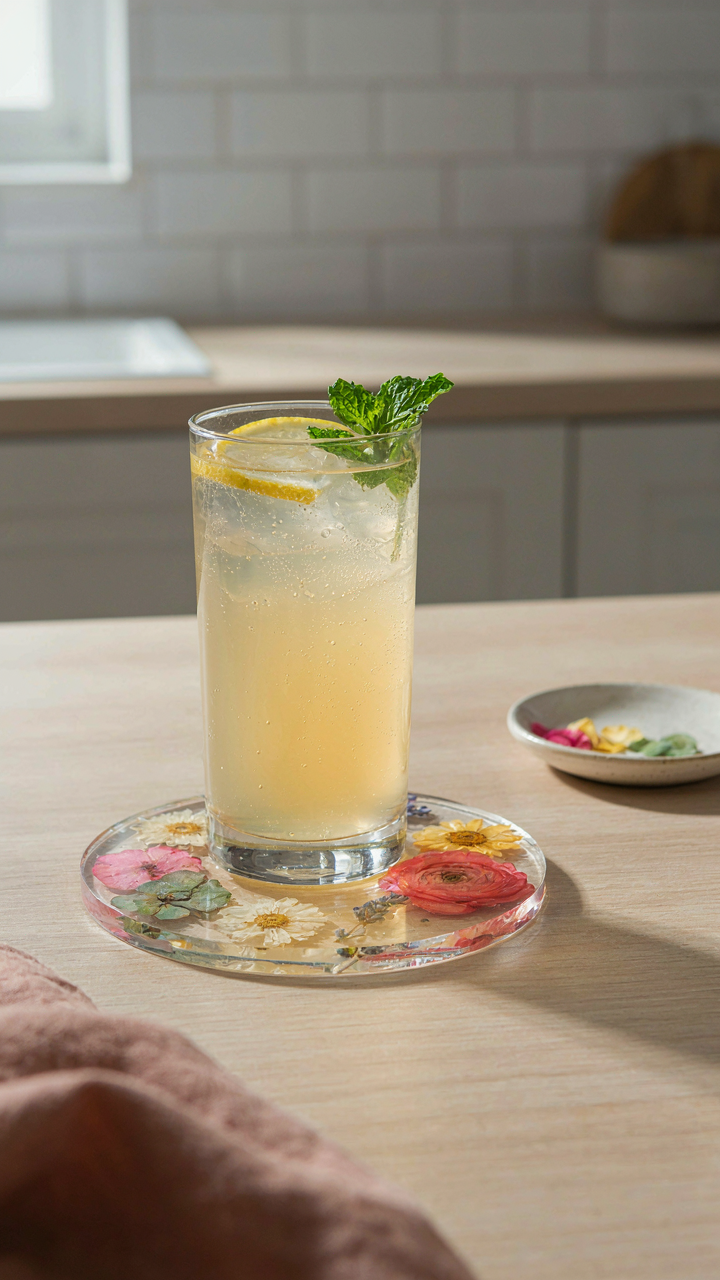
What Instagram Doesn’t Show You
You want this to look effortless because you think that proves you’re skilled. The mechanism is simple: Instagram flattens three dimensions into two. A coaster that photographs beautifully often fails functionally. The flower sits too high, traps air bubbles under the petals, and cracks when temperature shifts. Professional work prioritizes function over visual drama. The dried flower stays centered and fully submerged, not floating like a trophy.
Most beginners copy the aesthetic before understanding the physics. They layer flowers too thick, assume UV resin hardens uniformly under cheap LED lamps, and ignore cure time recommendations. The real skill isn’t arranging petals. It’s calculating weight distribution so the flower stays suspended without sinking or floating. It’s knowing your specific resin brand’s cure schedule and matching it to your environment’s humidity. Those details don’t make the feed look good. They make the coaster survive.
The Real Cost Of Cutting Corners
Economics calls it “false economy”—saving money upfront that costs far more later. With resin flower coasters, this plays out exactly. Buying bulk craft resin instead of UV or epoxy designed for coasters saves thirty dollars. Then the piece yellows in three months, or the flower bleeds dye into the resin, or micro-cracks appear from thermal stress. You’ve wasted the flower, the resin, the mold, and the time. One bad batch kills momentum faster than it kills profit.
Rushing cure times is the same trap. You demold a coaster after four hours instead of eight because you want results now. The bottom layer hasn’t fully cross-linked. The coaster flexes under a coffee mug and delaminates from the inside out. The customer notices in week two. You’ve lost the sale, the reputation hit, and the materials. The only shortcut that works is preparation—measuring before pouring, prepping flowers before mixing resin, having molds ready. Everything else costs you.
The Real Obstacle Isn’t The Resin, It’s Your Impatience With Imperfect Mastery

Most people quit resin flower coasters after their first batch cracks or clouds over. They assume they lack talent. They don’t. They lack the willingness to fail publicly and iterate quietly. Your second batch beats your first. Your third obliterates your second. Make one coaster today, flaws and all, then make three more tomorrow. The only people who master resin flower coasters are the ones who got bored before they got good.



